
Step 1: Photo Object
First you must photo the object from several angles as possible.
שלב 1: צילום האובייקט
ראשית יש לצלם את האובייקט מכמה שיותר זוויות
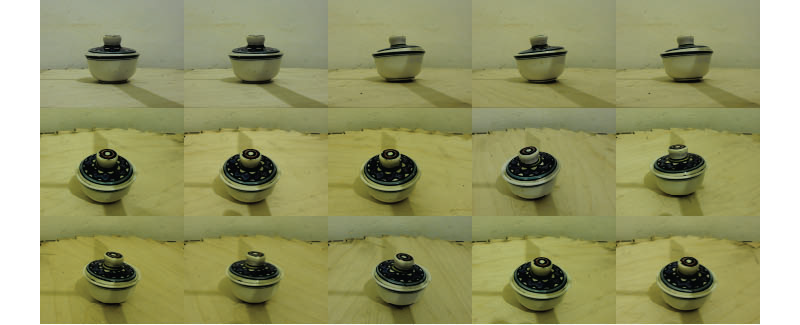
This is good example of what not to do!!!! It is recommended to choose an object that is not shiny and cameras in the early morning or produce permanent lighting does not create shadows
זאת דוגמא טובה למה לא לעשות!!!! מומלץ לבחור אובייקט שאינו מבריק ולצלמו בשעות הבוקר המוקדמות או ליצר תאורה קבוע אינה יוצרת צלליות
Step 2: Download
I chose to try the free software from the creator of Autocad
שלב 2: הורדת התוכנה
בחרתי להתנסות בתוכנה חינמית מבית היוצר של אוטוקאד
![]()
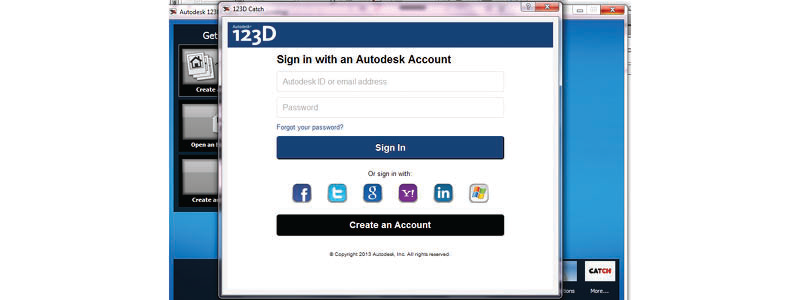
Step 3: Uploading Images
Conference program and select create a new module
שלב 3: העלאת התמונות
כנס לתוכנה ובחר ביצירת מודל חדש

At this point you will be asked to connect, you can connect with Facebook or Google address, etc.
בשלב זה תתבקש להתחבר, ניתן להתחבר עם כתובת הפייסבוק או הגוגל ועוד
Then upload all the pictures you’ve taken before, and wait … it takes quite a while
לאחר מכן העלה את כל התמונות שצילמת קודם, והמתן…זה לוקח די הרבה זמן
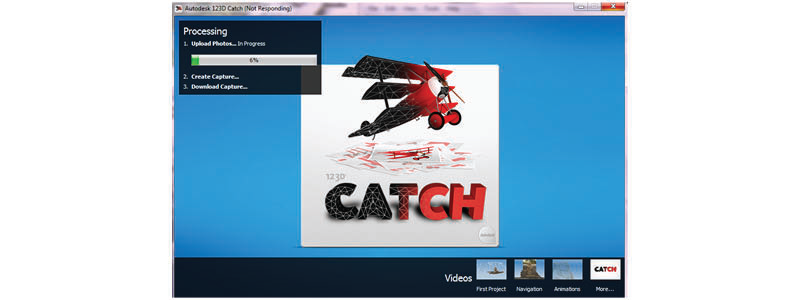
Next Stage Software produces the model / sculpture … This step also takes a long time
שלב הבא התוכנה מייצרת את המודל/פסל…גם שלב זה לוקח הרבה זמן

Now he takes the model created to the program
עכשיו הוא מוריד את המודל שנוצר לתוכנה
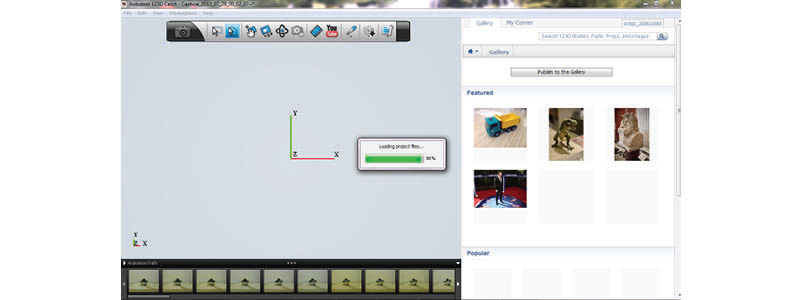
Now just export the file as a STL
STL-עשיו רק לייצא את הקובץ כ