4. Computer controlled cutting
The goal of this week is to get myself familiar with laser cut machine as well as the vinyl machine, this by doing the group and individual assignment, where we have to characterize our laser cutter, making test part(s) that vary in cutting settings and finding the laser kerf for different materials in the group assignment, and cutting something on the vinylcutter (both gs-24 camm-1 and design, laser cut, and documenting a parametric press-fit construction kit
Individual assignment
vinylcutter gs-24
I used coreldraw for this task, so I downloaded the fablab logo then converted to vector image into vector by using the quick trace tool.
![]()
then selecting red color with hairline thickness for the outline
![]()
then using ungroup tool to get rid of the box
![]()
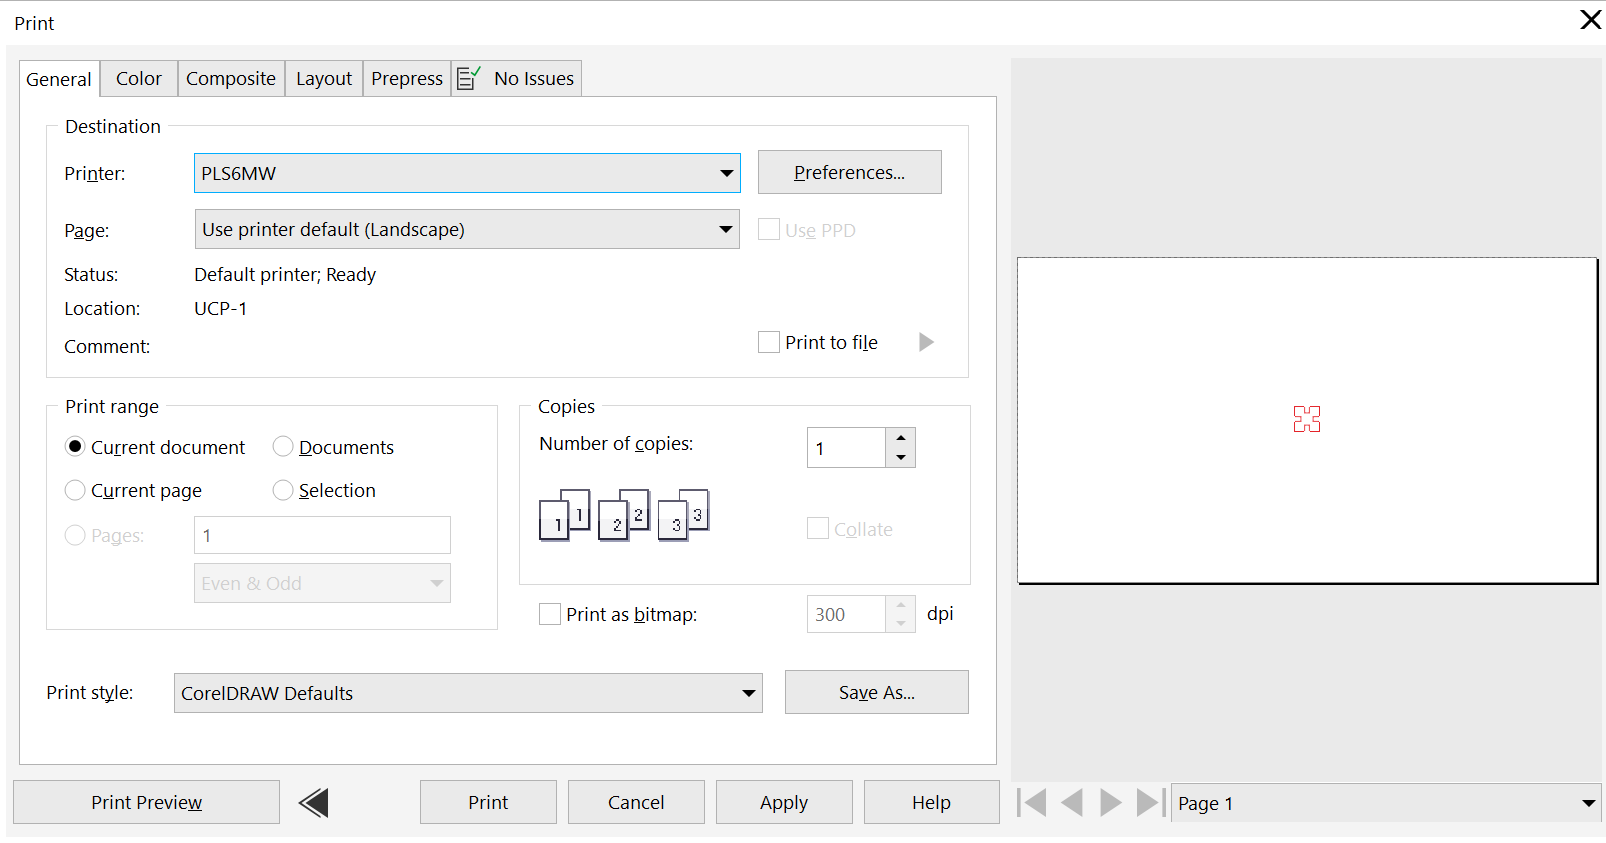
so once I was happy, I used the vinylcutter gs-24 camm1 to cut the logo, this is by clicking on file>> print, a new window will pop up,
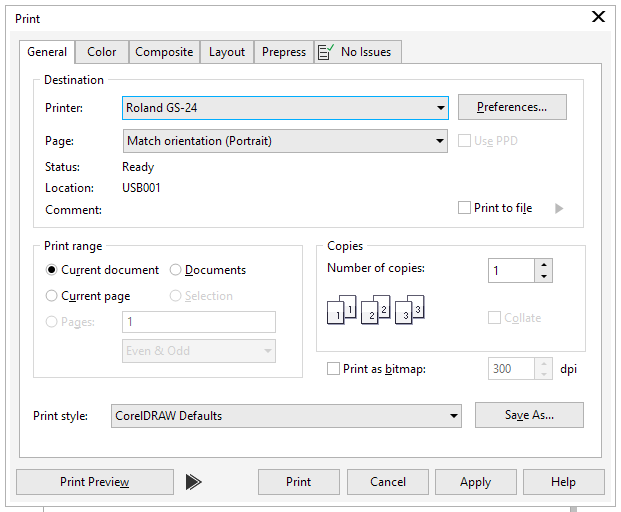
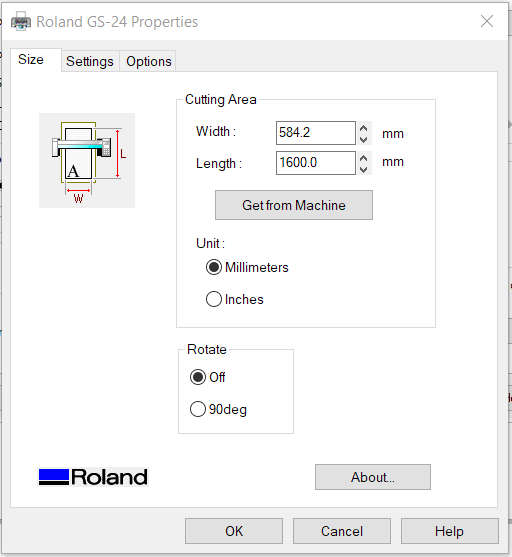
making sure to select the roland gs-24 as the printer, after that we have to enter the cutting size this is by clicking on the preferences tab, then ok,
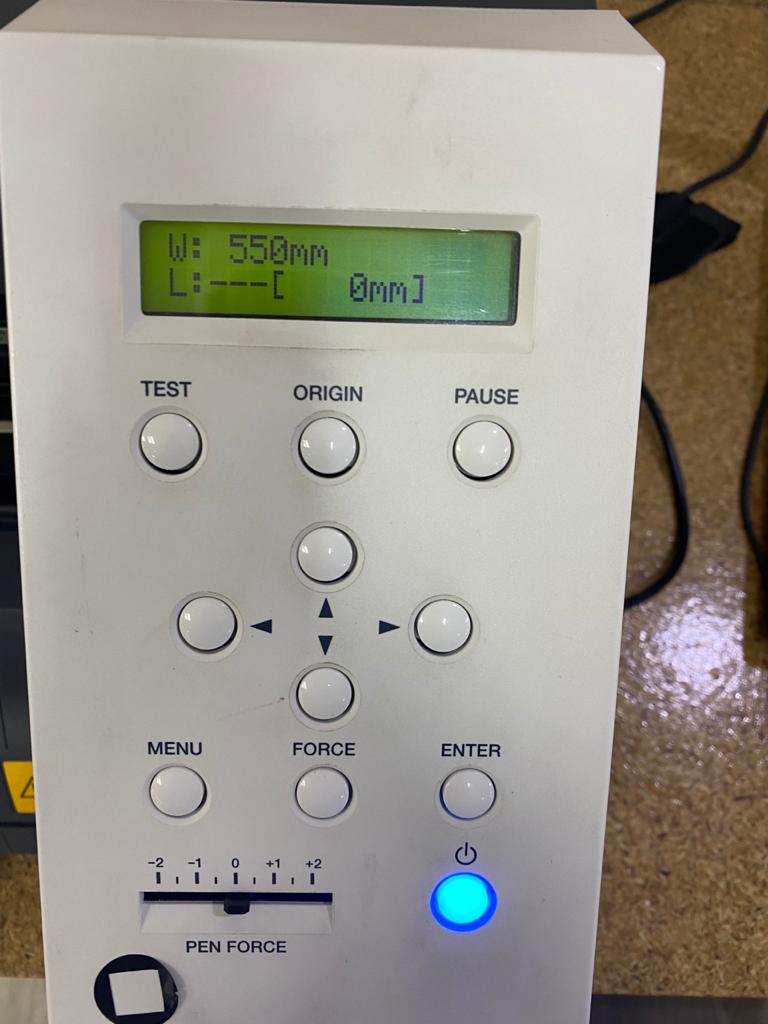
before start the cut I install the black color roll, then on the vg-24 select the roll as my sheet and I adjusted the force to be 60 gf, then I just started the cut
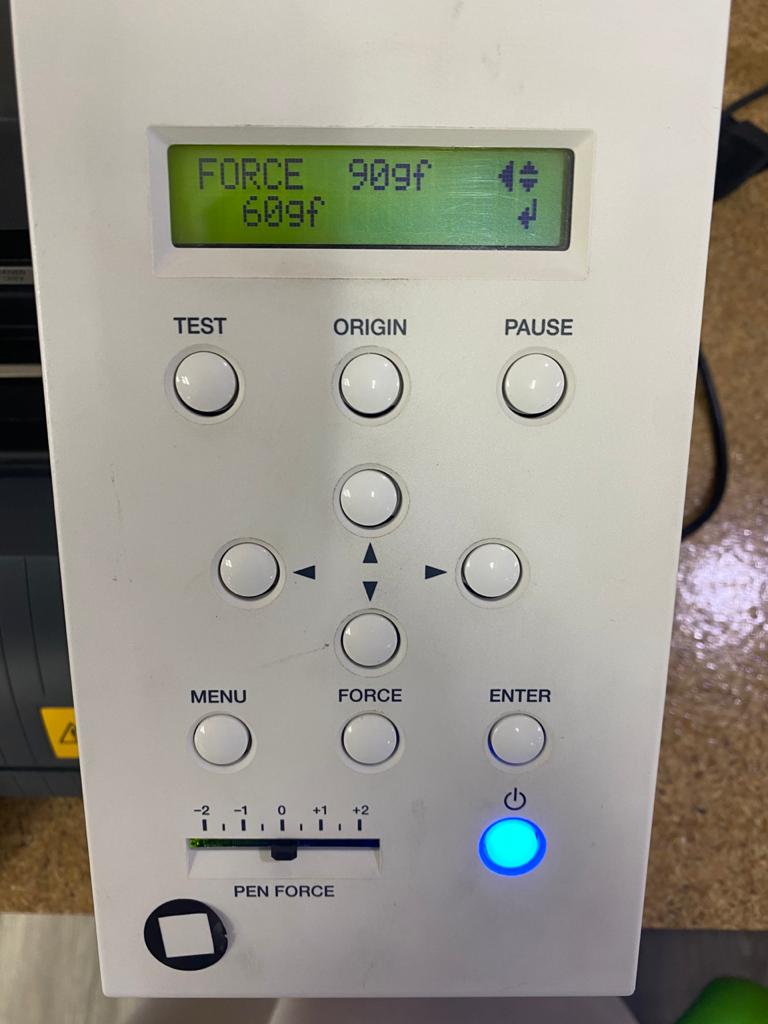
I faced a problem where it seem the blade of the vinyl cut went all the way cutting the sheet,
![]()
using a tweezer to remove the unwanted parts I left with the fablab logo,
![]()
![]()
![]()
Press-fit Construction kit
My idea was to design a Lego laser cut pieces that you can assemble them together in different ways,
to do so I used the fusing 360 software to design the parametric piece, and I ended with the following design,
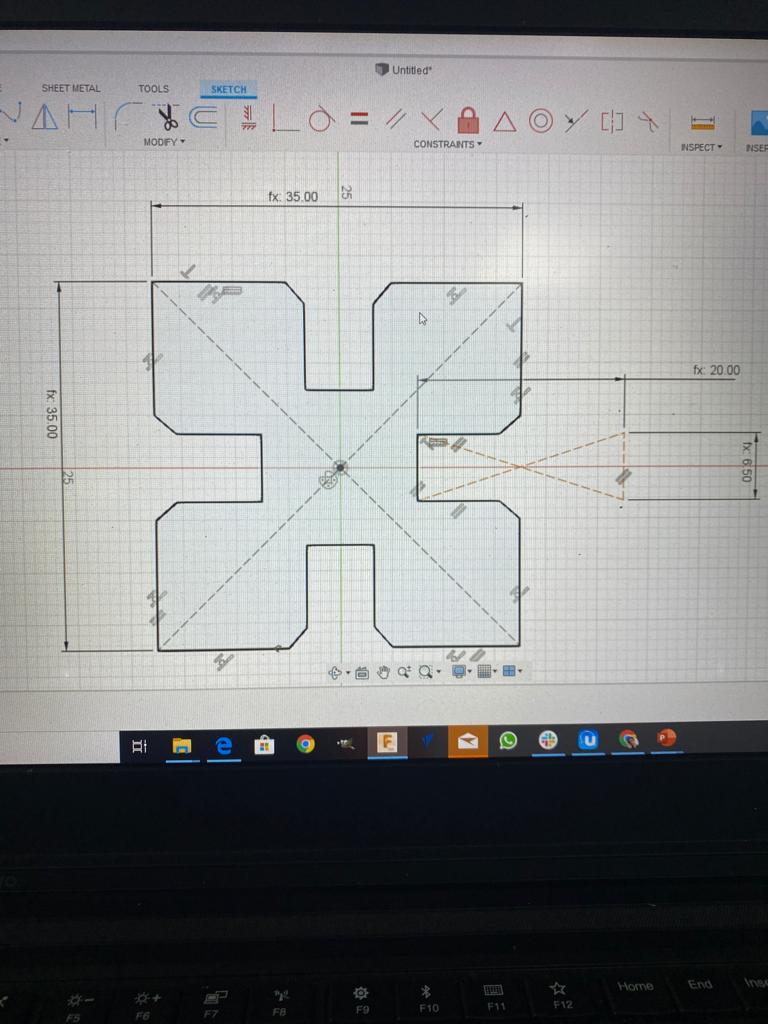 the piece was designed as a parametric design with the following parameters,
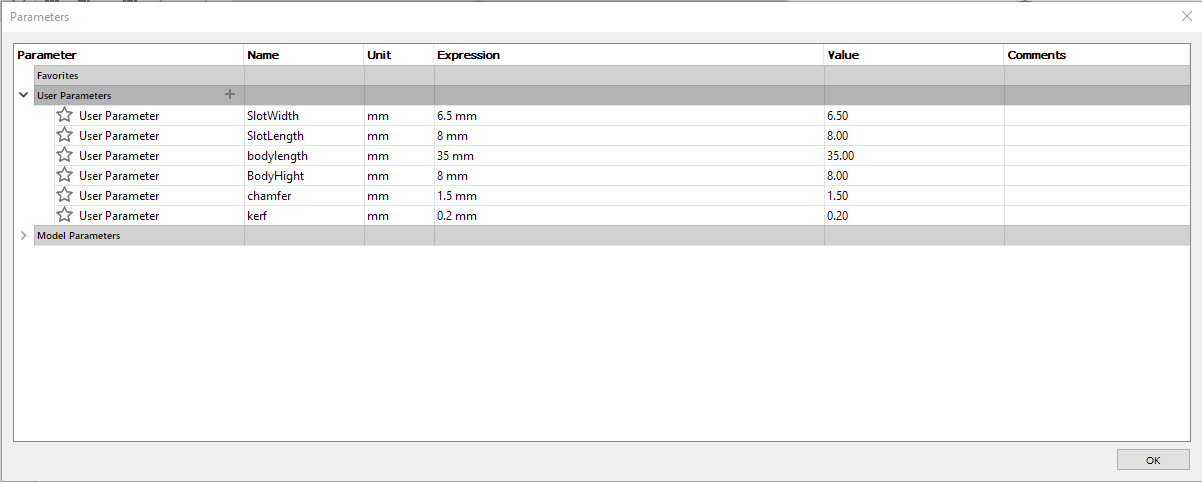
- SlotWidth: Indicates the width if the Slot.
- SlotLength: Indicates the length if the Slot.
- bodylength: Indicates the width and the length of the piece.
- BodyHight: Indicates the thickness of the piece.
- kerf: Indicates the width of a cut
- chamfer: Indicates the size of the chamfer on the corners.
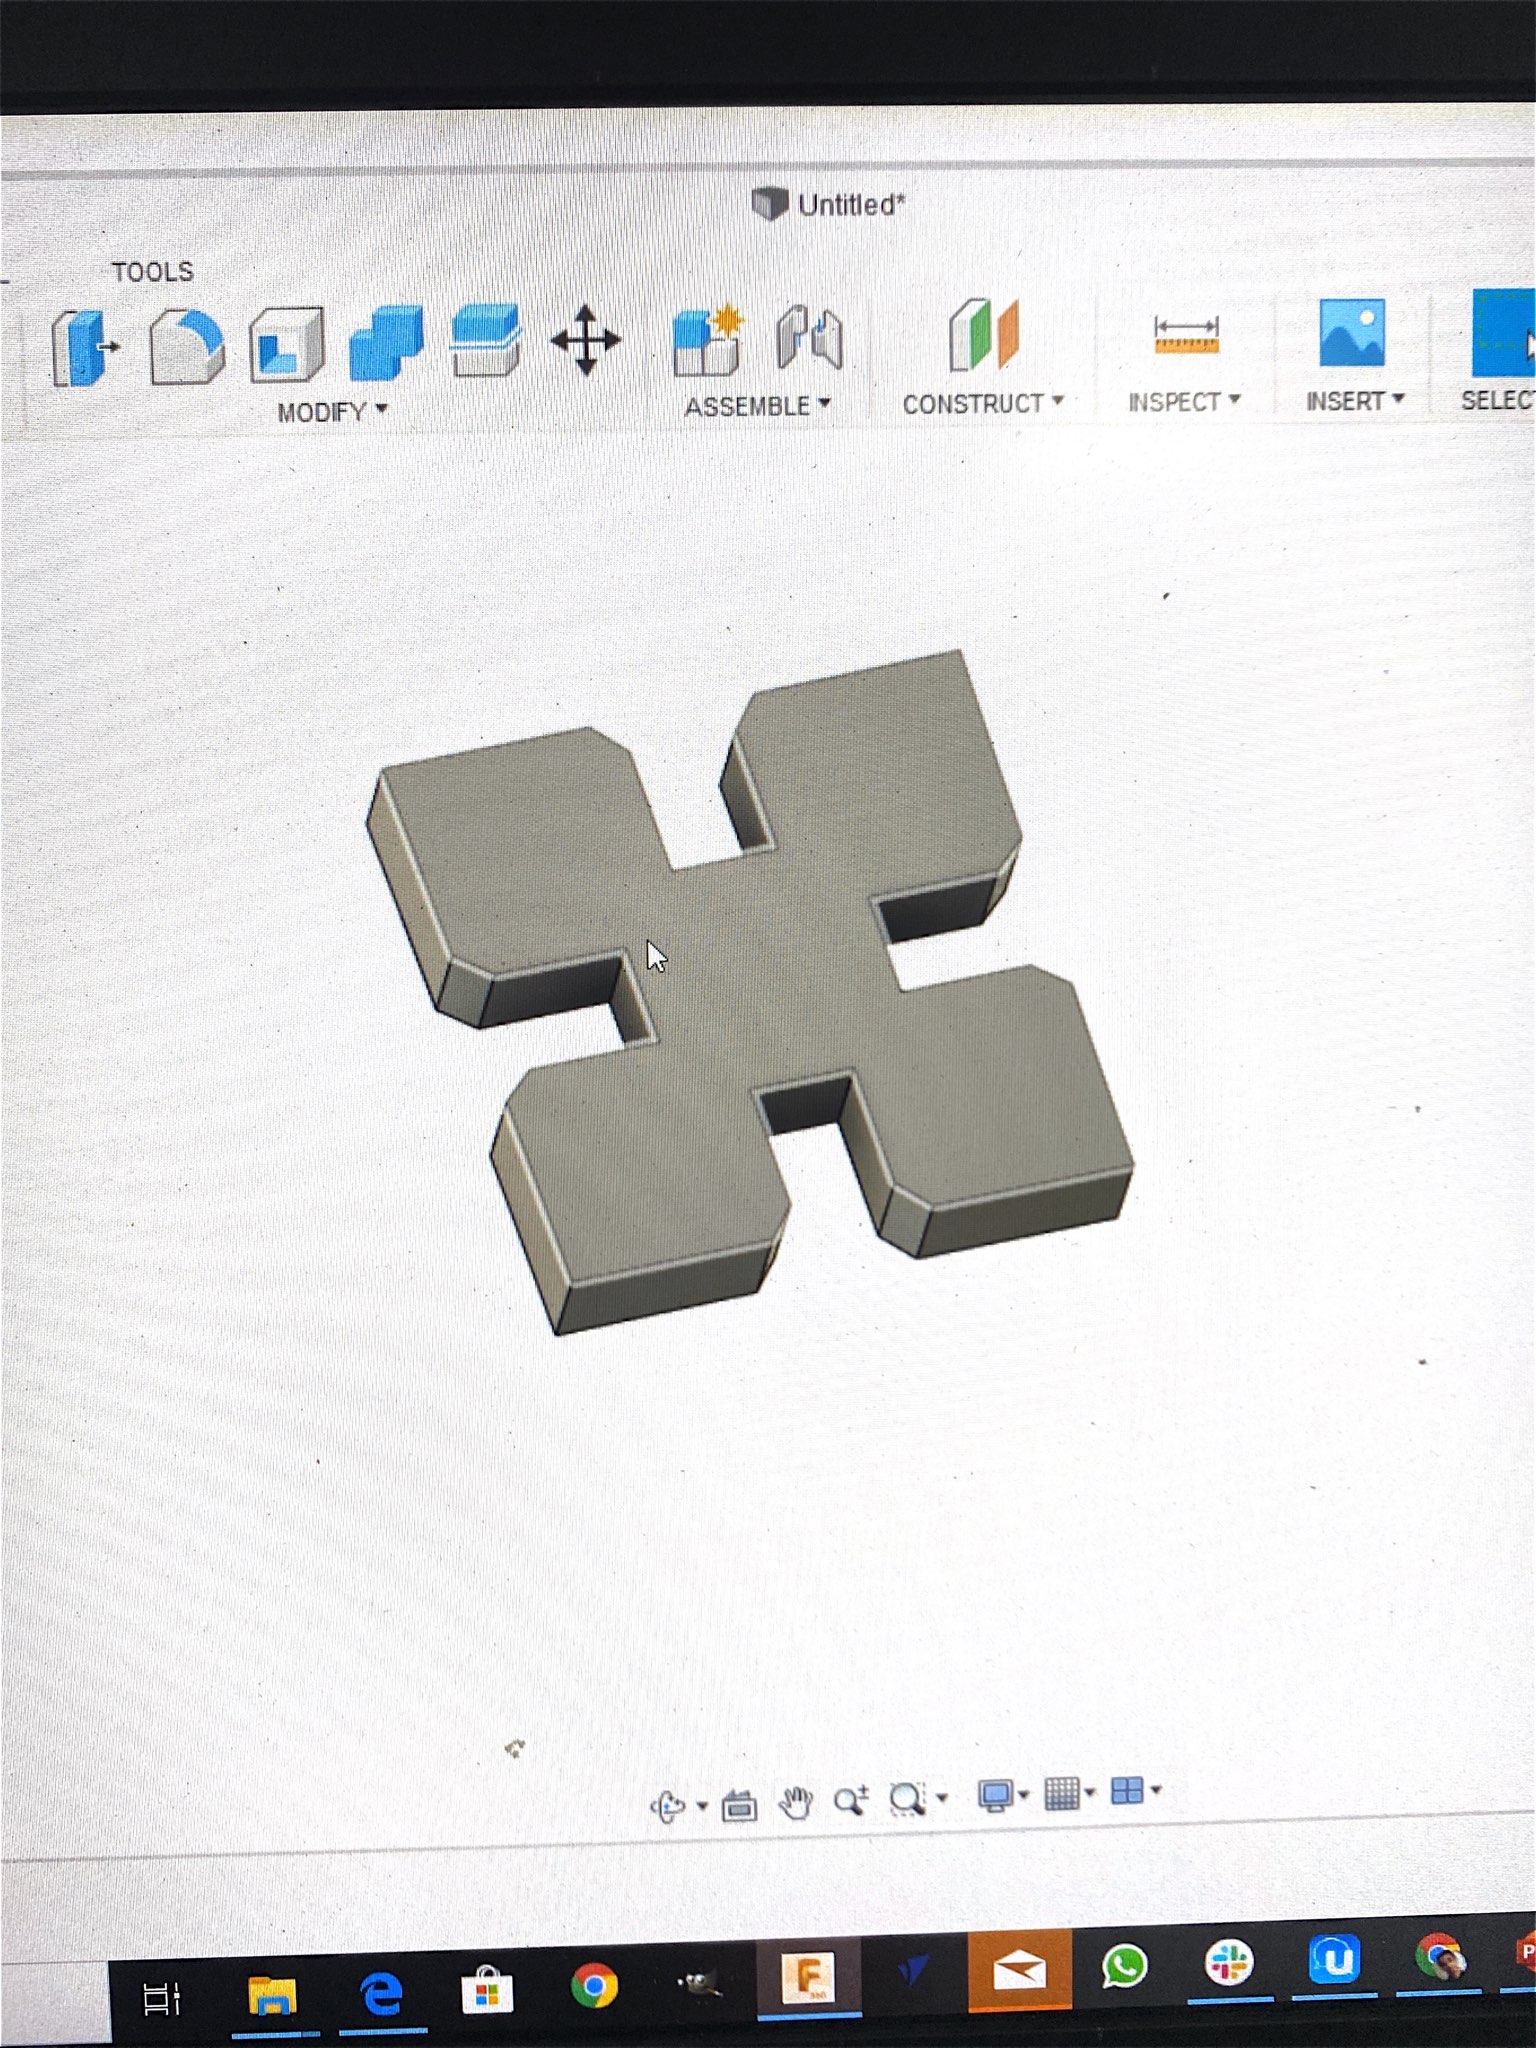
I extruded the 2d shape to have a realistic look of the design itself,
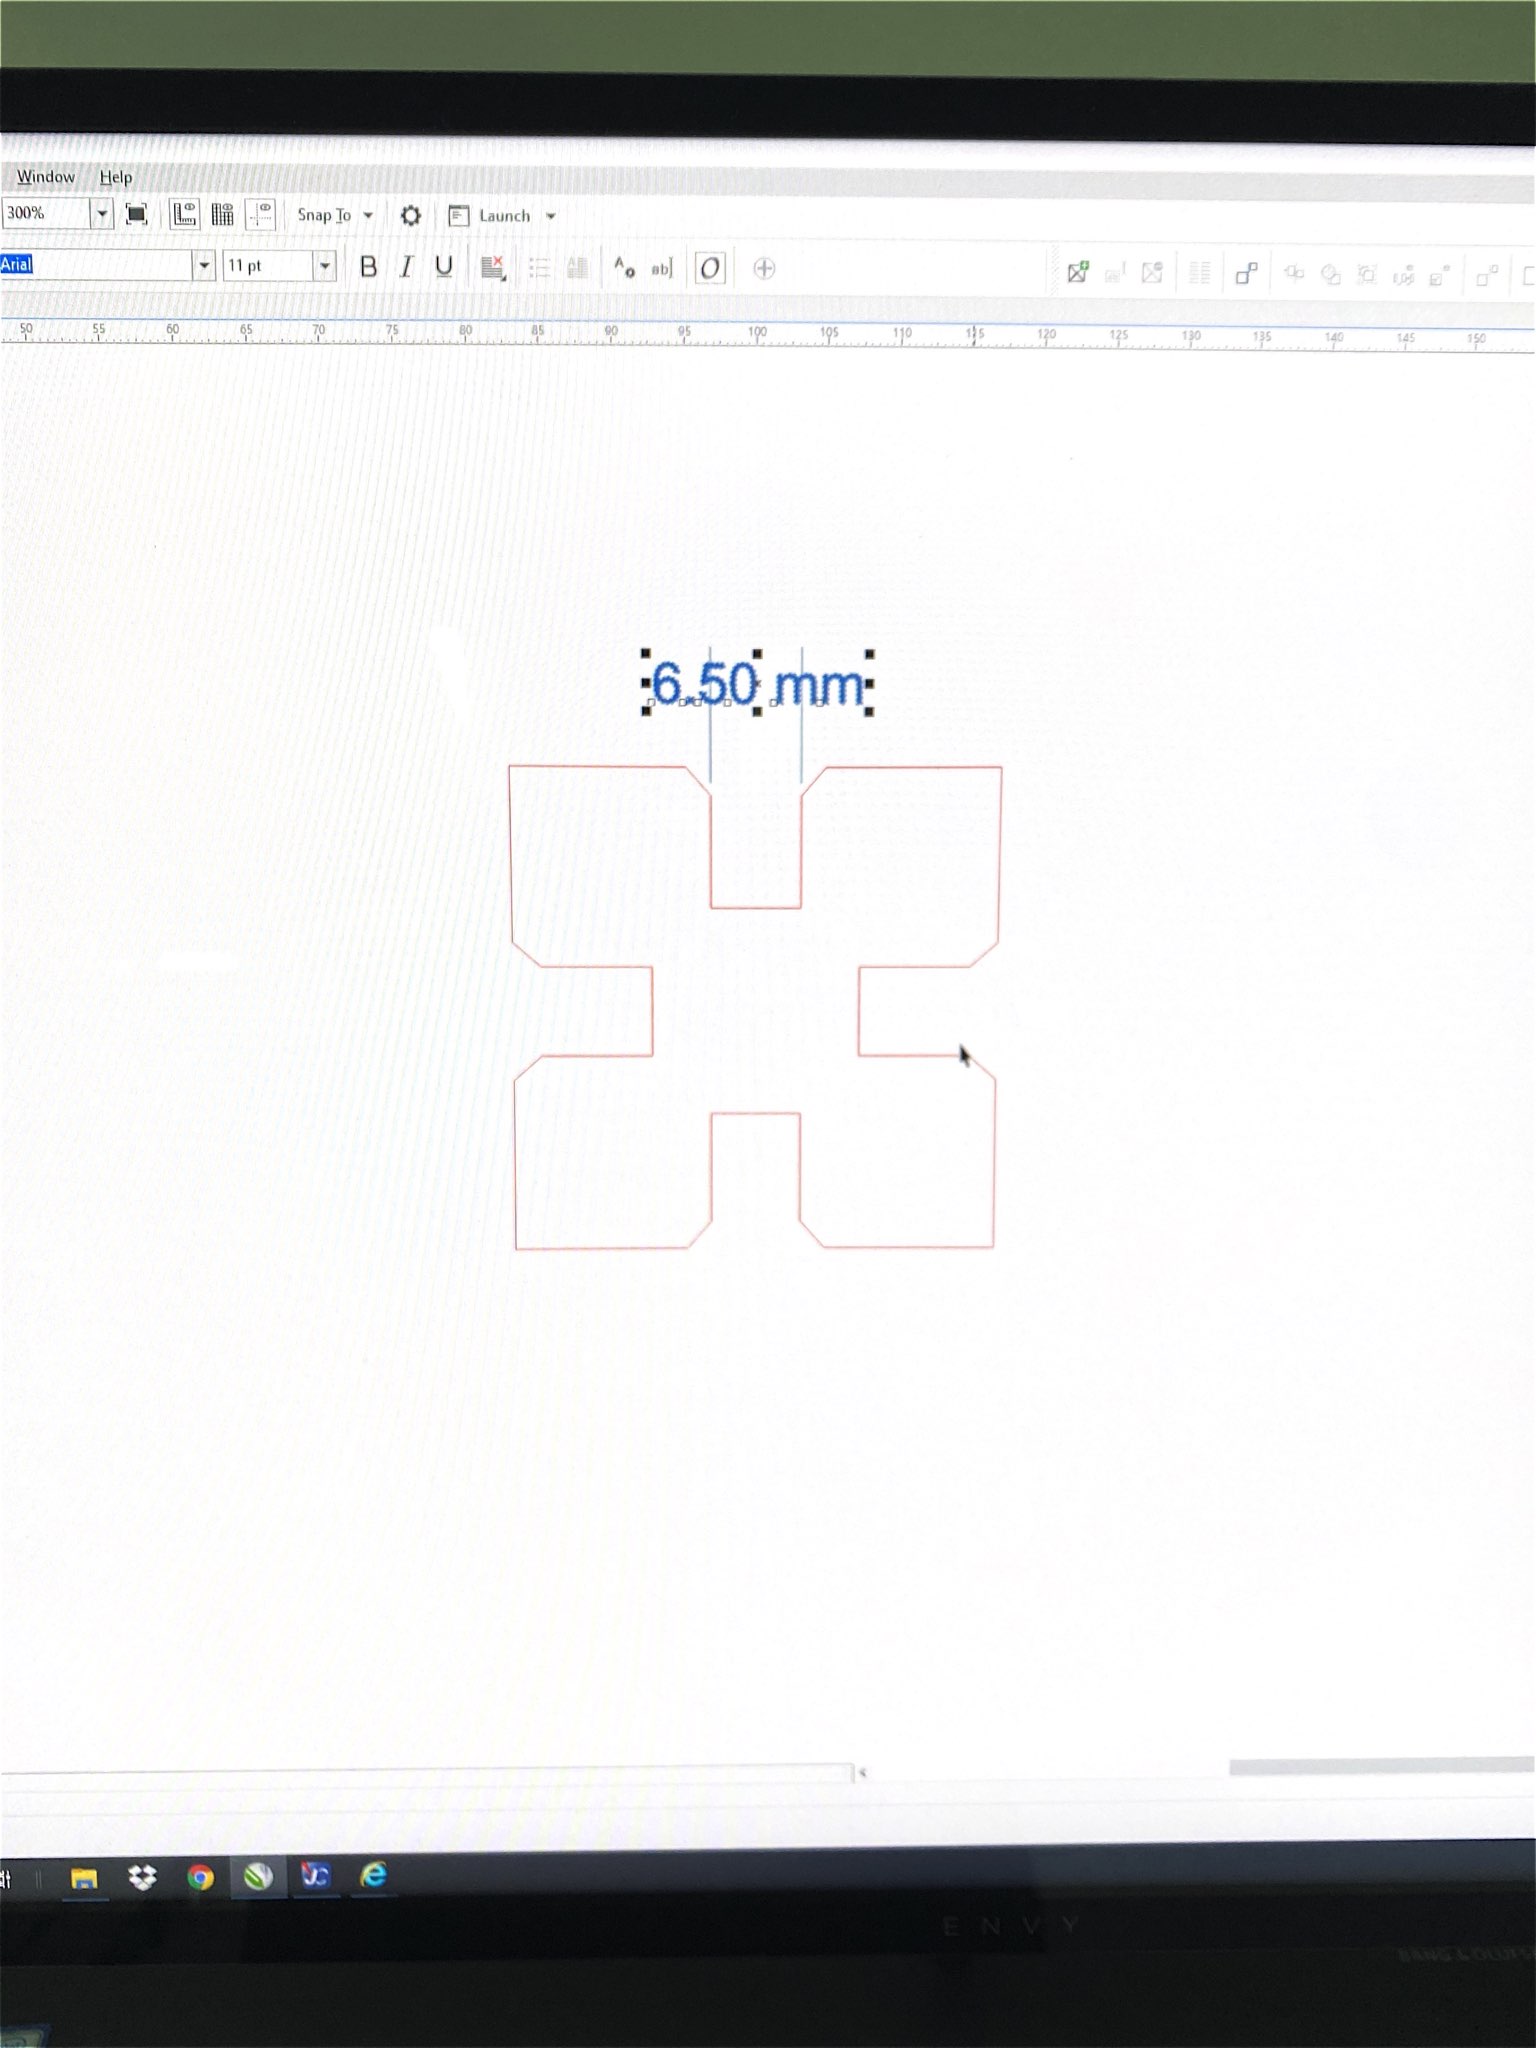
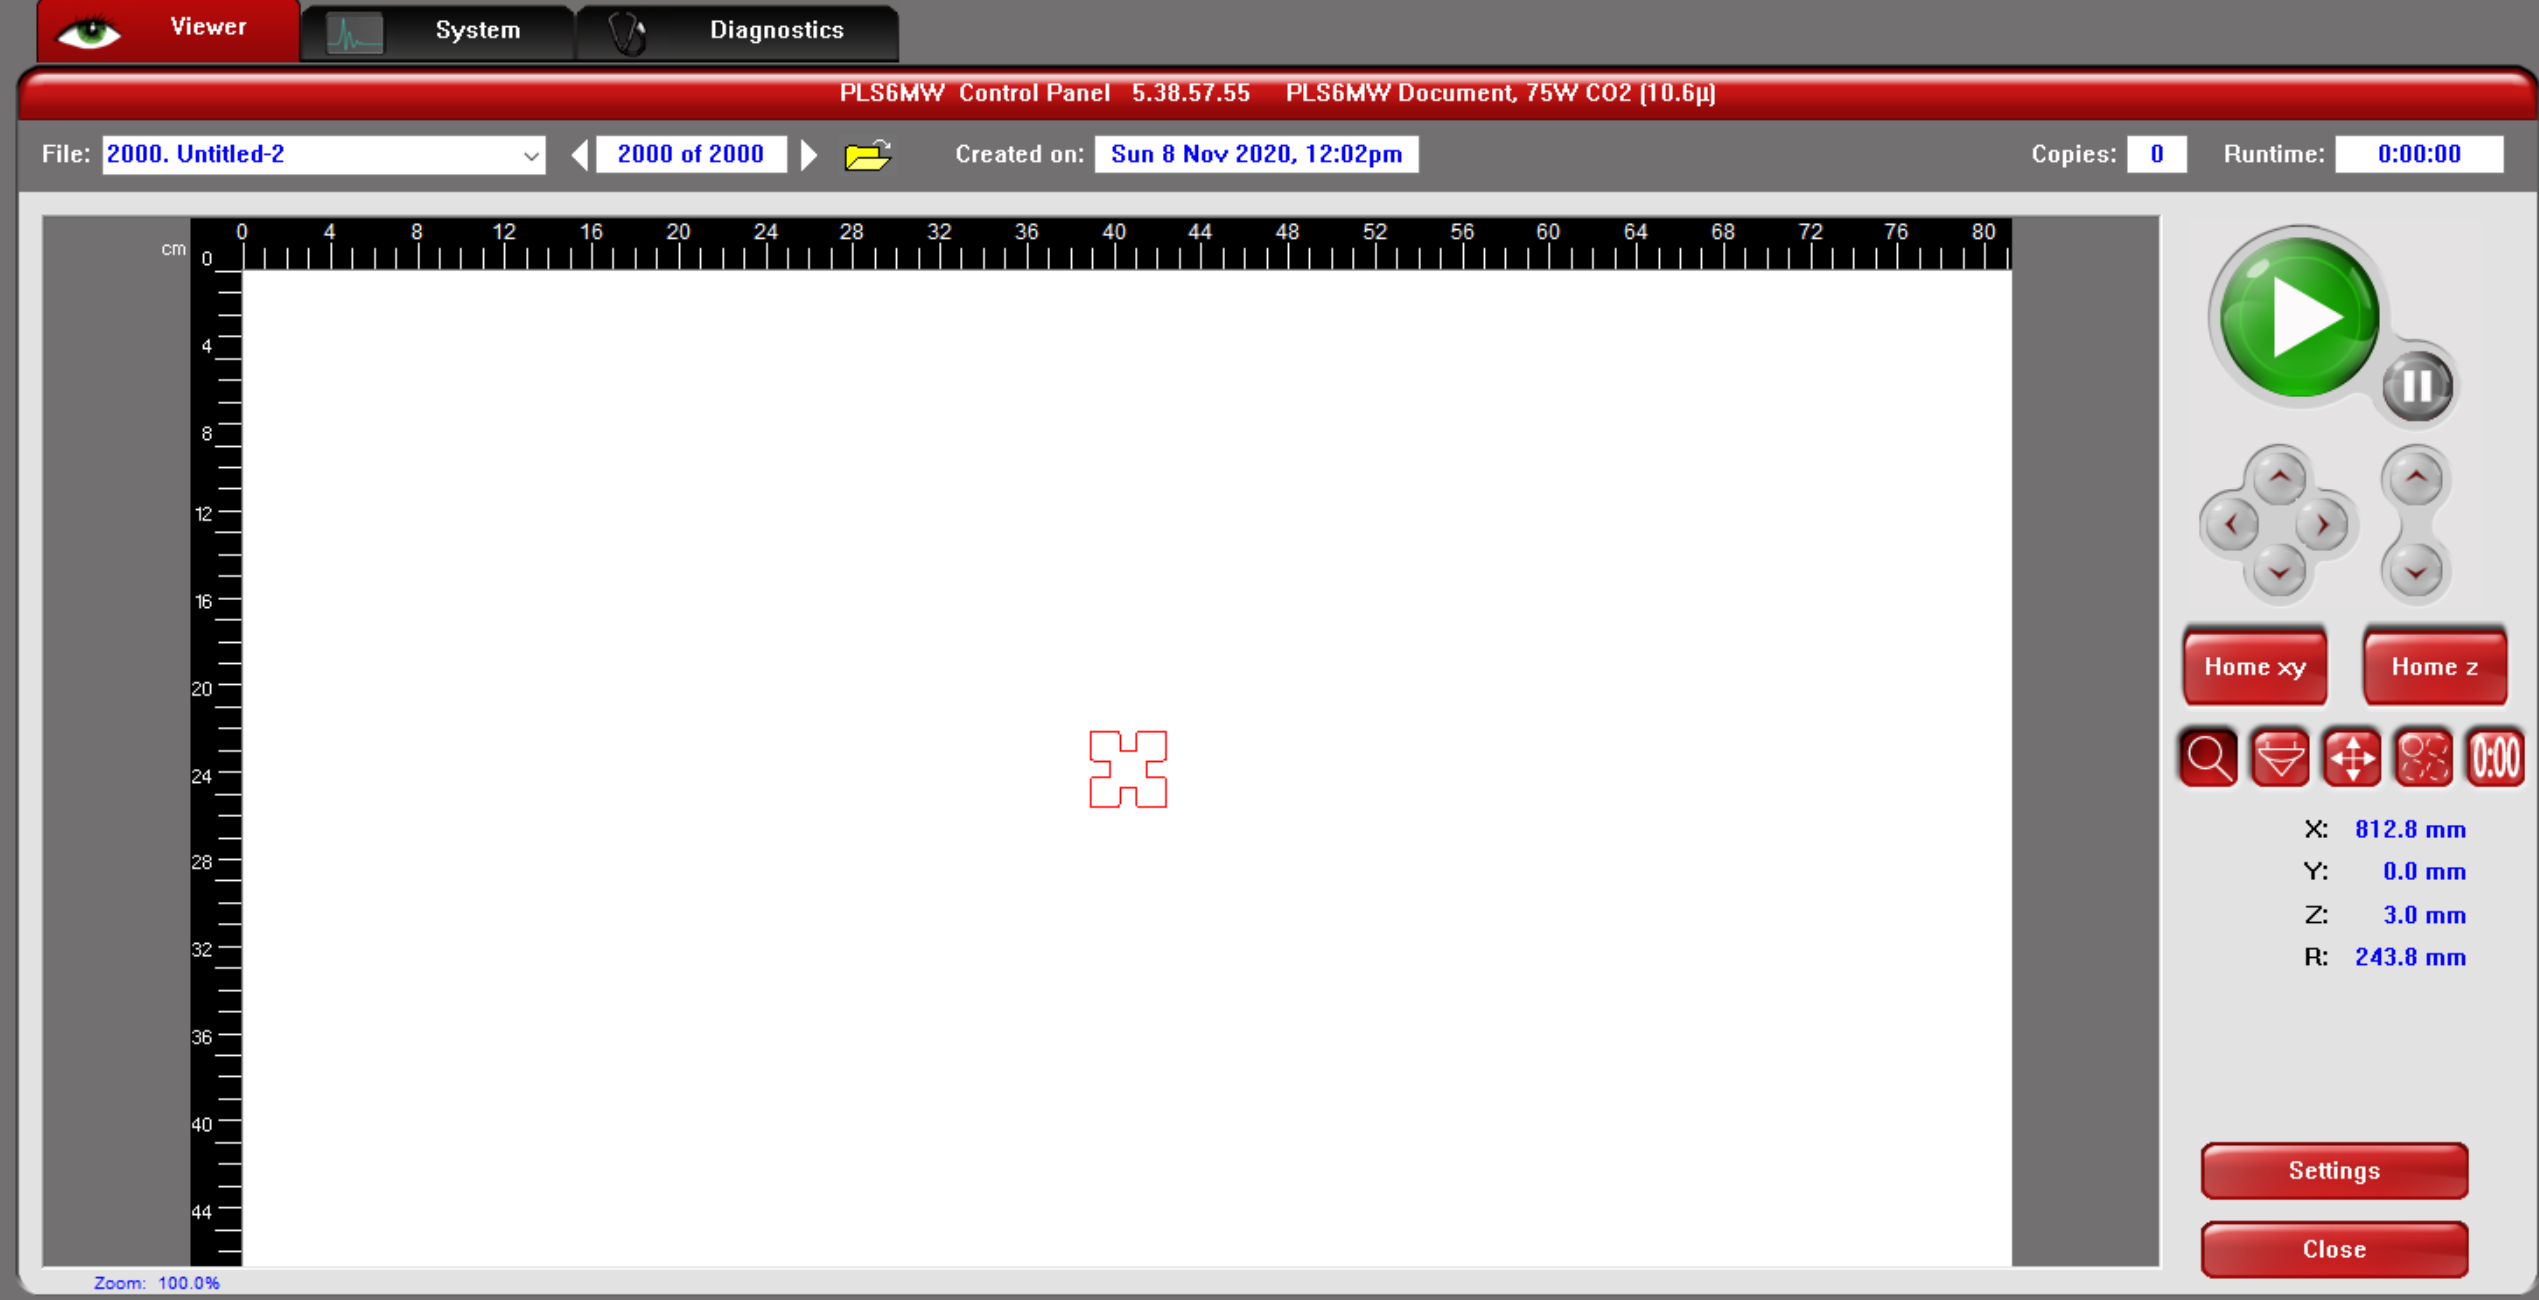
once I was happy with the shape I started to prepare the design with the universal laser cutter, to do that I just saved the 2d sketch of the piece then imported the file in coreldraw, then selecting the red color with hairline thickness for the outline,
then selecting the laser cutter PLSMW and then go the preferences to choose the cutting parameters
first I had to choose the material which was the cardboard, you can find it in the papers category
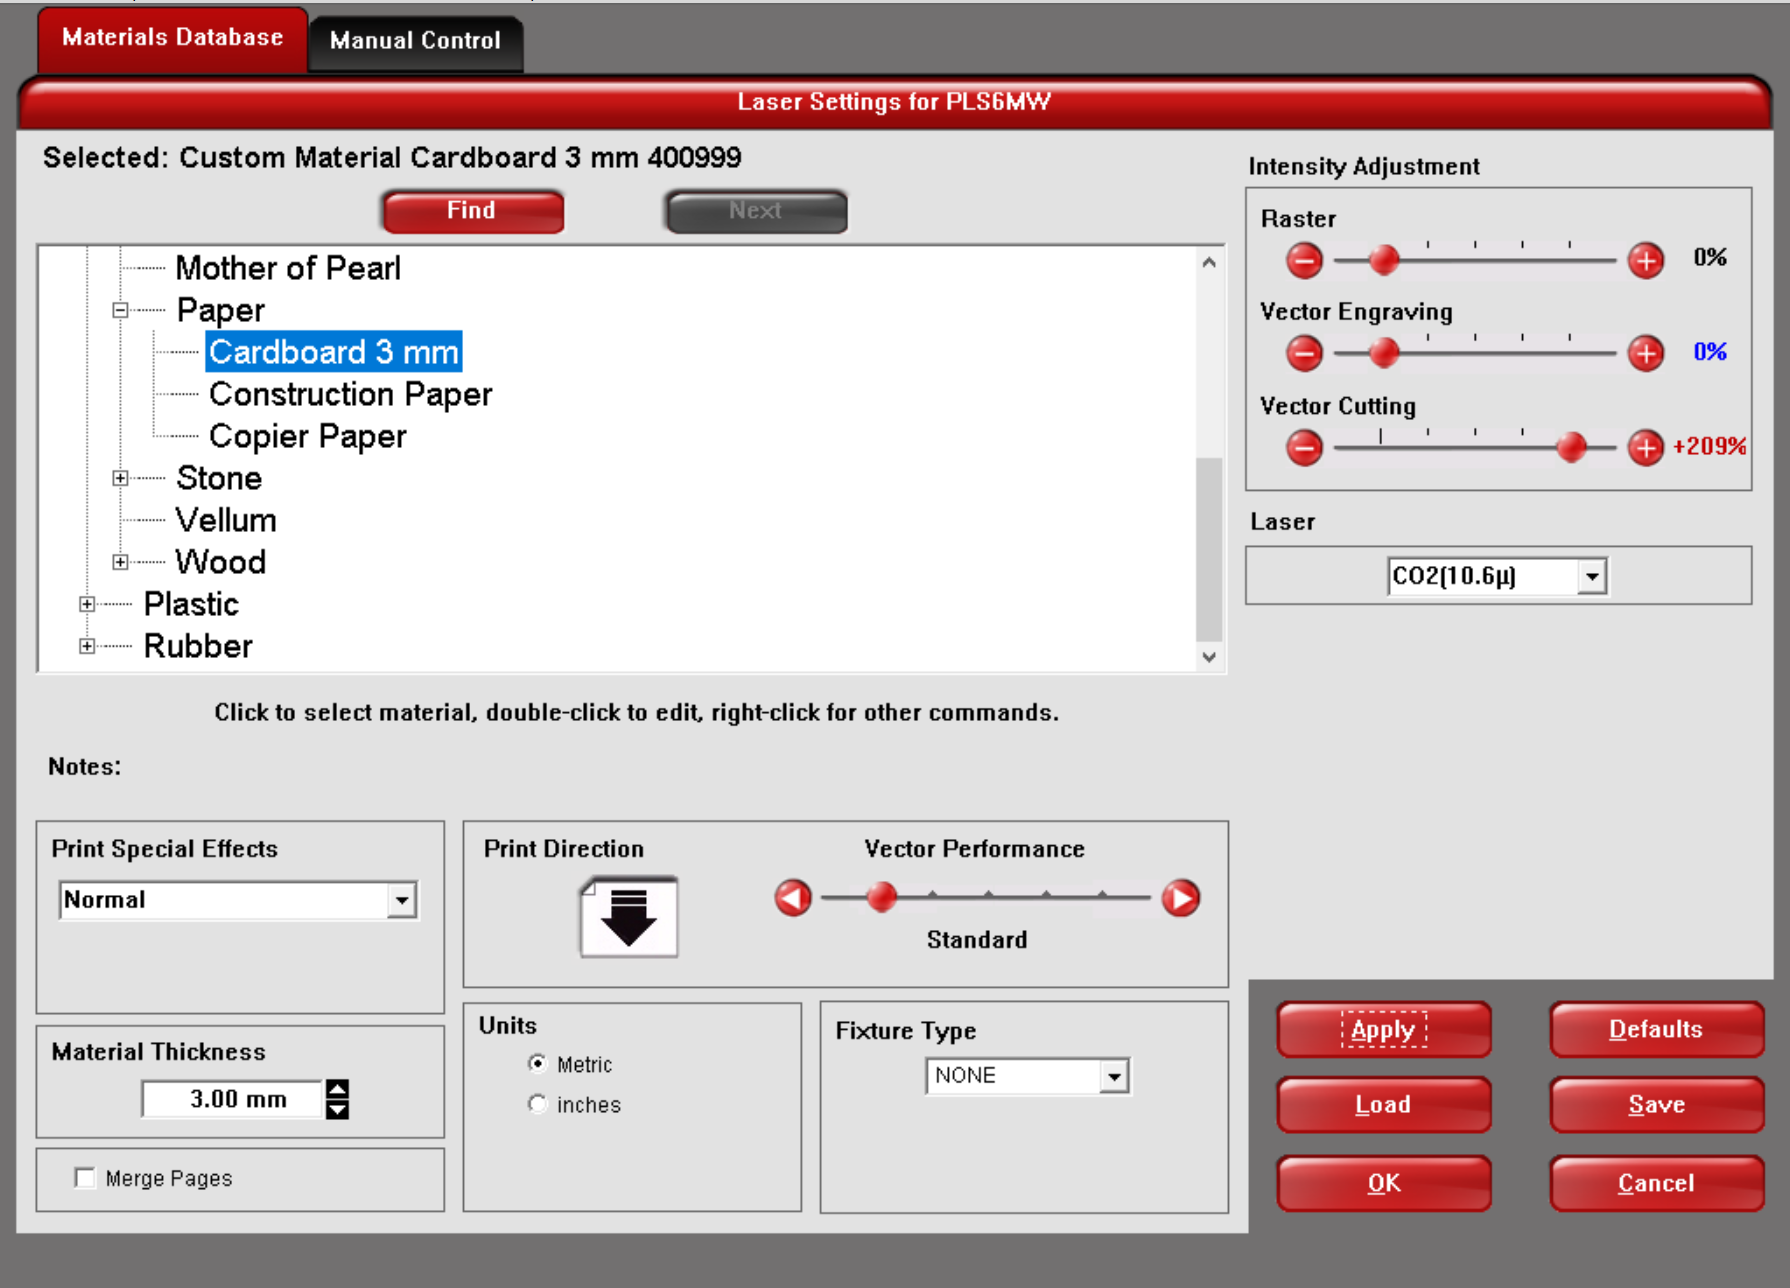
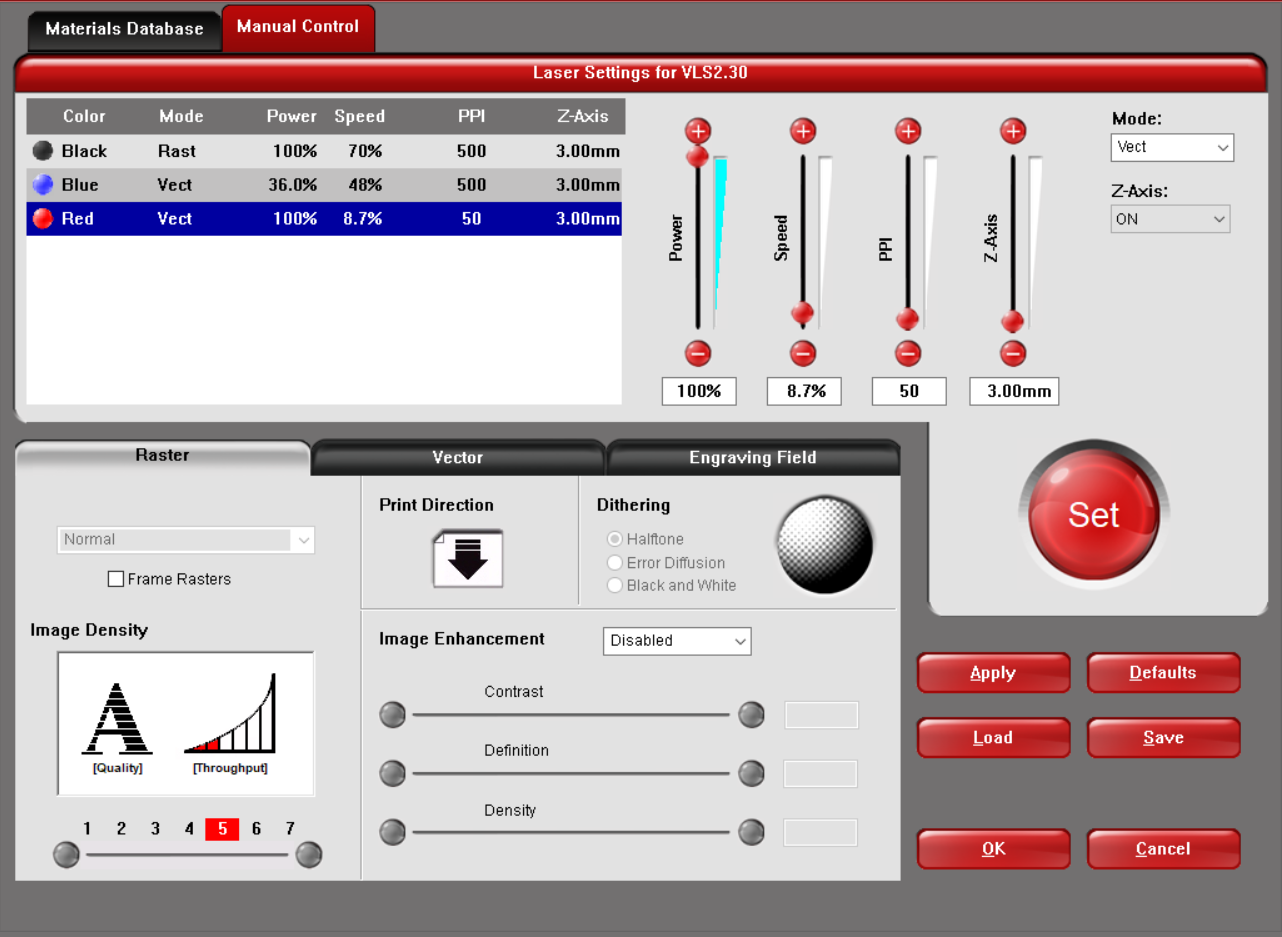
one of the important things also is to modify the material thickness as per the material you have, but in my case whenever I input 6.5mm which is the real material thickness I have it gives me an error , and here I decided to leave it 3mm in the settings, along with the power being 100% with a speed of 8.7% and a frequency of 500 ppi as this settings worked best with the thickness provided
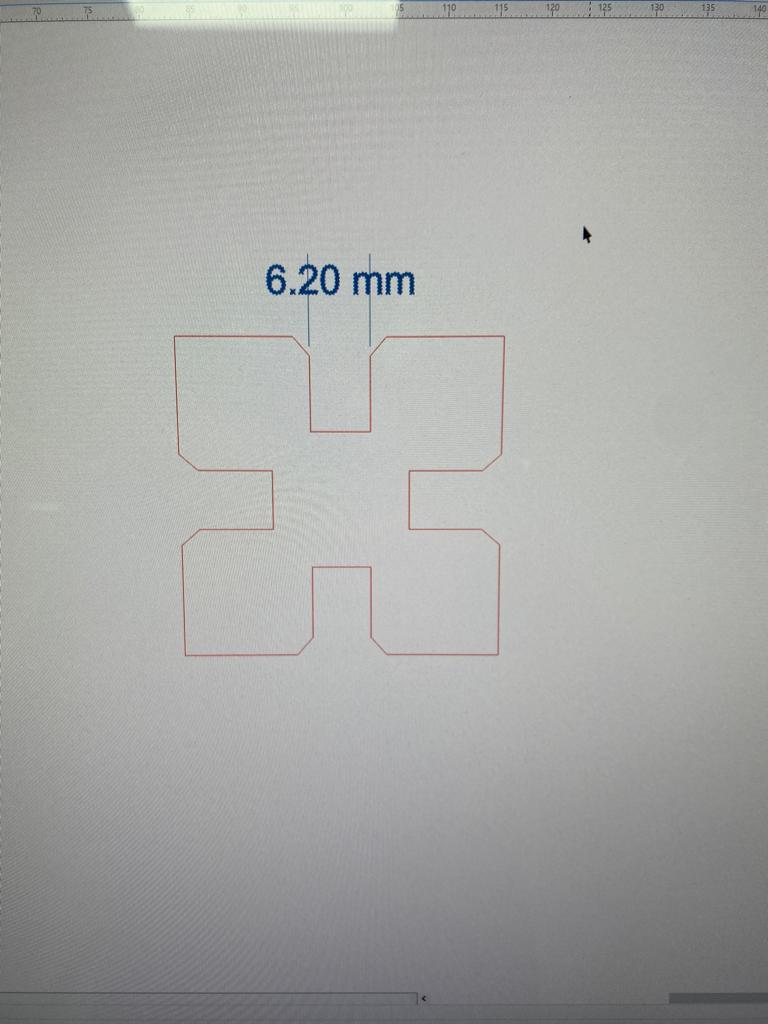
but then I found out that the piece don’t fit together firmly which made me reduce the size of the SlotWidth parameter from 6.50mm to 6.20 mm
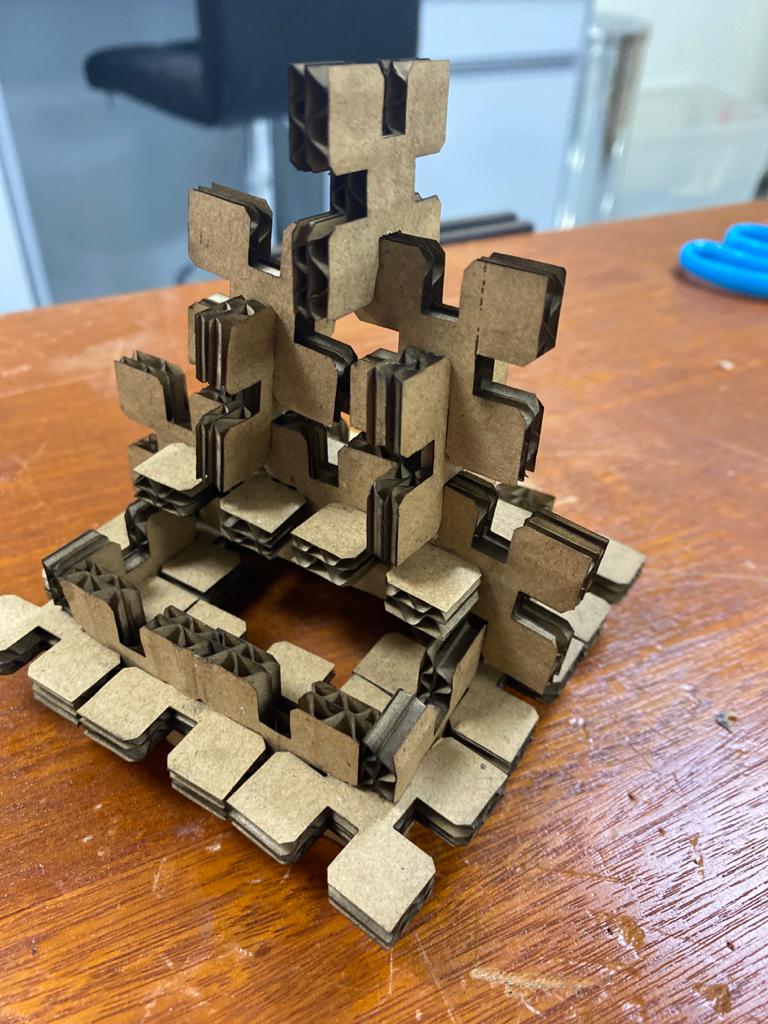
once I was satisfied with the strength of pieces joints I started assembling the pieces together with a pyramidic shape
The group assignment
For the group tasks, we were assigned different materials with different settings cut .
Download Files