2. Project management
This is actually my first time making a webpage, it was not easy one where I have to document all the steps I have to go through. but with the help with Our main instructor Hashim Alsakkaf , without any hesitation he would offer to give us a hand to solve any problem we might face.
Start with GIT
We were introduced to the version control system, So with the help Hashim Alsakkaf in the prefabacademy he introduced us to GitLab
so we started by creating a new account in GitLab.
Configuring Git
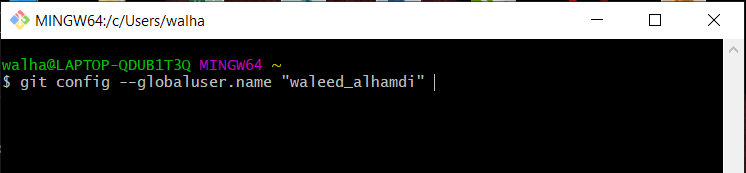
We started by launching the git bash terminal and to configure git by the following steps:
-
Entering Gitlab username!
-
Enter your Gitlab Email!

Generating the “ssh” key
To do so, all you have to is to generate the SSH key you can follow the Link afterwards I copied the generated key my account in GitLab
Creating a Website
I used the open source template for prefabacademy thanks to Bootstrap portfolio theme for freelancers,
to edit the template to match what I want, learning (HTML) language is a must! where it was used to edit my own page though Brackets software text editor where all my pre & fabacademy assignment will be documented,

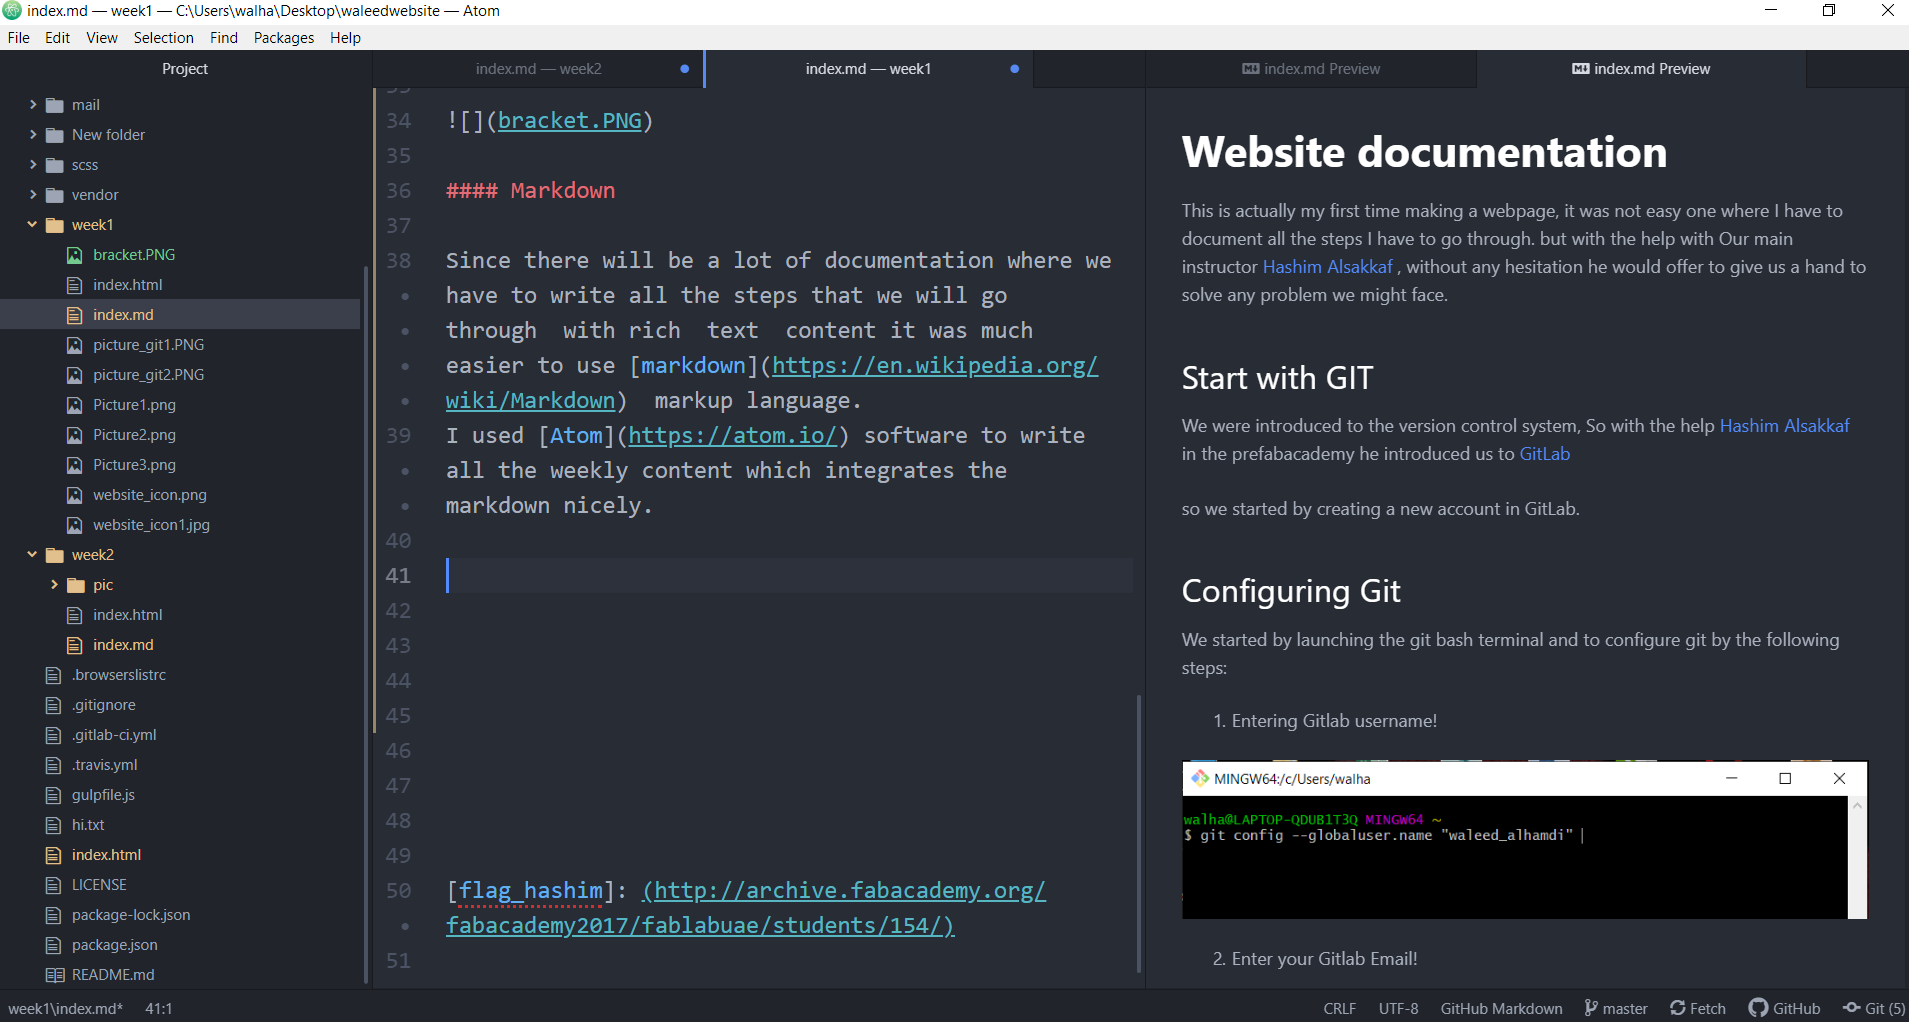
Markdown
Since there will be a lot of documentation where we have to write all the steps that we will go through with rich text content it was much easier to use markdown markup language. I used Atom software to write all the weekly content which integrates the markdown nicely.
but first I needed to learn the basics of the Markdown language, to start with markdown I referred to the following: start with Markdown
The following are some markdown syntax mainly used in my documentation:
-
For headings the hashtag (#) sign is used and the number of sign determines the level of the headings, for example to create a heading of level twov(## my heading)
-
To bold text, I needed to add the two Asterisk before and after the phrase for example (bold text).
-
To italicize text, I needed to add underscore before and after the phrase for example (Italic text).
Converting Mardown to HTML
And since I’m documenting in markdown I needed to convert to HTML Language, so that I can link it to my main page, to do so I had to save the file in md format then I used the command line Pandoc which made it easy to convert the the md file to HTML, all what i have to do is to write the following command in the git bash terminal where the md file located
pandoc index.md -f markdown -t html -s -o index.html
Pushing the documentation in the archive
once I wrote down my documentation I needed at the end of the day to push to my gitlab account this is done by opening the terminal, then writing the following commands:
git add . is used to add files to the staging area,
git commit- m “week” to commit files to the local repository,
git push is used to transfer or push the commit to the gitlab repository.
Start with Css
I was not happy with the appearance of my weekly assignment, this why I needed to use the CSS template to style my documentation, so I used mycss.css styling which made my documentation more easy to read, at this stage my workflow is:
pandoc index.md -f markdown -t html -c mycss.css -s -o index.html
git add .
git commit -m “message”
git push
The final website
I changed my template with the one ready-to-use that is provided by the fabacademy,
also I installed MkDocs which is a fast and simple way toTo be able to edit and preview such template , to install it I followed the following steps:
-
Installing python
-
Installing Python package manager pip, to do so I have Run the following command:
sudo easy_install pip
- Installing MkDocs, to do sI have to run the following command:
sudo easy_install mkdocs
-
Check the version, Run: python –version
-
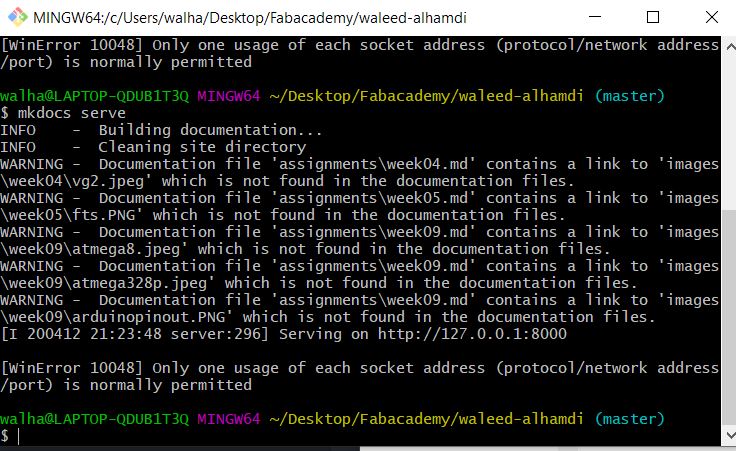
finally, to be to instantly preview your page is to run the following command:
mkdocs serve