3. Computer Aided design
The main objective of this week is to model anything that I can Imagine using both 2d and 3d design techniques, So during this week I will take you through the journey of how I modelled my 3d design Using both Fusion 360 and blender, also 2d design using CorelDraw.
3d design
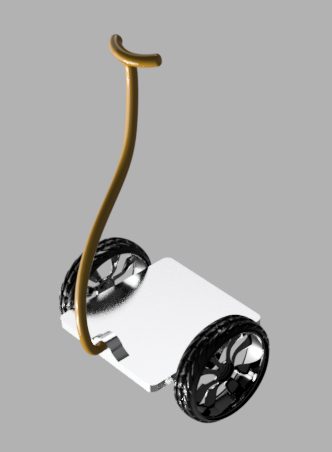
Using Fusion 360 I tried to model my project which is the balancing wheel, to do so I used different tools, starting with drawing the base from an extruded 2d square shape,

then adding the tires which was borrowed from the free3d website where you can find free 3d models so that you can use in your design
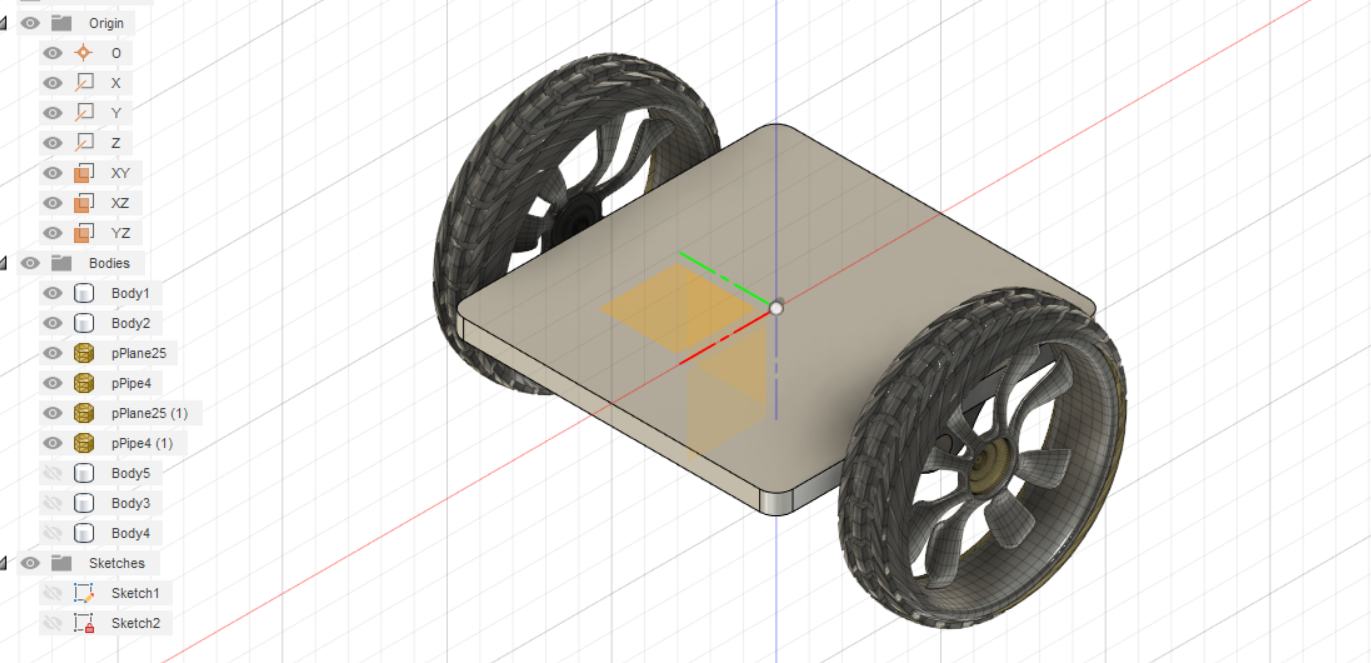
by using the sweep tool I modelled the handle of the scooter
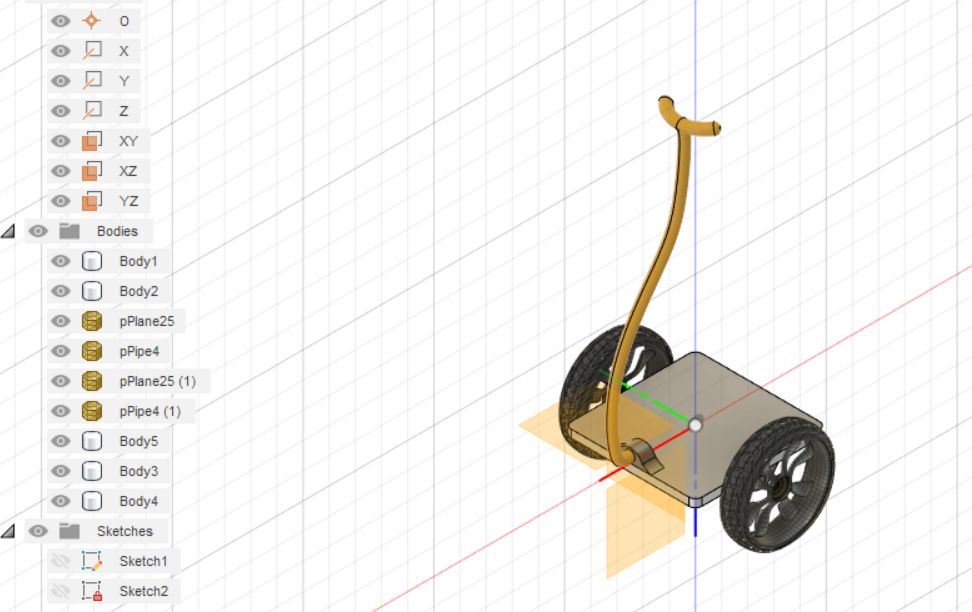
once I was happy with my initial design I rederred the model to have more realistic look
BLENDER 3D DESIG’N
I was looking for a software which provide animation tool, so with little research I found Blender which is the free and open source 3D creation suite. It supports the entirety of the 3D pipeline—modeling, rigging, animation, simulation, rendering, compositing and motion tracking, video editing and 2D animation pipeline.
Installing Blender
So, I started by downloading the software from the Link, then clicking on the download button as is shows in the picture below

Then just accepting the terms of the agreement and you are done!
Start with blender
Due to the fact that I don’t have any background of how to use the software I started by watching different tutorial to get familiar with the tools provided by the software itself, so I ended up by applying the following Super Satisfying 3D Animations Tutorial
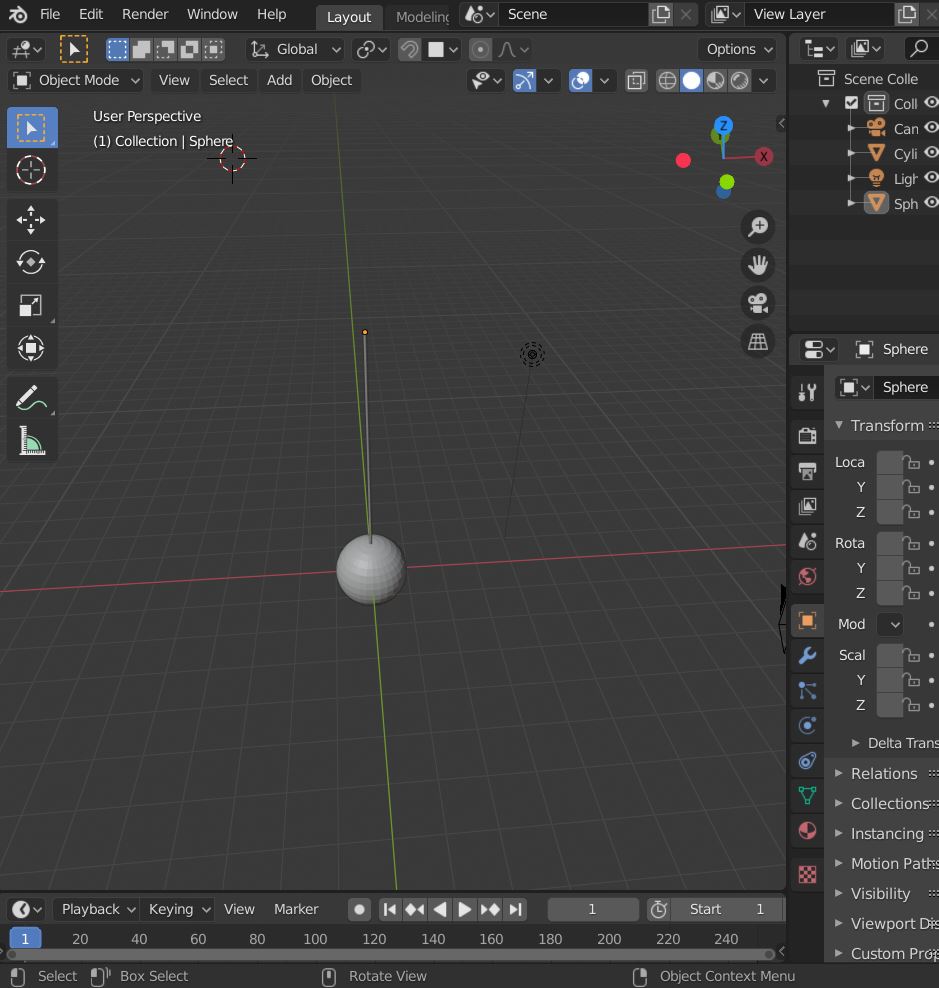
Firstly, I have to add the sphere and the cylinder 3d shapes this is done buy pressing the shortcut on the keyboard the (SHift + A) then from the mesh list I selected the cube and for the sphere I repeated the same process…
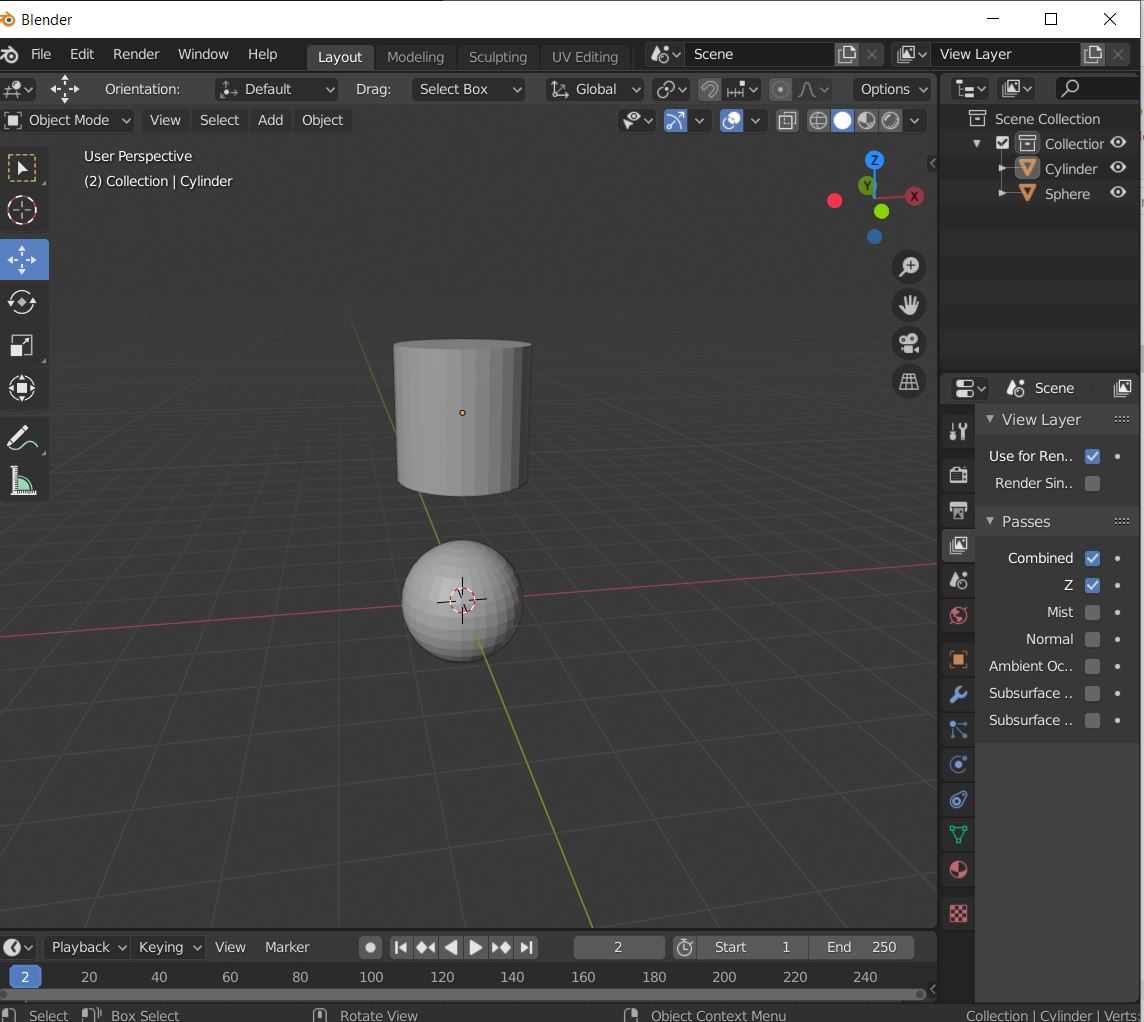
then resizing the size of the cylinder by pressing (Shift + S) and grab it to join the sphere....
So once I was done with the sphere and the rod, now I wanted to create the circular tube so the ball will swing through it, to do so I have to follow the following steps:
1- Creating a circle with 3mm offset from the ball,
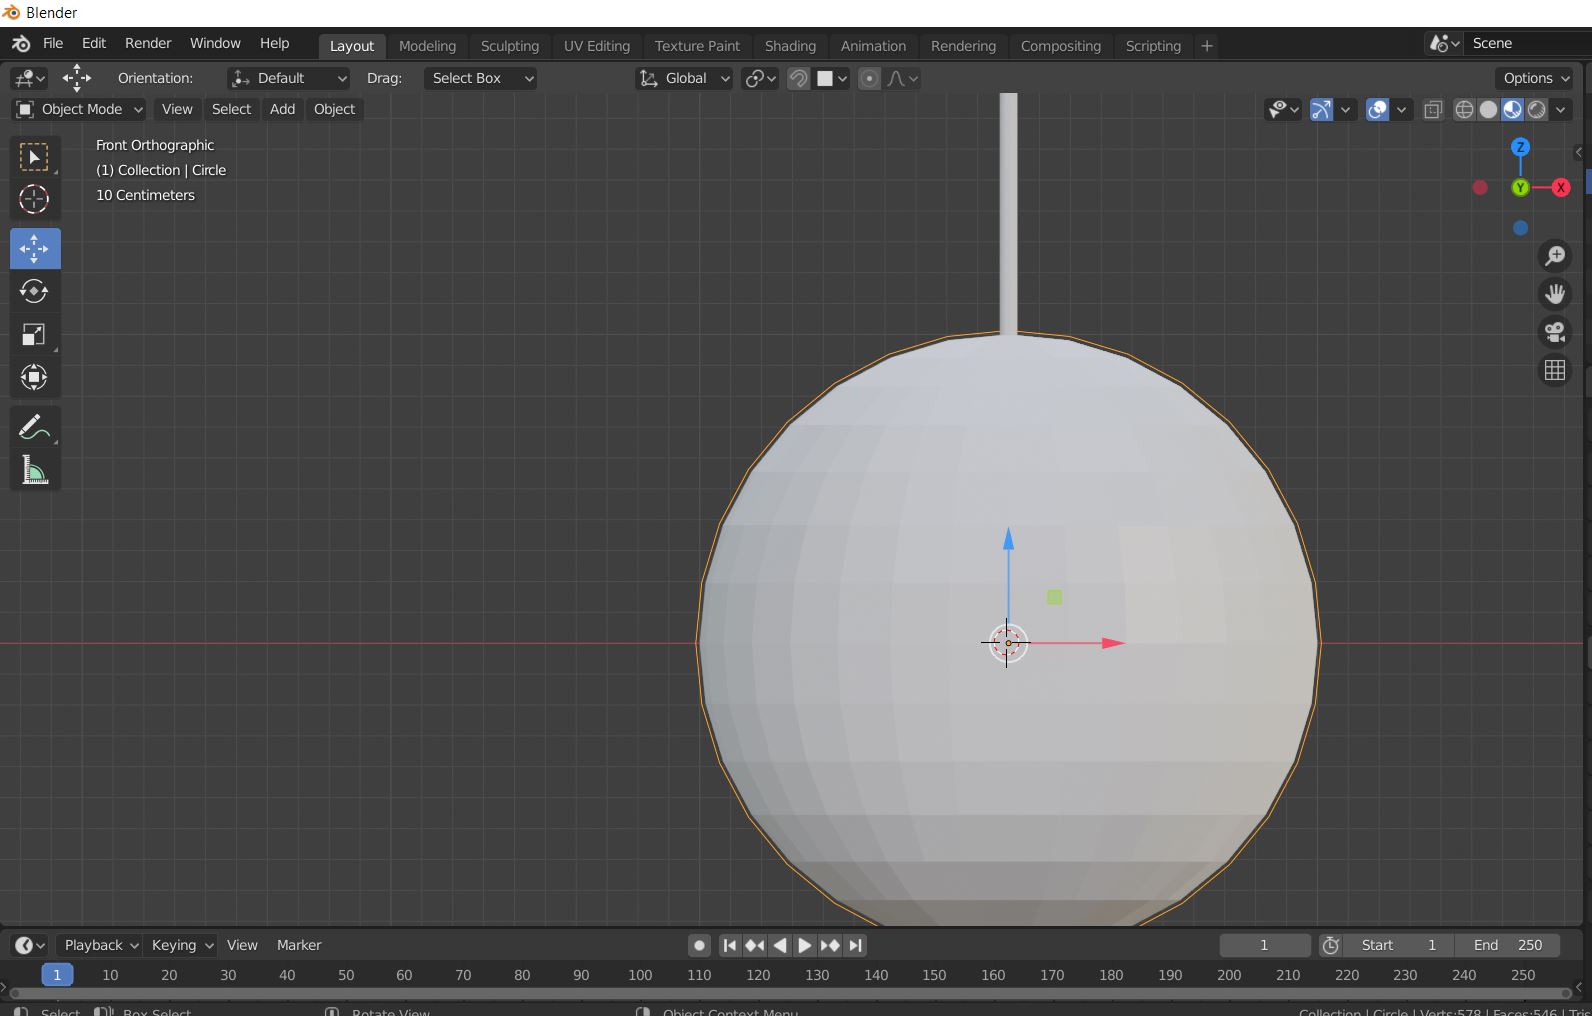
2- Extruding the circle from by 6mm ,
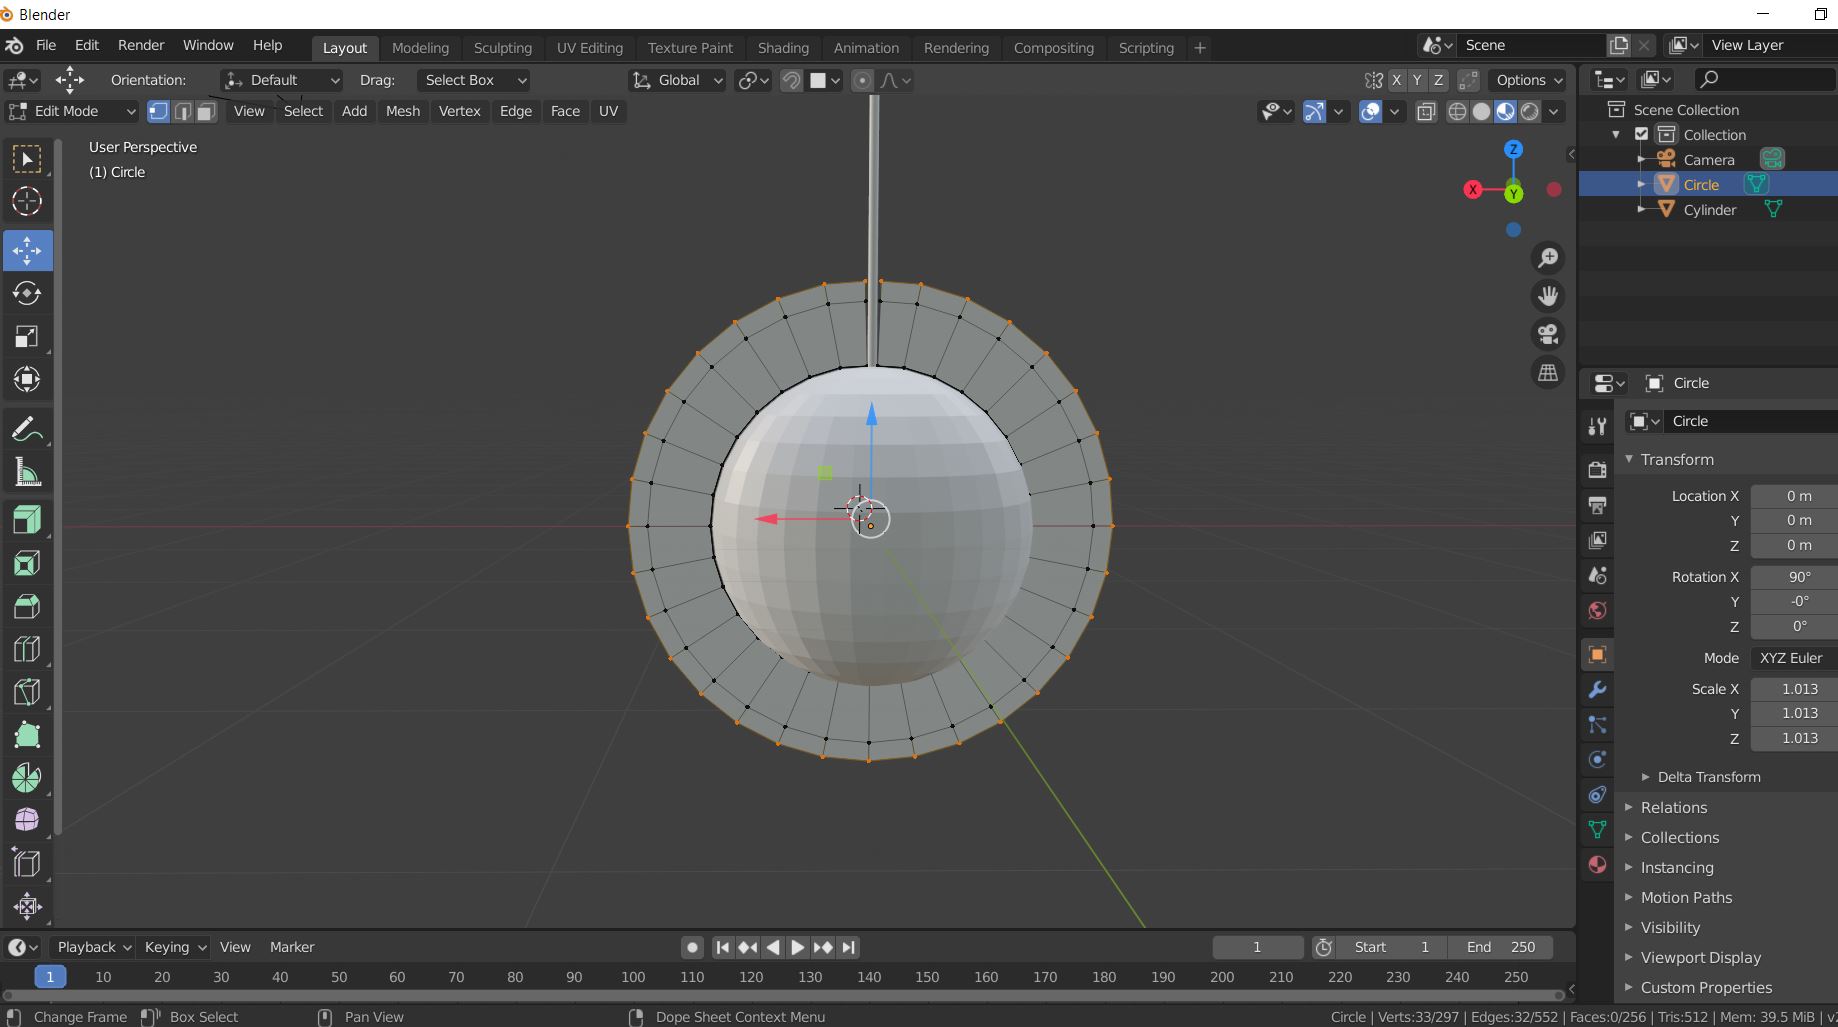
3- Adding a thickness to the extruded circle by 12 mm,
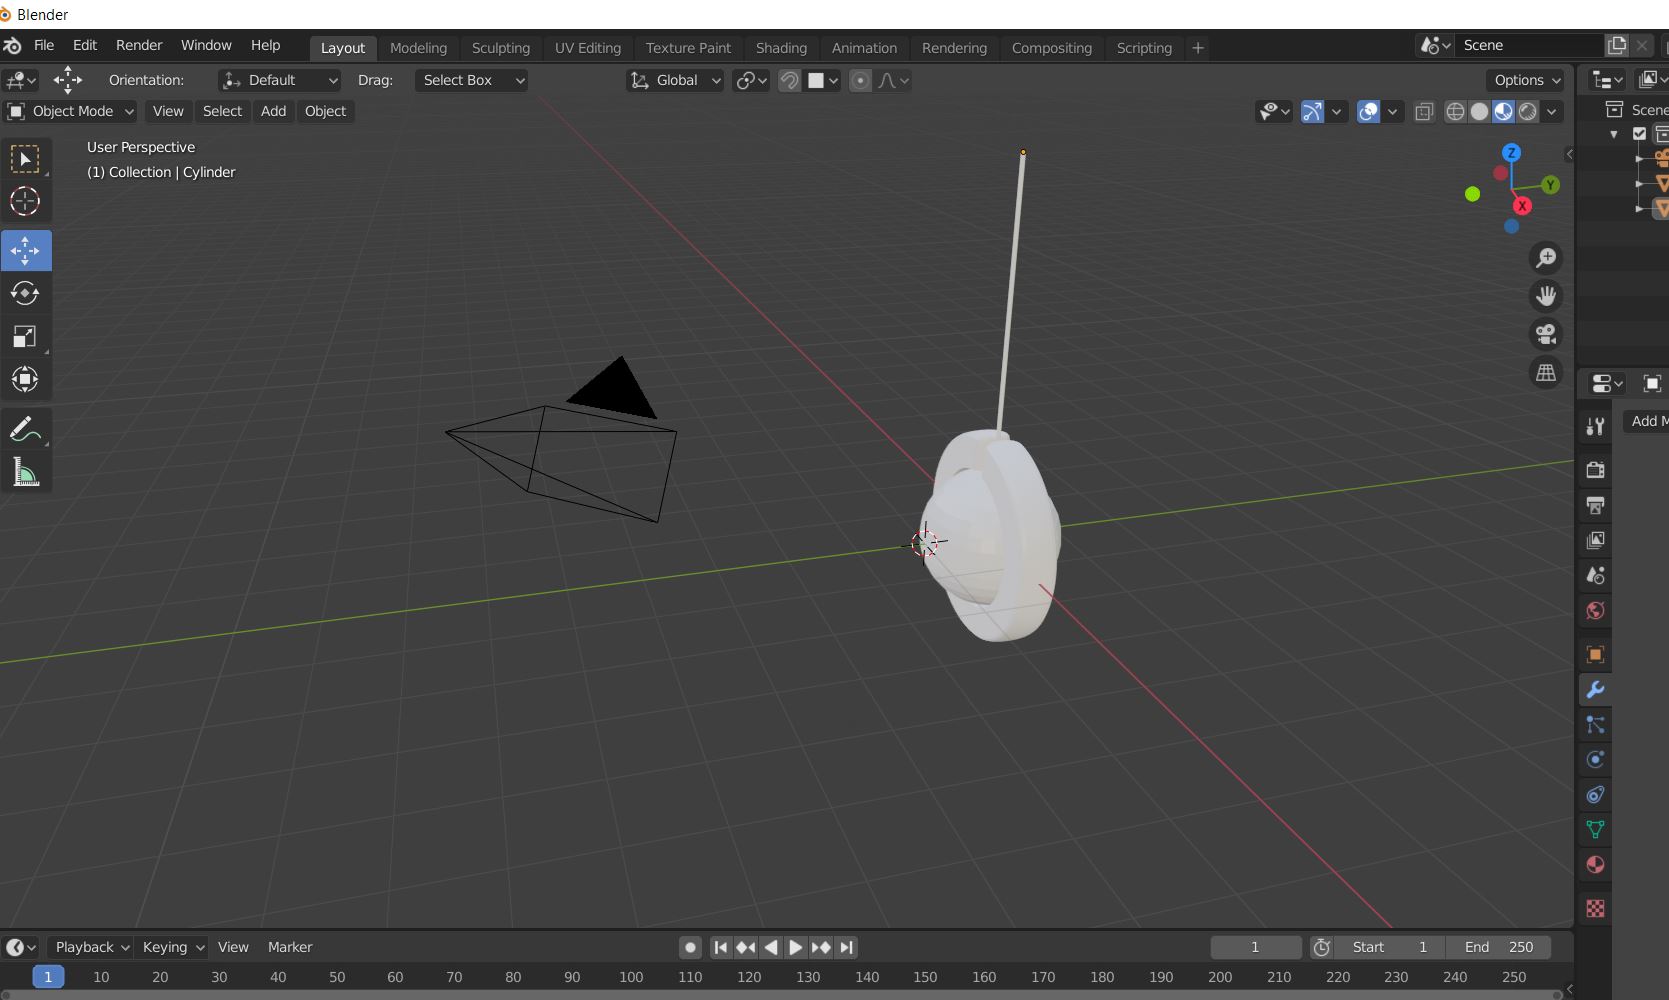
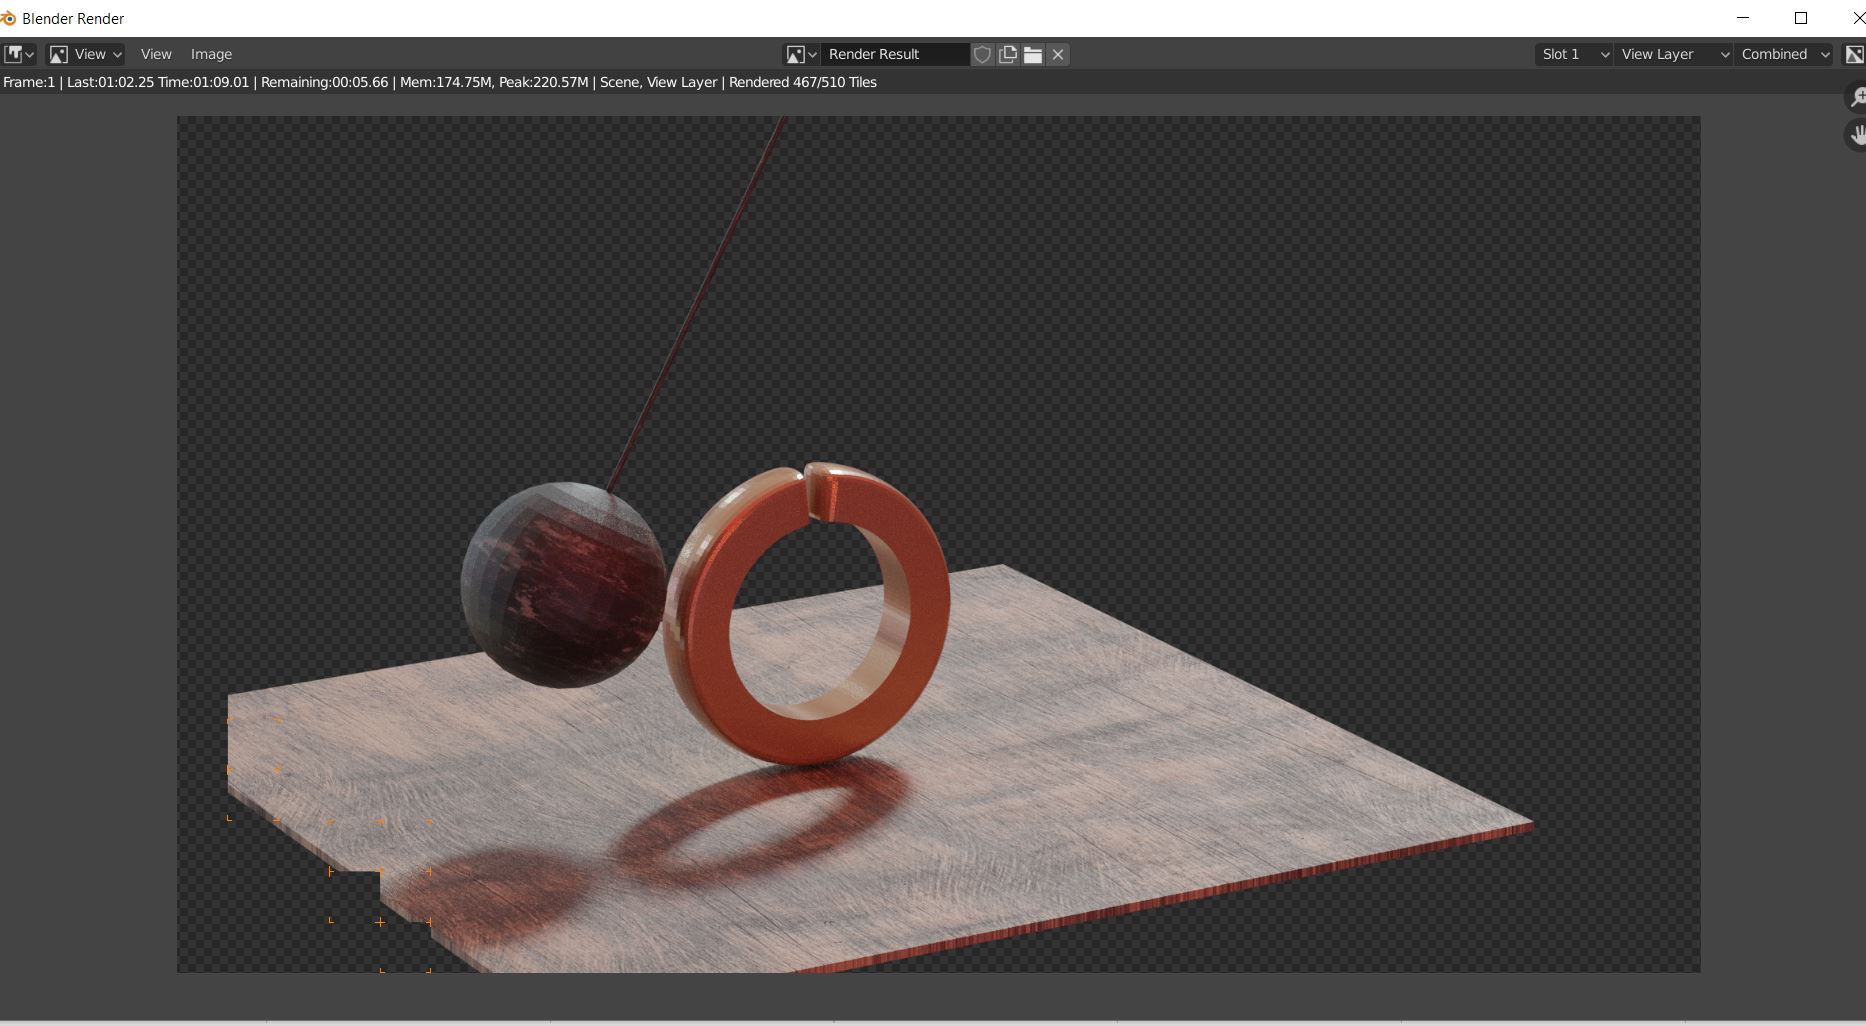
Once I was done with the circular tube I started animating the movement of the ball this by rotating the ball different position and record it the 240 frames and the result was the following:
failure
so, once I was Happy with the animation result I tried to give it more realistic look and render the video which took almost more than four hours but my windows crashed, I was lucky to take a screenshot of the process.
2d design
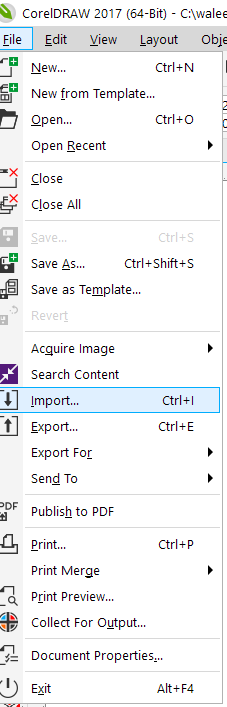
I used Coreldraw software to design my initial logo for the project by combining different pictures, to do so I downloaded a clipart picture here,then using the coreldrew software I imported the image by clicking on file tab then import,
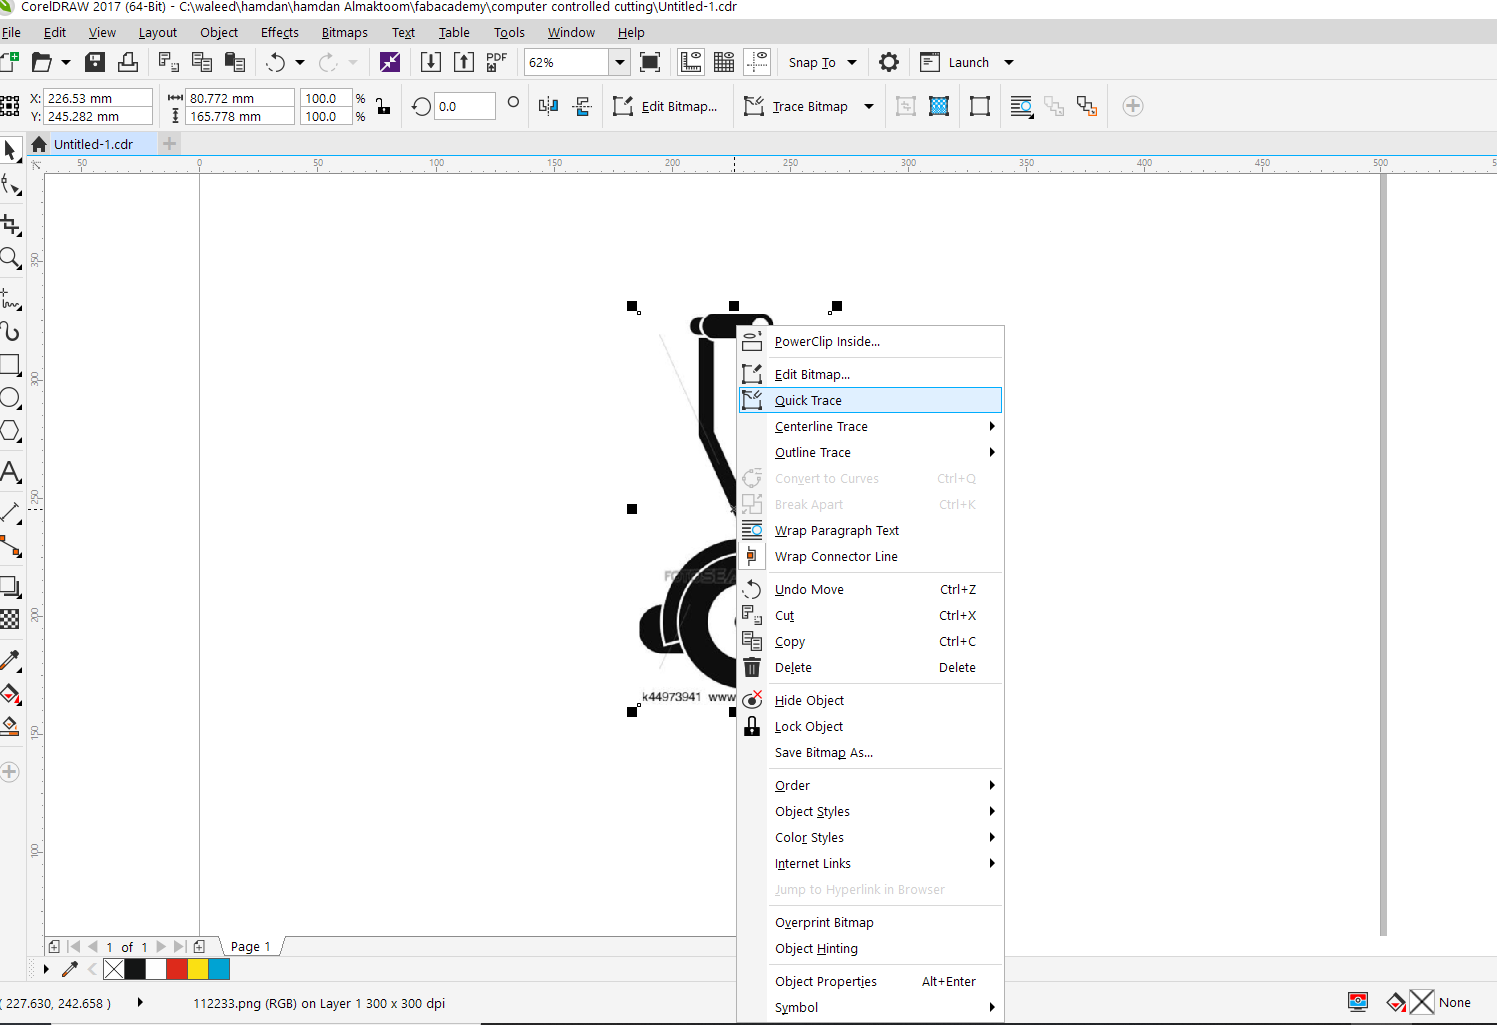
once the picture was imported now I need to vectorize the picture to do that I needed to right click on the image then I used the quick trace function, once the image was vectorized I deleted the original picture,
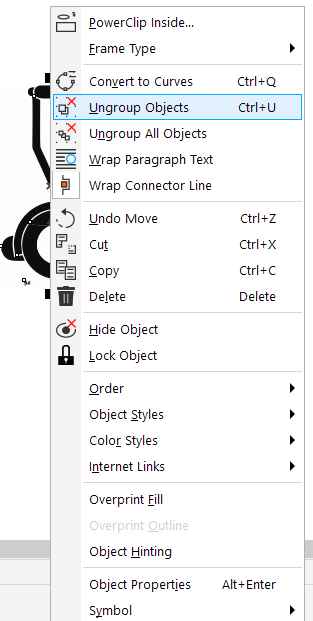
then I wanted to delete the unwanted parts which led me break the vectorized image into different parts, to do so I had to use the ungroup tool by right click on the image then ungroup objects
then I just deleted the unwanted parts and drew a circle using the lift side tool list,

I noticed that the circle was on top hiding the scooter image which led me to use the order tool and place the circle on the back of the page this is done by right click on the circle >>> order >>> to back of page. Finally I started coloring the image.
![]()
Video
All the steps of 2d design were recorded using the built in Lenovo laptop recorder ,
Download Files