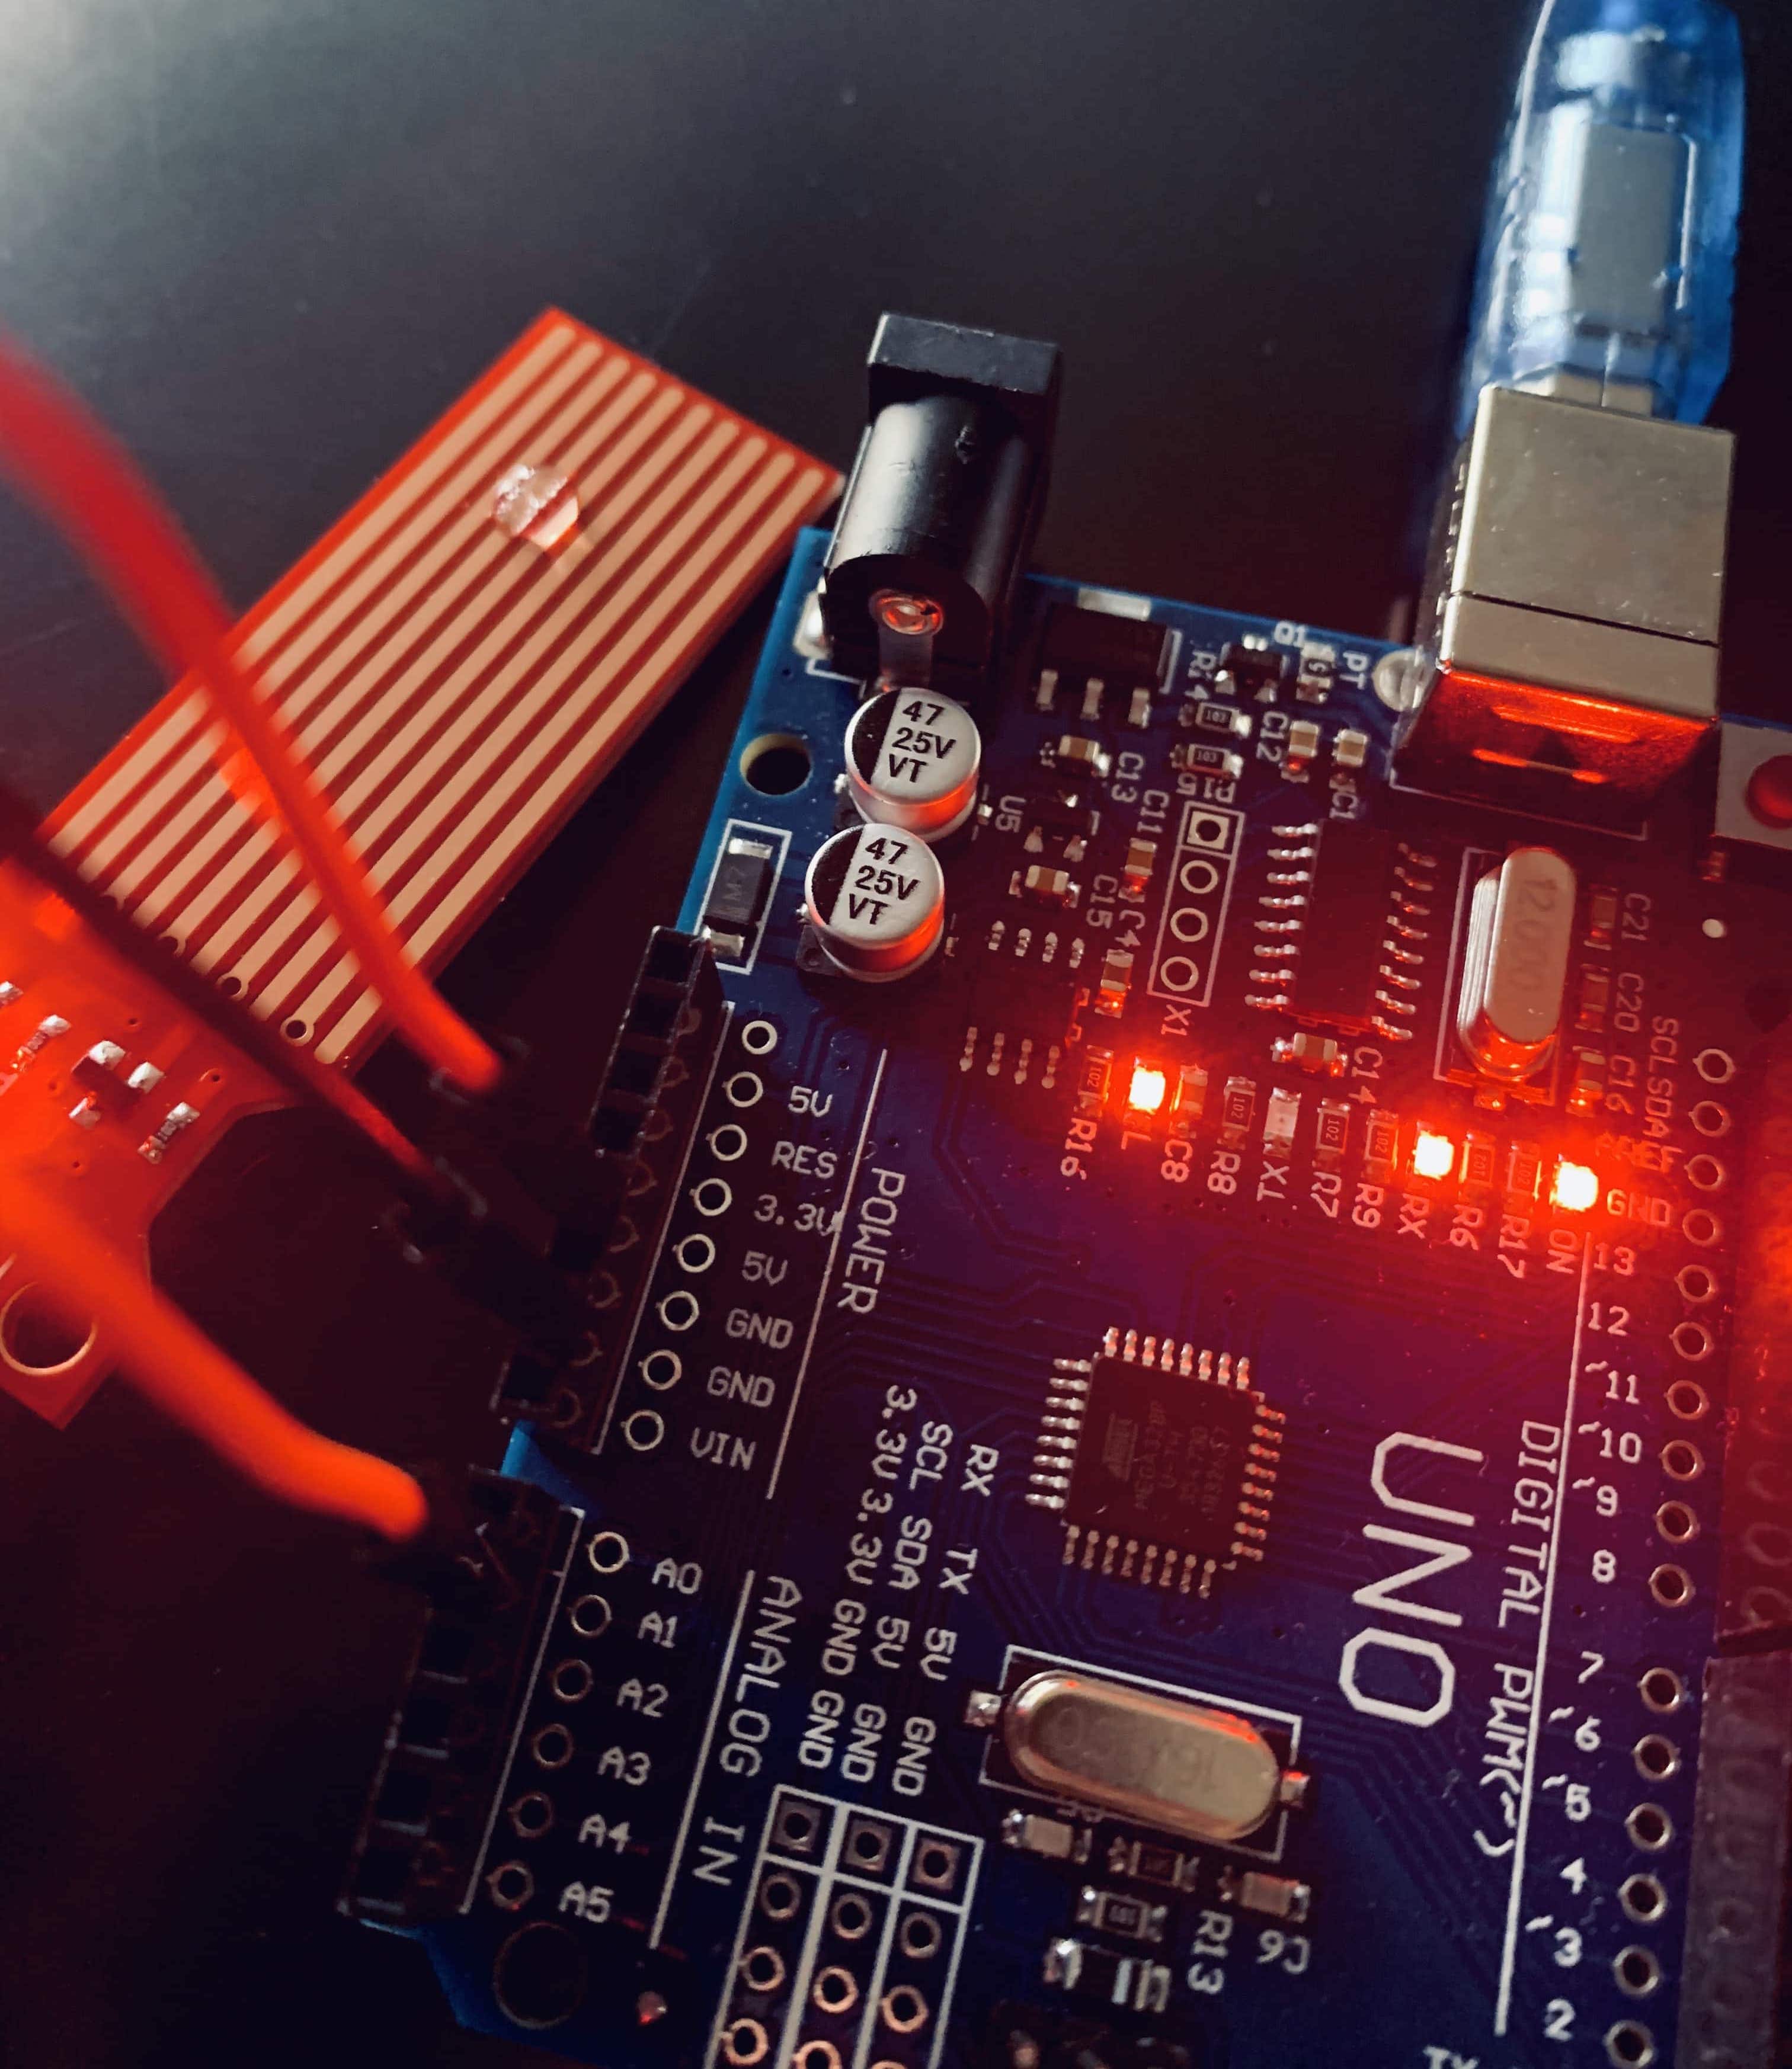

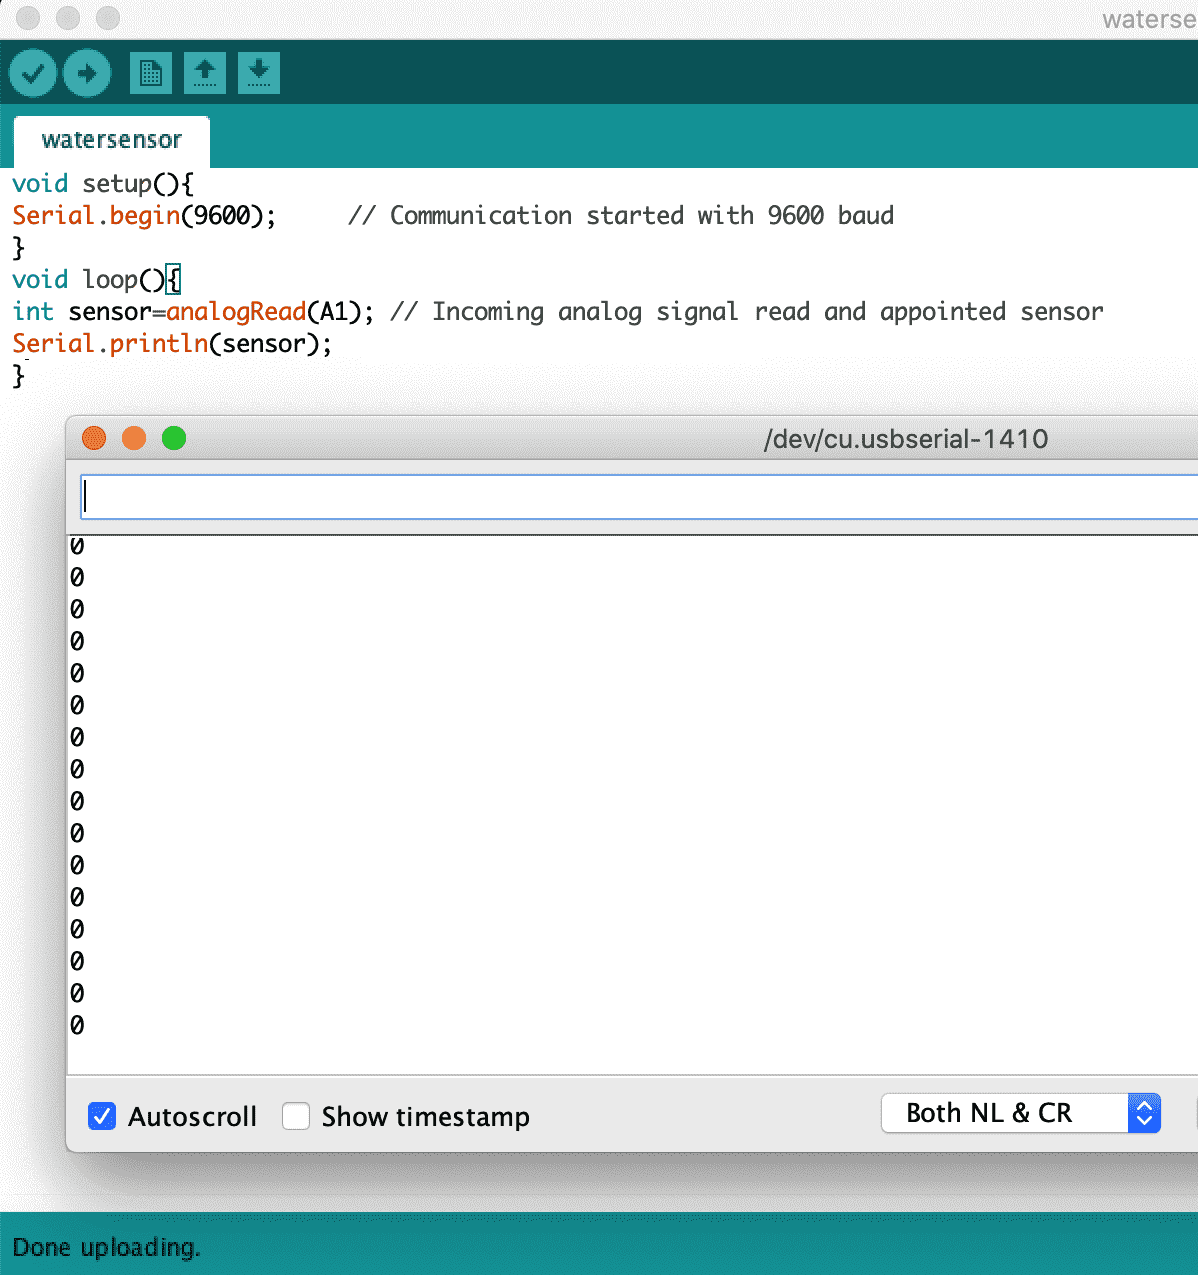
Water Sensor
The connection here is straight forward as the S pin is connected to any analog pin. As water is detected, a greater value will be displayed. Code worked well and water droplet was detected.
Downloads
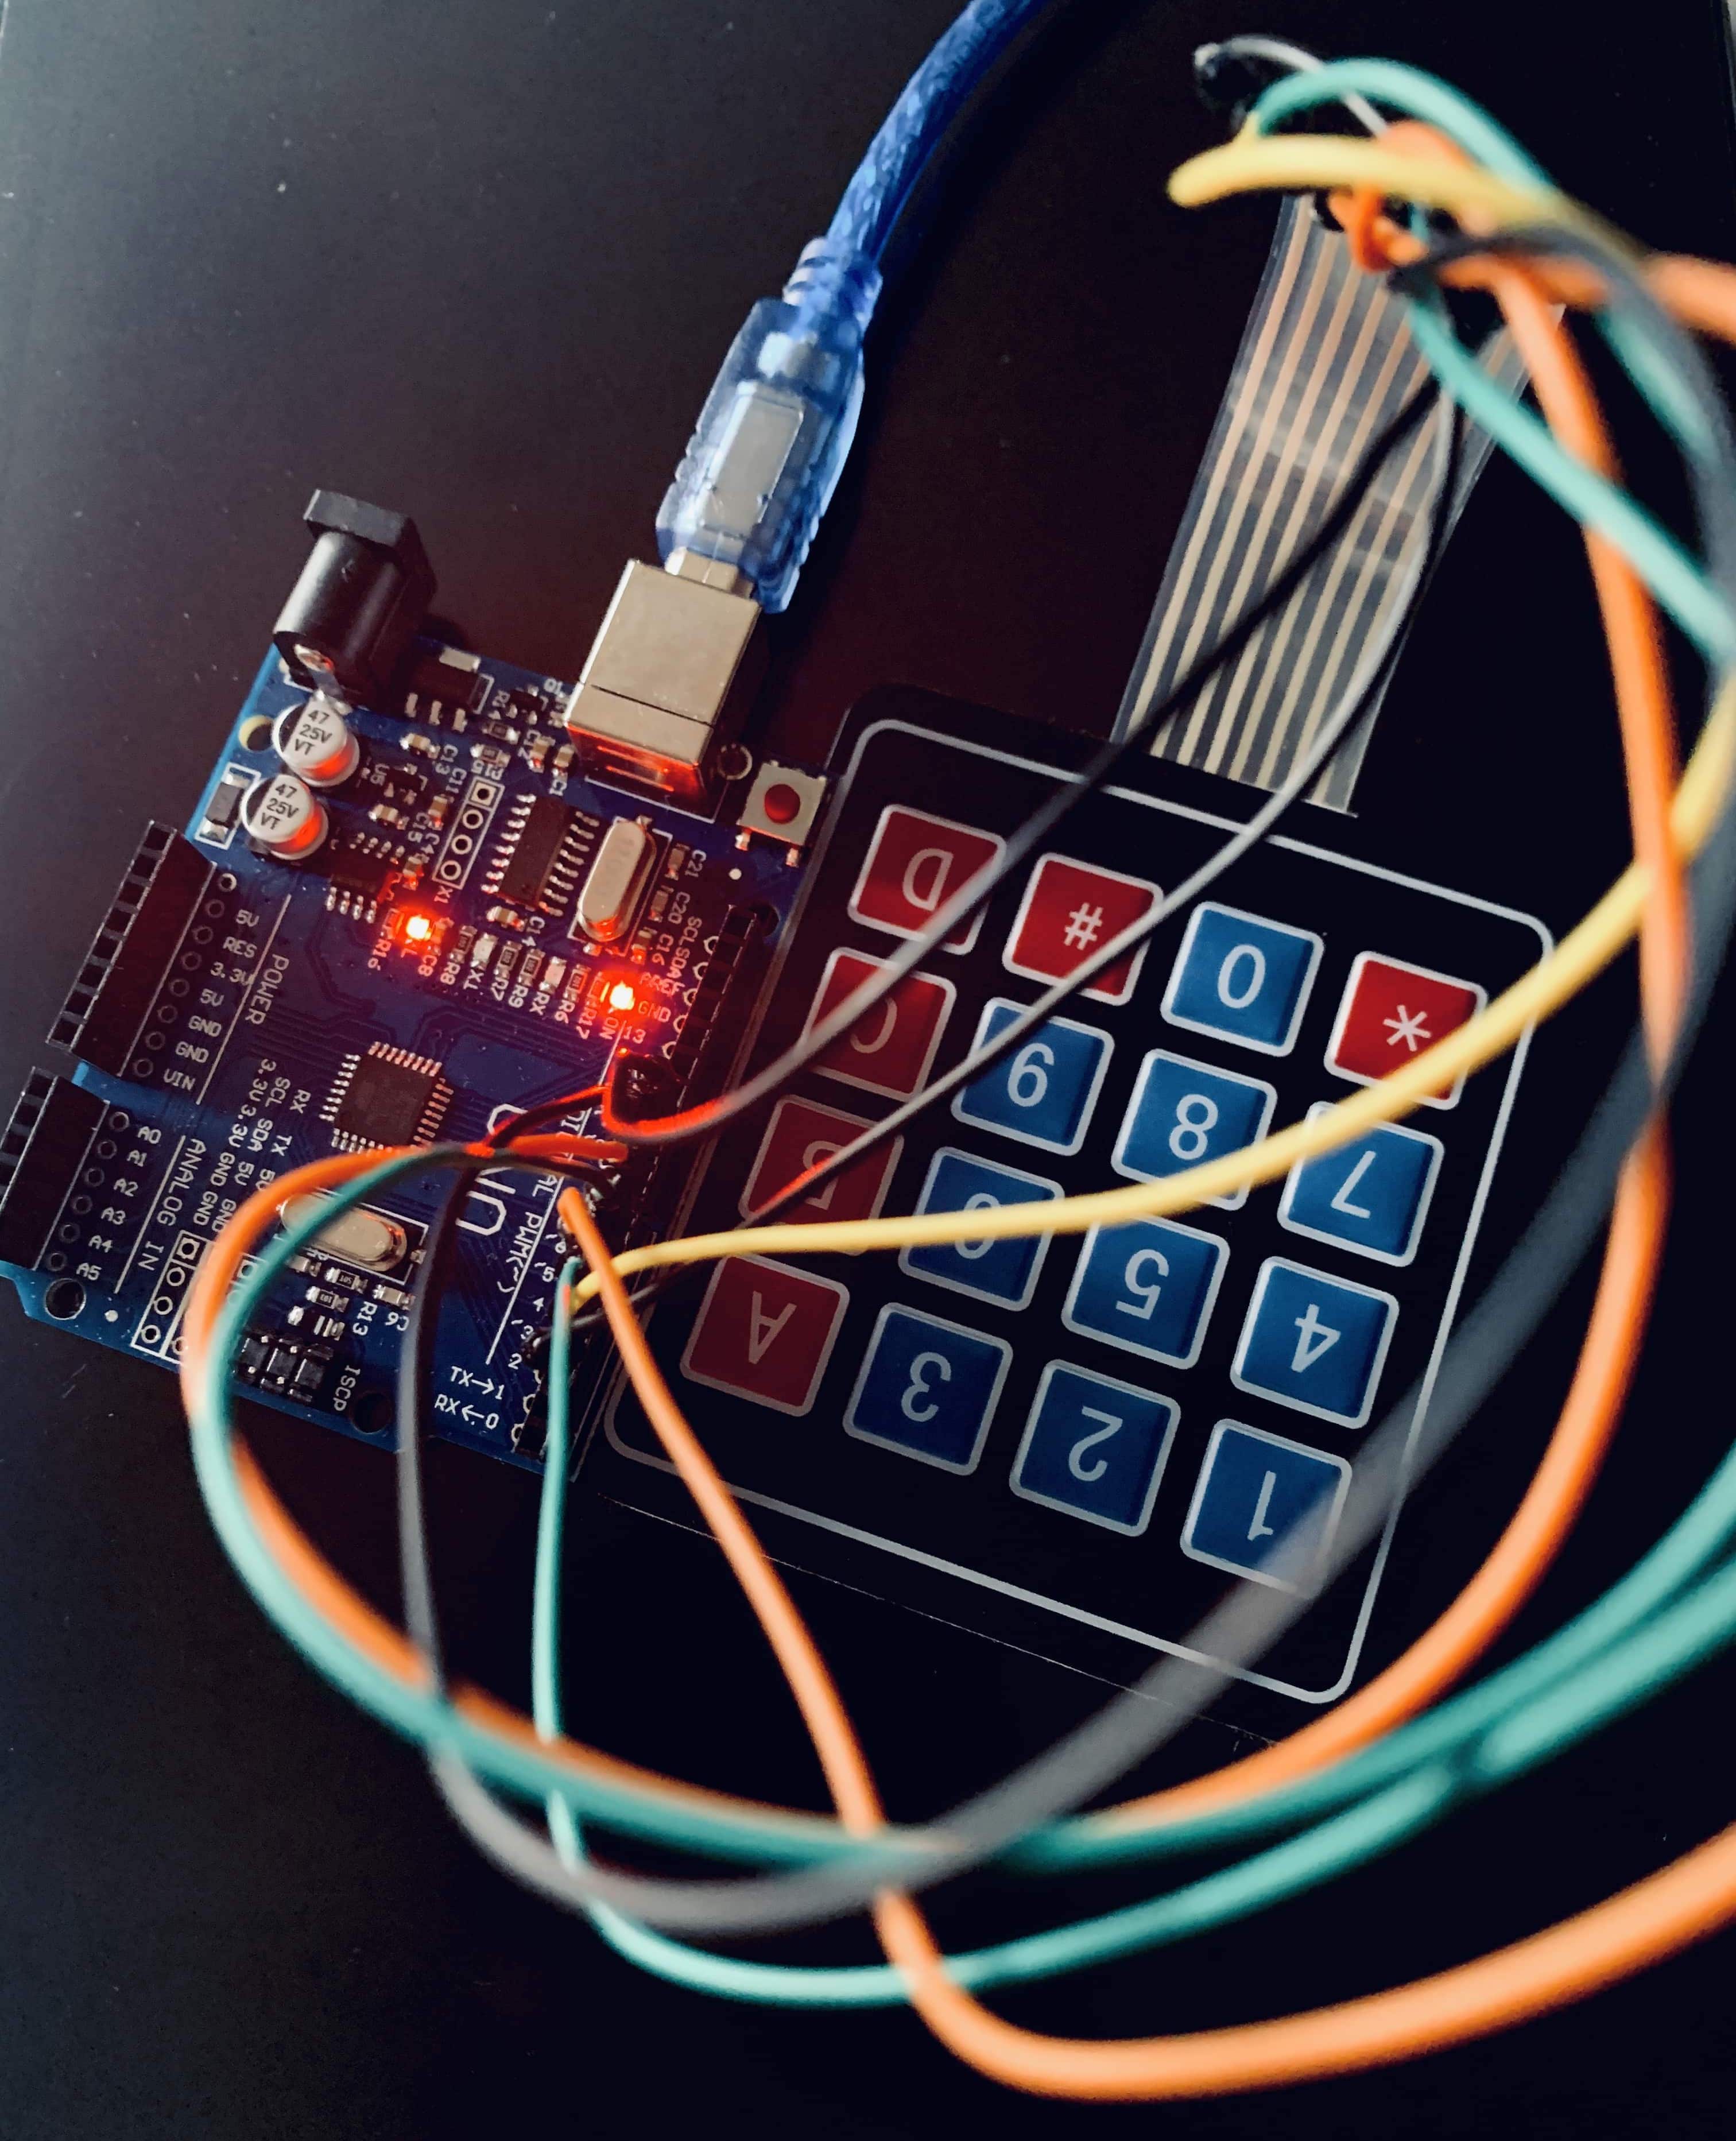
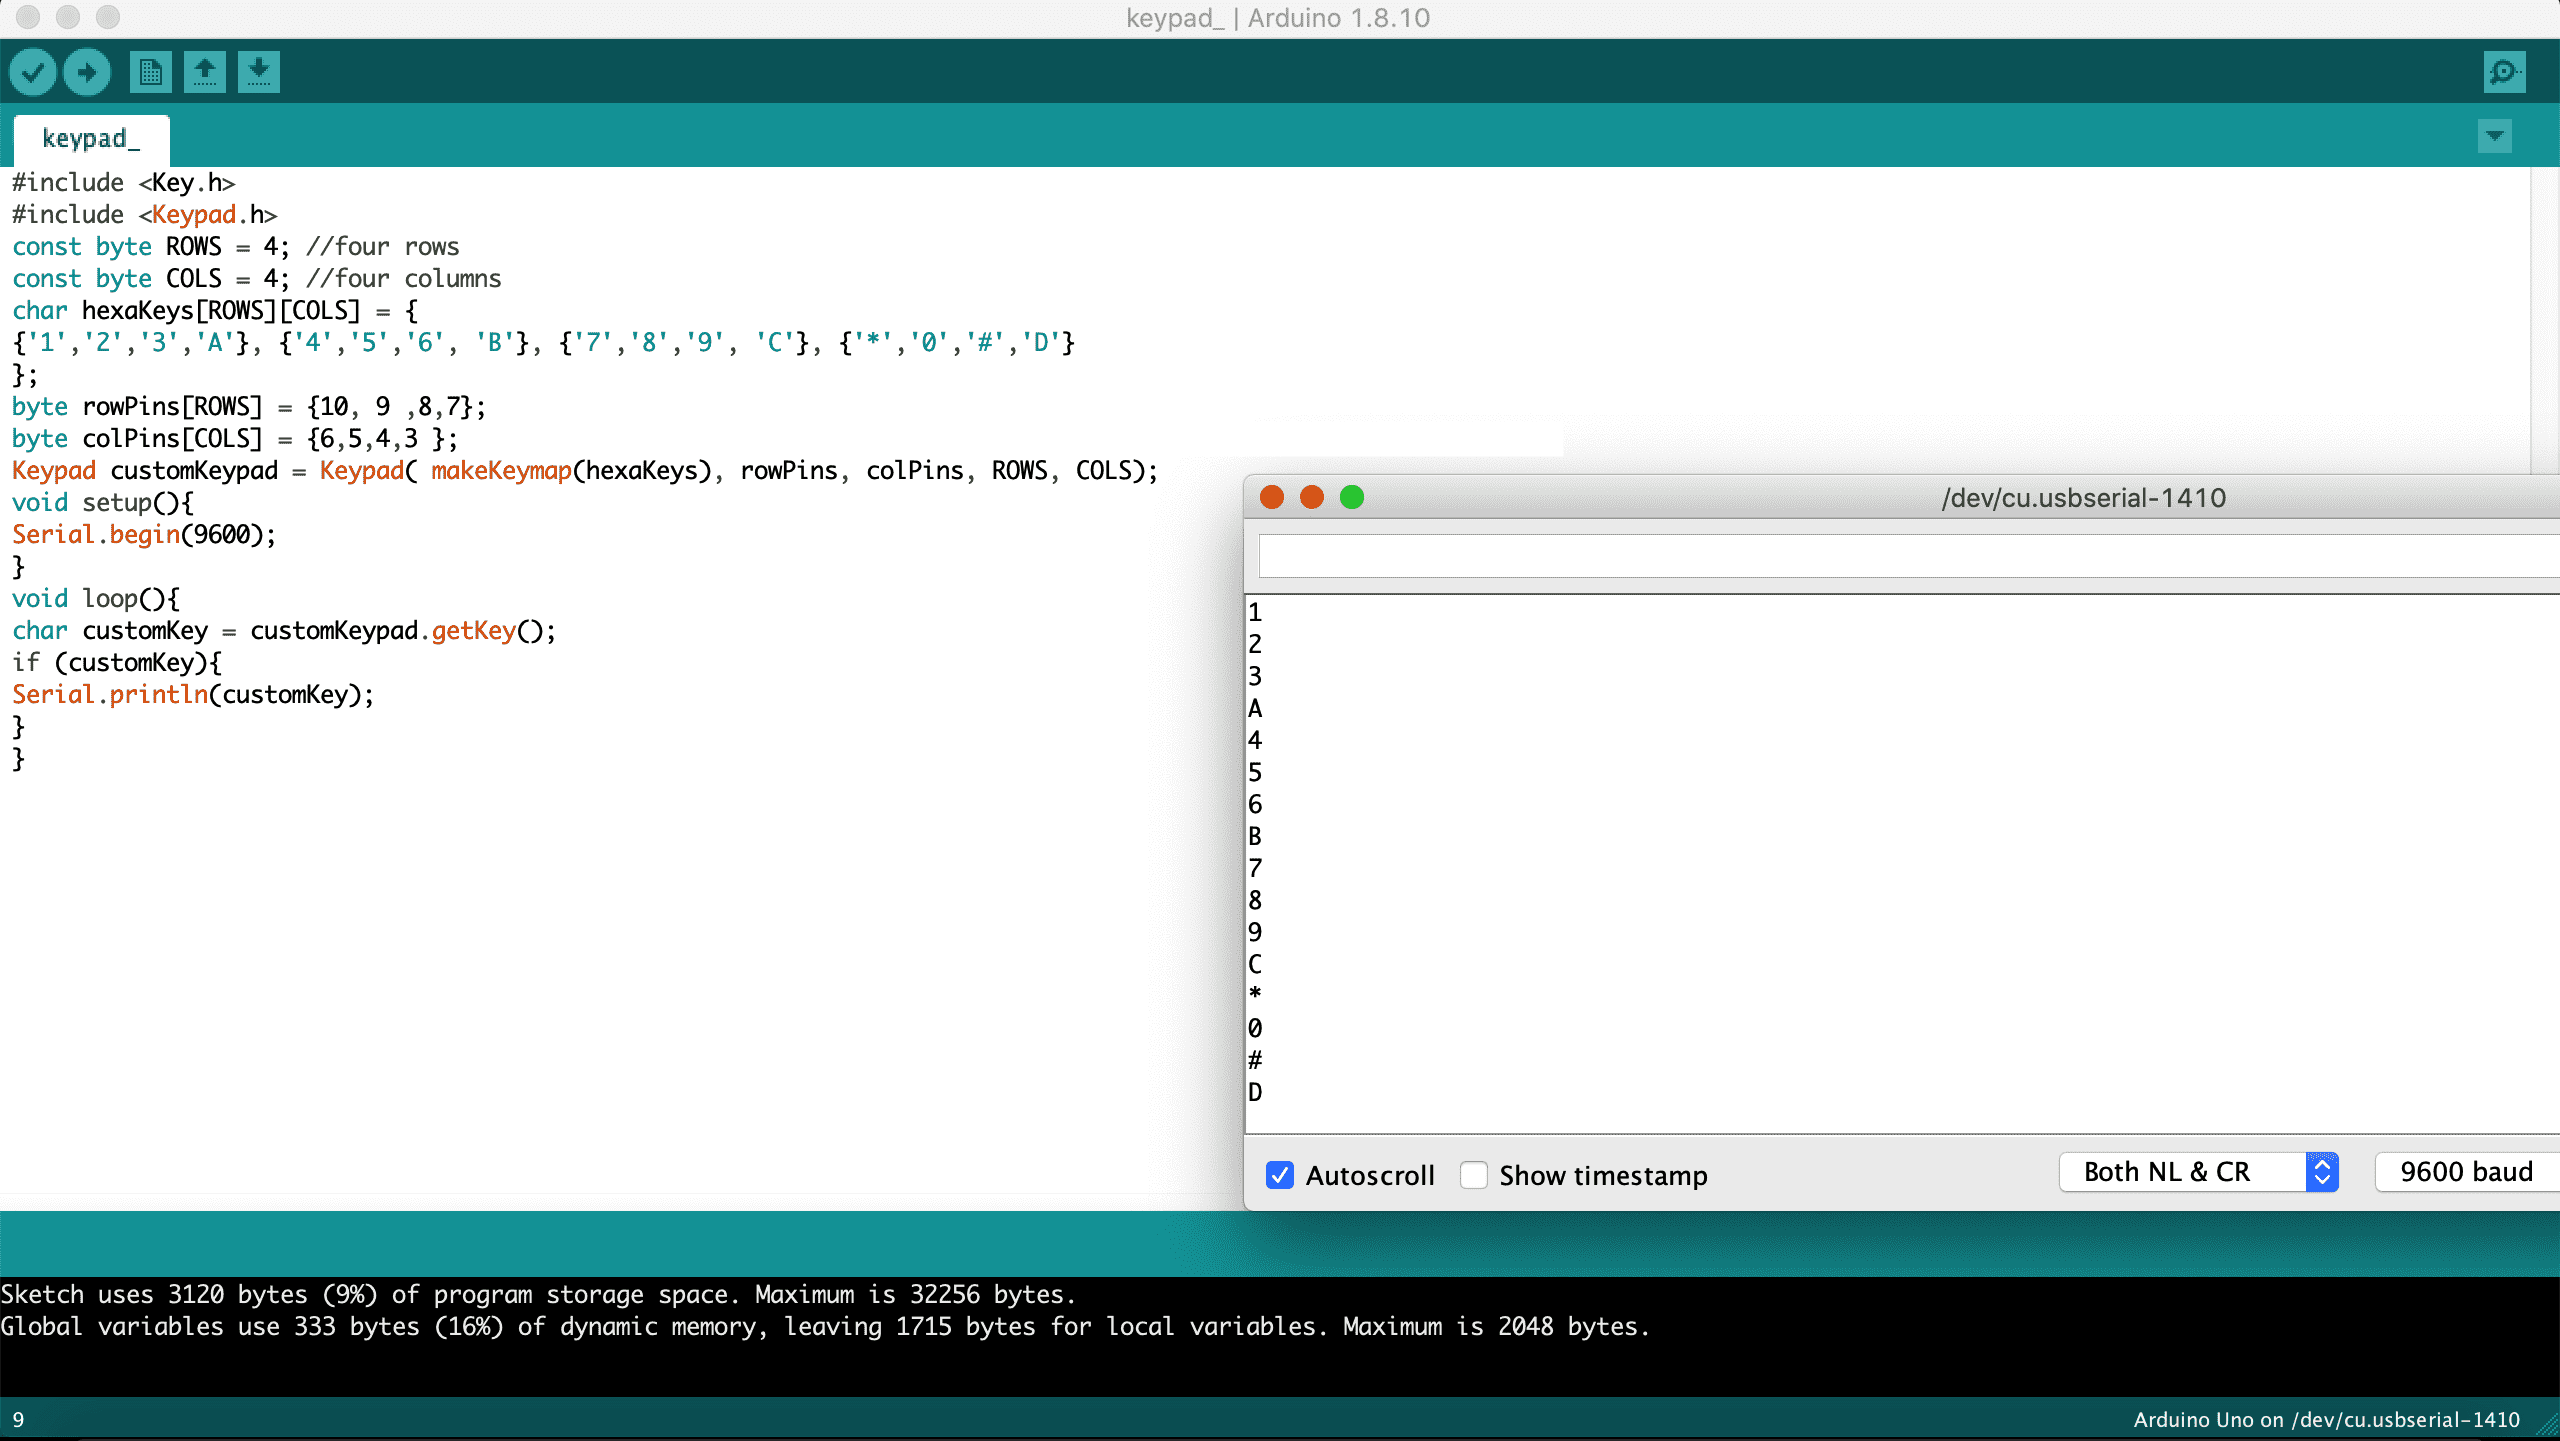
Keypad
The hardware of this keypad is quite thin and can easily be mounted wherever needed. The connection was simple where the 8 pins from the keypad were connected to digital pins 3 to 10 respectively. I installed the “keypad.h” Arduino library and used the code and only changed the pins used. Code ran smoothly and successfully where i was able to try all 16 inputs and were displayed on the serial monitor.
Downloads
Final Project Input Devices
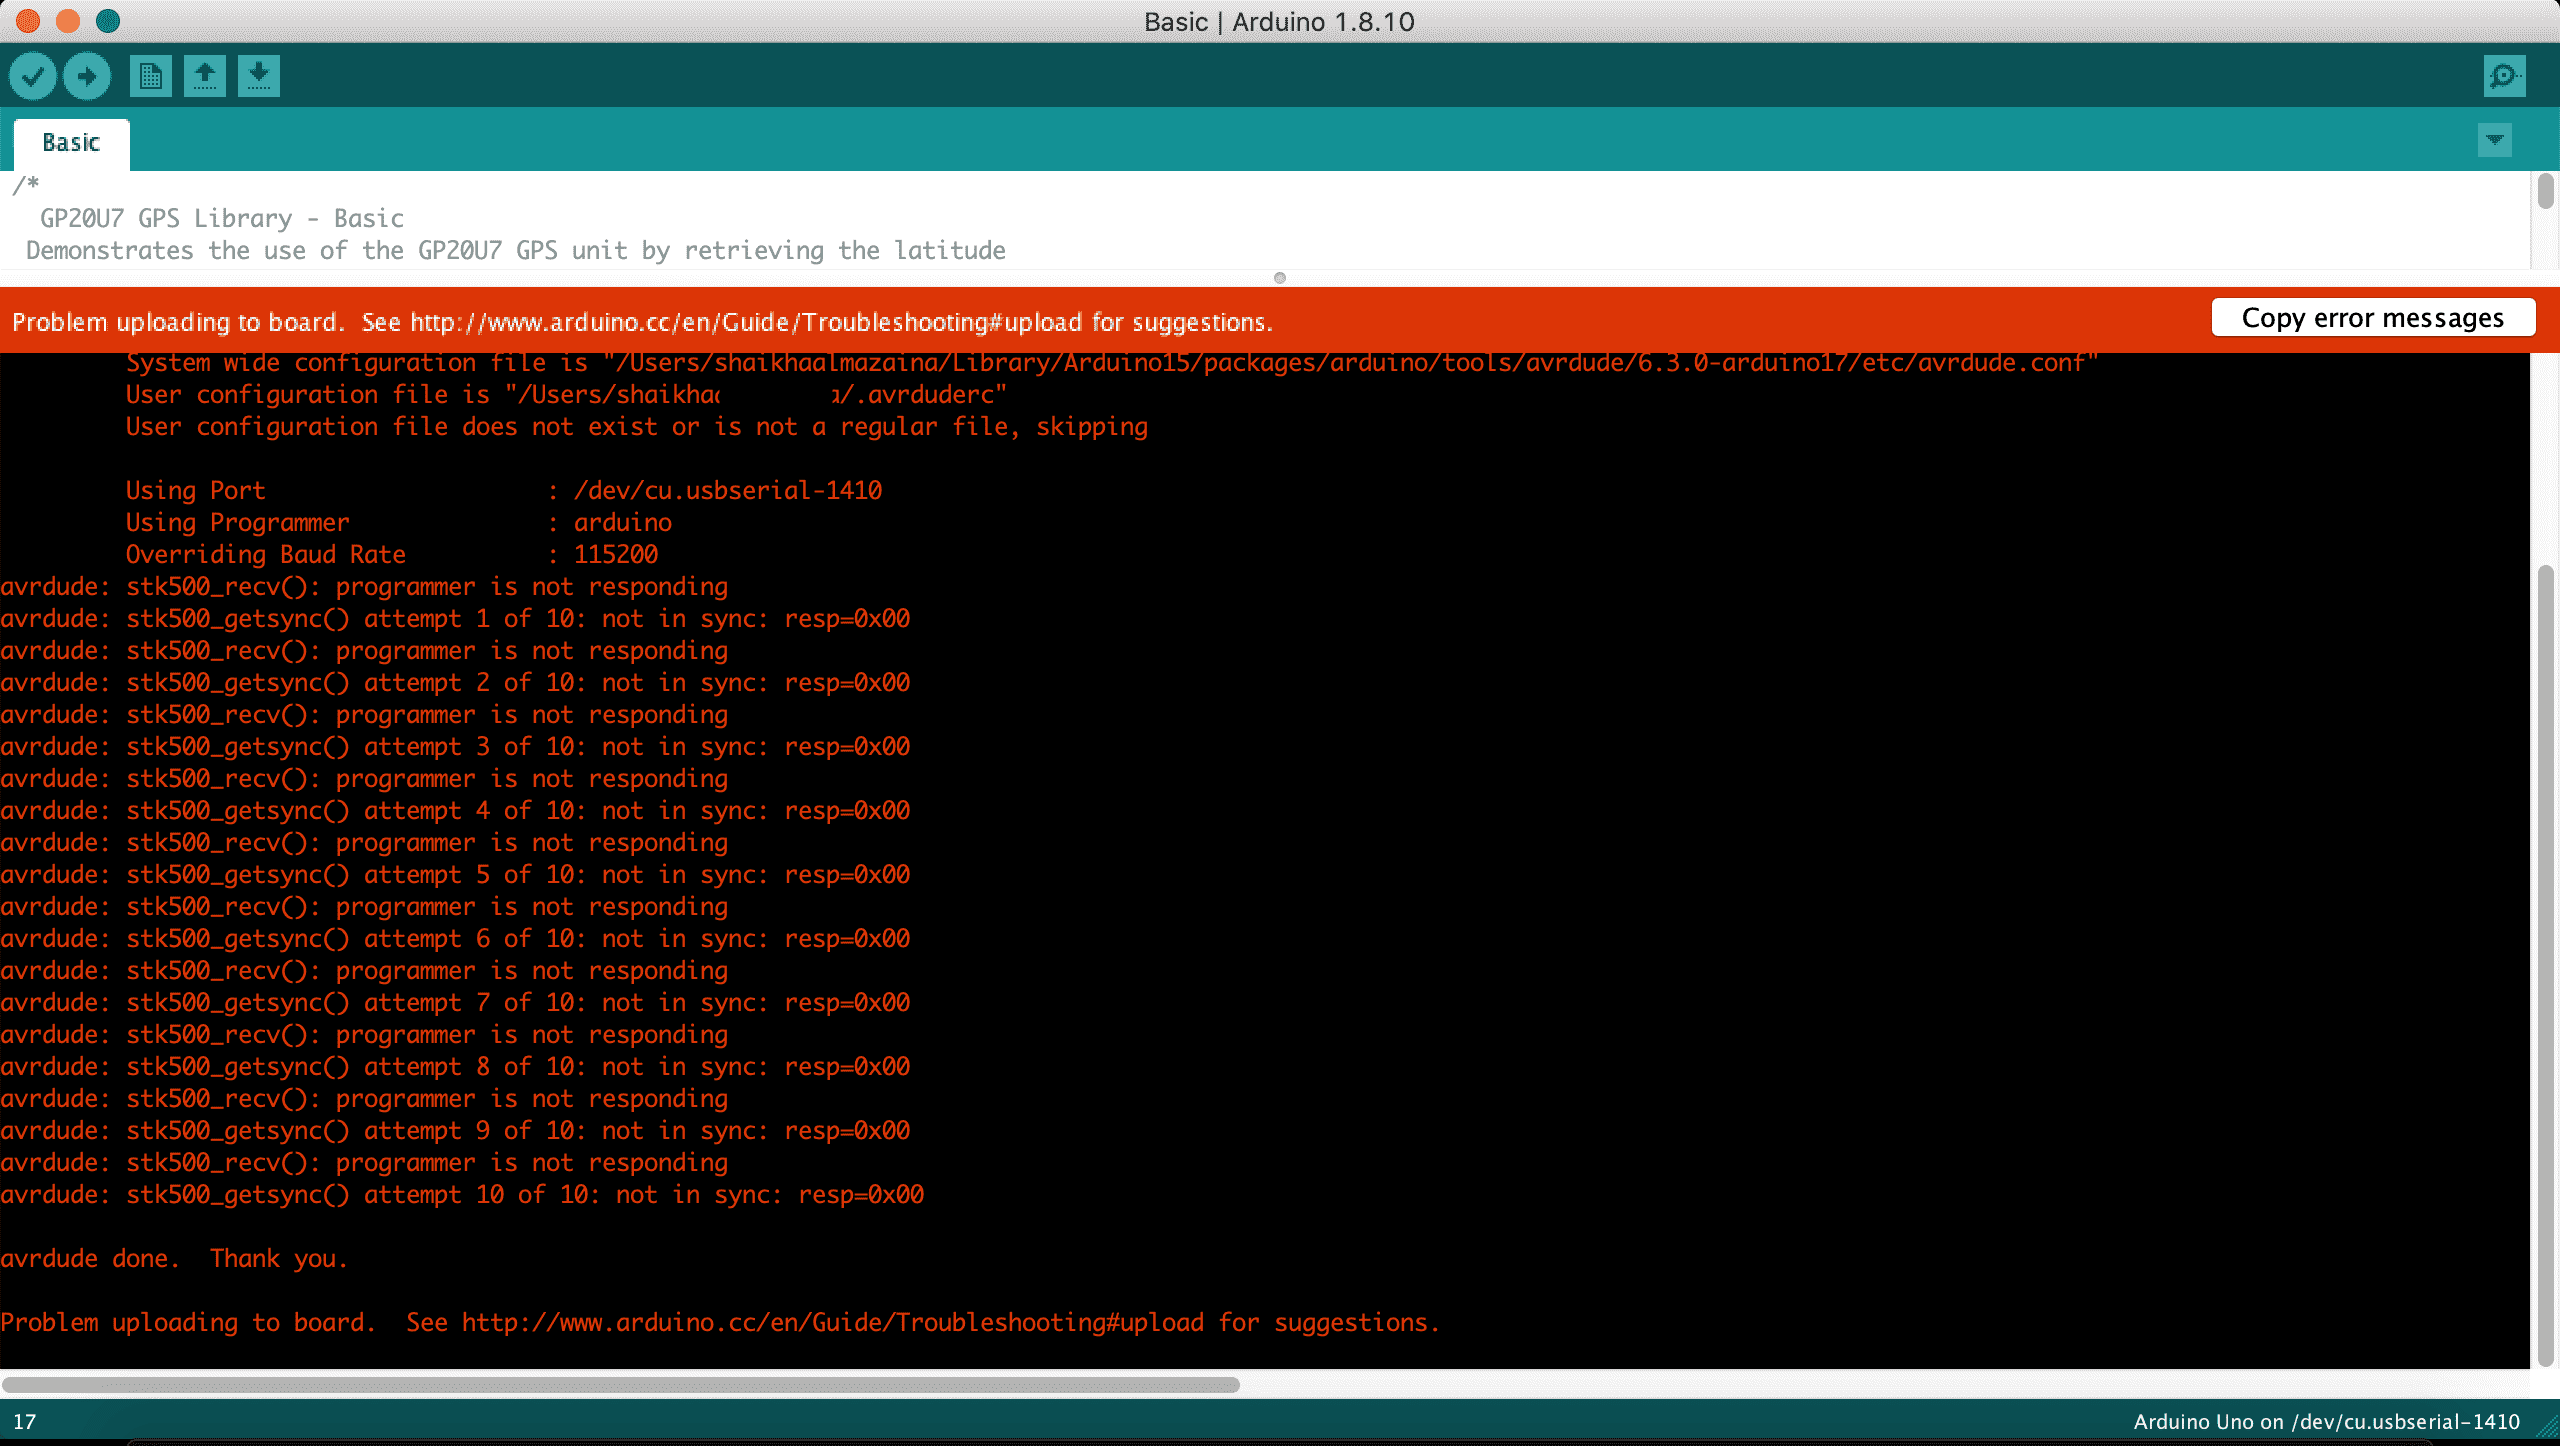
GP20U7
- First i installed the GP2U07 library on arduino.
- Then i connected the GP2U07 to the arduino.
- I uploaded the code from the installed library.
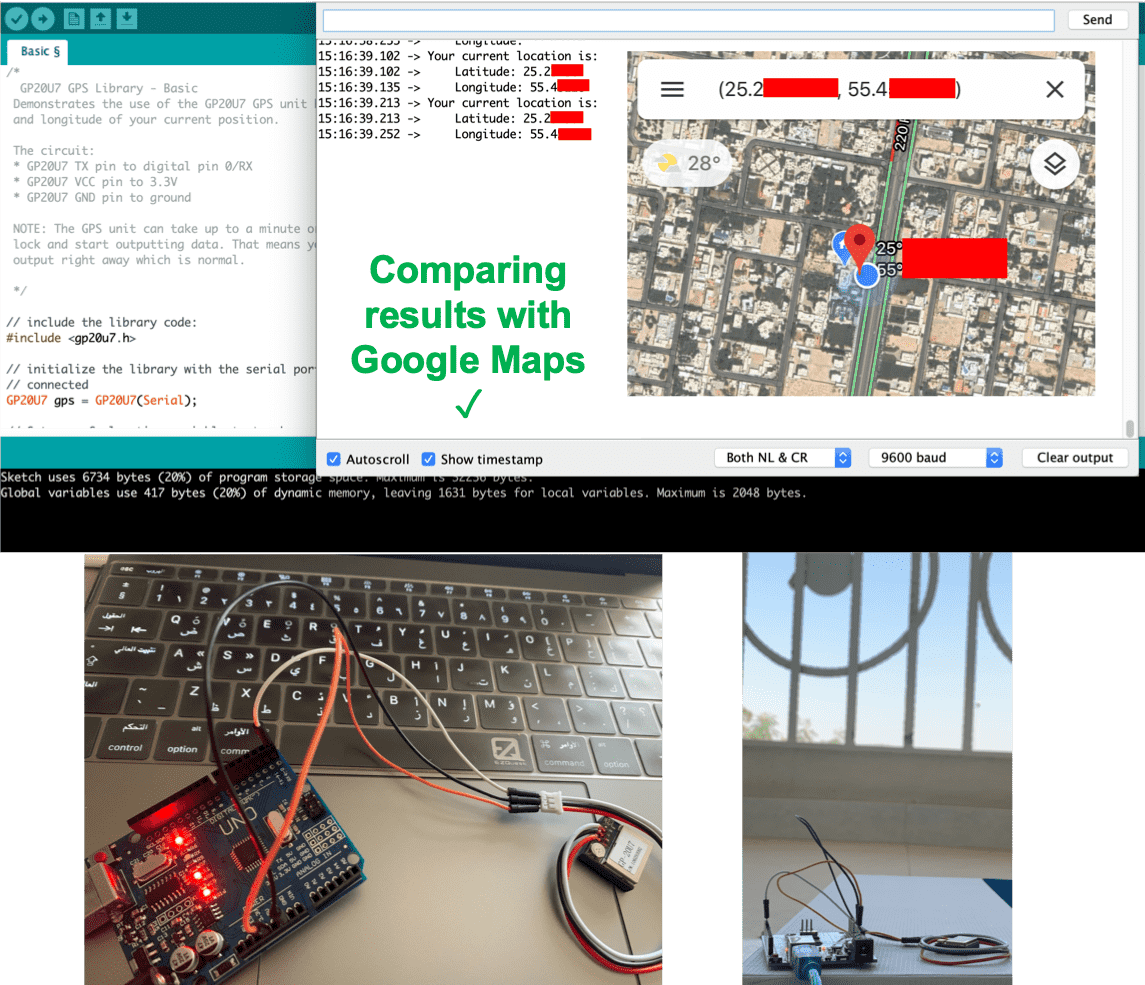
- I got an error and that was because during uploading the code, the RX pin was connected to the GPS, it is because the RX and TX pins are being used by the USB to serial converter, so I upload the code while disconnecting the RX pin and after that i reconnected the RX pin to start reading the location.
- In order for the GPS to start reading, i need to go out and it might take a while to produce results. Results were then out and were compared to google maps and turns out to be successful.
Downloads
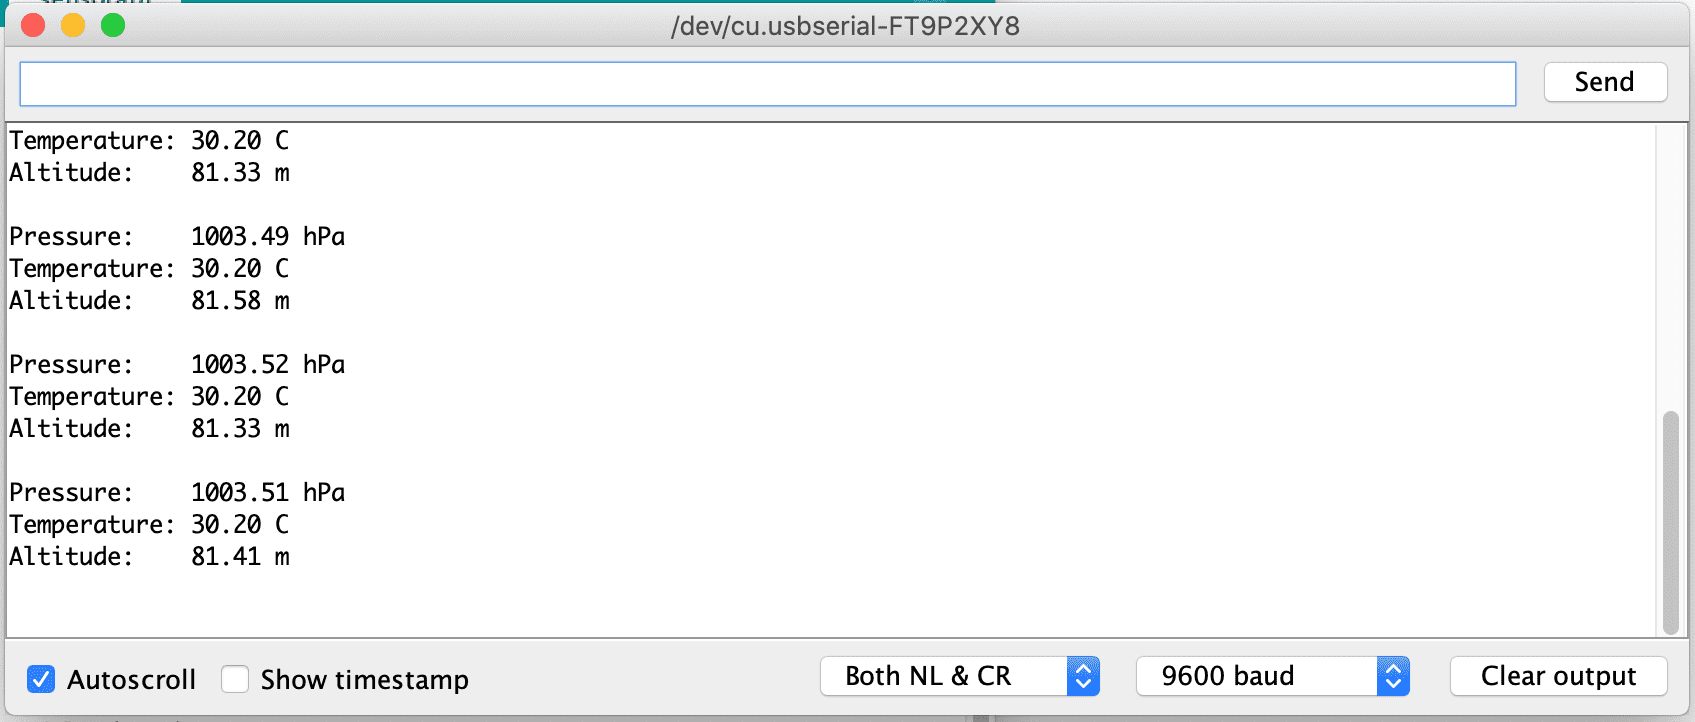
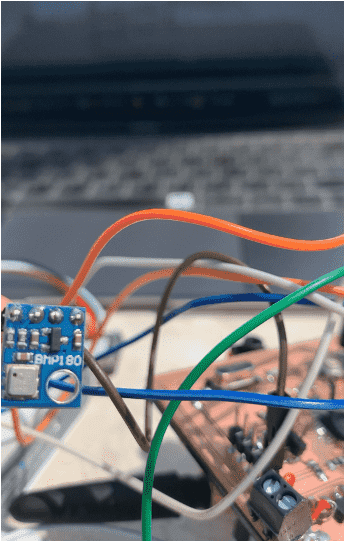
Barometric Pressure BMP180
- SCL to PC5 pin
- SDA to PC4 pin
- VDD to VCC
- Connect GROUND to common ground
Downloads
PCB microcontroller decision
In the Electronic Design Week, I was able to design and fabricate Attiny44 PCB and explored the features and limitations compared to Atmega328p on an Arduino Uno. The Attiny 44 isn’t quite powerful enough, but it is a great option for running simple Arduino programs, it’s small, cheap and relatively easy to use.There are fewer pins, meaning that I can’t connect as many components as i need especially if i encounter problems in the future and needed to add extra components which is the case in any project. Ofcource if it is a simple project that requires only a few simple inputs and/or outputs, an ATtiny44 would be perfect.
For my final project, the choice of input and output devices greatly influenced my decision of the microcontroller, which is the Atmega328p. Since all devices i chose had libraries in Arduino, it made it easier for me to modify the codes based on my requirements. Also when it comes to testing, i can use the same code with arduino and pcb whenever needed.
In the
Electronic Design Week, Board number 2 was the initial version of my final project pcb, i also explored Flatcam instead of Fabmodules for exporting Gerber files. However, things didn't go well with the FT232RL, which is why i replaced it with FTDI in the last version that is shown in my Final Project Page.
Group Assignment
Experience
A very intresting week since i got the chance to explore different input devices and try the available sensors and test the functionality of them and take the readings. Of course i wasn't able to try all sesnors but i'm sure i will whenever i get the chance.