18. Mechanical Design and Machine Designs
Group Work Page
This week I worked on CNC Foam cutting Machine.
-
Example Our task for this week Assignment:
-
Design and 3D print the machine’s parts.
Download Files
Software
Fusion .
Cura .
Machines
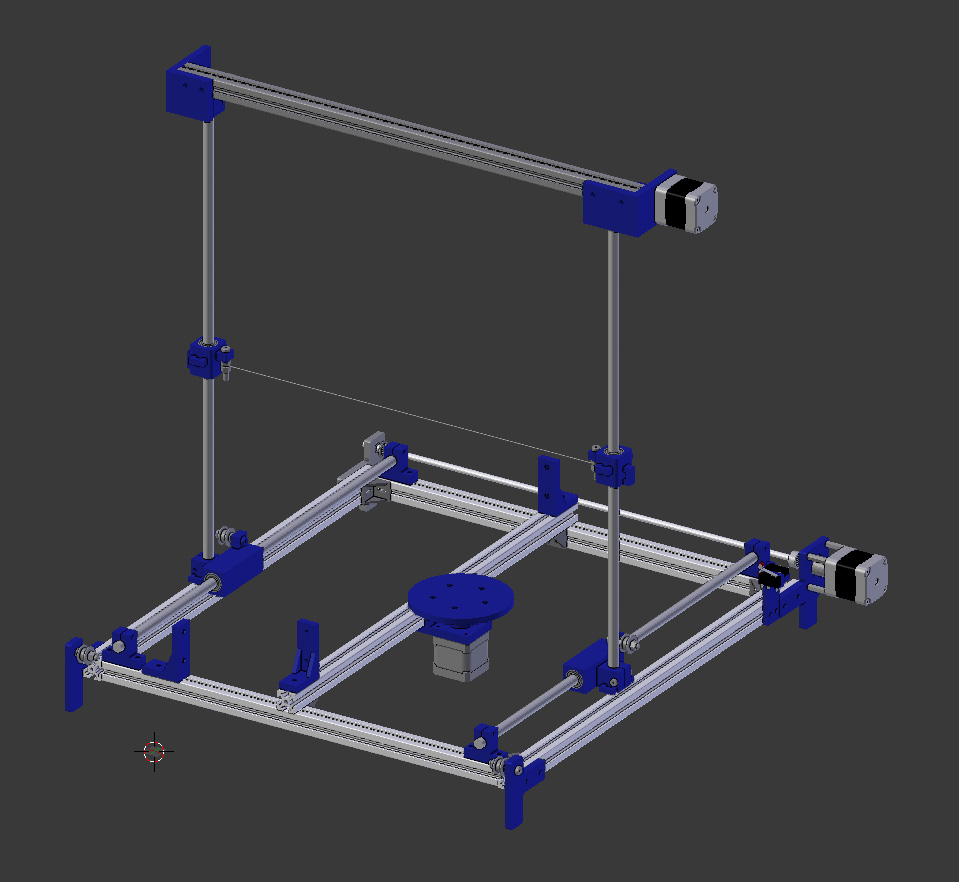
Orginal Design
Overall, in terms of construction and rigidity the design is probably not that good, but In my opinion making a function machine with minimum parts possible and still to be able to get the job done._
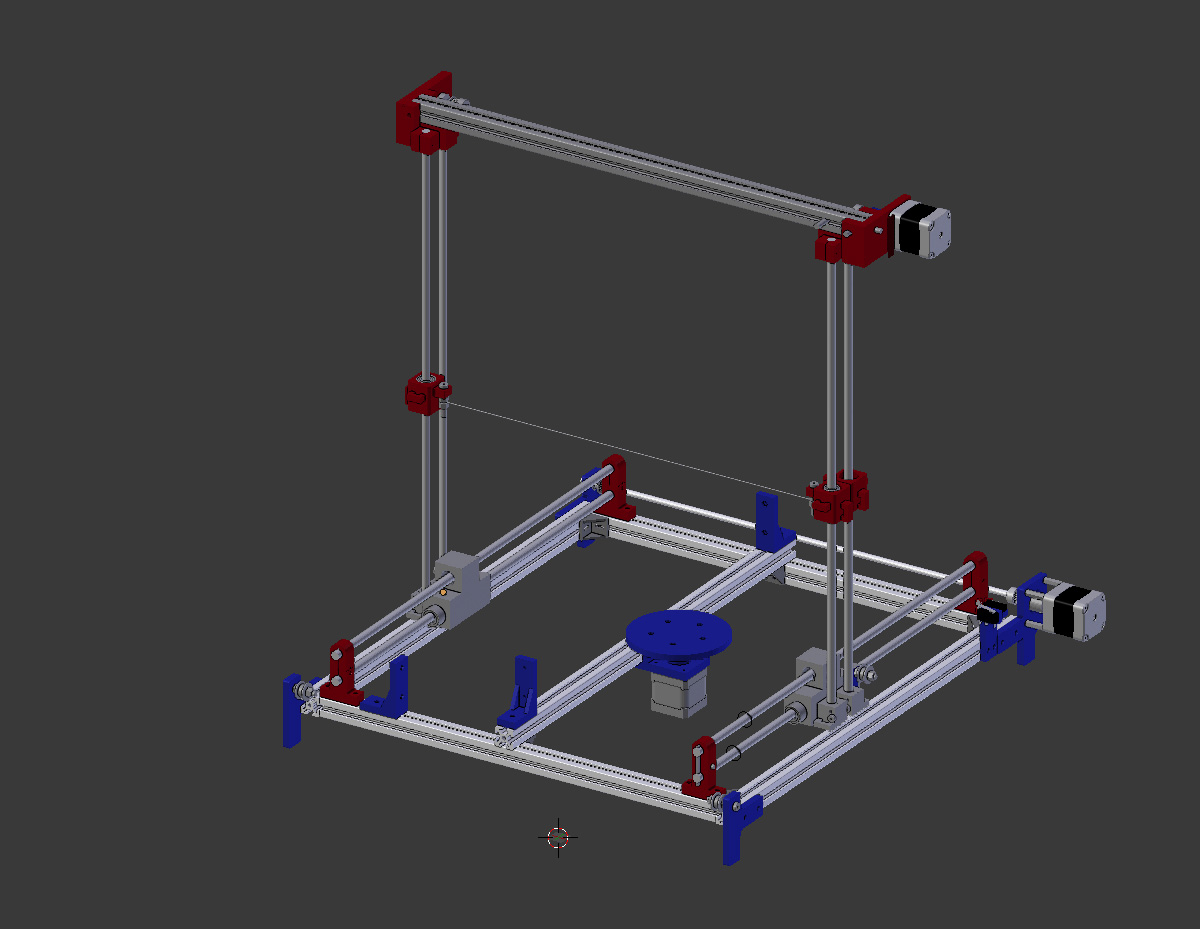
Modified Design :
in this design we wanted the machine to be more rigid so we have made those changes :
First we have added one more linear rail for each moving axis in each side .
Second we have edited the 3D models in order to fit the new design .
Third we have used a flexible Coupler instead of the shaft Coupler (printed one) .
Finally we have replaced the linear rod from 10mm to 8mm and the bearings also .
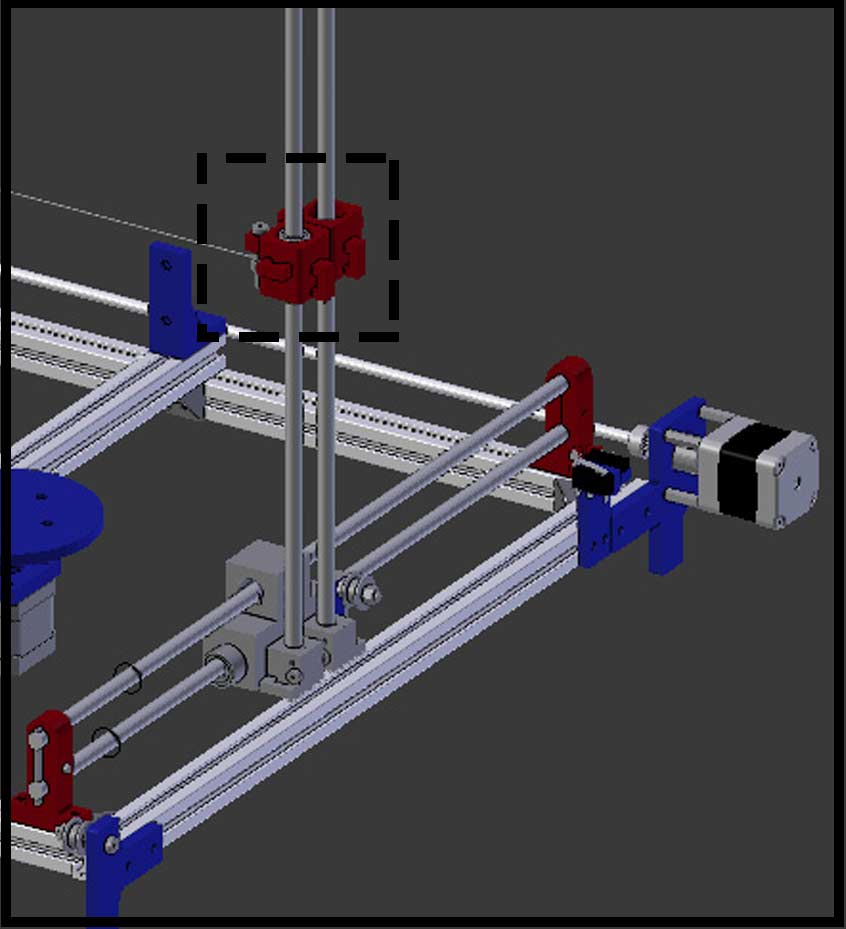
And you can see the changes we have made in the picture below, the red parts !! .
Parts
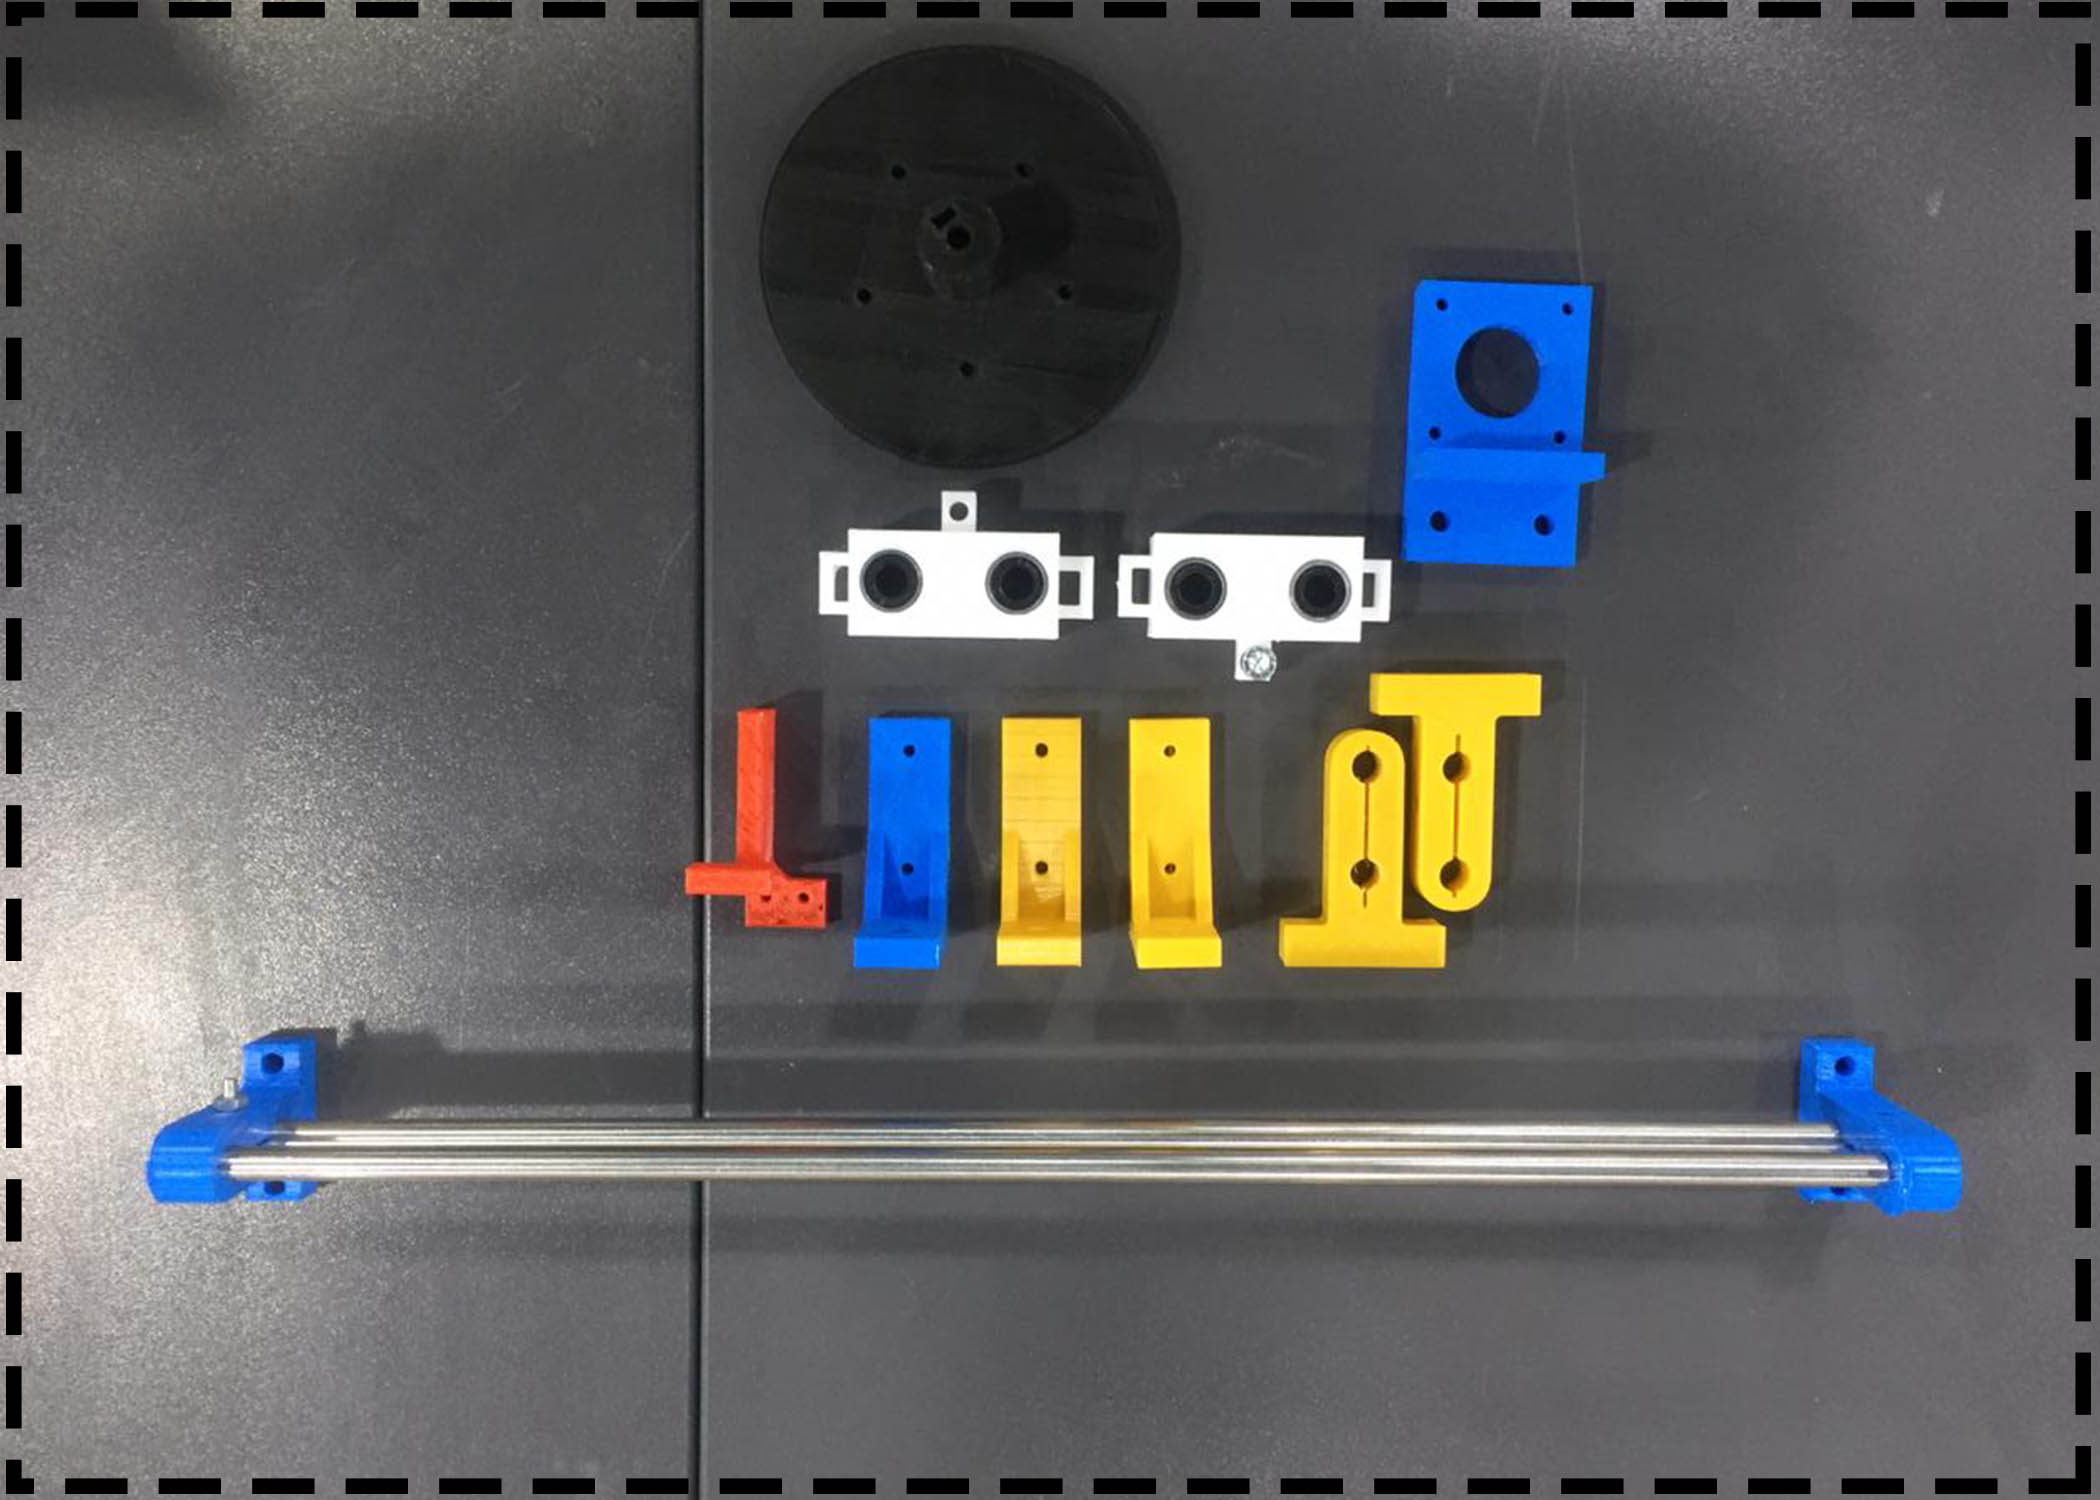
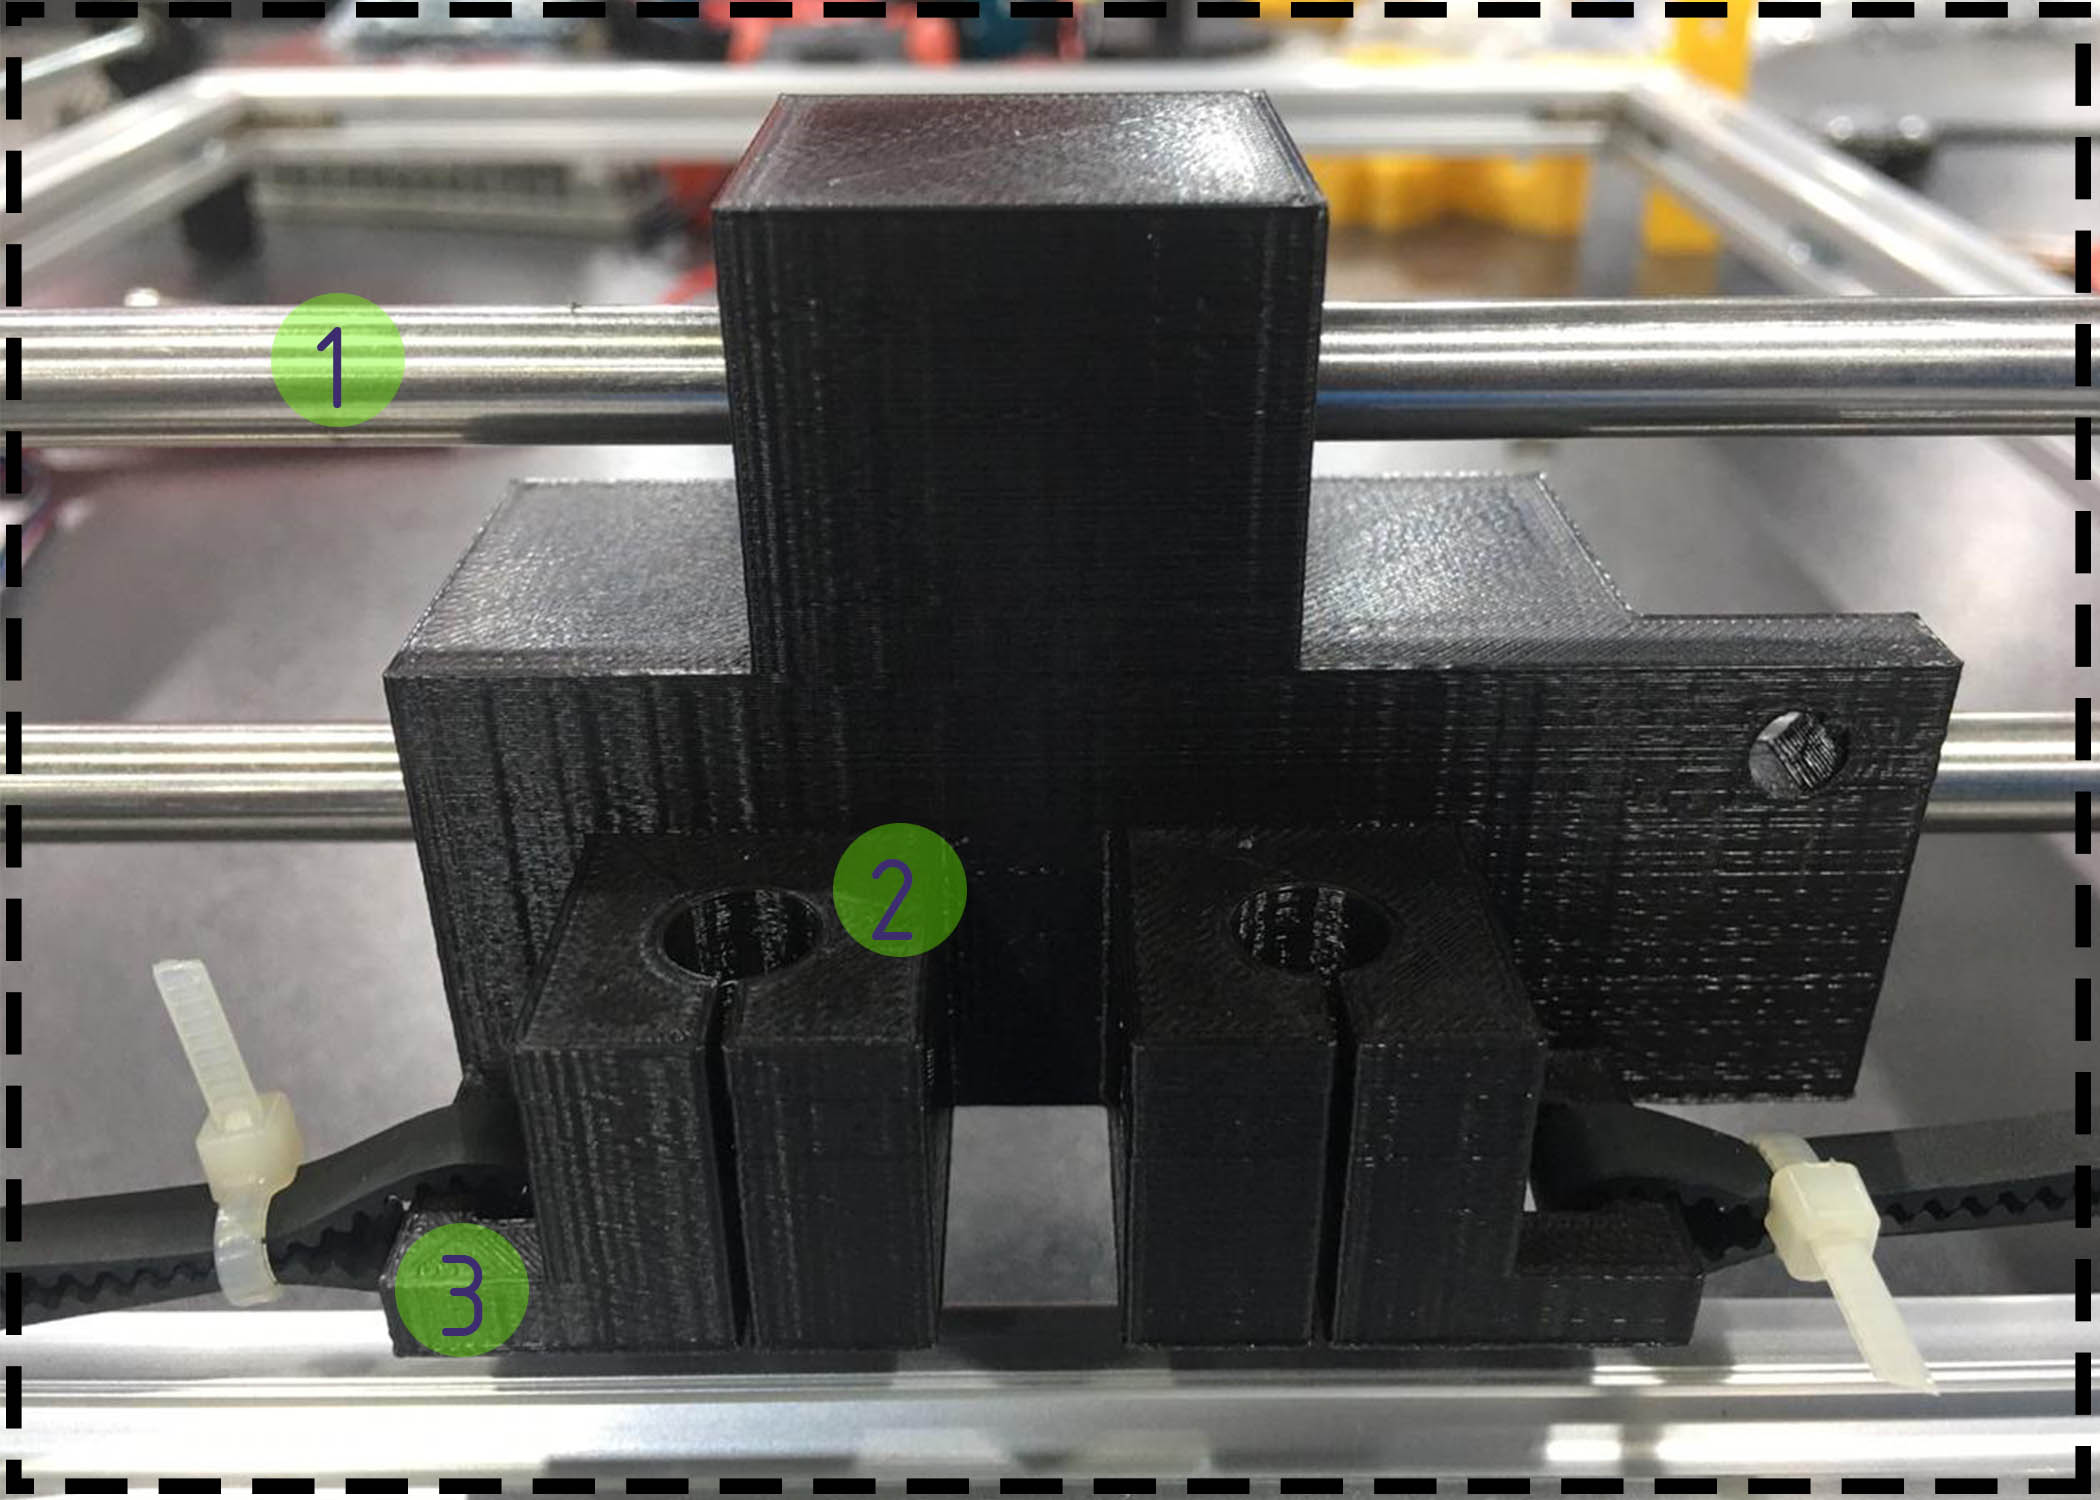
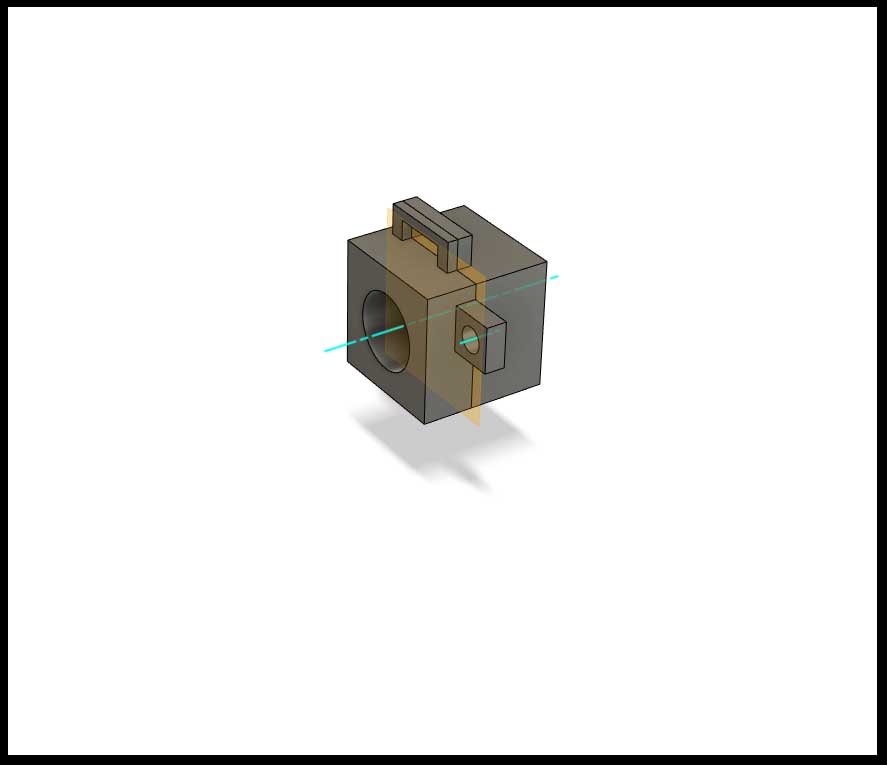
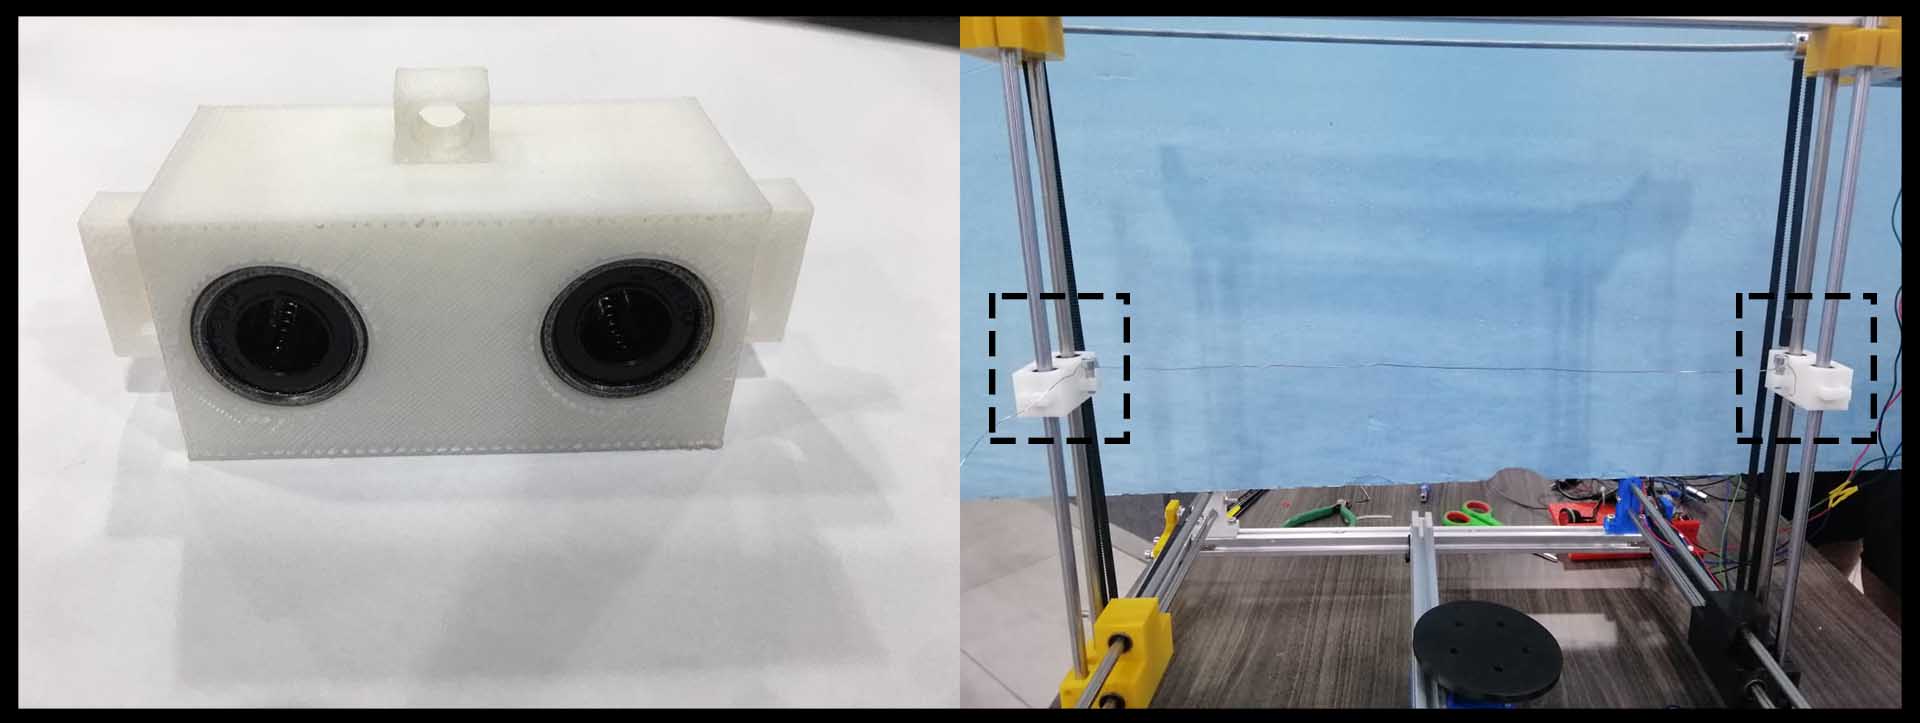
Part 1 :
Sliding block ‘X axis’
It is place in the Machine :
File to print :
Function :
It has multi functions :
One of it is to advance the Machine axises (Vertically and Horizontally) from the vibration of the Motors.
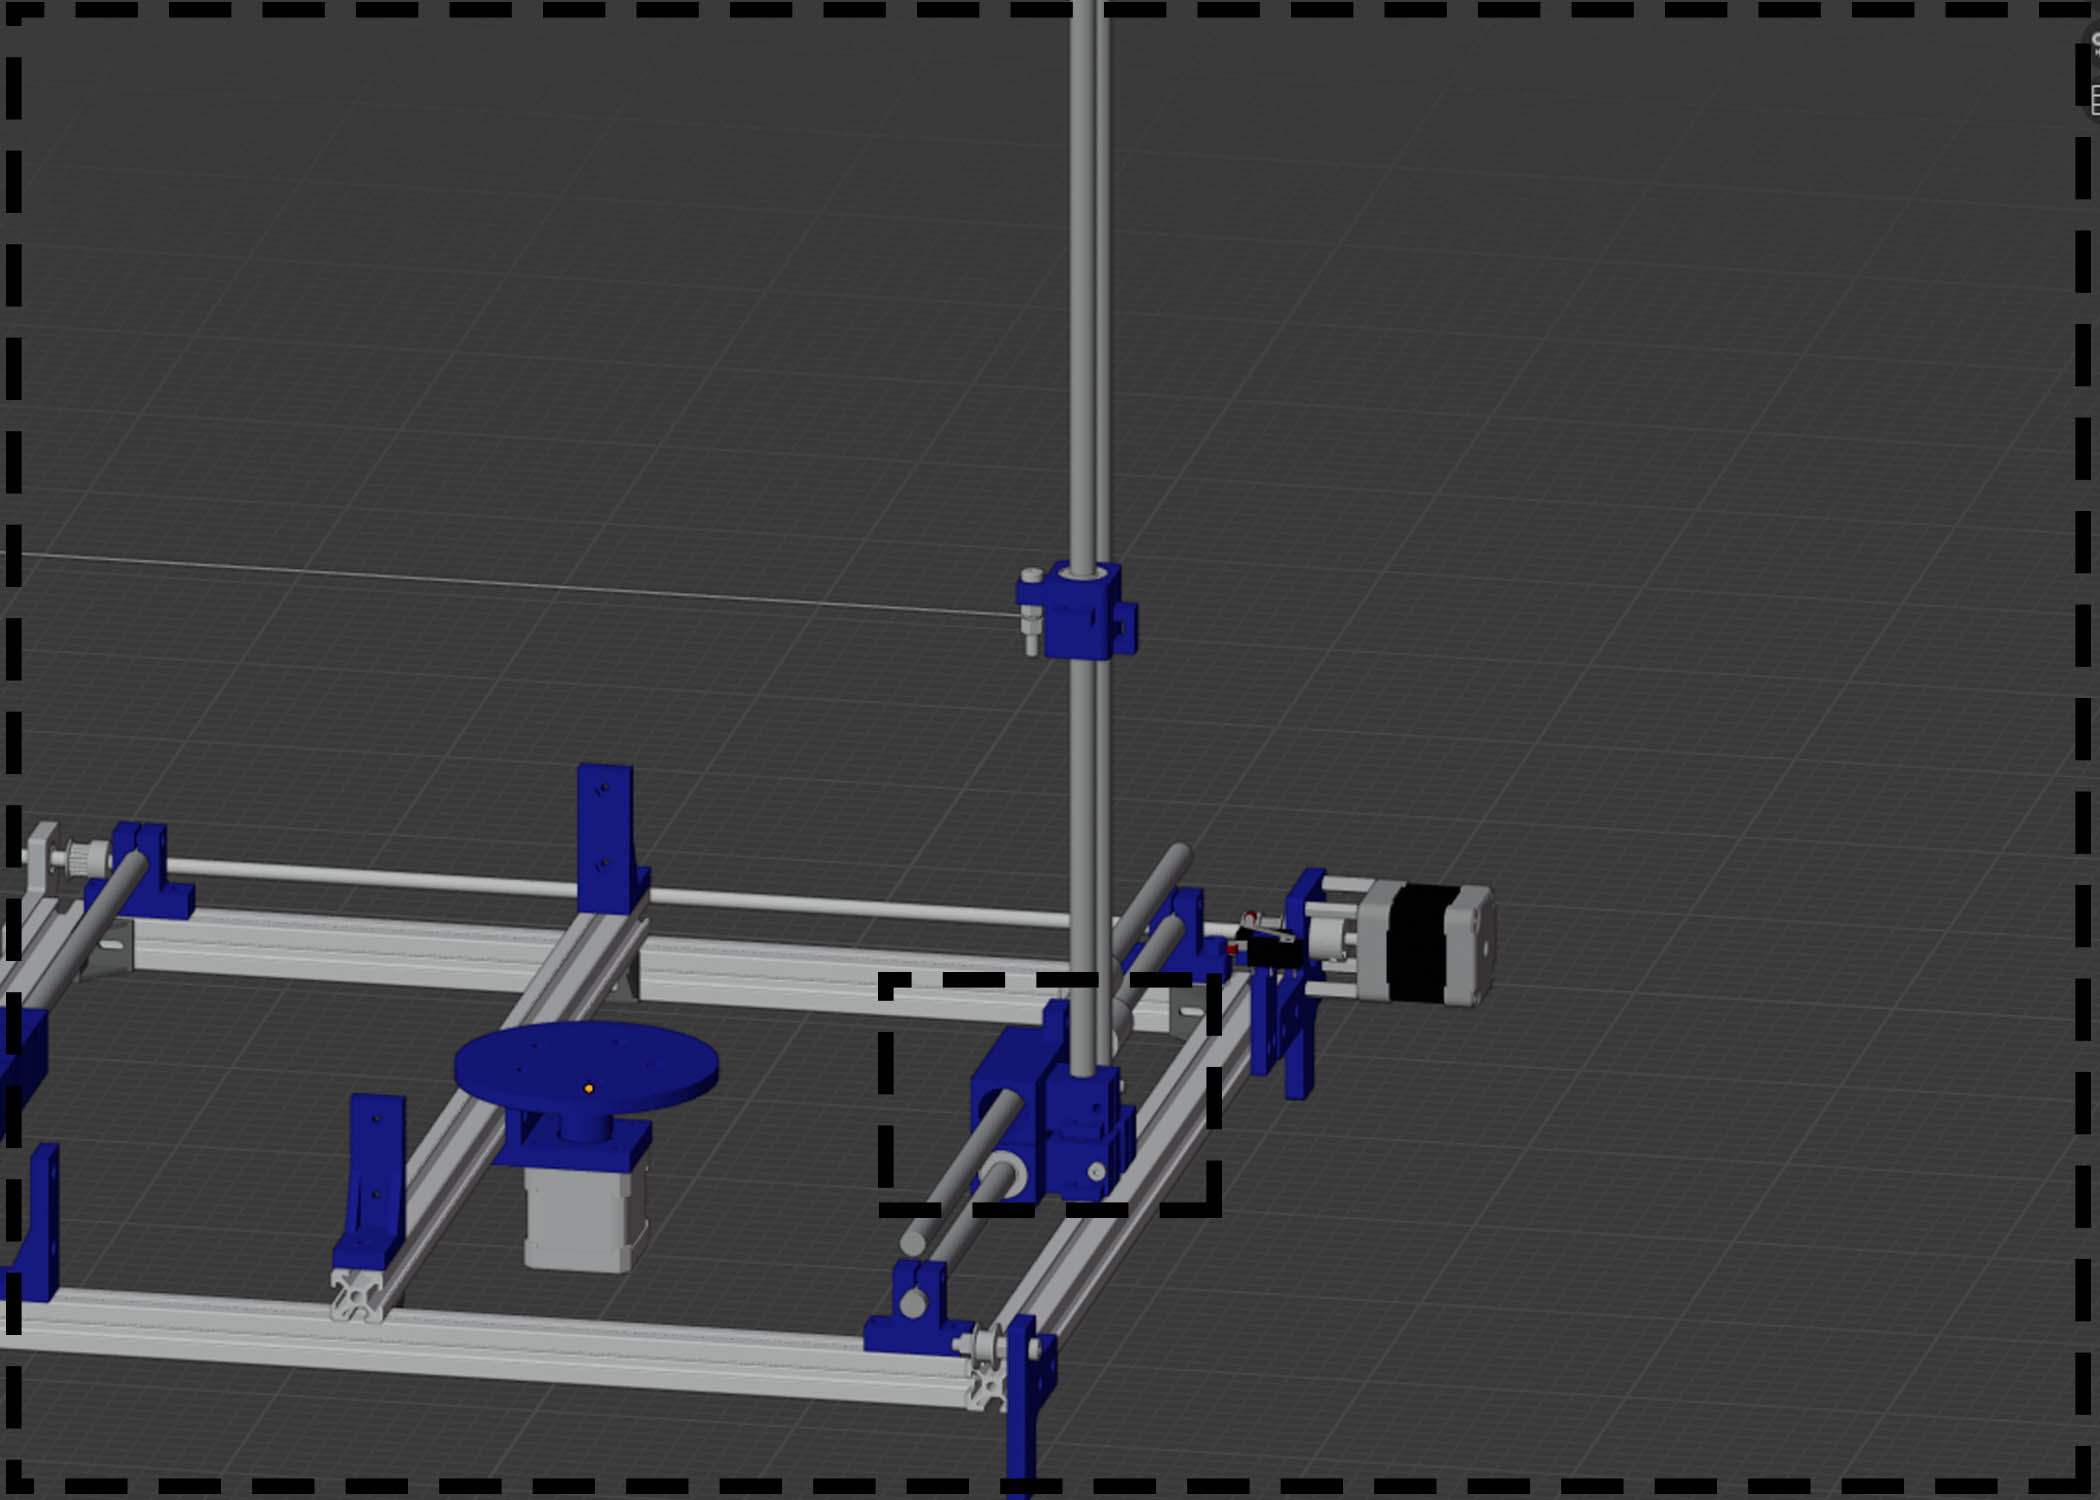
1 - Accommodate the two X-axis linear bearings.
2 - It holds the two Y-axis Rods.
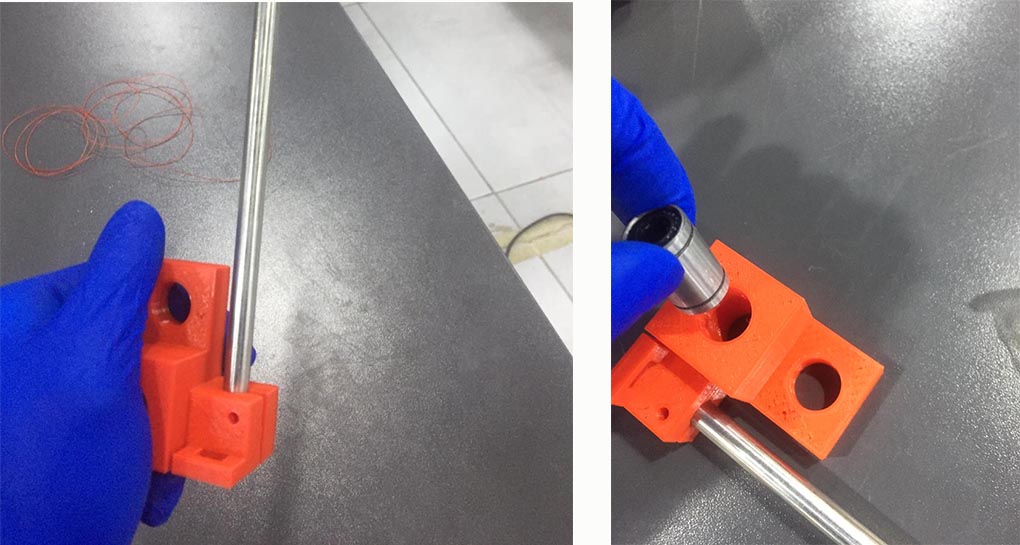
###### checking the fit between 3D printed parts and ordered metallic mechanical parts :
Print Settings
    Shell
    Wall Thickness: 0.7 mm
    Top/Bottom Thickness: 0.75 mm

    Infill
    Infill Density: 18%
    Infill Pattern: Grid

    Material
    Printing Temperature: 200 °C
    Build Plate Temperature: 60 °C

    Speed
    Print Speed: 45 mm/s

    Travel
    Enable Retraction: Yes
    Travel speed : 150


    Cooling
    Enable Print Cooling: Yes
    Fan Speed: 100%


    Build Plate Adhesion
    Build Plate Adhesion Type: Skirt
Hero Shot
Part 2
Sliding block ‘Y axis’
File to print :
Function : 1- Hold the hot wire and move it around the ‘Y axis’. 2- Accommodate the two Y-AXIS linear bearings and Rods. 3- Attaching the Y-AXIS belts.
Print Settings :
    Shell
    Wall Thickness: 0.7 mm
    Top/Bottom Thickness: 0.75 mm

    Infill
    Infill Density: 18%
    Infill Pattern: Grid

    Material
    Printing Temperature: 200 °C
    Build Plate Temperature: 60 °C

    Speed
    Print Speed: 45 mm/s

    Travel
    Enable Retraction: Yes
    Travel speed : 150


    Cooling
    Enable Print Cooling: Yes
    Fan Speed: 100%


    Build Plate Adhesion
    Build Plate Adhesion Type: Skirt
Arduino CNC Machine Foam Cutting Assembling :
Here you can see how we assembled the machine :
First we started with the profile :

Next we started to hold the motors :
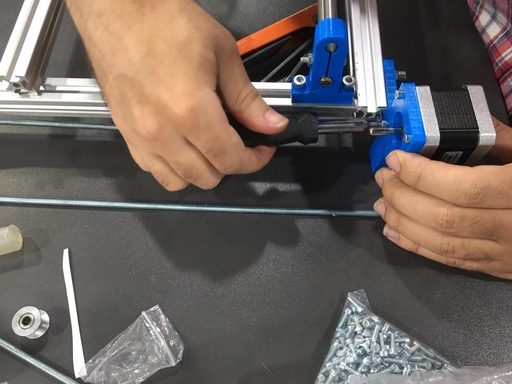
And here you can see the final Assemble :