17. Wildcard week
This week I worked on defining my final project idea and started to getting used to the documentation process.
This weeks Assignment: 
-
Individual assignment:
-
Design and produce something with a digital fabrication process (incorporating computer-aided design and manufacturing) not covered in another assignment.
-
Documenting the requirements that your assignment meets, and including everything necessary to reproduce it.
-
Possibilities include (but are not limited to): machines, robotics, electronics, folding, food, materials, biotechnology, textiles…
For this week we to Design and produce something with a digital fabrication process (incorporating computer-aided design and manufacturing) not covered in another assignment, documenting the requirements that your assignment meets, and including everything necessary to reproduce it. I decided to test something new in 3d printing which is 3D printing on Fabric.
3D printing on fabric
- The field of 3D printed fabrics has already shown a lot of potential. 3D printing not only provides a solution to the environmental crises caused by the textile industry, but it has also opened many new doors for textile scientists and it is also offering great advantages for the fashion industry .
In this assignment I will show how to print on fabric so let’s discover it together .
- At first i visited a lot of webites to learn more about this process and to find something inspires me to make this assignment .

Then I looked for a fiber that allows me to print on it.
For that I searched for possible one, I read a lot of sites to have a clair idees about the differences between each type :
The perforated fabric can be a mesh or netting. The fabric is placed in between layers of printed filament making contact and bonding with itself through the holes in the netting or perforation. The fabric then gets locked in and your print stays on the fabric. It can be
mesh

Cargo netting

Tulle

Lace

In my case I choose to print my design on a tulle
So, after having my idee about the fabric type and the design, its time to start drawing it on Fusion 360 so let’s start:
Steps to design
My design will be a four side by side pyramids printed on fabric , the steps were super easy as it is explained below :
1- I designed four equilateral triangle :

2- Outside the triangle I created a rectangle :

3- I extruded all the triangle unil I got a four identical pyramides as it is shown below:


4- And here is the final result I got .

5- After that I went to up left of the fusion menu and exported the file as STL format at that thime only the file ready to be uploaded to the 3d printer.
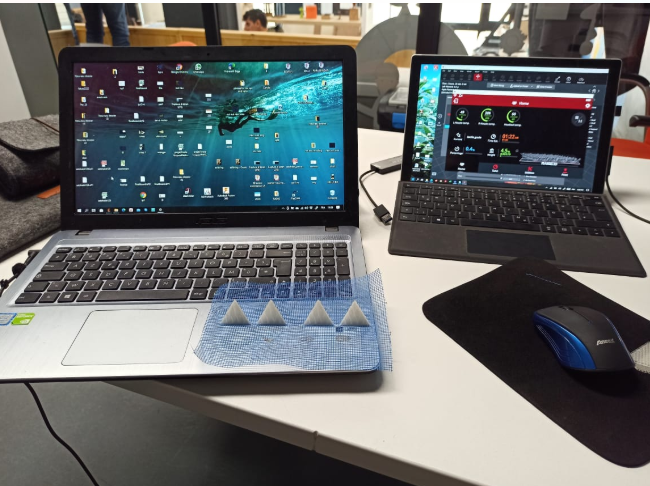
I used the RAISE 3D printer:

Its software was the ideaMaker 3.5.1
steps to print:
1- I opend the ideaMaker

2- Go - files - import- and I choose my specific file

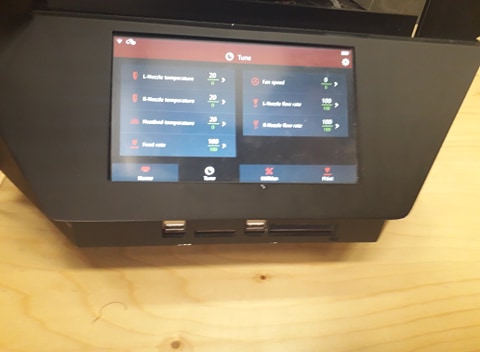
3- This step is the most important after placing the peace I start slicing and specify the parameters , as the following :
Infill 20%
without generation a support of course and I kept the othe setting as default, befor that I to others - pause height I putted
1.2mm this function means that at a specific height I defined (G-CODE modification) , the 3D printing will stop until I restarted it again

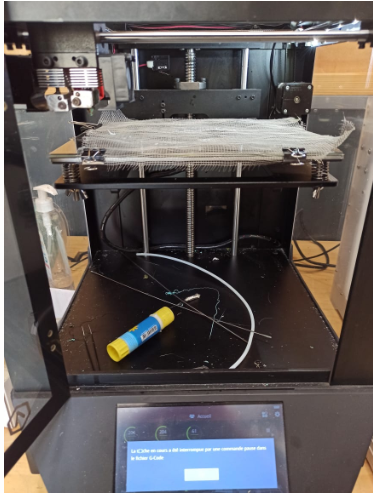
I sent the the file to the raise cloud and I started the printing , after attent the specified height the printer stopped and I fixed the tulle on my pyramids as it is well explained in the following images :


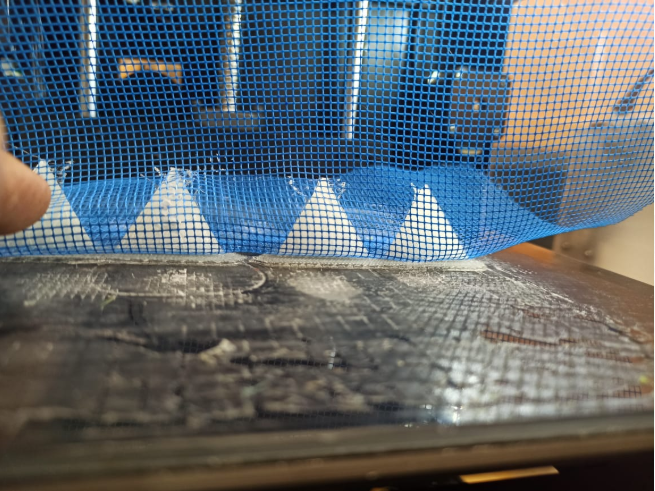
Here is the final result :