- Group Assignment:
- Characterize your lasercutter's focus, power, speed, rate, kerf, and joint clearance
- Individual Assignment:
- Cut something on the vinylcutter
- Design, lasercut, and document a parametric construction kit,
accounting for the lasercutter kerf,
which can be assembled in multiple ways,
and for extra credit include elements that aren't flat
- Link to the group assignment page
- Explaine how I parametrically designed my files
- Document how I made my press-fit kit
- Document how I made my vinyl cutting
- Include my original design files
- Include my hero shots
Fusion360 Inkscape CutStudio LaserWork CorelDRAW Morn:MT3050D Roland:GX-24
Group Assignment
This is Fab Lab Egypt's Morn MT3050D Laser Cutter.

Technical Specs
- Working Area 300mm x 500mm
- Laser Power upgraded to 80W
- Adjustable bed height
- LaserWork software
Focus Adjustment
We started experimenting by adjusting the bed level up and down until we got the smallest dot. It was at about 4mm above the material surface.

Speed and Power
We've tested the following settings on Plywood sheets:
| # | Speed | Power |
|---|---|---|
| Cutting | 23mm/s | 65% |
| Engraving | 300mm/s | 30% |

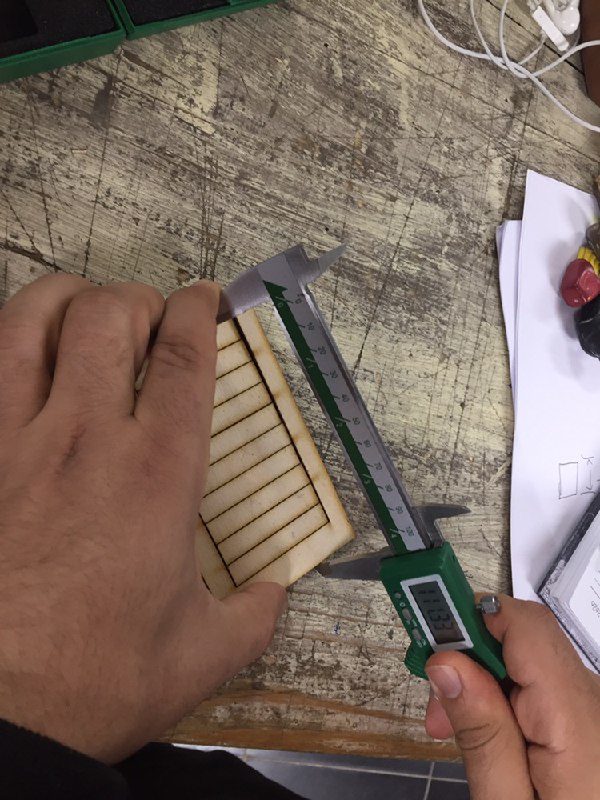
Kerf Measurement
We've cut 10 slots to measure repeated kerf and take the average measurement. It was about 0.2mm.
Rate Adjustment
Some machines have the option to adjust the rate and others don't. Our machine's software doesn't support changing the rate.
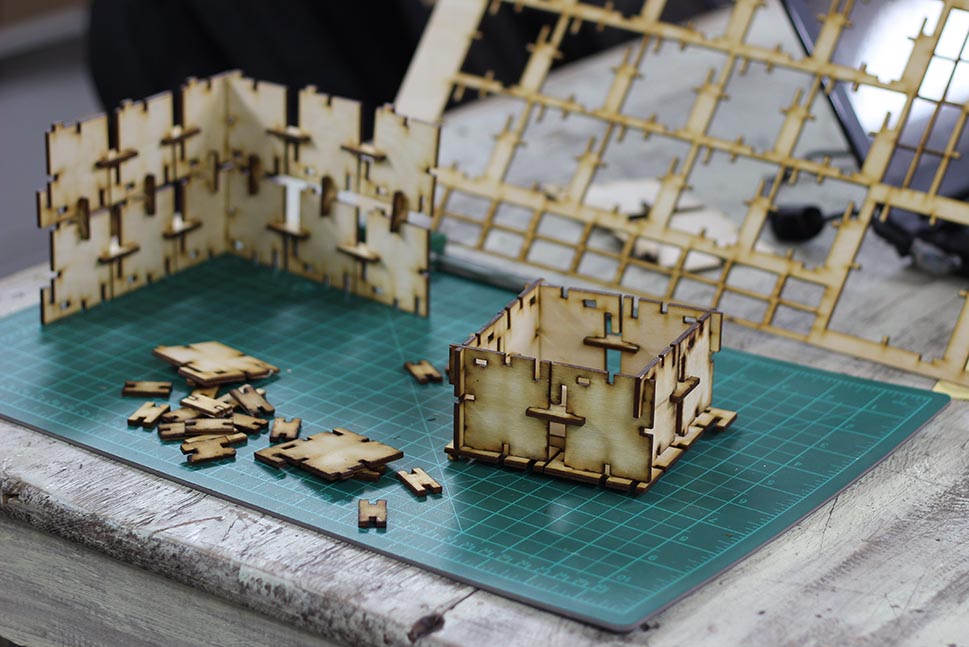
Plywood Construction Kit
Parameter(n): a numerical or other measurable factor forming one of a set that defines a system or sets the conditions of its operation.
I wondered a little about the meaning of Parametric Design, and I found this answer very helpful.
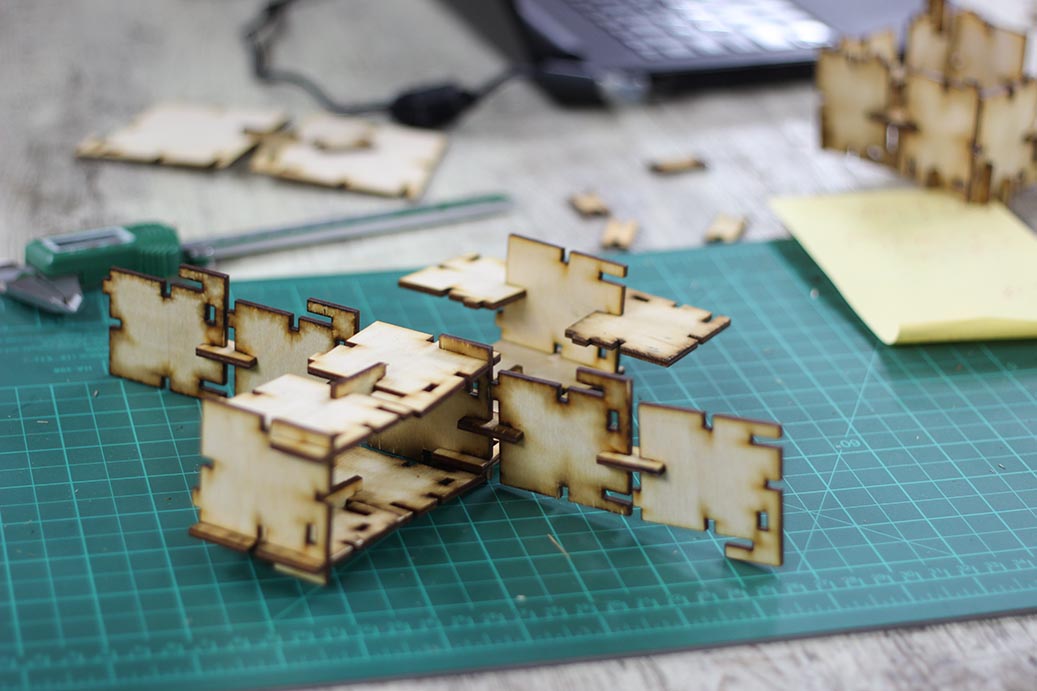
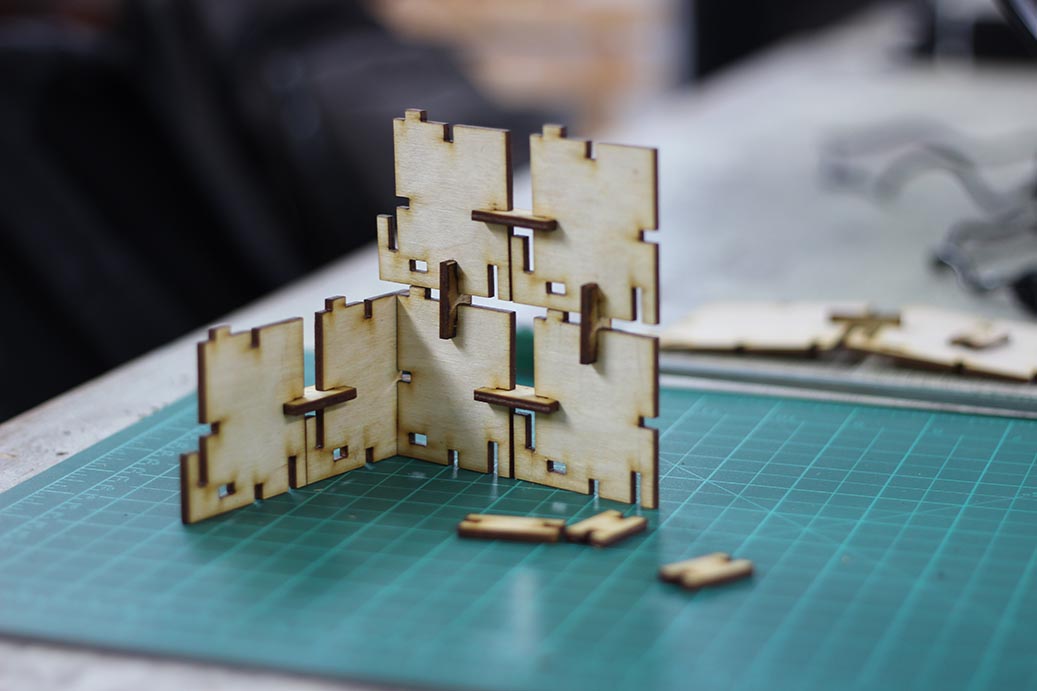
I then drafted a construction part that I called "Pixel". Those pixels are supposed to fit together in 90° and 180° from the sides or the top.
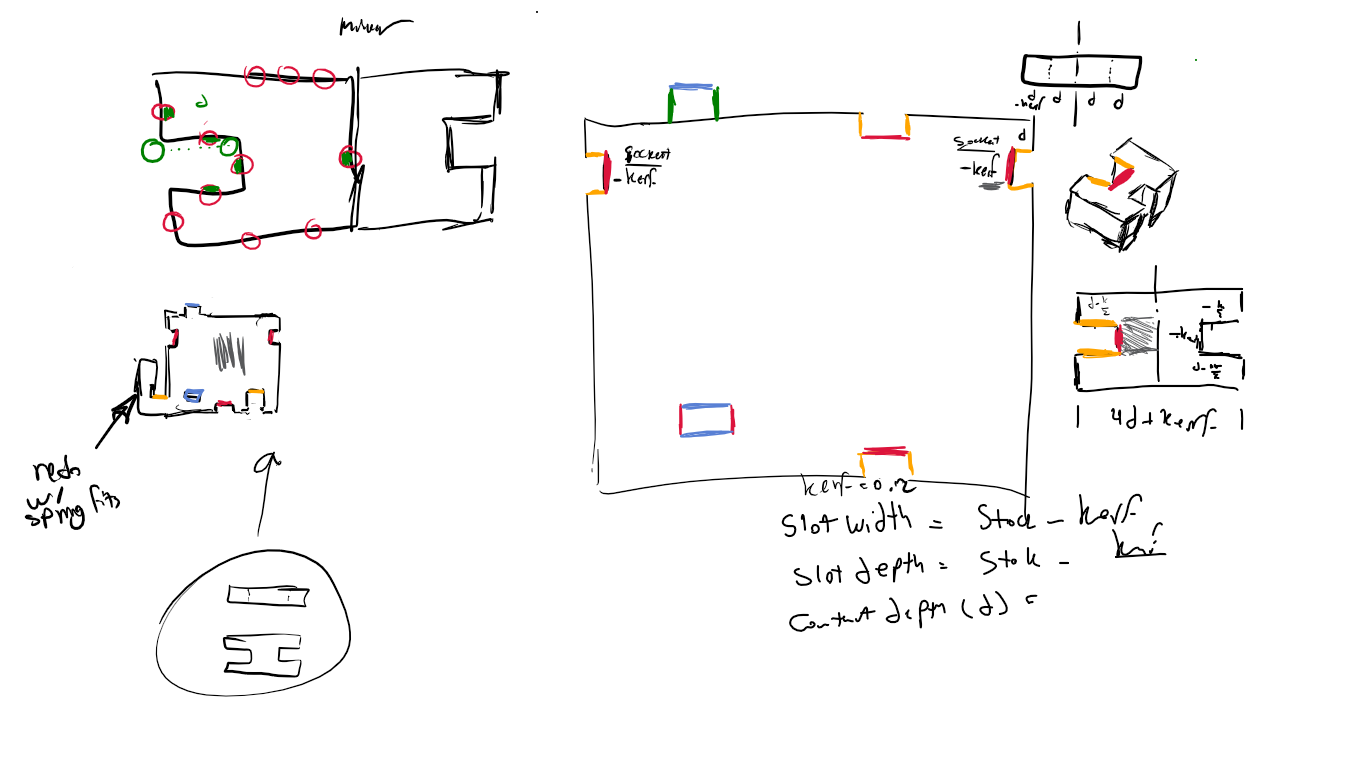
Generally speaking, the variables of my construction kit designs can be:
- stockThikcness of the current material
- kerf diameter
- soket_width of negative tabs
- pin_width of positive tabs
- total_width of the pixel
- total_height of the pixel
- and the depth of contact area between the joints
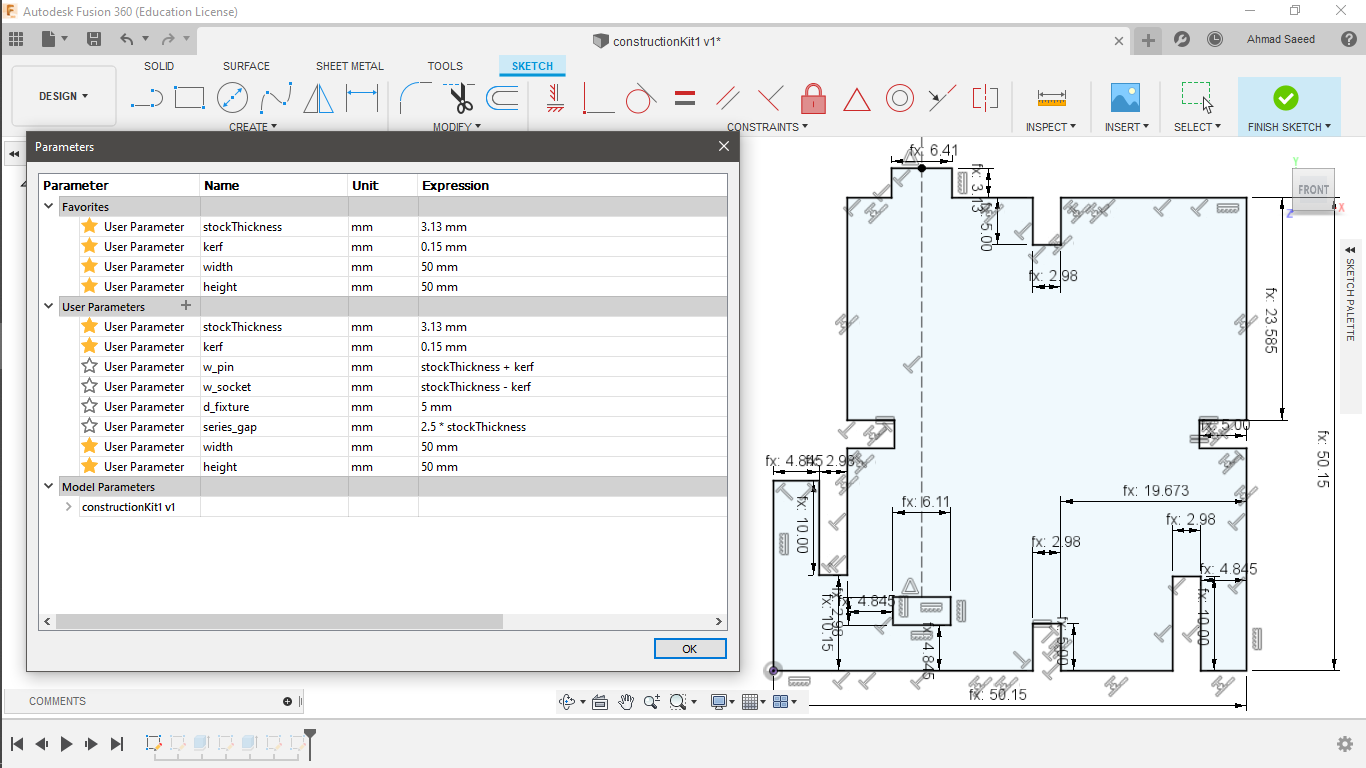
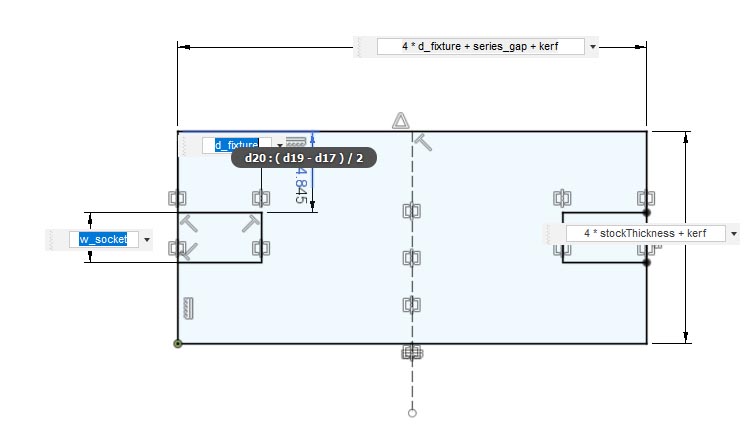
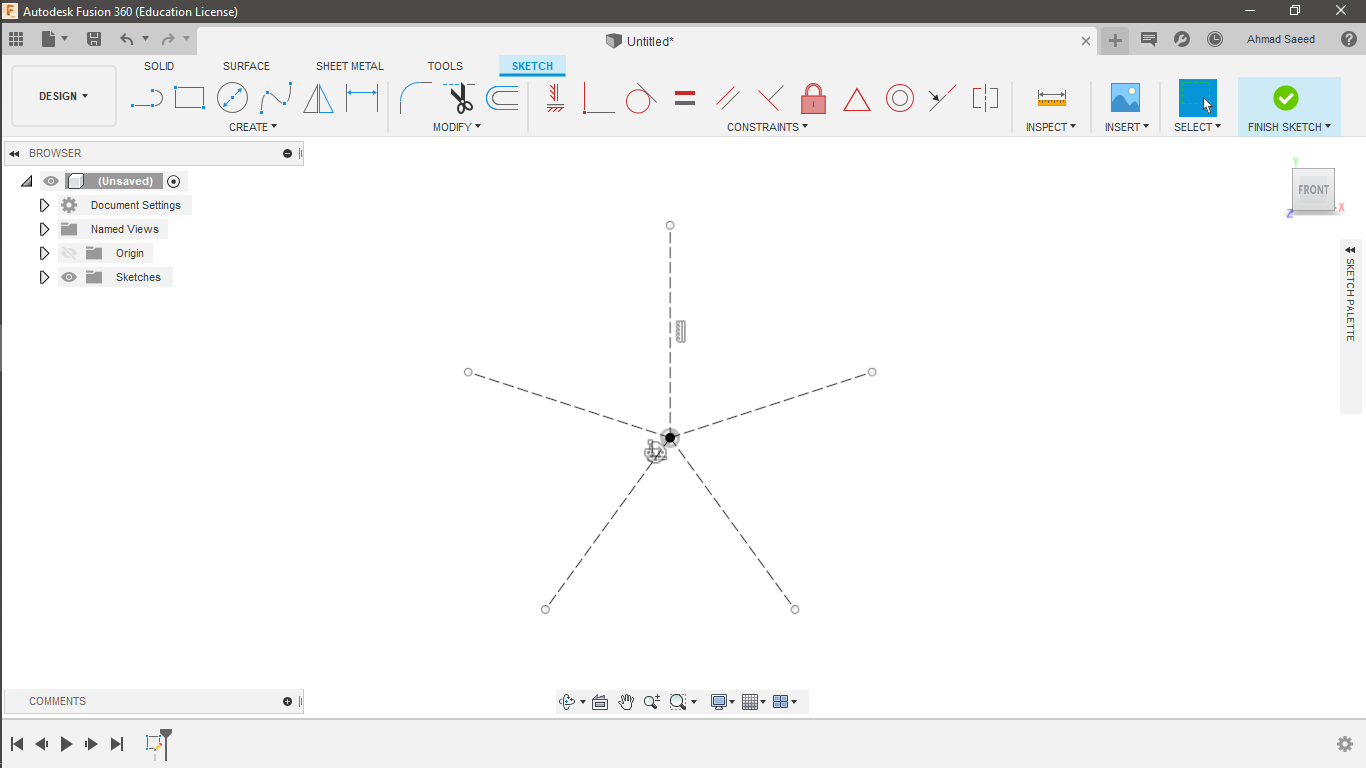
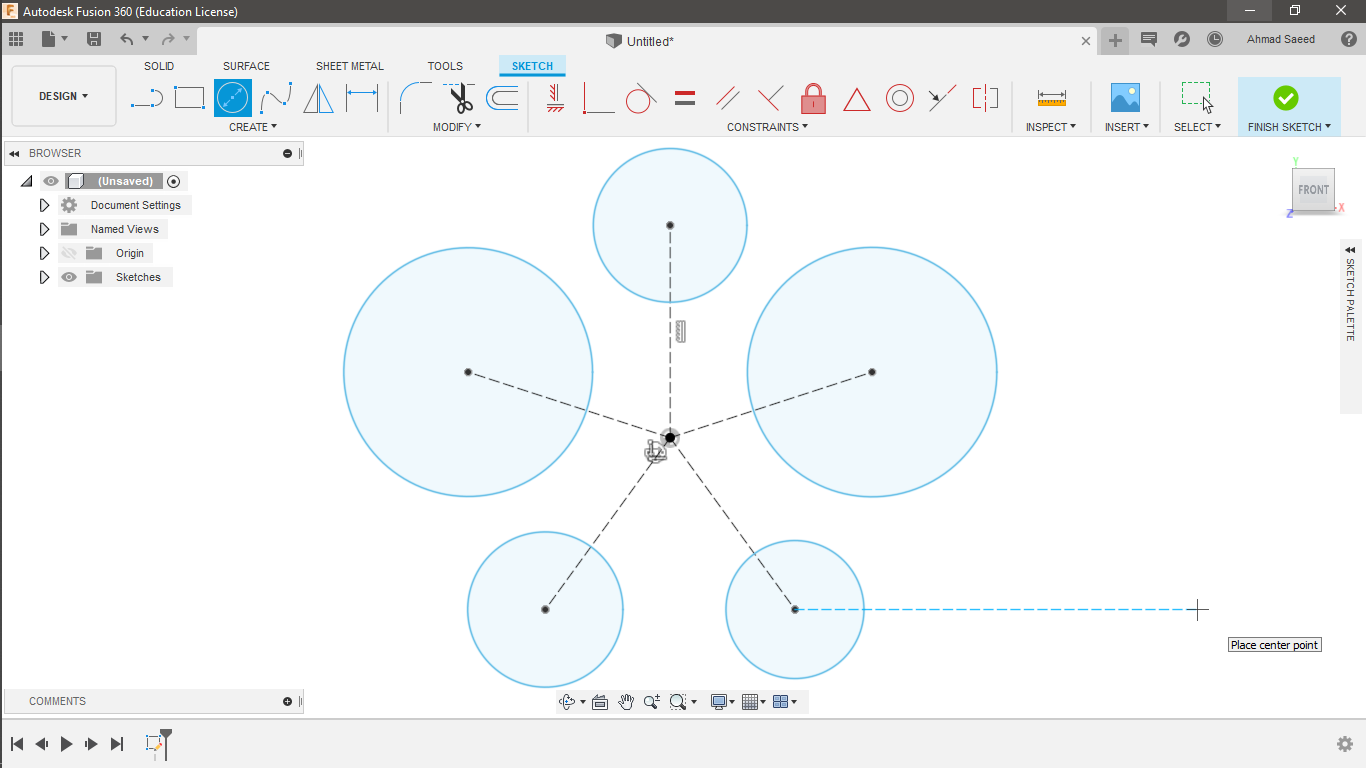
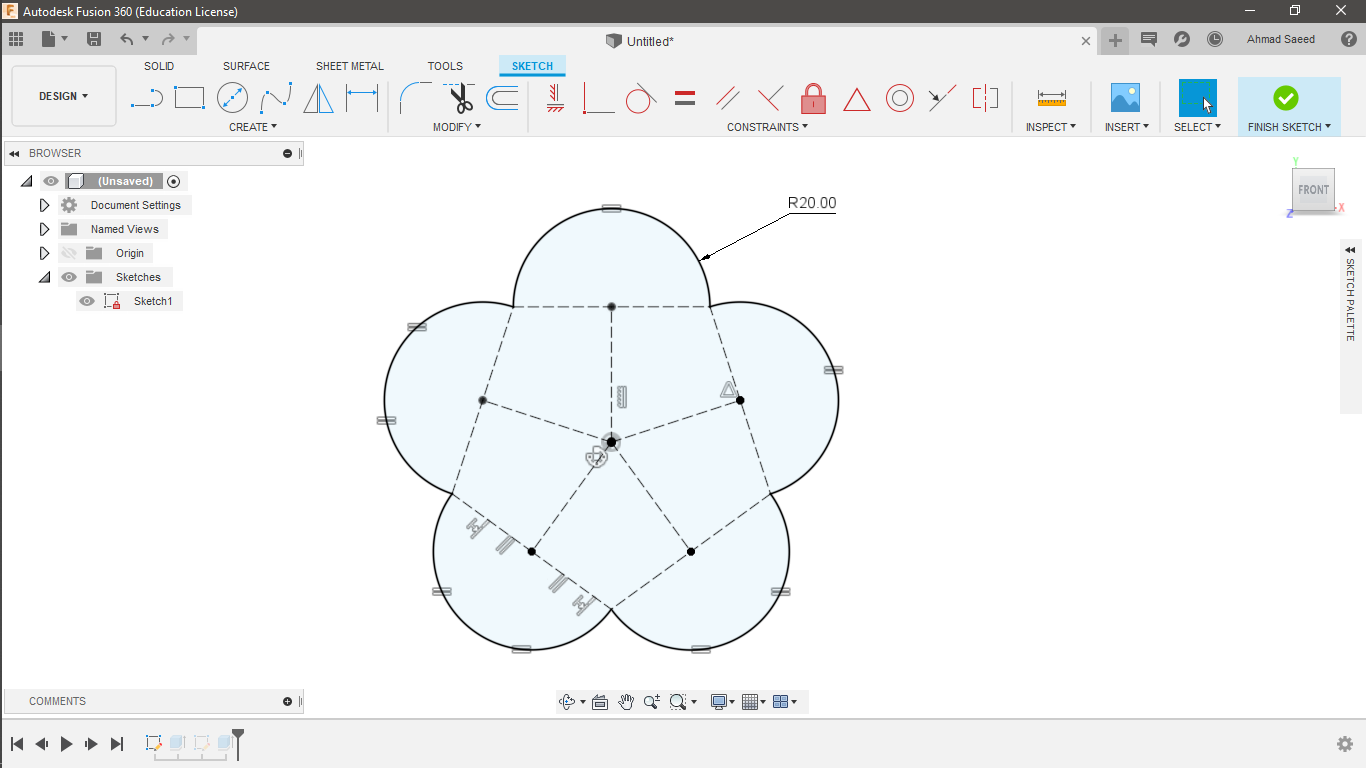
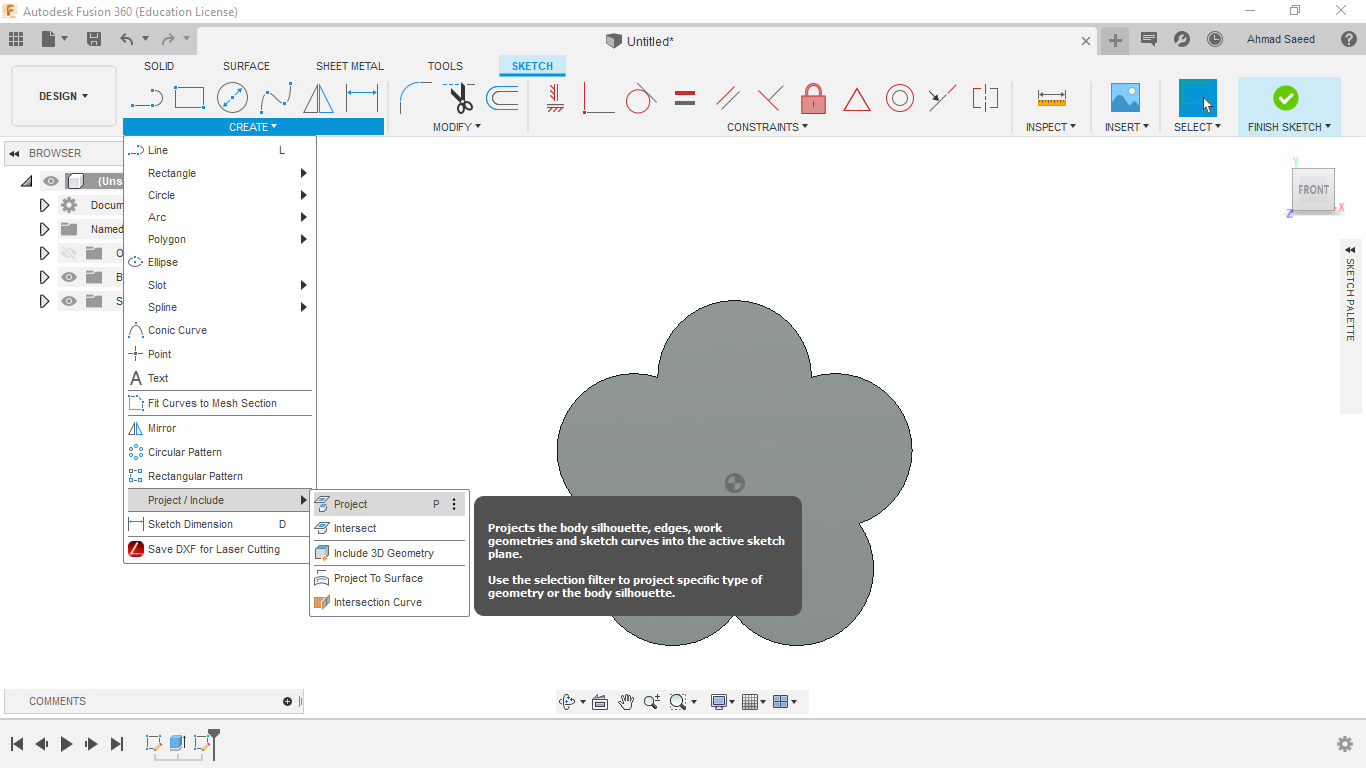
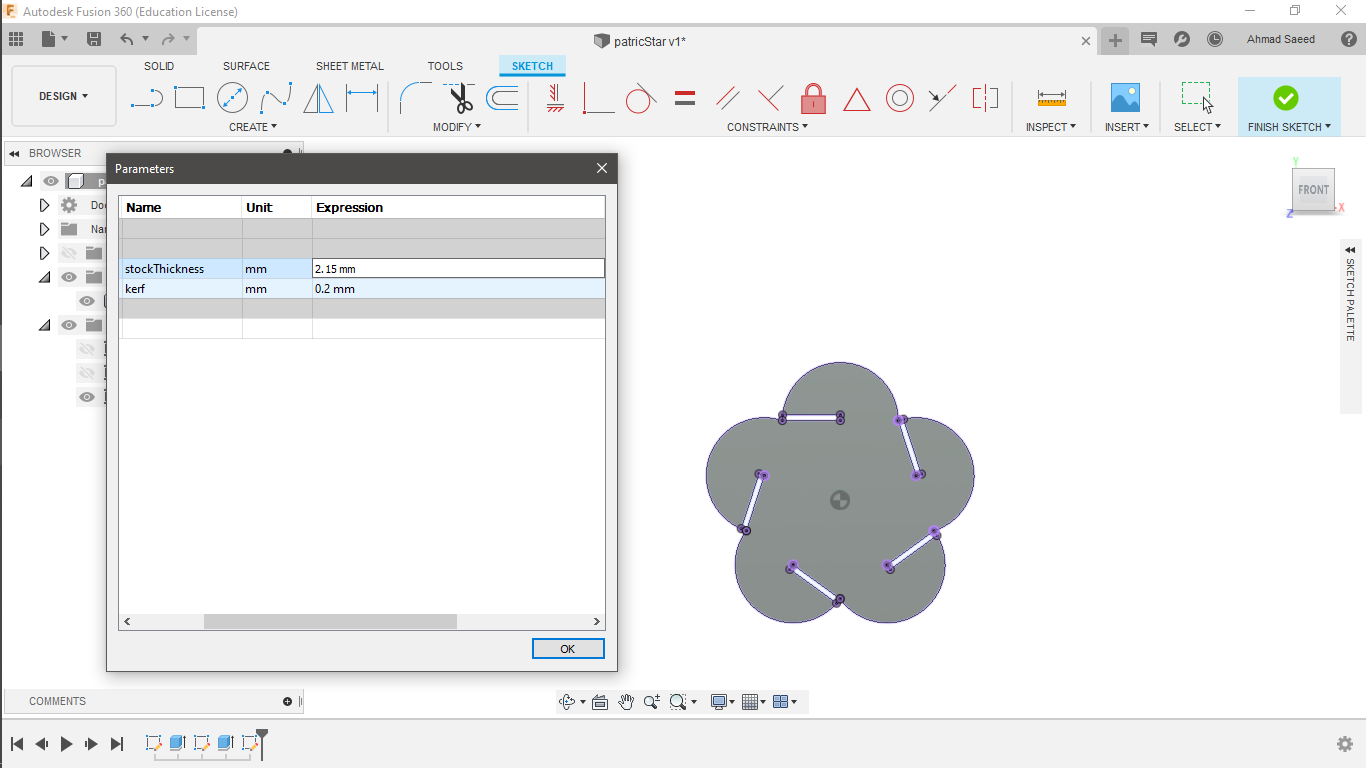
I built a Fusion360 sketch and defined my parameters as follows:

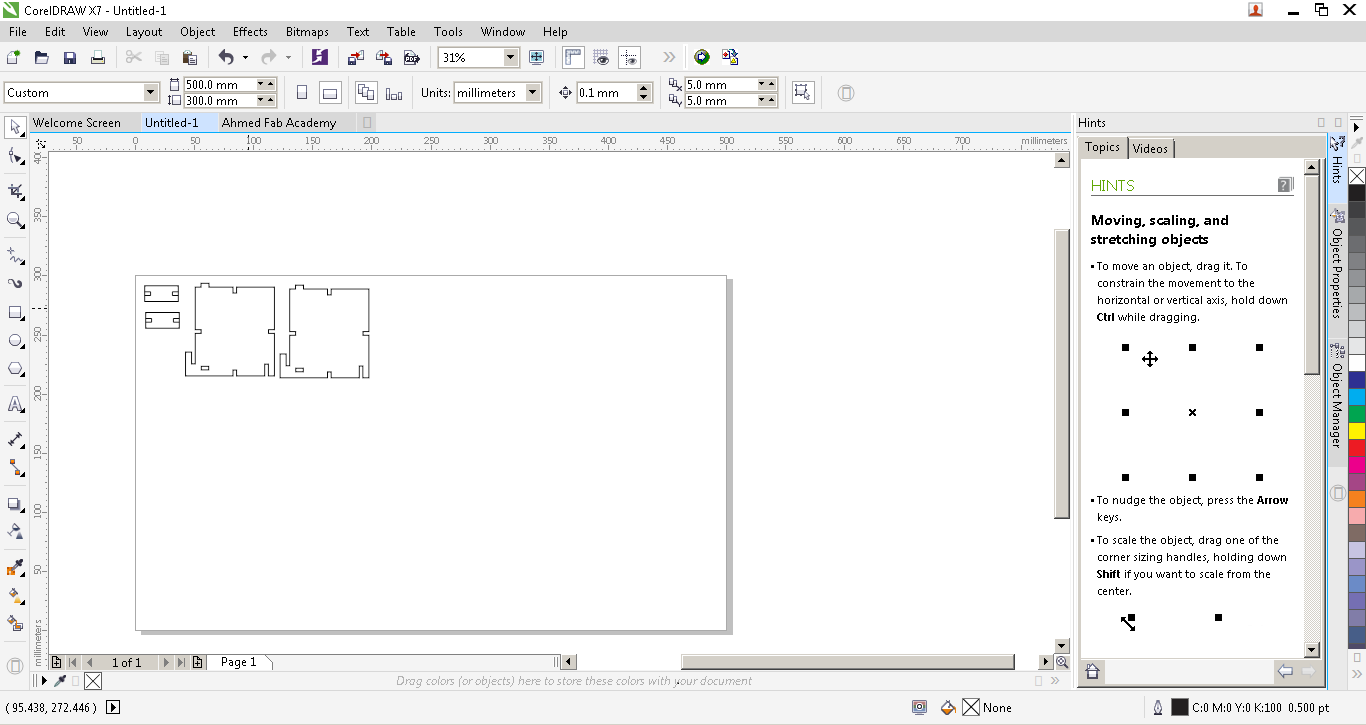
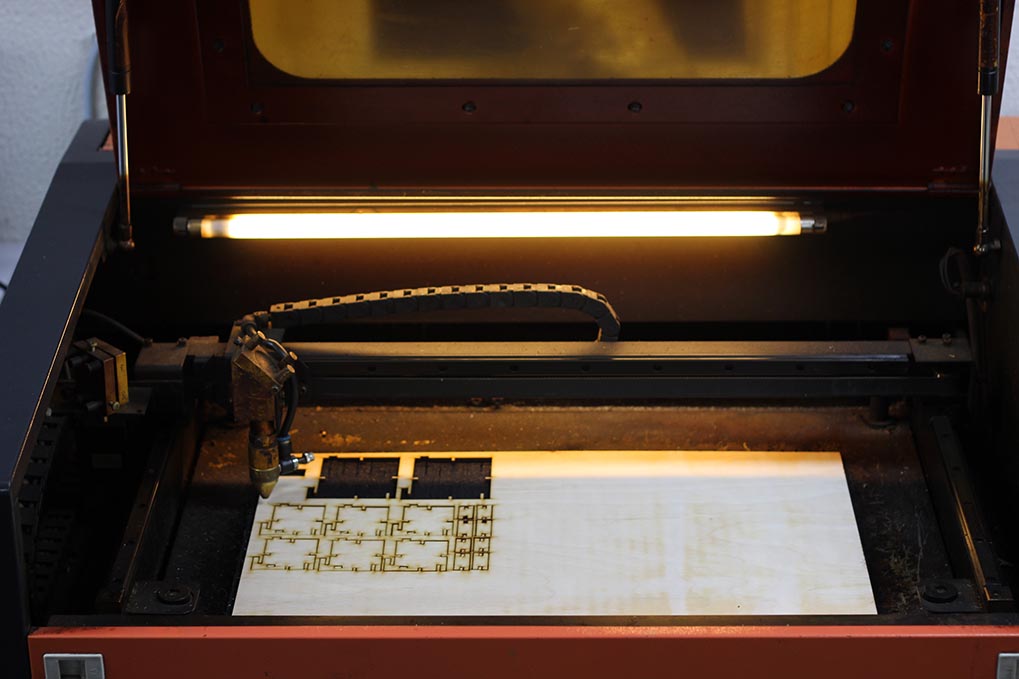
Now it's time to test the designed parts. I put copied my designs to the Laser Cutter's dedicated PC. It has both CorelDRAW and LaserWork installed. I imported my test parts, adjusted the laser speed, power, focus, and origin, and let the machine do the rest.


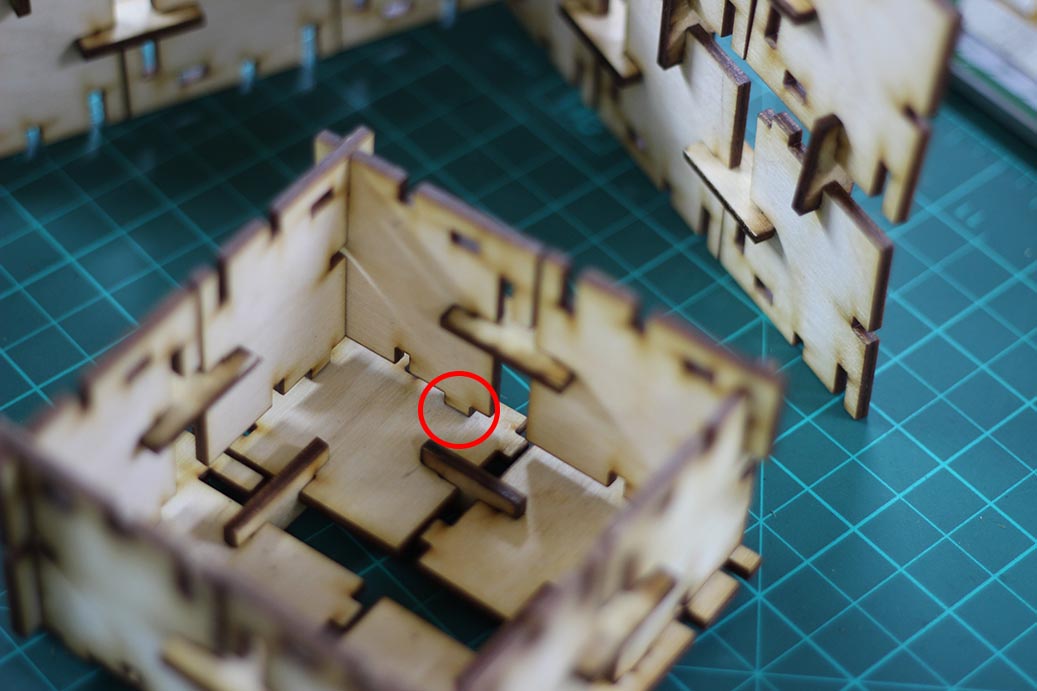
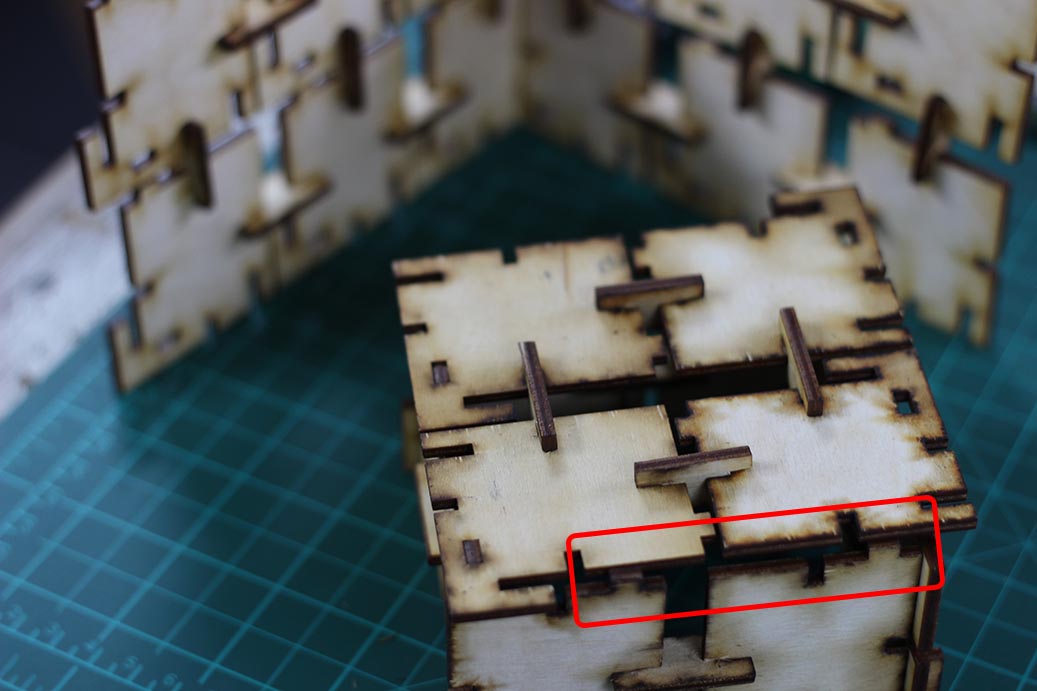
I got those parts that could fit together, but the clearance wasn't just right.

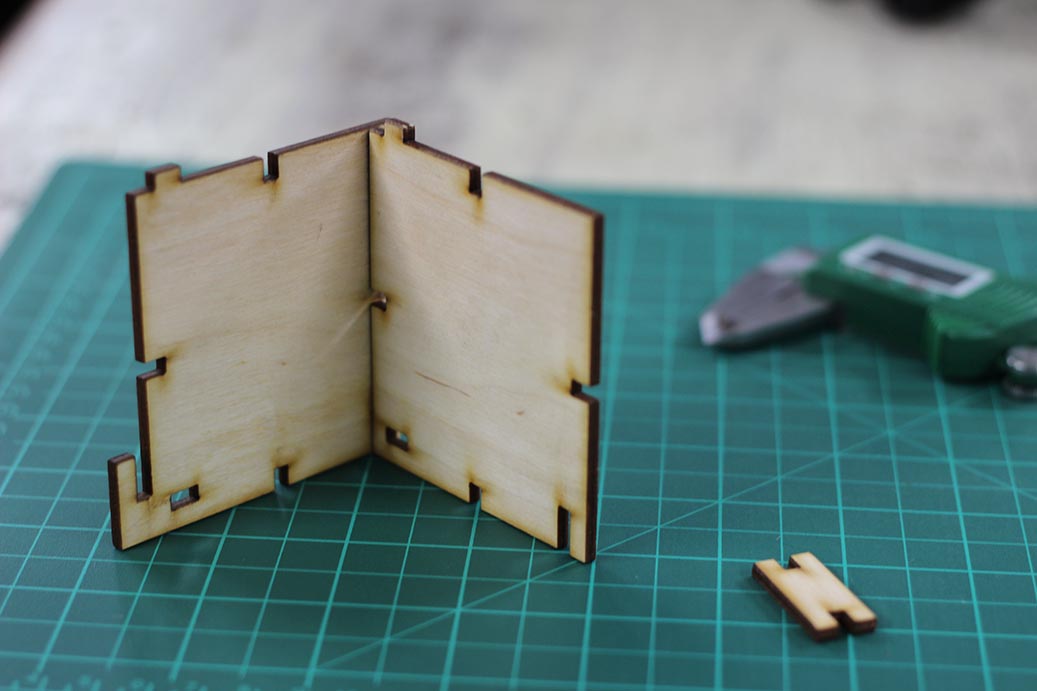
I re-measured the stockThickness and it wasn't 3mm as I assumed. It was 3.27mm. I edited my parameters, and tried again.
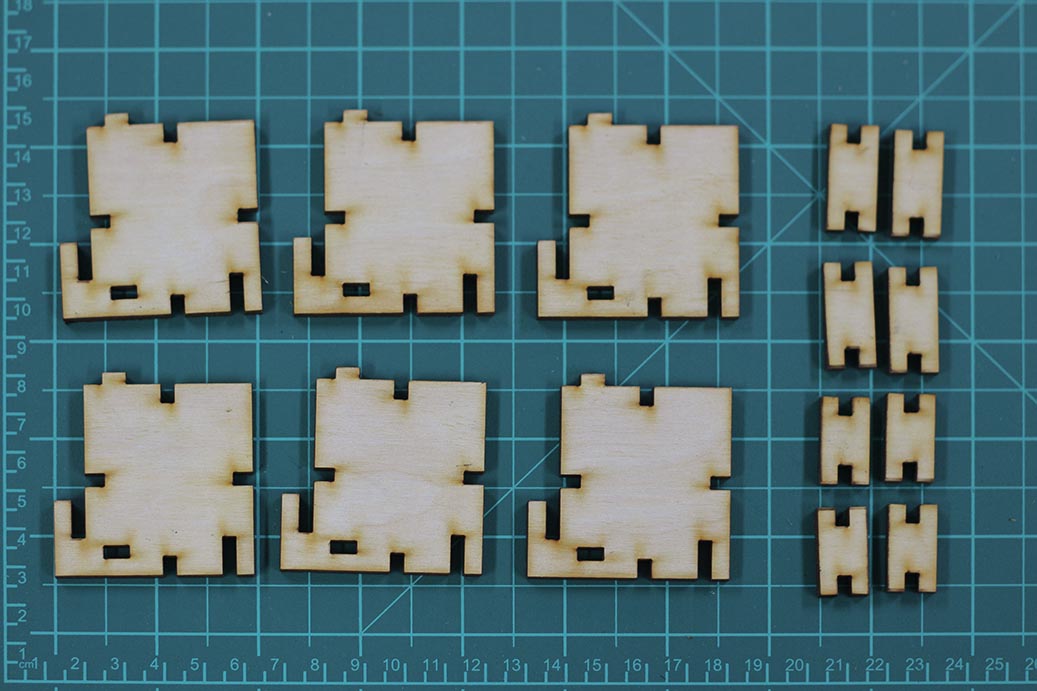
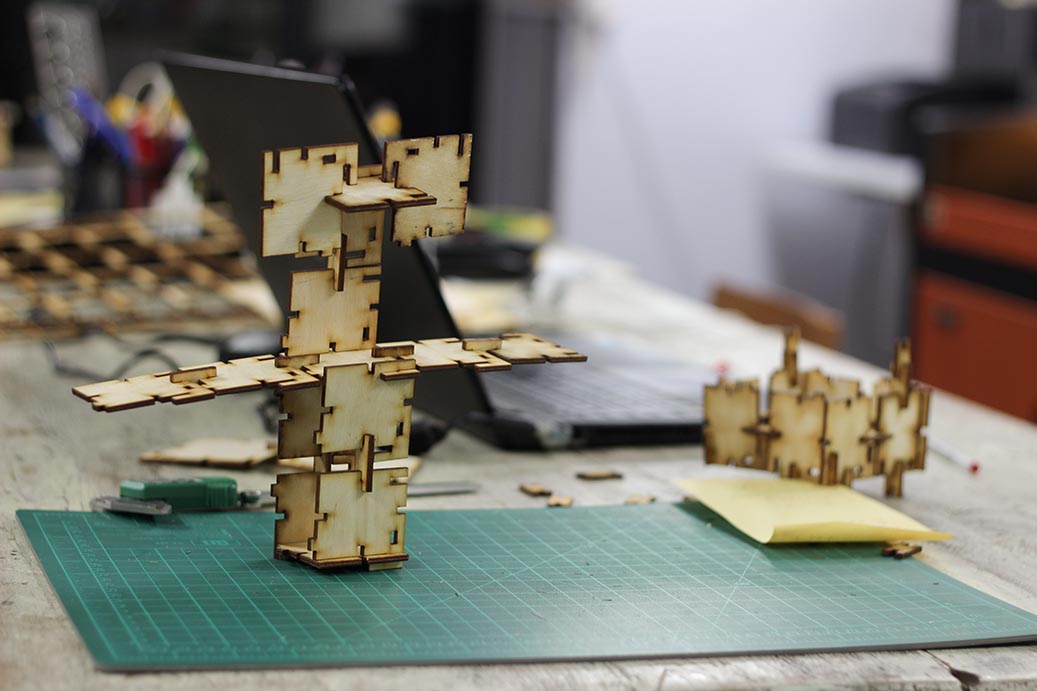
It worked!! so I cut many parts to play with.

Contemporary Art Time :D


Design Problems
I didn't put in consideration that the parts may end up not fitting together
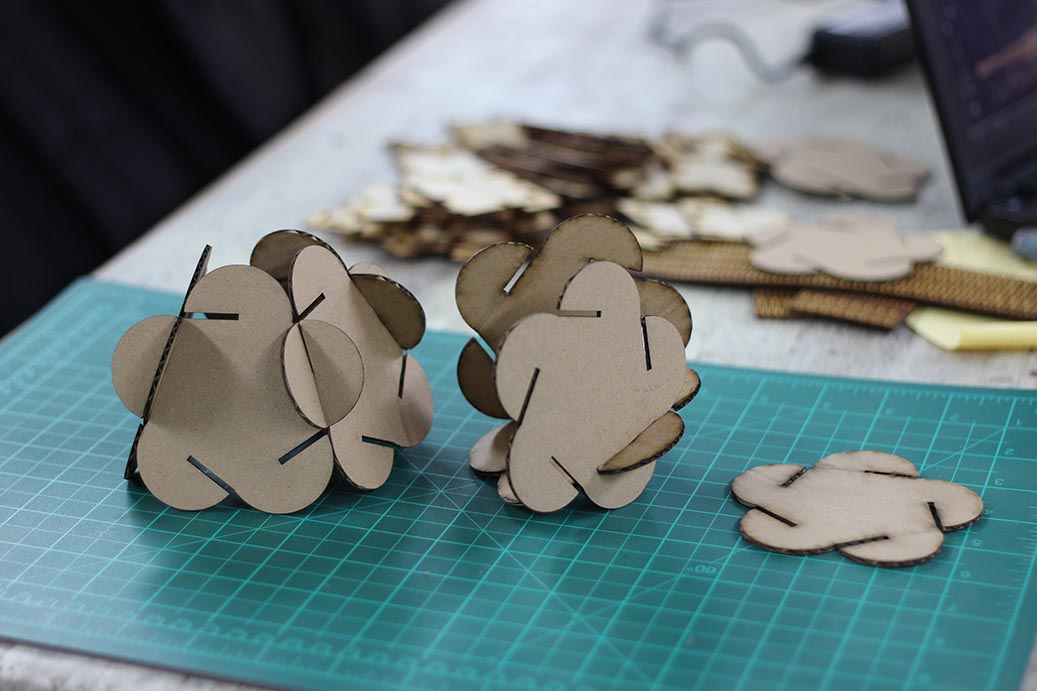
Cardboard Construction Kit
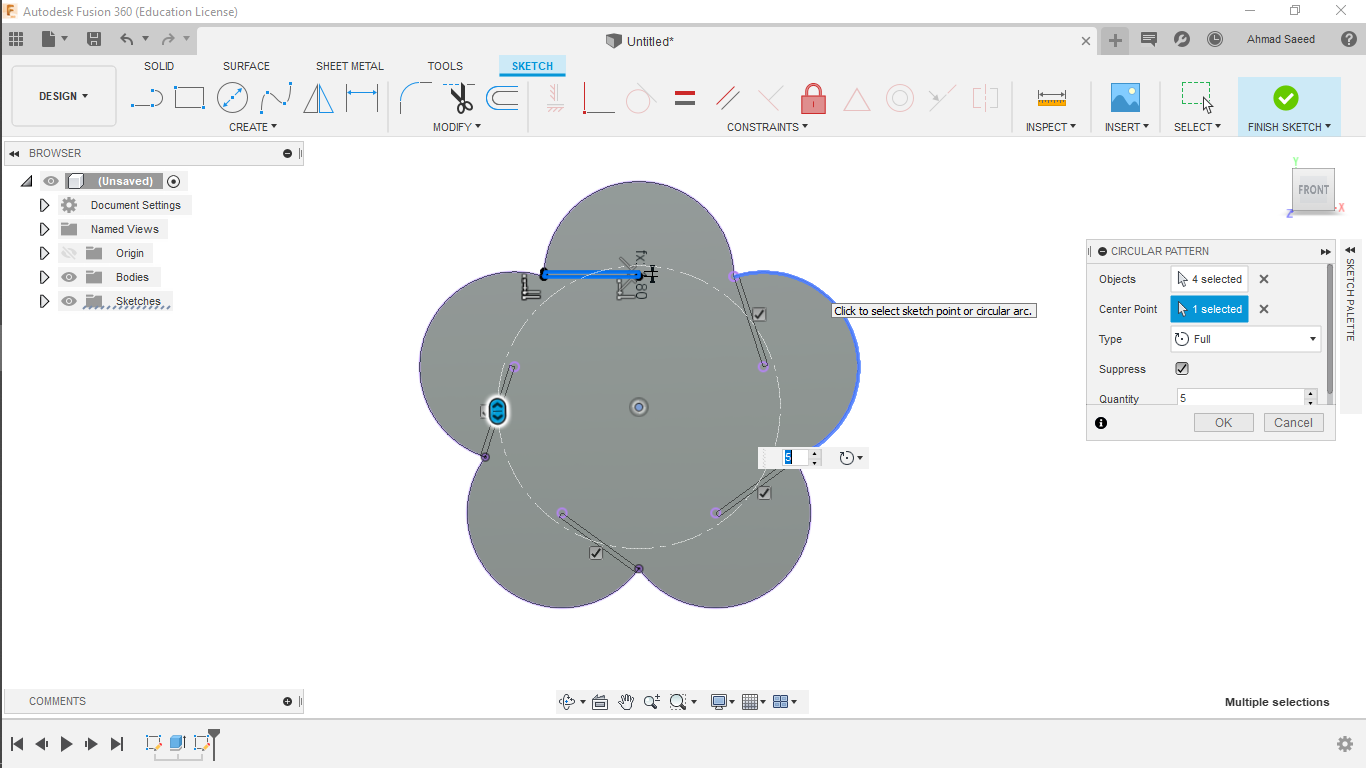
I decided to try cardboard. I was inspired by this pattern and went on creating the design.
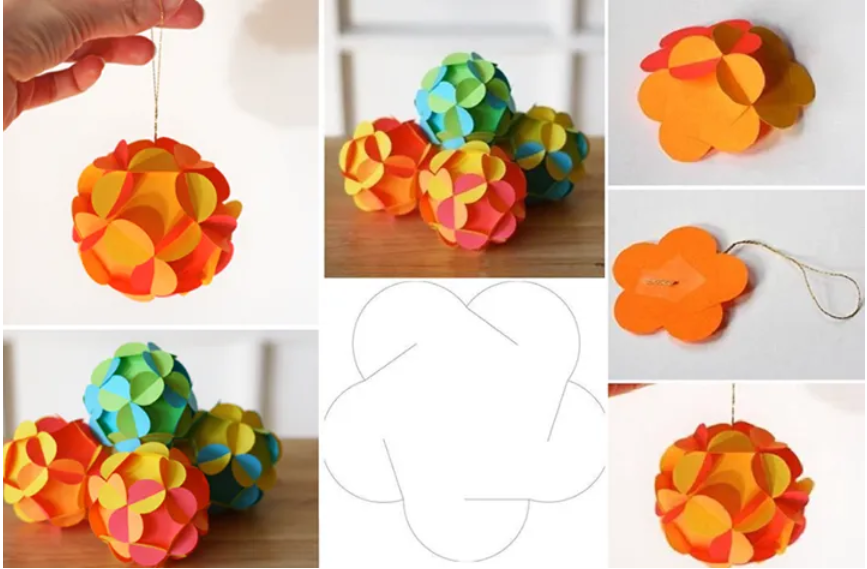

I used cardboard from an IKEA box. It was around 2.2mm thick, but the excess burn made parts loose.

I edited the kerf parameters I created in my design.

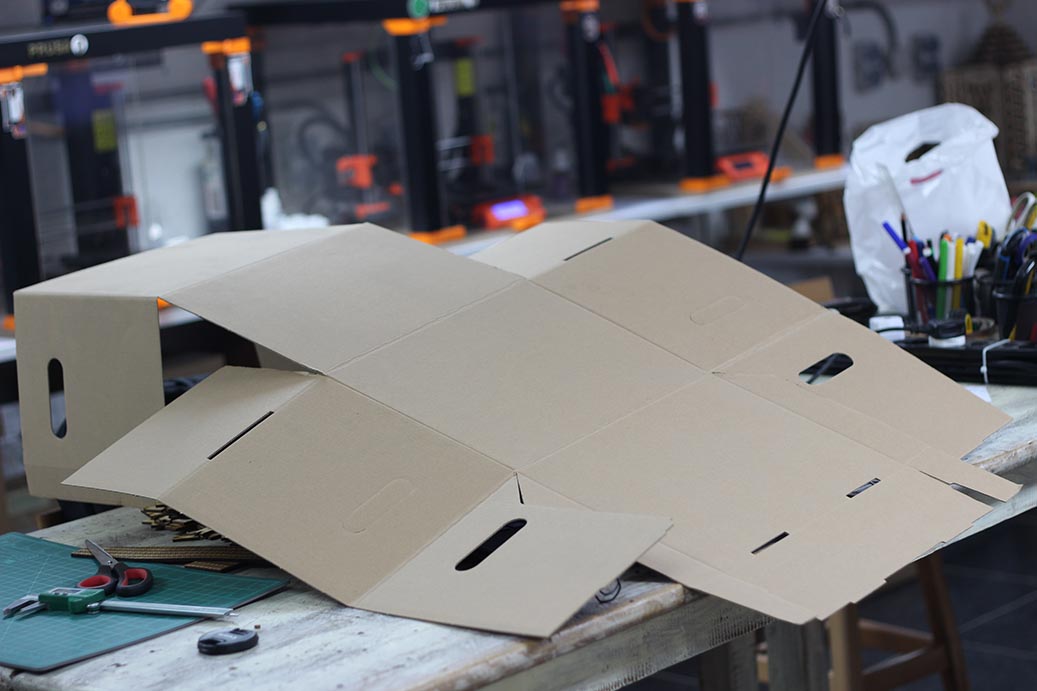
I cut the final design, and it fitted right.

Design Problems
The Cardboard wasn't flexible enough to fit all the parts together. This pattern should be cut on paper instead.
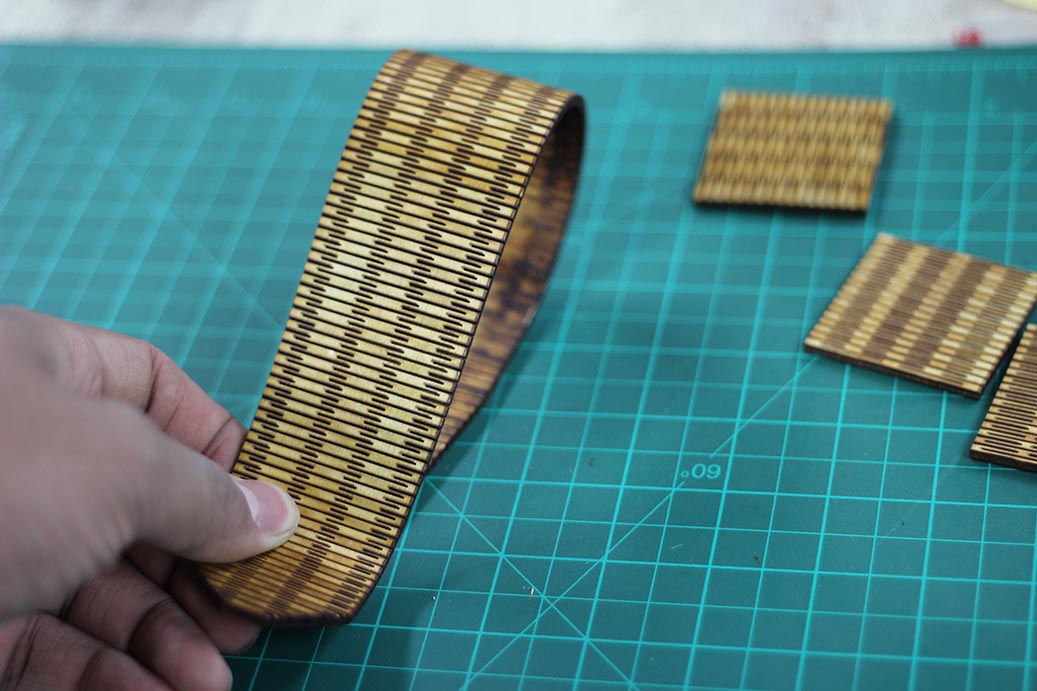
Flexible Wood
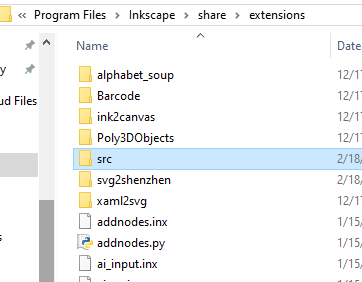
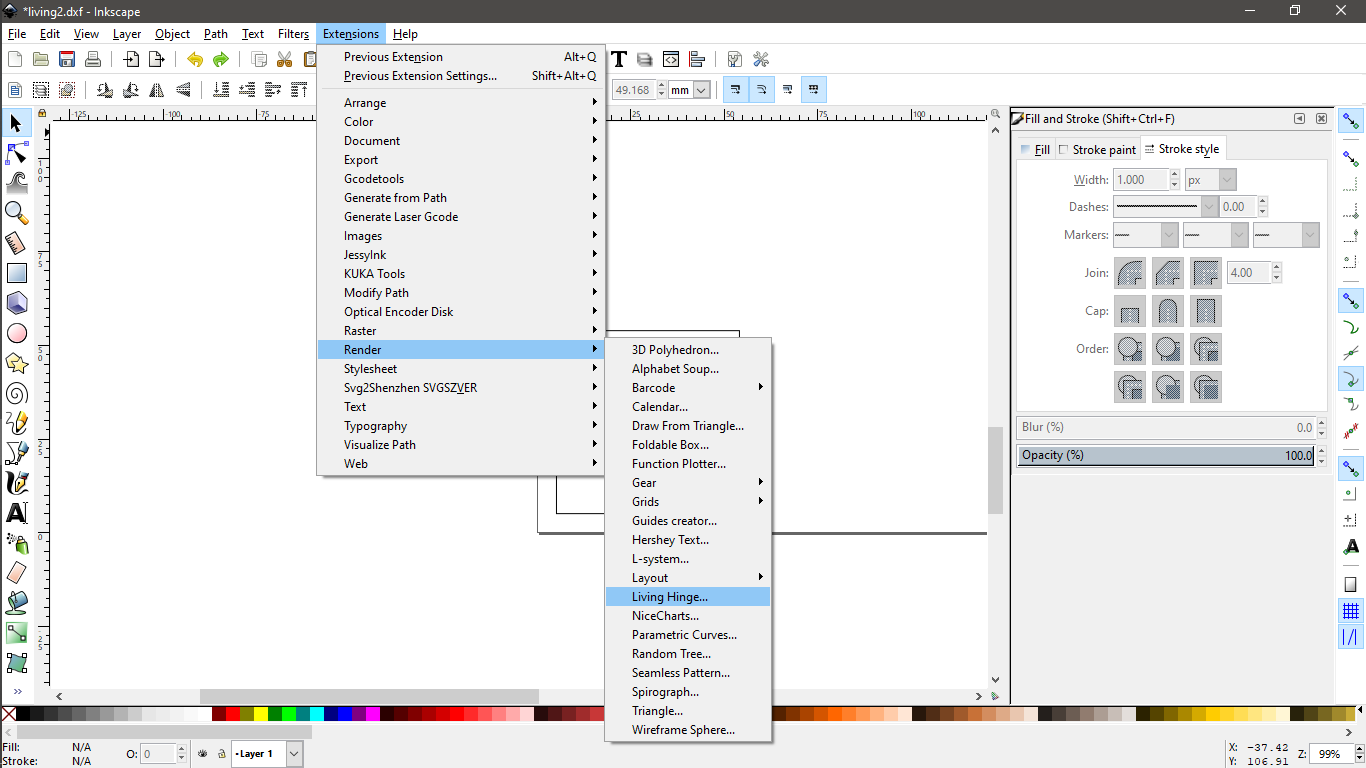
There is an Inkscape extension called Living Hinge Creator, which creates cut lines to make a living hinge on laser cutting material. You can install this extension following these steps:
- Download and unzip the file.
- Copy living_hinge.inx and src/living_hinge.py to your extension directory.
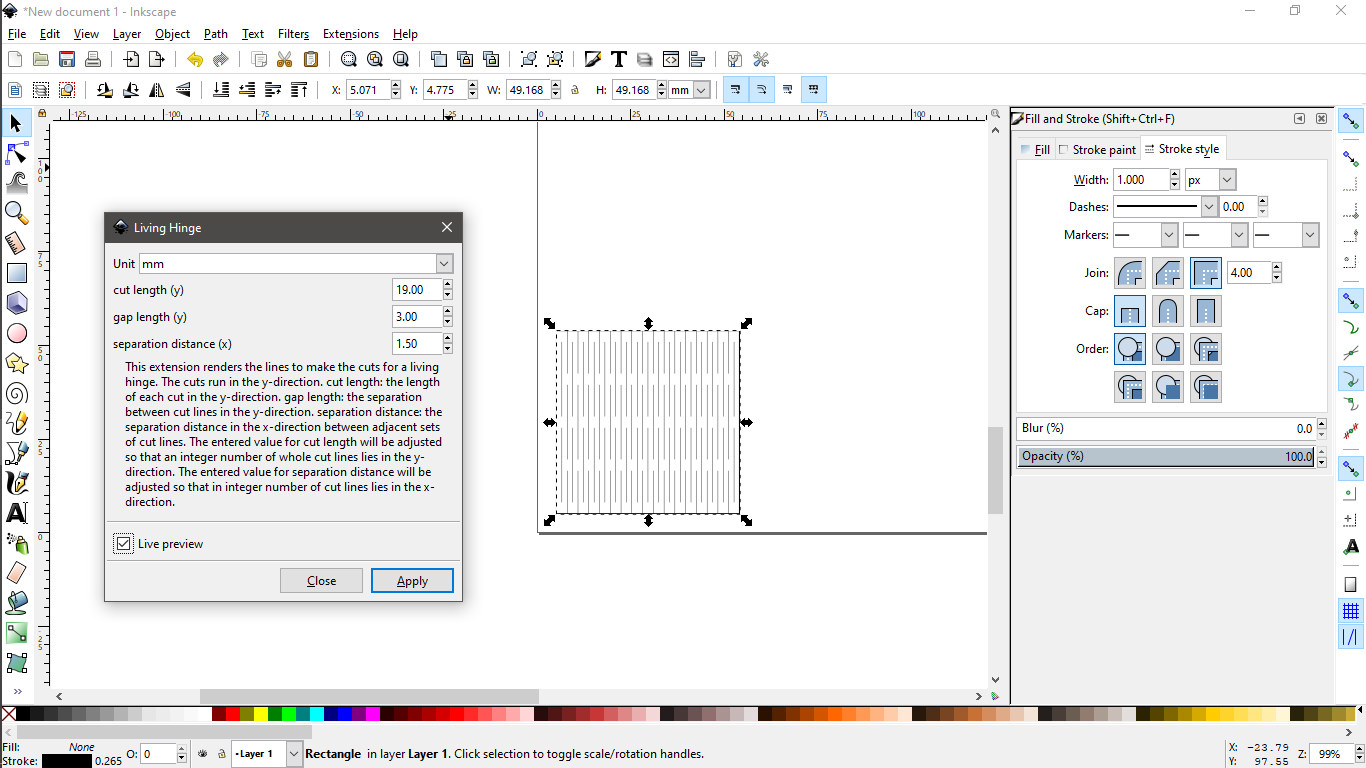
The extension can be used to fill a rectangle with the living hinge pattern. I made a rectangle, launched the extension, and got this awesome pattern with the default parameter.
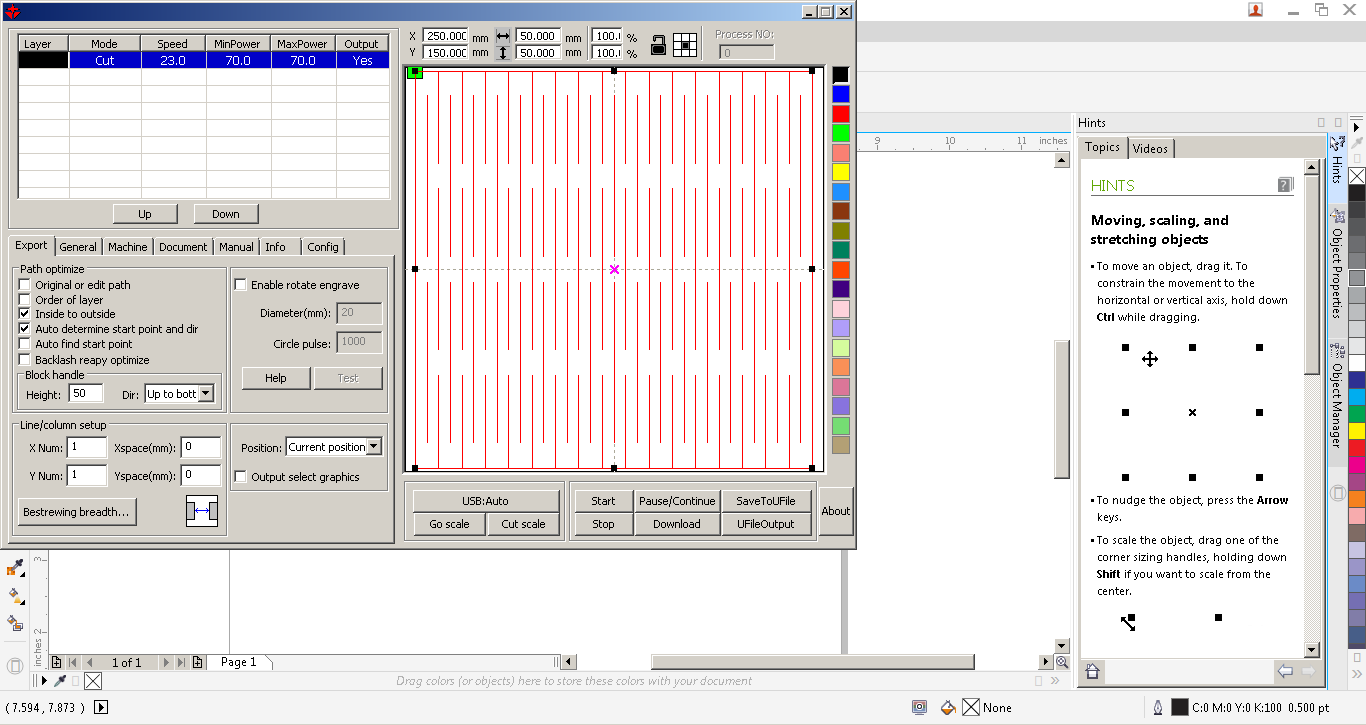
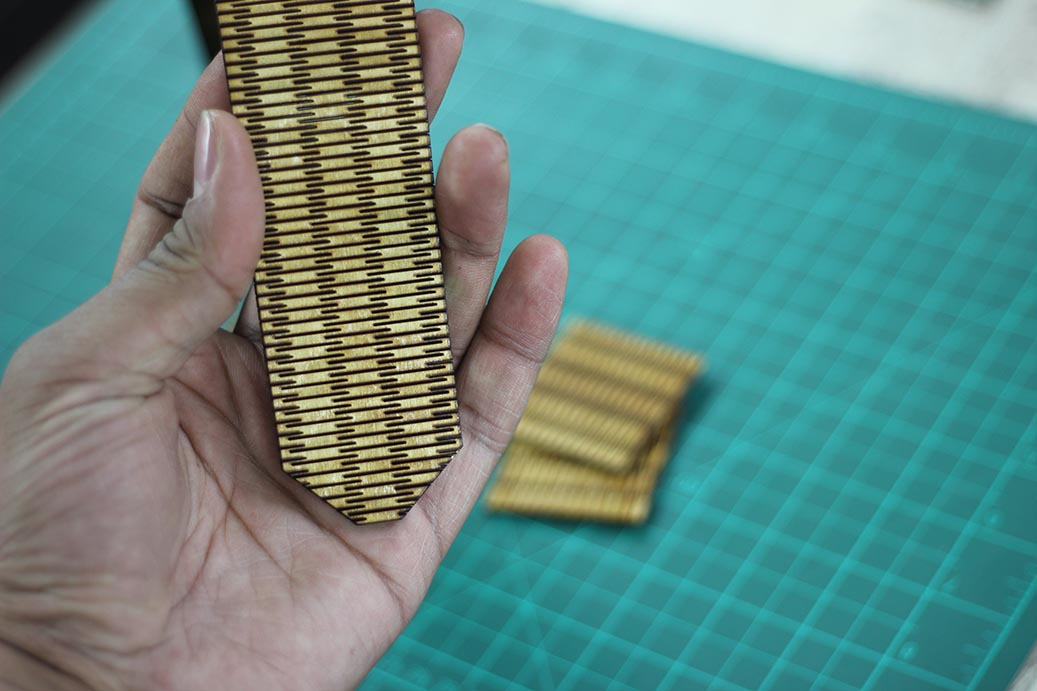
I cut the pattern with three different gap measurements, and this was the result.
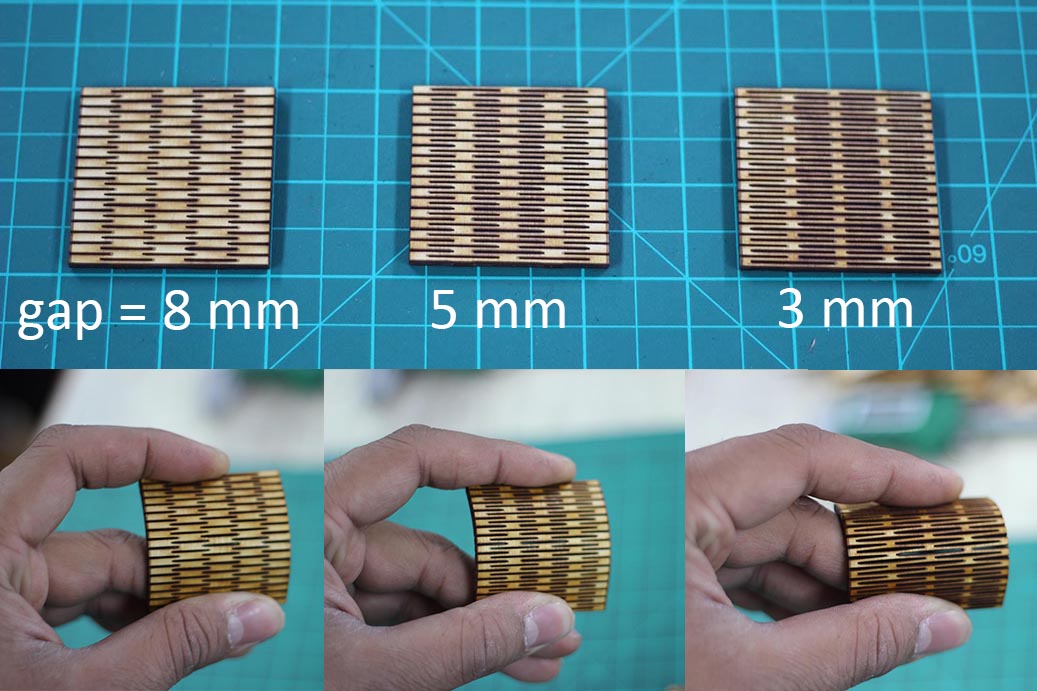
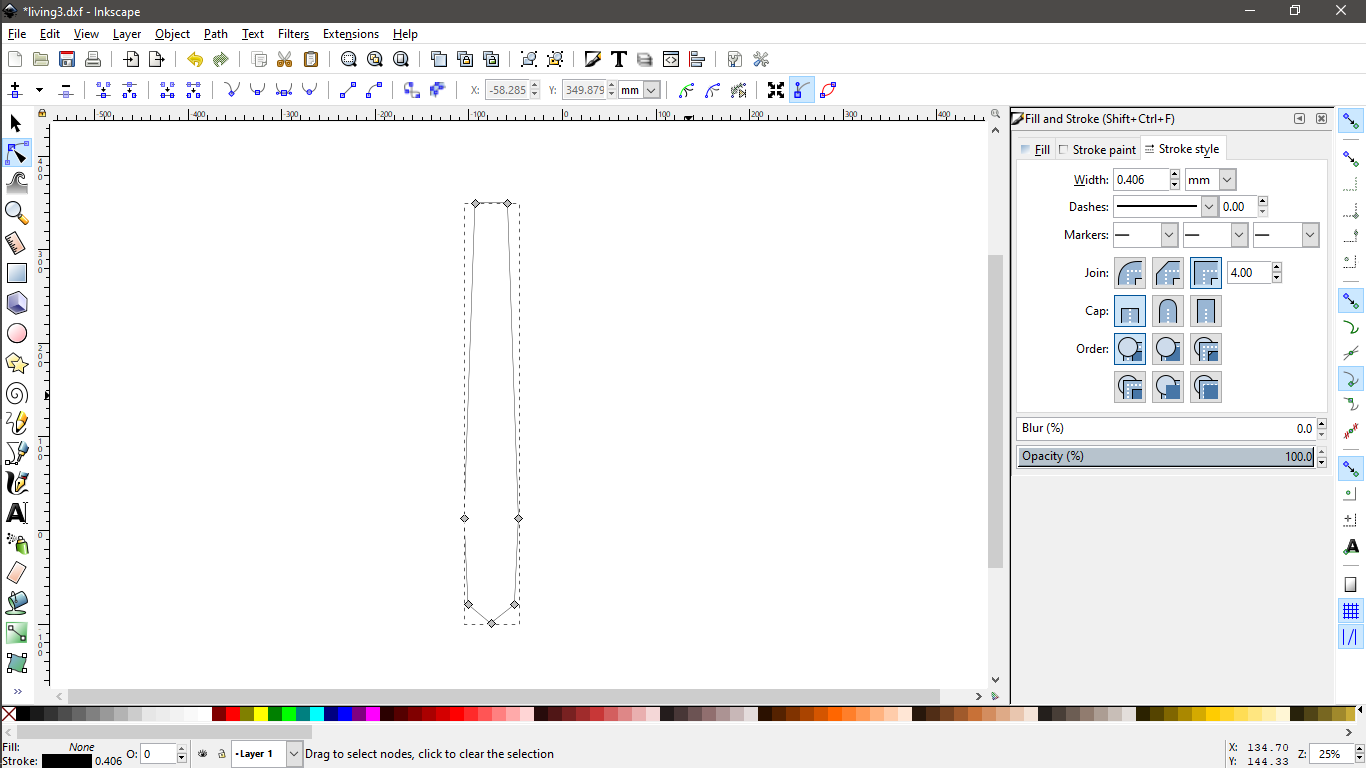
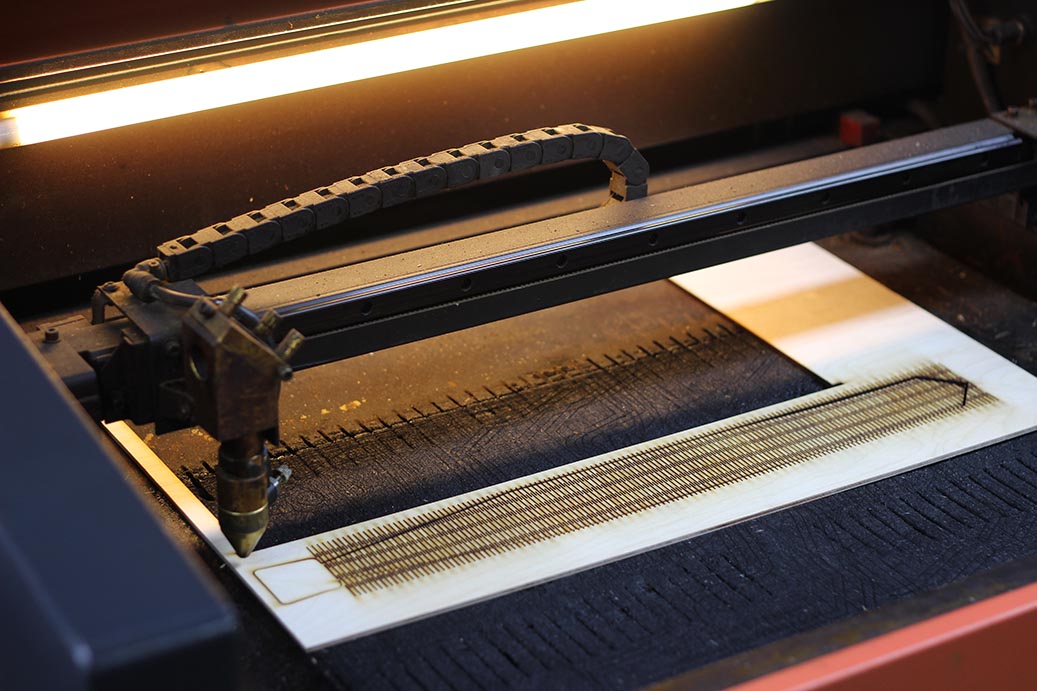
I wanted to make a tie. I wanted both flexibility and the nice look. I settled on the 8mm gap, and proceeded making a design for a tie.
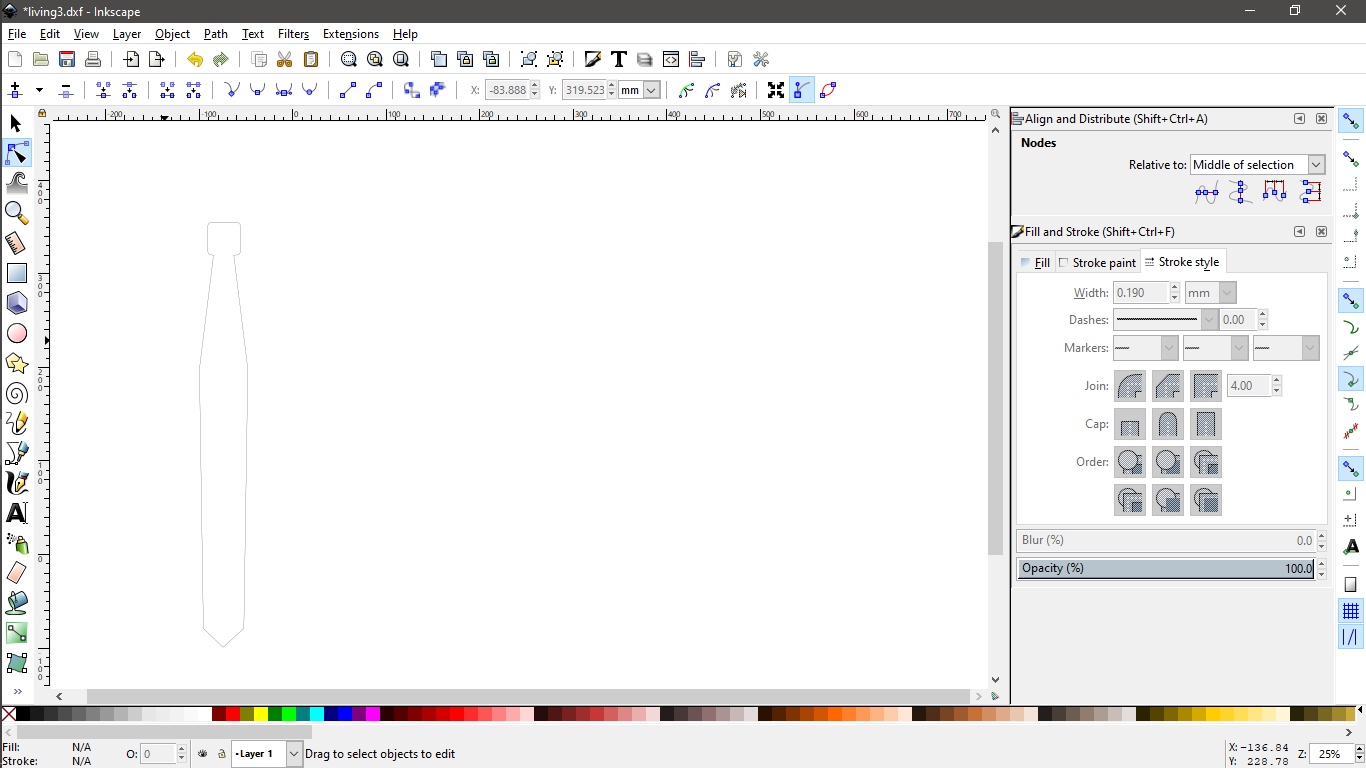

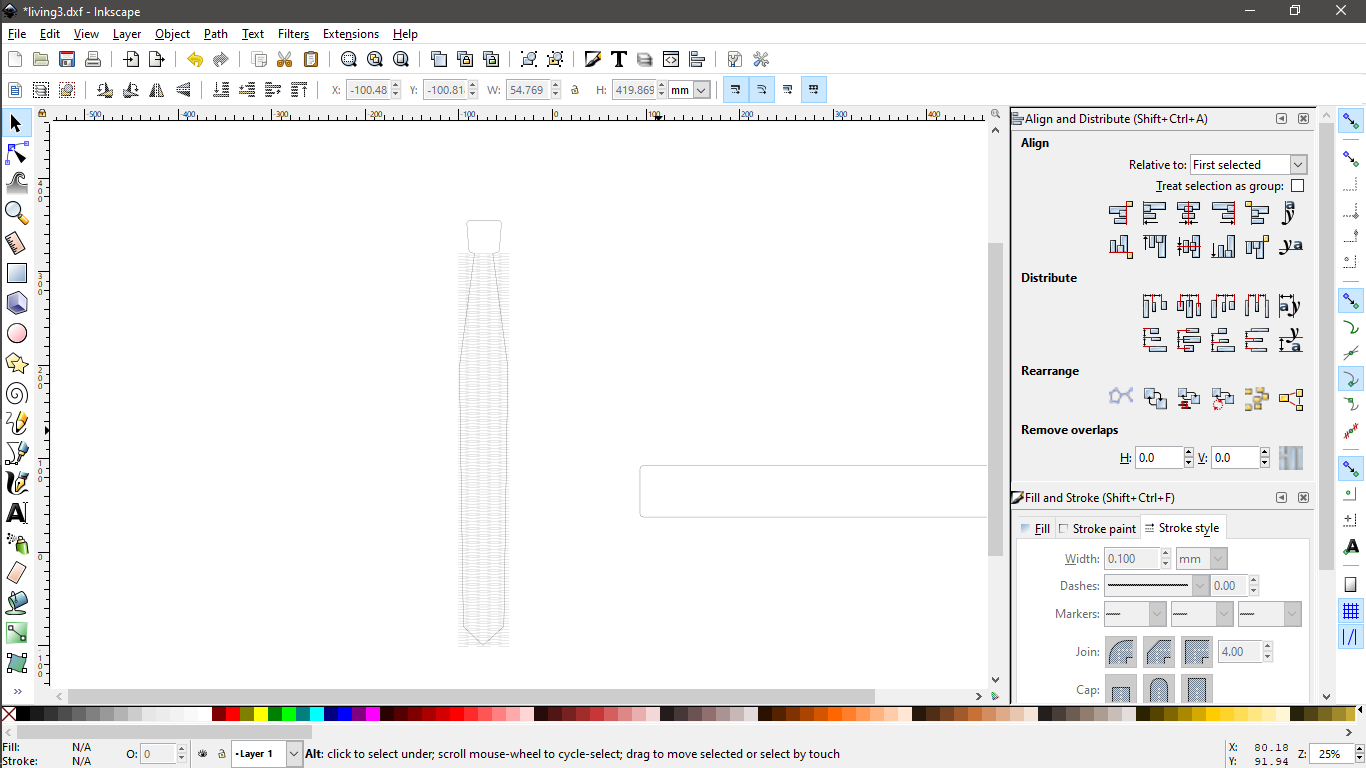
It took the laser cutter around 18 minutes to cut the pattern.
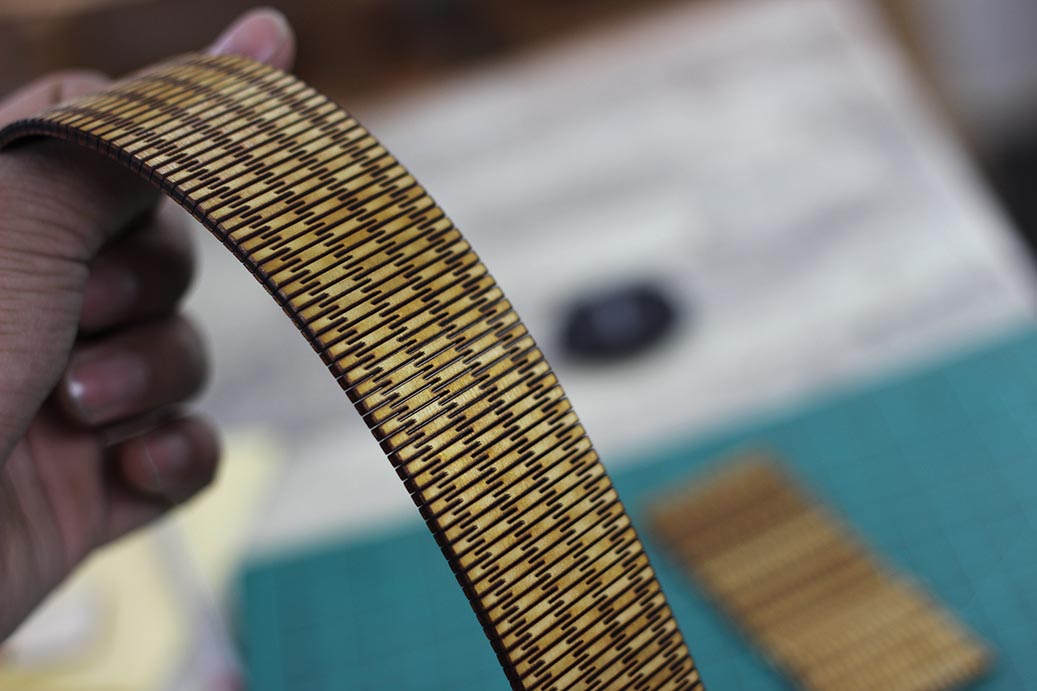
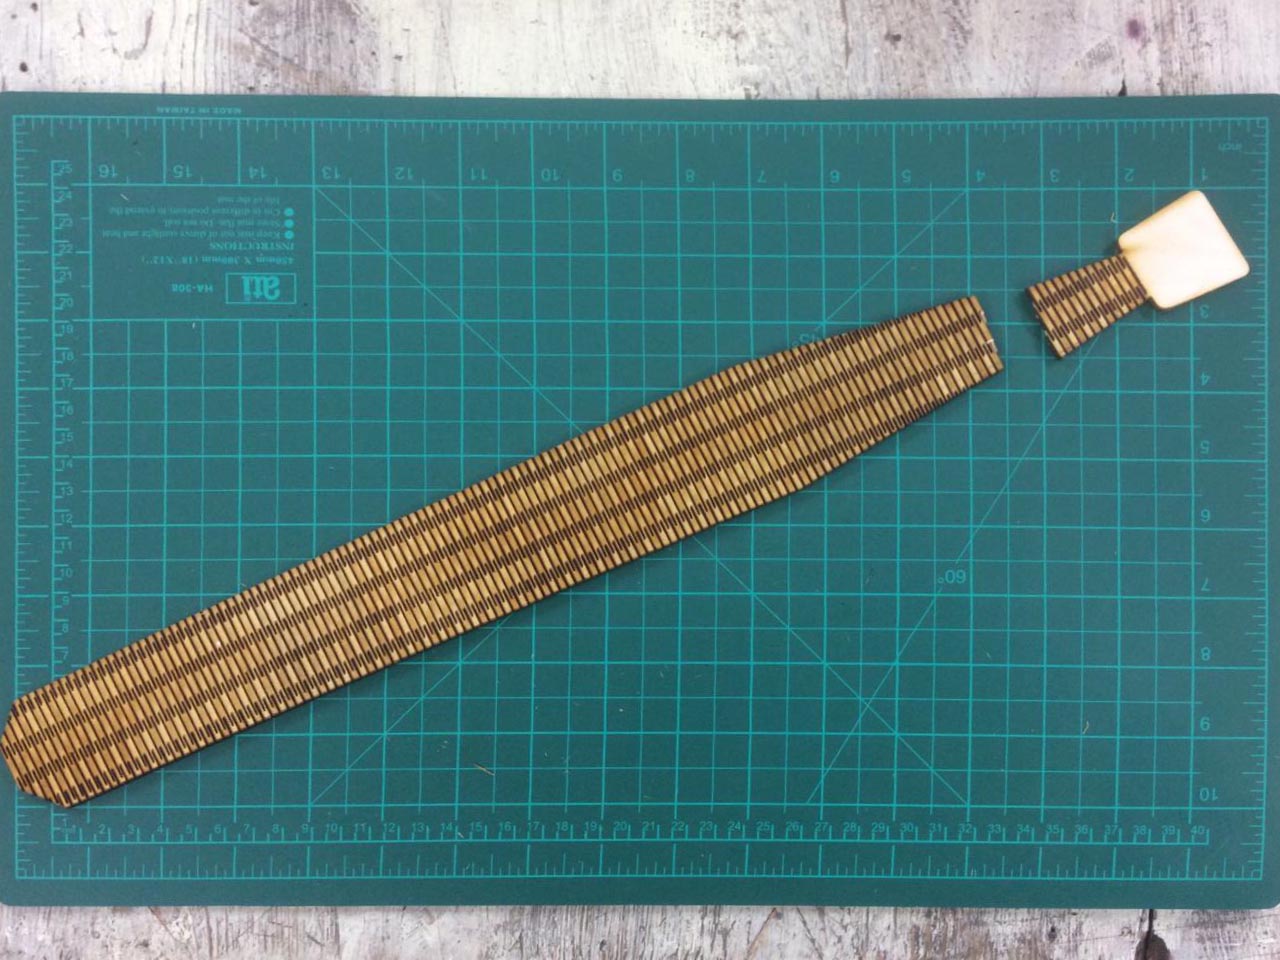
It was really good, but the uppder part was so weak that it got broken easily.
Fortunately, I managed to be SUPER COOL before the poor tie got broken.

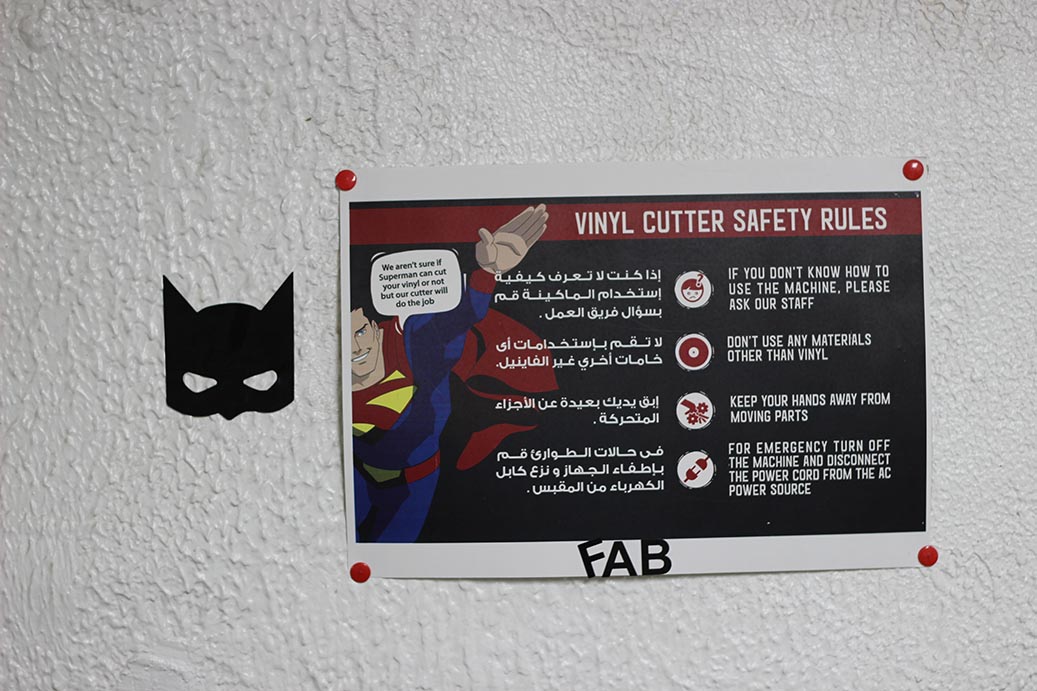
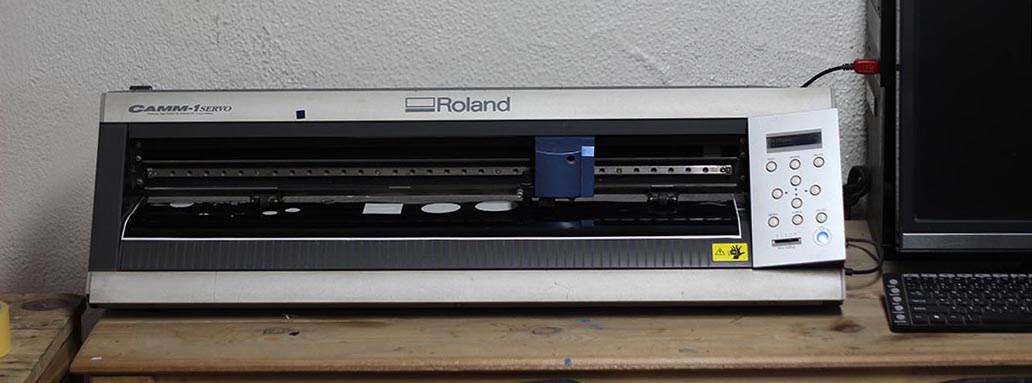
Vinyl Cutting
I'd never used the vinyl cutter before. Fab Lab Egypt has Roland GX-24
I learned how to:
- Load the vinyl roll into the machine
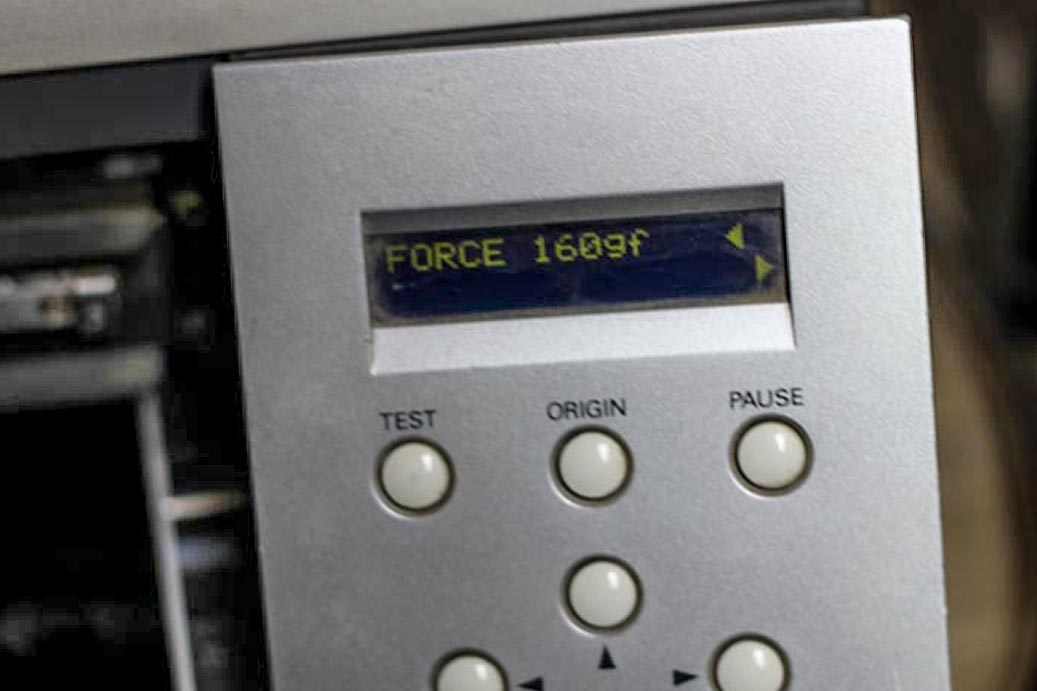
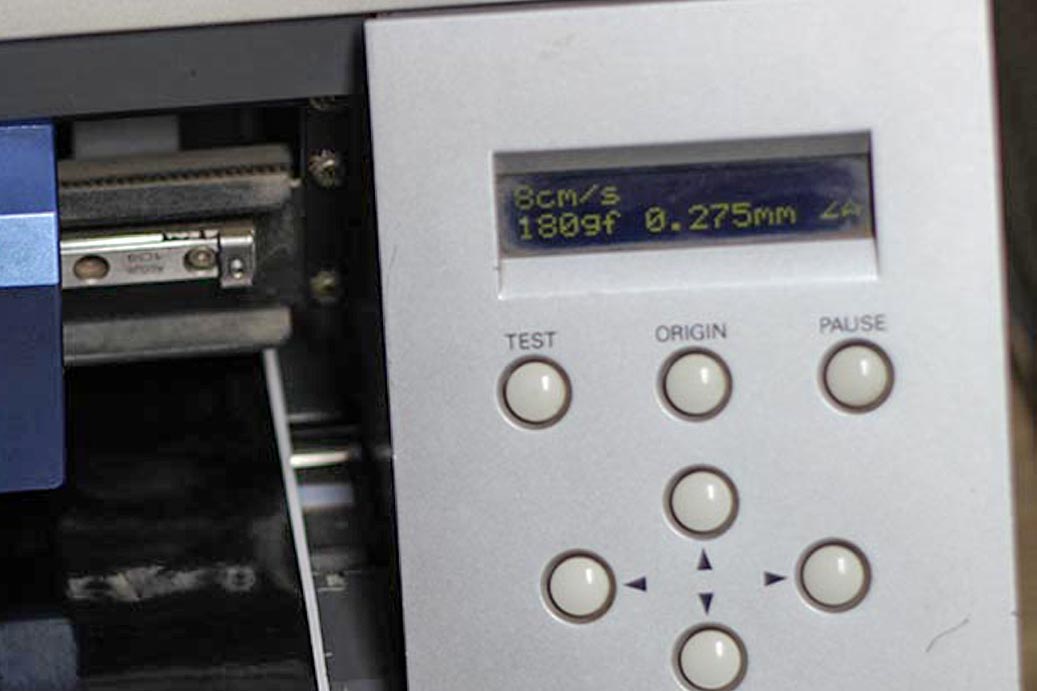
- Calibrate the force and speed
- Calibrate the origin point
- Trace images and send the designs from CutStudio
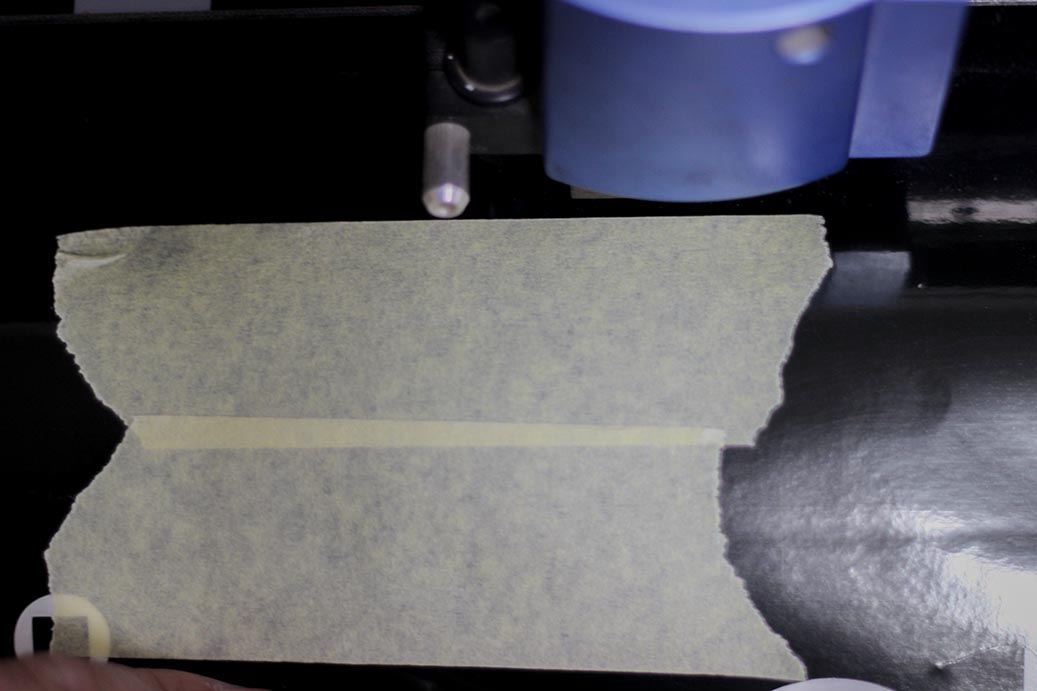
- Transfer the cut shape using tape
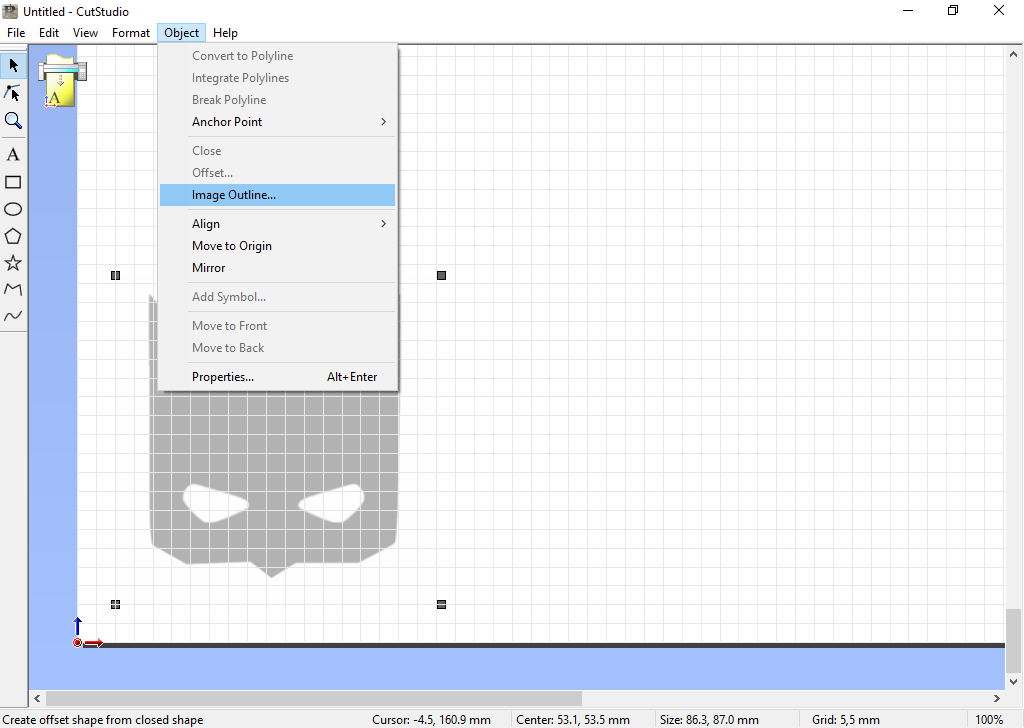
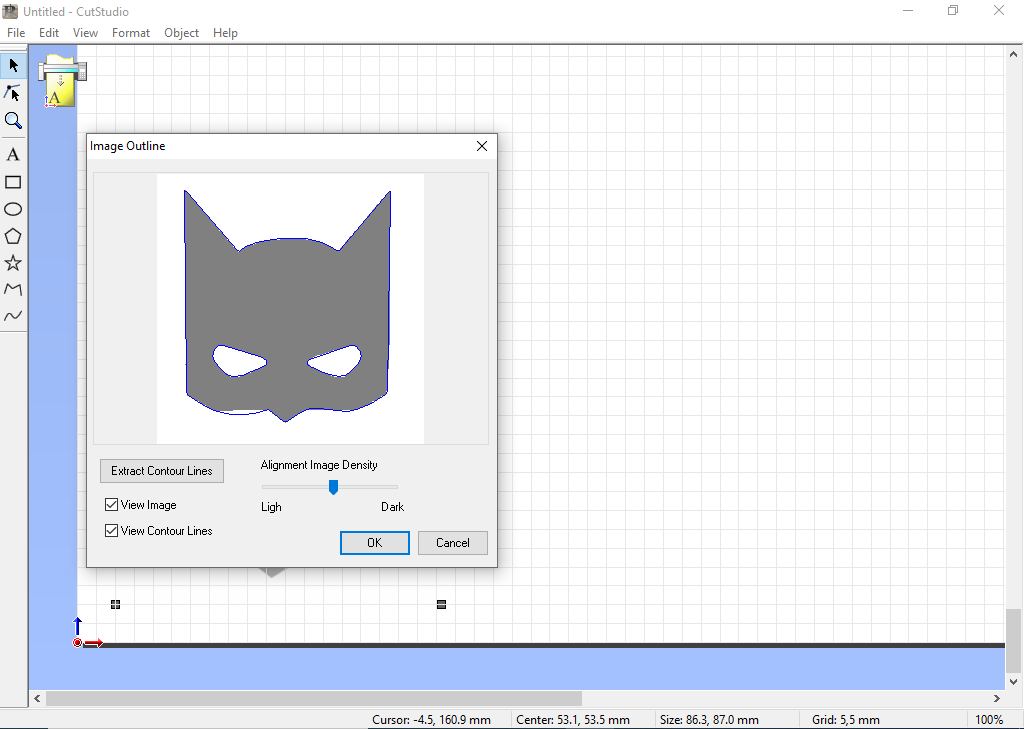
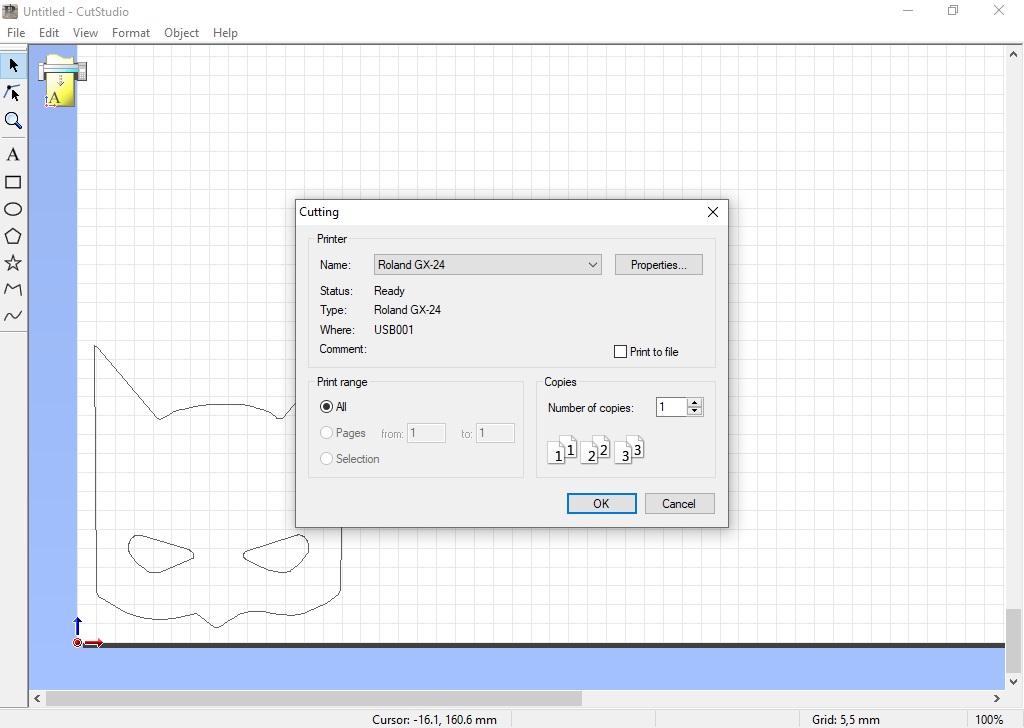
I decided to try this process on a Batman mask. I got this image from google

I traced the image from CutStudio
I loaded the vinyl roll into the machine.


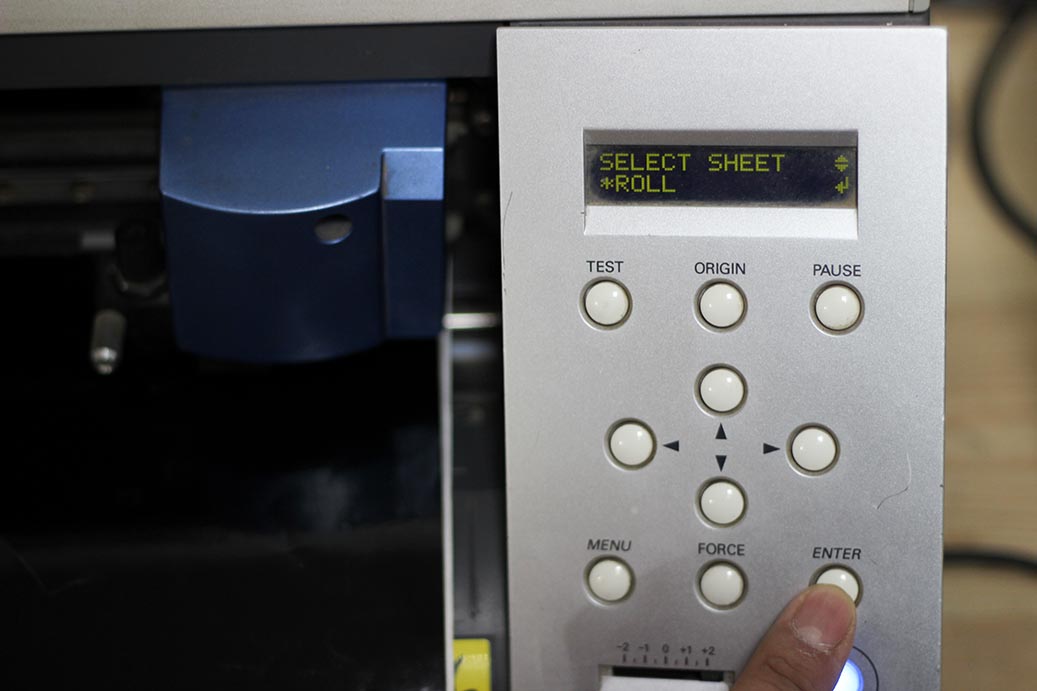
then tried some tests to adjust the force and speed.
I sent the file to the machine by printing the design from the software

The was cut nice and neat.
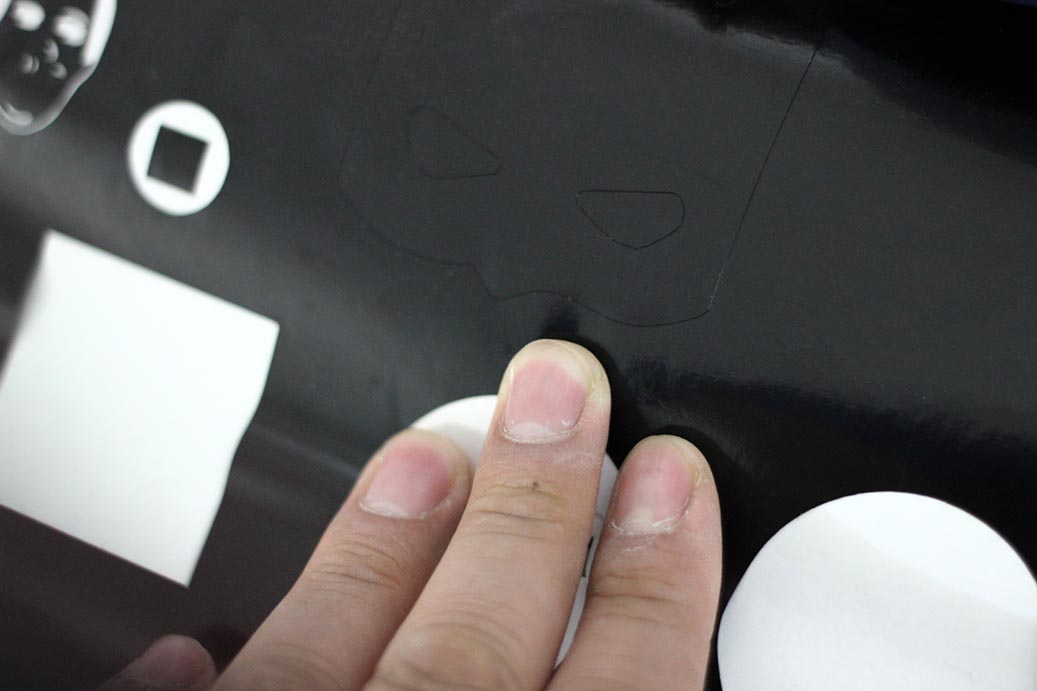
I used tape to transfer the sticker.

.. aaand it worked!