- Group Assignment:
- Review the safety data sheets for each of your molding and casting materials
- Make and compare test casts with each of them
- Individual Assignment:
- Design a 3D mould around the stock and tooling that you'll be using, mill it (rough cut + (at least) three-axis finish cut), and use it to cast parts.
- Link to the group assignment page
- Review the safety data sheets for each of my molding and casting materials, then make and
compare test casts with each of them - Document how I designed my 3D mould and created my rough and finish toolpaths for
machining, including machine settings - Show how I made my mould and cast the parts
- Include my design files and ‘hero shot’ of the mould and the final object

Group Assignment
The Mold material
We found some of Silicon Rubber and Hardener in the lab's inventory. It seemed to be purchased from a local distributer because the package had Arabic writigs.

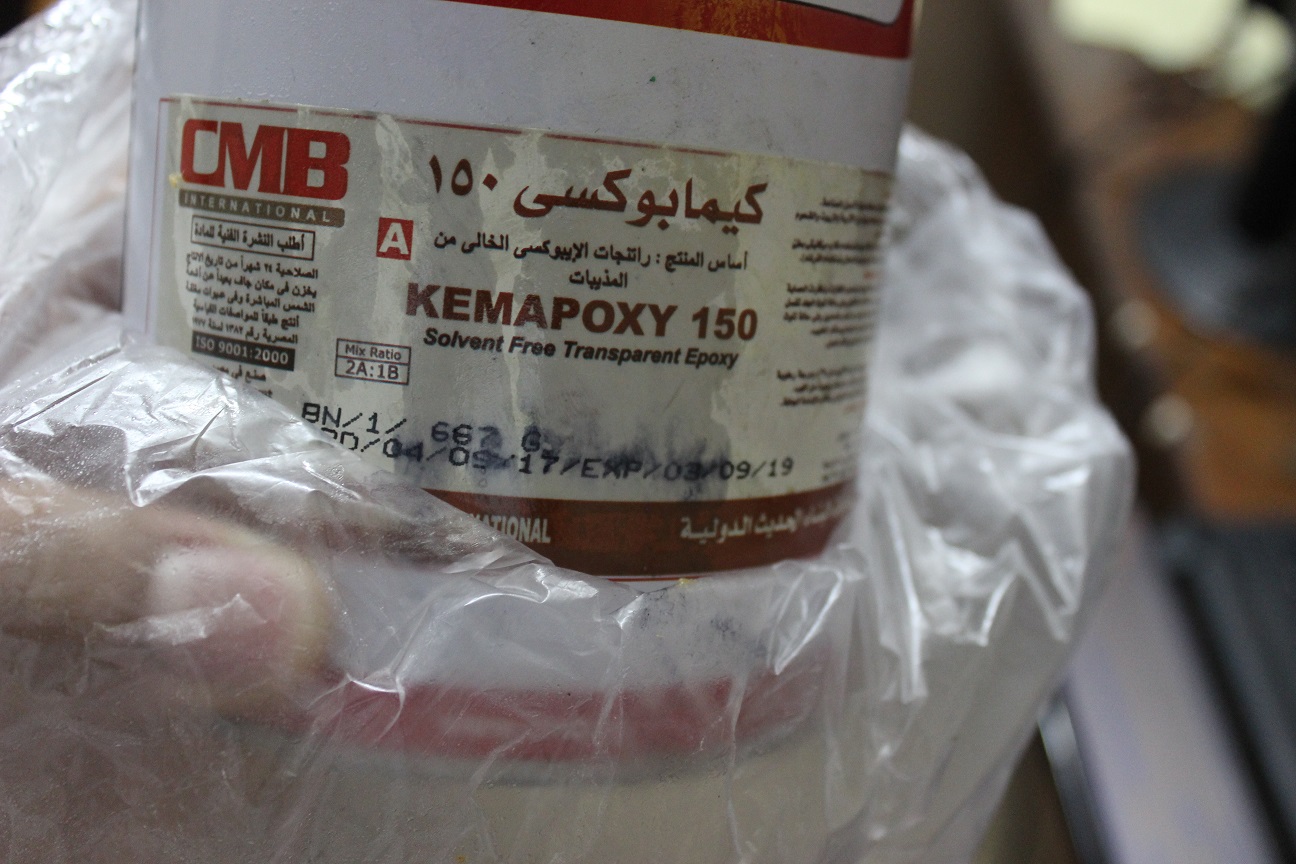
The Casting material
We also found a Solvent Free Transparent Epoxy in the inventory.


- The work area must be well ventilated
- Protective gloves and safety glasses must be used
- If anything got spilled on hands, it must be washed very well
- If it reached the eyes, it must be immediately washed, and a doctor must be consulted
- It's a bad idea to smoke or eat while handling these materials
- The package should be stored in a temperature less than 35°C
Mold Design
I've never done molding before. I decided to make a simple design where I can try the concept
without worrying too much about the design.
I opened Fusion without a plan and began sketching. I came up with this simple blade design; where I lofted surfaces between a point and a rhombus.
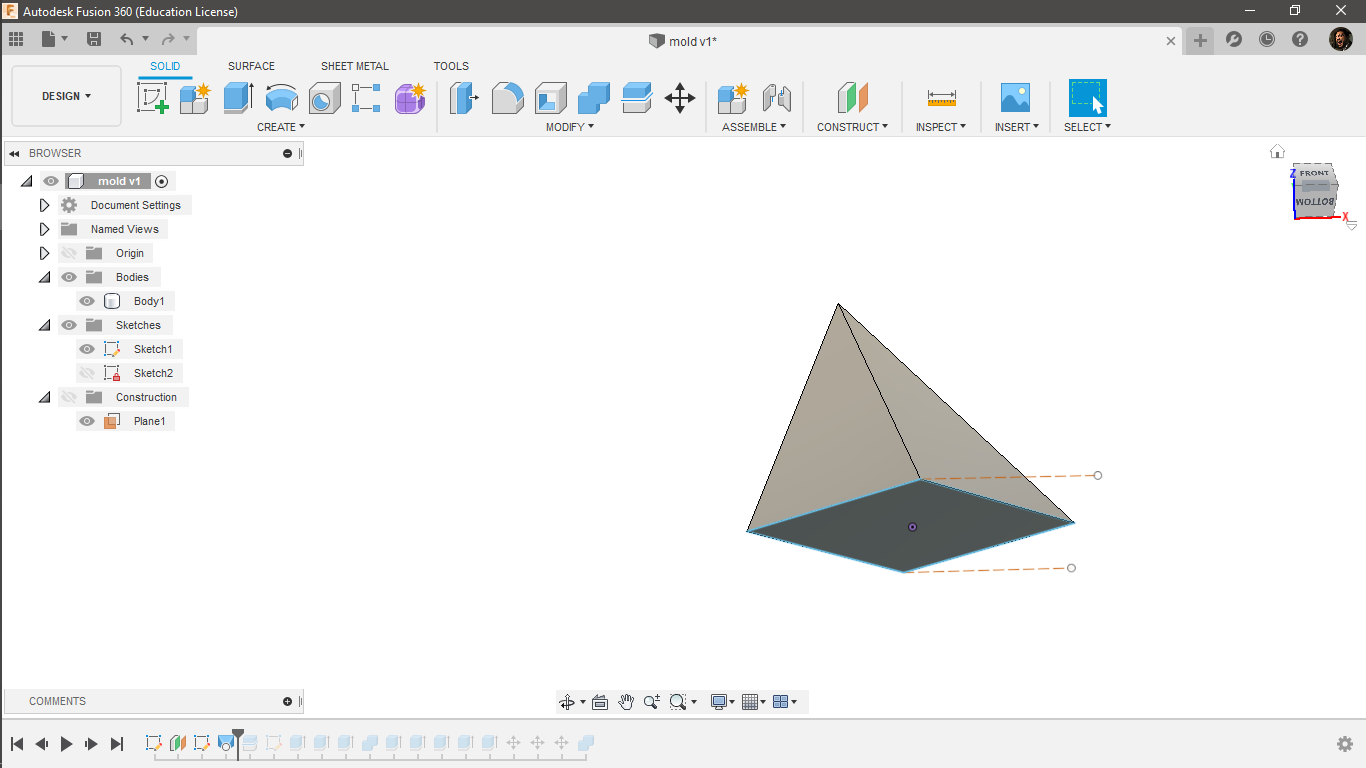 I sliced the body in half in order to build the mold around it.
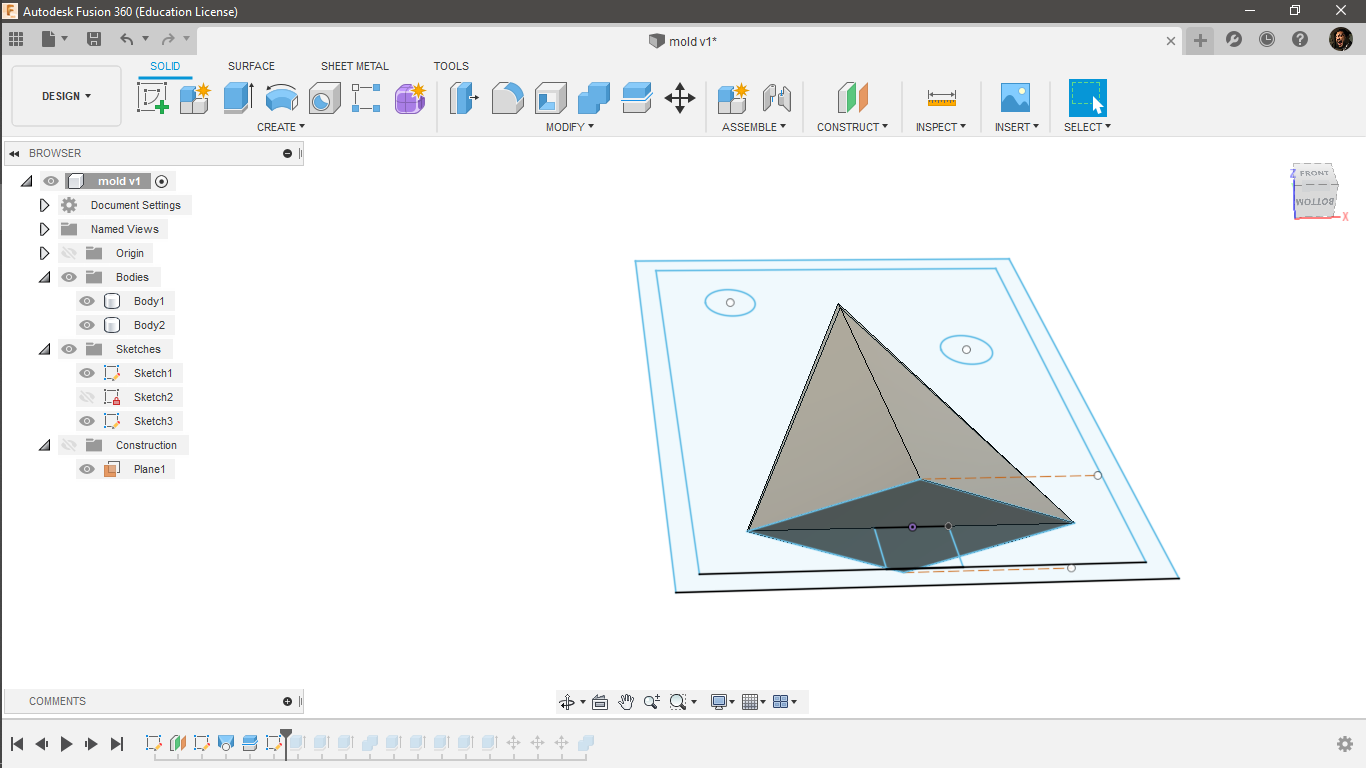 I built the mold by extruding a bottom, four walls, and two registration pins. It made a mistake
where I made the walls equal the same height of the top point in the design. The walls should go higher
that the design in order to have the poured material covering each point in the design without getting
spilled over the edges.
I built the mold by extruding a bottom, four walls, and two registration pins. It made a mistake
where I made the walls equal the same height of the top point in the design. The walls should go higher
that the design in order to have the poured material covering each point in the design without getting
spilled over the edges.

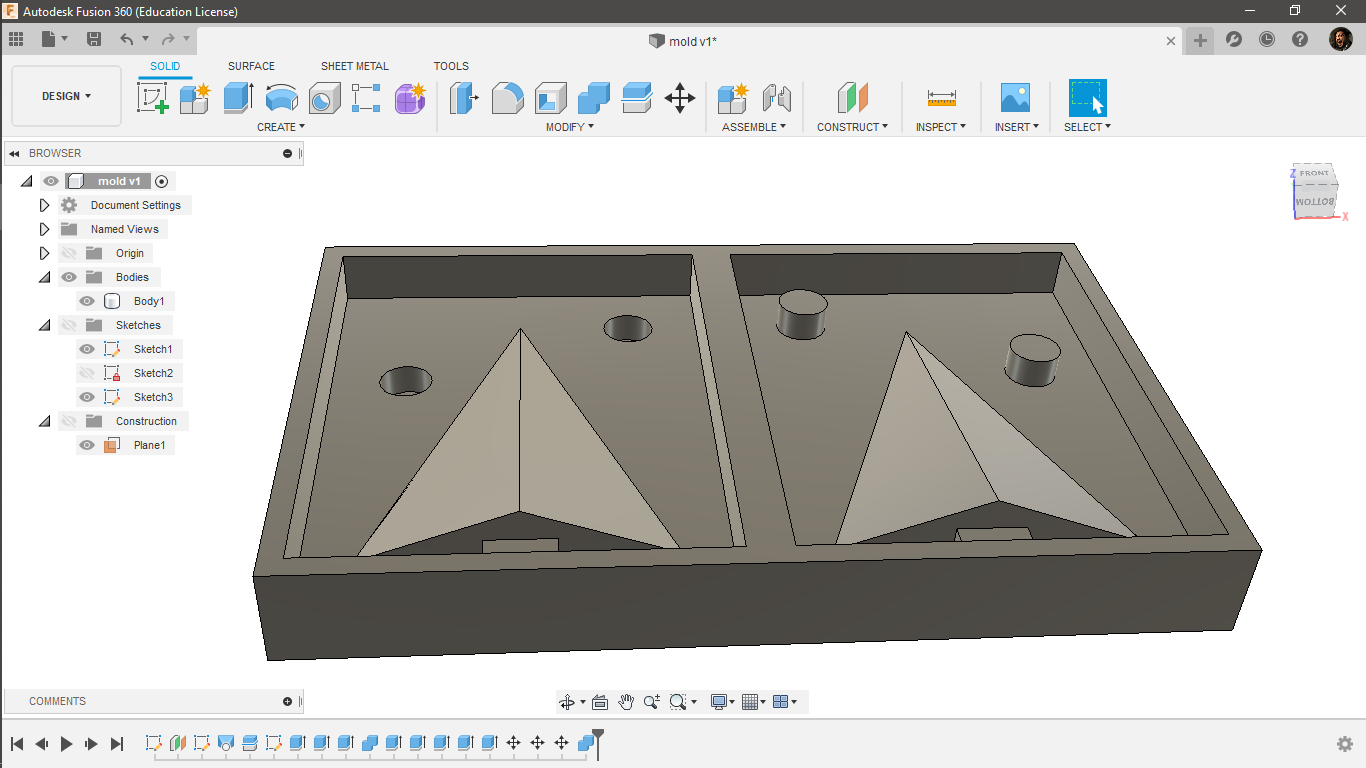
 I finally combined the two molds in a single body in order to have it manufactured in single process.
I opened Fusion without a plan and began sketching. I came up with this simple blade design; where I lofted surfaces between a point and a rhombus.
Mold Fabrication
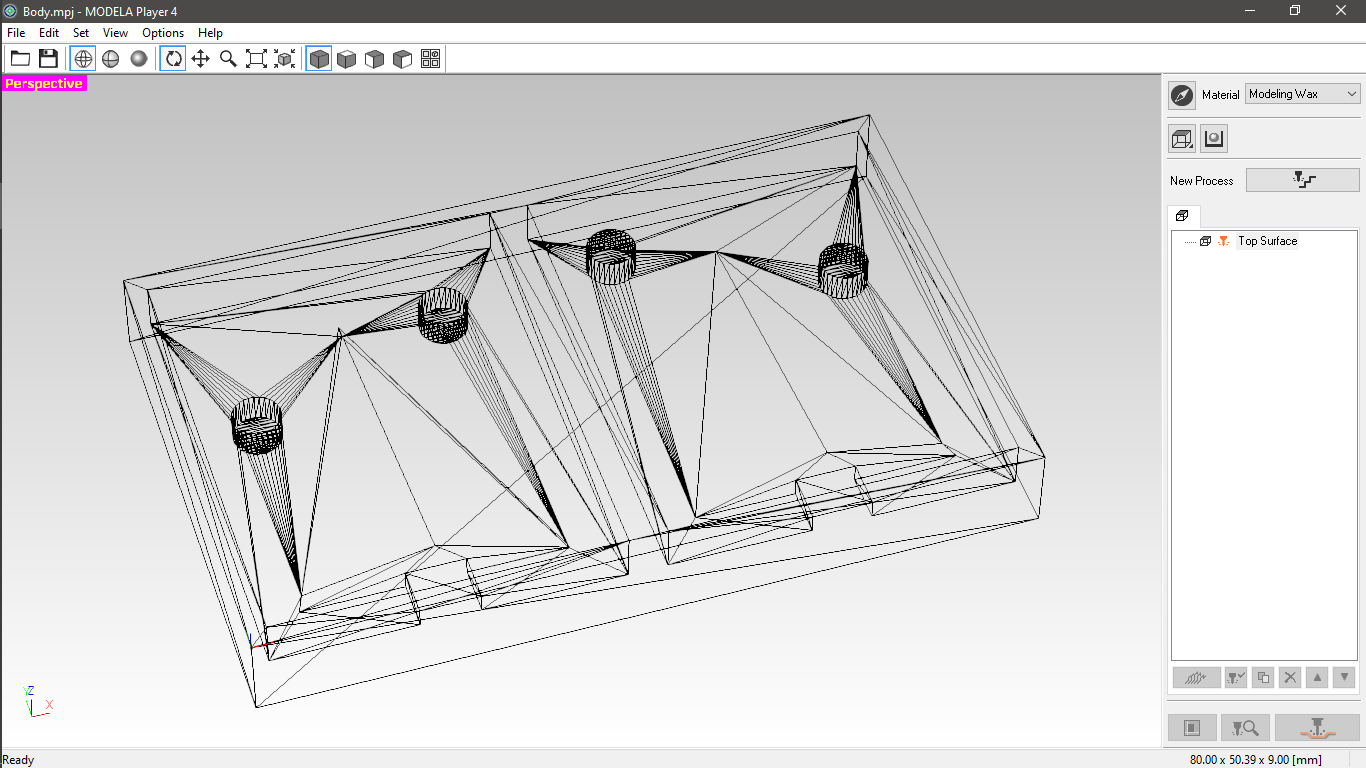
I used MODELA PLAYER 4 to generate the toolpaths and operate the machine. I opened my saved and it
appeared in that weird wire-frame view.
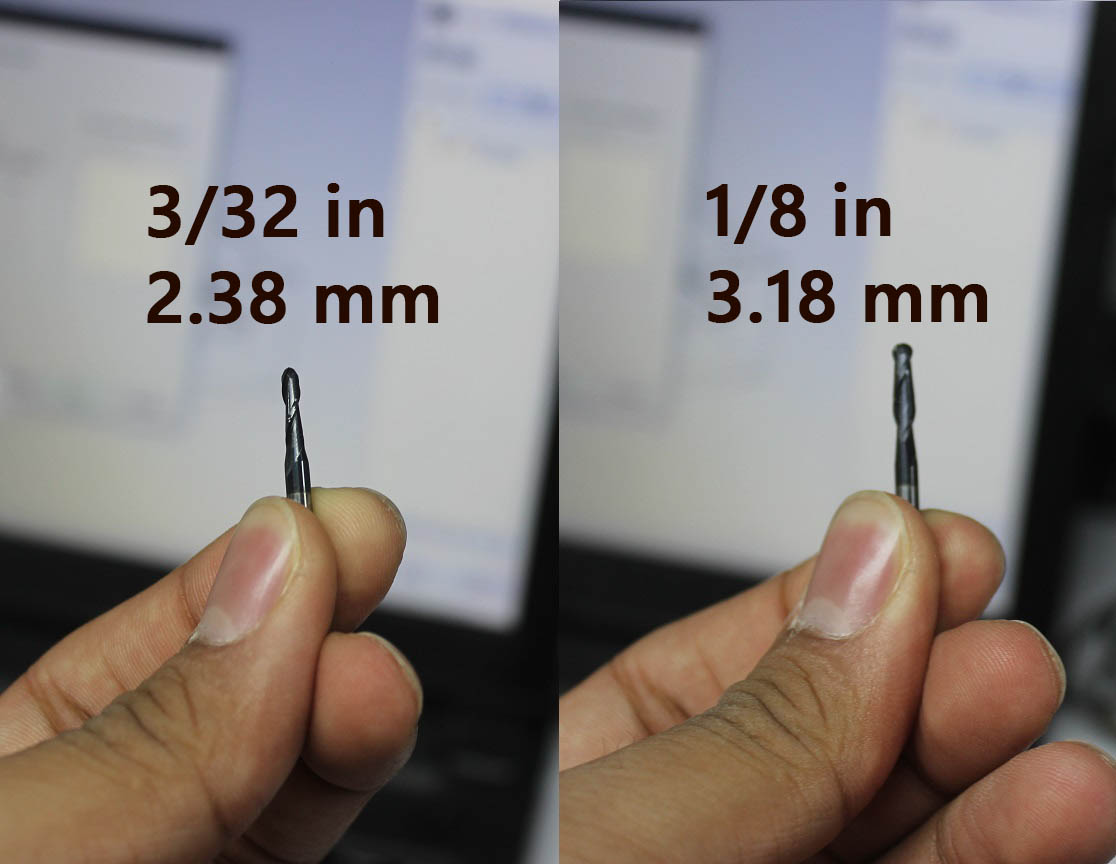
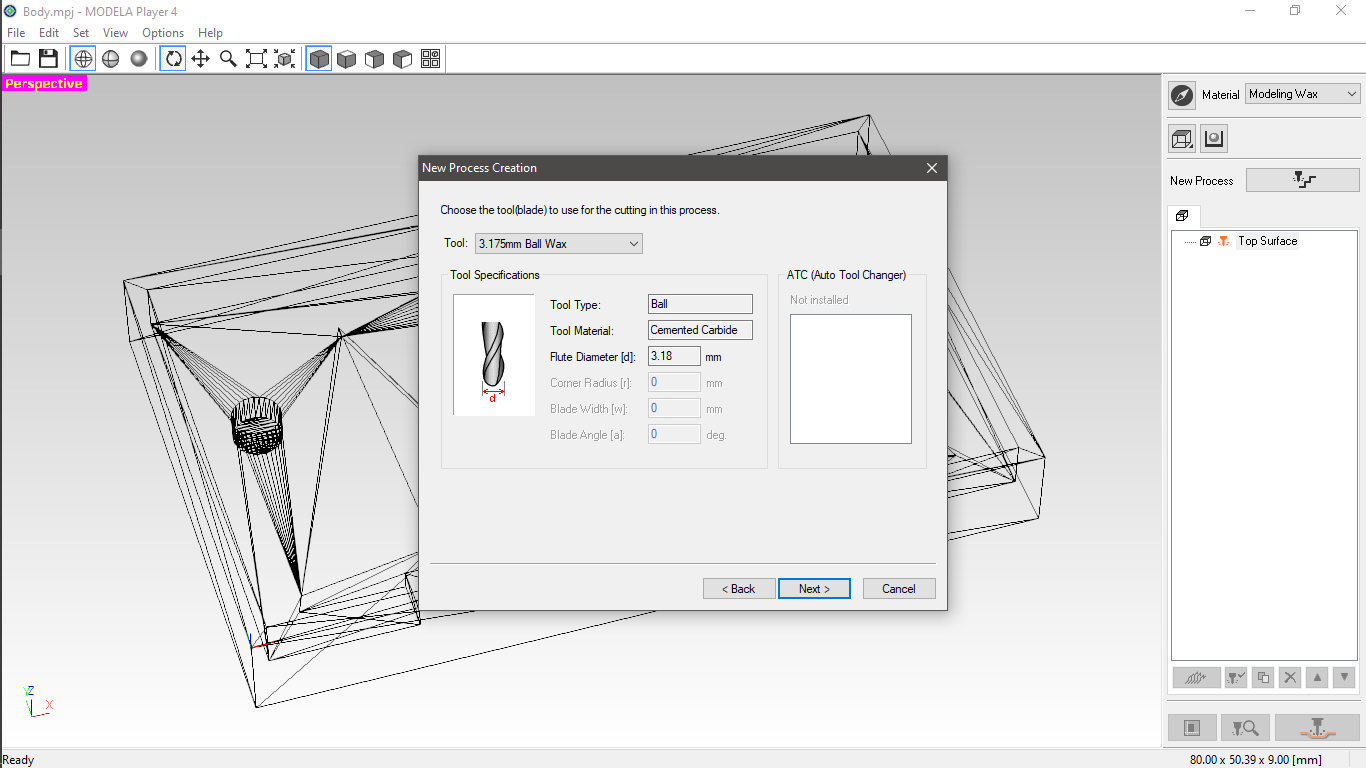
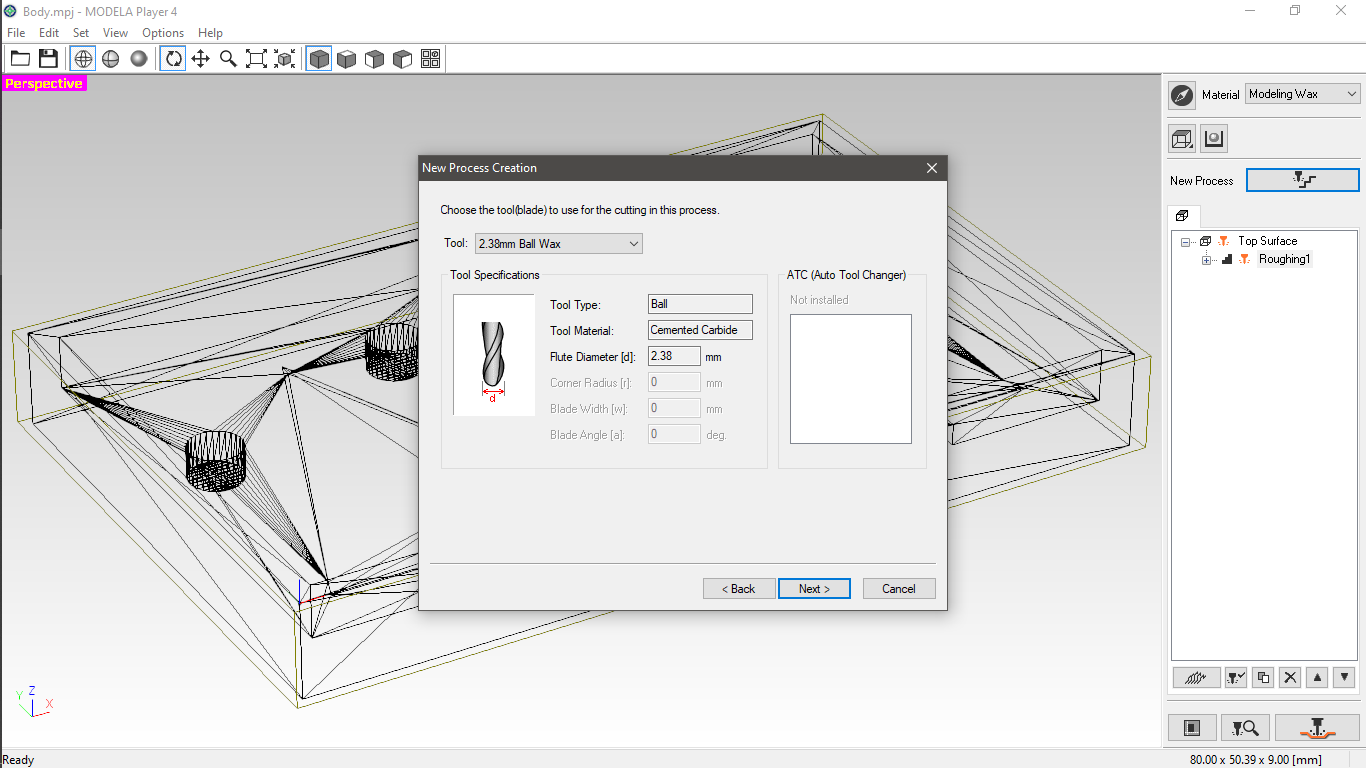
 I used a 1/8'' ball end-mill for roughing and 3/32'' ball end-mill for finishing. Those end-mills were not
defined in the software. I added them by opening the
I used a 1/8'' ball end-mill for roughing and 3/32'' ball end-mill for finishing. Those end-mills were not
defined in the software. I added them by opening the
 I created two new tools and defined their diameter.

 I then selected the material that I'm going to mill. It's modeling wax.
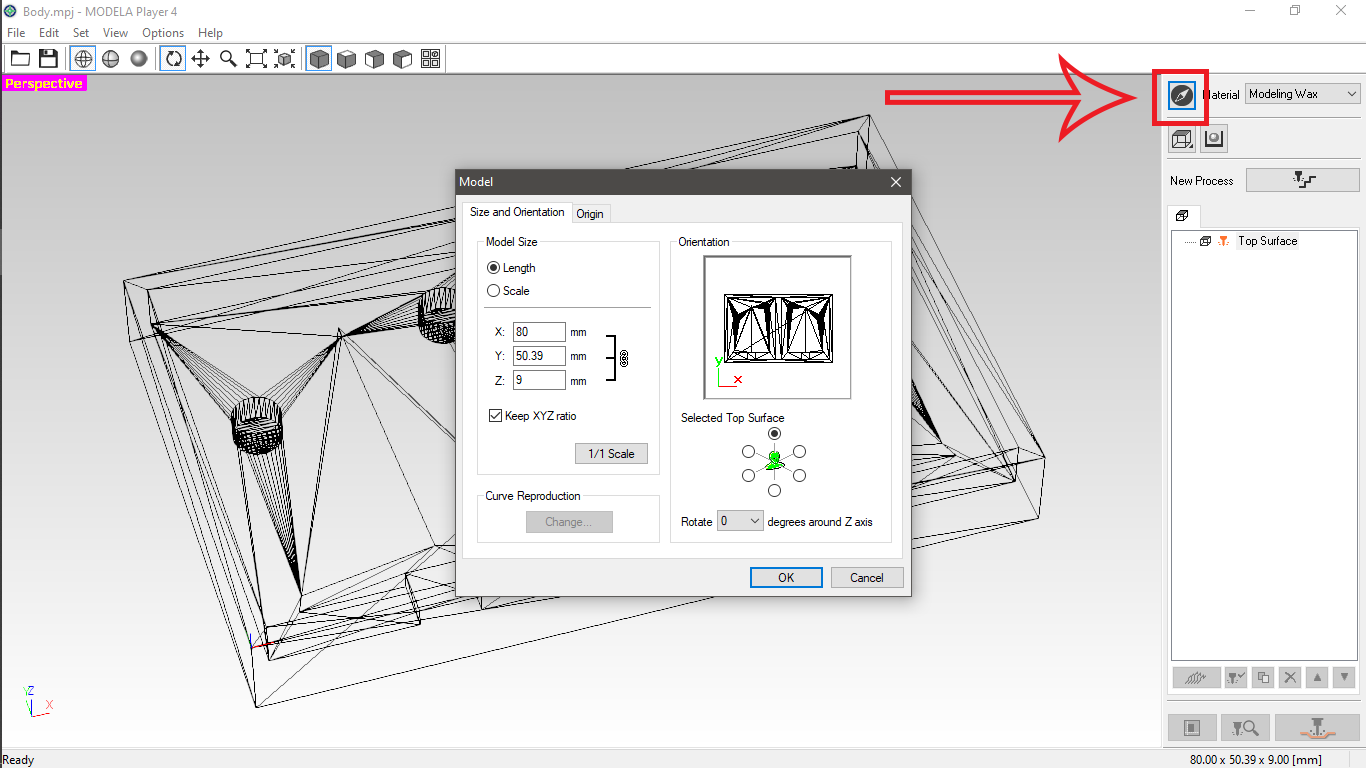
 After that I defined the model orientation and origin.
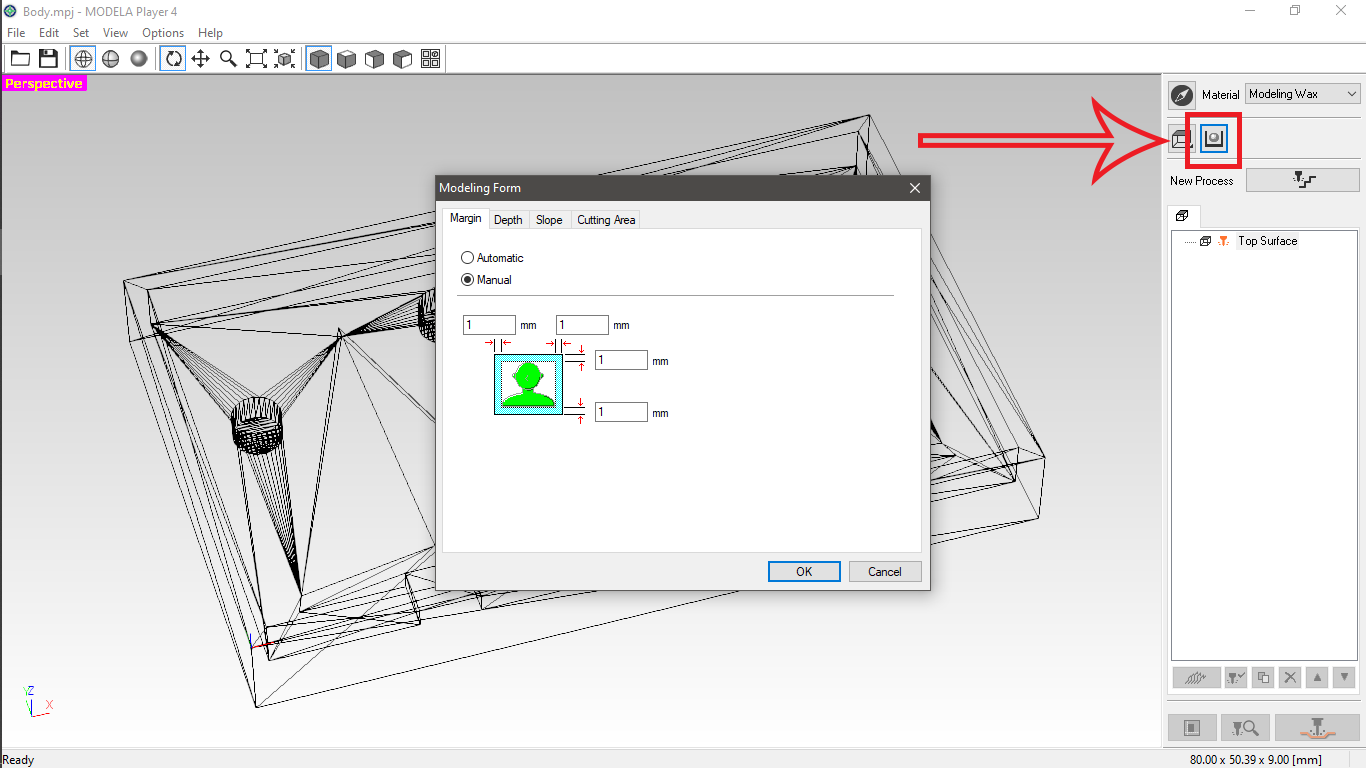
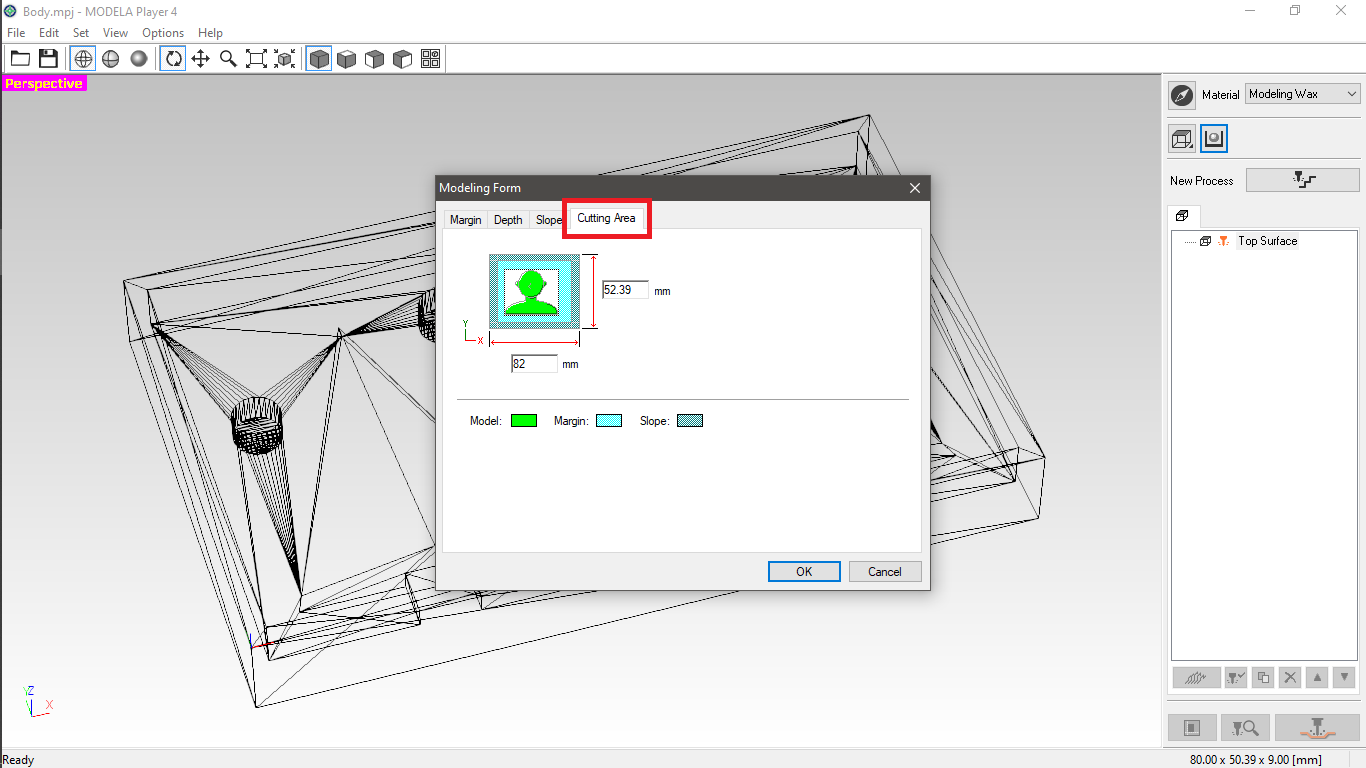
 Next. I made sure that the model setup is okay. I didn't change anything except for the margins around the model.


 The model setup is now complete.
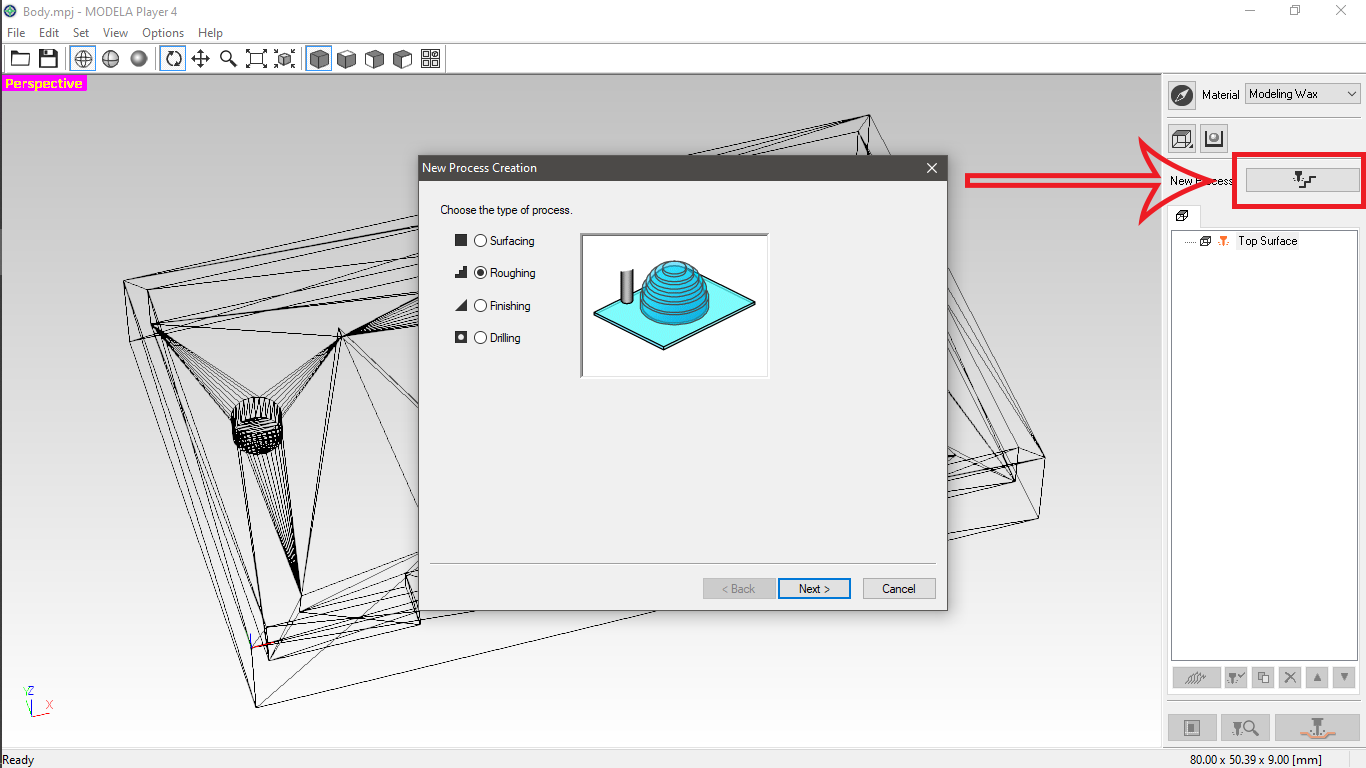
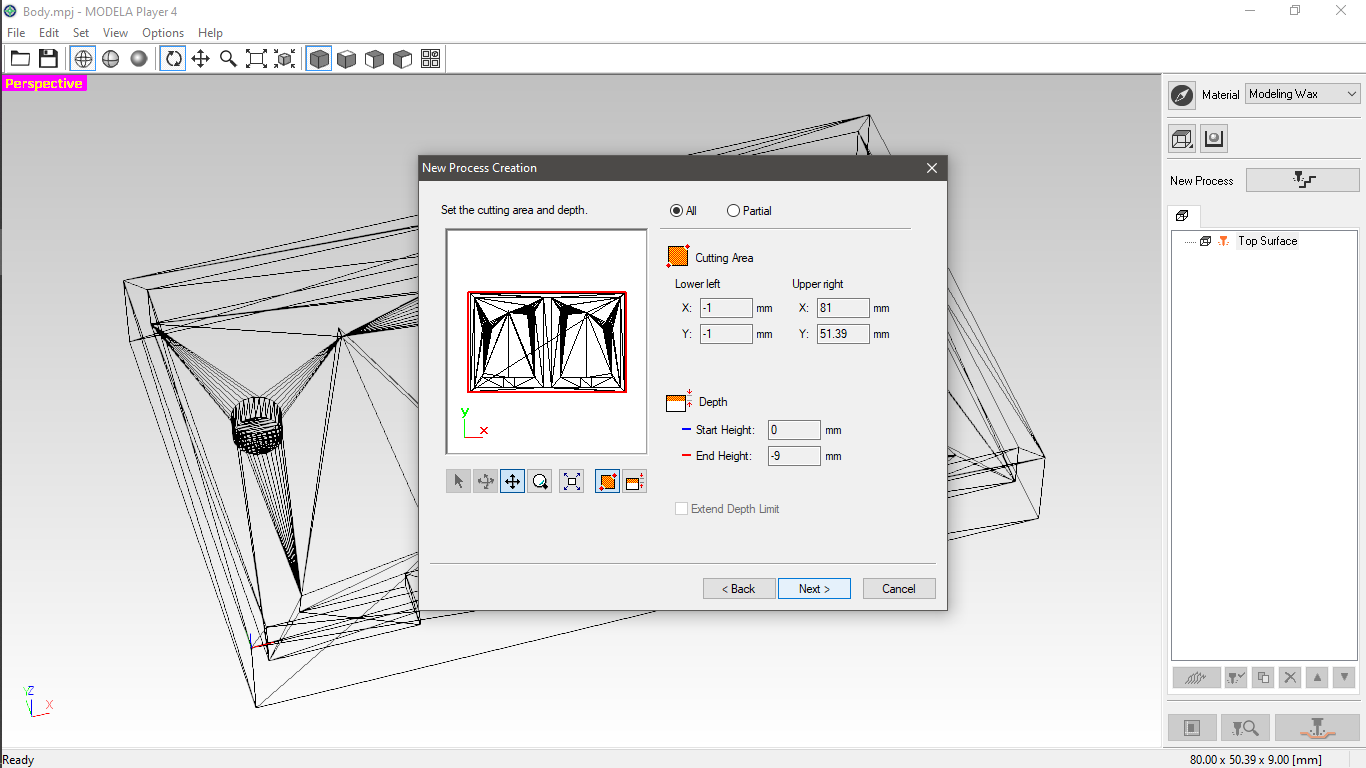
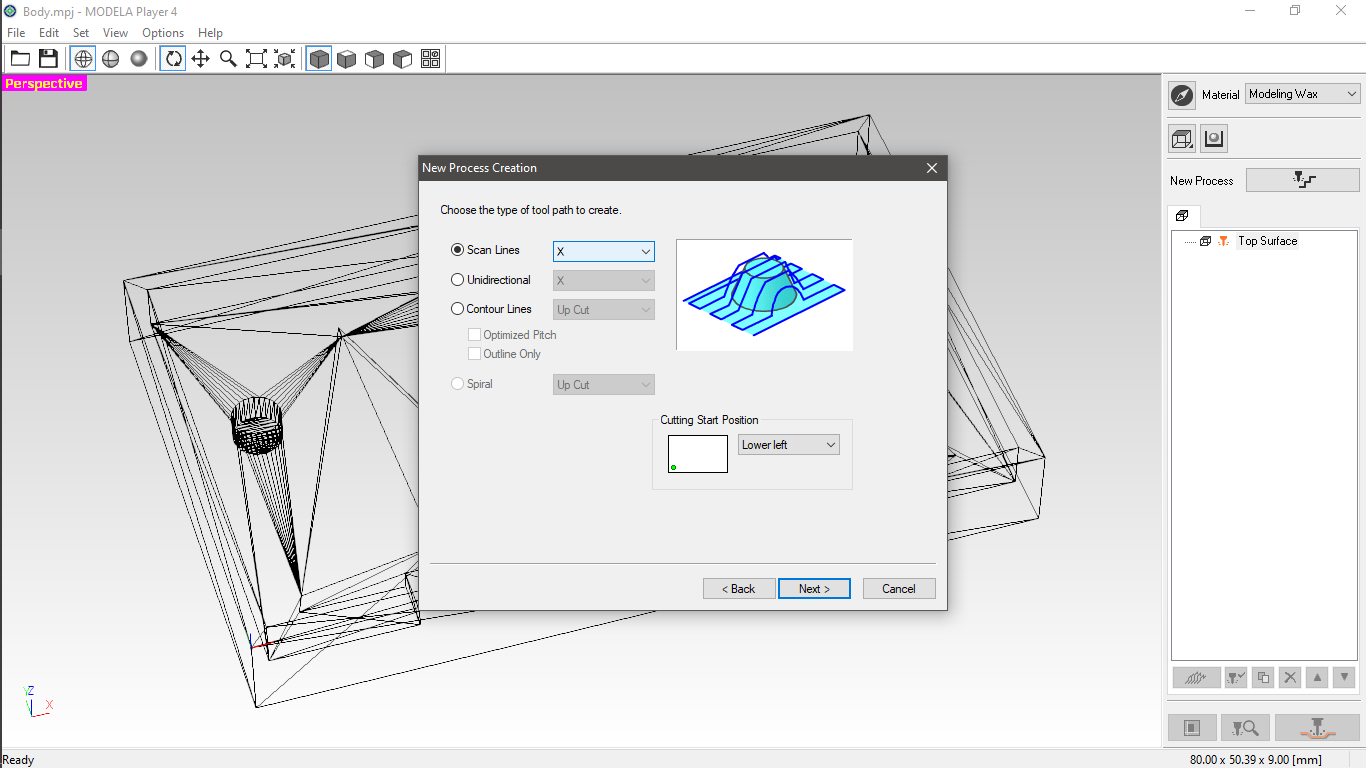
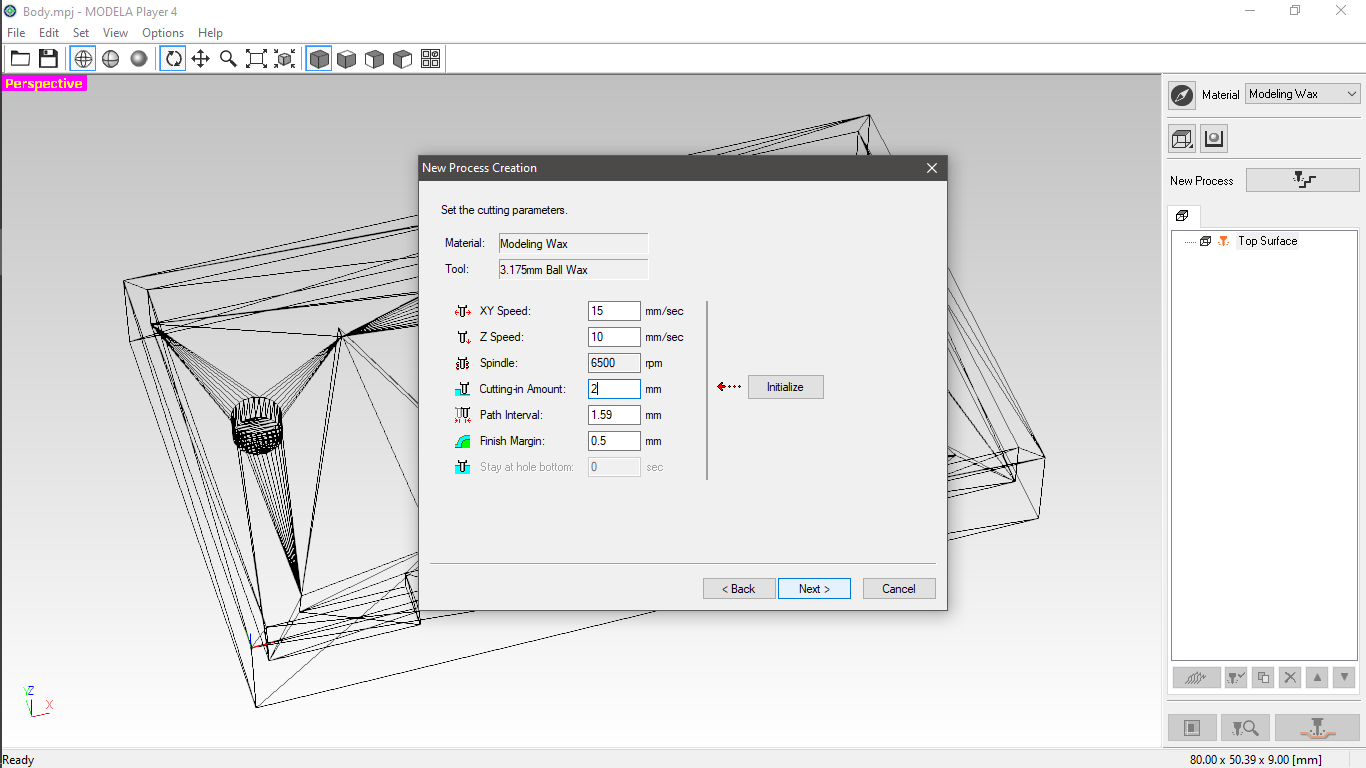
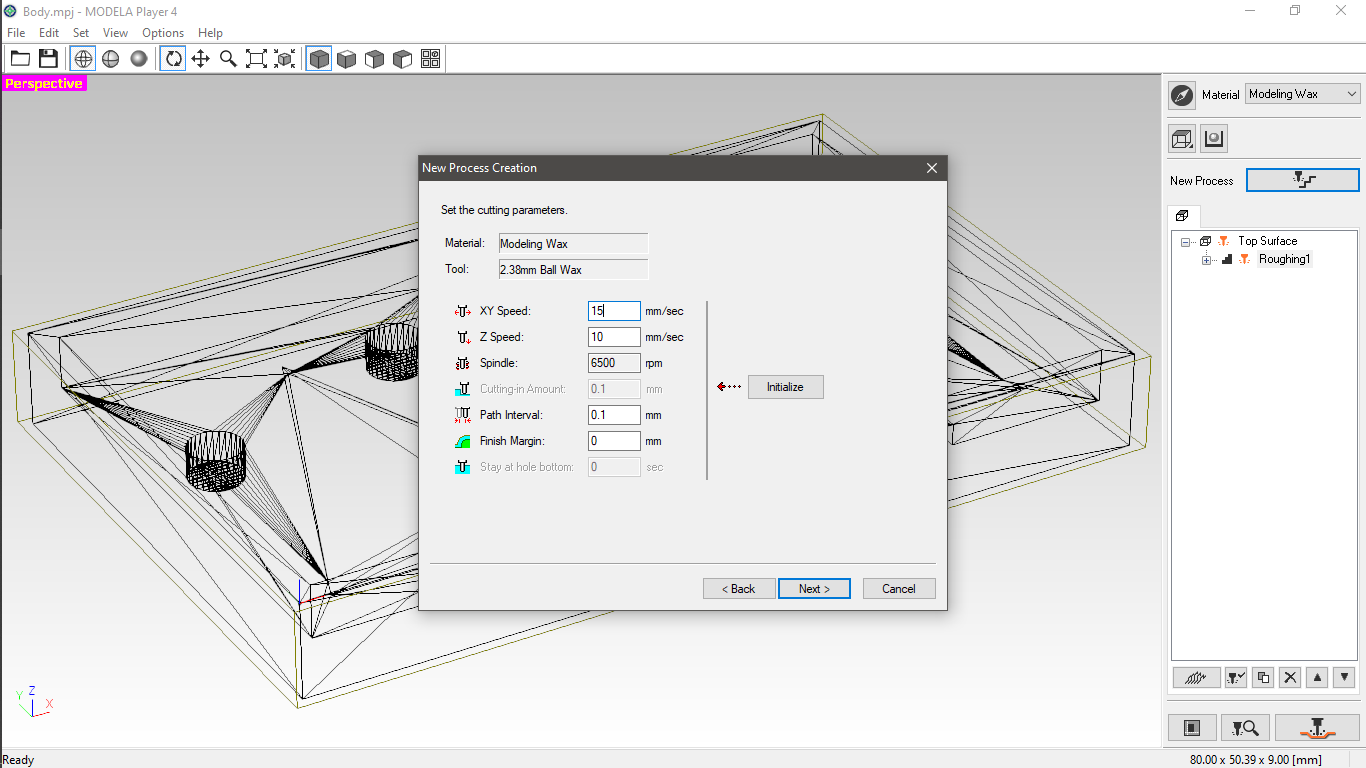
The next step is to define the process to do. It starts by defining the roughing process. I changed the end-mill, toolpath type, and speeds according to the settings shown in the following screenshots.
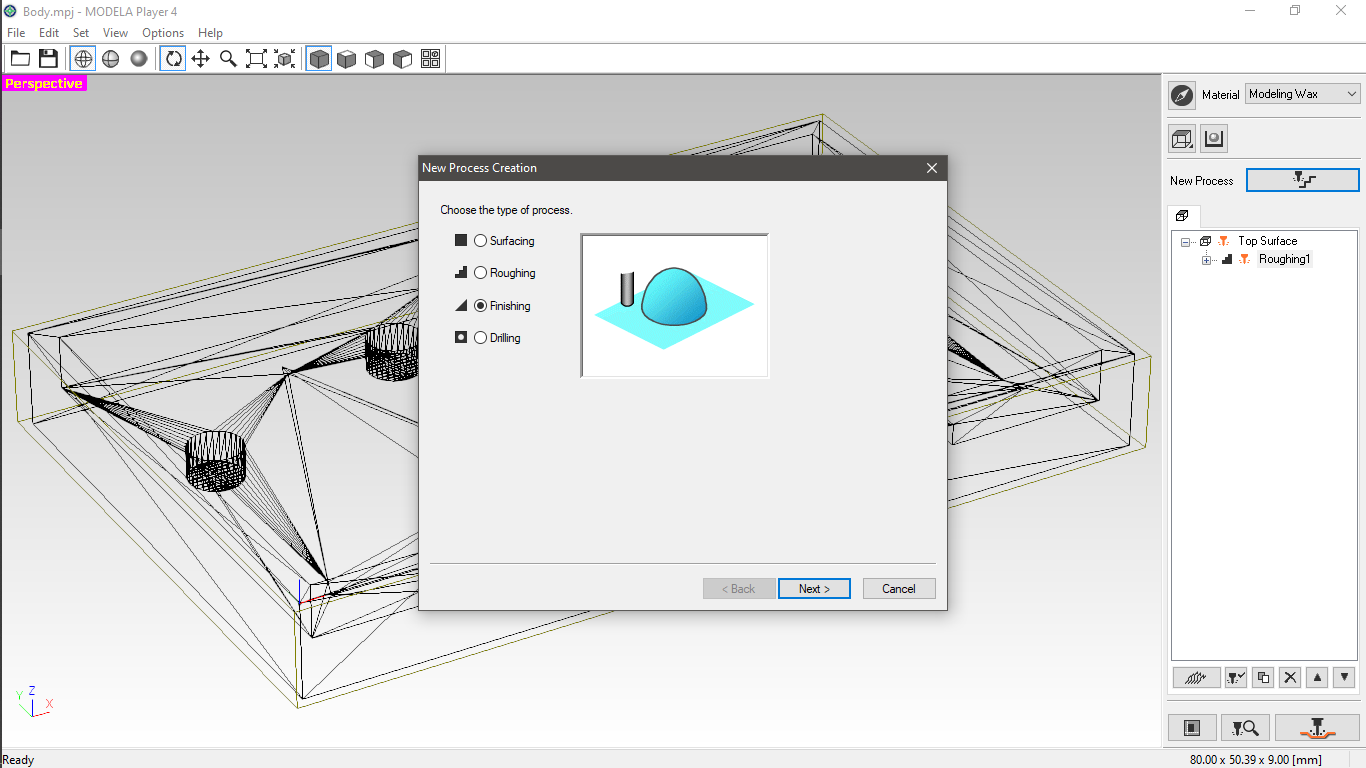
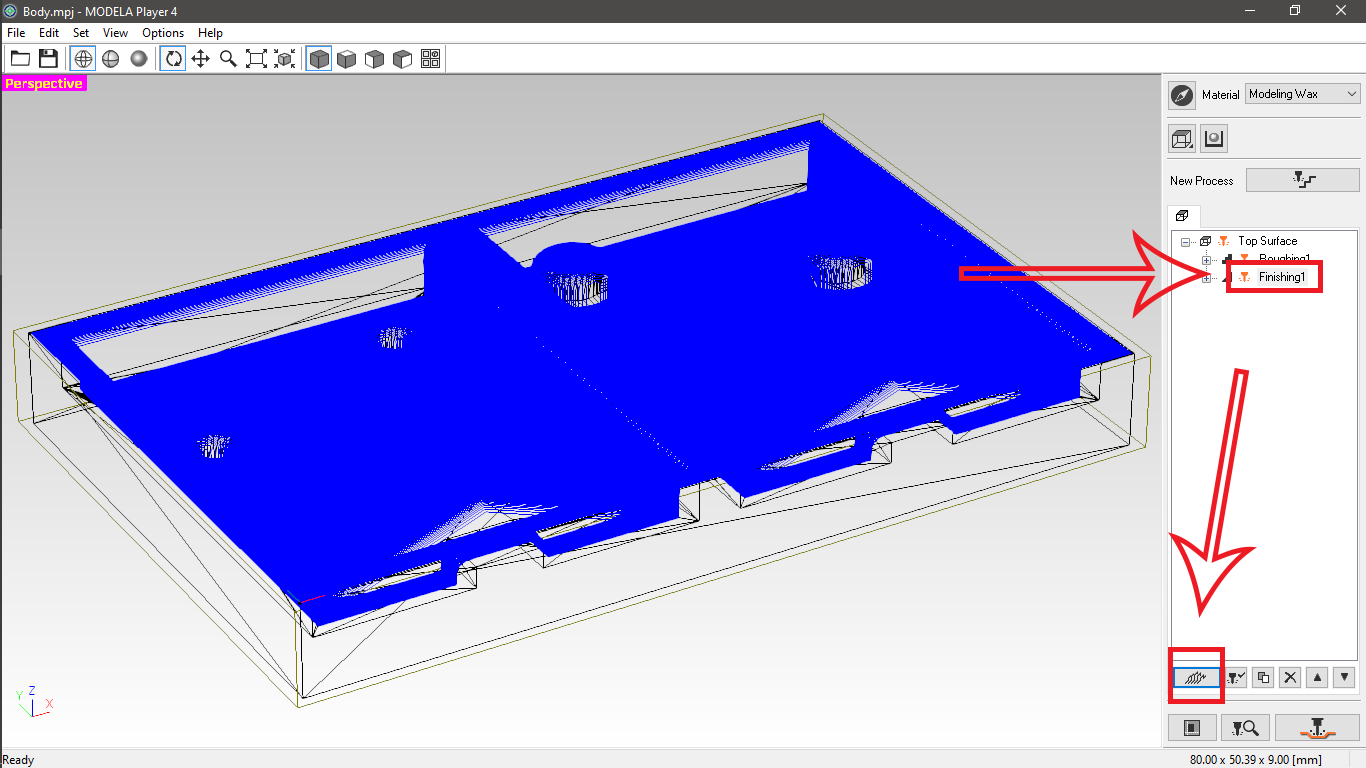
 I also defined the finishing process; where the model details should appear in their final finish.

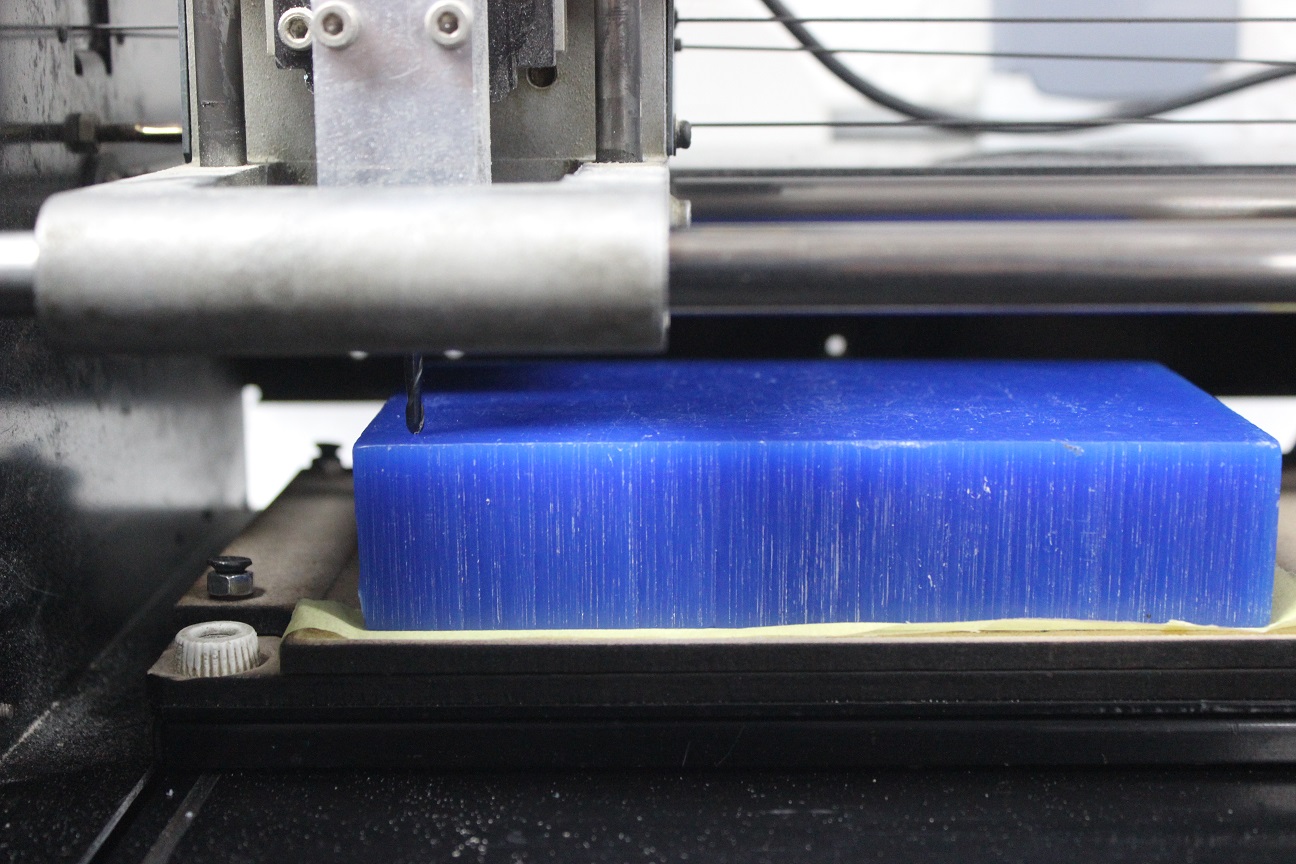
 The process is now ready to start. I put the modeling wax onto the machine bed using double-face tape.
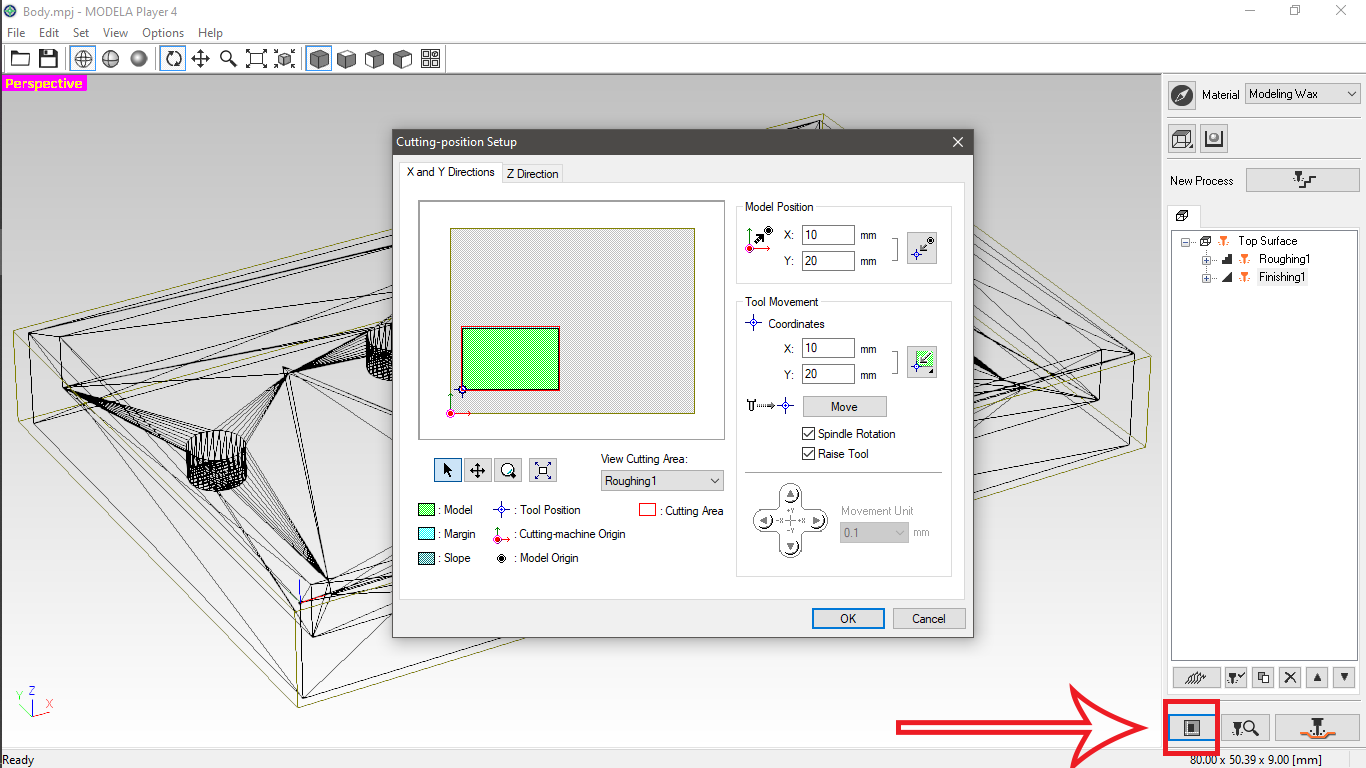
 I then defined the start point by moving the machine tool to it using the Cutting-position Setup wizard.
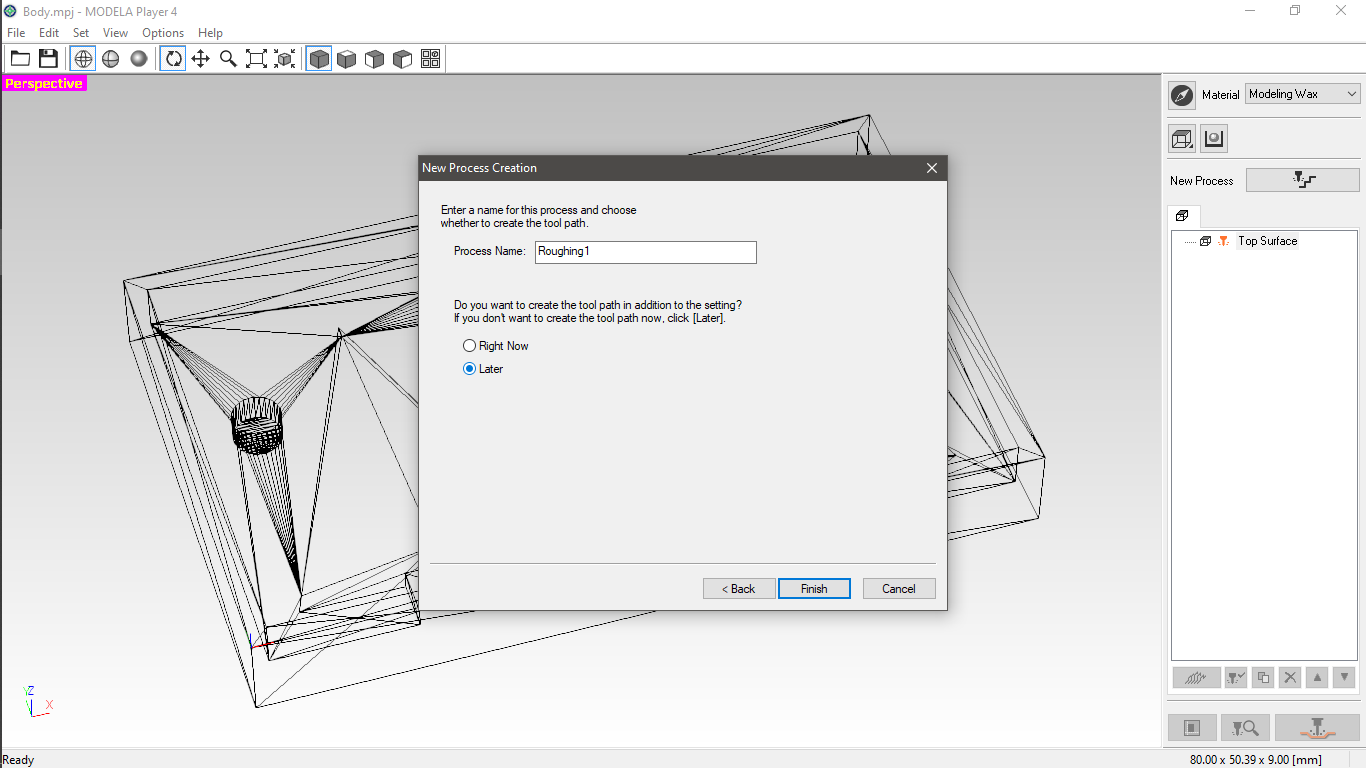
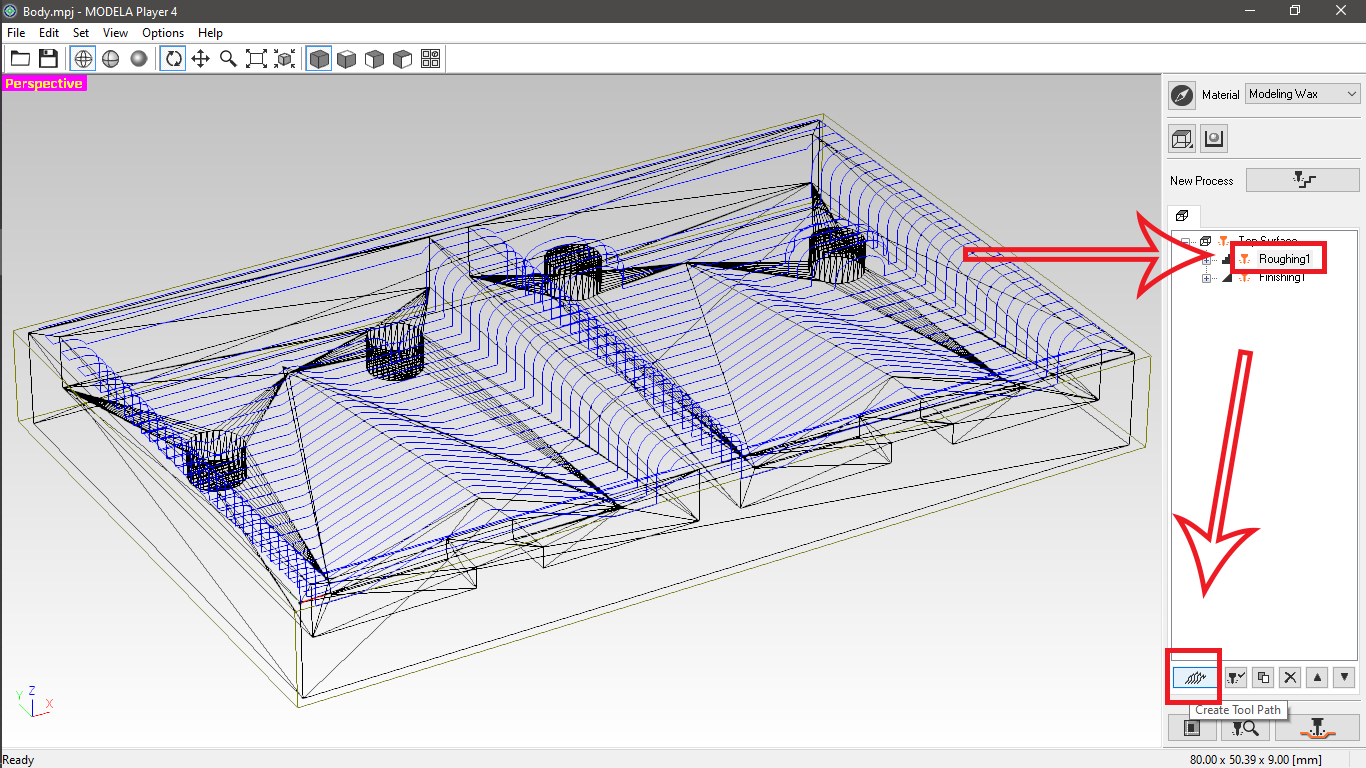
 I finally generated the toolpath for each process.
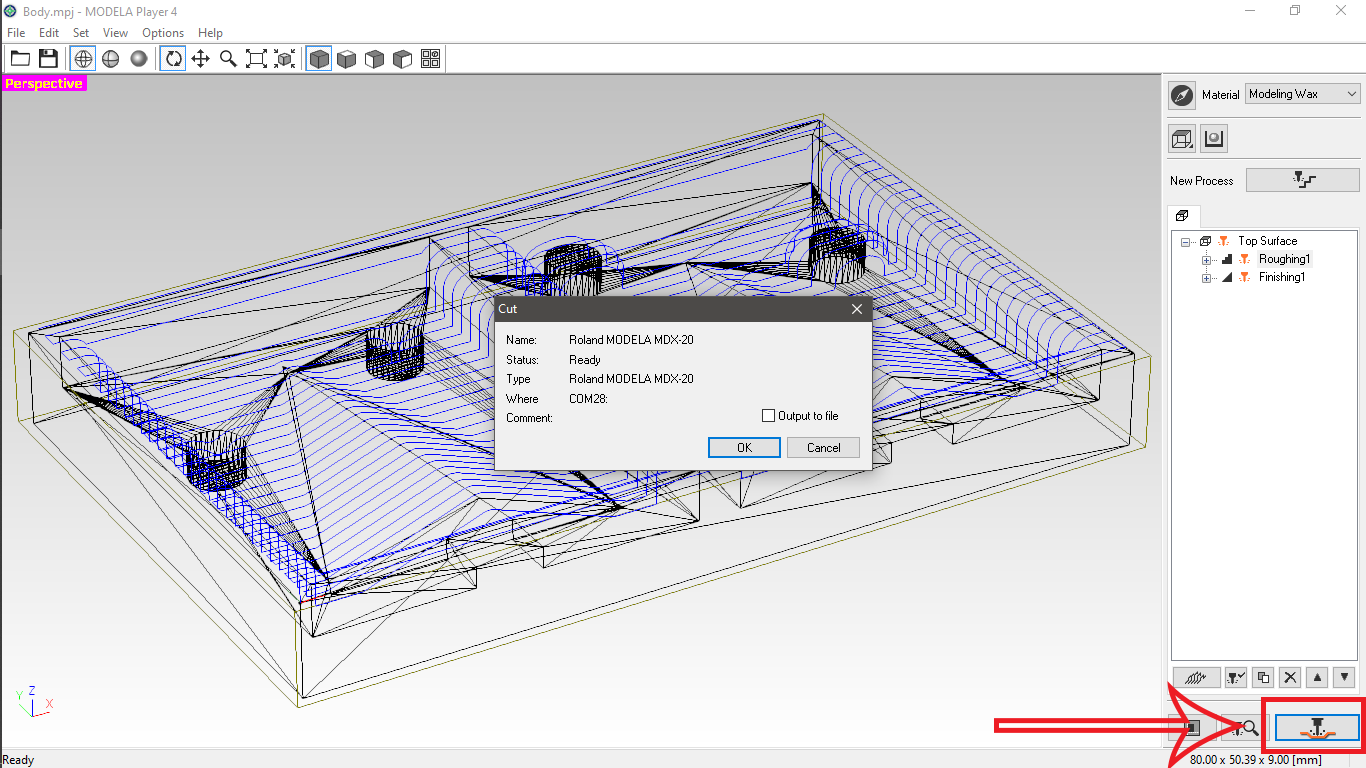
 aand got my cut up and running.
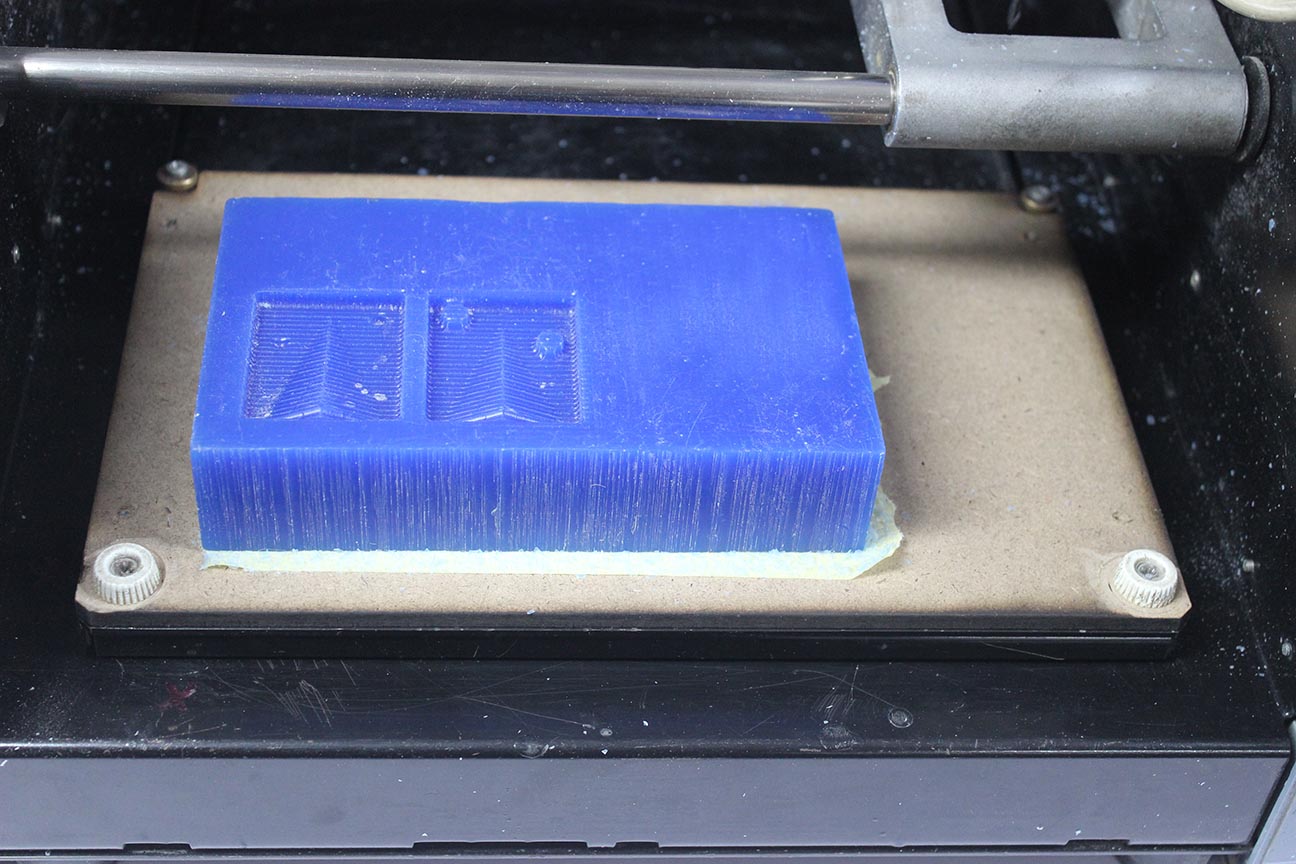
 This is the result of the roughing process.
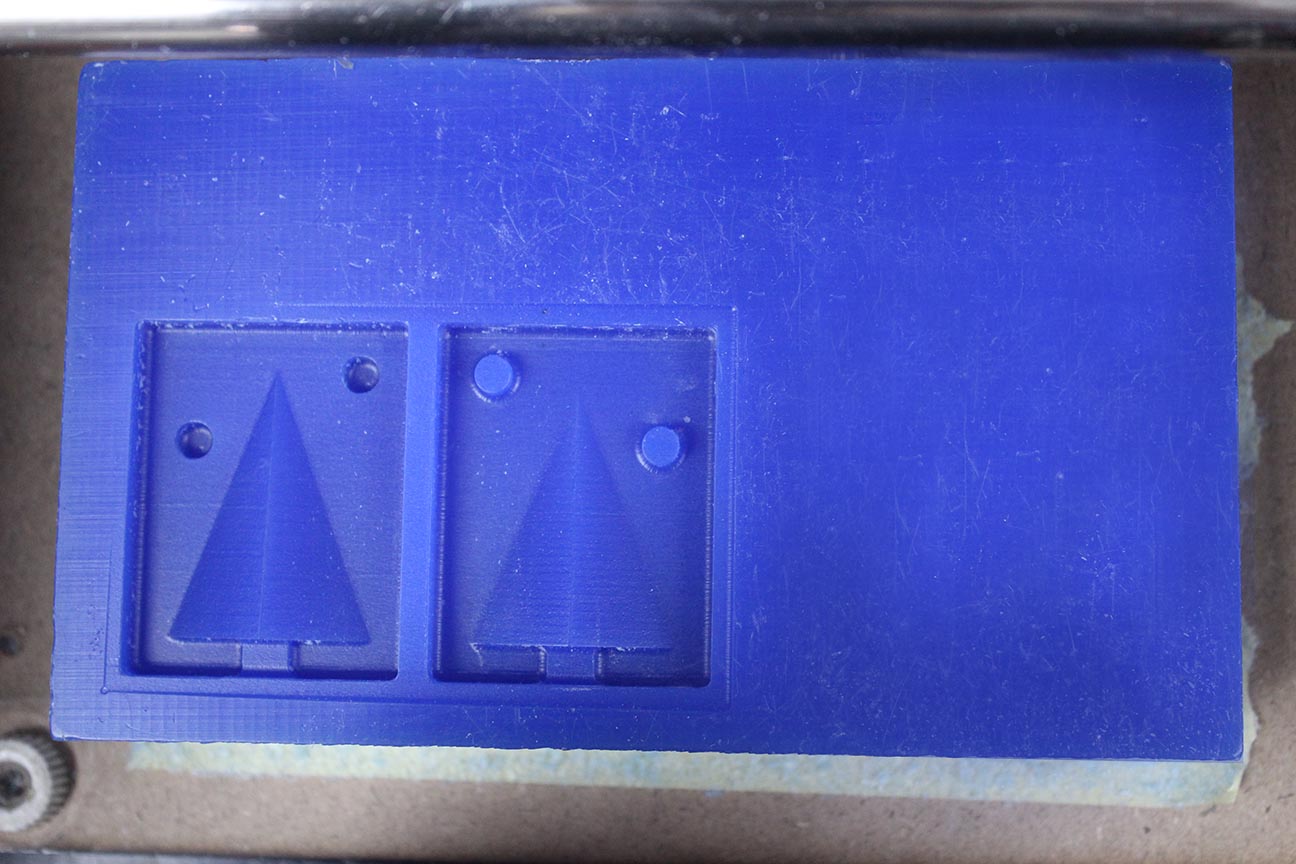
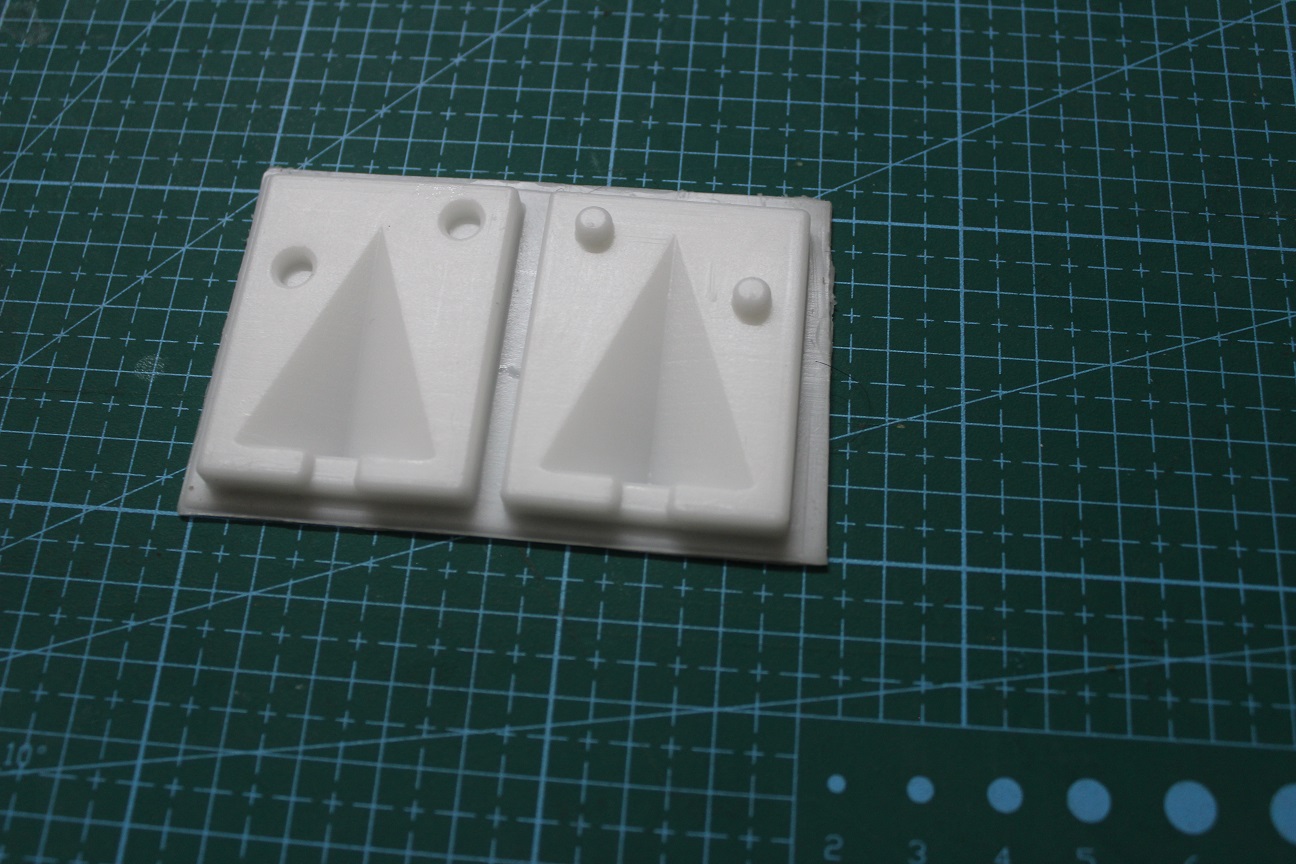
 and this is the final model after the finishing process.
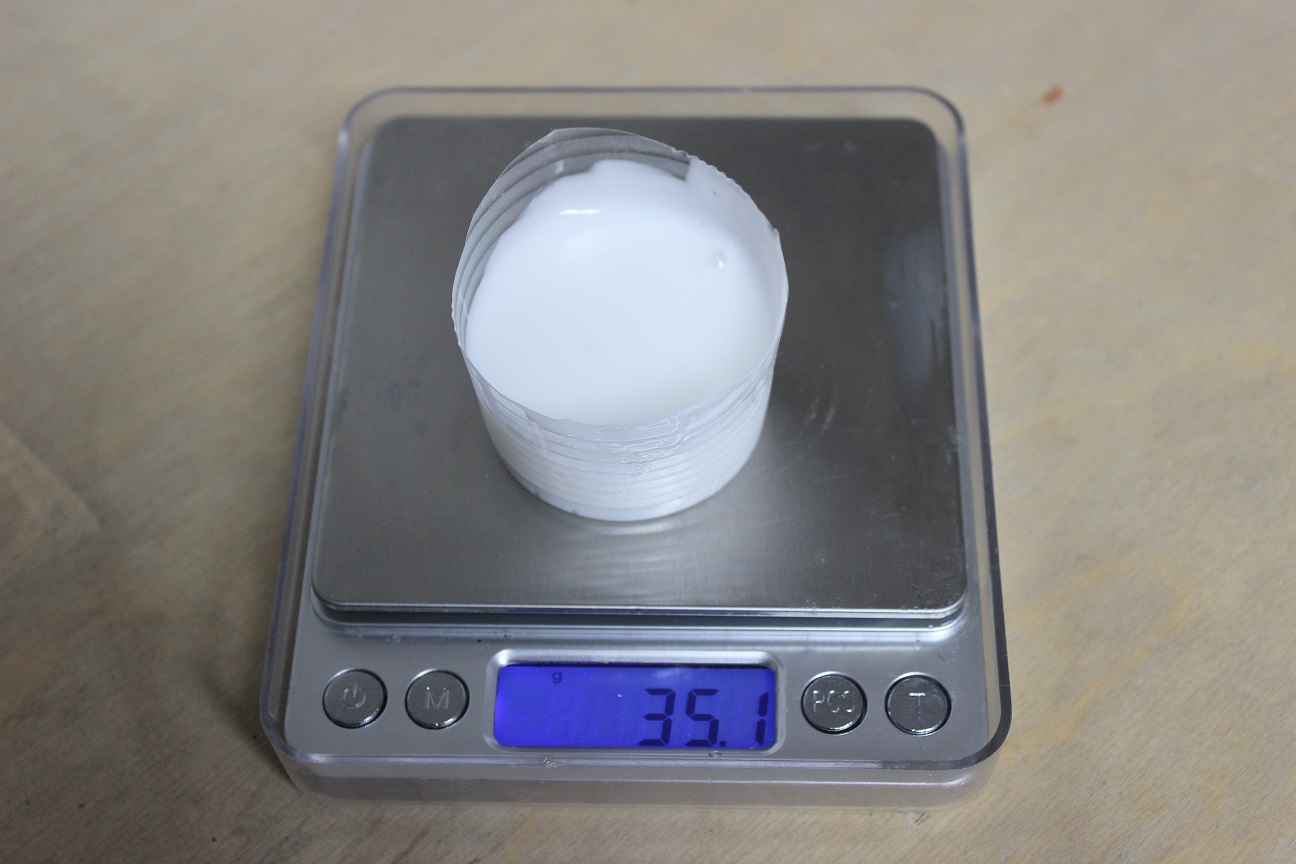
 I prepared the Silicon Rubber using a ratio of (10A:1B) and poured it over the wax.
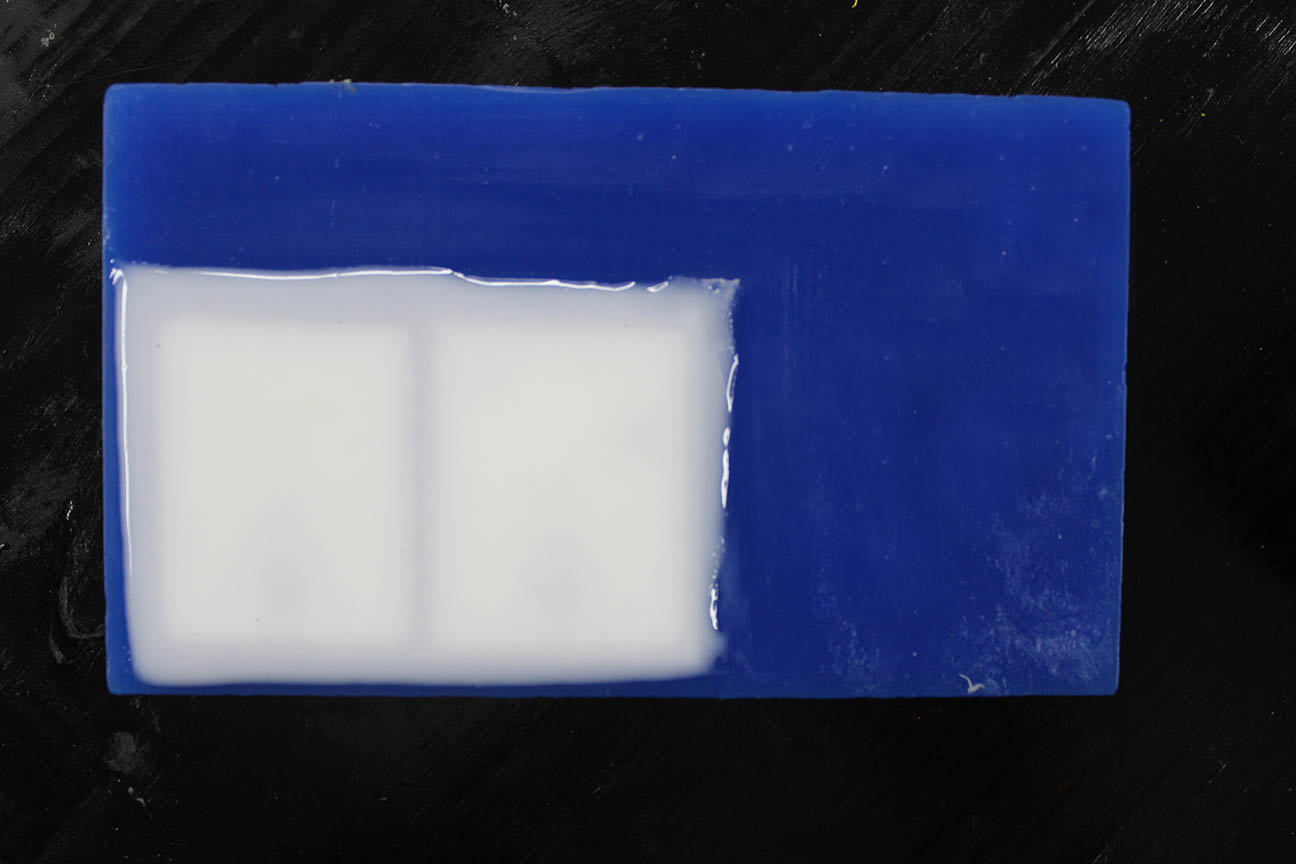 After around five hours I got my mold nice and clean :D
Add/Remove Tool wizard.
The next step is to define the process to do. It starts by defining the roughing process. I changed the end-mill, toolpath type, and speeds according to the settings shown in the following screenshots.
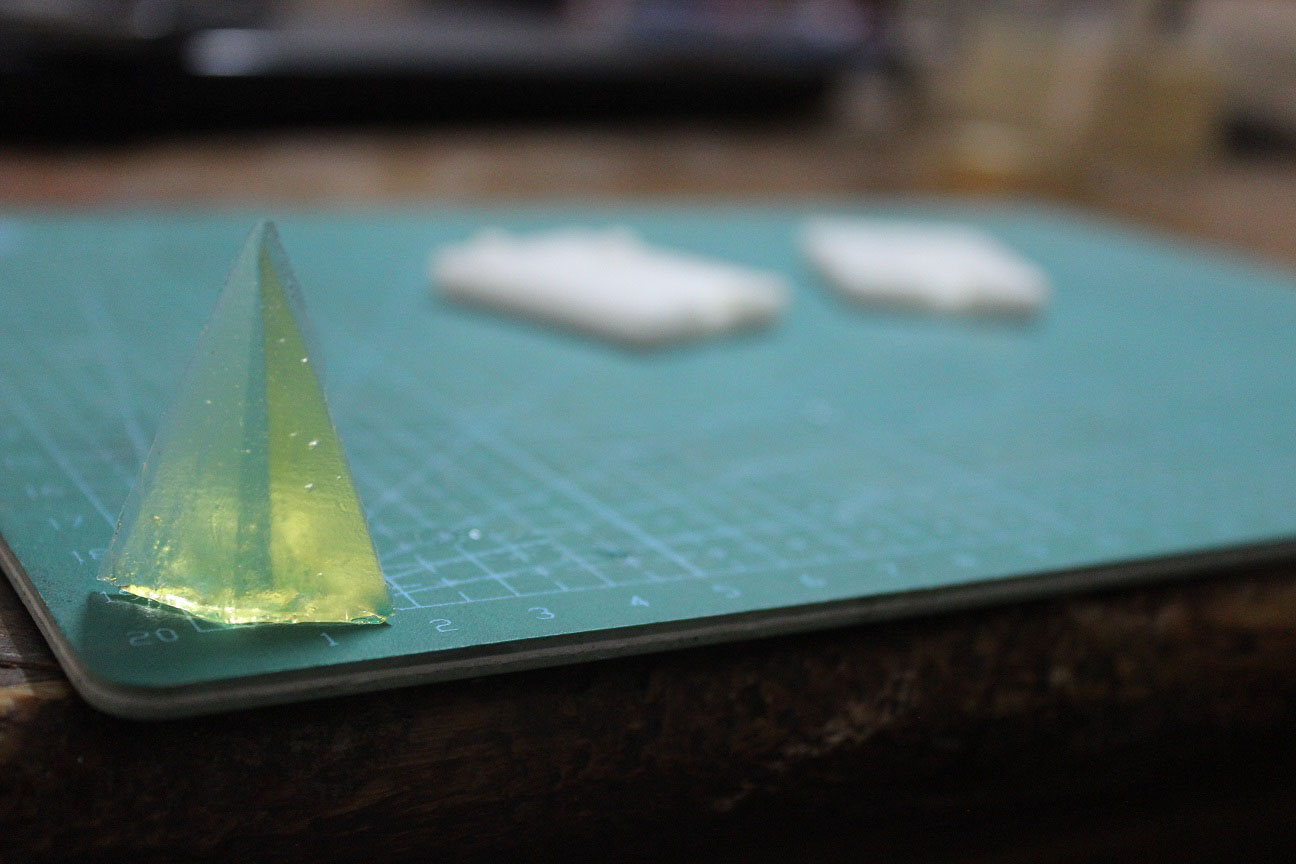
Epoxy Casting
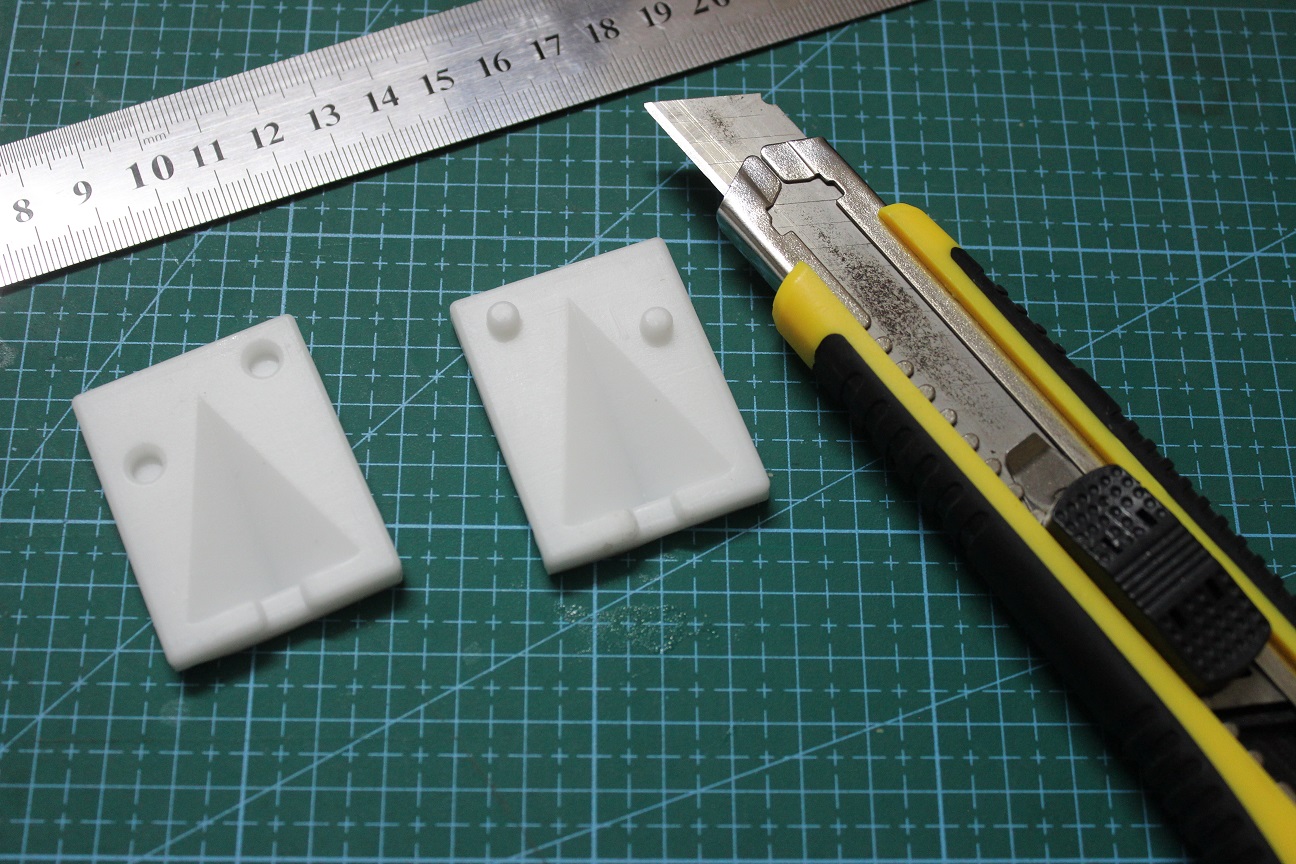
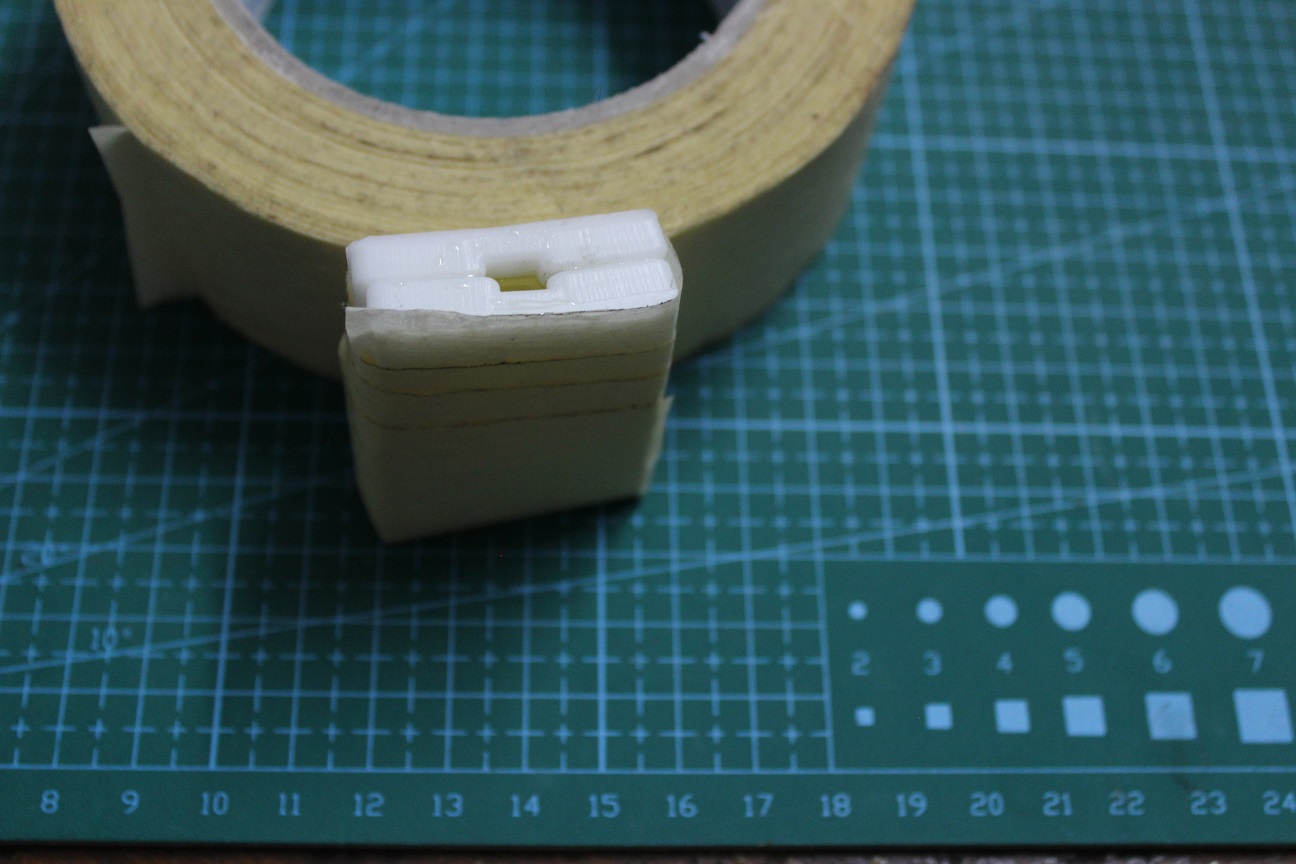
I used the cutter and the masking tape to put the mold pieces together
 I mixed and casted the epoxy into the mold and after five hours I got the blade :D