Mechanical Design
Group Assignment
- - Design a machine that includes mechanism+actuation+automation
- - Build the mechanical parts and operate it manually
- - Document the group project and your individual contribution
For the first week we have to design the machine and operate it manually and automate the machine next week.
- I was thinking of making Motorized Camera Slider
- Neeraj sir was thinking of making 3D Printer
- Pulkit gave the Idea of Sanitizing Machine as this is the need of the hour.
This is the video link through which we are taking reference.
After lot of brain storming and group discussion, As we already thinking of making Sanitising machine and this idea also includes the criteria of machine making. With final discussion with our Remote insructor Puneeth we decided to go with Automatic Hand Sanitizing Machine
This week was of my strong point and I was given a task to design the Sanitizing machine and simulate the mechanism of motion which is desired for the criteria of this weeks assignment.
About Hand Sanitising Machine
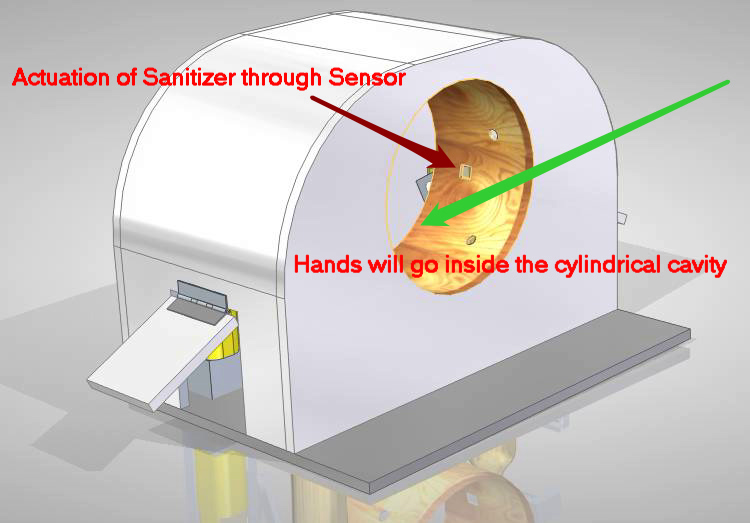
It is a kind of machine having mechanism to press the cap of spray bottles and the person without touching anything can sanitize his/her hand.
There is four bar Simple mechanism involve and to automate we will use IR sensor proximity switch and LDR sensor.
Electronics Components
- - 1 DC MOTOR
- - 1 Laser Diode
- - 1 LDR SENSOR
- - Jumper Wires
- - 1 Peforated Board
- - N type Enhancement Mosfet
- - 9V Battery
Fabrication Material
- - Acrylic Sheet for Frame
- - Acrylic Sheet for Mechanism
- - 1 Spray Bottle for sanitizer
- - Nuts and Bolt
Getting started with Machine Design :
Design on Solid Edge
To create animation, I am very confident to work on Solid Edge ,I started design on Solid Edge
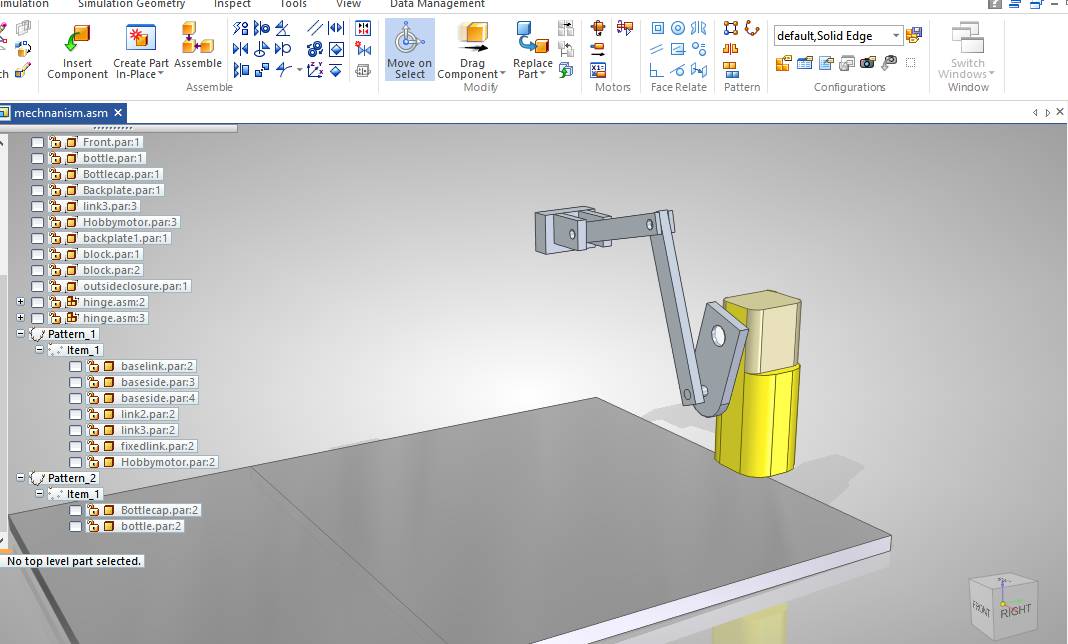
This is the four bar link mechanism in which one link is fixed and crank is connected to motor.
Mechanism :
When crank rotates, the rocker or third link oscillate and press the cap of spray bottle.
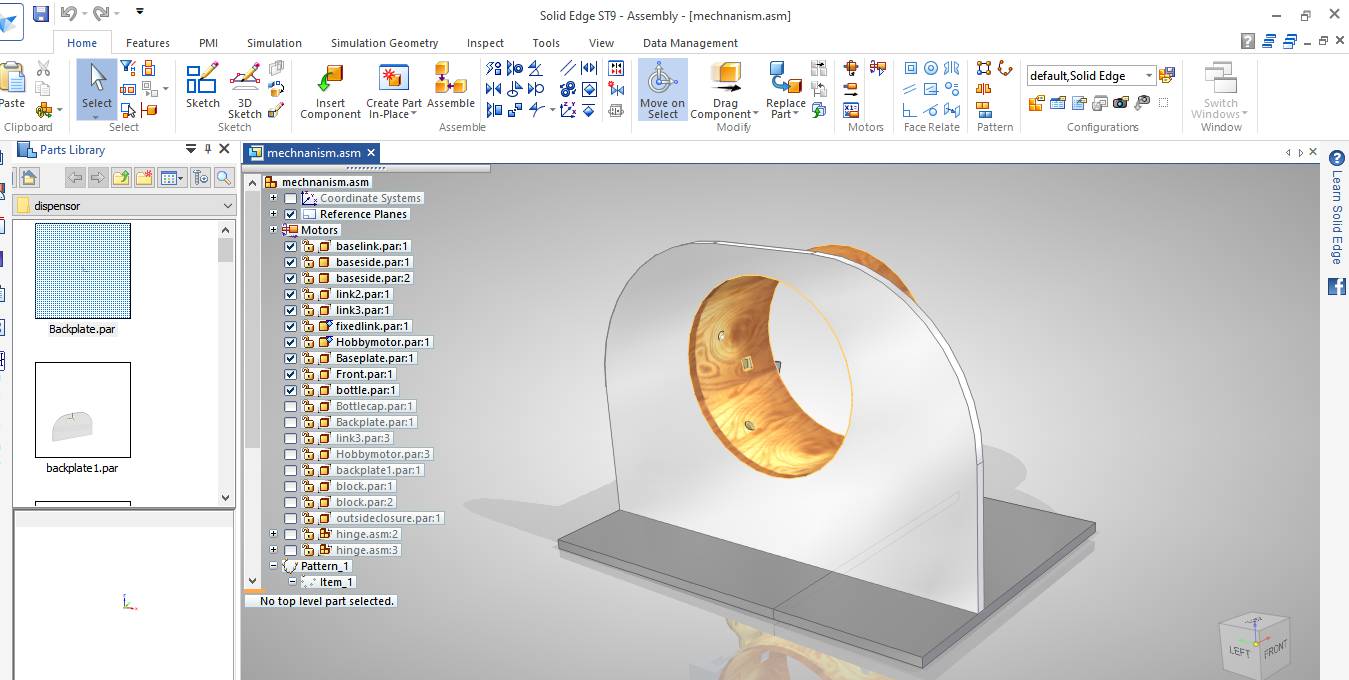

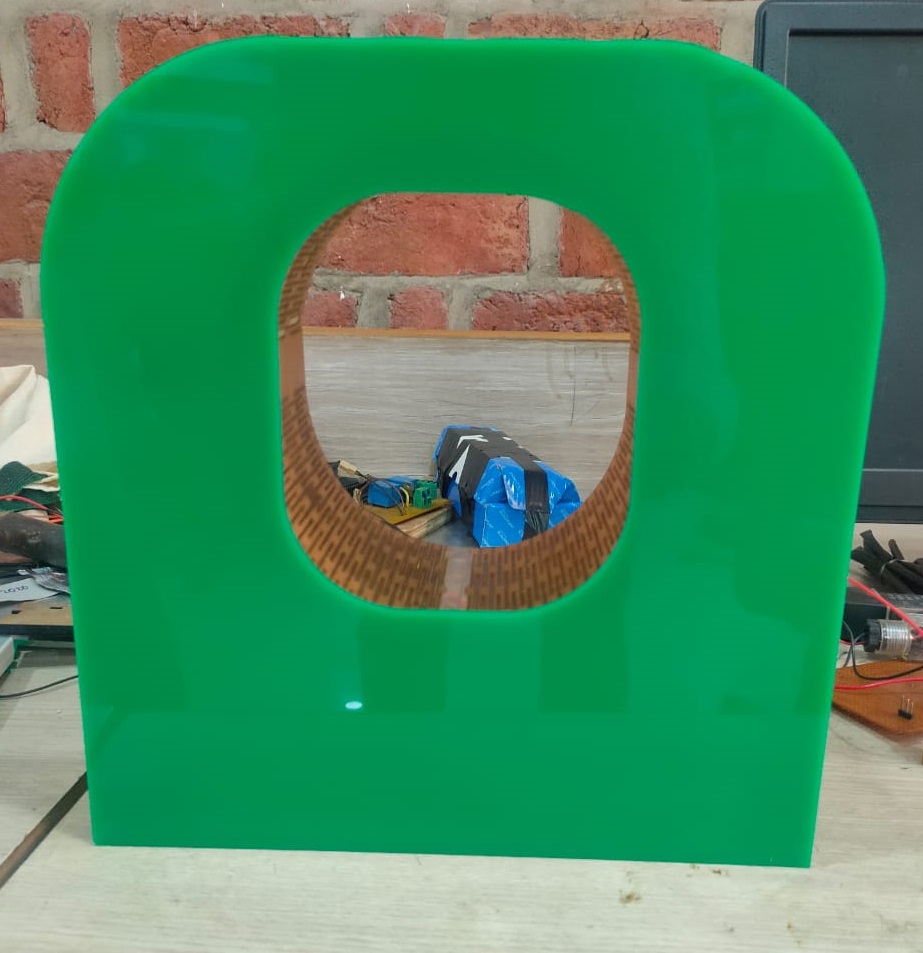
This is the front panel and shows the entrance for hands.
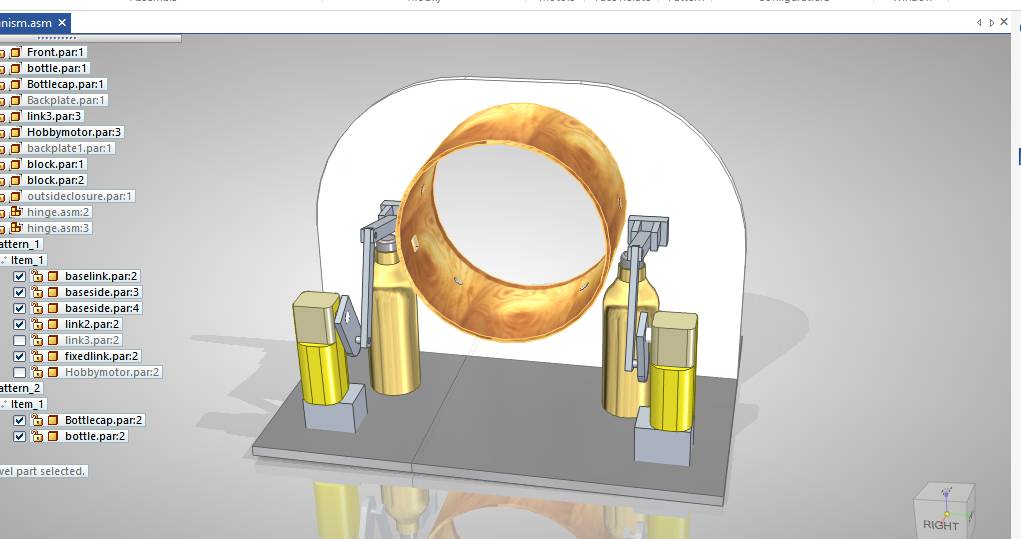
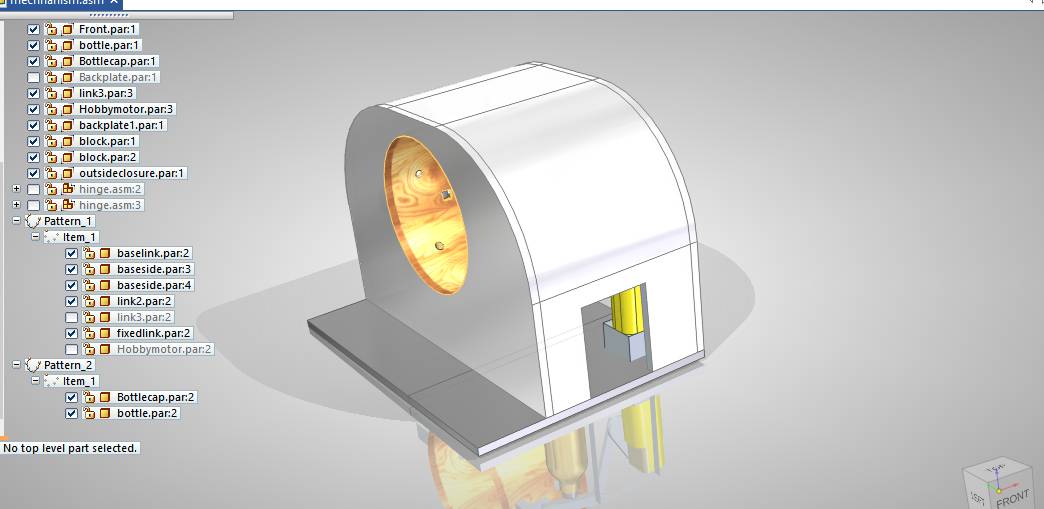
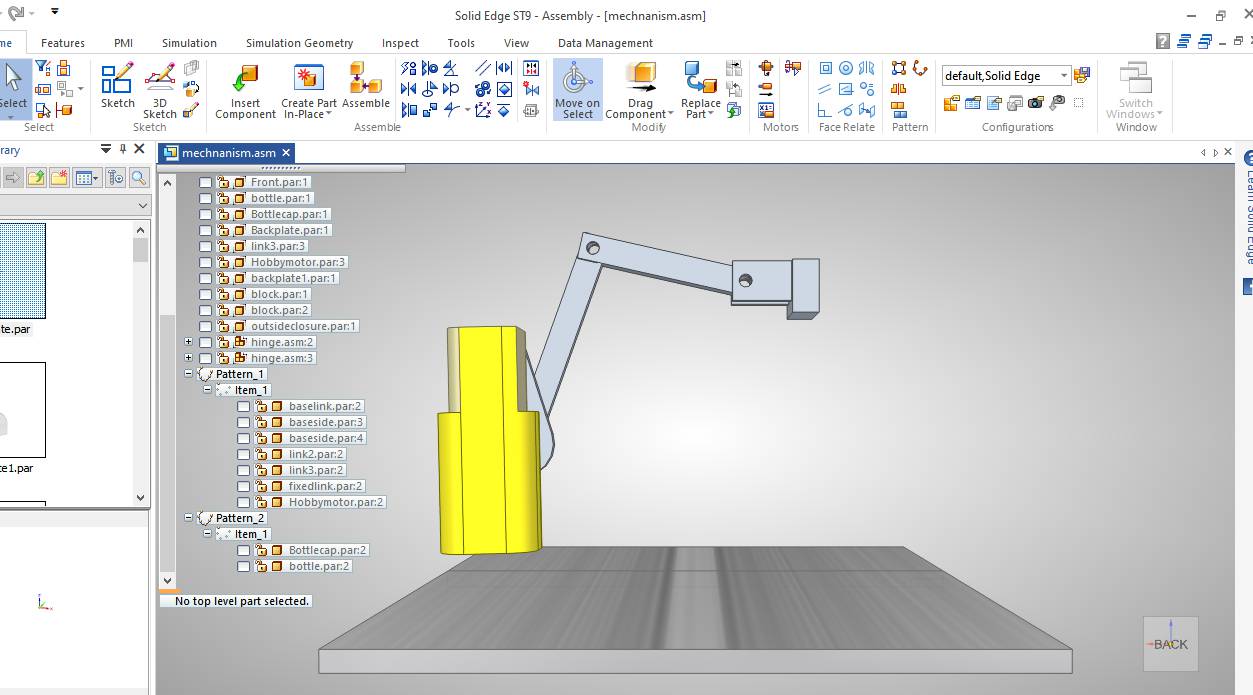
This is the overall design in which it shows placement of two spray bottles.
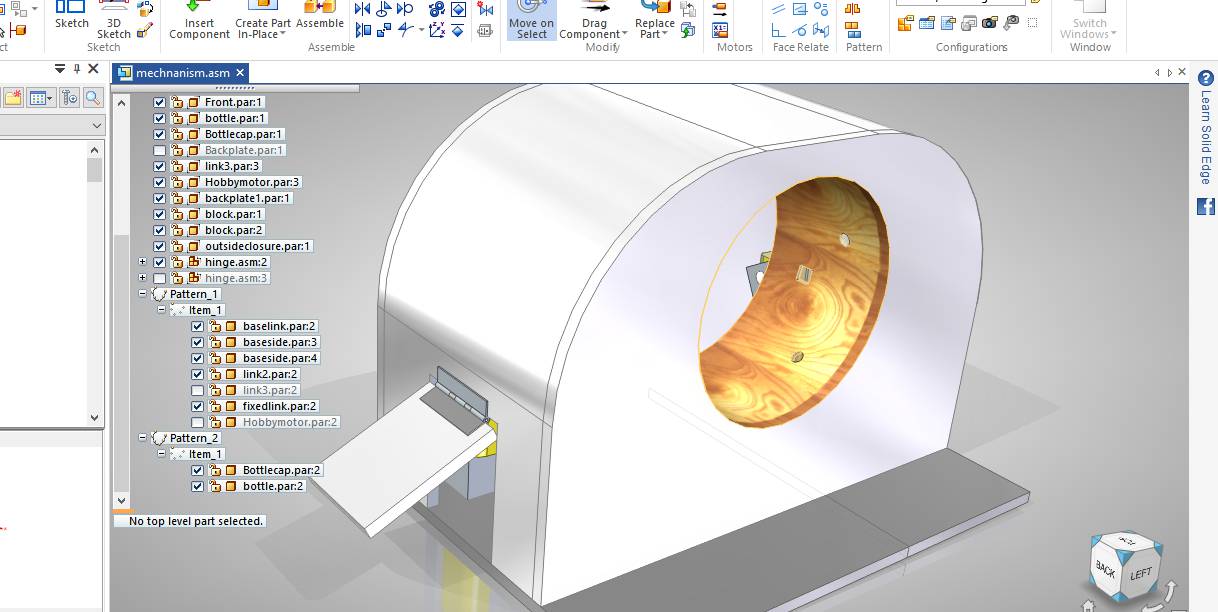
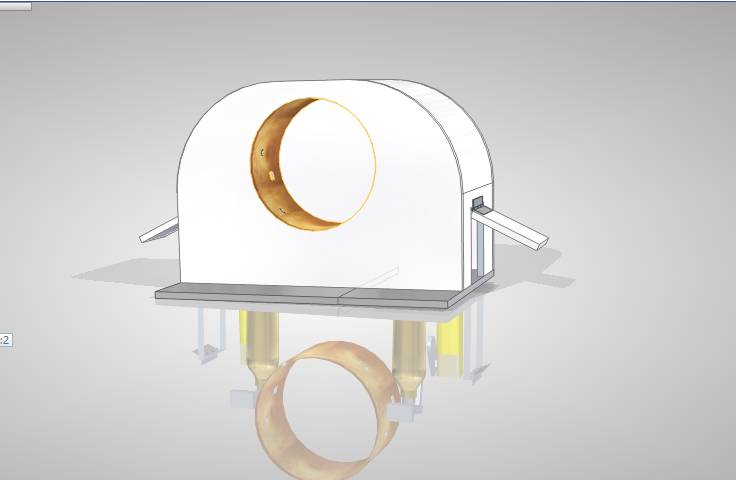
This is the design of whole machine and also the frame of machine.
Simulation Video
This video shows the final animation of machine mechanism and actuation of motor.
We will work on it as soon as we get the access of lab.My fab mate Neeraj sir will work on Fabrication and Pulkit on electronics and programming.
Work After Lockdown
As fabrication work was assigned to Neeraj sir, He worked on Laser Cutting Machine and Cut the Design as requiremet.We tested the design on Cardboard first .In the video shown below You can check the partial working of Mechanism.
Below are the images shown the fabrication of Hand Sanitizaton
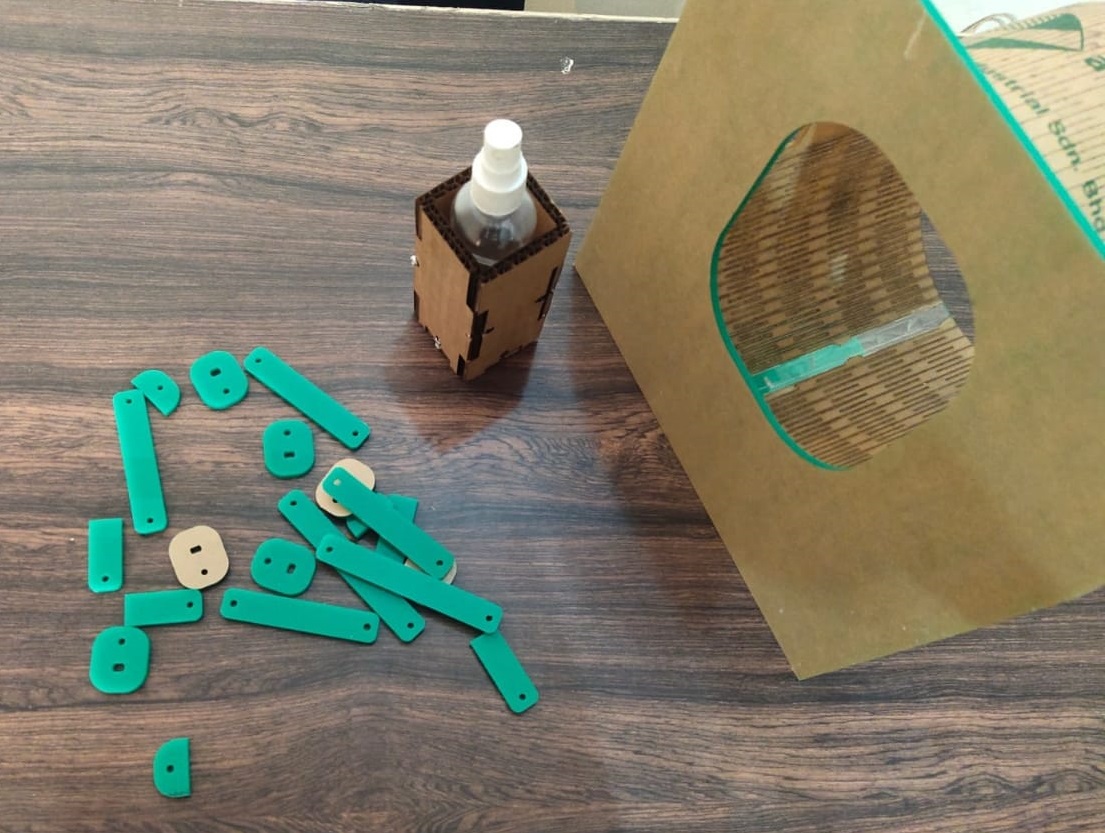
These are the links for mechanism.
This is the front view of machine.All the parts are joined with the help of feviquick.
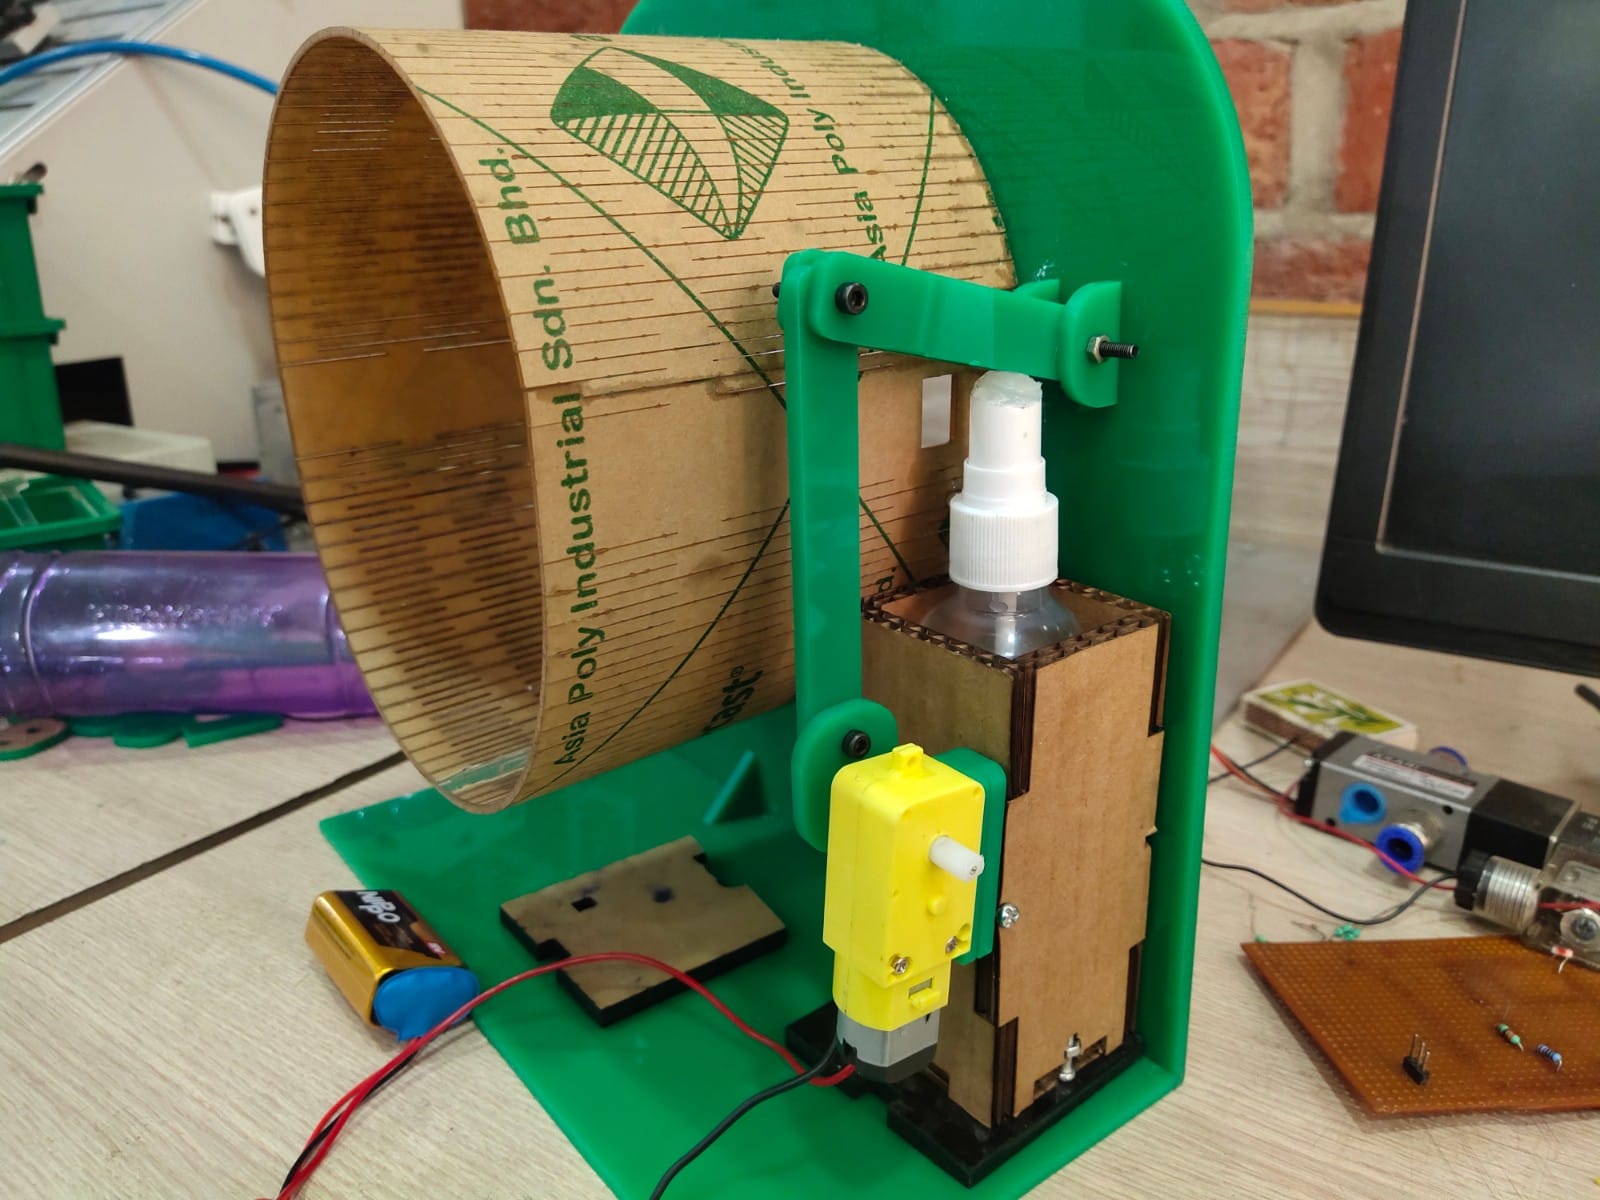
This is the arrangement of dc motor with spray bottle.The links are connected with nut and bolt of 3mm.
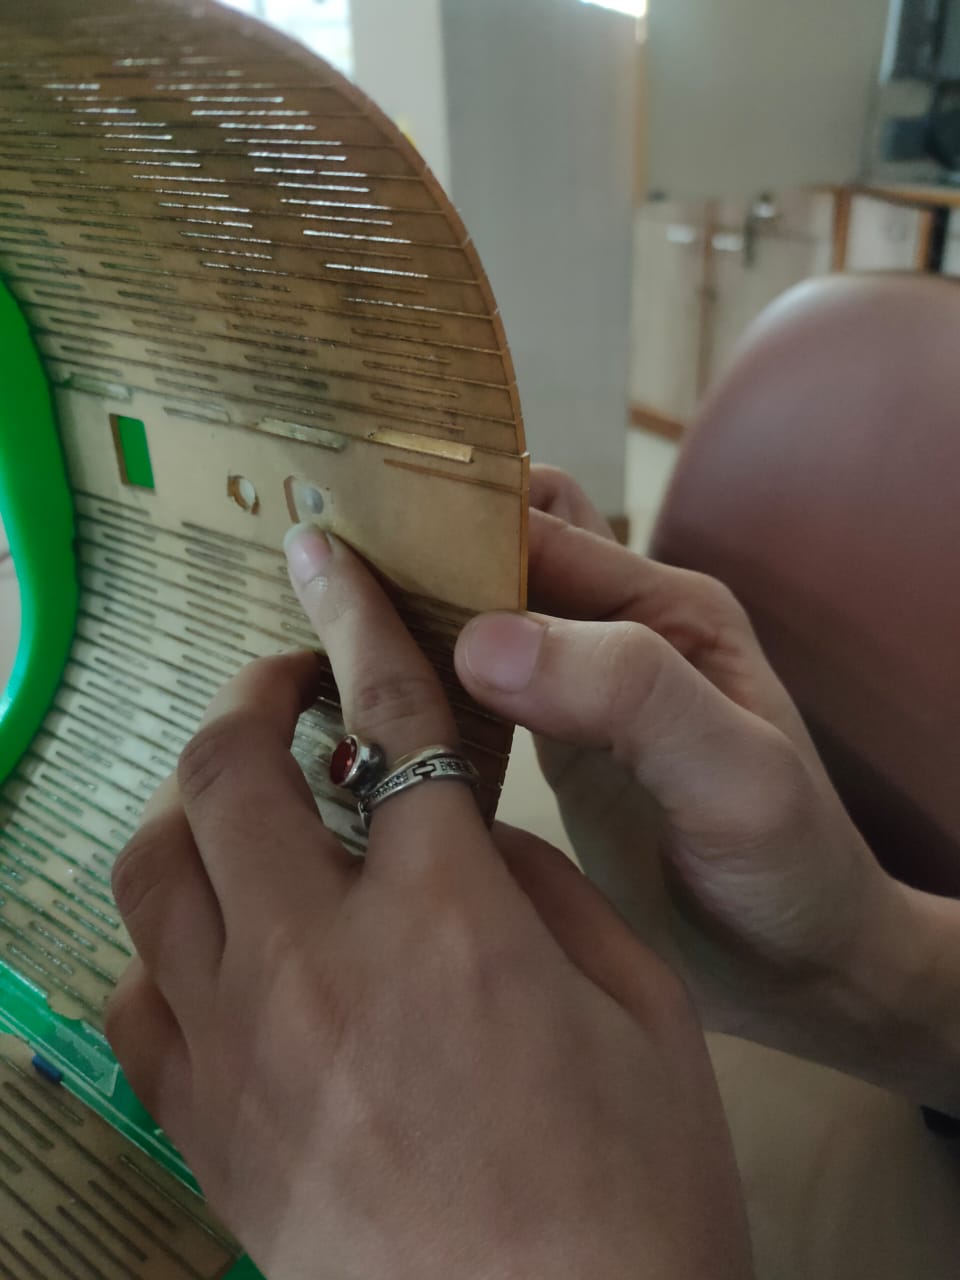
Here you can see the LDR sensor and when we insert our hand into the sanitization cavity the rays from IR proximity stop falling on LDR and the current start flowing in the circuit.The electronics you can check on pulkit page
This is the actuation of DC motor with 9V battery.
So this is the automatic hand sanitization in action.
Here you can check the full documentation on group page for Automatic Hand Sanitization Machine.
Automatic Hand Sanitization machine with Arduino
Previous setup was without using any microcontroller. It decreased the cost of Machine as Arduino cost will be included if add that.Thats why we tried it without any microcontroller.After our global instructor pointed out we tried it with arduino also.
Below is the code for the setup of laser diode and ldr to run the motor
    int sensorPin=A0;
    int sensorValue=0;

    int motorPin=8;

    void setup() {
    Serial.begin(9600);
    pinMode(sensorPin,INPUT);
    pinMode(motorPin,OUTPUT);
    }

    void loop() {

    sensorValue=analogRead(sensorPin);

    if(sensorValue<=600)

    {
    digitalWrite(motorPin,HIGH);
    }
     else {
    digitalWrite(motorPin,LOW);
    }
    Serial.println(sensorValue);
    }
This code implies that we defined the LDR pin as input and Motor as output. By analogRead we can read the value of LDR on serial monitor.As we got when the laser diode fall on ldr,Its value is greater than 600 and there was no laser light the value falls so it will turn the motor on and made motor pin high as its on Pin Number 8.
This is the setup for testing of laser and ldr with motor.In this video you can see the testing of both.
This is the video showing the testing of Sanitizer with Arduino.
This is the final video of packaged Sanitization machine.
As our instructor Puneeth told us to control the Number of sprays per hand.We changed the code according to that.
    int sensorPin=A0;
    int sensorValue=0;

    int motorPin=8;

    void setup() {
    Serial.begin(9600);
    pinMode(sensorPin,INPUT);
    pinMode(motorPin,OUTPUT);
    }

    void loop() {

    sensorValue=analogRead(sensorPin);

    if(sensorValue<=600)

    {
    digitalWrite(motorPin,HIGH);
    delay(1500);
    digitalWrite(motorPin,LOW);
    delay(3000);
    }
     else {
    digitalWrite(motorPin,LOW);
    }
    Serial.println(sensorValue);
    }
Now if we will insert hand in the sanitizer it will move to 5 sprays of sanitizer and stopped for 3 seconds then one could sanitize other hand also.
This is the video showing the same.