Molding and Casting
Individual assignment:
Design a 3D mould around the stock and tooling that you’ll be using, mill it (rough cut + (at least) three-axis finish cut), and use it to cast parts.
Molding
Molding or Moldmaking is the act of creating the cavity /form that carries a negative or reverse impression of an original model. Molds can be made of a rigid material, such as plaster or plastic resin or more commonly, a flexible material such as rubber. The material to use should be chosen considering the material of the model, the material to be used to make castings, and whether there are any undercuts.
Casting
Casting is the act of pouring liquid material into the cavity of a mold. After a period of time, this liquid will cure via chemical reaction or cooling. The solidified part is also known as a casting, which is ejected or broken out of the mold to complete the process. Casting materials are usually metals or various cold setting materials that cure after mixing two or more components together; examples are epoxy, concrete, plaster and clay.
Source : https://www.smooth-on.com/support/faq/201/For this week, I planned to make a Easter Bunny chocolate mold.So I take refernce from this image annd used this image to design on Solid edge. Baically I want to make two part mold and a casted object ressemble like a coin with two faces .
Source for image:link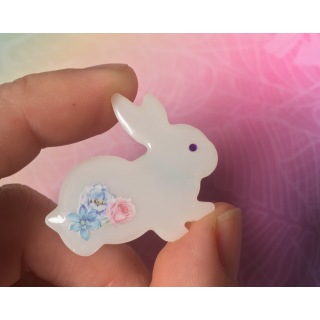
Design on Solid Edge
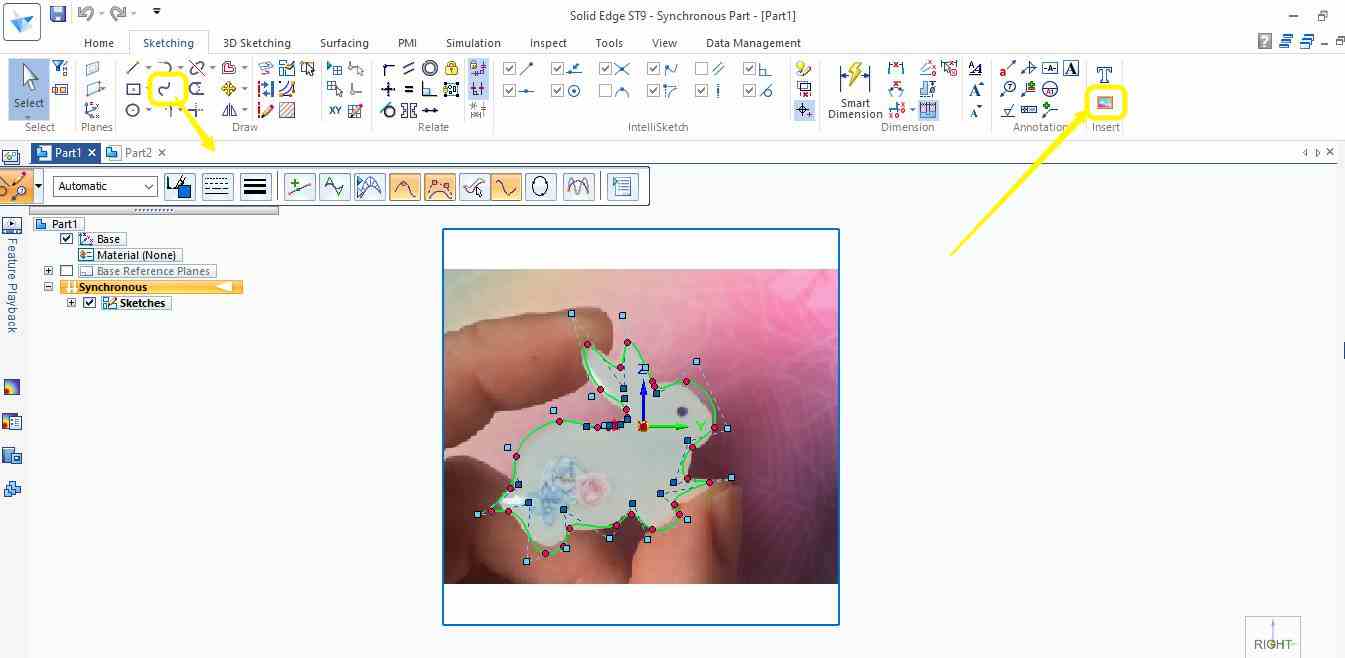
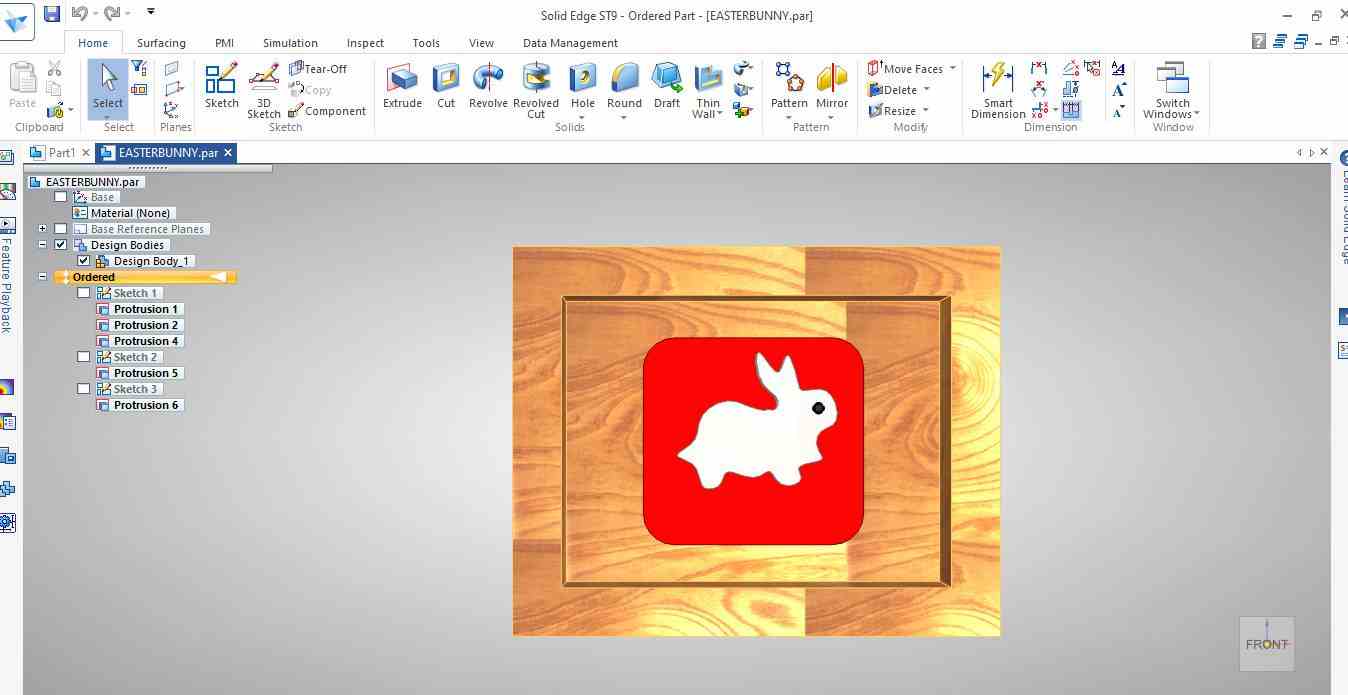
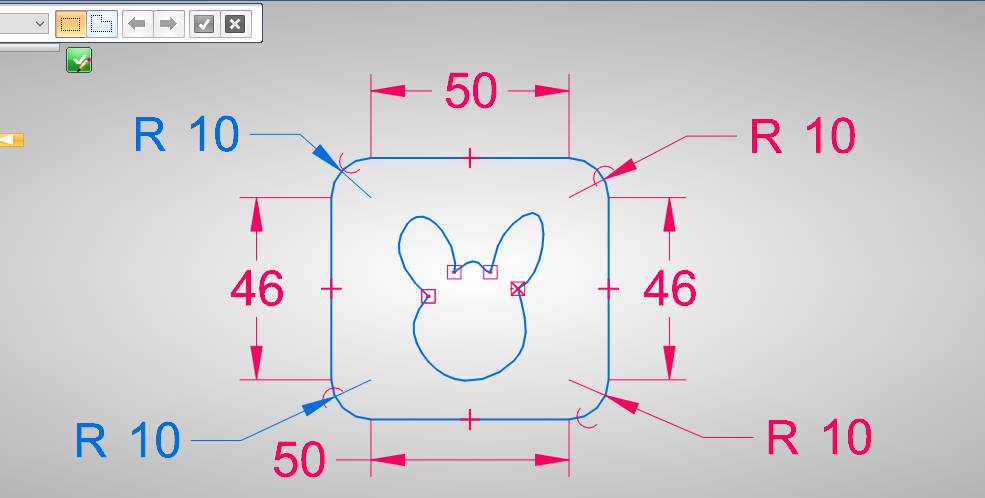
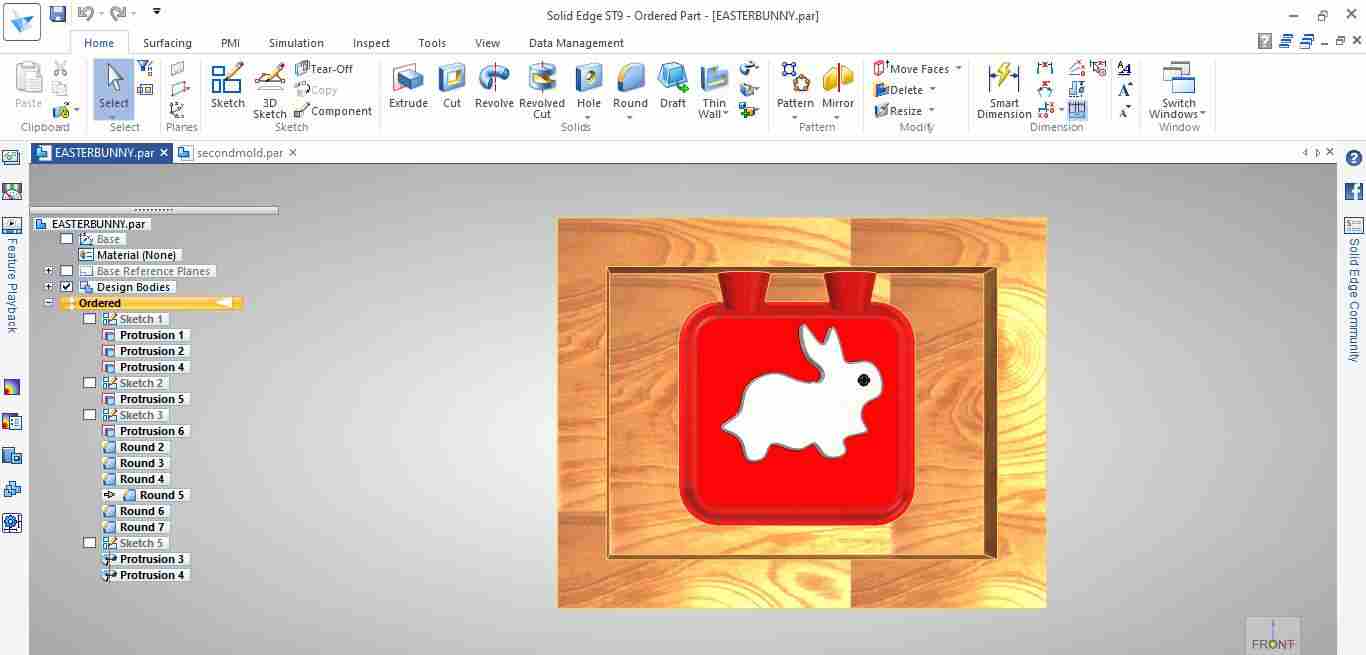
SO to start, with the sketch command and image icon shown in image is used to import the image in Sketch workspace.And with the help of spline curve with free hand I draw the profile following the image profile.
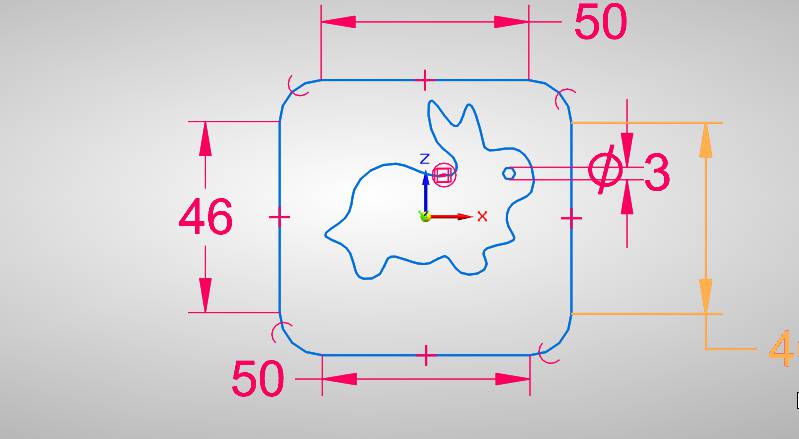
This is the final sketch obtained, the rectangular boundary has been created for the base of coin.
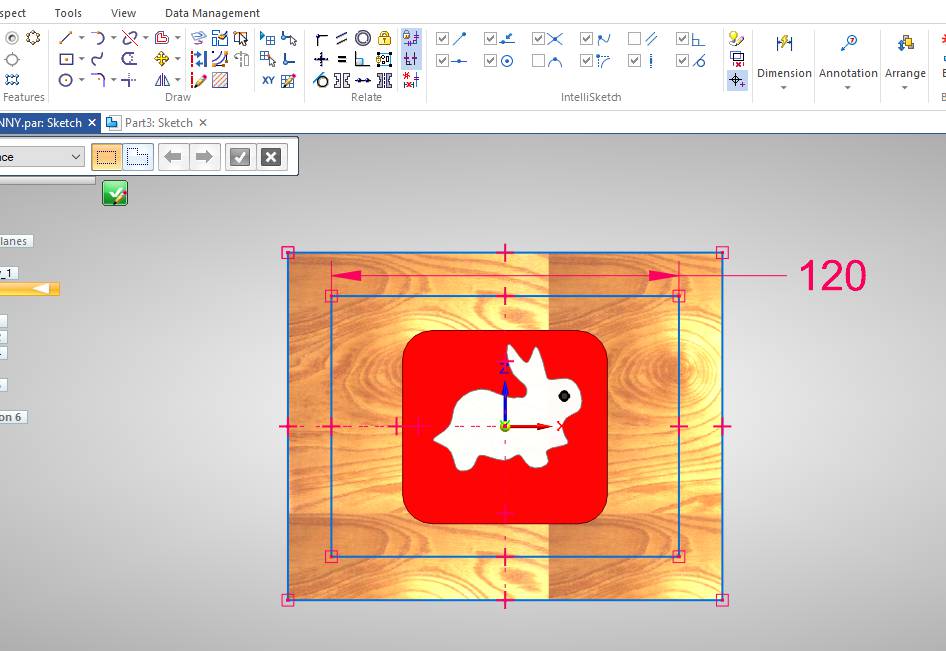
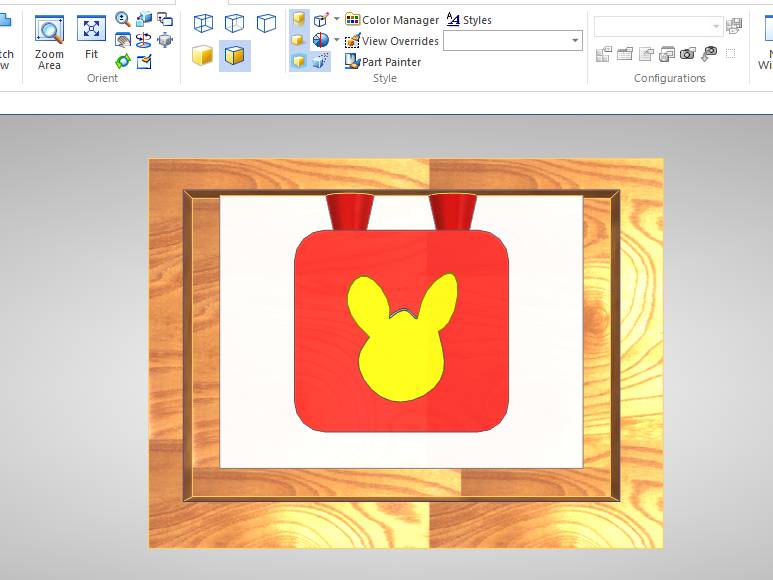
Again for hard mould we need a shape to pour resin of soft mold.
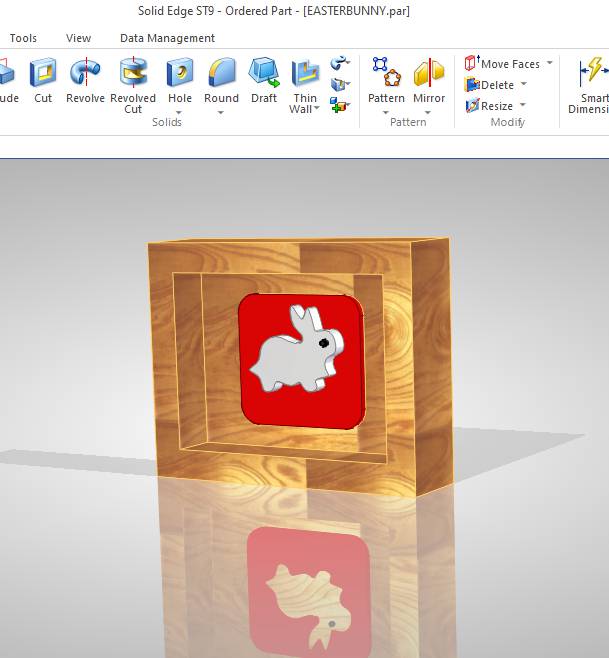
Final mould for coin one face created and rendered.
First I want to create one part mold only, But after going through this good read . I decided to go with this technique
COIN SECOND FACE
The second face of coin is made as the soft mold will have negative impression of it.
Modification in Design
My remote instructor Puneeth told me some suggestion as to add pouring vent on both the part of mold as well suggested me to add some fillets so that the bubble will not trap in it. As well t make part something 2.5D as initially it was more 2D.Some contour shapes are required
So this is the fina modification made on Mold 1
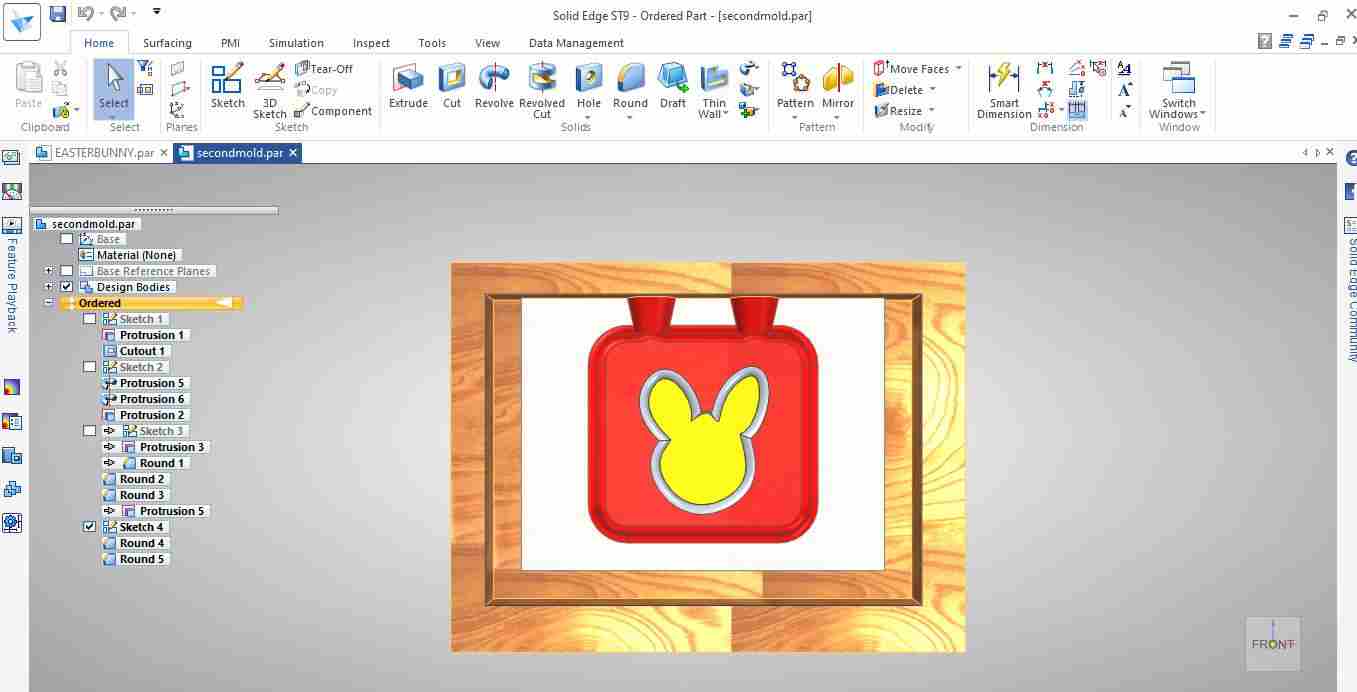
This is the fina modification made on Mold 2
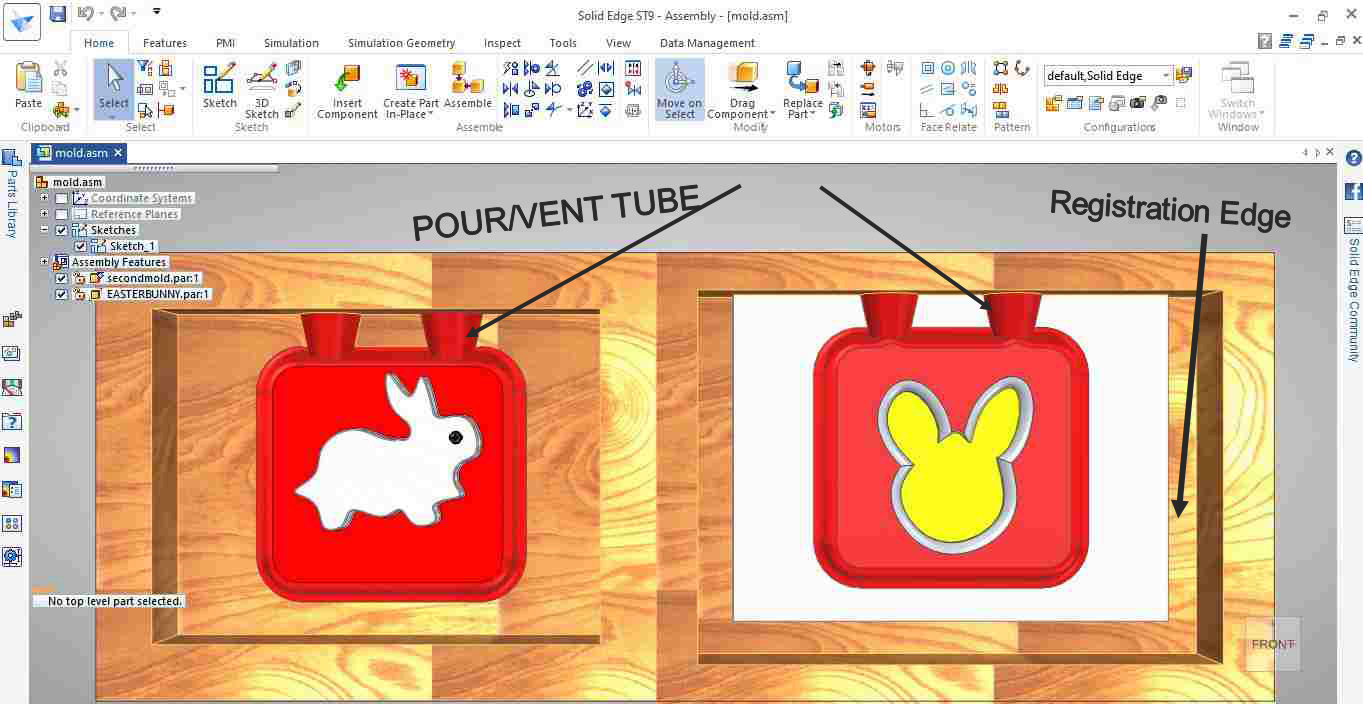
In this image, ou can see the essential thing used to make two part mold,First thing is Registration Edge and Pouring/Vent tubes.
Boolean Operation on NX
I imported the step file in Nx to get the better idea of soft mold which I will get using silicon after pouring it in wooden hard mold.
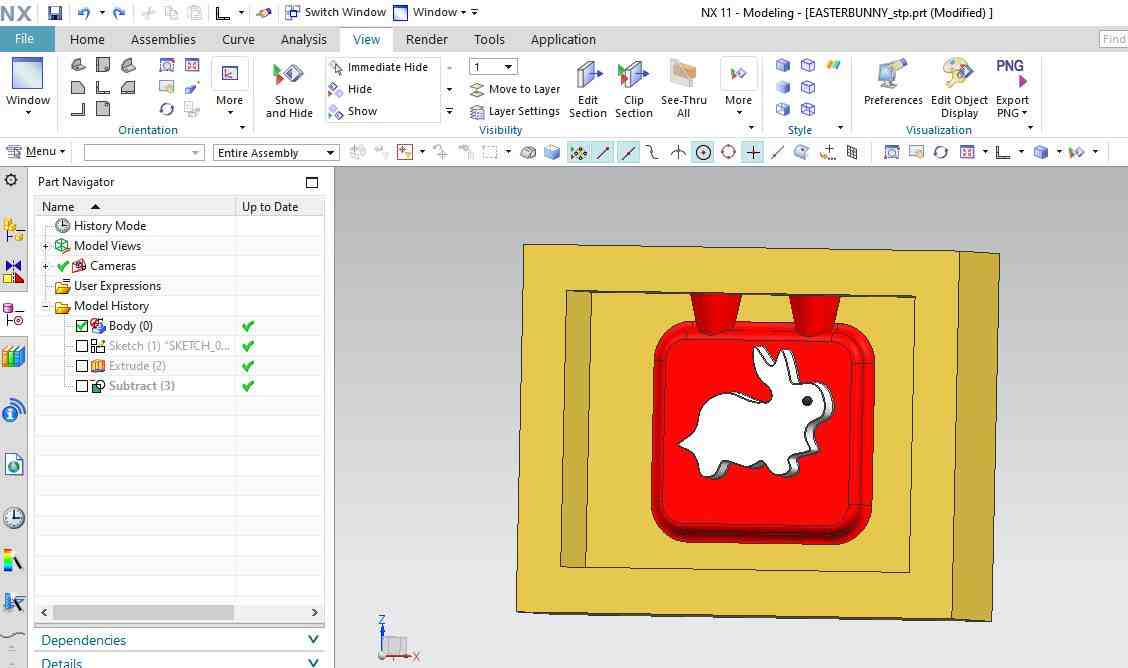
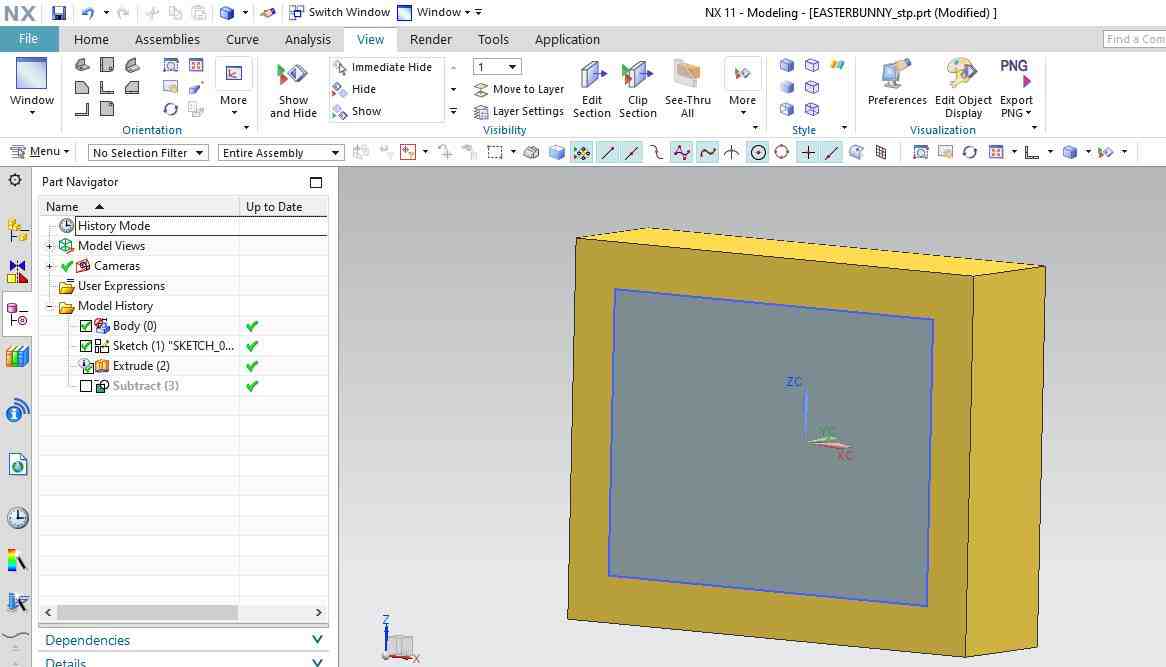
On the top face one rectangle is extruded.
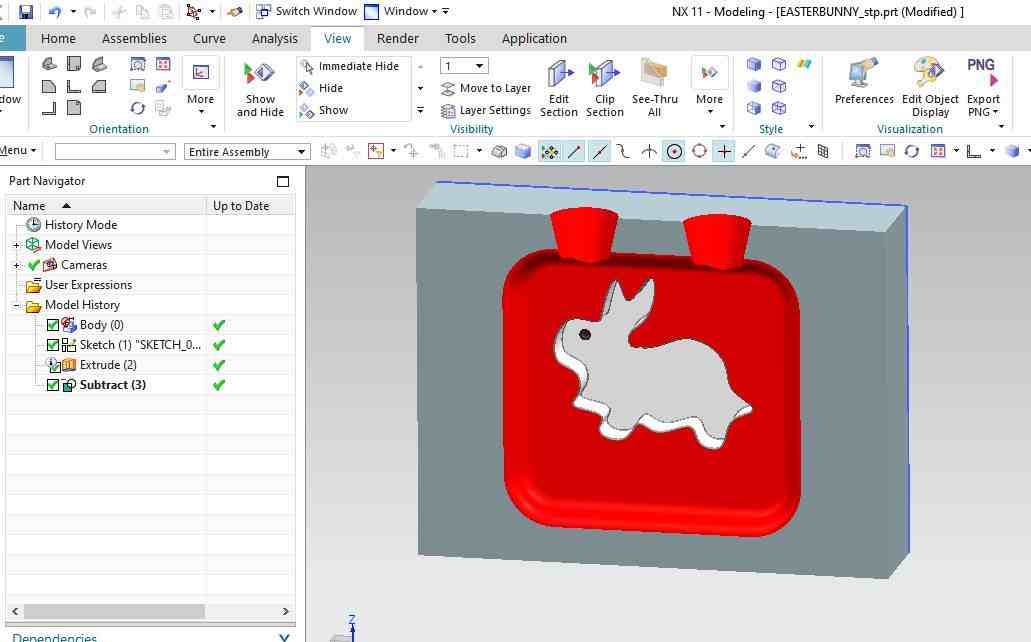
Now with substract command by selecting tool as extruded rectangle and mold as target, The desired shape for soft mold is shown for one face of coin.
It is the second mold
This with the same process , another soft mold shape of second face coin is obained
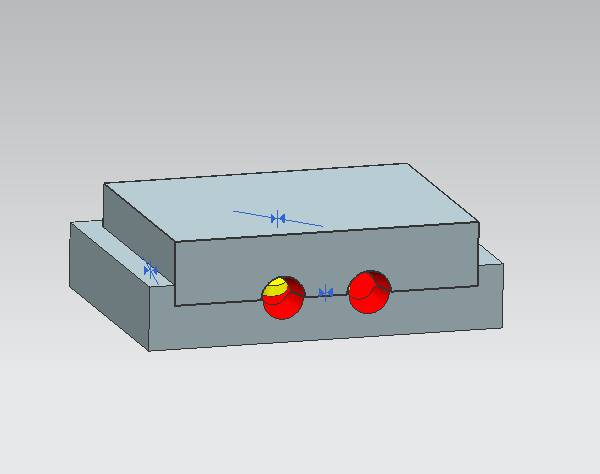
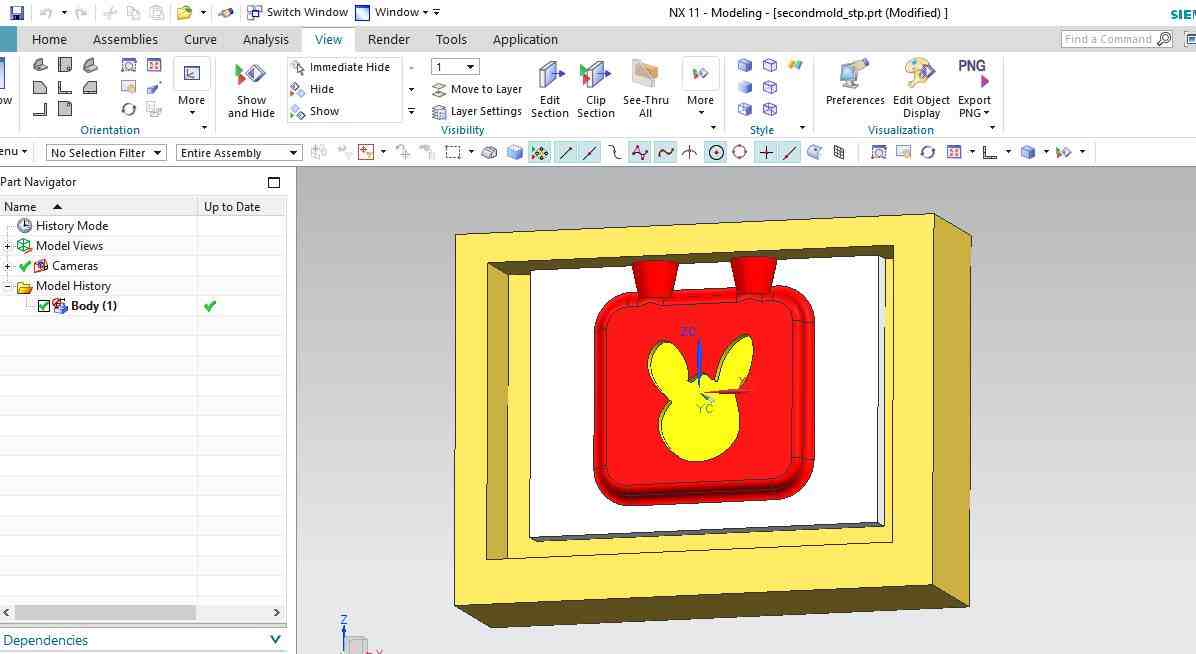
Here you can see the exact matching of registration edge fits one another and concical vent will be used to pour to epoxy for final cast coin.
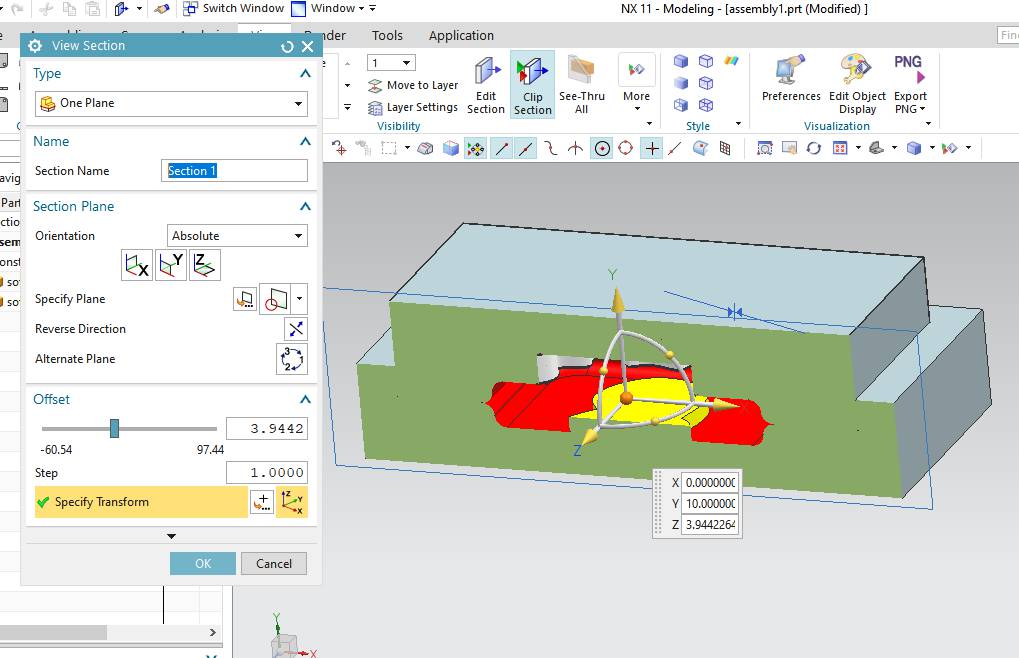
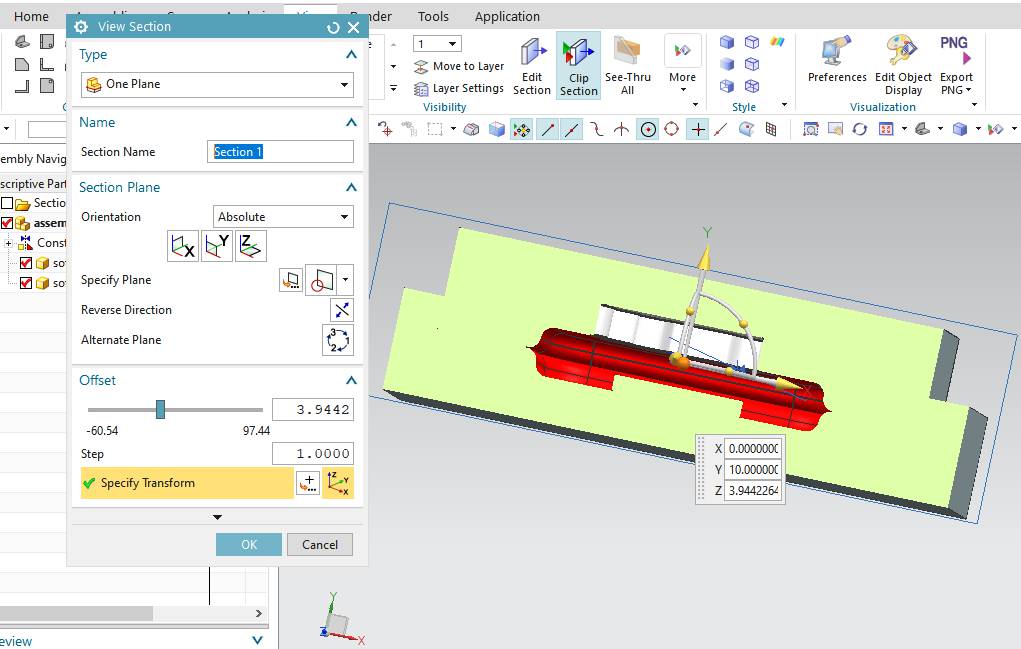
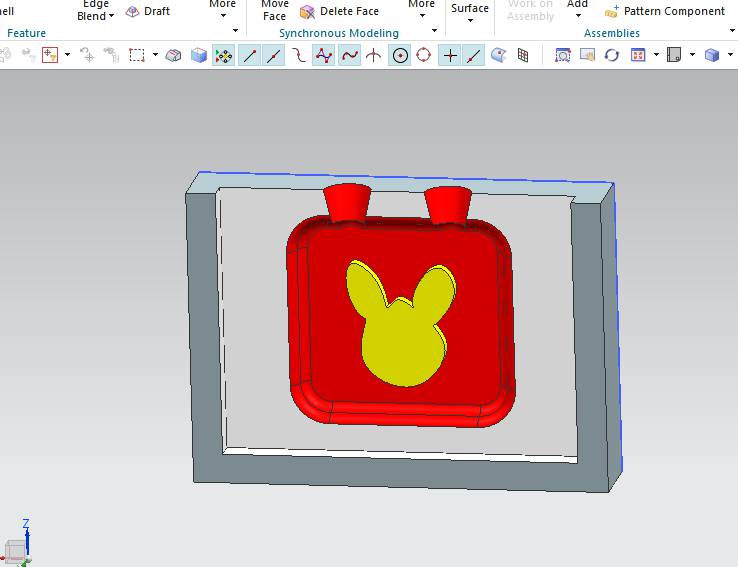
This image showing clip section in between the mold.It is used by edit section command in view tab of NX-11
Tool path on Modela Player
Below are the steps:
1. Open the STL file of part which you want to mill in SRM-20 Roland Machine
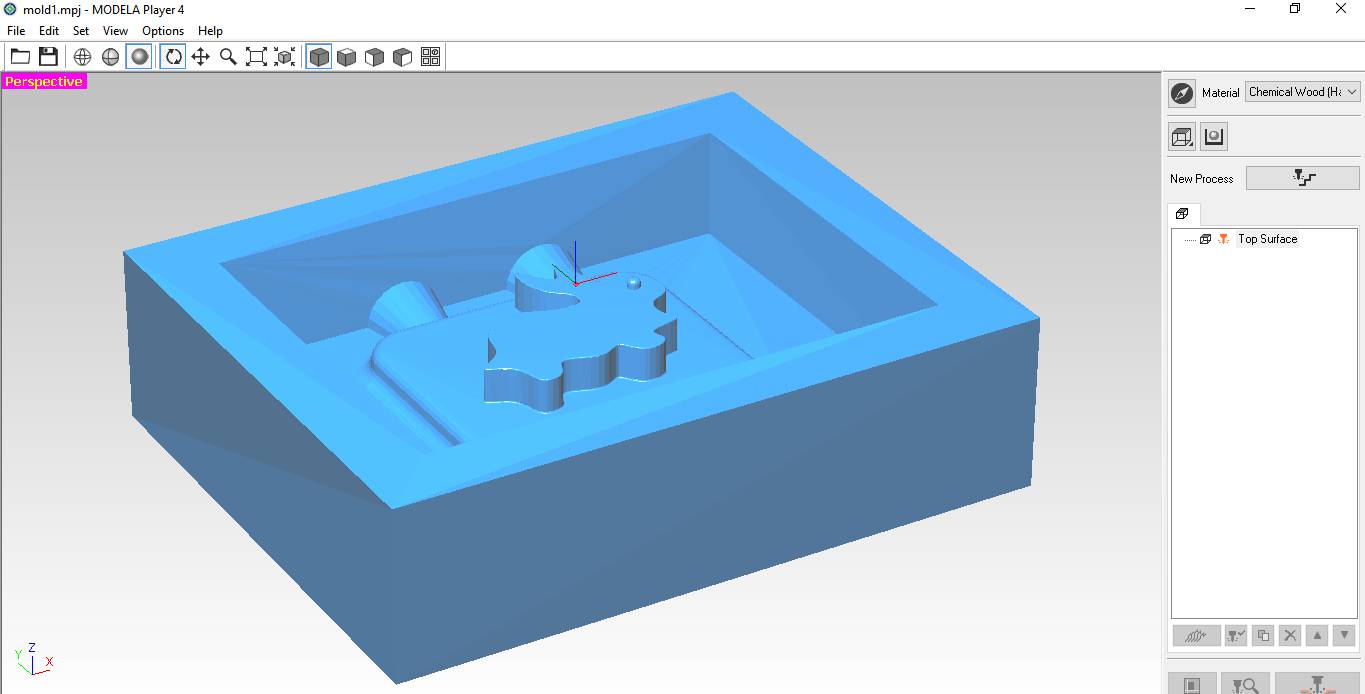
2. The view of model has been changed from wireframe to visible edges by clicing on grey sphere in top of software.
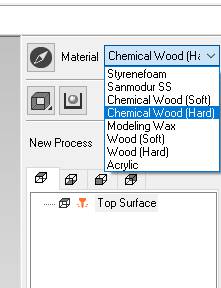
3. Select the material, in my case I choose hard wood
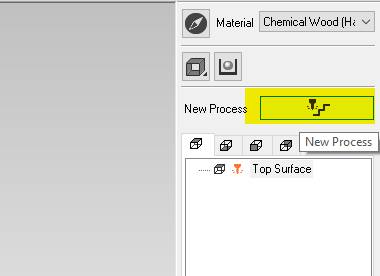
4. Now this icon is clicked to start with the process.
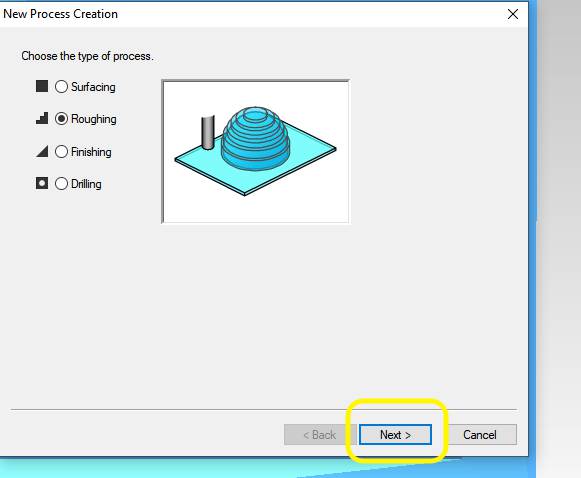
5. Select the process roughing to remove extra material from workpiece.
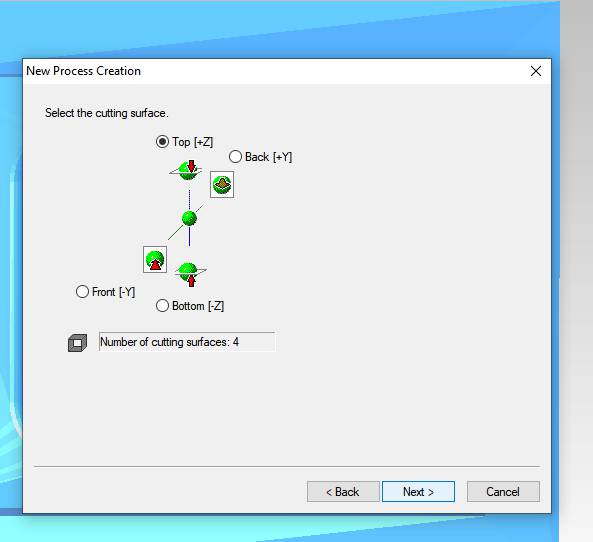
6. Top Z is automatically selected because machining will take place from top surface only.
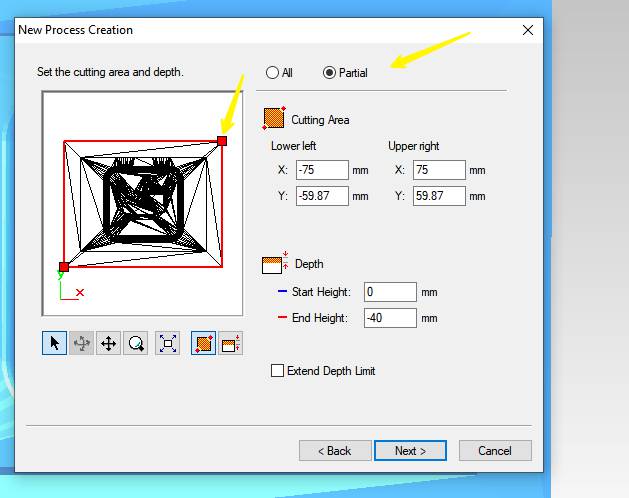
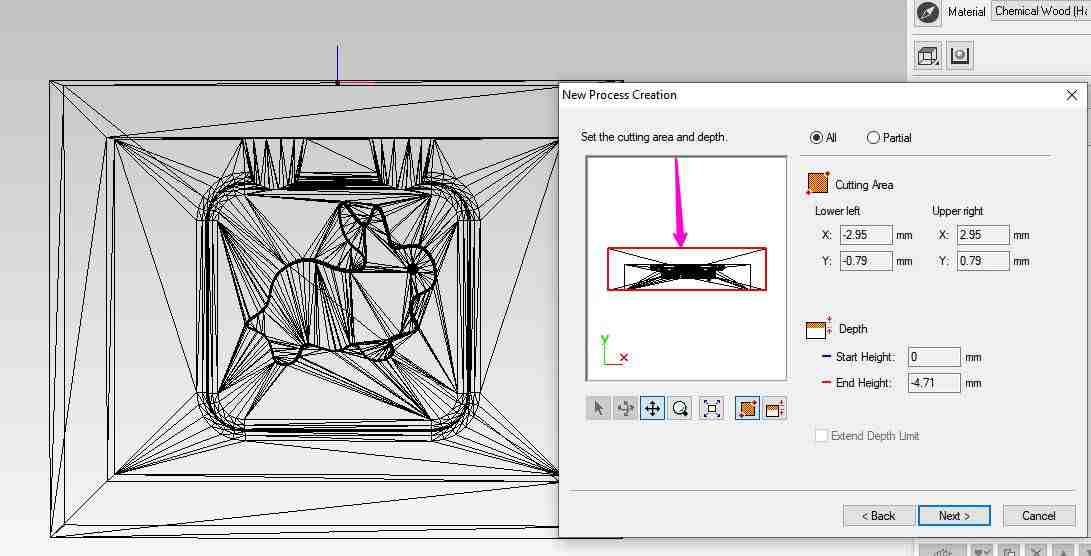
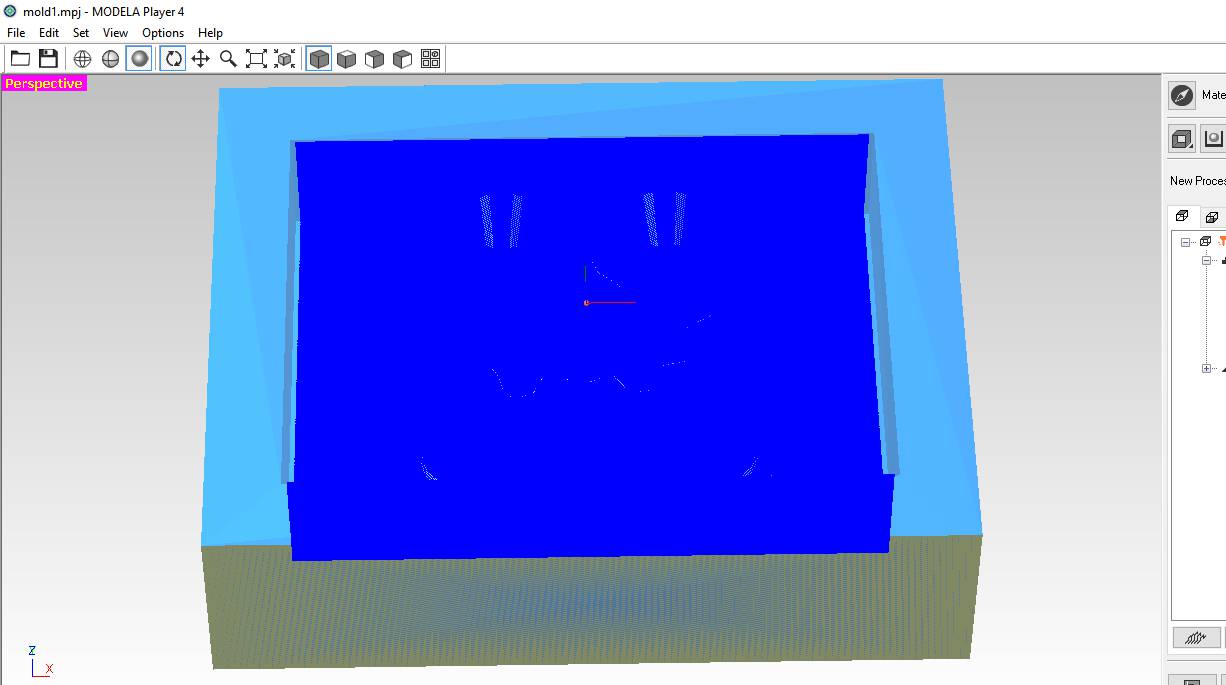
7. Select the area for machining. Check the dimensions are same as required.As in my case my stl file was having very less dimension and the path outcome is very bad.Here is the snap for the same.
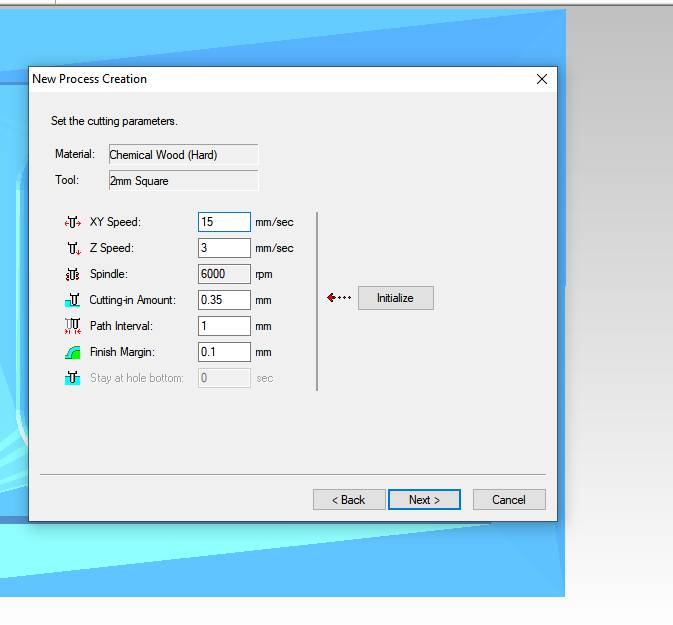
8. Select the proper cutting parameter Speed, Depth etc

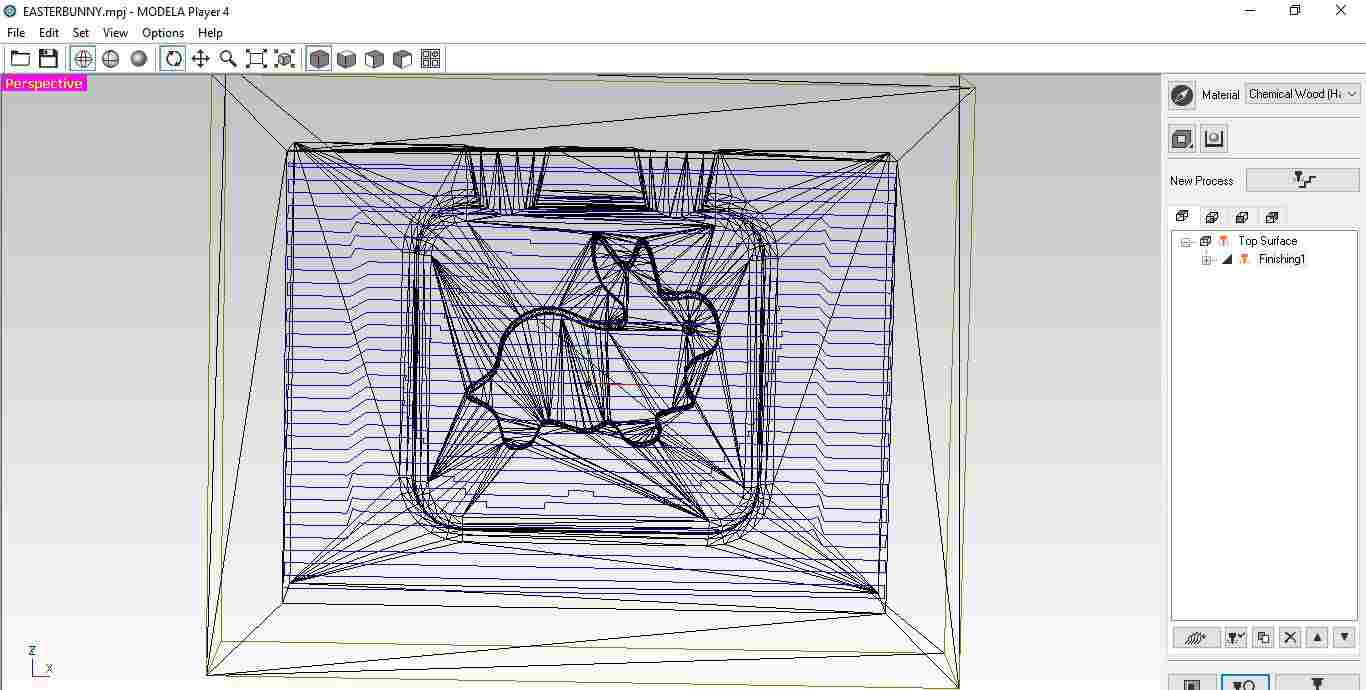
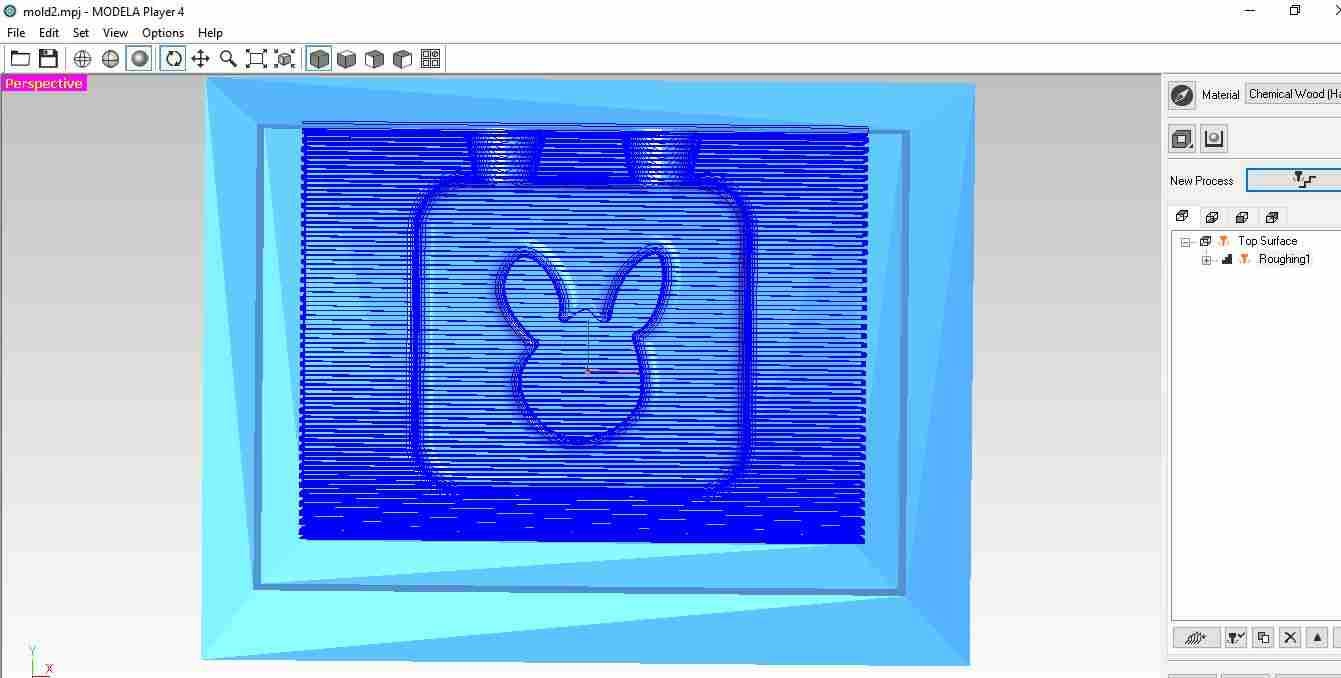
9. Here we go these are the tool path generated.
These are the some points need to be considered
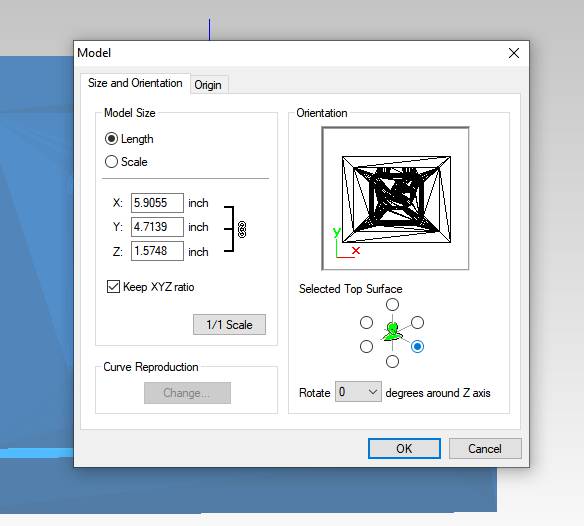
As first step is to open the stl file in Virtual modela, the file was opened in top view and machining path was generated also from top surface of mold.So from "SET" option select model and choose the option required shown above.
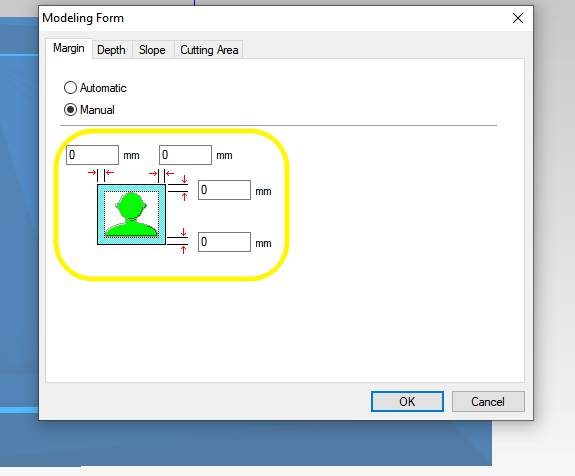
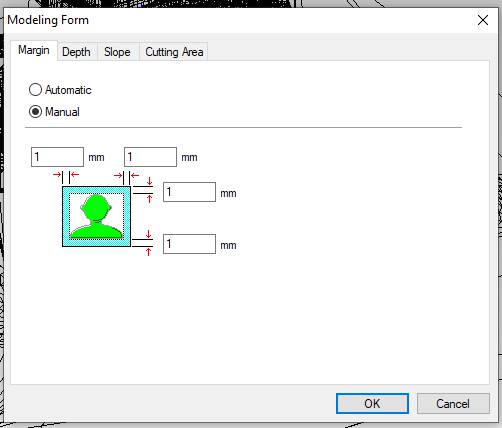
Second this is to set margin zero otherwise after machining process it shows bigger workpiece than your design
10. These are the tool path generated for roughing and finishing operations on mold.
11. Last step to export the code generated by clicking on this button.

Finished Part After machining
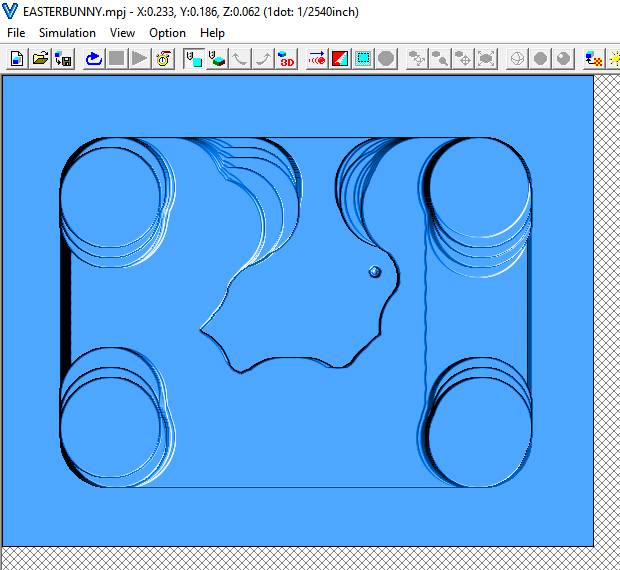
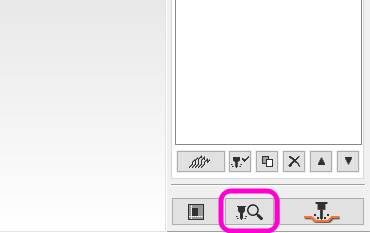
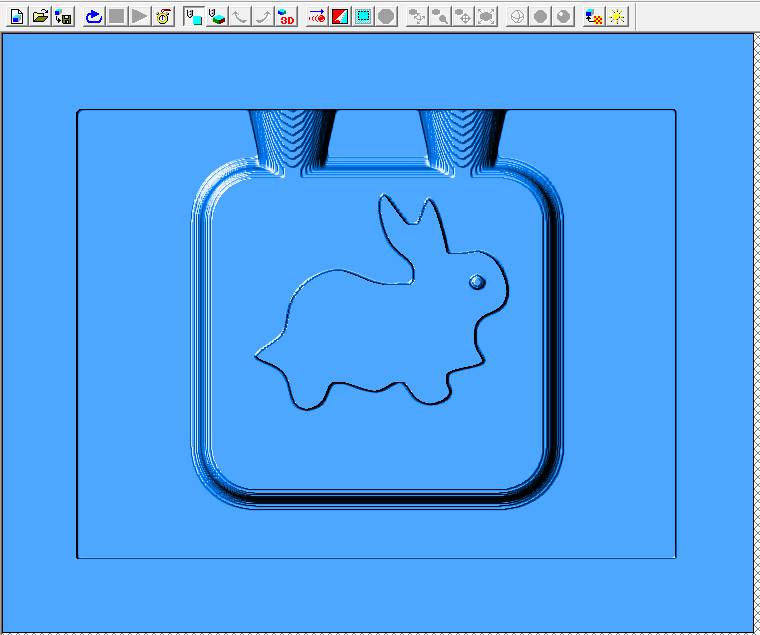
As machining tool path generated now to see the simulation, I used Virtual Modela.Click on the preview button to see the animation in Virtual Modella.
After Roughing
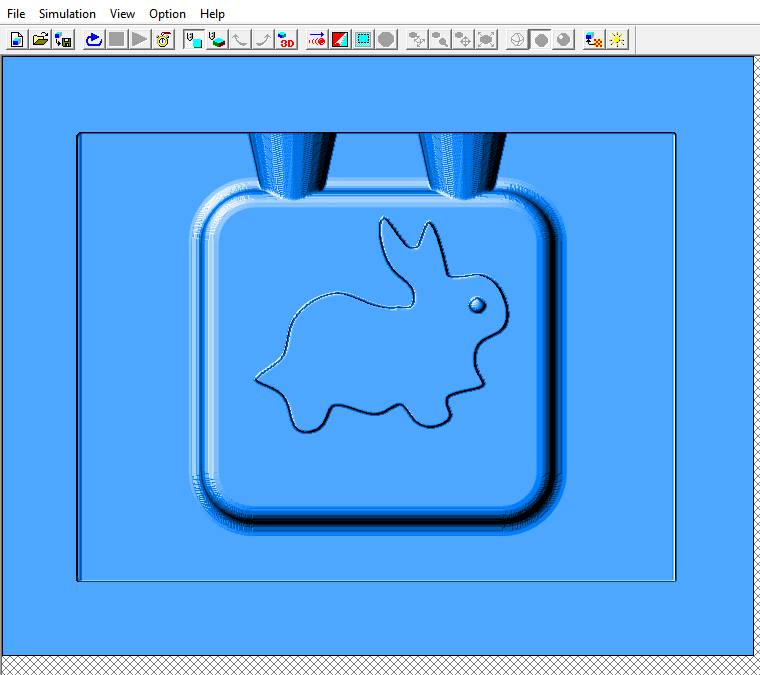
After Finishing
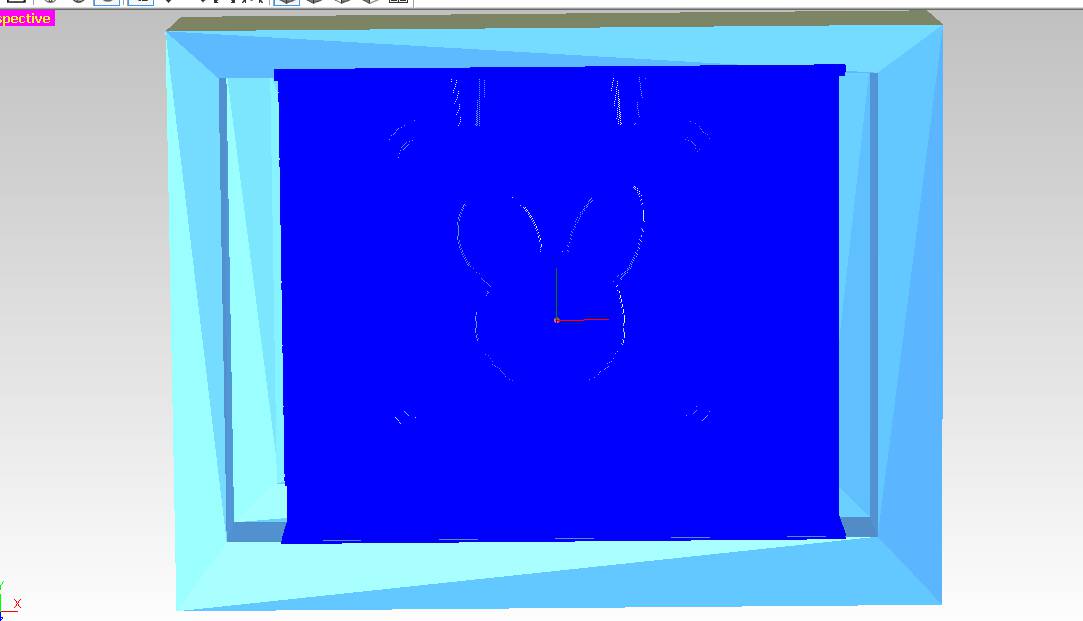
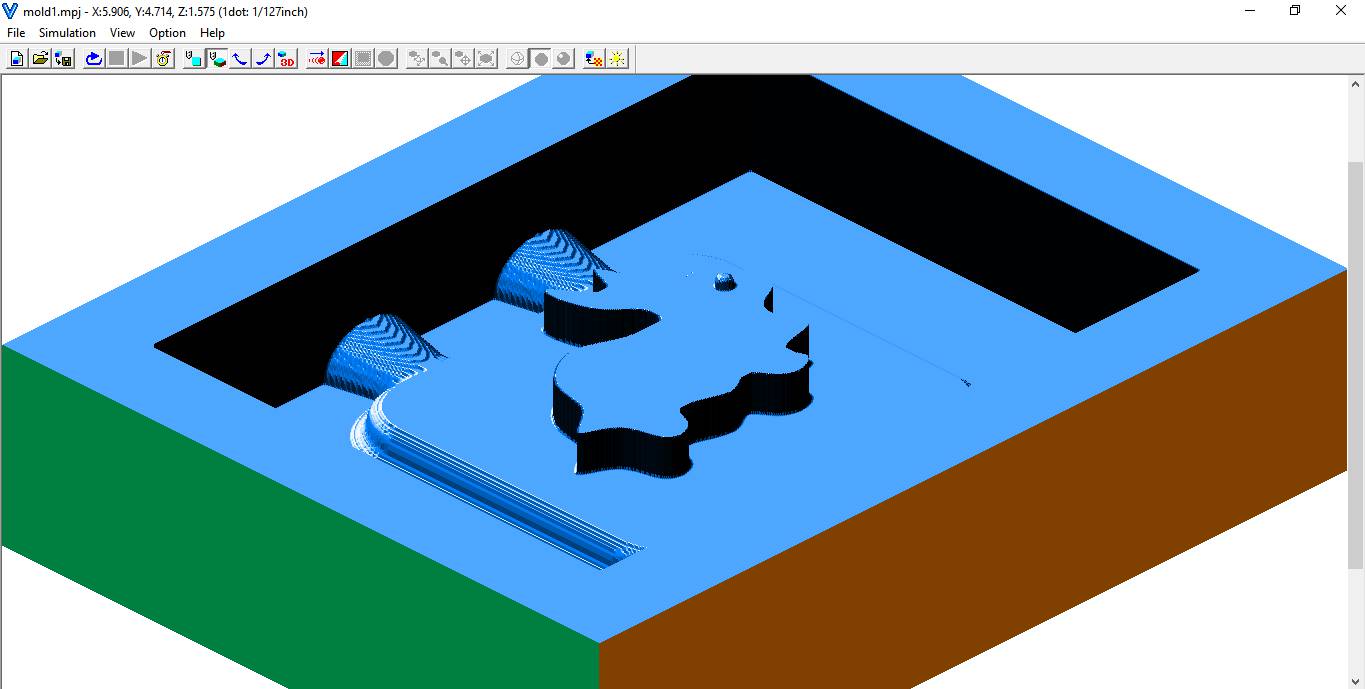
View in 3D
VIDEOS FOR ANIMATION
WORK AFTER LOCKDOWN
In step2 above,I selected chemical wood as a material but mdf is not available in our lab.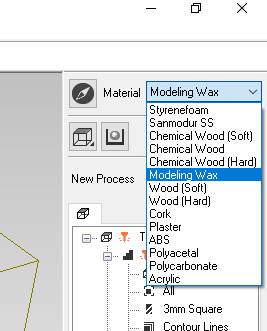
I selected modeling wax for the wax shown below

For roughing I used 3mm endmill and these are the default cutting parameters for wax
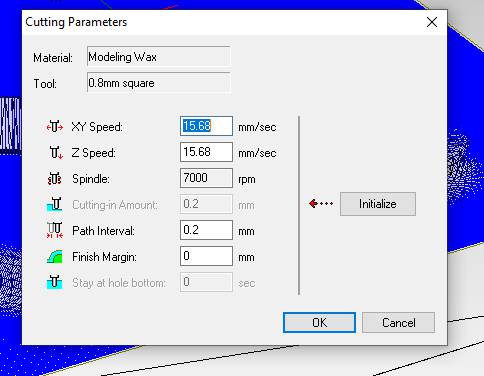
For finishing I used 1/32inch tool which we used for cutting outline of PCB.Export the file in .prn format to output to SRM-20
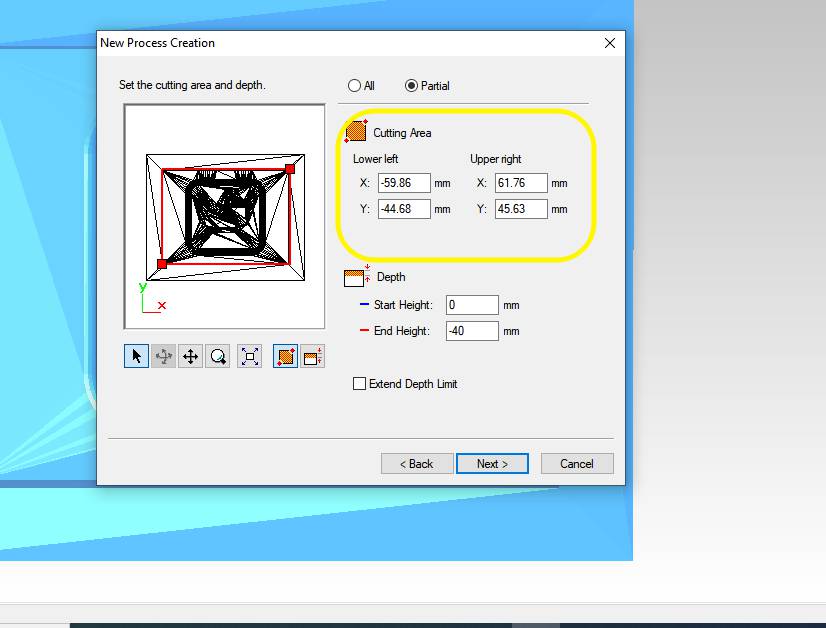
This is the clearance I took between the area I selected and wax walls.
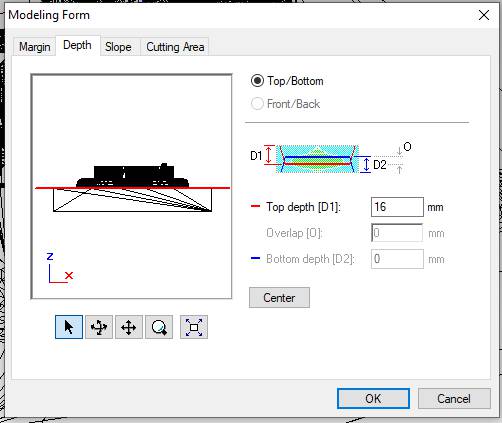
The total depth was 16 mm I scaled the actual model in a way that it could be less than 20mm which is the flute length of tool which we used for roughing operation.
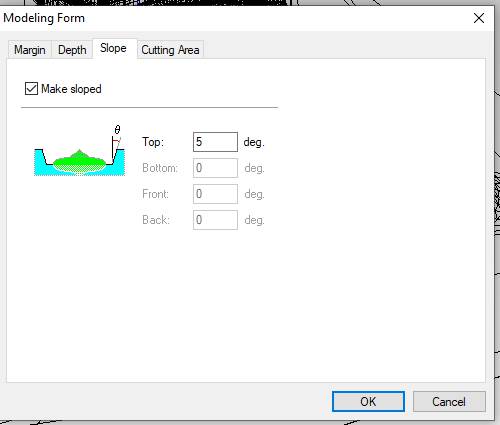
This is the draft angle which I selected in order to remove silicon rubber from wax easily or to reduce collision of tool with walls while finishing .Here is the .mpj file of Modella Player
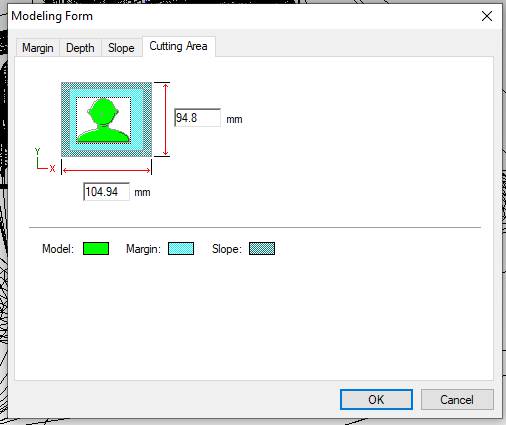
This is the total cutting area.
what we did is we move to wax and tried to make machinable wax by own. Our fabmate Pulkit took the step to melt wax and added foam in melted wax and after proper melting, he mixed crayon of different color to create colorful wax.
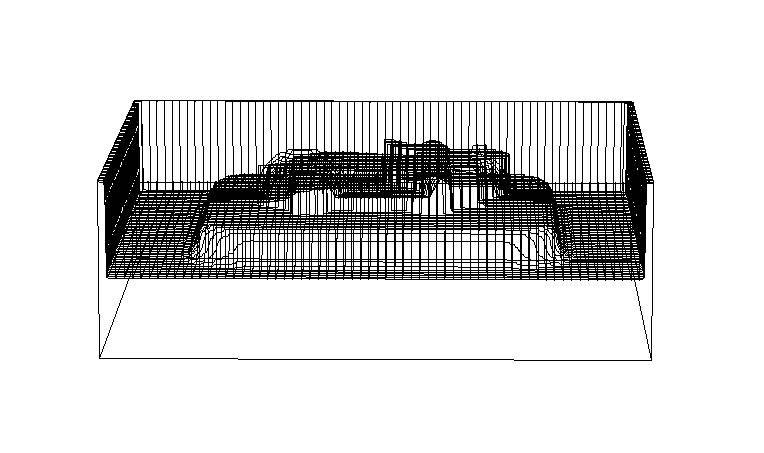
This is the draft angle after roughing operation in Virtual Modella
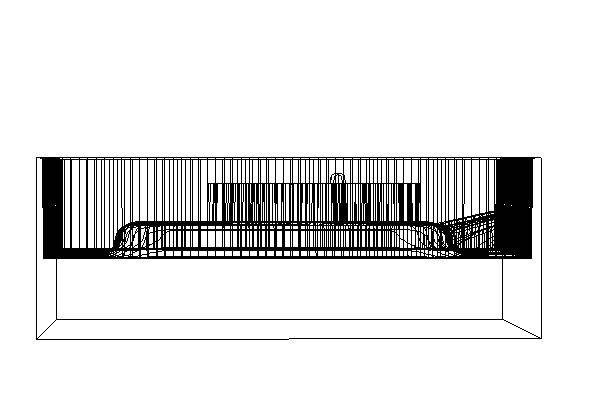
This is the draft angle showing after finishing opeartion in Virtual Modella.
Note:I have not included Draft angle in my design file.I only gave it in Modella player setting
Here you can see the result of wax
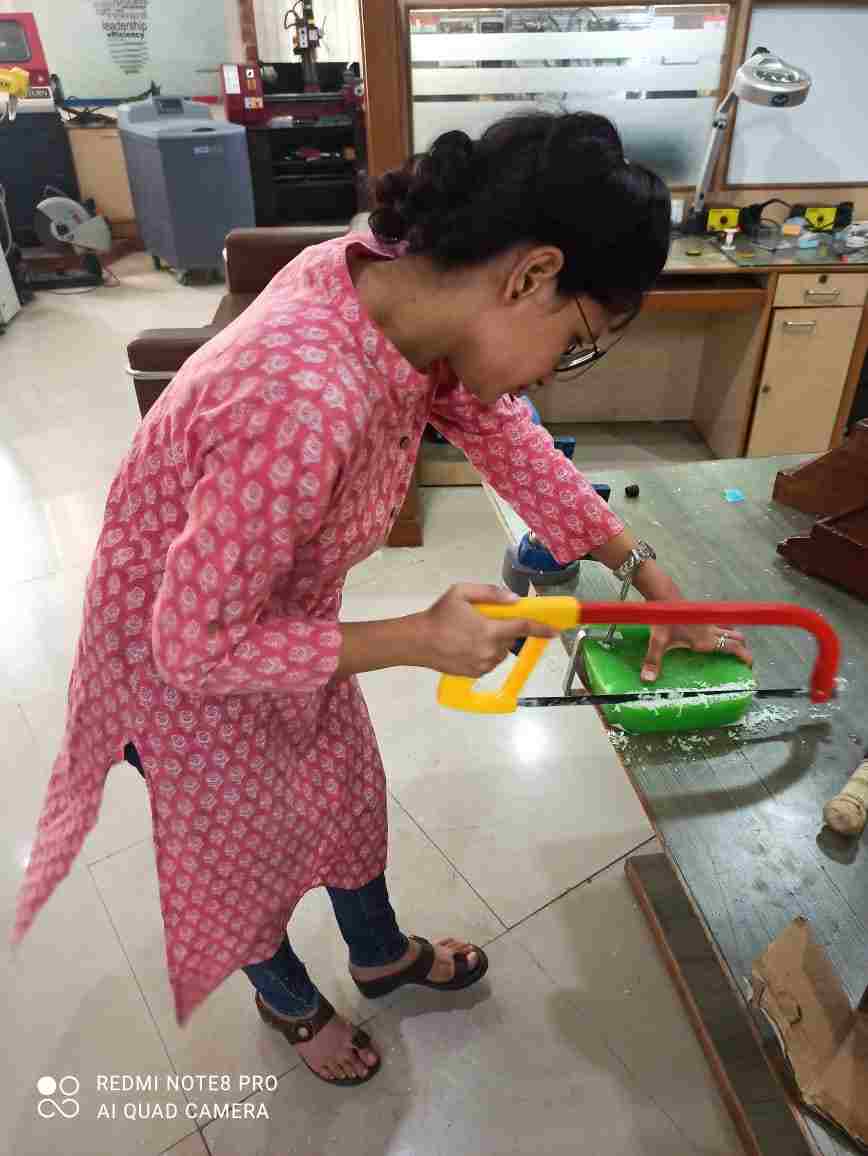
Before going on SRM, I cut it with the help of saw to fit it on the bed of SRM-20
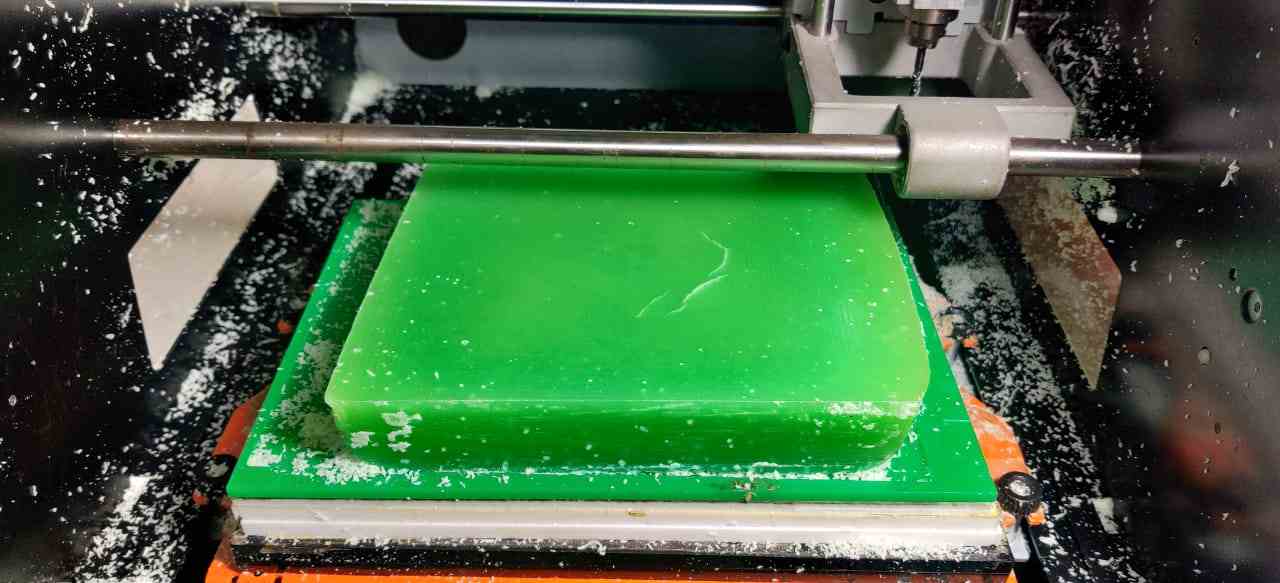
This is the wax after surfacing to some depth.
Roughing and Finishing Operation on Wax
The tool at the time of finishing was colliding with walls of wax .So the draft angle can be increased upto 10 degree or 15 degree.
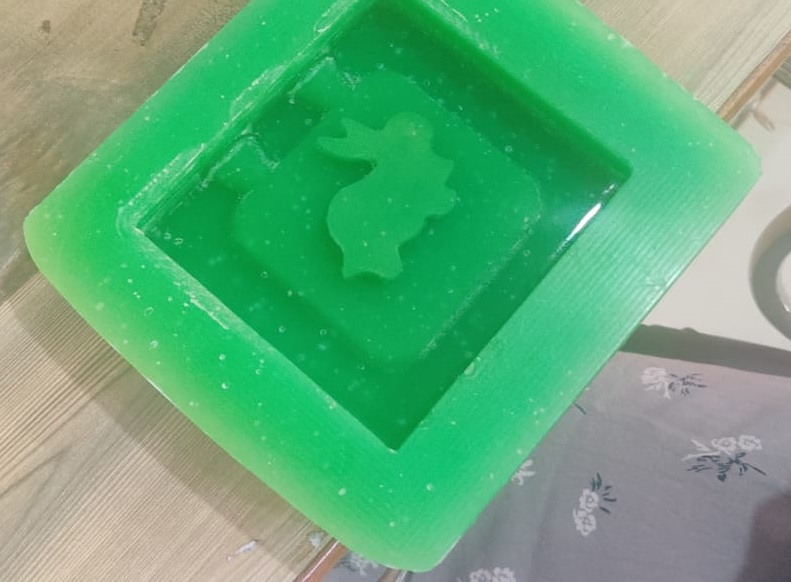
After milling:
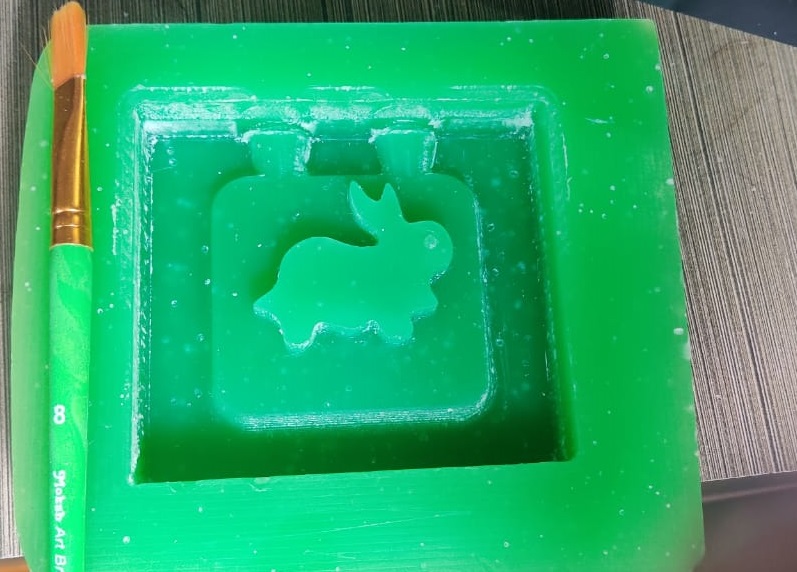
I used brush to remove wax from the wax mould and to clear it properly.
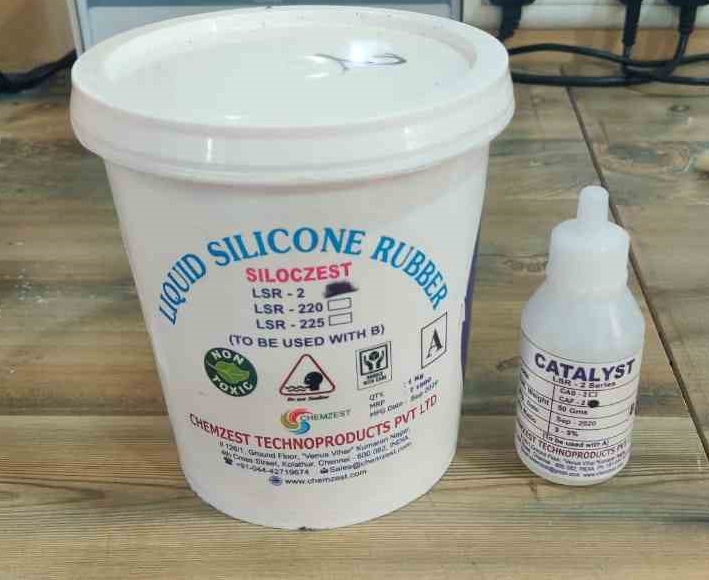
This is the liquid silicon rubber which we used to create mold from wax and its hardener.
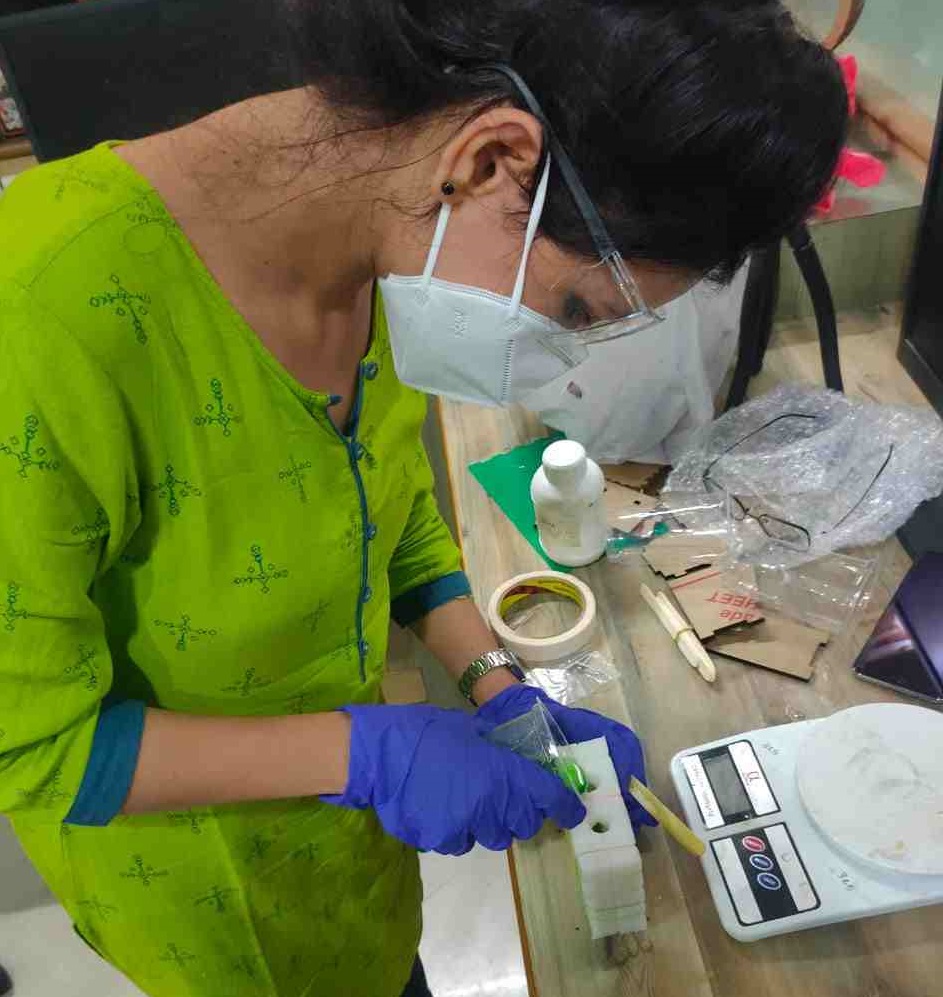
I filled the wax mold with water to check the quantity of how much rubber I need to pour in it
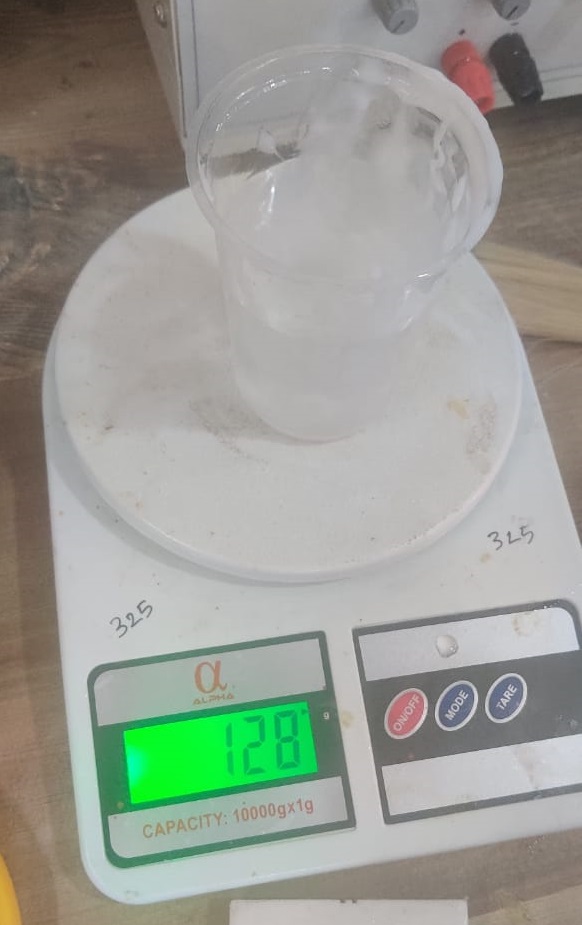
This comes out to be 128ml.
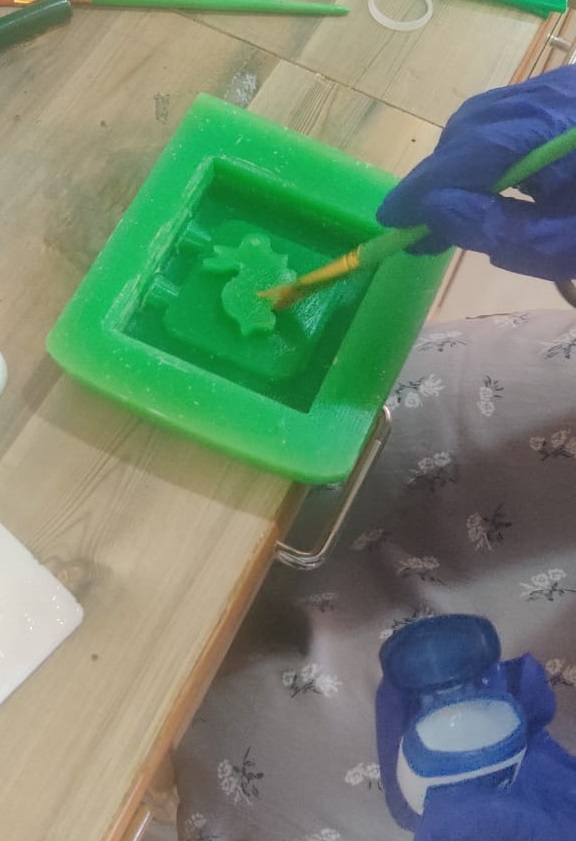
Then I applied vaseline to wax mold with help of small brush for easy removal of silicon.
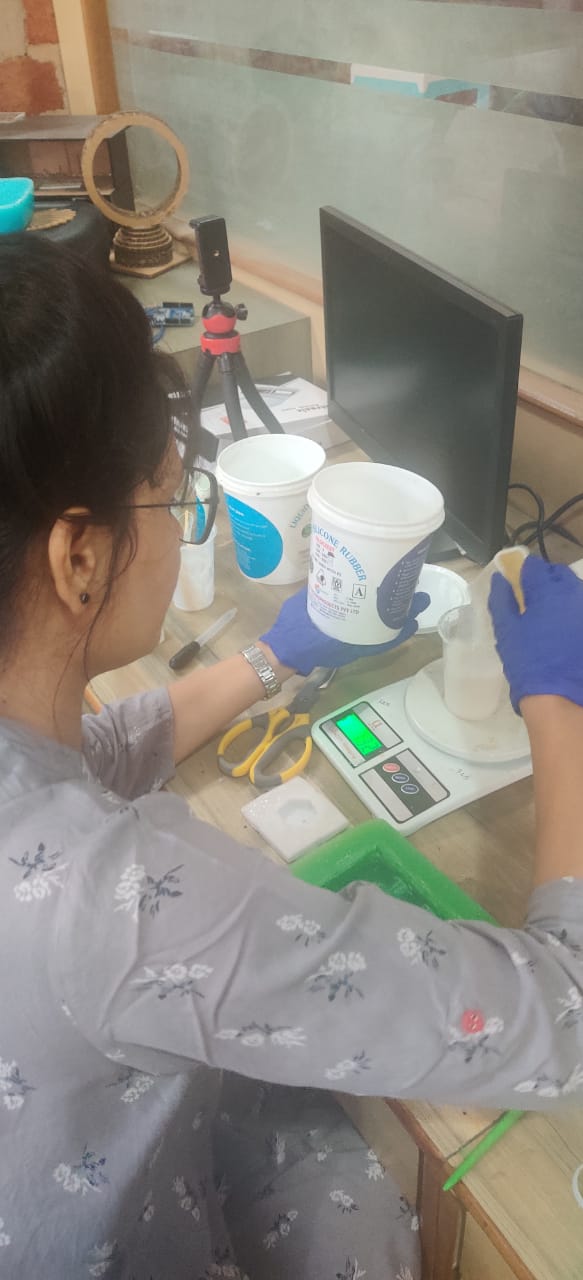
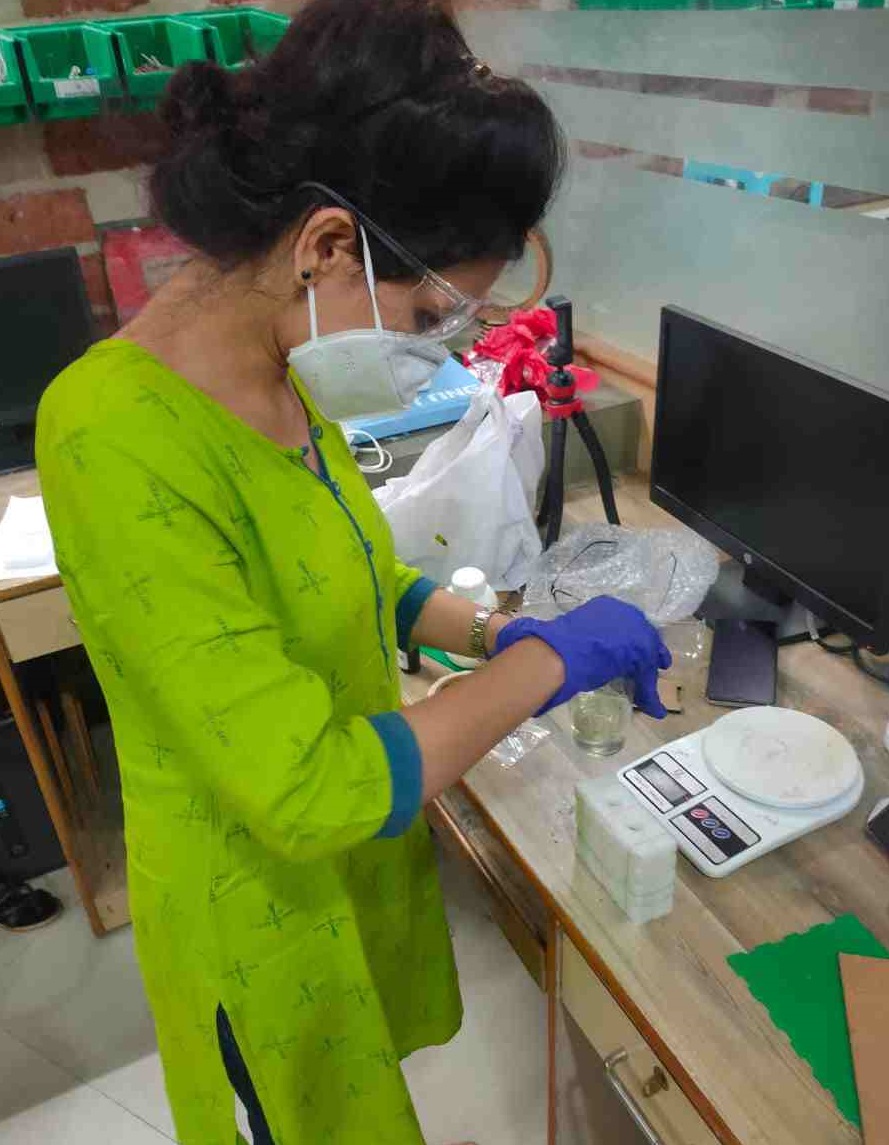
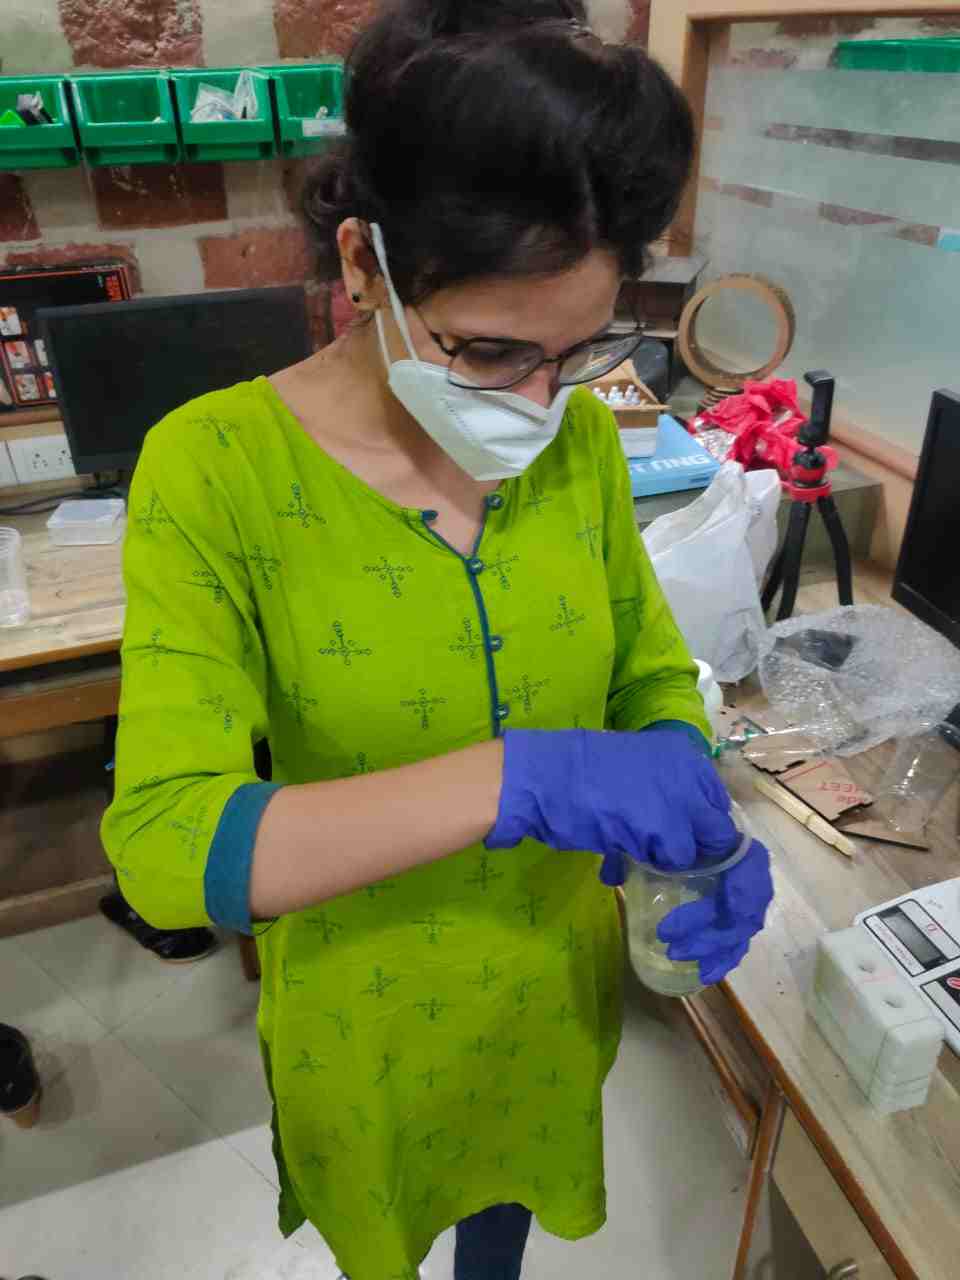
Its time to pour silicon rubber.I pour 140 ml of silicon rubber in glass, some extra for margin.
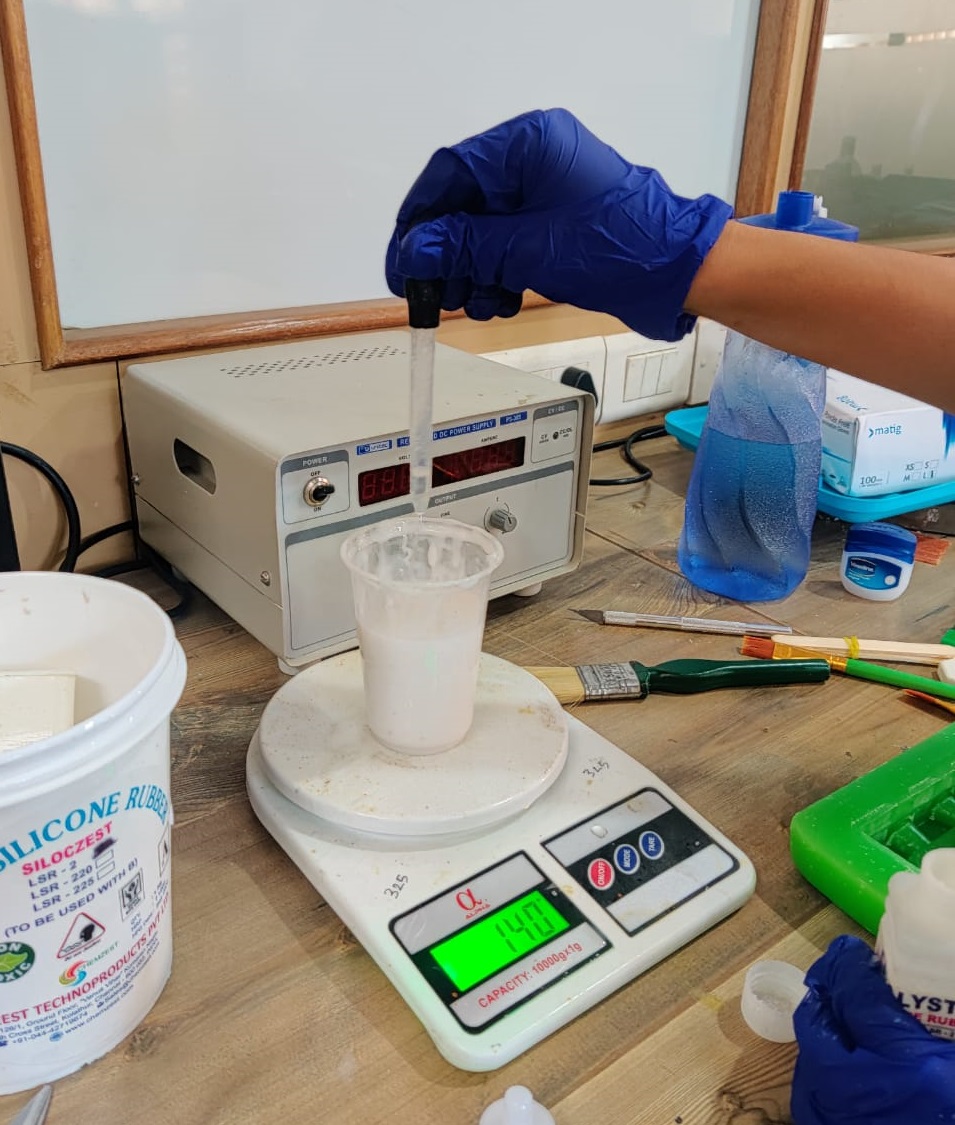
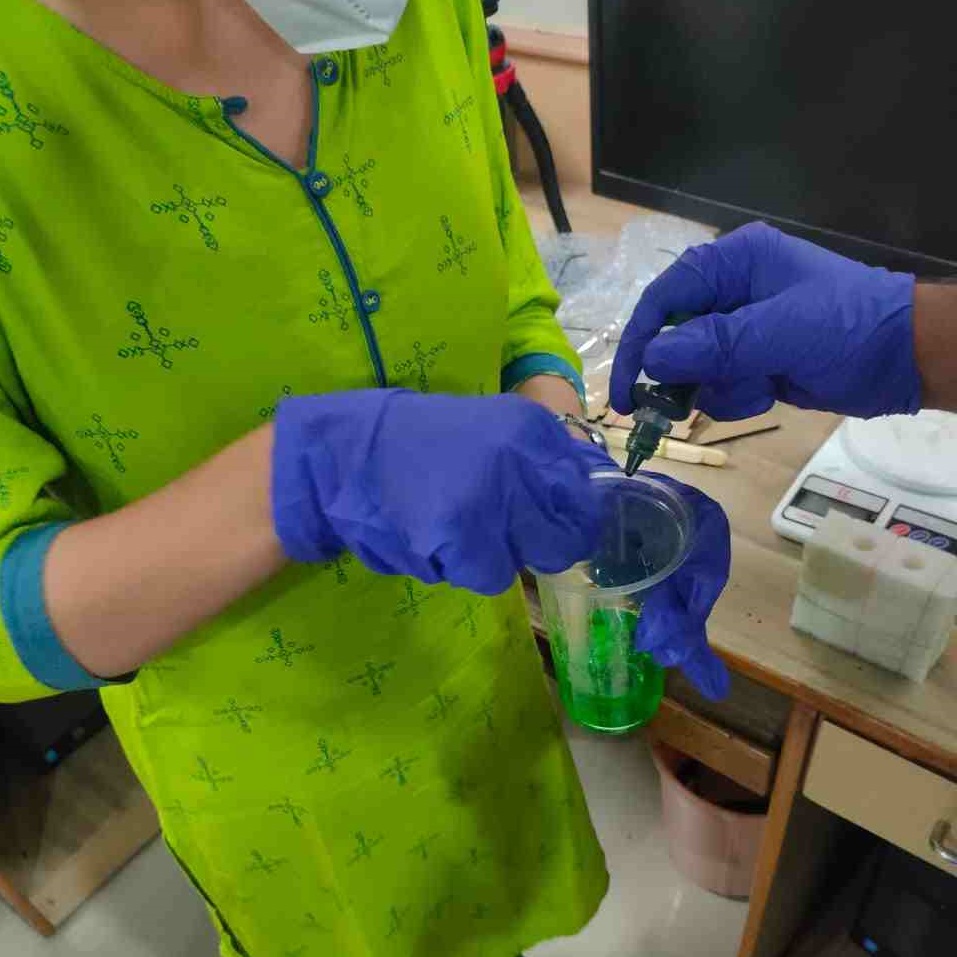
Catalyst added was 3 percent of 140ml ie 4.2ml. Recommended was 3-5%
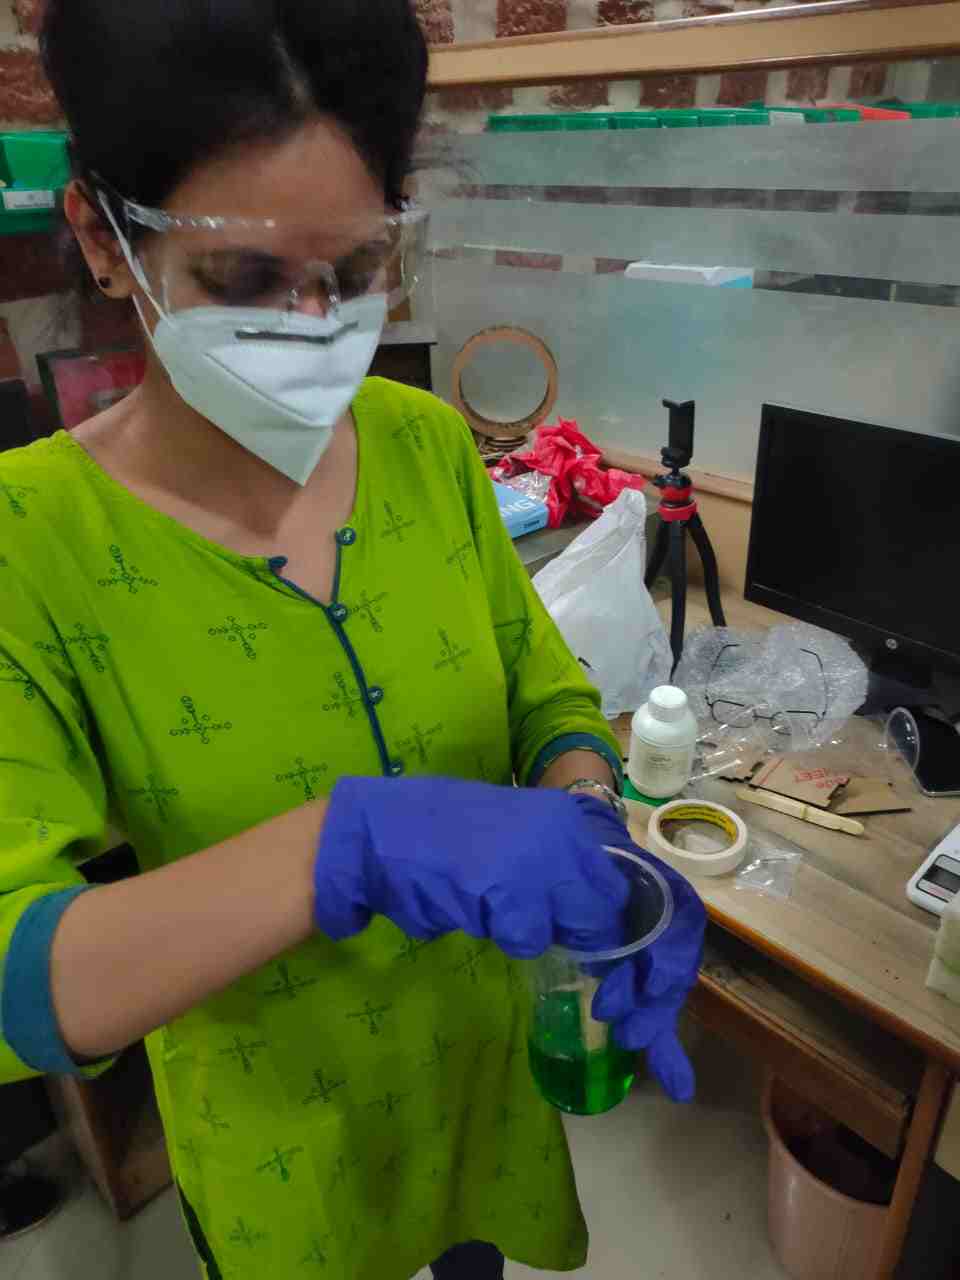
I mix both the solution carefully.Please wear gloves before doing this whole process
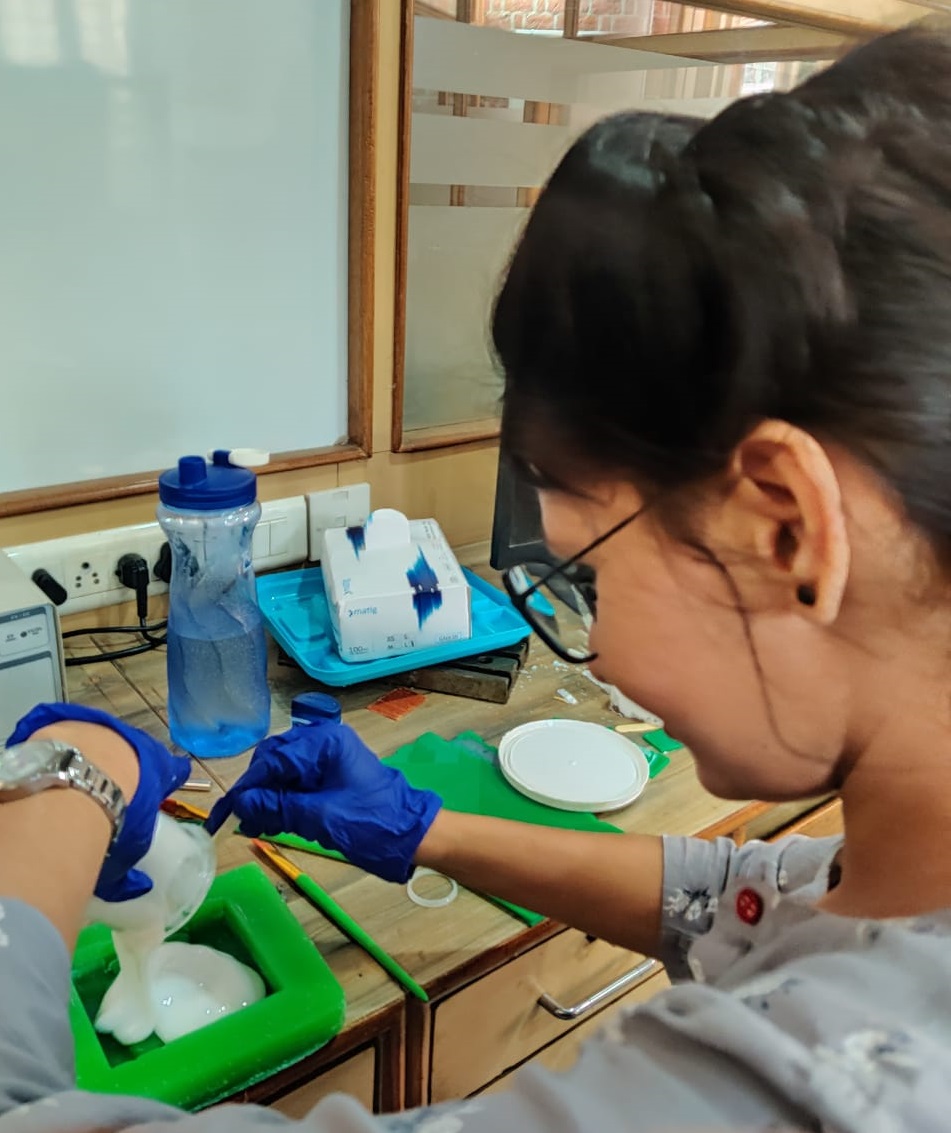
Pour it slowly into the mould.
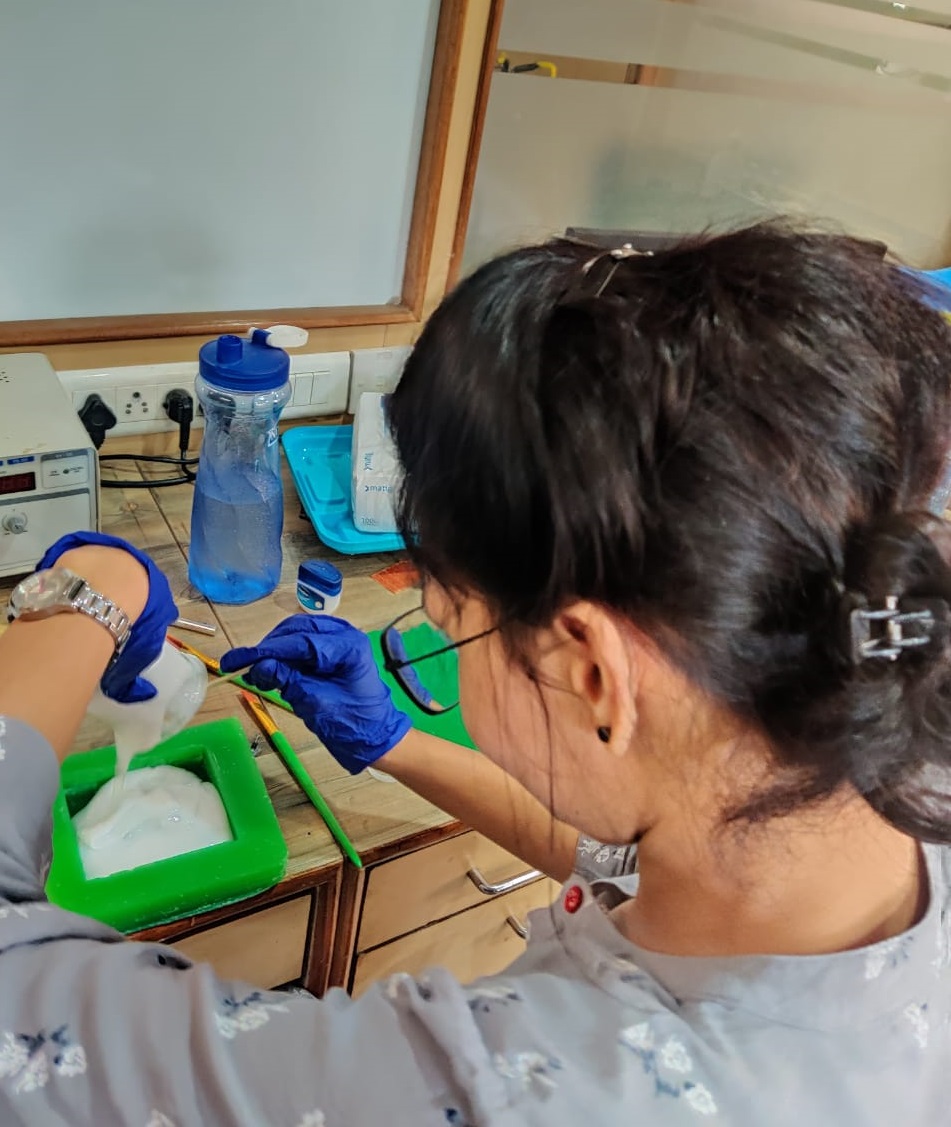
Tap the mold for proper filling in between.
I used sharp knife to pop the bubbles visible on surface of rubber
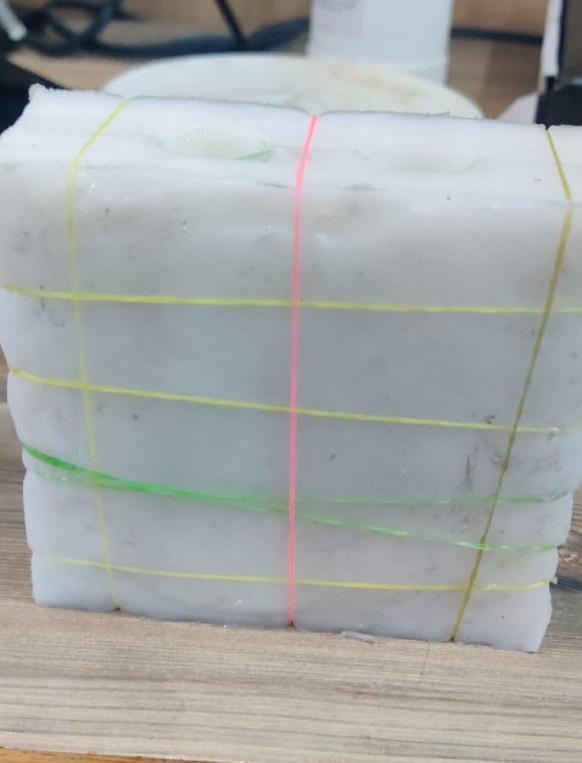
Here you can see the silicon rubber setlled properly and I left it for 4-5 hours to fix.

I removed the silicon wax from wax mould after checking it as it dried up properly.
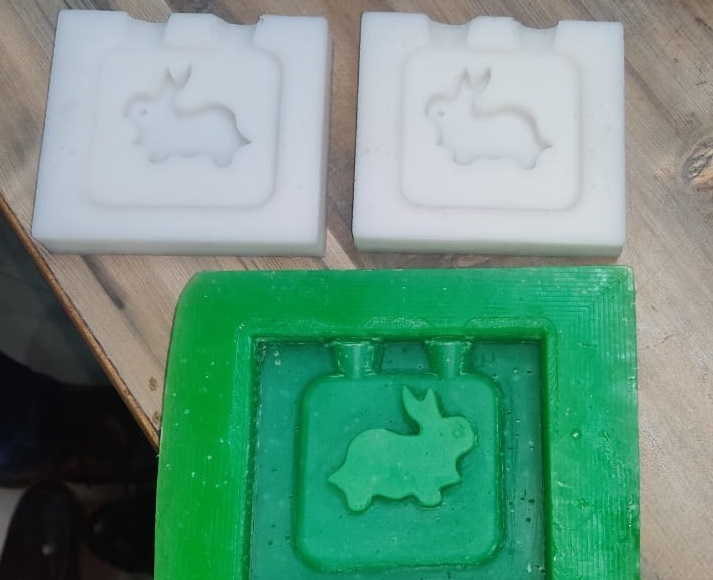
I made two same molds as the time was limited to make another wax mold which I want to make initially.
I checked the quantity of water after pouring to the two way mold it comes out to be 80ml.
I mixed part A=50ml and Part B=30ml as th ratio of mixing is 5:3
I addded one color from Alpha System Epoxy Transparent Dyes Colorant
Stirred it properly
I poured it from above vents which I given in design.
I left it for 20 Hours to settle down properly
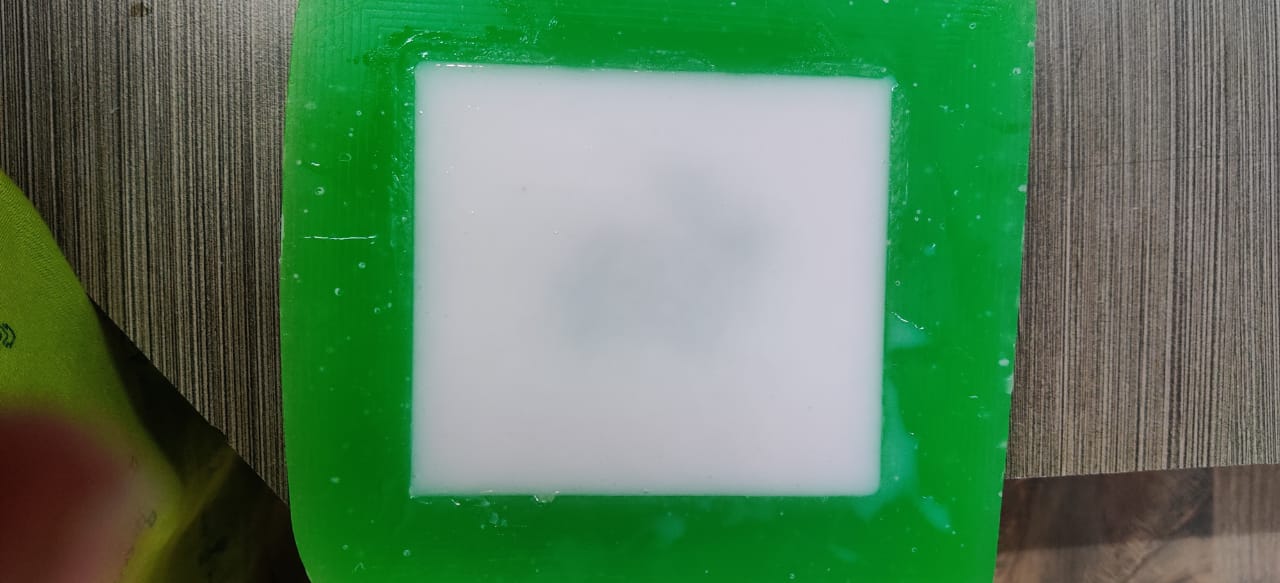
Removal of Cast:
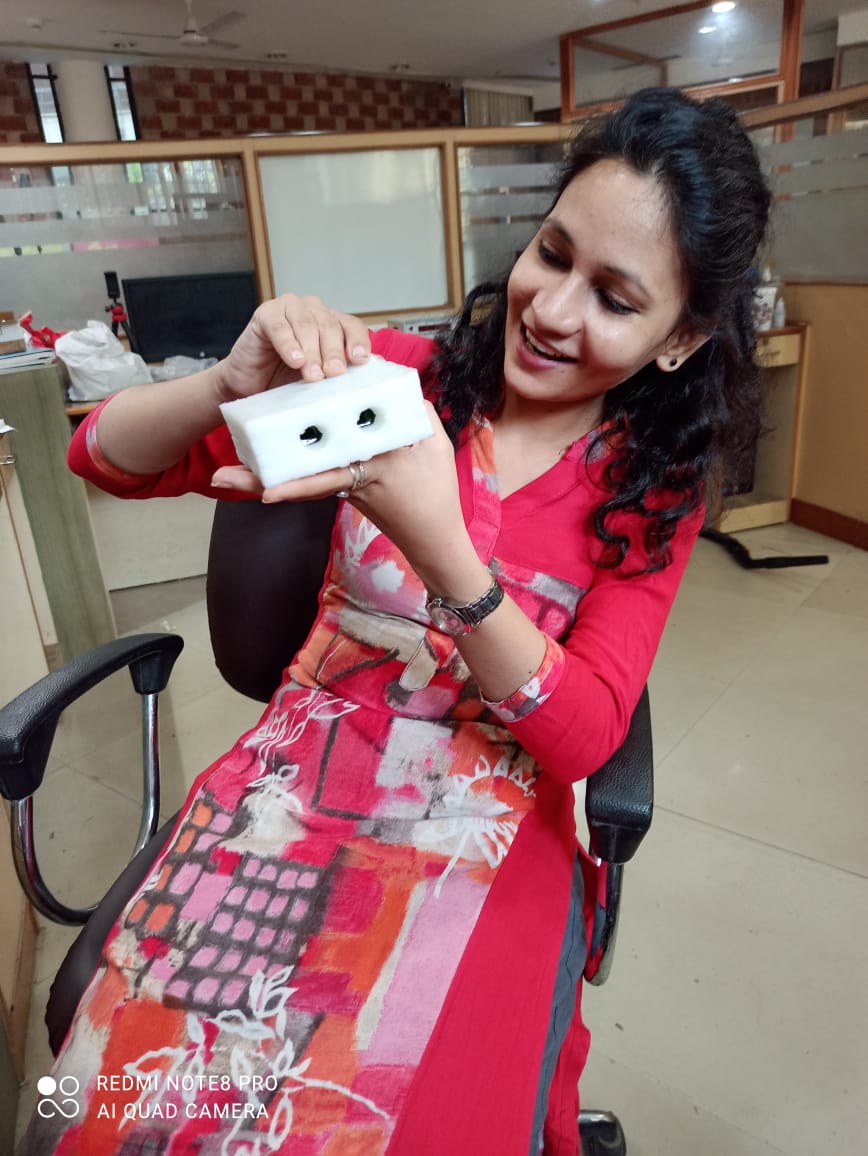
The hapiness when you remove the cast from mold
It comes out easily as I applied vaeline before pouring epoxy resin in it.
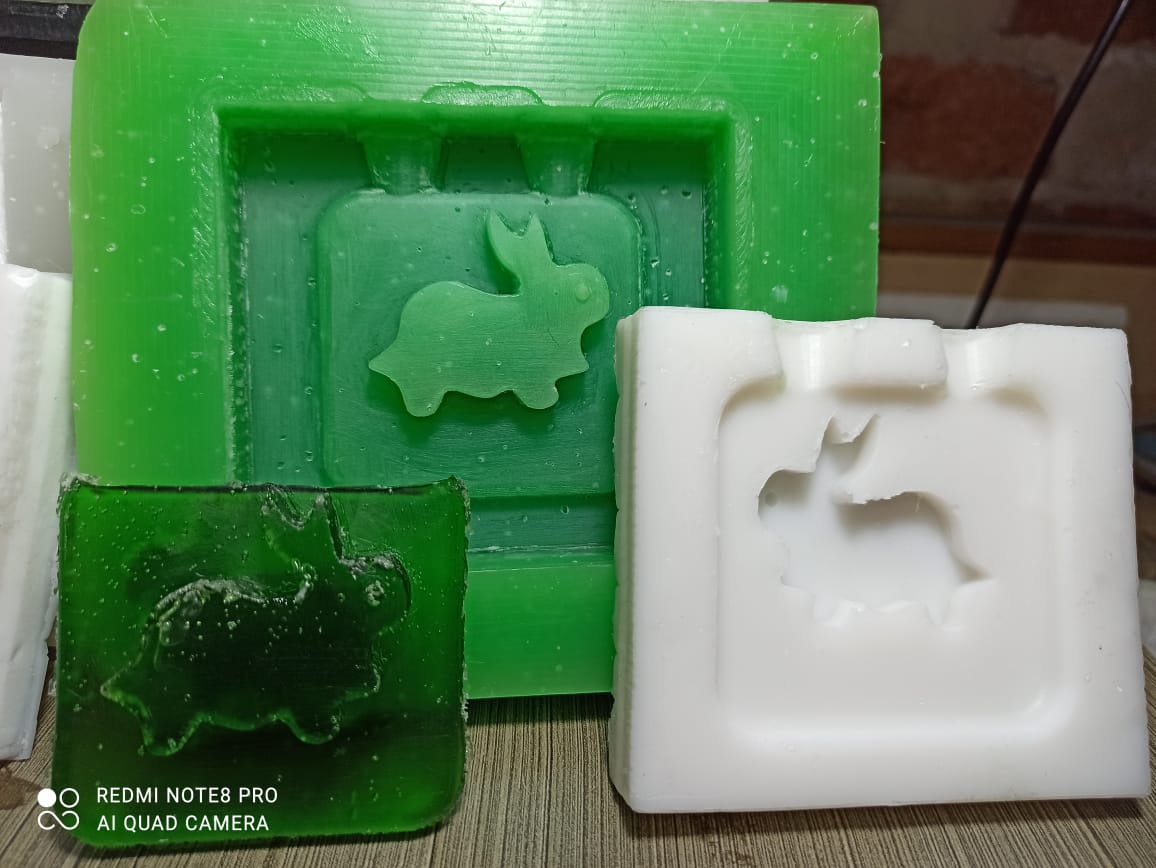
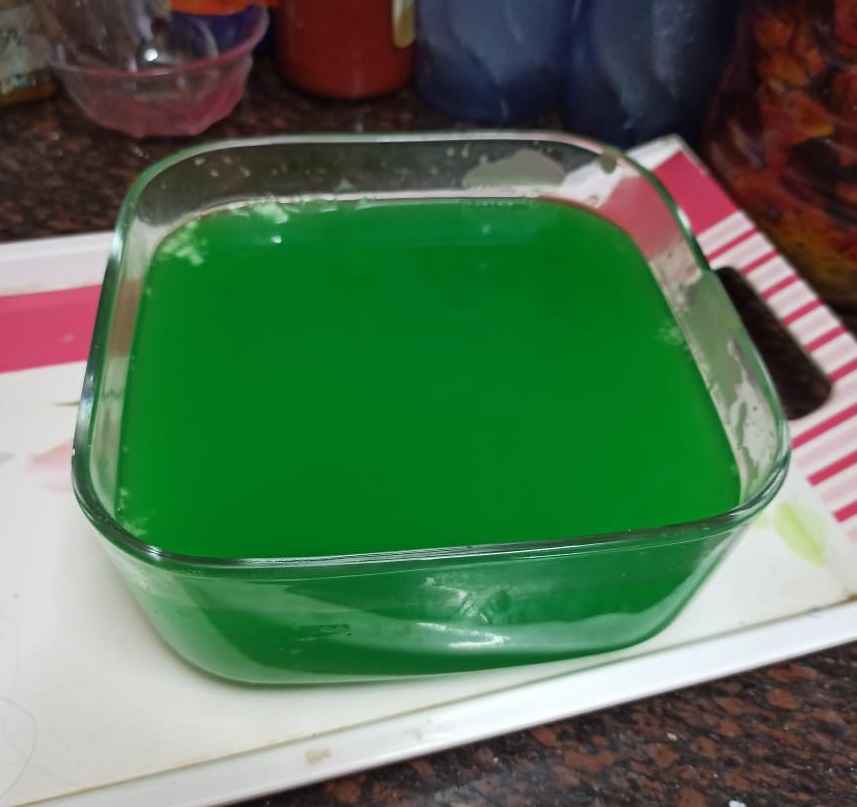
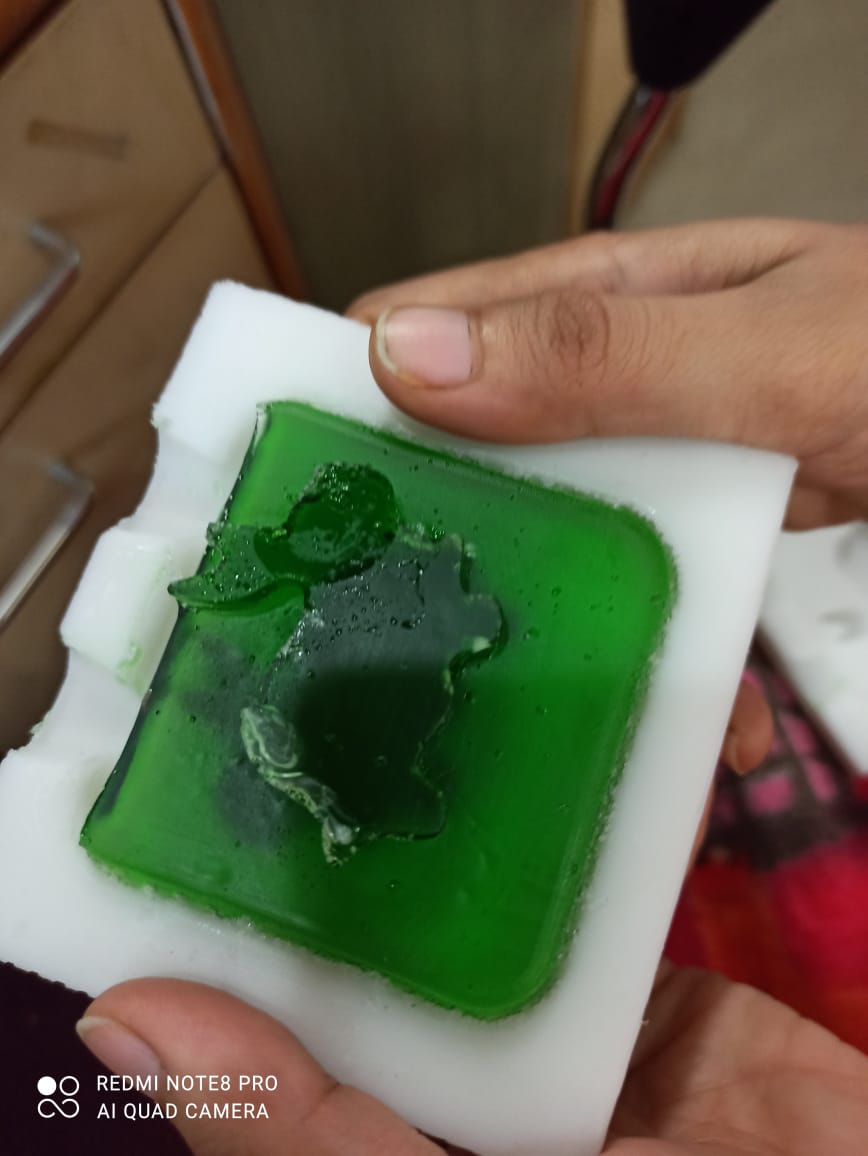
Here you can see the final result of Molding and Casting.
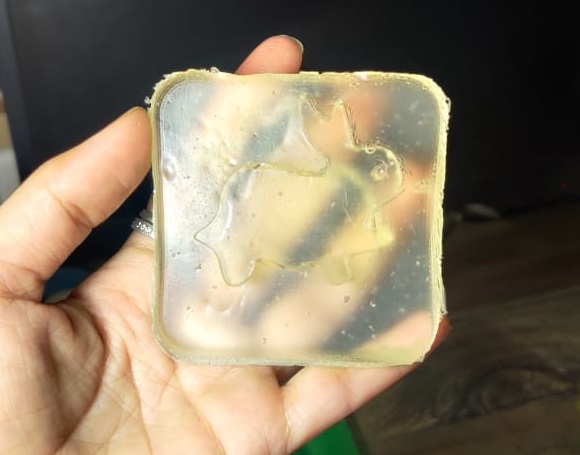
I gave one more try without any colorant dye as there were so many bubbles in earlier one and this time I stirred it slowly so that bubbles trapped out of it.
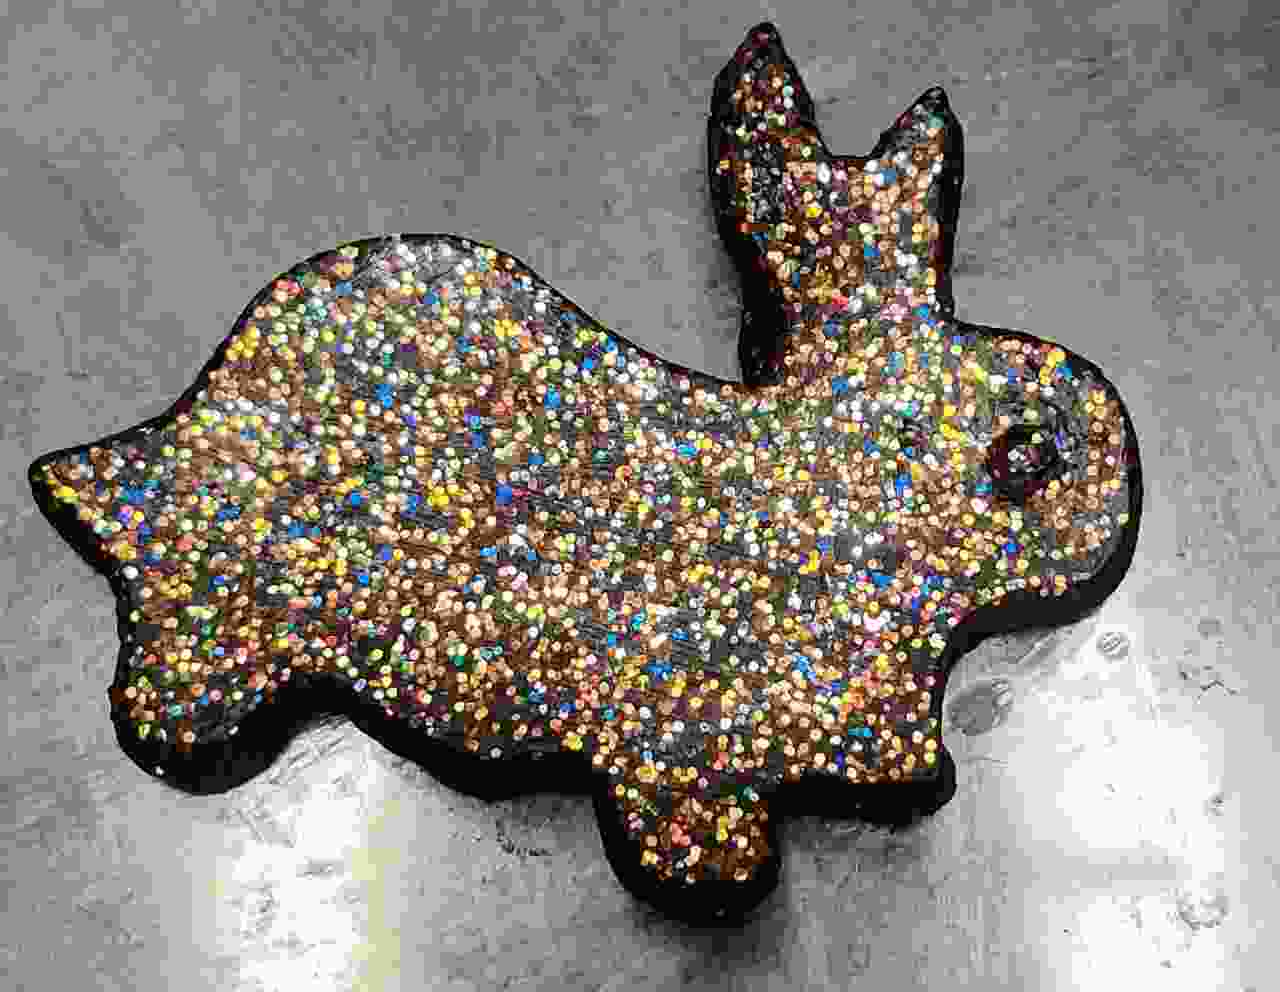
This is the last try I gave with help of Pulkit by pouring resin and glitter mixture to one mould cavity only.
Group Assignment:
Material for soft mold
Silicon Rubber
Here you can find the datasheet for this materialTypical Benefits
- 1. Low viscosity allows for excellent flowability
- 2. Fast cure and excellent deep section cure
- 3. Excellent adhesive properties: primerless adhesion to many types of substrates
- 4. No cure inhibition
- 5. Flame retardant: UL94HB recognized (File No.E56745) : TSE3660(A)/(B)
https://www.chemzest.com/liquid-silicone-rubber-siloczest-lsr/Material for Cast
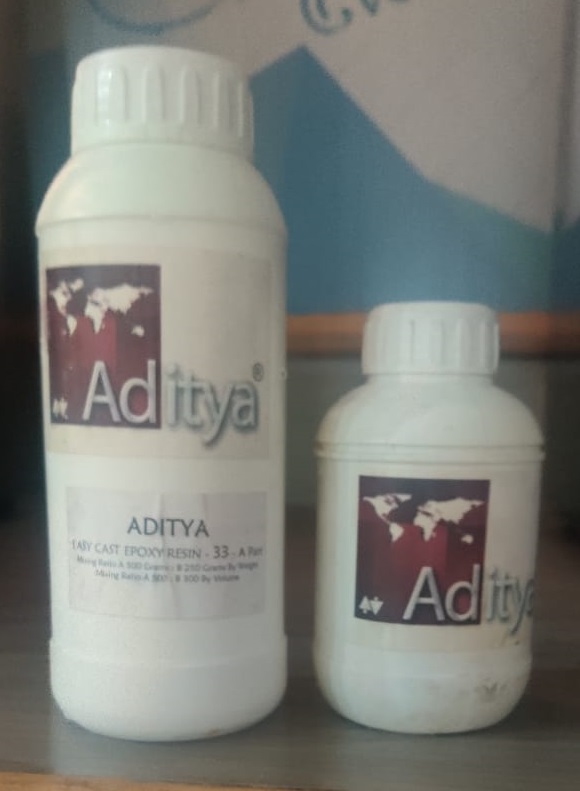
Epoxy Resin
Here you can find Datasheet of Epoxy Resin
Further info about the product and it's safety features you can visit the manufacturers website.
https://adityasilicone.com/product/aditya-easy-cast-transparent-epoxy-33-750-grams/