W15│ Mechanical Design
- Design a machine that includes mechanism+actuation+automation
- Build the mechanical parts and operate it manually
- Document the group project and your individual contribution
Concept
The main idea in this project was to make an interactive product for ludic and didactic purposes. In order to do that, we use are using a set of mechanisims that pushes and pulls pins. Those pins have RGB leds attached to its end, so we can work with color and depth.
Possible uses
It can be used to teach notions like size and color, on early stimulation levels of education. It also can be used as artistic displays, since it can display shapes on space using diferent colors
The origin of the idea
We based our inspiration on the Pixel Art app, that allows you to draw lot of things using pixels, and added the concept of depth depending on the color
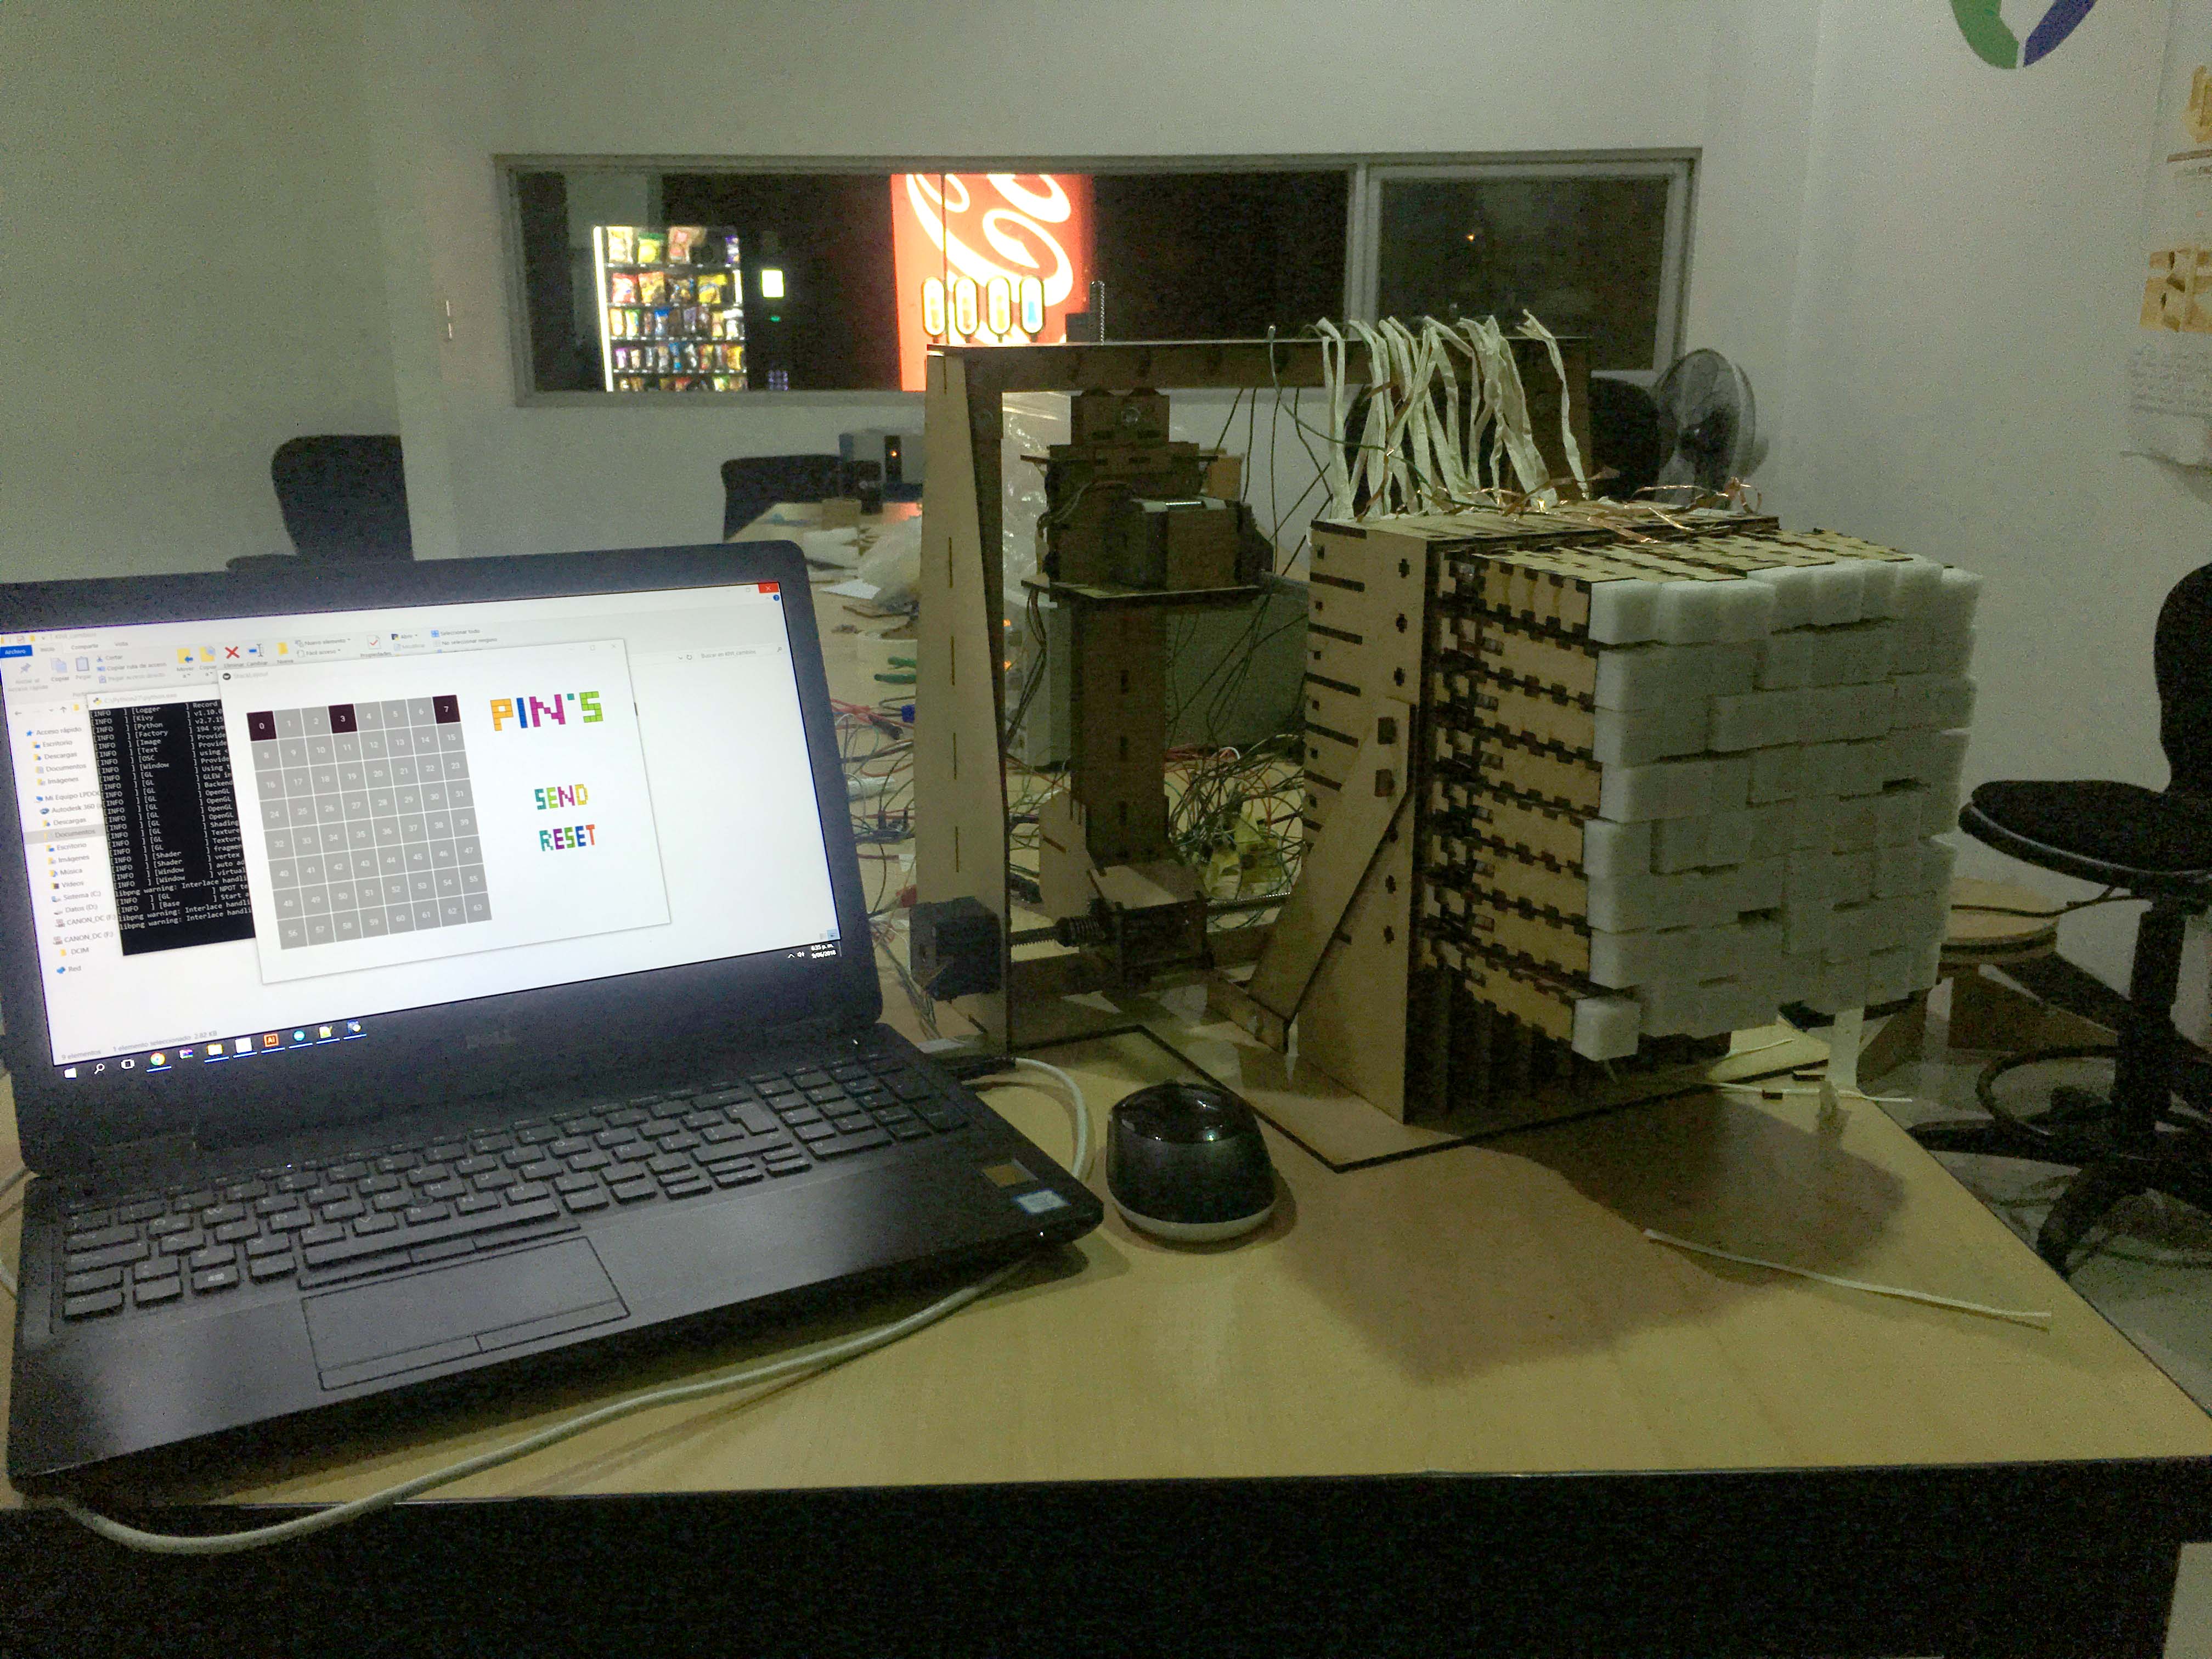
Please click on the image to acces to our Mechanical & Machine Desgin

INIDIVIDUAL DOCUMENTATION
Mechanical part was designed by
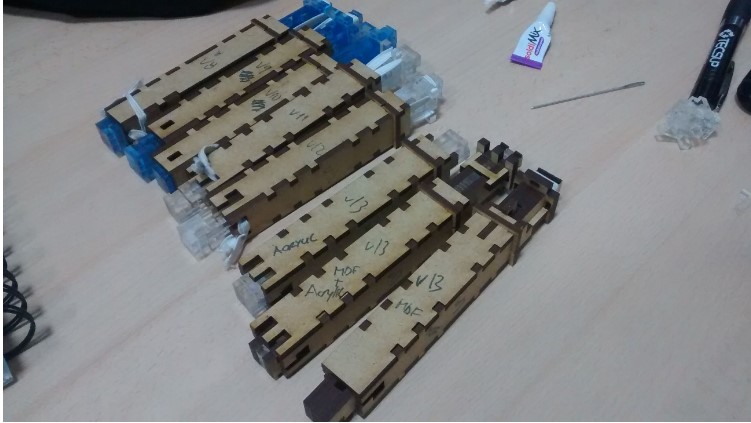
14 Prototypes were developed
How to assembly the PINS & Container
Each PIN has 2 parts, one has the has the retractable mechanism(A) and the other has the RGB LED board with 4 wires(B).
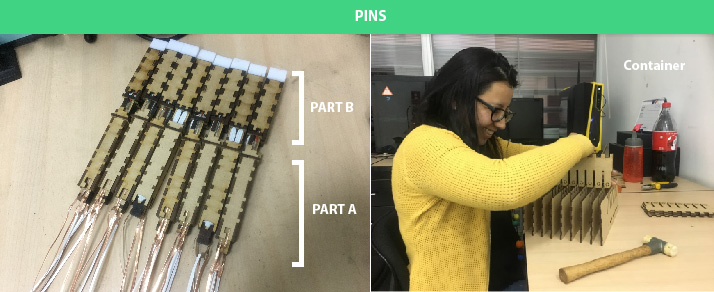
PART A : It has 12 MDF pieces(3mm) and 1 elastic band(150mm). It took me almost 5 hours to assembly and test them.PART B : This part was complicated because I had to not only assembly each MDF piece but also I had to add the RGB Led board with its 4 cables. .
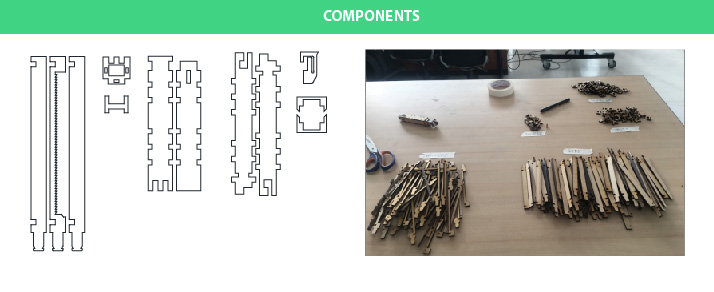
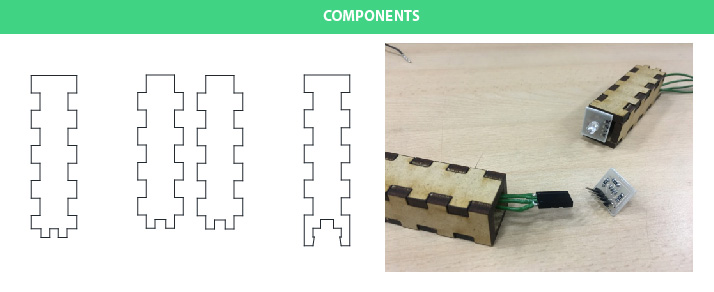
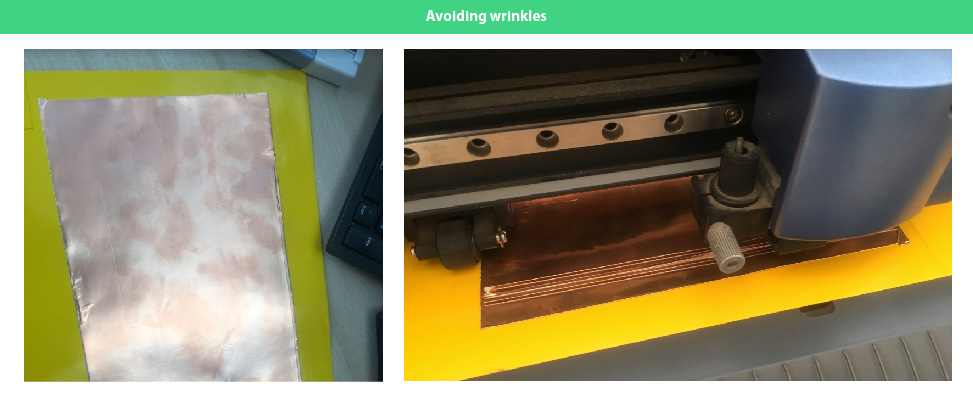
I noticed that the cables were going to halt the retractable movement, so in order to avoid this major problem I came up with the idea of adding copper foil to the pins and solder the wires to it. This process was much longer, because I had to cut 256 lines of copper foil and also solder the same amount of wires. To cut all the copper pieces I used the Camm-1 Servo Roland, first I paste the foil upon a piece of vinyl to avoid wrinkles.
