Fab Academy 2018
by JEAN-BAPTISTE NATALI
jbnatali@gmail.com
daily updates week 02 - project management
Attending the Fab Academy in Barcelona, I document each week of intense learning as I come across new digital fabrication techniques. This documentation is as much a report of what I do as a reflection on why I do so, and will hopefully guide me back to Oceania to spread and make good use of the knowledge gathered along the path.
--- summary of the assignment ---
objective :
Build a personal site describing you and your final project. Upload it to the class archive. Work through a git tutorial.
- Explore and use website development tools
- Identify version control protocols
what I did :
I built this current website with HTML/CSS/JS, hosted on Gitlab. I also built two other websites with Bootstrap : one for Fab Lab Auckland (see week 09) and one for the machine making assignment.
- learned about programming for the web using HTLM, CSS and JavaScript;
- learned about the concept of libraries, responsive design and the use of Bootstrap;
- learned about version control using Gitlab;
- and learned about cyborgs, cardboard-designed video games and octo-spaceman.
Notes to evaluators :
I developed the "Fab Lab Auckland" website on week 09.
26.01.18 / The next six months will unfold fast, and I am documenting it so other makers can pick my brain whenever we want to. I decided to design a website which reads like a short novel, and fits well on mobile devices. The main visual reference used for this webpage is this article from the New York Times.
To do so, I am going to dive into online resources and learn more about CSS and Javascript. At first glance, I am tempted to compare website building to crafting : HTML is a big empty canvas, CSS is the basic set of tools to cut things out and glue them together, and finally JAVASCRIPT provides the nuts and bolts to turn the whole thing into a interactive live performance.
To build this website I have given myself two days and broken down the whole process into several steps:
1 - add content (text and static images)
2 - set up the layout - adding some clarity to the mountain of content
3 - select font, spacing between letters, paragraphs and colors - although I am focusing on the functionnal aspect of the website, I can still make small design decisions to make it more agreable and personal. And finally...
4 - visual interactive contents - images are worth many words, therefore I am going to put some effort to display visual content with an appealing manner. I want to provide to the reader the same feeling as she/he/they would experience watching a documentary: as the voice over goes on and on, the camera pans across the landscape :
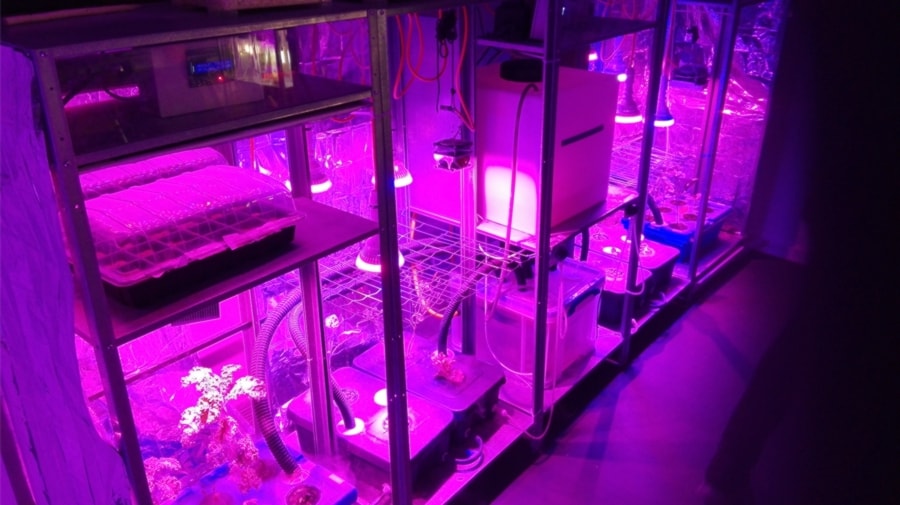
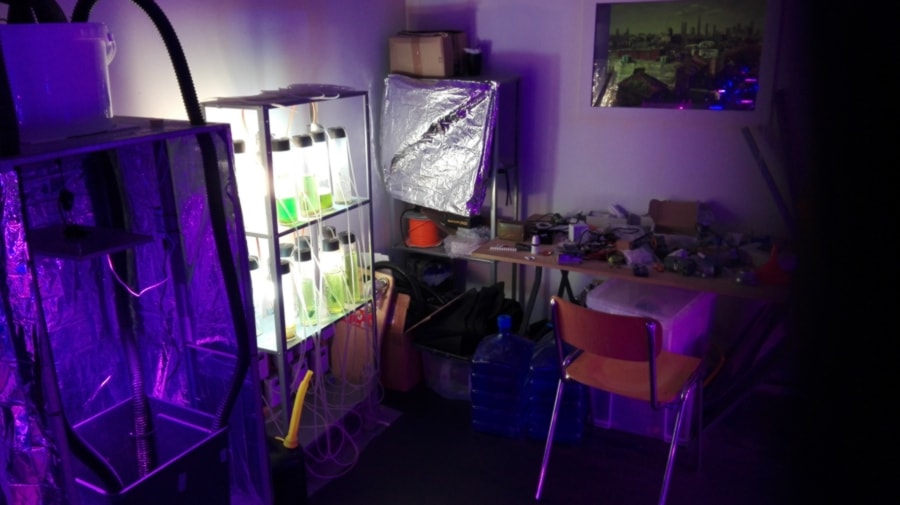
Going around the table discussing different projects, Michael has expressed his desire to focus on setting up a modular worm farm for food production purpose. I am naturally very interested since it is one aspect of the urban growpod that needs to be researched further. Two others students also discussed about educational projects. We will discuss next week to brainstorm and see if a collaboration is possible.
As a closure to the first week of the Fab Academy, Tomas opened a conversation about Fab City and his work locally and internationally. After two years collecting information about it, I got to grasp the struggle to move from the "PITO" to the "DIDO" model. More than an organisational issue, the change depends on global change of consciousness about sourcing material, and deliberate effort in area which are not considered sexy at the slightest.
For instance, as a concrete step forward, Pauline, an intern at FabLab Barcelona, has designed and built a selective trash system for the workshop. She actually made a neat packaging around the rudimentary back plastic bins, adding some appeal to the interaction users will have when disposing of their waste. I wonder whether Michael could somehow plug his worm farm to the organic trash...
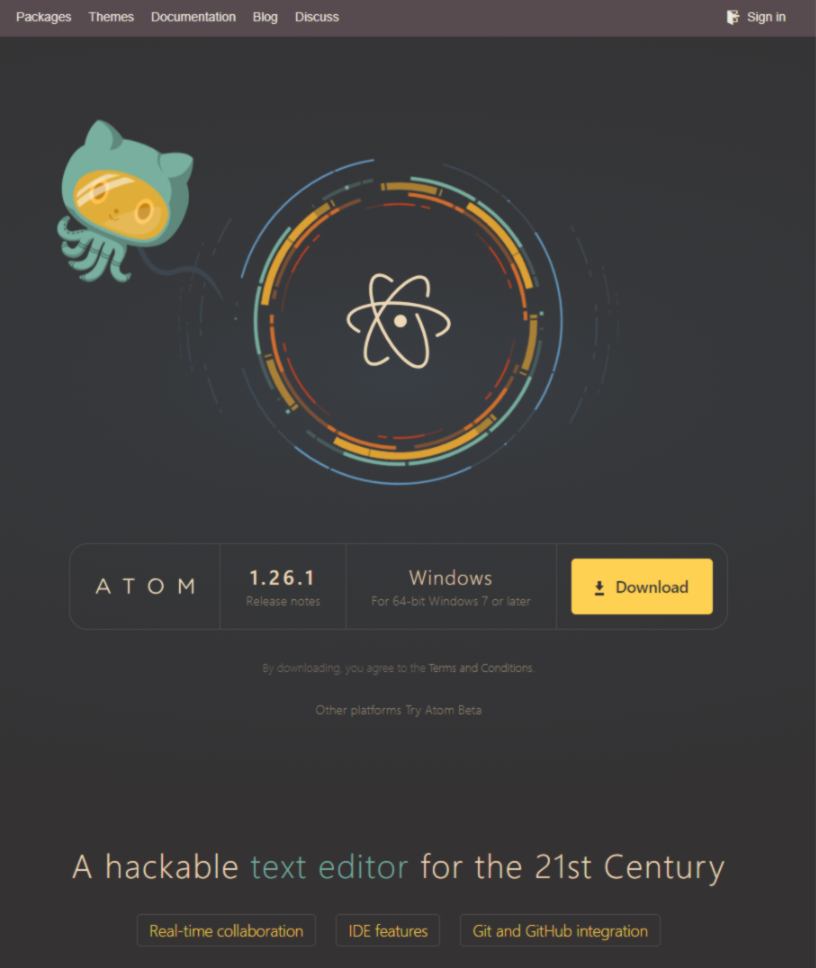
27.01.18 / Back to the website : First step. To learn what web development is about, I have decided to code it in HTML, CSS, and JAVASCRIPT if required. It is a complete new area for me. It is however very well documented on the internet.
After testing out different recommended editors such as Bracket and its (sadly not very reliable) live update, I set up and begin using Atom , for four very good reasons : first of all it is fully open source, it is simple to set up, it is free, and also...
Isn't this little octo-spaceman gorgeous???
to begin with, I sketch the skeleton for an HTML and CSS sheet. I quickly populate all areas of text, then give a different width to the "intro" - comprising title, name of the author and introduction - and the "updates". Following that, I adjust the font for each part. With a black background and a white text, the contrast is too brutal to the eye, so I adjust the lightness by using a array of light grey. The HSL color selection comes very handy for that.
Next steps is to ensure the reader is not going to feel overwhelmed, so I provide some empty spaces by modifying the height of the lines and increase the padding between paragraphs. Each of these steps forces me to dig into online resources, finding the bits and pieces required to thread that website together.
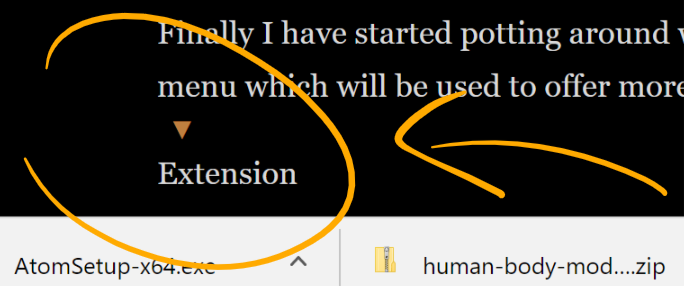
Finally I have started potting around with JAVASCRIPT, adding a basic drop down menu which will discreetly offer to the reader the opportunity to access more information for each image:
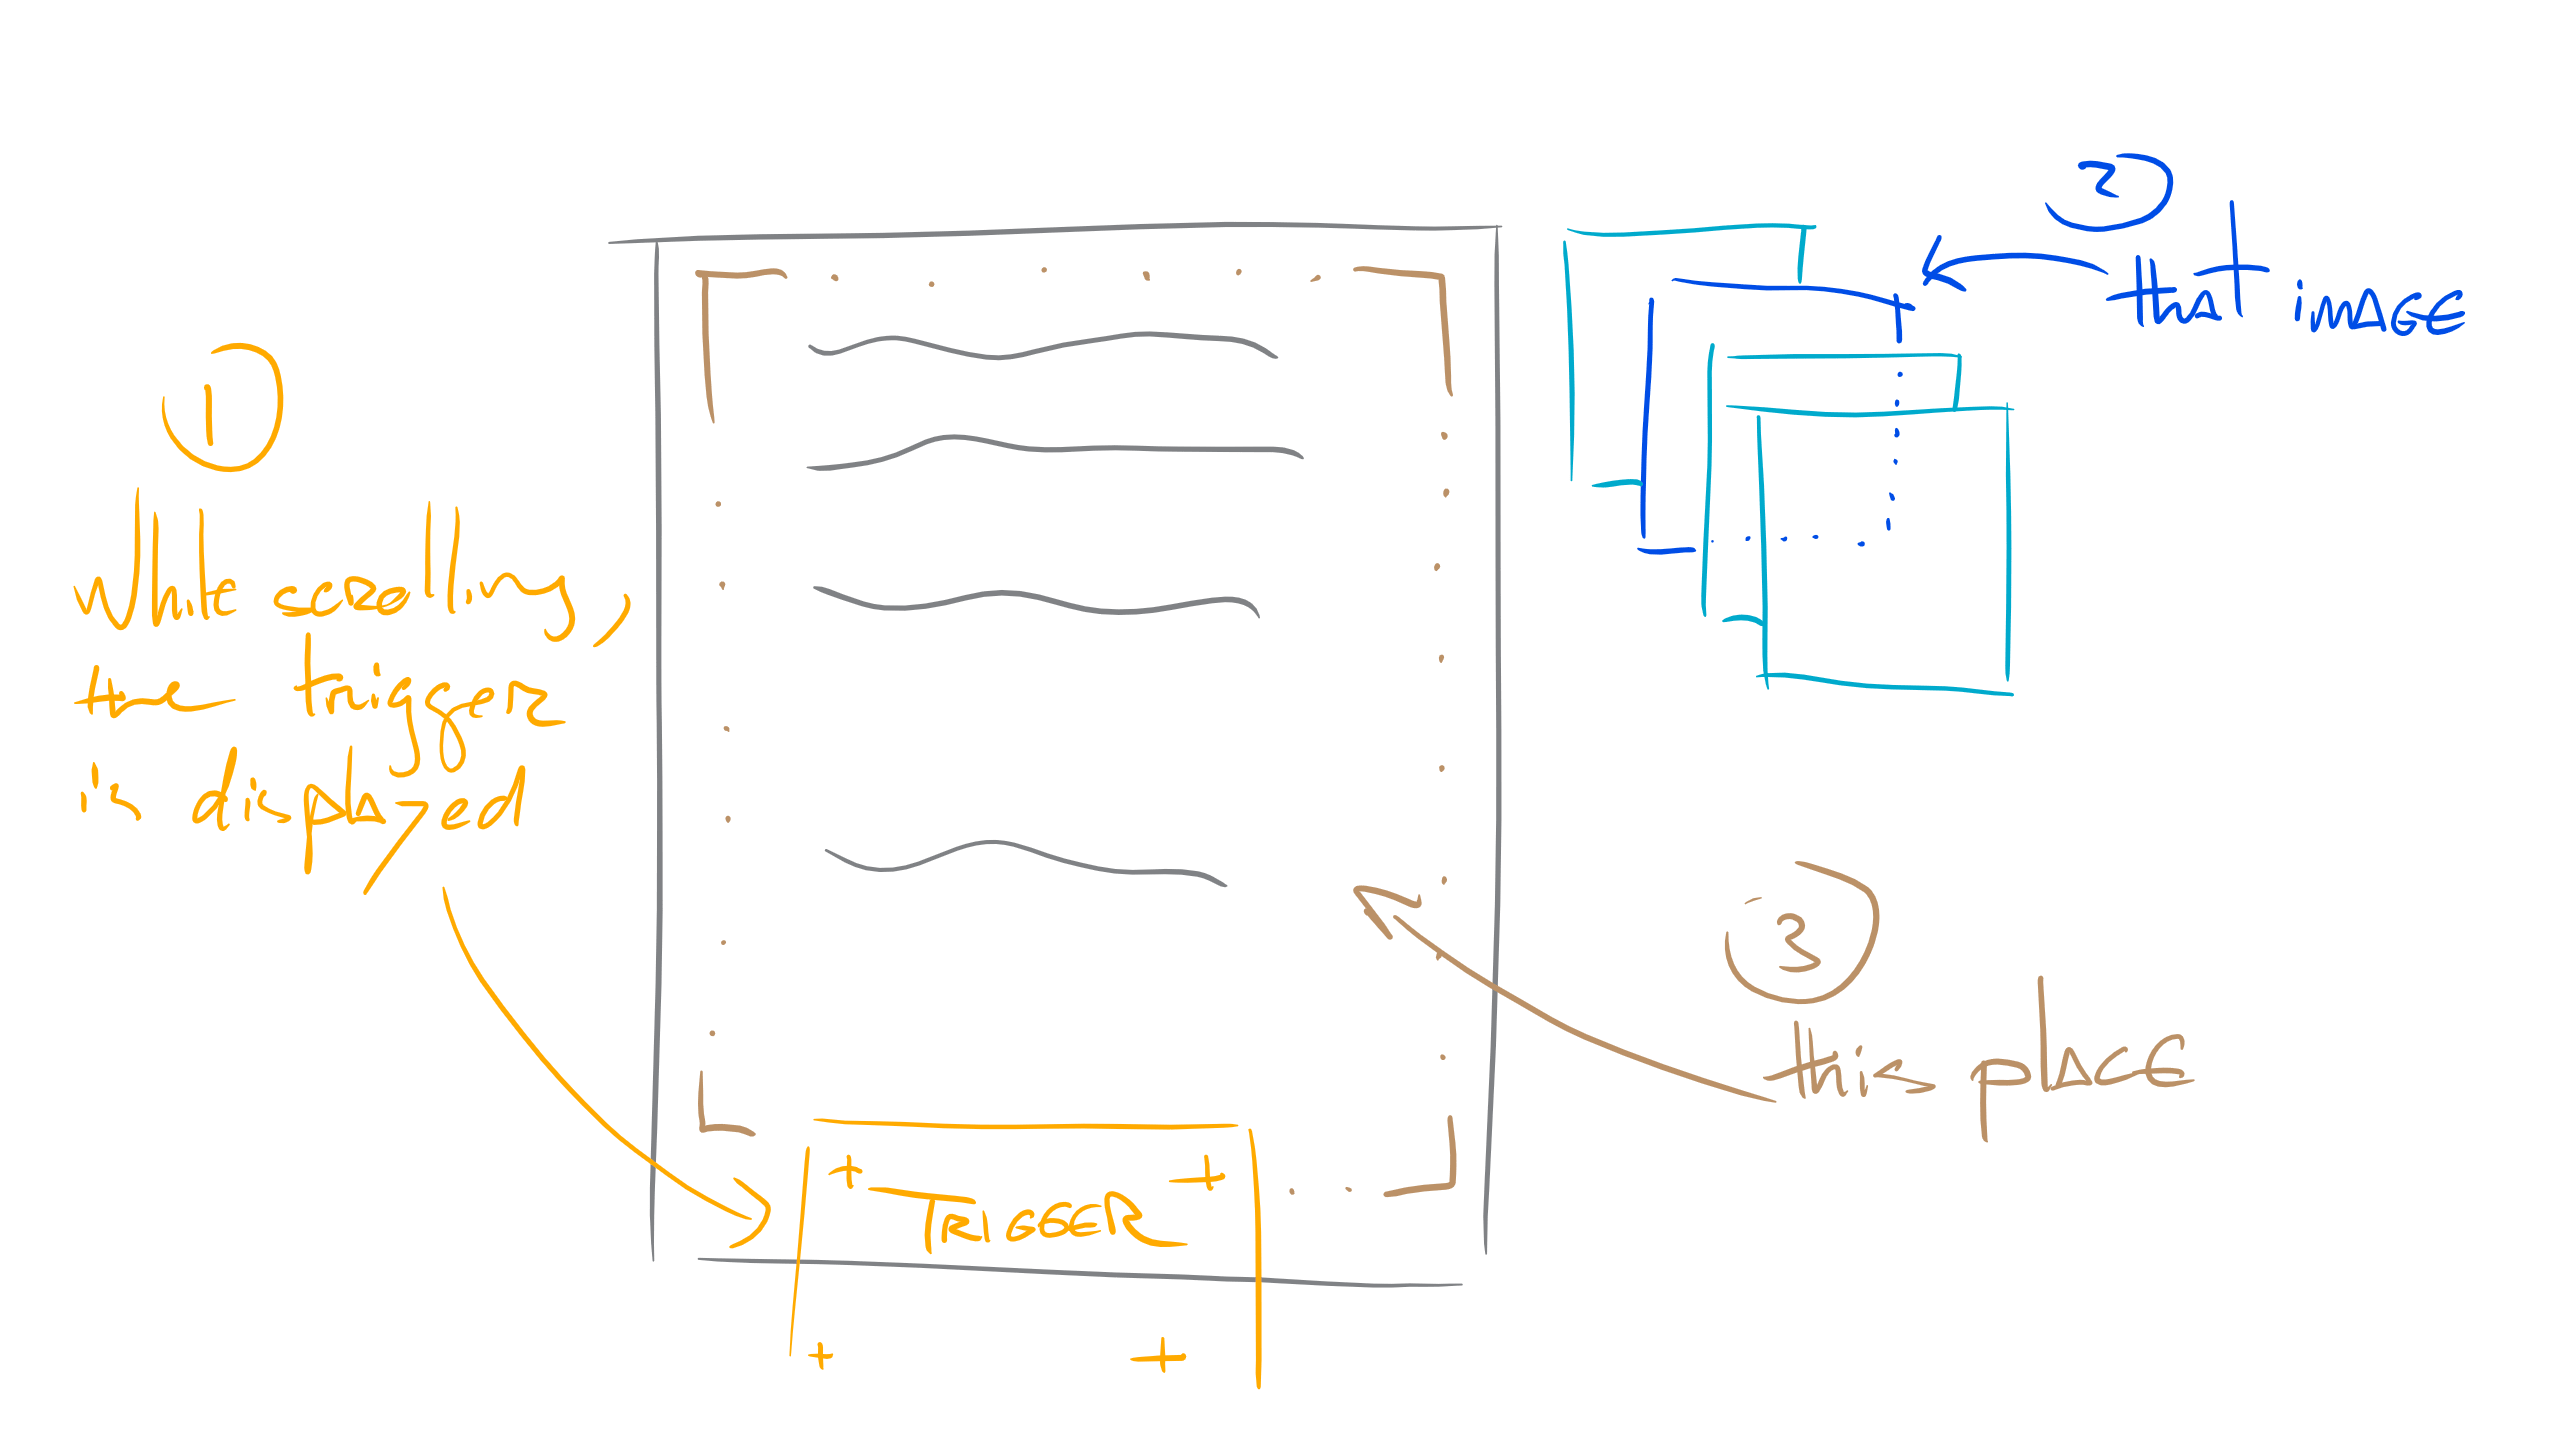
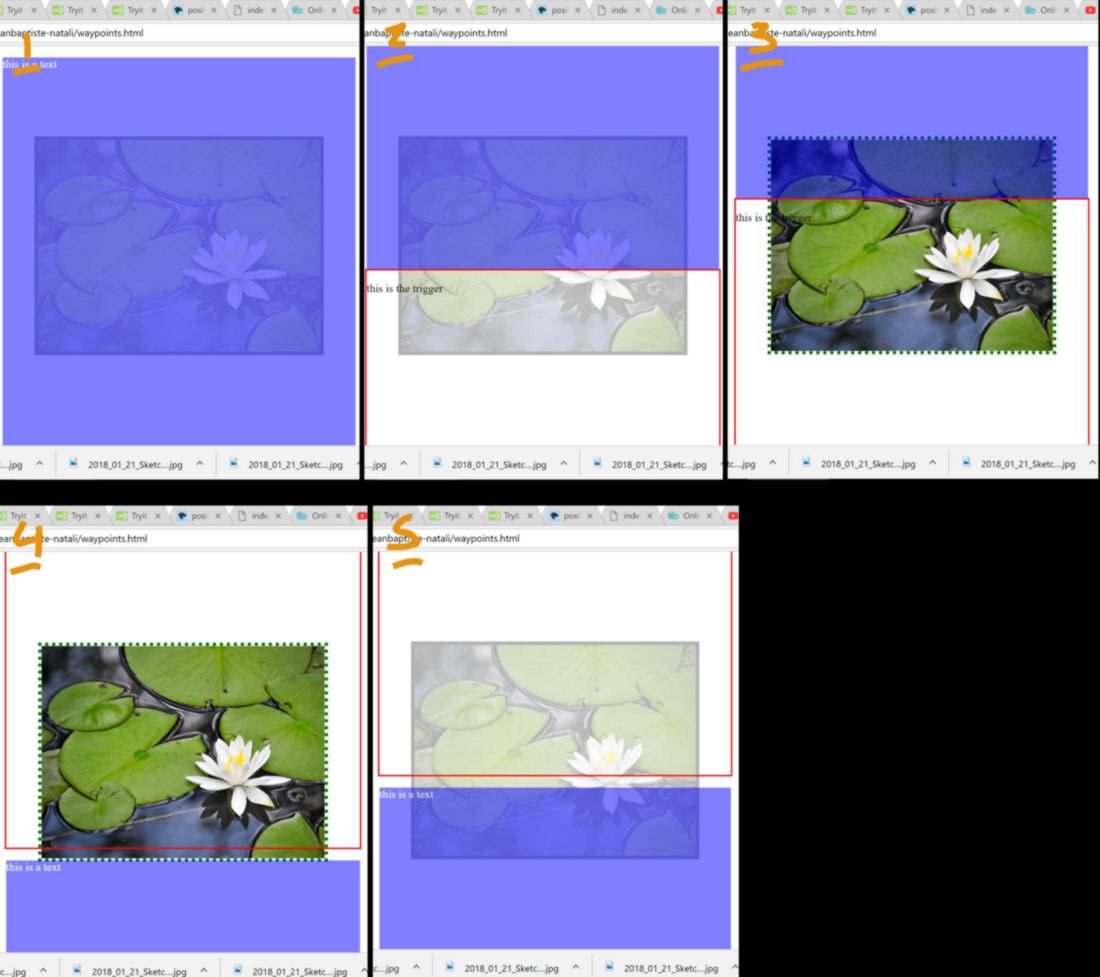
28.01.18 / Now some content is available, I am going to use some JAVASCRIPT to set up a more interactive experience for the reader. Below is in "human" language what I want to achieve:
If a trigger becomes visible on screen, Then display that image in this place:
Collaborating with developpers while working in the video game industry has given me a tiny bit of an insight about the logic behind coding. I will however heavily rely on the certainty that this interactive layout has been thought of and figured out a million times. Sadly I cannot use the code source from my reference efficiently since it looks incredibly complex. I believe this design was originally a template from Wordpress.
While looking around for examples, I bump into the notion of jquery library :
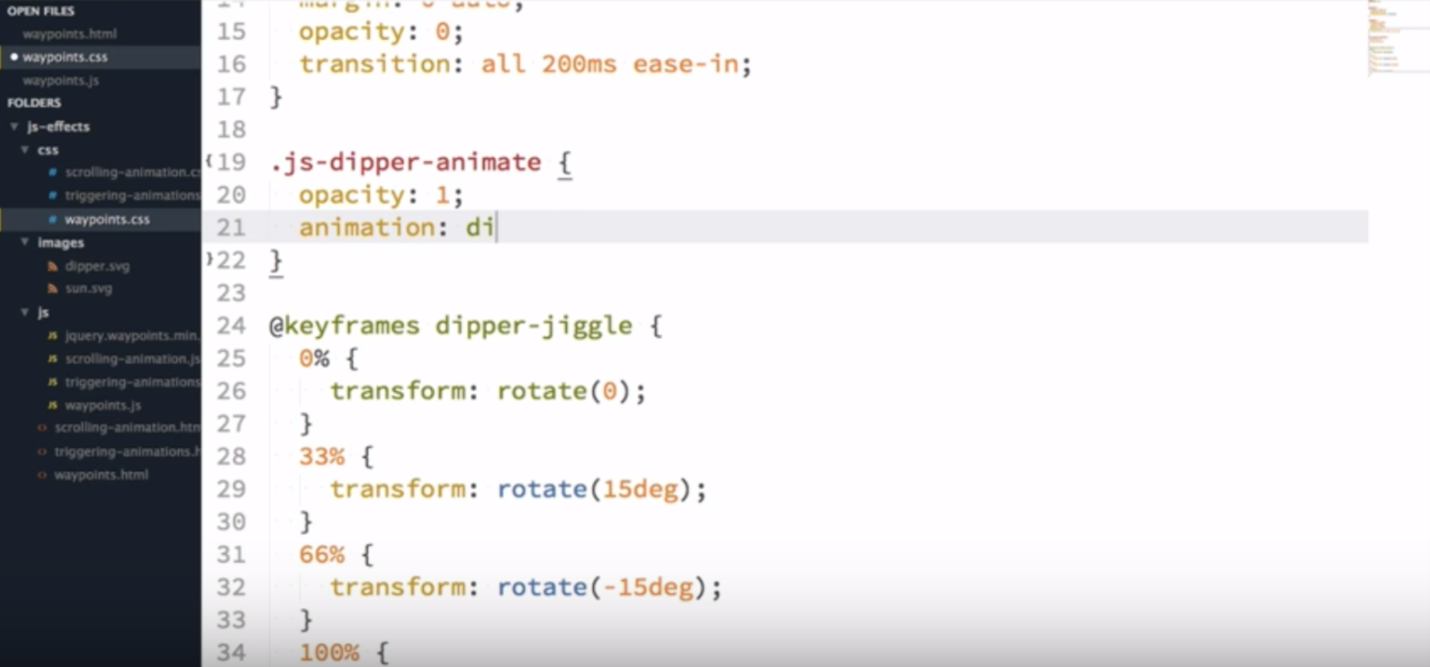
I set up a more simple prototype to test this out. As described, I set up a waypoint for an image which triggers an animation, resulting in the image slowly appearing and disappearing.
I start focusing on the images themselves. To ensure they will appear behind the text, I force them in the background using a negative z-index. By specifying the position of the image - sticky - and adding some extra padding at the bottom, the image appears and disappear well. It is a bit of a hack however : it only simulates a "fixed" position - but since the opacity level changes only when the image is almost static, it works well enough. More importantly, it only took the creation of a few classes in the .css document to plug it in, so adding new content using the same properties will be as simple as setting up an identical class for all images.
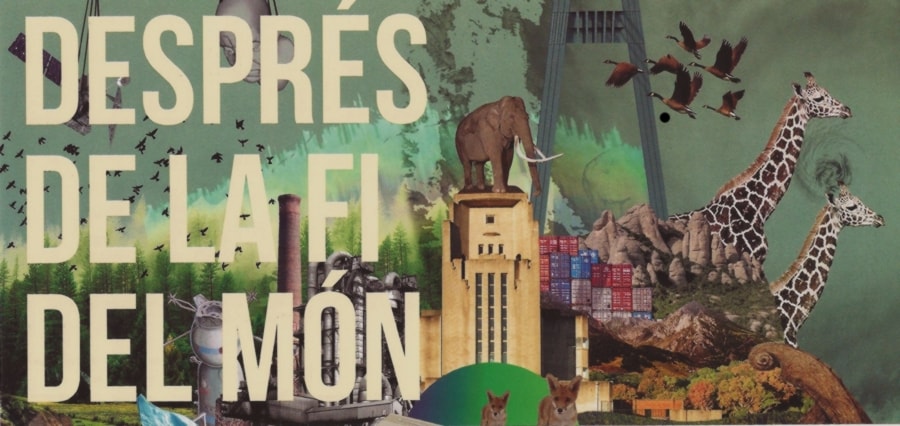
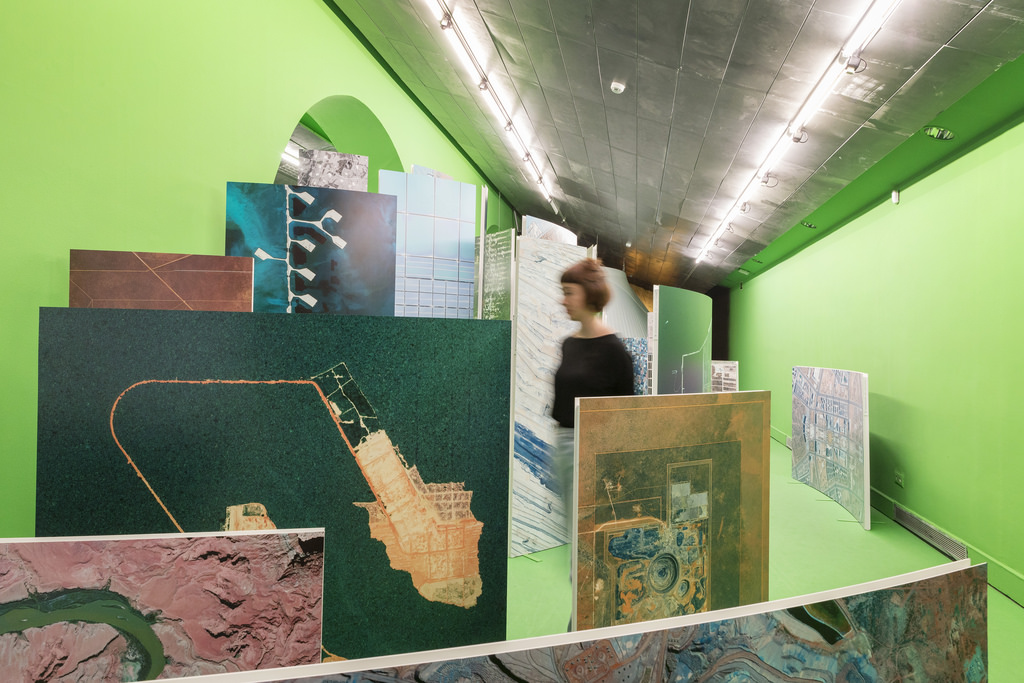
I put the website on hold to get out have a life and see an exhibition called "after the end of the world", discussing how we now live and what impact it has on our cureent life and how it will affect our future. It offers various visions of the future, crafted by eight differents artists, and is absolutely worth it. I wish I could bring this exhibition to New Zealand:
While discussing with Ferdinand and Nico, two former students from the Fab Academy, I hear about the difficulty for them to select a project, quoting Ferdinand :"It is easy to make a simple project complicated, but it is pretty hard to make a complicated project easy..." We also get to discuss about the multitude of fabacademy projects available out there. Throughout the evening, I get to realised the potential of pre-engineered solutions available out there, already fully documented. It makes me reconsider whether keeping a narrow focus on setting up a aquaponic system with my limited ability in digital fabrication is actually the shortest path to gathering knowledge.
More and more, I have considered that having to finish two projects while studying the means to develop them is adding a consequent layer of difficulty. While the development of this aquaponic system is very exciting, it narrows my field of interest. Rather than limiting my curiosity to a single topic, I could use my time as a student to broaden my field of knowledge and competence while developing the curriculum for the educational platform. This project also offers the opportunity to meet many people and make connection, which I thrive on. In short, I am doing a complete 180 and decide to kill the project of an aquaponic system, and focus on the The educational project.
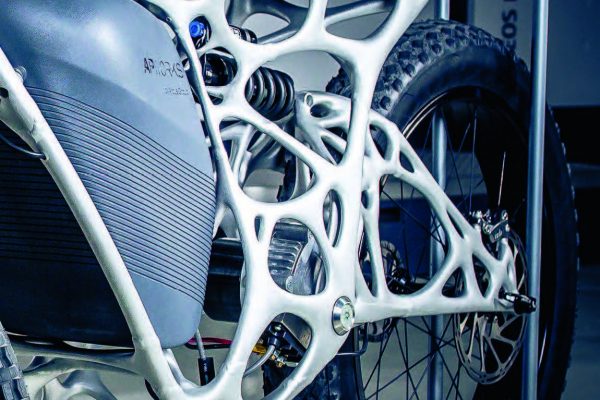
29.01.18 / Two magic words: Topology Optimisation. I have started looking into the numerous tabs opened on my phone yesterday with Ferdinand, and the concept of topology optimisation adds up very nicely with my appreciation of natural shapes and mimicry. Turns out Fusion 360 offers this option. I store this in the back of my mind.
As I am adding content about last week, I add an pre-designed ending for each daily updates, designing a .css element which can be instanciated in the html. It saves me a bit of time every day:
I also realise that this website, if updated well, will be very valuable when, I a few months or years, I will be interested to find about all places and people I talked to. Therefore so I have started adding extra webpages with very short description of these people and places, including links and contact details.
30.01.18 / I can't help but think of aquaponic system. I said I will stop. I WILL stop. I will, I... I designed "version two" of the "toilet bowl" this morning, adding a vessel for the water pumped from the bottom:
Unfortunately this shape require modifications before 3D printing - unless I use a gigantic raft.
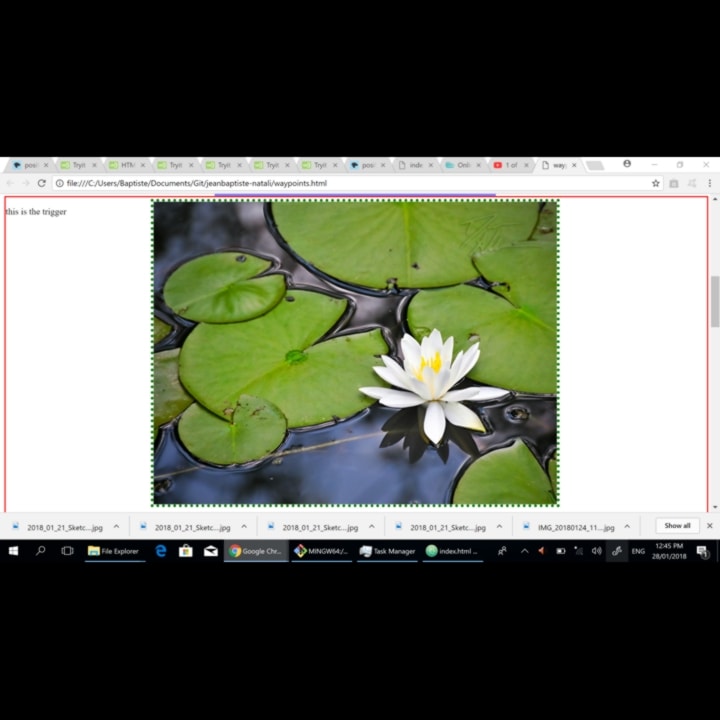
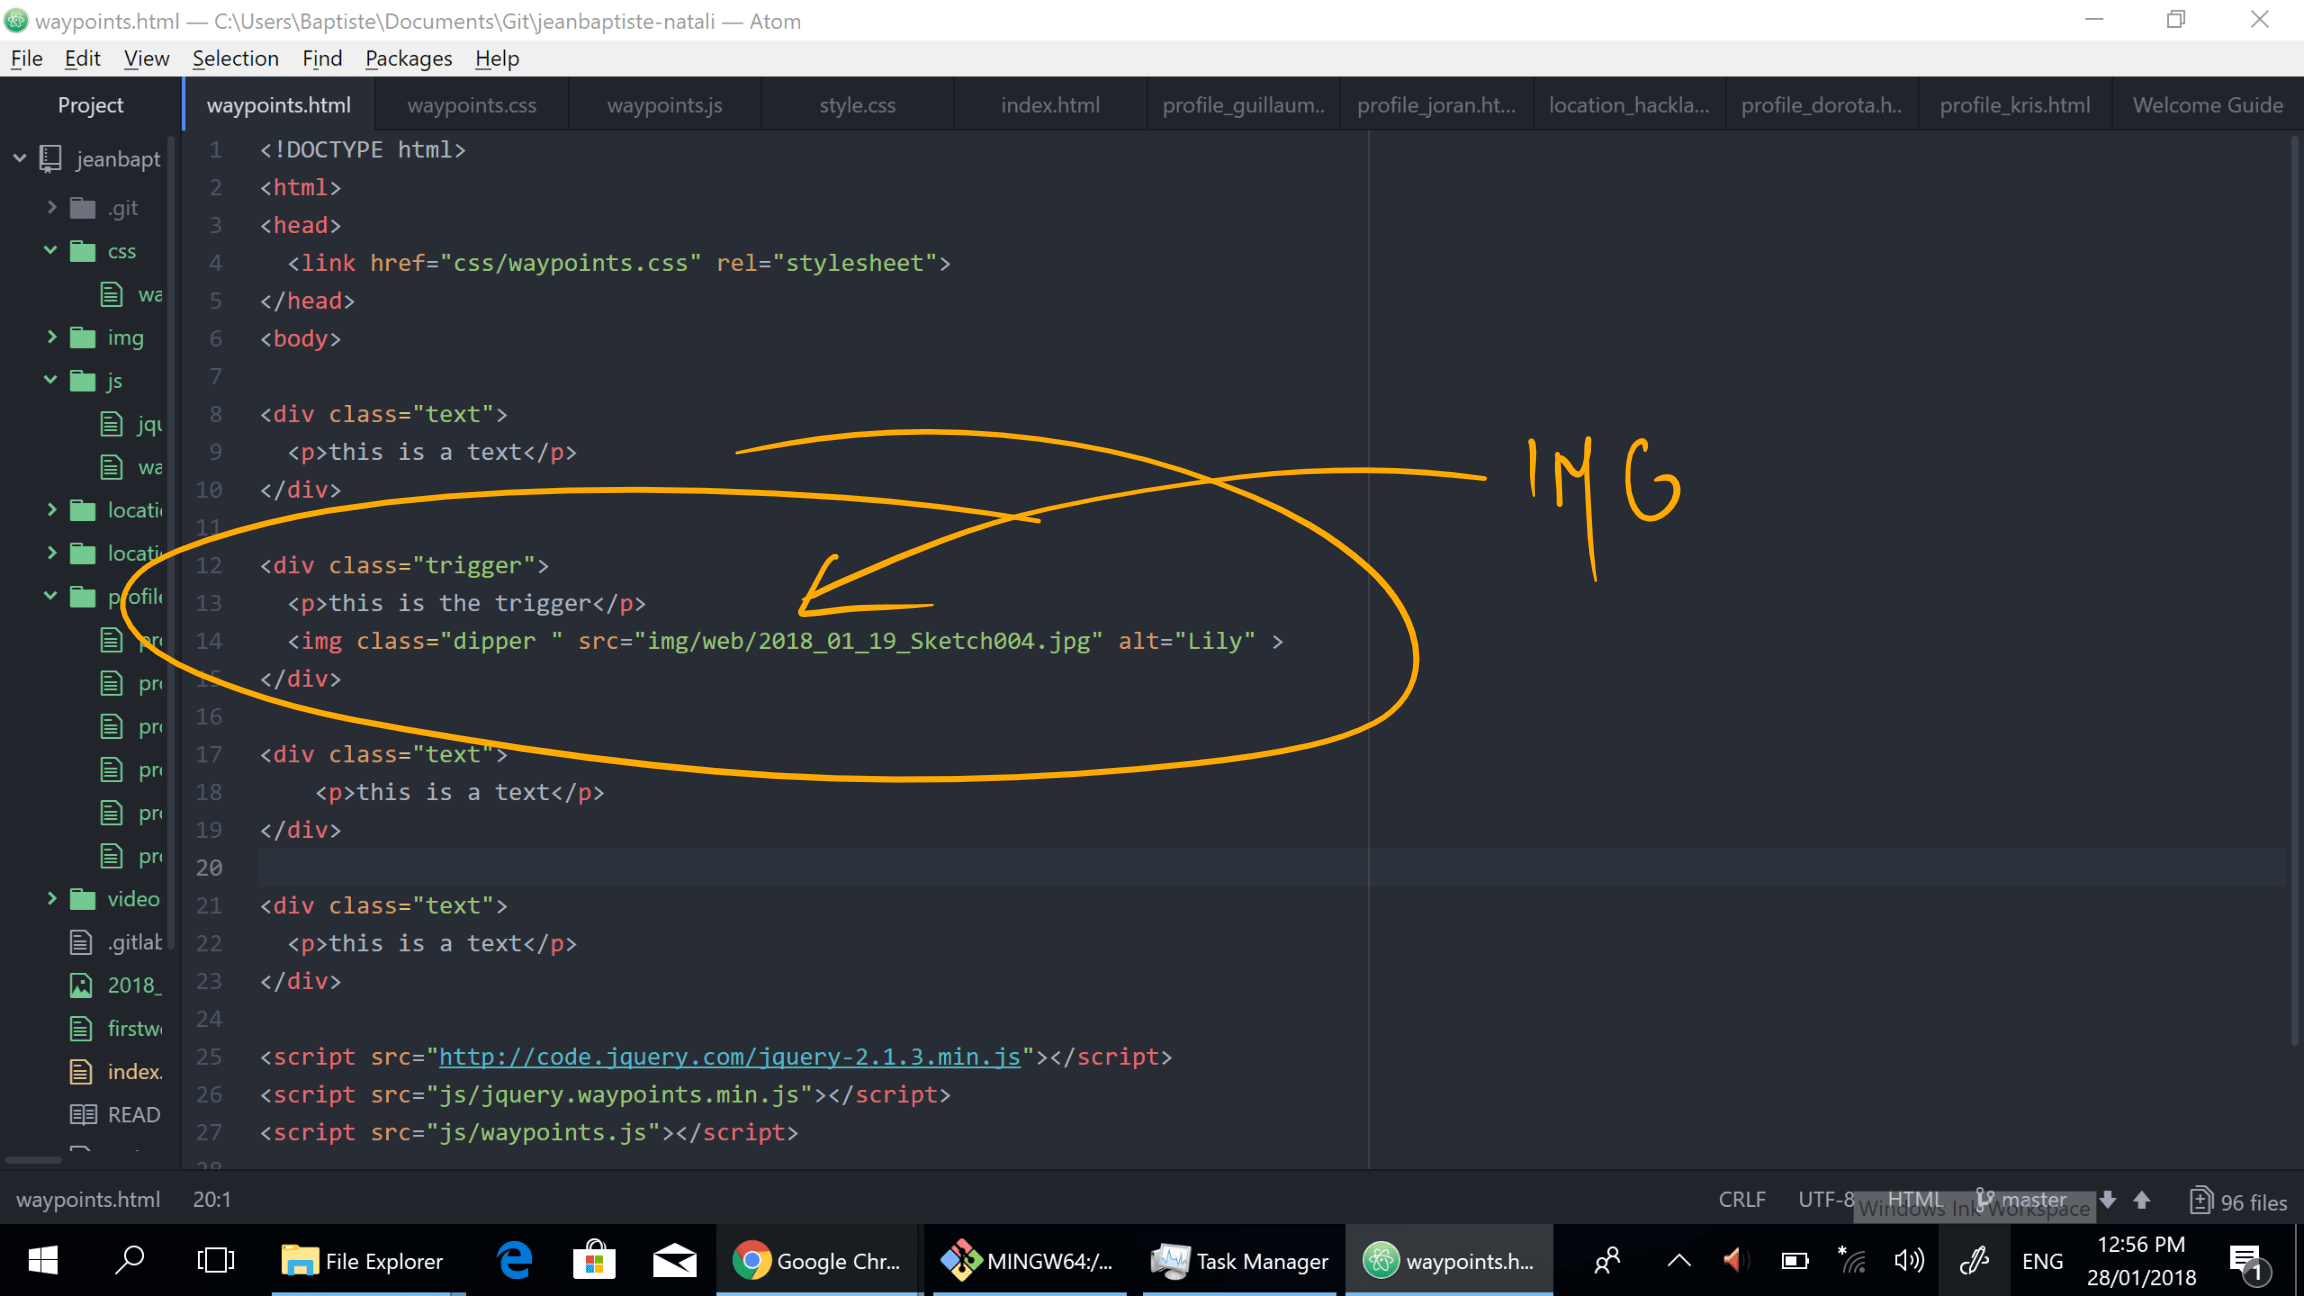
Back to the website : my previous "hack" has shown weaknesses on devices with different screen sizes : the fact that the position of the image is "sticky" rather thatn "fixed" becomes obvious, and it does not provide the silky smooth "Attenborough" effect. So back to the drawing board, reusing my prototype webpage. I uravell my initial evil genius plan : I am going to use a "trigger" element, located in the flow of the .html, to trigger the change of opacity of my images. These images will be locked in the centre of the screen at all time : ".position:fixed;". This works well :
For each image to have some space to be viewed, I resized the height of the trigger to 100% of the viewport height - height:100vh;.
To keep things simple in the html, the image displayed is located within its "trigger" element :
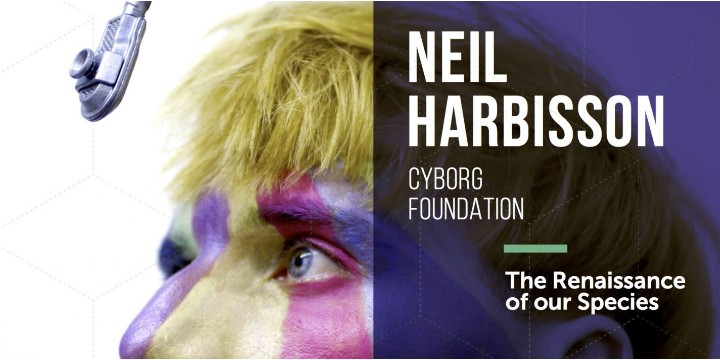
IAAC organises events every month and tonight, Neil Harbisson from the cyborg foundation gives a very entertaining talk, discussing many aspects of being a cyborg, being one himself. He is particularly interested in mind and sense-altering cybernetic, or adding sensory input. He is colorblind from birth and, looking at different options, he realises that, using a sensor, he could receive wavelengths way beyond what is visible by the human eye, from ultra-violet to infra-red. He has therefore enhanced his perception of color, which brings him closer to other species such as fish, able to see ultraviolet wavelengths that humans can't see:
I really value his approach, and since I believe most despicable human behaviors are based on ignorance, the more ways we have to empathise with others, humans or not, the better.
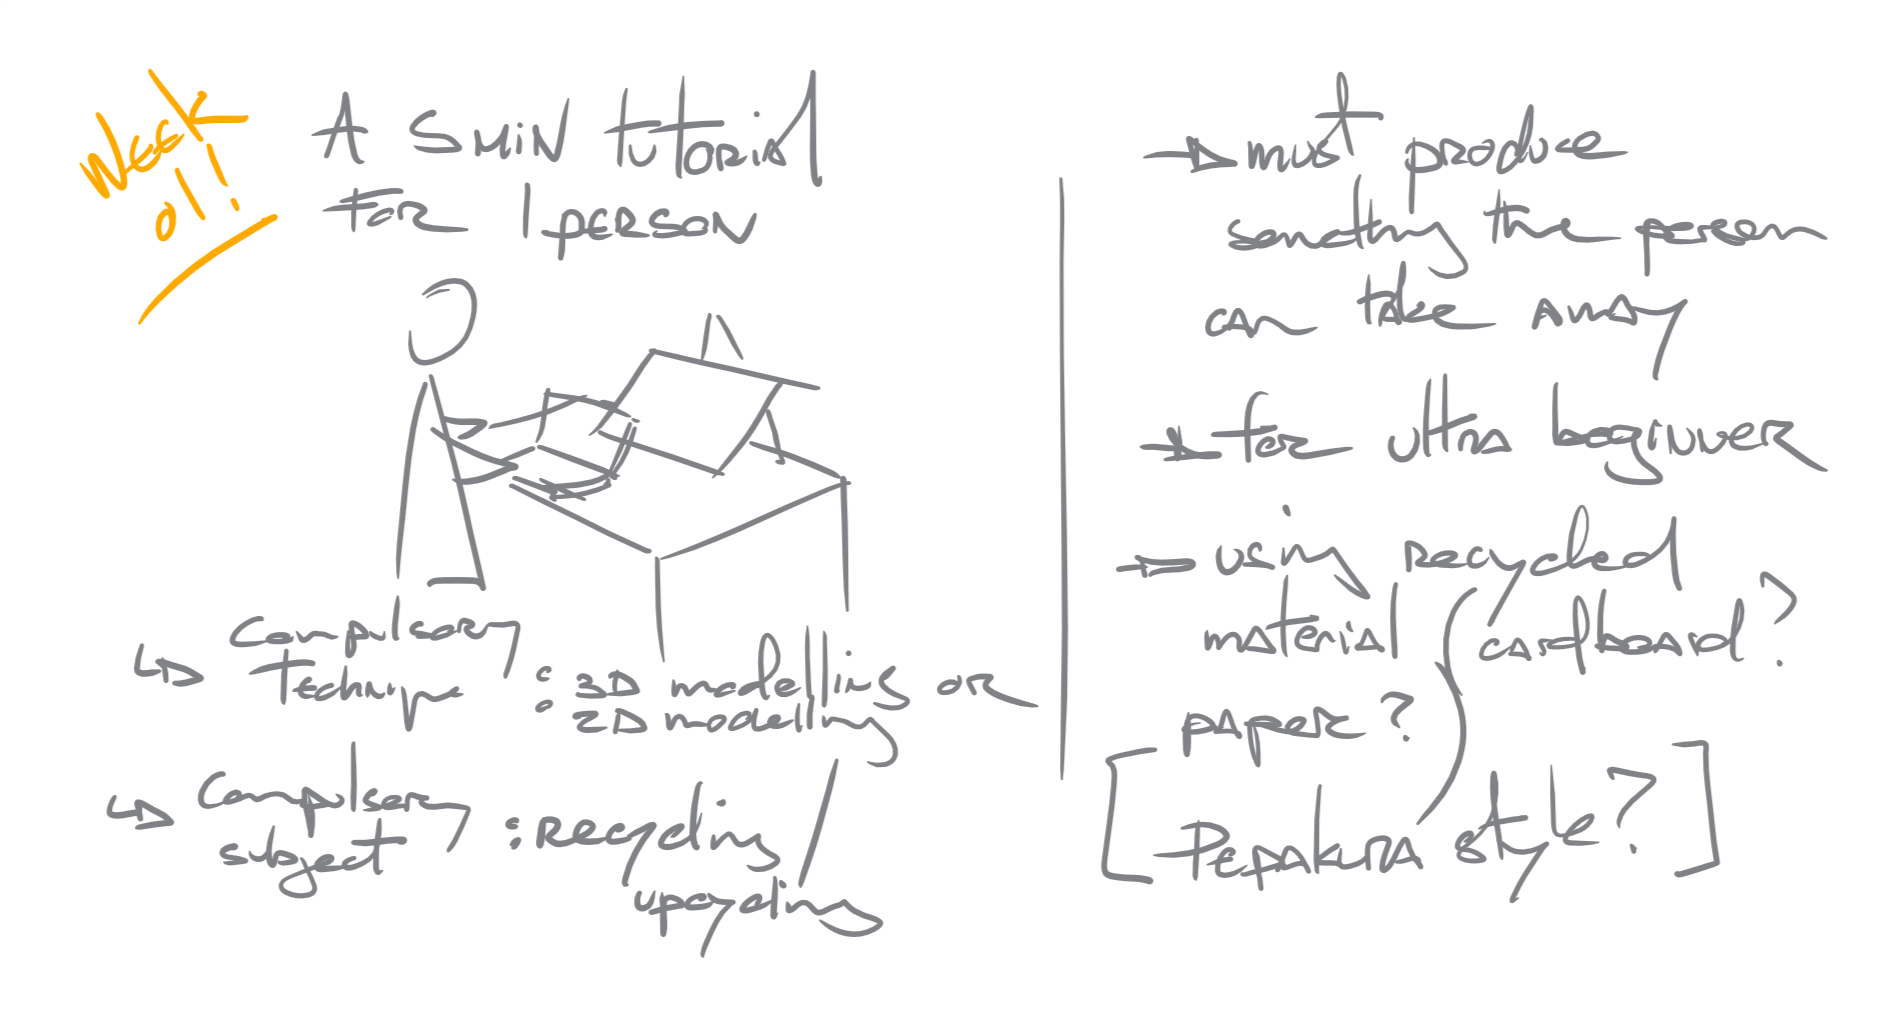
31.01.18 / "The biggest step in any relationship isn't the first kiss...it is the first fart." That is how I view iterative product development. I wish to develop a very quick tutorial this week, related to this week's fab academy theme, 2d/3d modelling. Here is the target :
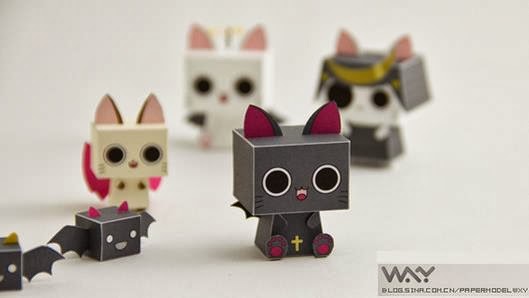
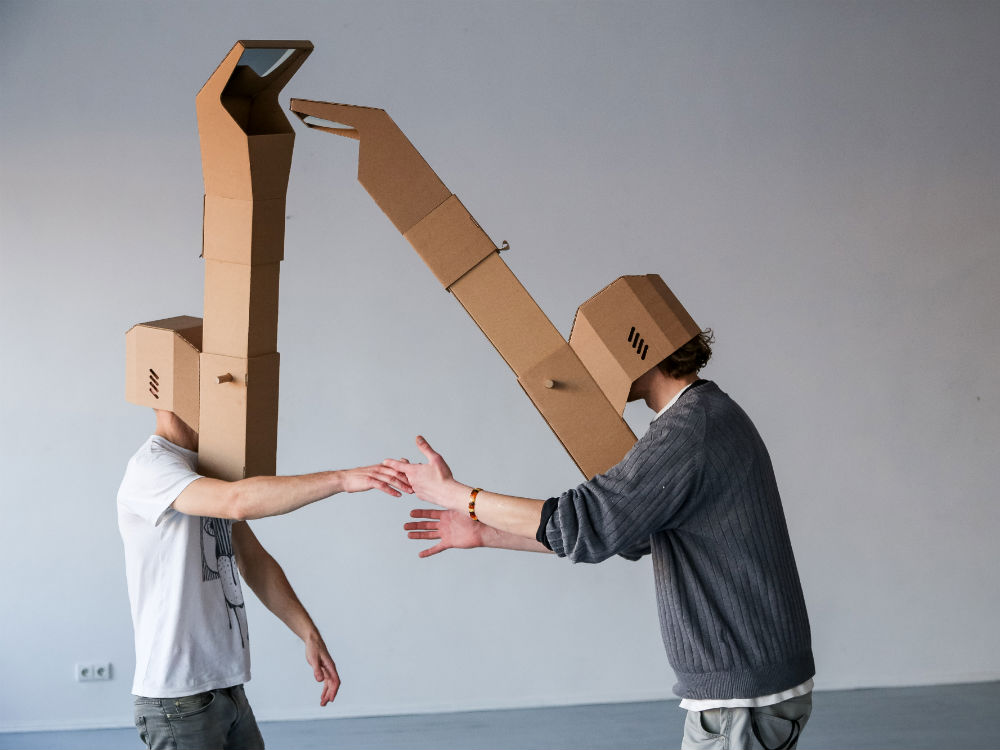
I think of focusing on making a workshop aiming at producing a pepakura-style element. 3D printing is simply too slow. Paper and cardboard is everywhere. As an insipration, I have a recollection of a pinball made out of cardboard that I offered to Helena a while ago, similar to this one:
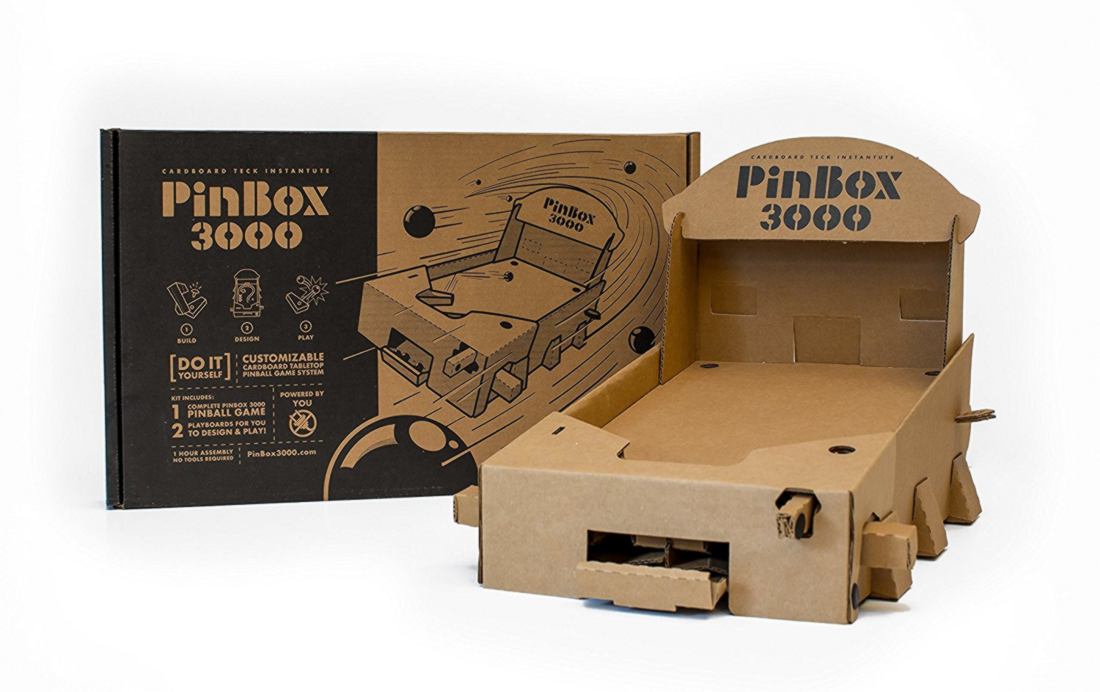
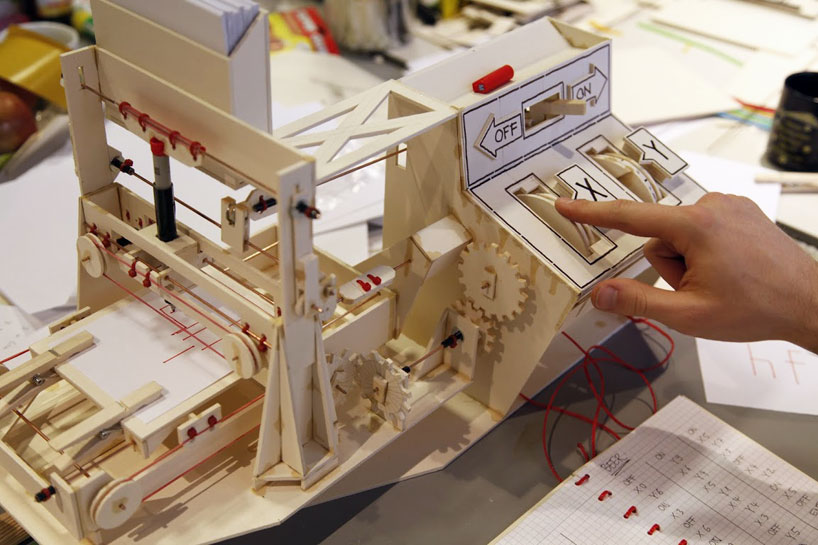
This is more than a 5 min project, but that is the idea. More interestingly, Nintendo has released "Nintendo Labo":
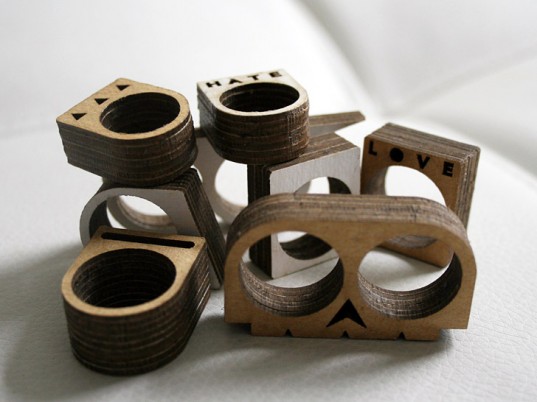
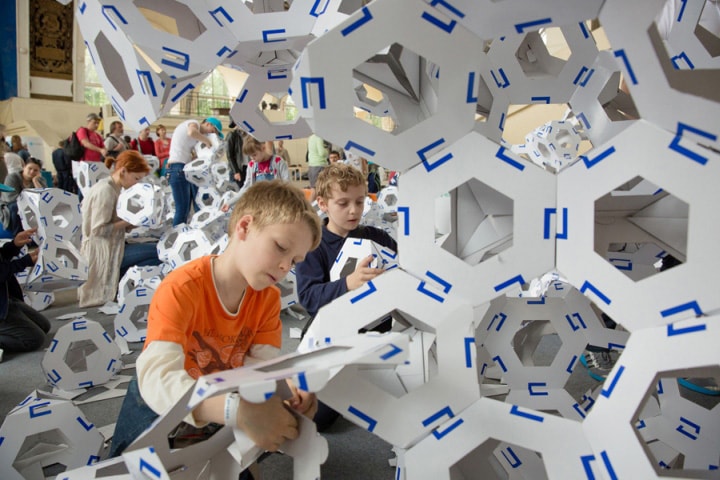
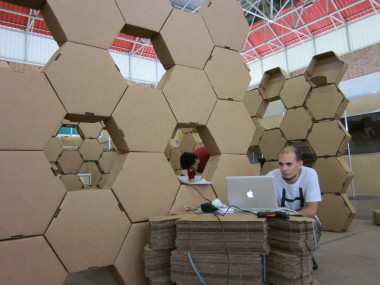
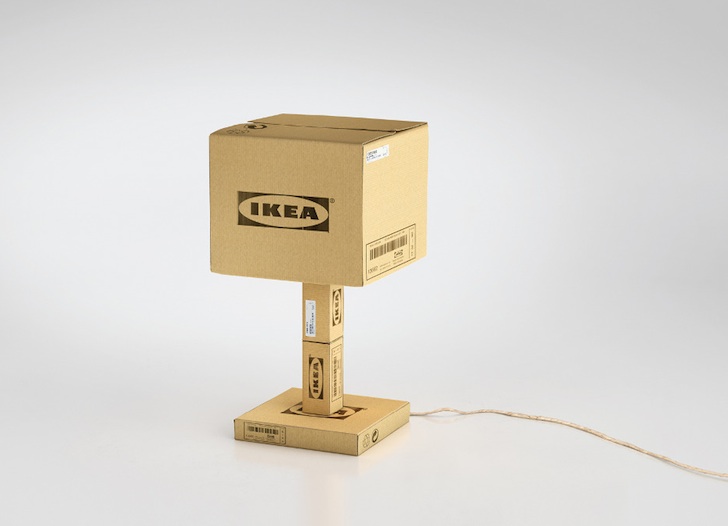
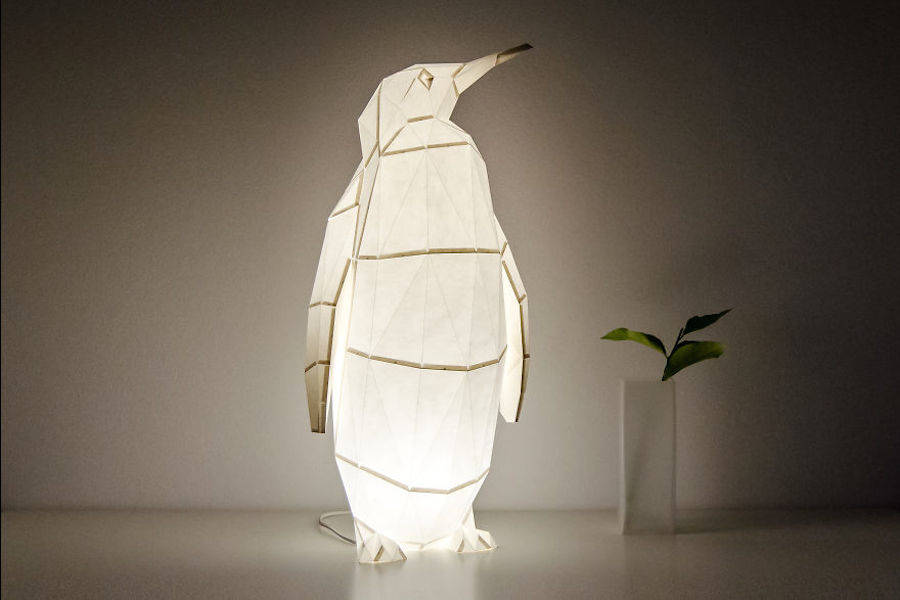
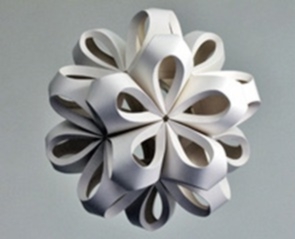
These designs are uber cool but takes a long time to make. I am looking at other smaller design. Packaging designers have created some fantastic stuff. There is even a house entirely made out of cardboard. Here are my favorites:
Personalised, emotional:
Modular, group work:
Playful, group work:
Useful, either rough looking or elegant:
Mechanical:
Before selecting a random project, it is important to remember what the purpose of the tutorials I am about to create is. What I wish to create is more or less a green Fablab. Other people may be interested in drone racing, developing the next-generation digital fabrication machine or live art performance. I highly value all of these goals, since they are bringing some much joy in my life. These people will possibly add their own "branches" to the educational platform, but I personaly will push for recycling, for upcycling, for food production, and if I have the chance, zero emission transportation, pollution-free textile production, and more.
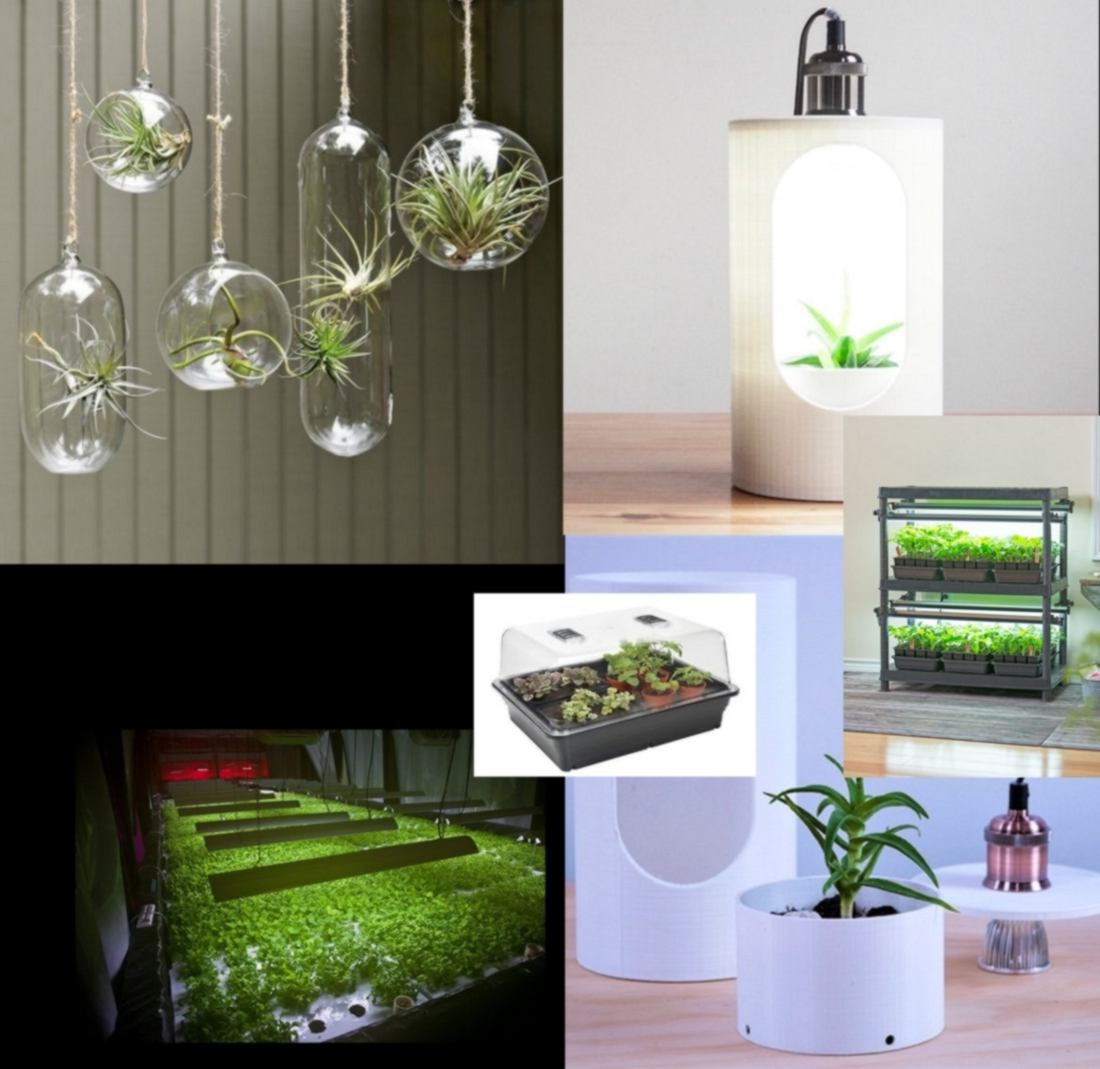
Therefore as a first simple project for any students/members of Fablab Auckland, a place initially focused on growing food, it would be both ethcially correct and metaphorically elegant to make a seed incubator. Something that looks like this:
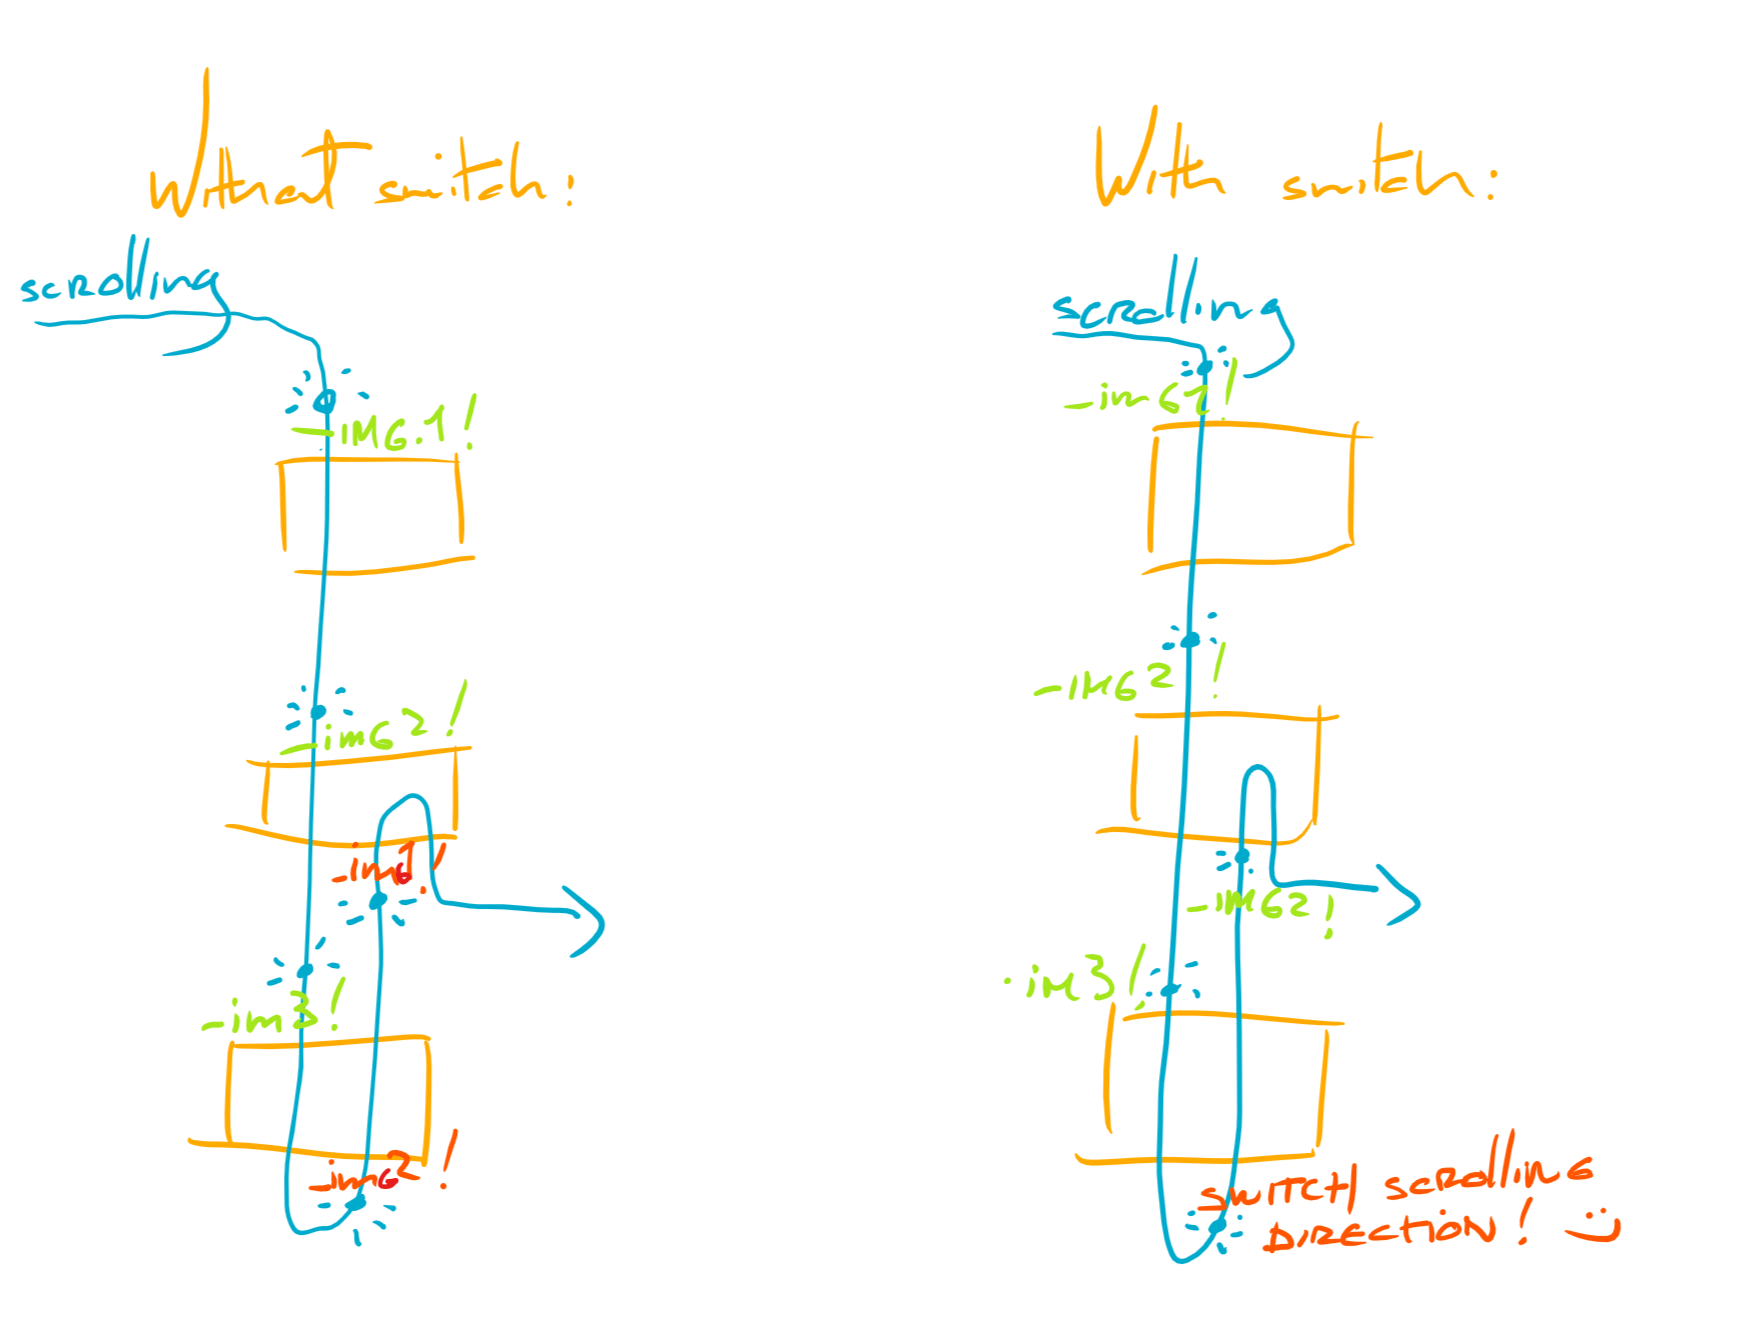
Back to the website: Now that I have a small JAVASCRIPT processing the appearances and disappearances of all images, I need to set up a system which defines which image to display. To do so, I create a "counter" which adds +1 every time the reader hits a waypoint while scrolling down, and substract -1 every time it hits a waypoint while scrolling up. It works well but skip images when the reader changes her/his/their scrolling direction. To remedy to that, I created a "switch". The best metaphore I can think of for this switch is sport related : in volleyball or during a tie-break in tennis, players who are not "serving" must first "win" the right to serve before scoring:
It is possible to follow the change in the console as I scroll:
Finally, I provide a number for each image, giving them an identifier. This identifier will be targeted by the function which makes elements appear and disappear. The effect I was looking for is now functional in the prototype, and after a few tweaks, it will show up on the webpage. Is it the best, most efficient way to do it? Probably not, but it offered me the opportunity to take a walk into the lush forest of web development, and, althoug I still keep developpers in high esteem, their realm doesn't look so unpenetrable anymore.
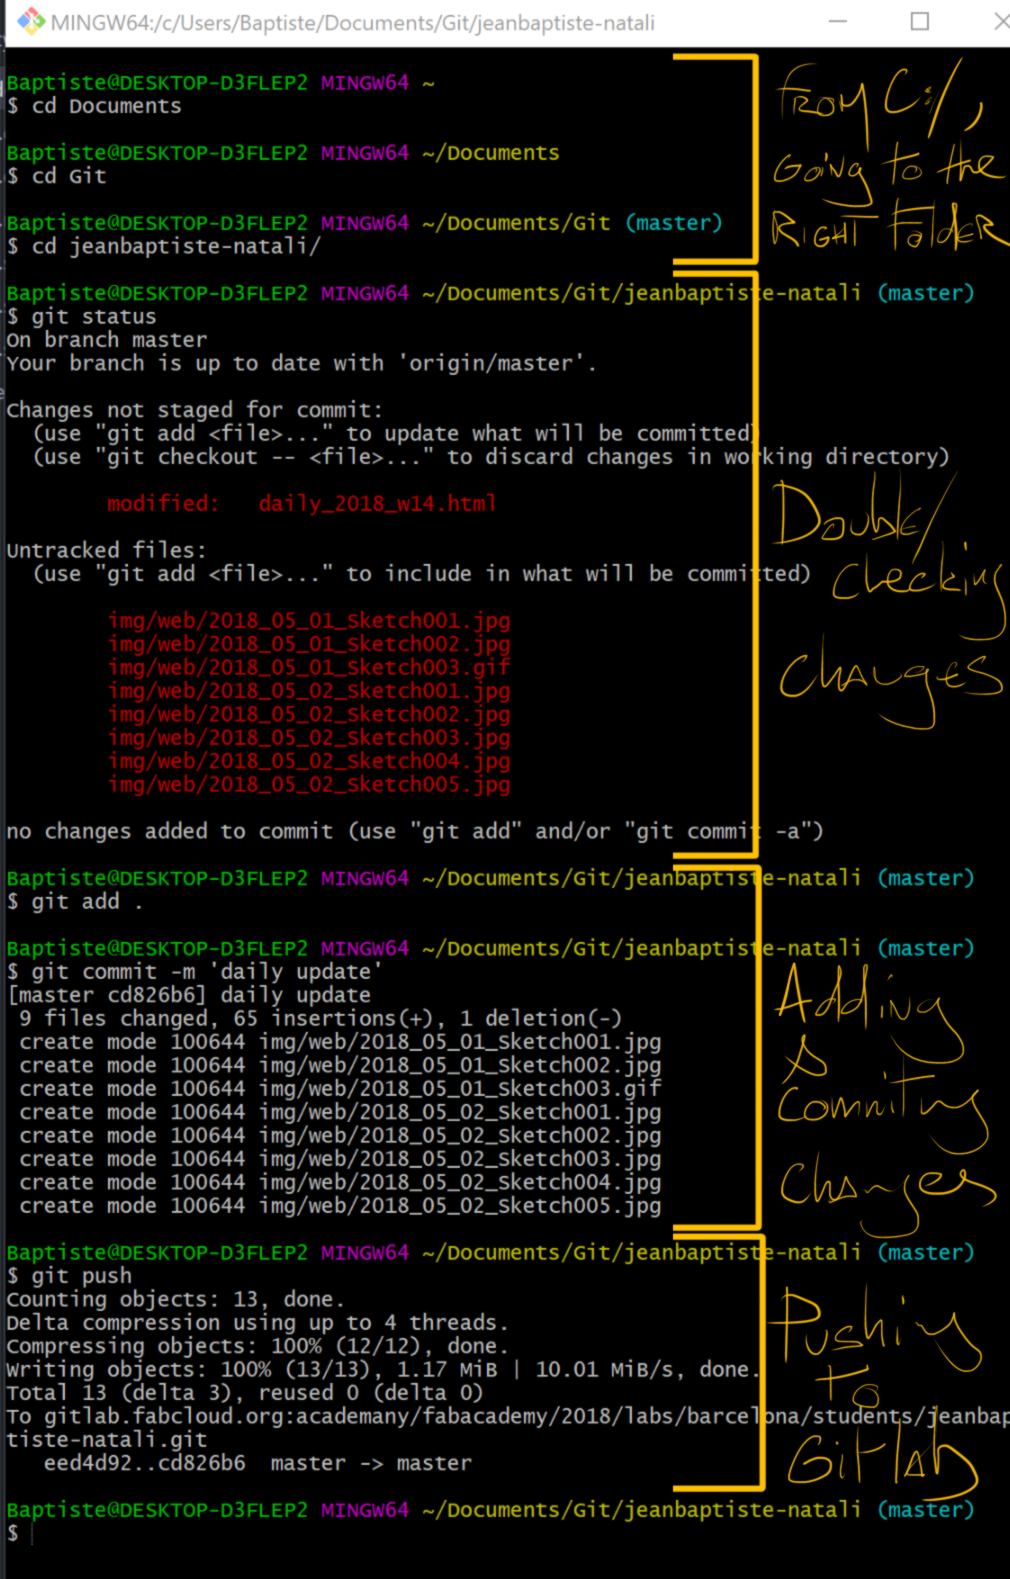
Tonight before leaving, I will upload all my datas on GitLab, which is very similar to the control version systems I used in my previous job. I pushed for all changes directly in Git Bash, where I enter specific command lines to access the right folder, then add, commit, and push changes. I also double check what change I am about to add before doing so to ensure I do to push irrelevant (and possibly large) files.
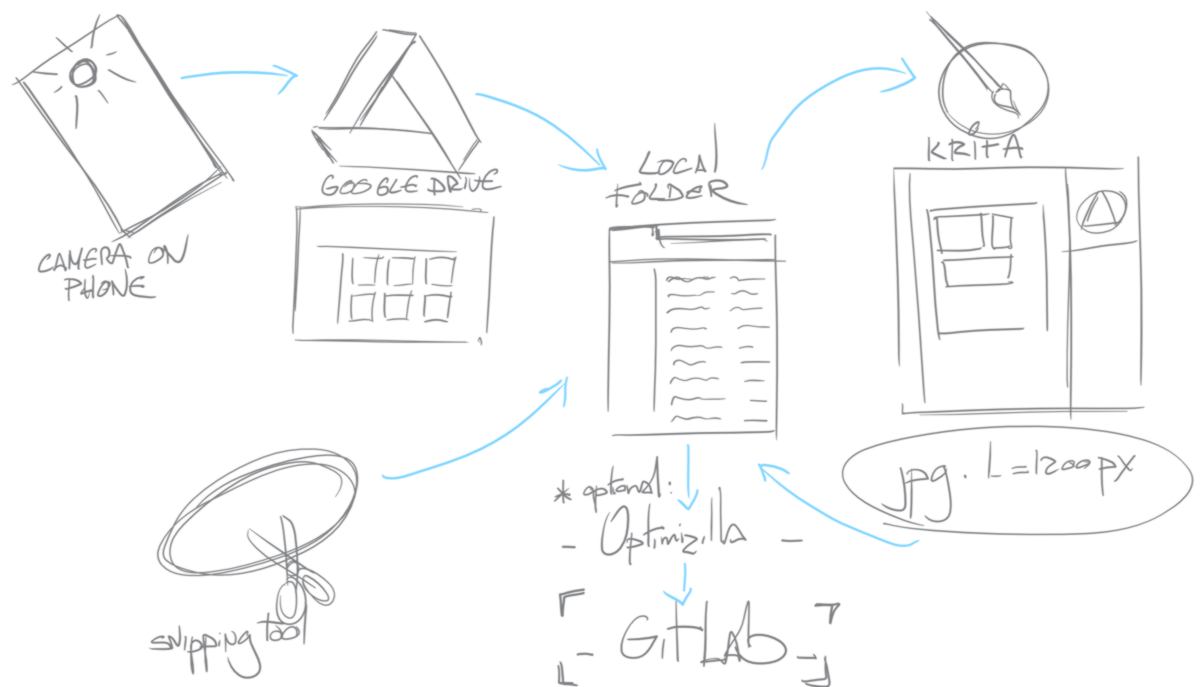
Similarly, I have developped a short workflow to add sreenshots and pictures taken from my phone into this website :
Screenshots go directly to a local folder called "web". Pictures are uploaded to a google drive folder that are then downloaded to the "web" folder. I have attempted to sync the folder on Google drive to mine but then this folder is not accessible for upload from my phone. Therefore I am regularly downloading images from Google drive manually. It is not ideal but it works.
Then comes the part where I edit the pictures, merging many of them as once and commenting them. I use a basic template with a black background, then load all images and position/edit/comment them. Once done I resize it (using a shortcut) adjusting the width to 1200pixels - a good definition according to the size the pictures takes on screen in my website. I finally compress them by 70% and save them, using a name which reflects the day they have been taken and their orders.
The last two steps are not only used for organisational and visual reasons : they greatly reduce the size of the pictures, which usually falls under 200kb. However as a final check before uploading my pictures to Gitlab, I order them by size in the window explorer and check the size of the biggest pictures. For the ones that are still too large, I use Optimizilla to shink their sizes a bit further before upload.
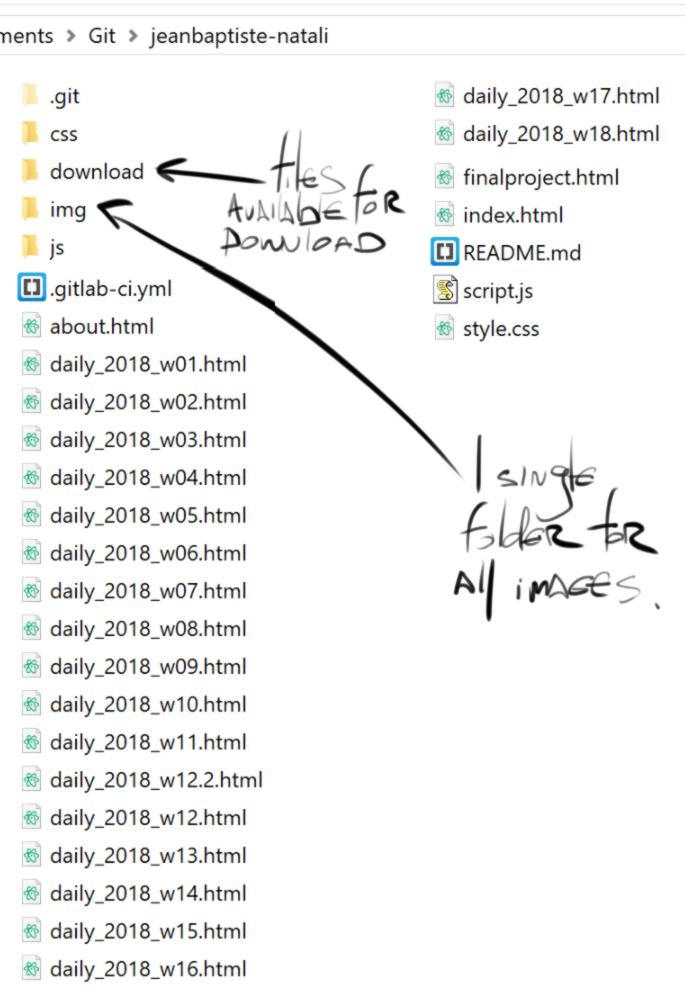
The way I organise my folder is very straightforward. I attempt to create as few sub-folders as possible, keeping everything together. The main JS and CSS file is located in the same folder as the HTLM pages. I have however created a separate CSS and JS folder, in case in the future my collection grows at an unexpected rate.
The two only type of files that receive a folder for themselves are :
- files available for downloads and
- images.
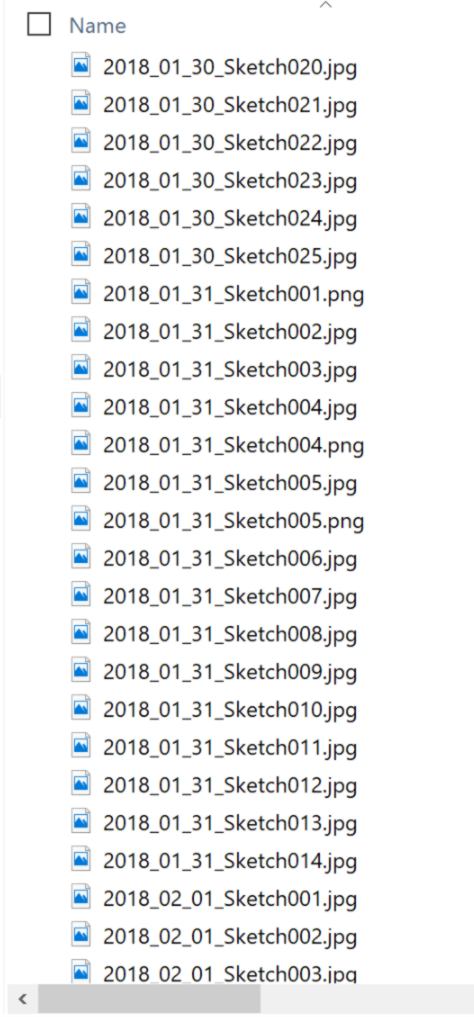
in the image folder, all images are named using the date and number, starting by the year, then month etc : "2018_05_02_Sketch010.jpg". this way they when I hit the "name" tab, they all appear neatly ordered :
What about this extra gitlab-ci.yml file? On any push to the repo, the .gitlab-ci.yml tells Runners what jobs to start, which has some positive repercussions for GitLab CI builds : the version control system is enabled, files can be forked, differents builds can be created on several branches... for this website I am particularly interested in version control, but there are other advantages (some that are currently beyond my understanding) described on this webpage.
I had completely underestimated the amount of time required to put this website together. Teaching myslef in the process took most of my days.
This website has also given me a taste for note taking, and I am now documenting much more than only the development of my Fab Academy project. Bits and pieces of my personnal life has been added into the mix. Therefore, I create a new branch, more to-the-point, offering a more polished weekly version of my updates, which you are reading right now.
In the process of setting up Gitlab, I create an SSH key following this documentation. It was a critial step for the setup so Joris was monitoring my progress and giving me the right hint to get it right.
 Fab Academy 2018
by JEAN-BAPTISTE NATALI
jbnatali@gmail.com
Fab Academy 2018
by JEAN-BAPTISTE NATALI
jbnatali@gmail.com