|
Week11: Composites
Lets take a break this week making some composites materials. Some creativity and a vacuum and thats all we need :)
What is a composite
Composite materials (also called composition materials or shortened to composites) are materials made from two or more constituent materials with significantly different physical or chemical properties, that when combined, produce a material with characteristics different from the individual components.The three ingredients necessary for cure are heat, pressure, and
vacuum. All three are mandatory for prepreg layups; only heat is
required for wet layups, but pressure and vacuum always result in a
better laminate.
Materials
I choose the LINEN as the fiber and RESOLTECH 1040T (from a spanish vendor)
as the matrix, a high temperature epoxy. This epoxy is conformed by two
products, which allow to get different working time. In Fab Lab Leon
we used 1040T + 1048N, mixing it in a 100 x 30 g of respective
component. With this mixture, as the instructions says, we have 20
minutes working time (tiempo de gel) until the product get to his
higher temperature (more than 90º).This was the
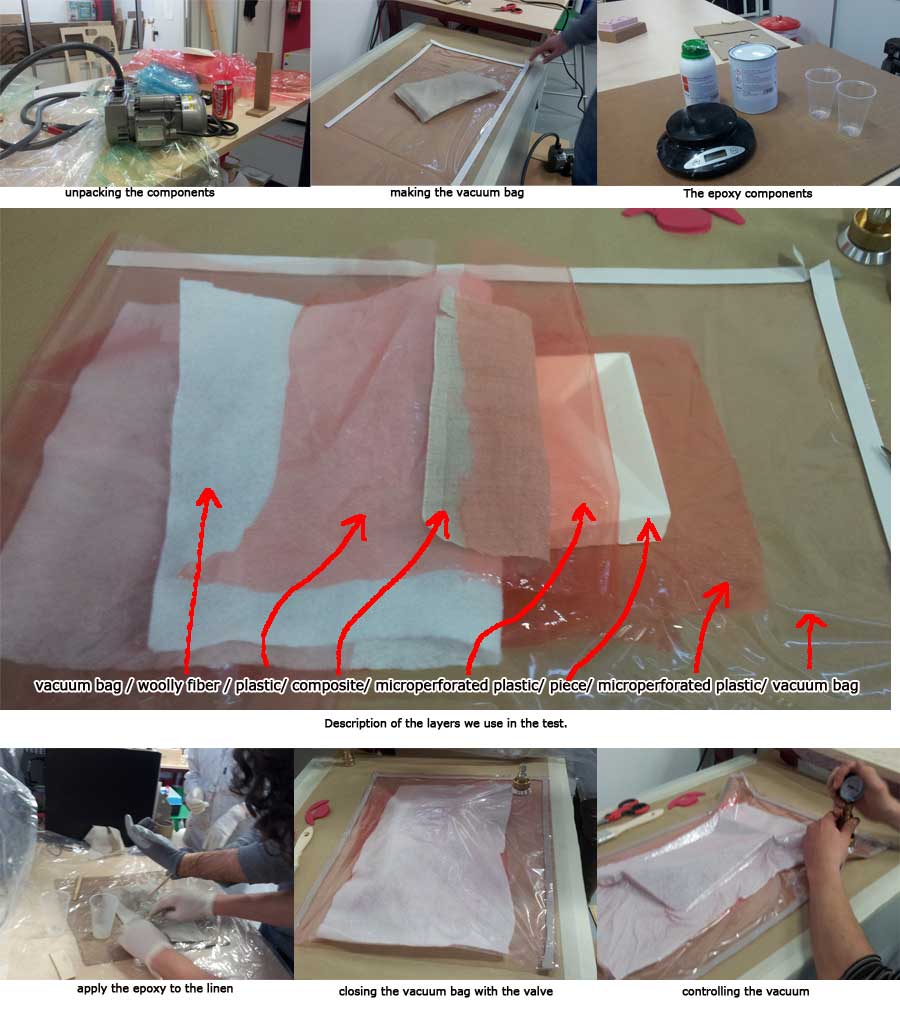
first time the Fab Lab Leon works with composites, and we have to make
a test to see the correct parameters, how to get a vacuum bag and how
many time to leave the pieces until it was completely cured.As the especifications says, the Resoltech 1040 could be used with or without post-cure time. Doing our first test To help us in the testing time, we have a great friend of the Fab Lab Leon, Alejandro (watch his fabulous hand-made creations), which help us in all the process:
After
all this process we have the vacuum machine several minutes, until the
preassure was stable. But we realice that the vacuum bag wasnt really
well closed, and some air goes inside the bag. The bag has sticky
rubber in all the edge, and we press again all the perimeter of the
bag. After this the tressure still going down...so we repeat the
process until we have a lower loss of pressure. Finally we can stablish
the pressure in 15 inHG, which are about 7psi.
1inHG = 0.49115 psi14,7 psi = 1013 mBar
We
left the bag all night with the manometer, and at the next day, after
about 12 hours, we apen the bag and have a resistent film of composite
with the form of the piece.
Making my own piece of composite
After
this test i started to do my own piece of composite. For this time we
have to design a 3D model and make a composite, so the first step was
to design and mill a 3D form. I use the Super Mario coin box as
inspiration. 
Then i do the model in Rhinoceros and mill it with the CNC machine.
I mill a piece of foam of 3 cm width. I just do a desbaste pass, with a 6mm plain foam end mill. 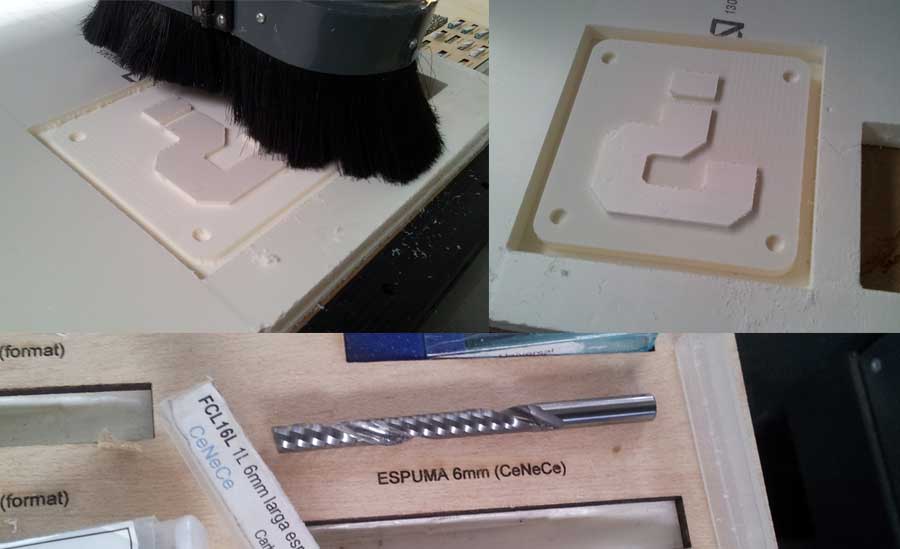 Now
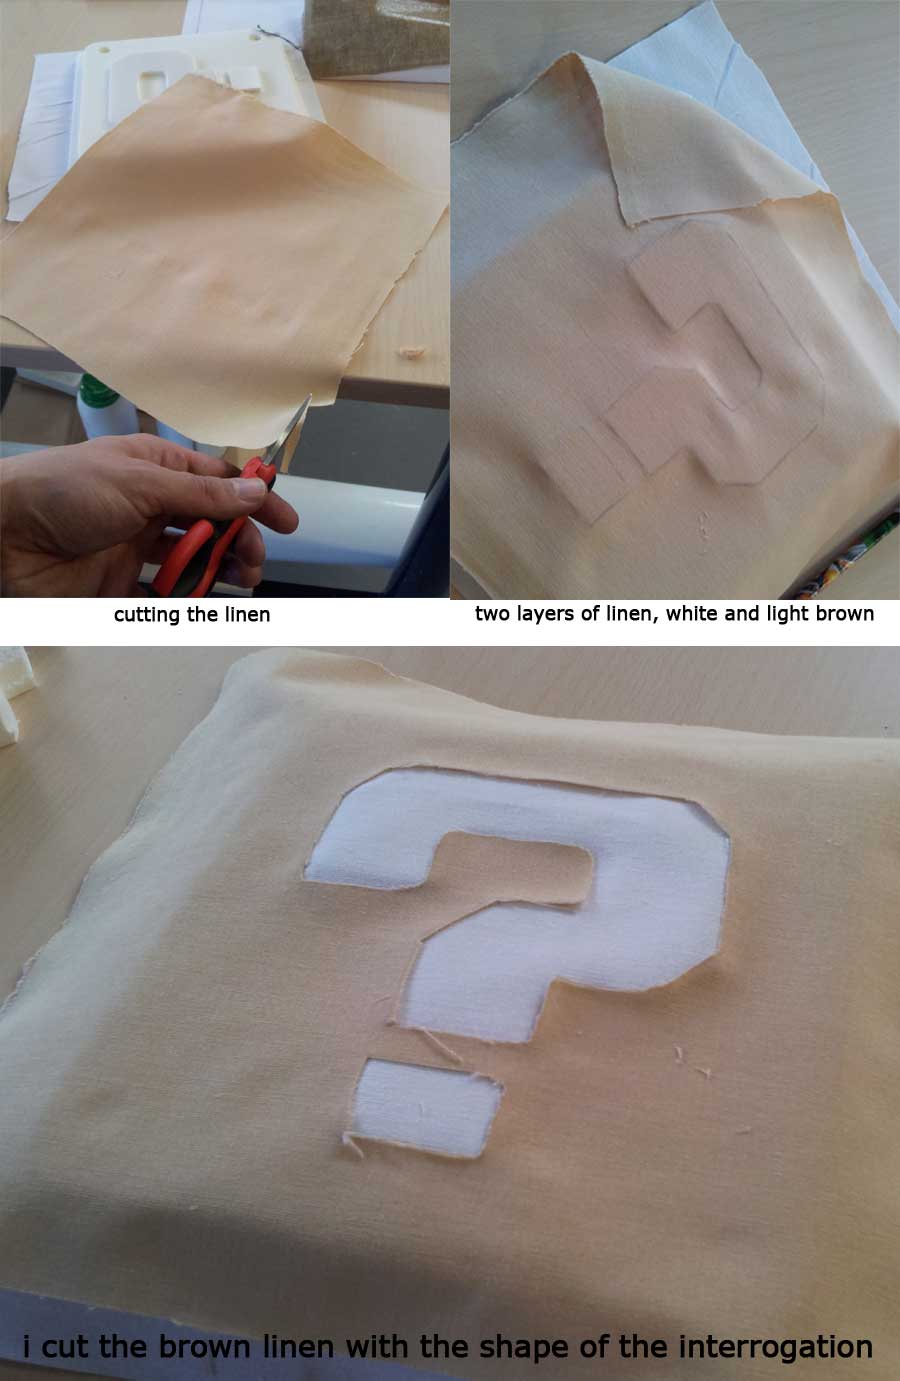
that i have the piece, i cut the linen to fit the piece. I want to do
this piece with tho linen colour. The white linen will cover the whole
piece, and the light brown linen will only cover the box, so i
have to cut the linen with the form of the interrogation. Our laser
machine is being repaired, so i must do this with scissors.
Now we prepared the vacuum bag to get the components. Javier Contonente, Ruber Ferrero and I used the same vacuum bag.
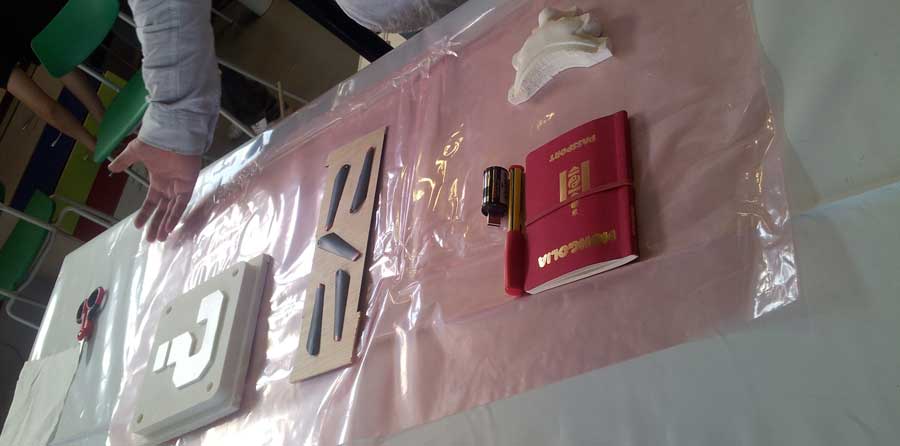
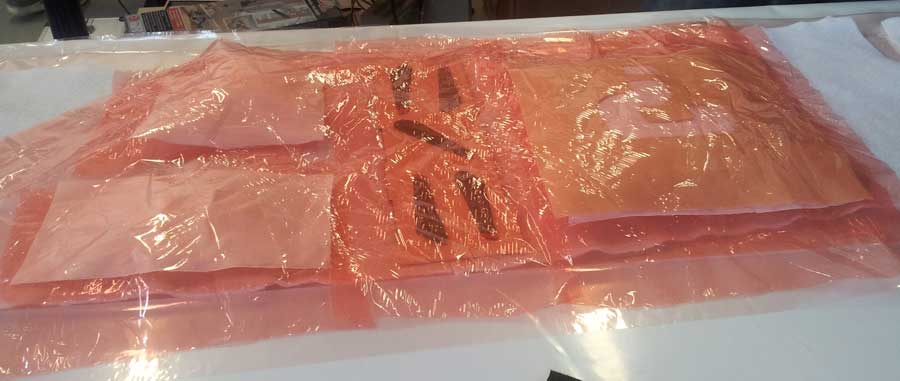
Presenting the pieces with all the layers...
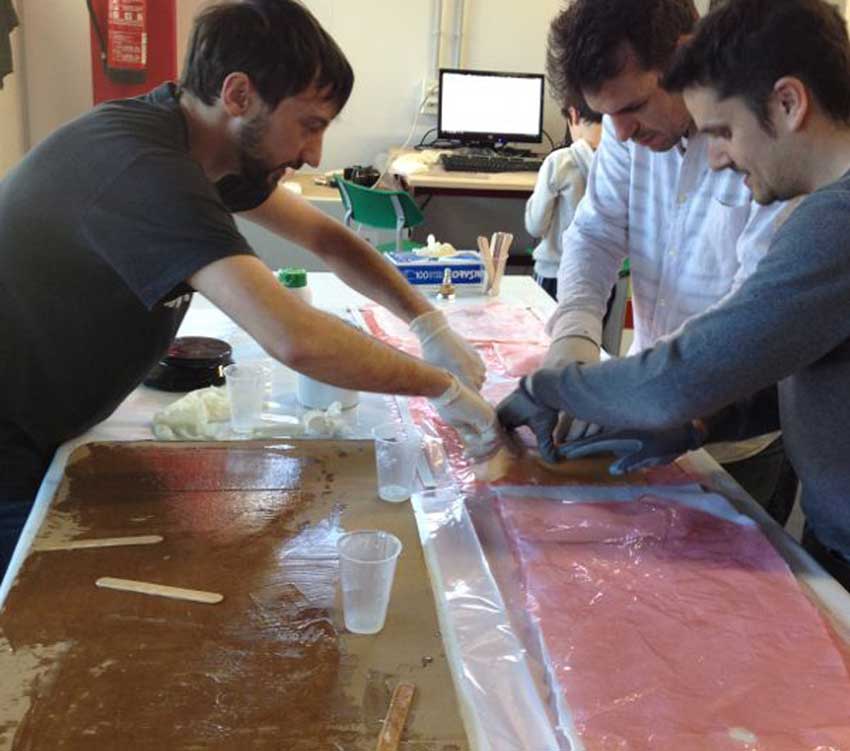
Making the mixture of Resoltech 1040T + 1048N ( with a proportion of 100g/30g ) and applying in the linen.
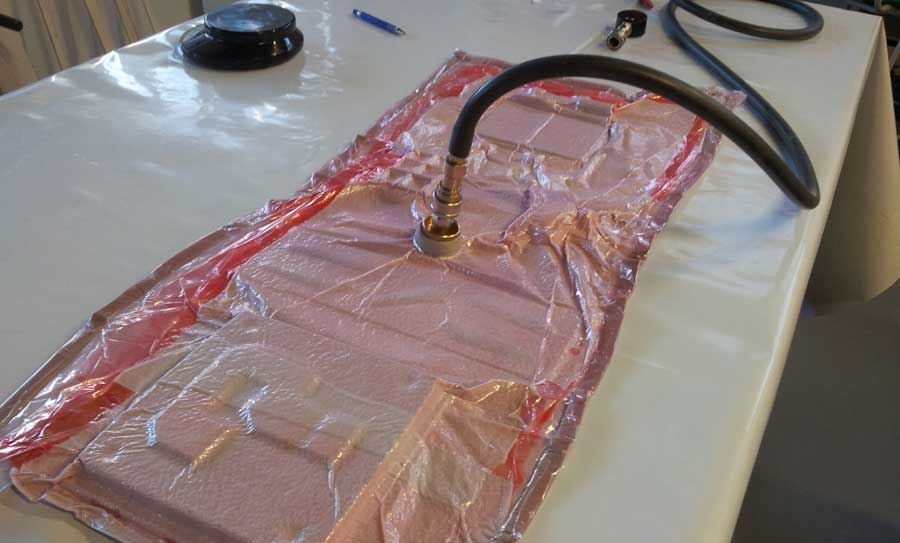
Making the vacuum.
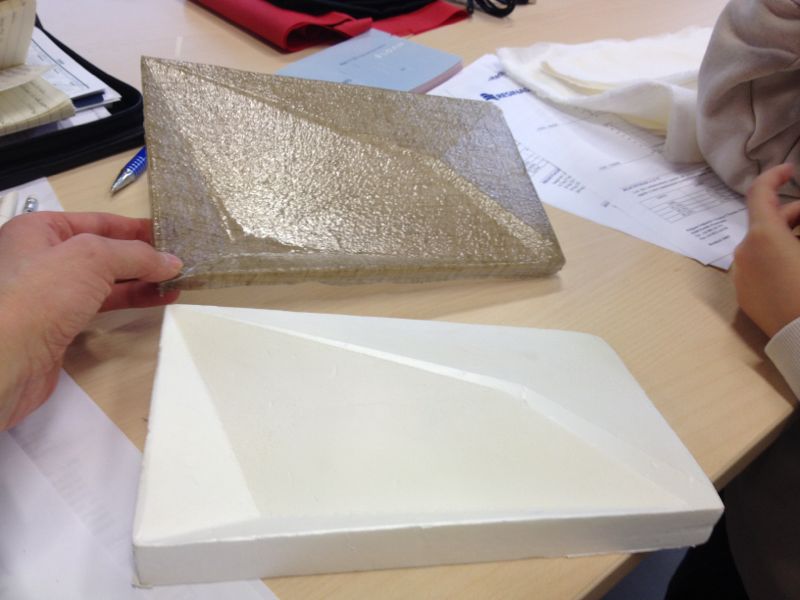
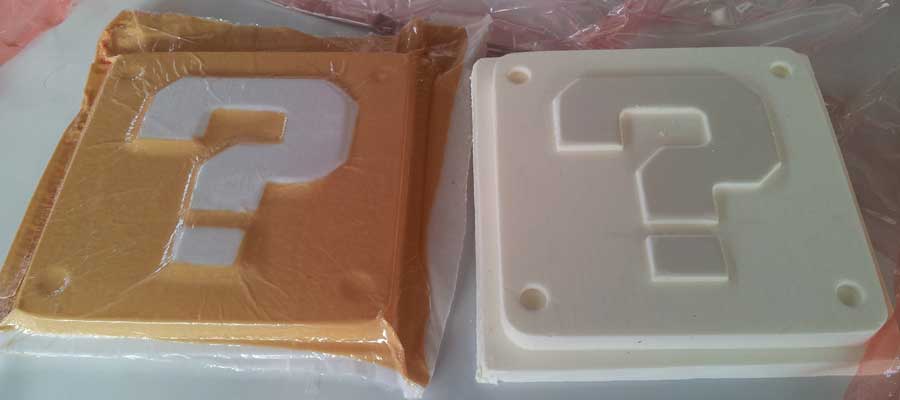
The
final result: the composite on the left and the piece on the right. The
composite had some striations, due to the bad cut of the linen (that
don fit in the interrogation) and the plastic over the composite, which
dont fit exactly over the piece. A bad vacuum bag seal could be the
cause.
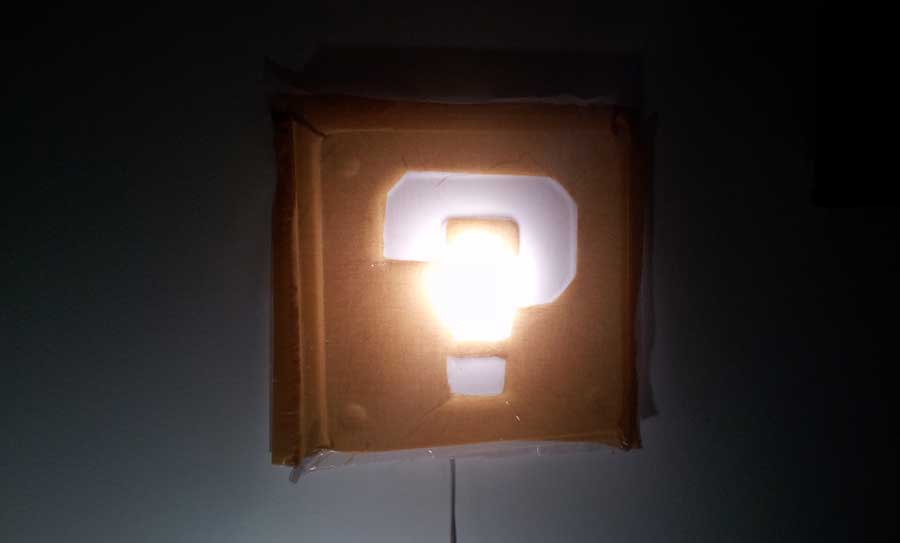
The composite in its final position, covering a led light (the photo dont catch how good it looks in my childs bedroom)
PROBLEMSThe
main problem was the vacuum bag. It always loose the pressure after
20-30 minutes. The Bag Sealant Tape dont seems to fit perfet with the
vacuum bag, and it make some little canals of air which allow air to
come inside the bad. Maybe a best sealing with two pieces of BST (one
in each side of the vacuum bag) could solve the problem.
|
