Week 18 – Application & Implications and Project Development
Fab Academy – Week 18
Date range: 20 - 26 May
Instructor: Neil Greshenfeld
🧠 Learning Objectives
- Create a clear system integration plan for the final project.
- Document the integration plan using CAD and/or sketches.
- Implement appropriate packaging and enclosure methods.
- Design the final project to look and feel like a finished product.
- Document the system integration process and final assembly.
- Link the system integration documentation from the final project page.
📋 Assignments
Individual Assignment Part A
Plan a final project masterpiece that integrates the range of units covered, answering:
- What will it do?
- Who's done what beforehand?
- What sources will you use?
- What will you design?
- What materials and components will be used?
- Where will come from?
- How much will they cost?
- What parts and systems will be made?
- What processes will be used?
- What questions need to be answered?
- How will it be evaluated?
Your project should incorporate 2D and 3D design
- additive and subtractive fabrication processes,
- electronics design and production,
- embedded microcontroller design, interfacing, and programming,
- system integration and packaging
Where possible, you should make rather than buy the parts of your project
Individual Assignment Part B
- Prepare drafts of your final project summary slide (presentation.png, 1920x1080)
- and video clip (presentation.mp4, 1080p HTML5, < ~minute, < ~25 MB),
- put them in your root directory
🛠️ Tools & Materials
- Gemini for improving writing
📁Introduction
During this week and the week after, we are not making anything new, it's a dedicated time to focus on finishing our final "Masterpieces". So far most of my past weekly progress was aimed toward integrating it into the final peoject. I had taken a leave from work to focus on finishing the project so most of my time was spent crossing the t's and dotting the i's.
My Masterpiece
This project originated from a long-standing interest in personal health tracking. I use both a Garmin device and a Whoop band simultaneously, and I have become deeply engaged in observing the data they generate. I enjoy searching for patterns and insights within this information, as I believe the human body does not behave randomly. Instead, it operates as a form of organized chaos that subtly signals when something is off, signals that can escalate into more serious issues if ignored.
When I review my daily sleep, recovery, stress, and strain metrics, I do not simply use them to validate how I feel. Rather, I use them as a reference point to better understand and interpret my actual state. Over time, this practice has helped me become more attuned to my internal signals, even without constantly checking the wearables themselves.
From this reflection, the concept for this project emerged: to translate biometric data into a physical, ambient experience. The goal is a light box that appears to external users as a simple illuminated object in a room, but for me functions as a subtle interface to my own physiology-communicating my recovery state and signaling when it is time to wind down and prepare for sleep. As an added value, I added a feature for guided-breathing, when tapping the enclosure it will activate a breathing session for 4 minutes.
🧪 Applications & Implications (Questionnaire)
1. What will it do?
LumaWell securely fetches personal physiological data (recovery, strain metrics, and recommended sleep times) from the cloud and maps these values directly to real-time ambient color arrays. Furthermore, it integrates an interactive accelerometer/piezo tap sensor threshold; a physical tap on the outer enclosure triggers a 4-minute visual breathing pacing pattern.
2. Who has done what beforehand?
While the Fab Academy archive contains many ambient lighting lamps, I could not find a past project that interfaces live cloud biometric API endpoints directly with an interior wellness device. Architecturally, I drew inspiration from past student Nadieh Bremer’s project, specifically studying her documentation regarding smooth WS2812B LED matrix diffusion and light scattering behaviors inside custom enclosures.
3. What software sources and APIs will you use?
Initially, I explored the Google Fit REST API to avoid vendor lock-in. However, Google Fit's data structures were too abstracted or raw for immediate recovery indexing. I transitioned to the Whoop Developer API, which exposes a highly structured, free OAuth2 protocol endpoint that directly returns daily recovery percentages, optimal bedtimes, and active strain scores.
4. What will you design?
I designed and fabricated every primary subsystem from scratch: - Enclosure: A hybrid structural housing utilizing 2D parametric vector maps for laser-cut wood components and a 3D structural internal baffle panel modeled in Fusion 360. - Electronics: A custom micro-development board routed in KiCad to break out an ESP32-S3 module alongside voltage regulations, power filtration caps, and sensor interfaces.
5. What parts and systems will be made?
- The structural inner matrix grid and main diffusion enclosure (3D printed).
- The outer architectural shell chassis (Laser cut).
- The custom central power distribution and control PCB (Milled/Etched).
- The embedded application firmware that handles API handshakes, JSON data parsing, and LED state machines.
6. What processes will be used?
- Additive Manufacturing: FDM 3D printing for internal baffles.
- Subtractive Manufacturing: Laser cutting for outer casing layout profiles.
- Electronics Production: High-precision PCB milling and surface-mount soldering.
- Embedded Programming: C++ script architecture handling Wi-Fi handshakes, HTTPS client requests, dynamic JSON deserialization, and hardware timer interrupts.
7. What questions need to be answered?
- Can the ESP32-S3 securely handle the memory allocations required to process complex HTTPS OAuth2 authentication handshakes and large JSON buffers without overflowing?
- How can light bleeding be completely mitigated within a tight multi-chamber enclosure using available lab materials?
- What sensor thresholds work best to separate an deliberate enclosure tap from ambient room vibrations?
8. How will it be evaluated?
The project's initial lifecycle phase will be considered fully validated when: 1. The device successfully authenticates with the remote API and parses raw JSON telemetry into distinct LED array colors within 10 seconds of booting. 2. A physical impact on the frame reliably triggers the 4-minute breathing state machine with zero false positives.
📊 Quantitative Specifications & Bill of Materials (BOM)
| Item | Description | Qty | Links | Notes |
|---|---|---|---|---|
| Enclosure | The one mentioned above in the Structural Module | 1 | ||
| MCU | Seeed Studio XIAO ESP32S3 | 1 | Amazon.sa | Compact, works well with WS2813 |
| LED Strip | WS2813 LED Strip 60LEDs/m | 1 | AliExpress | 121 5V addressable strip, arranged in a grid of 11x11 |
| Tap Sensor | Piezo Module | 1 | Amazon.sa | |
| Power Supply | 5V 3A regulated brick | 1 | Amazon.sa | |
| Power Regulator | 5v buck converter | 1 | Amazon.sa | DC-DC buck converter → regulated 5V |
| Data Resistor | 330 Ω resistor | 1 | Amazon.sa | Placed near strip DIN |
| Bulk Capacitor | 1000 µF, 10V electrolytic | 1 | Amazon.sa | Across strip +5V/GND near LED strip |
| Wire (Power) | 20 AWG silicone wire | as needed | Amazon.sa | For 5V/GND runs |
| Wire (Data) | 24 AWG | as needed | Amazon.sa | Short as possible |
| Connectors | JST PH 2.0mm Adapter Plug 3-pin and 4 pin | 2 | Amazon.sa | for LED and Peizo sensor connection |
| Connectors | Screw Terminal for Power 2-pin | 1 | Amazon.sa | for feeding power to the pcb |
| Connectors | DC mount | 1 | Amazon Bazaar | For external power supply |
| Fitting | Threaded inserts | 20 | Amazon Bazaar | Along with screws |
📅 Project Management & Development Development Track
To manage execution across overlapping engineering deadlines, maintain fabrication rhythms, and avoid delivery bottlenecks, I utilized a structured Notion Project Dashboard paired with visual Gantt Timelines to trace and map our milestones from initial concept modeling down to final assembly adjustments.
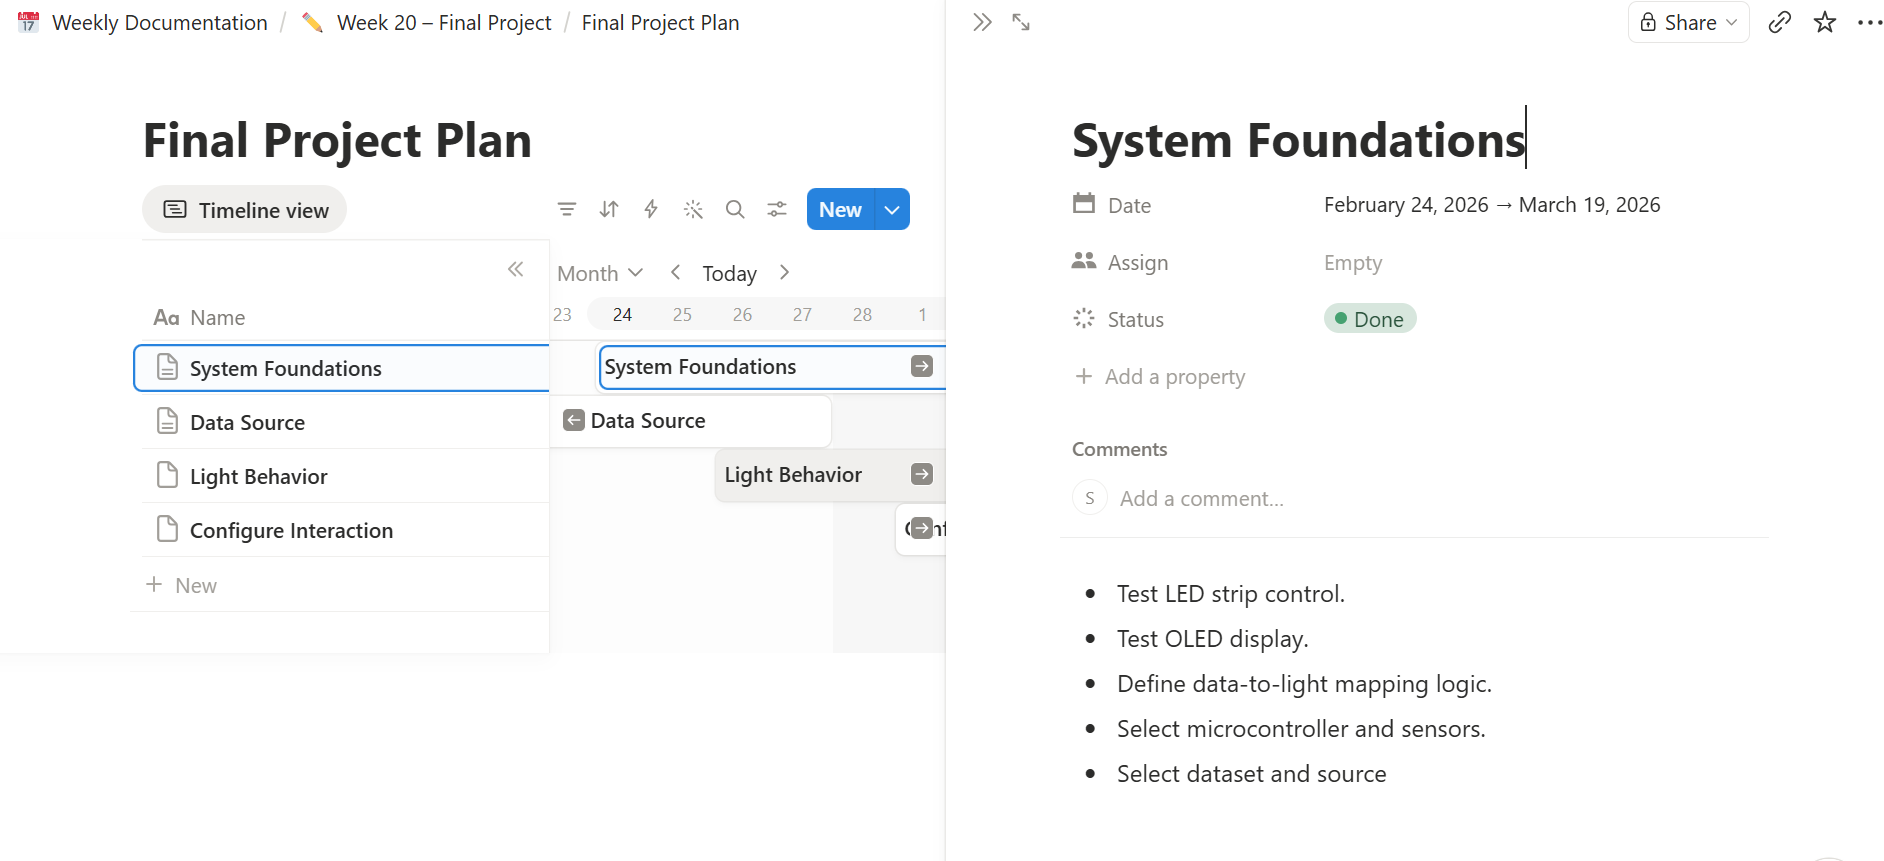
Screen capturing my active Notion project management repository workspace tracking operational sprint logs, verification goals, task backlogs, and hardware validation dependencies.
Structural Development Phases & Milestones Tracker
Here how the progress was:
LumaWell Final Project Development Tracker
| Week | Phase / Focus | Key Activities & Fabrications | Status |
|---|---|---|---|
| Week 1 | Concept & Ideation | Sketched first draft of the ambient IoT lightbox concept and defined baseline features. | Completed |
| Week 2 | CAD Modeling | Modeled parametric designs in Fusion 360 & Onshape; optimized clearance boundaries. | Completed |
| Week 4 | Simulation & Logic | Simulating LED strips in TinkerCAD to verify software array structures before having hardware. | Completed |
| Week 5 | 3D Print Prototyping | Printed Onshape enclosure corners and OLED display test brackets to verify real-world scale. | Completed |
| Week 6 | Electronic Logic | Mapped out voltage dividers and simulated circuit logic patterns within Wokwi interface. | Completed |
| Week 7 | CNC Shop Machining | Router-machined structural walnut slide-in side panels to test interlocking fits. | Completed |
| Week 8 | Electronics Production | Milled initial double-sided FR4 test boards on the laboratory precision mill; surface-soldered SMT components. | Completed |
| Week 9 | Output Devices | Populated custom board to run the WS2812B RGB LED strip arrays; verified power current draws. | Completed |
| Week 11 | Input Devices | Integrated and calibrated the Piezo vibration/tap sensor tracking threshold via serial debugging. | Completed |
| Week 13 | Networking & APIs | Configured WiFi client handshakes on ESP32 and validated local HTTPS/JSON parsing scripts. | Completed |
| Week 14 | Interface Sync | Tied hardware inputs to p5.js visual animation engine over WebSerial / WebSocket layers. | Completed |
| Week 16 | System Integration | Final physical assembly, cable dressing, validation loops, and multi-subsystem packaging configuration. | Completed |
| --- |