Week 3: Computer-Controlled Cutting: Vinyl Cutting
For the vinyl cutting assignment, I designed multiple logos using Inkscape.
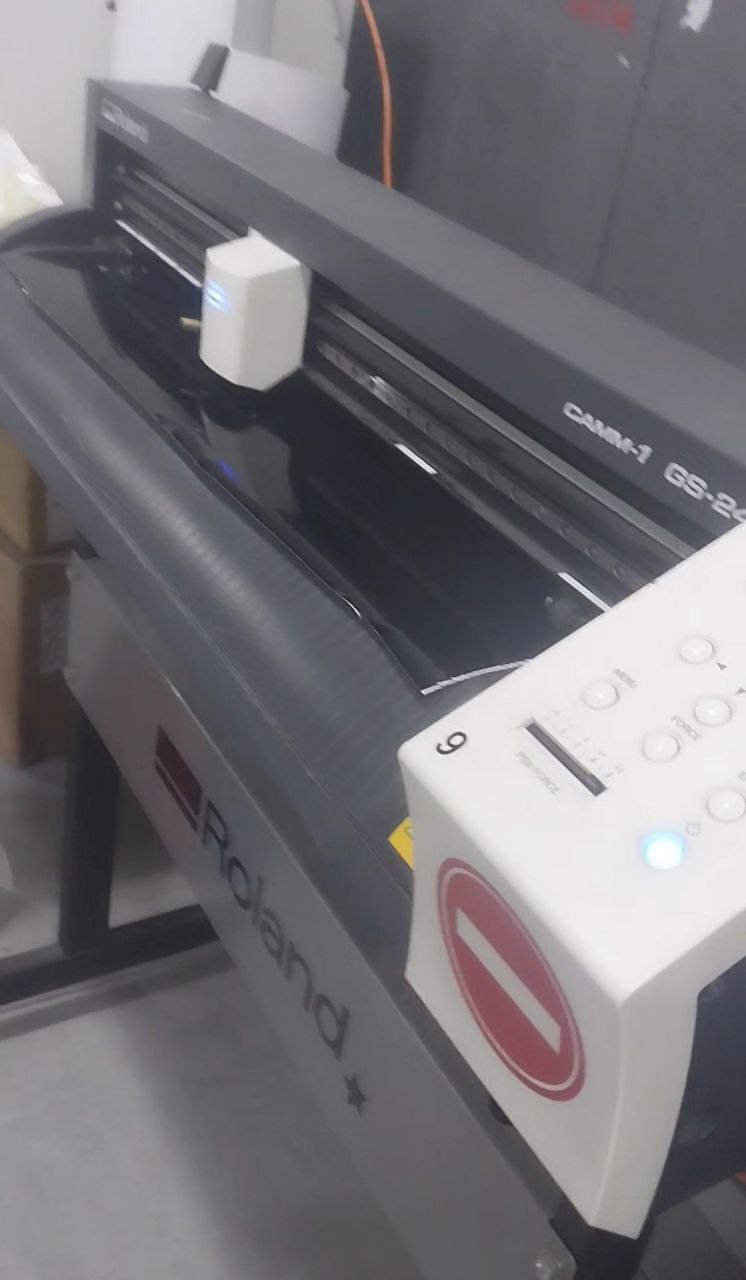
1. Machine
I used the Roland GS-24 vinyl cutter to complete My Assignments.
2. Design
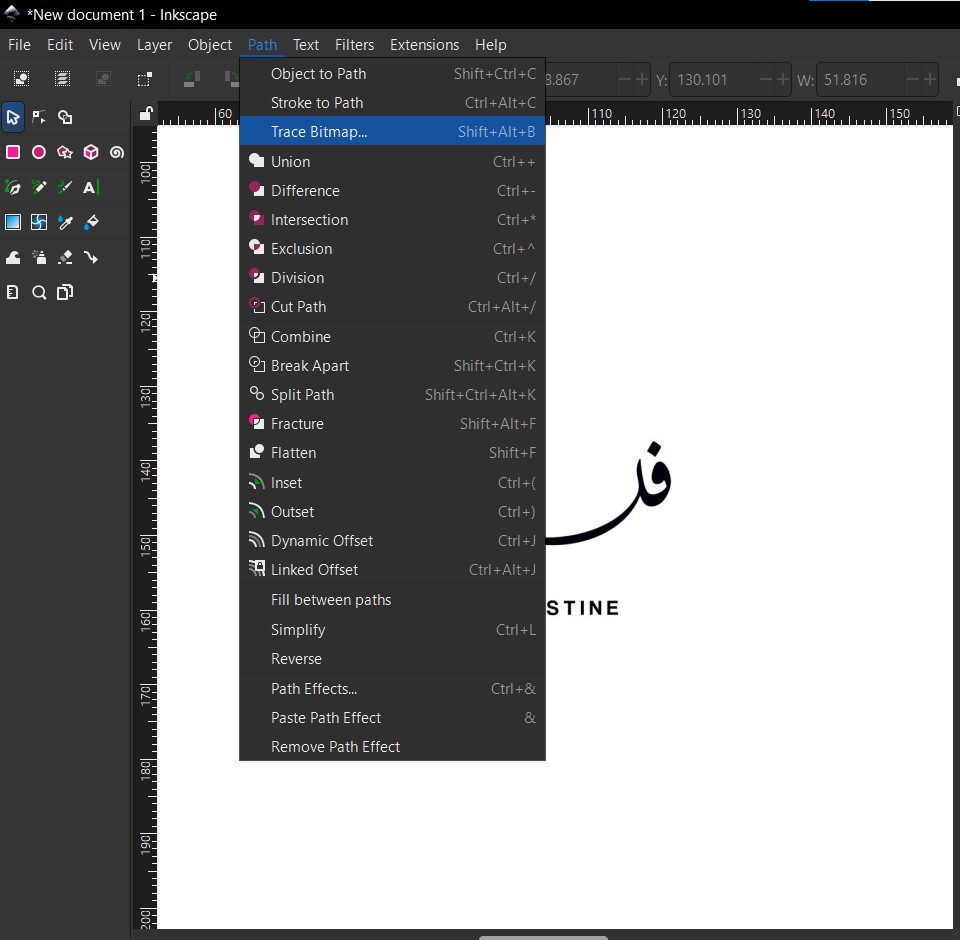
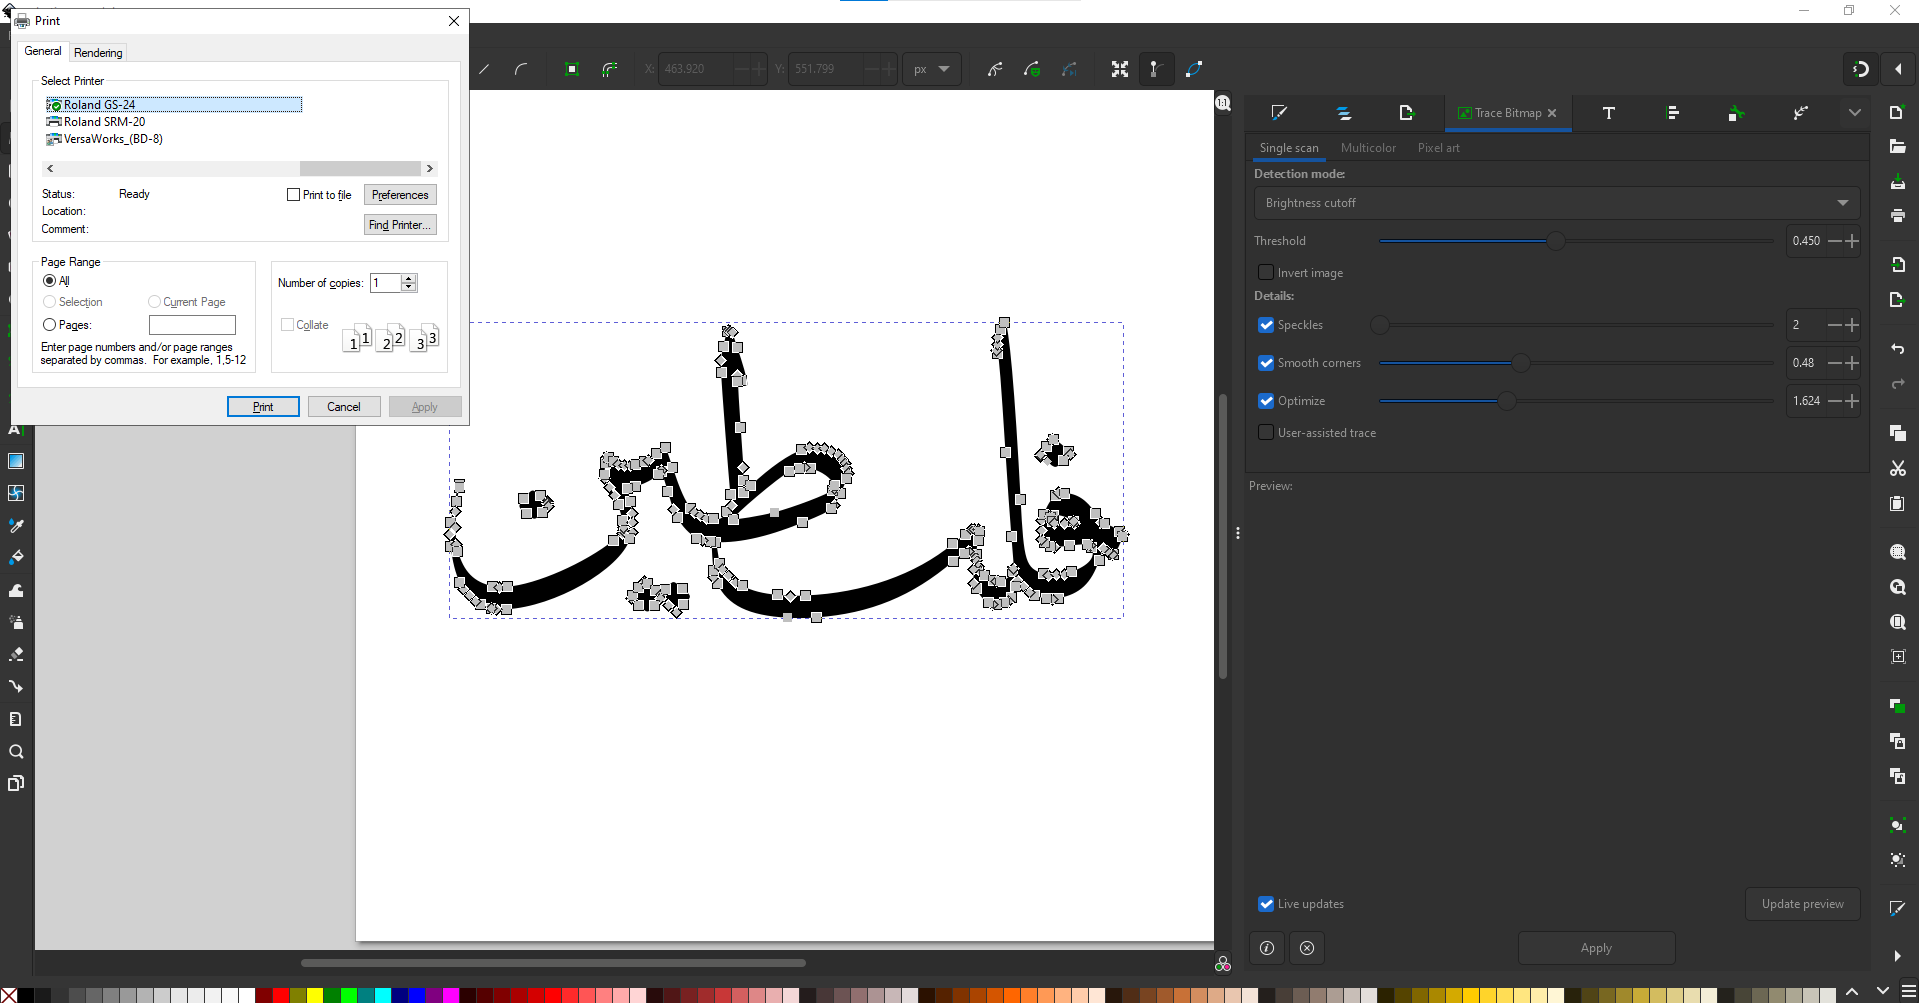
I designed multiple logos using Inkscape. I used the Trace Bitmap tool to convert the image into a vector file, then I used the Path tool to edit the design and make it ready for cutting.
- I started by importing the image into Inkscape.
- I then used the Trace Bitmap tool to convert it into a vector file.
- Then, I selected the traced image and converted it to a path by clicking "Apply."
- After that, I used the Path tool to edit the design and make it ready for cutting. I adjusted the nodes and paths to ensure the design was clean and suitable for cutting.
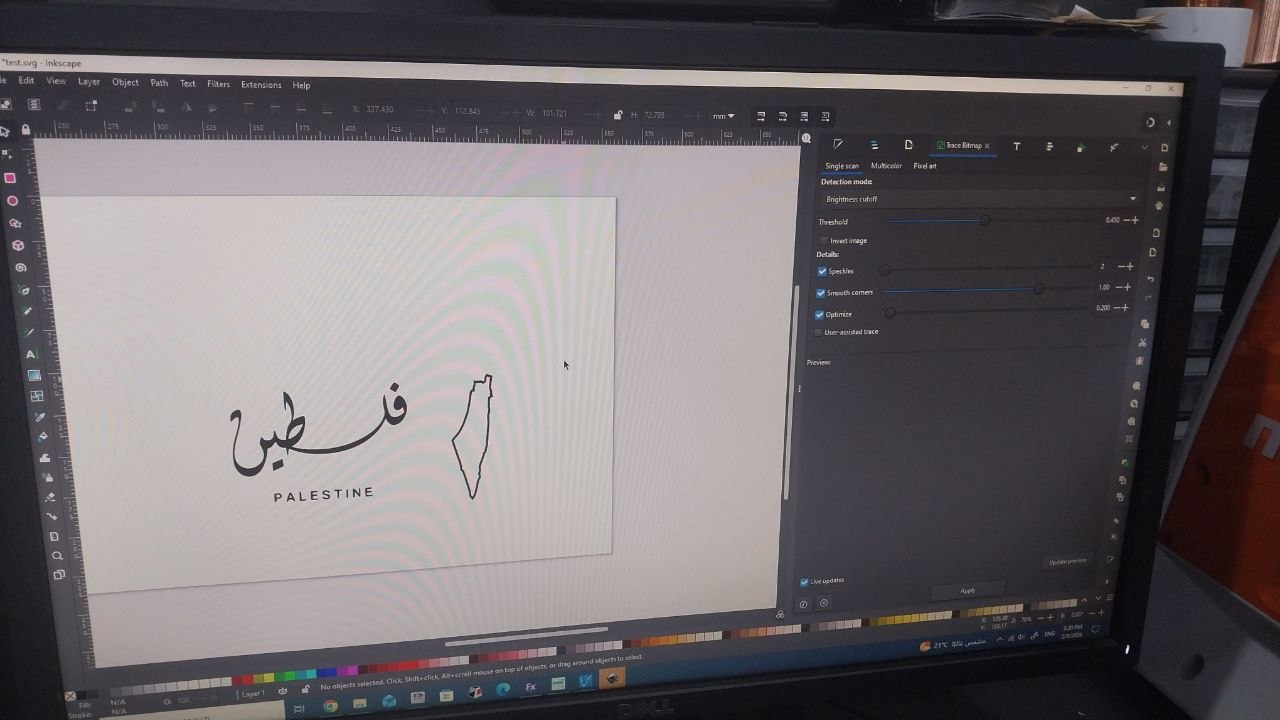

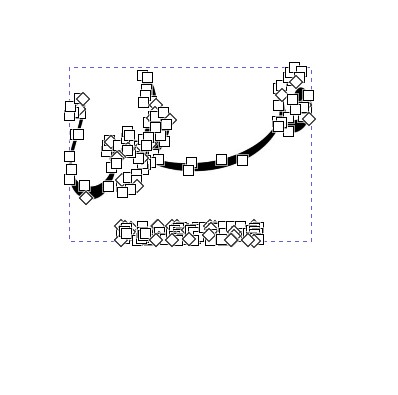
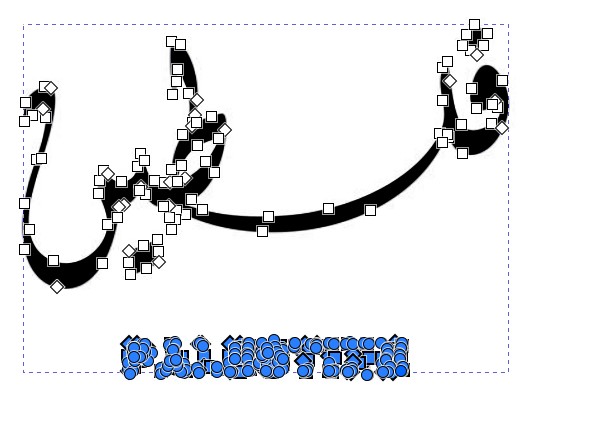
Here is the final design:

3. Using the machine
- Knife: I used a knife with a 45-degree angle.
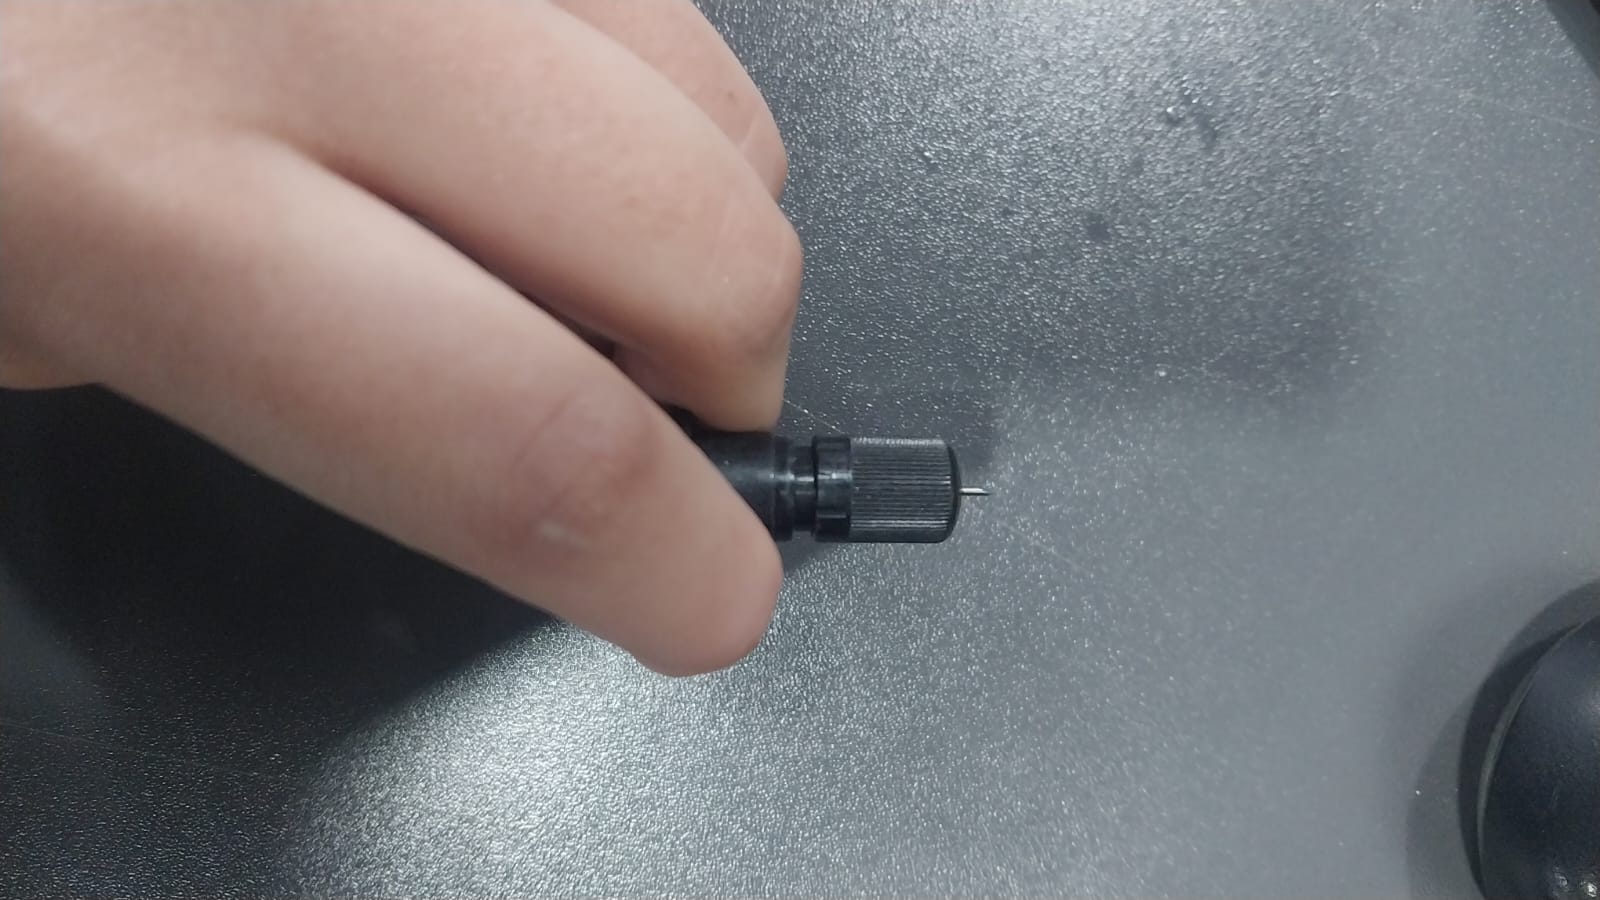
Here is how I inserted and removed the knife:
- Change the sheet: I wanted to use another color that was already loaded into the machine, so I had to change the sheet and adjust the force to cut the vinyl properly. Here are the steps I followed:
- Remove the current sheet.
- Insert the new sheet.
- Secure the sheet in place.
- Load the sheet by pressing Enter on the control panel.
The two wheels must be aligned properly in the white area, and we must make sure the sheet is on the plate.
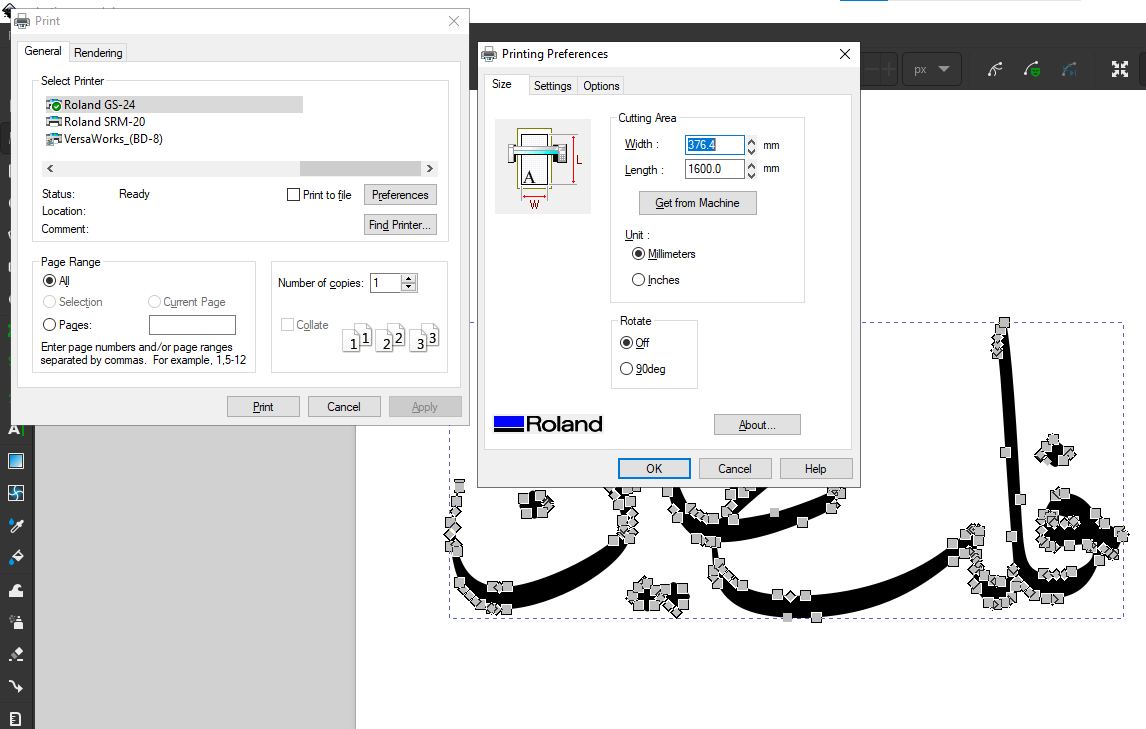
4. Upload Design
To upload the design, I followed these steps:
- Press Ctrl + P to open the print dialog.
- Choose the Roland GS-24 printer.
- Click the Preferences button to open the printer preferences.
- Adjust the size by setting the height equal to the design height, then add a margin (I used 10 mm).
- Set the width by clicking "Get from Machine," and it will be filled in automatically.
- Finally, click "Print" to upload the design.
Note: Here is the .svg file of the design I used for cutting: Download
5. Cutting
6. Remove Excess Vinyl
After I finished cutting, I removed the excess vinyl from the design to reveal the final result.
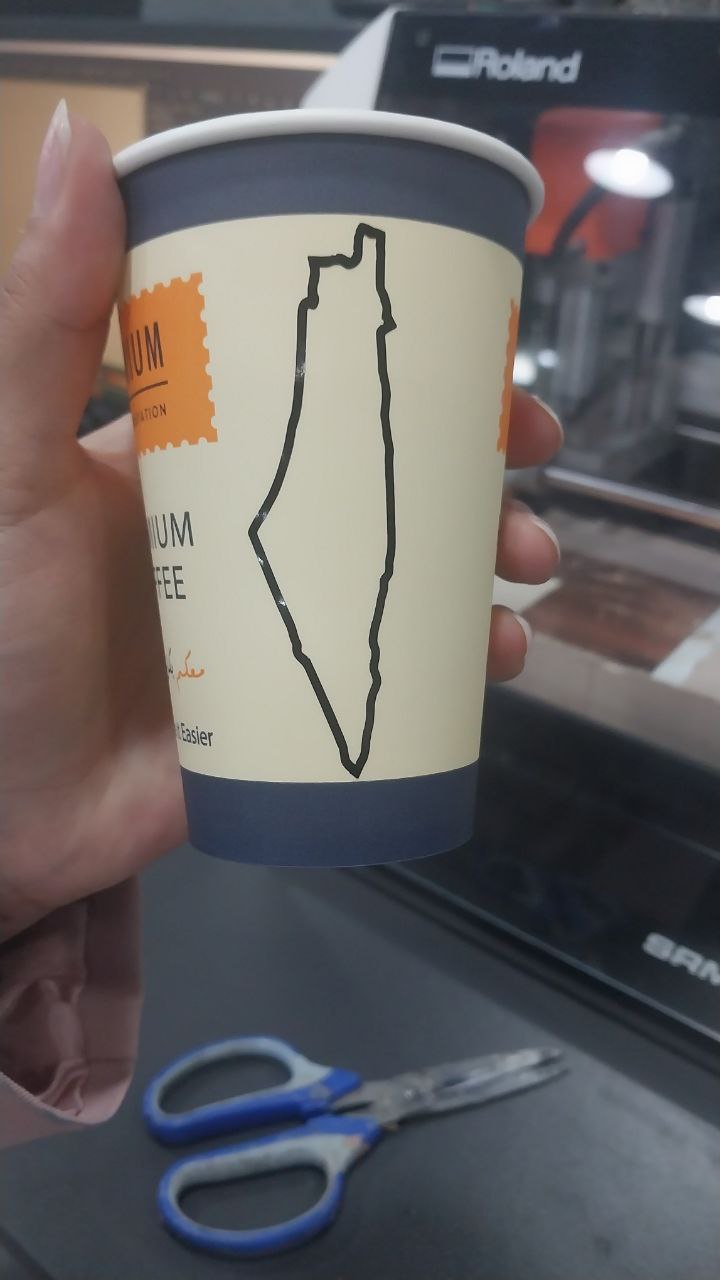
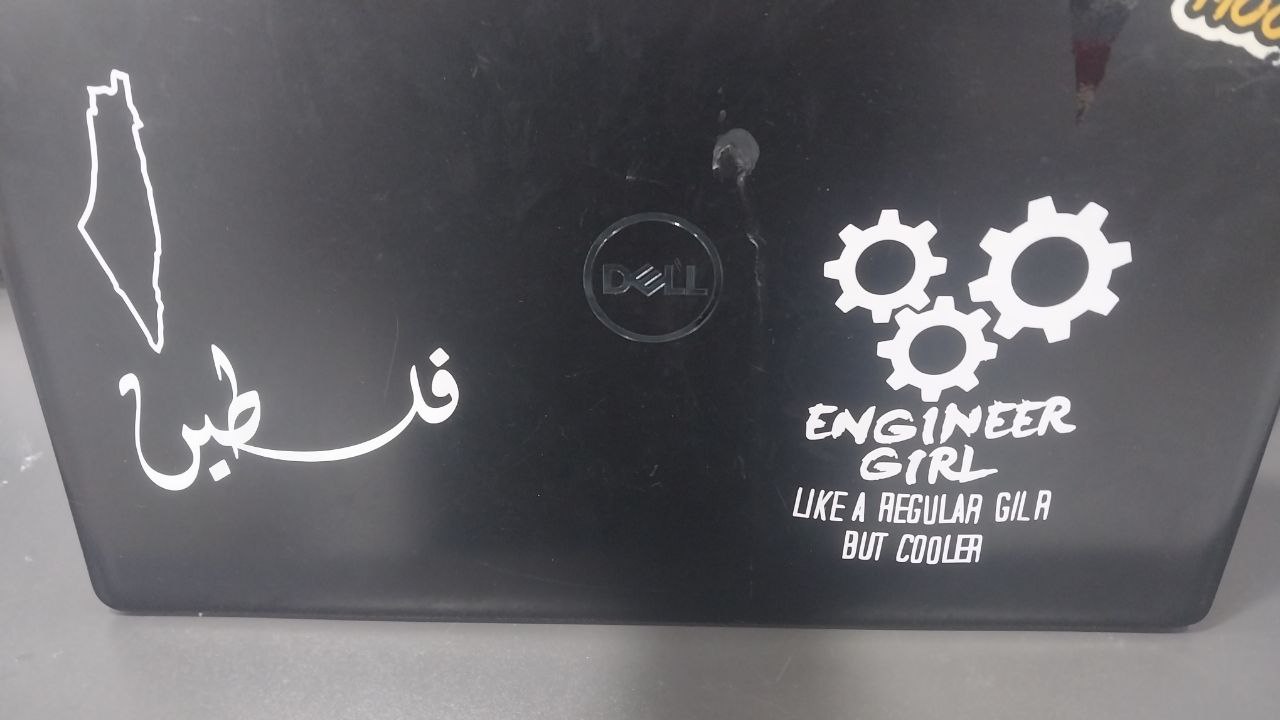
7. Final Result
After I finished cutting and removing the excess vinyl, I got the final result: a sticker that I can use to decorate my laptop and other items.