Week 05 - 3D Scanning and Printing
Group Assignment
- Test the design rules for your 3D printer
Test 1: Bambu Lab X1-Carbon Capability Test
Machine Setup
Location: Protolab
Machine: Bambu Lab X1-Carbon (Enclosed)
Filament: PLA White
Nozzle Temp: 220°C
Chamber Temp: 39°C
Bed Temp: 55°C – Textured
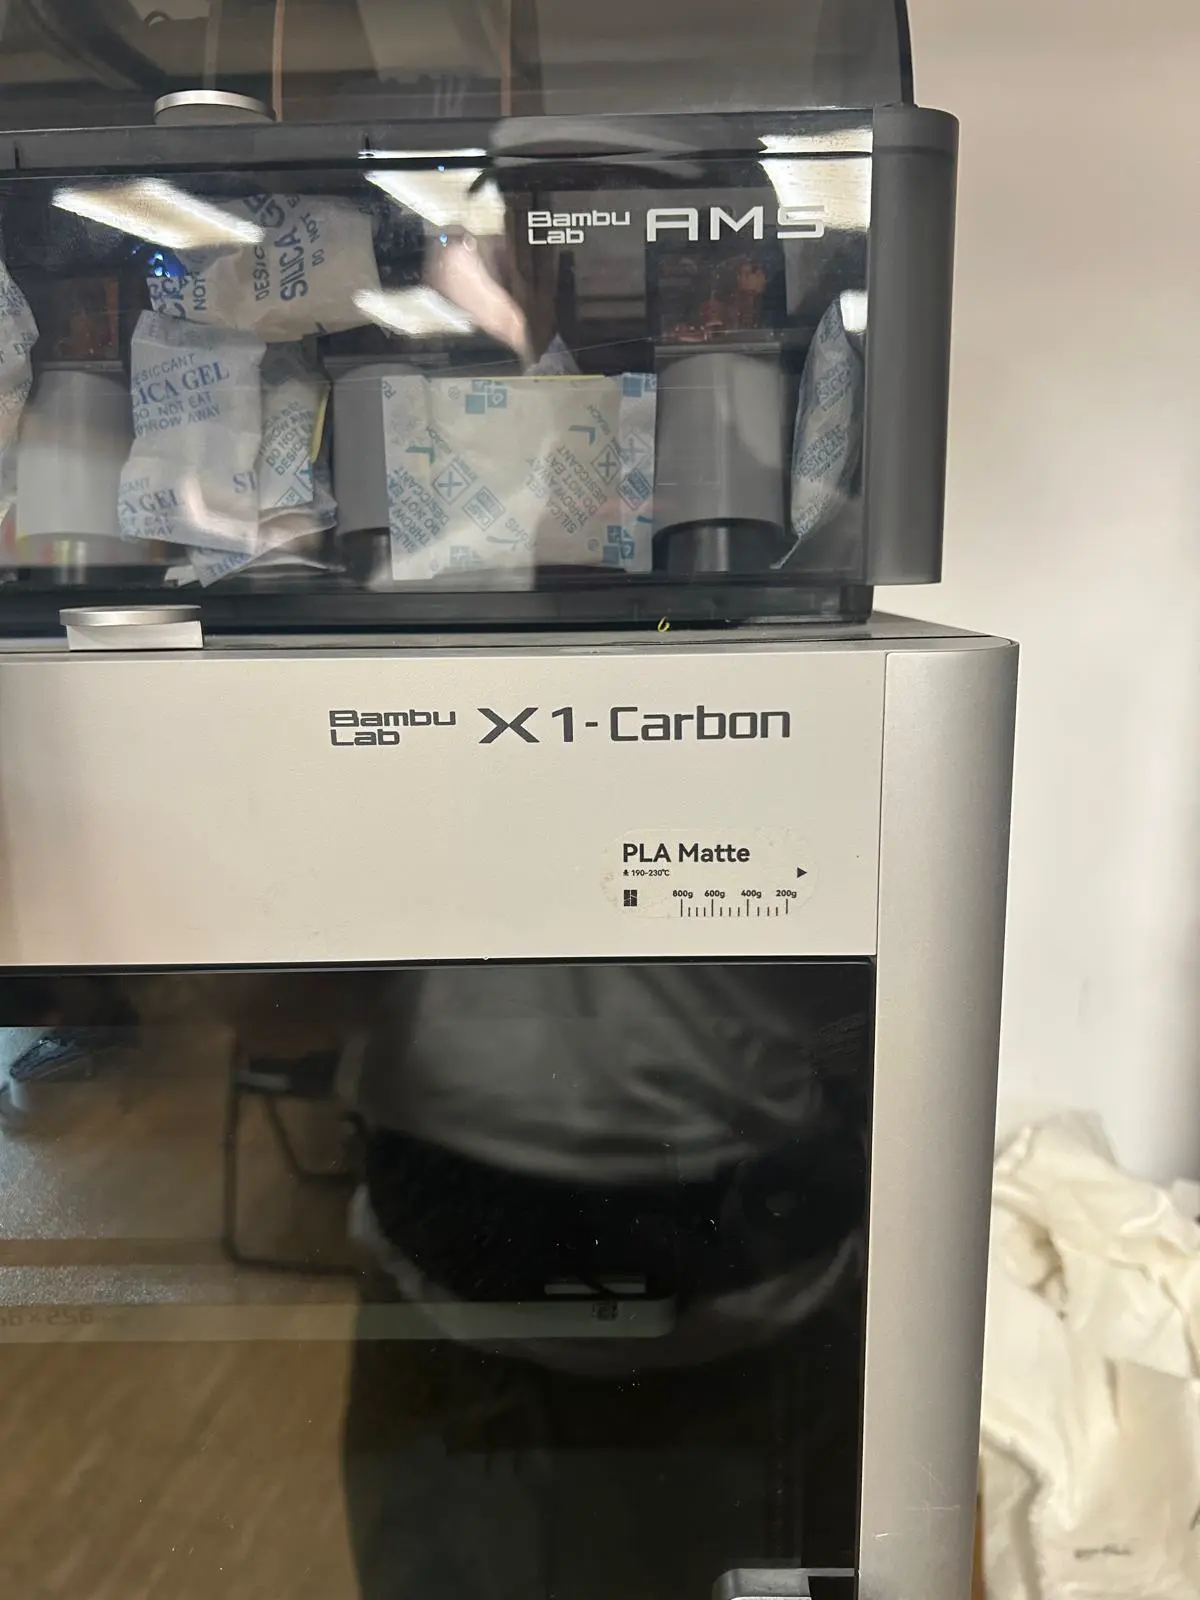
File Transfer
Lab rule: use the mini-SD card for file transfer. Insert it, choose your file from the touchscreen, and follow the prompts. When selecting filament, choose Public filament unless you have your own — some spools are reserved for ongoing projects or purchased individually.
Filament Runout — What Happens?
Mid-print, the filament ran out. The AMS handled this gracefully: the print paused, the touchscreen flagged the problem, and walked through a refill process step by step.
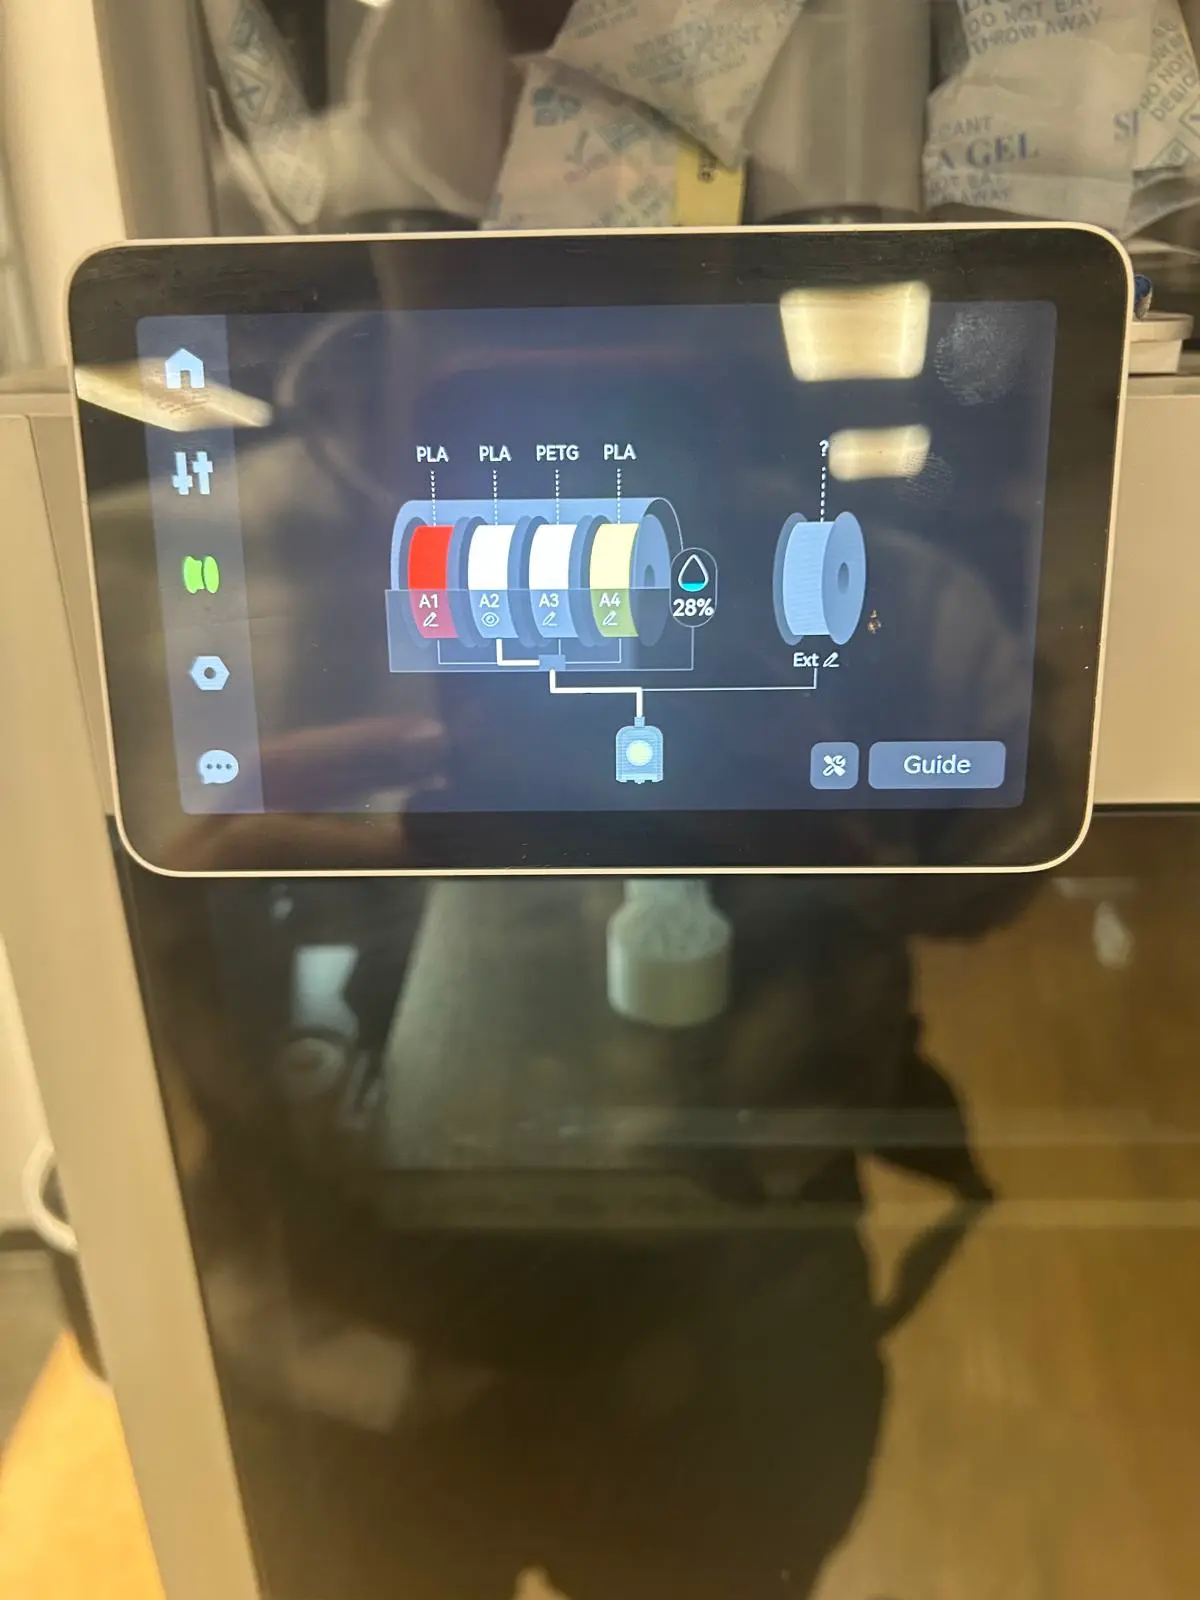
It took two attempts. The first failed because I didn't pre-feed the new filament generously enough — the machine pulls more than you'd expect before it can take over. Lesson: don't assume, feed generously. The machine will prompt you to correct errors before proceeding. I could have swapped to a different color but did a like-for-like PLA swap.
Print Results
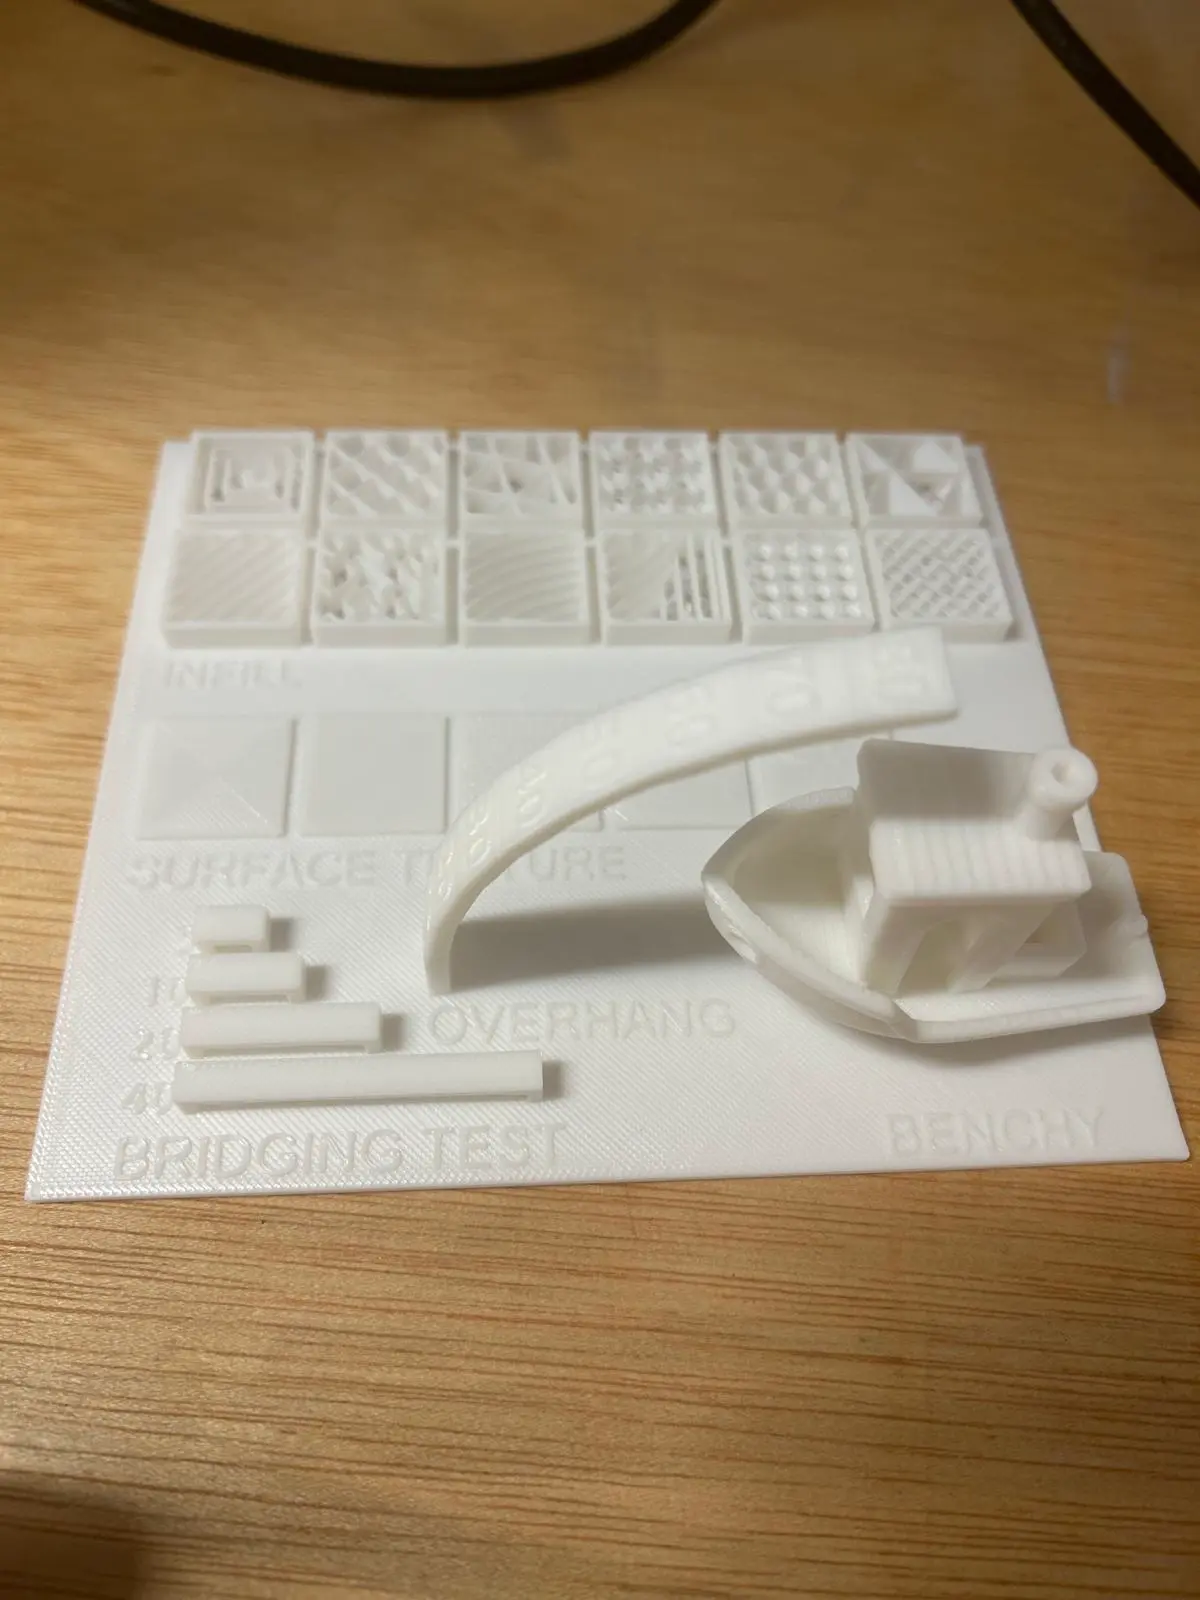
Infill Patterns
A grid of infill types — a useful visual reference for what each pattern looks like in practice, not just in the slicer. No printing errors across any of them.
Surface Textures
Good variety with clearly distinct finishes. The textured bed setting gave a consistent bottom surface throughout.
Bridging Test
Bridges up to 40mm were flawless — no sag, clean underside. A solid baseline for designing spans without supports.
Overhang Test
Layers stayed clean up to 45°. Beyond that the nozzle began bumping into the column. With a wider, less flexible base profile this could likely extend to 80° — worth testing if a design demands it.
Benchy
Seaworthy. No visible flaws or printing errors.
Conclusion
This is a Bambu Lab test on a Bambu machine with a well-understood filament — an optimistic baseline. Repeat this test with any new filament before pushing the limits of a geometric design. What you learn here is your floor, not your ceiling.
Test 2: 3D Scanning
Handheld Scanner
One station ran a handheld scanner straight into a laptop. You walk slowly around the subject and the software stitches frames into a coloured point cloud live — you can see holes appear in real time and patch them by re-passing the area. Steady pace matters more than speed: rush an arc and you punch gaps that cost you in cleanup.
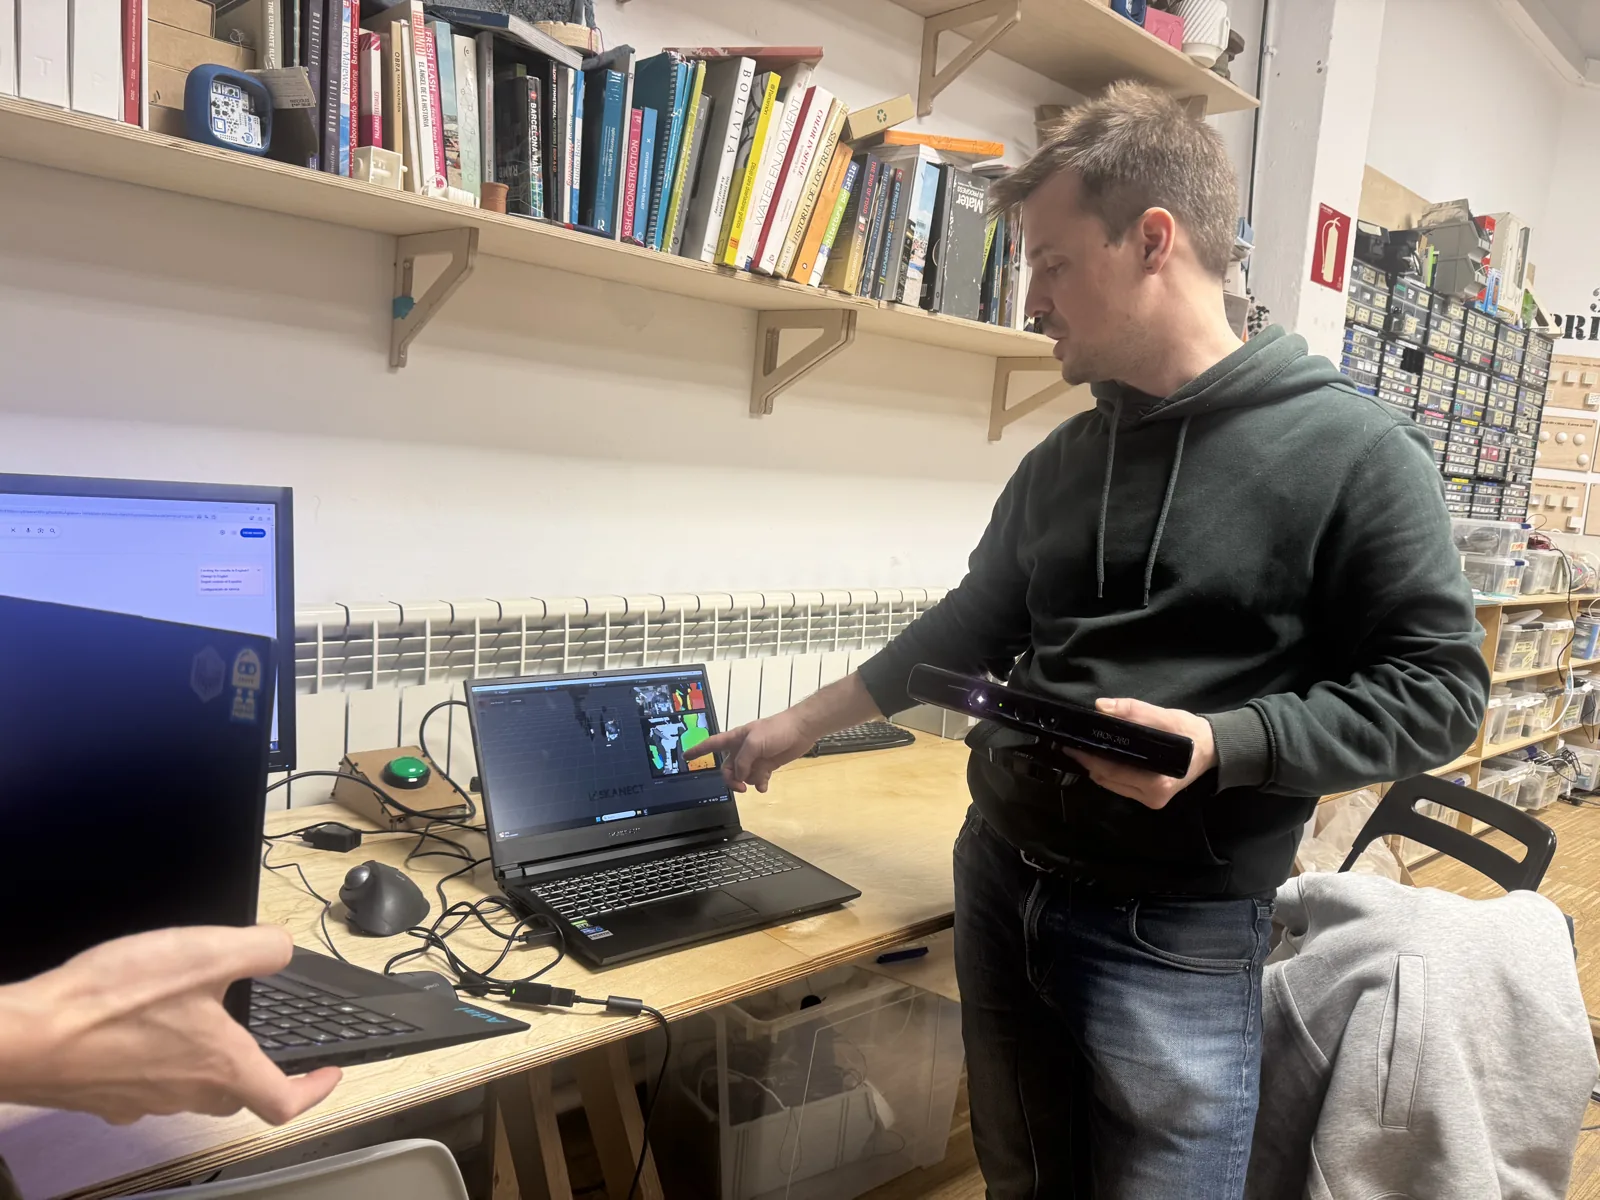 [Scanner: ADD make/model — e.g. Revopoint] · [Capture software: ADD]
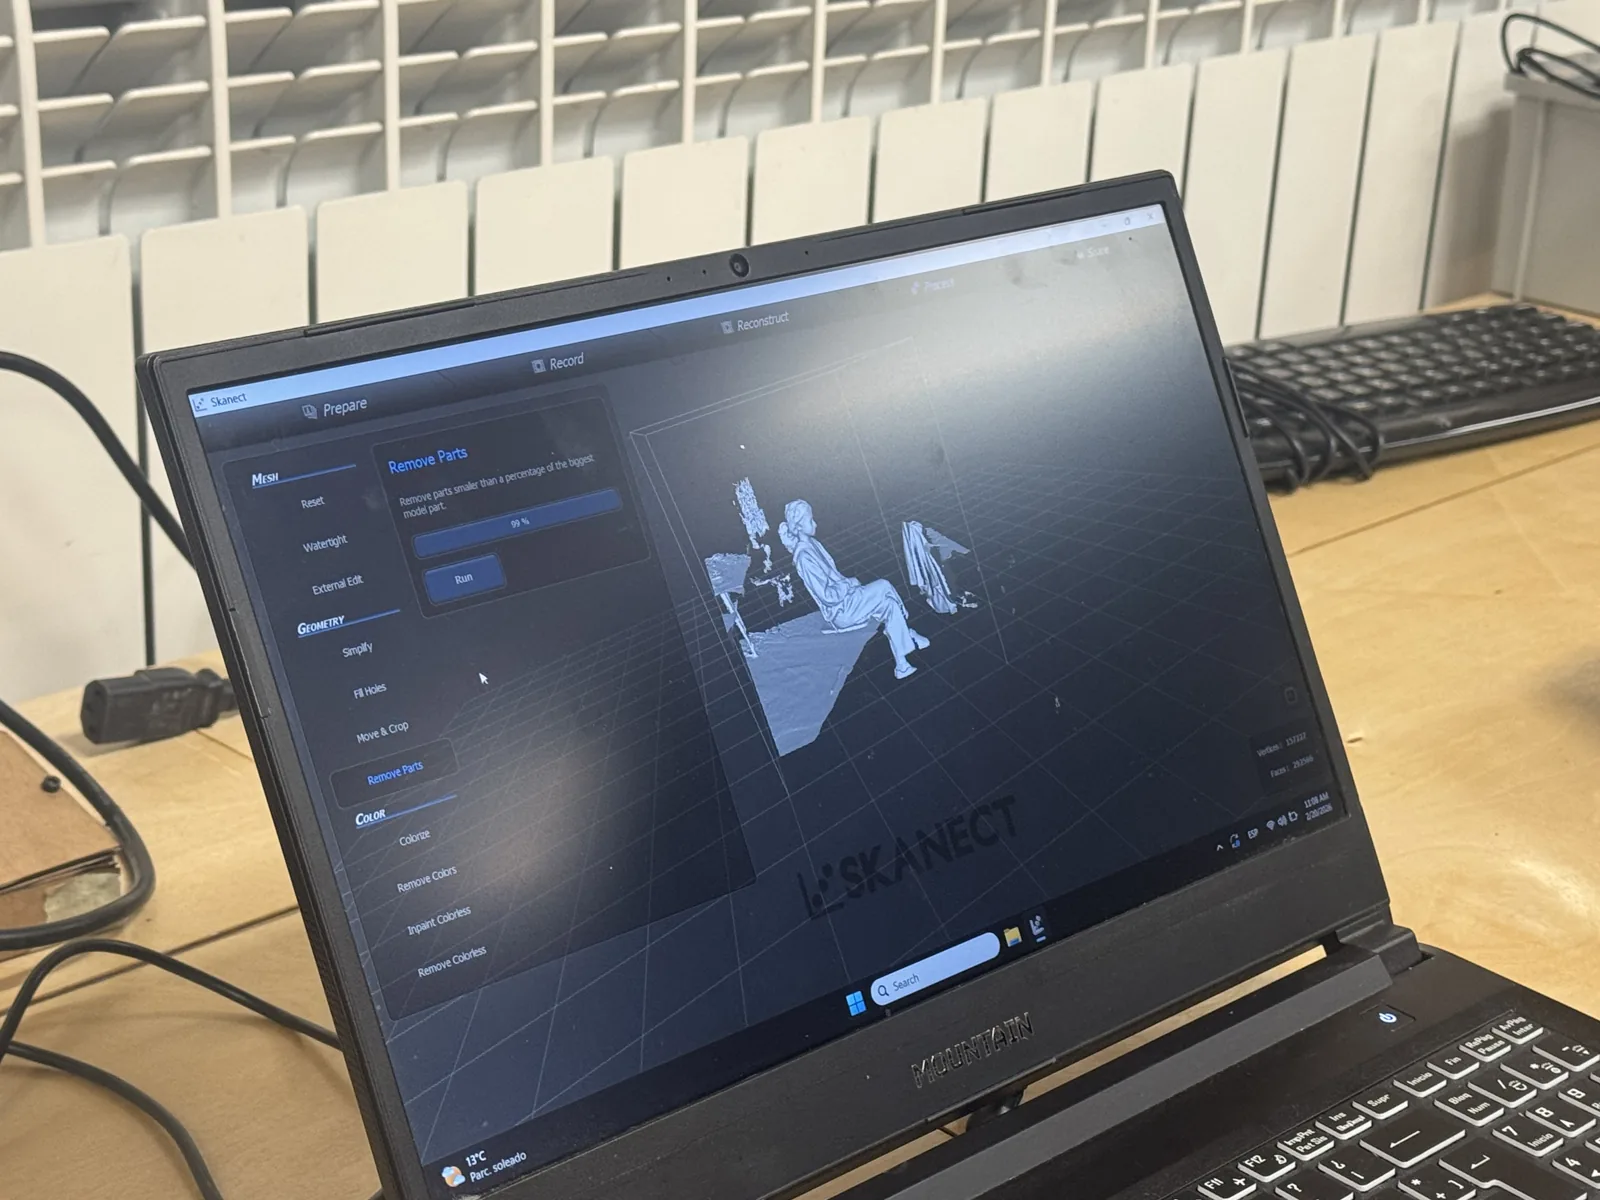
Sensor + Skanect
A second station drove a depth sensor through Skanect to scan a seated person. The shot is the Prepare stage: Remove Parts strips out the small floating fragments before the mesh gets reconstructed and made watertight. Useful reminder that a scan isn't a model — the raw capture is always messier than the thing you actually print.
 [Sensor driving Skanect: ADD — e.g. Kinect / Structure]
Phone Capture
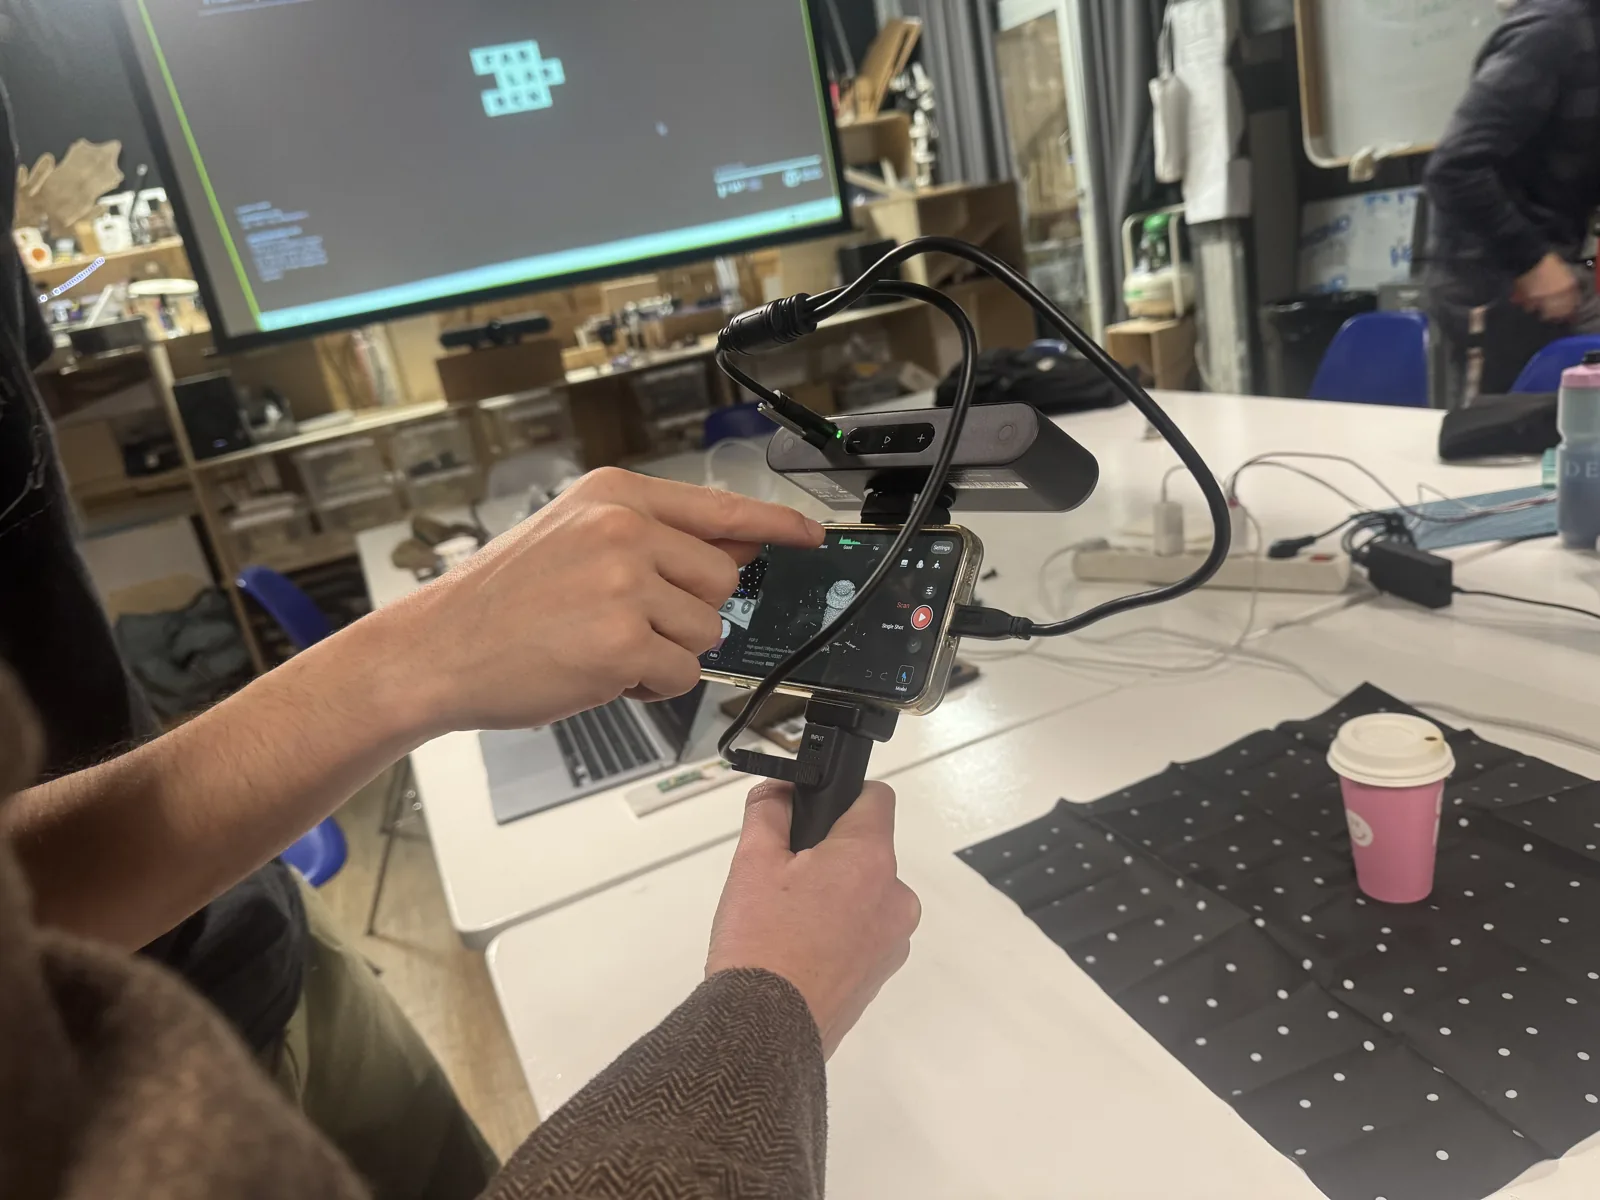
The low-cost route: a phone on a holder over a dotted turntable mat. No scanner hardware, but you pay it back in capture time and processing. Trade hardware cost for patience.
 [Method: ADD — live app scan vs photogrammetry, and the app used]
Comparing Methods
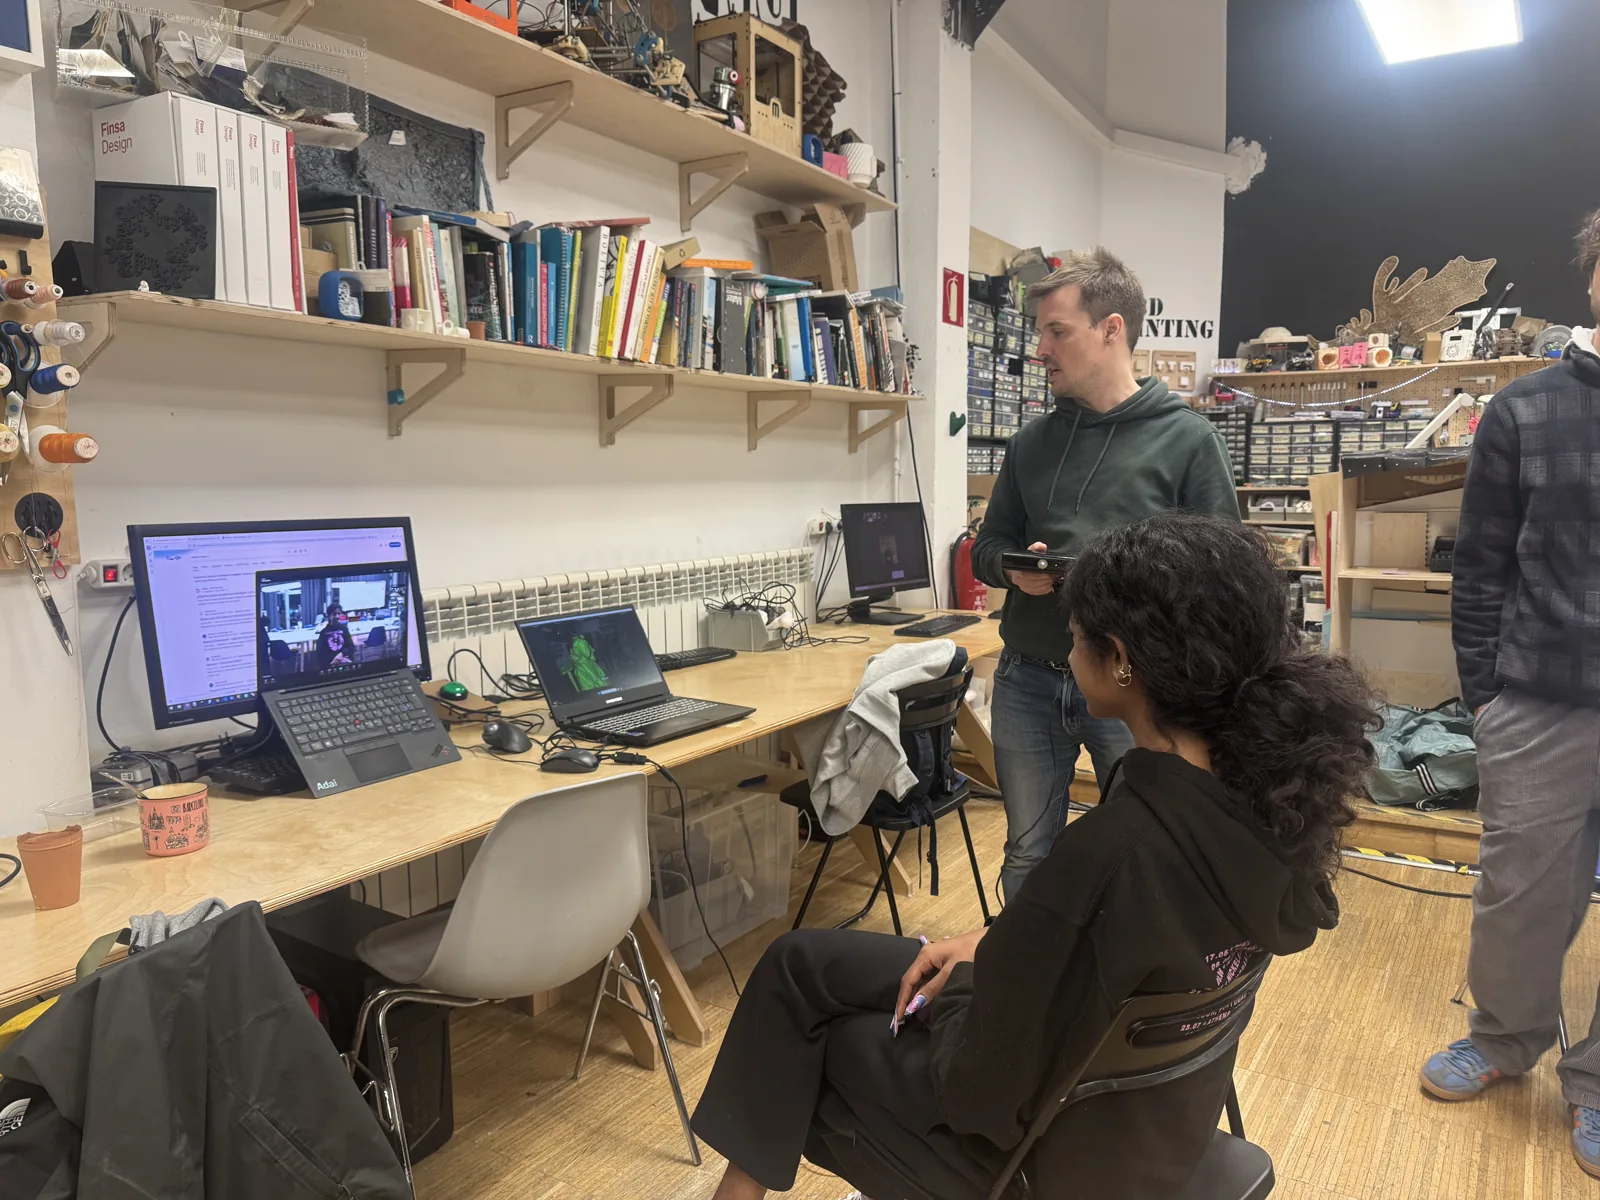
We reviewed all three together — mesh density, colour fidelity, and how much manual cleanup each needed before a model was print-ready.
[ADD your verdict: which method got to a usable mesh fastest, and what it cost in cleanup.]
Test 3: Clay Paste Extrusion
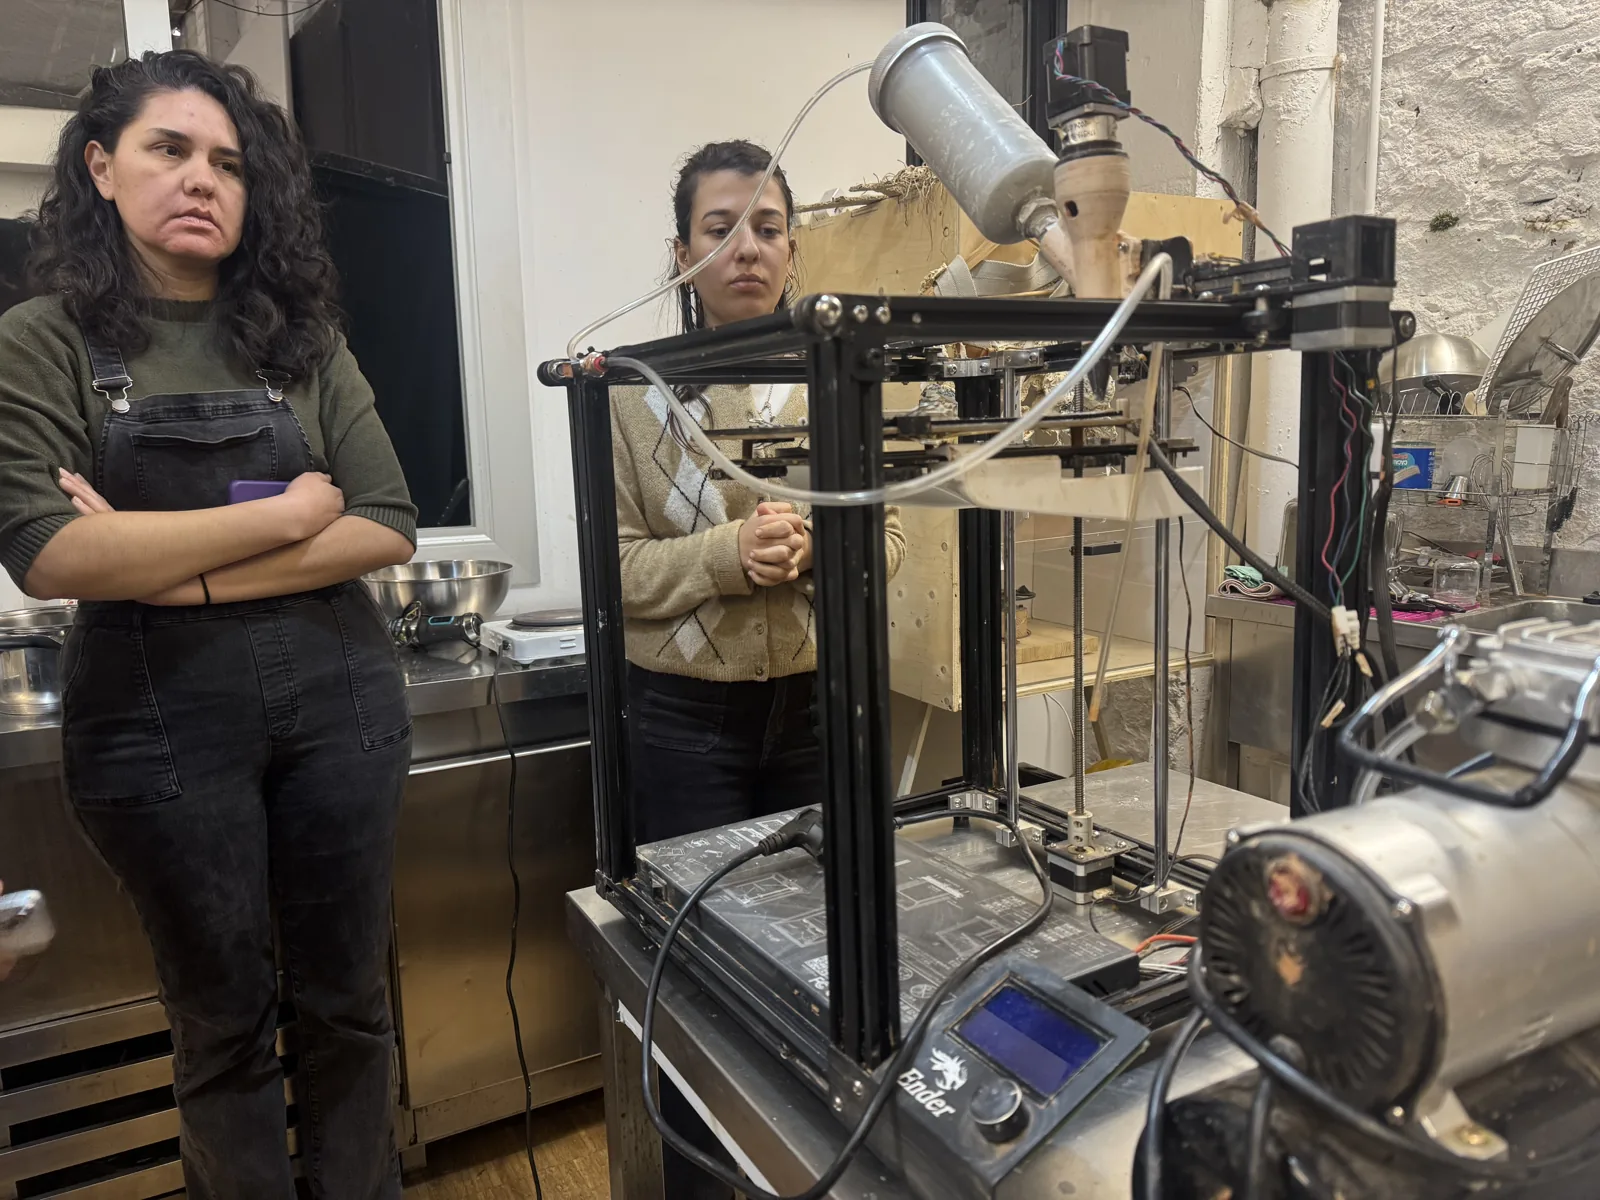
A non-FDM process: instead of melting filament, an air compressor pushes ceramic clay from a reservoir down through a nozzle, laying coil on coil.
 [Machine: ADD — e.g. converted Ender + clay extruder] · [Clay body: ADD]
Air Pressure Source
Clay won't feed itself. A compressor and pressure tank drive the paste to the nozzle, and pressure is the variable to tune: too little starves the bead, too much over-extrudes and slumps the wall.
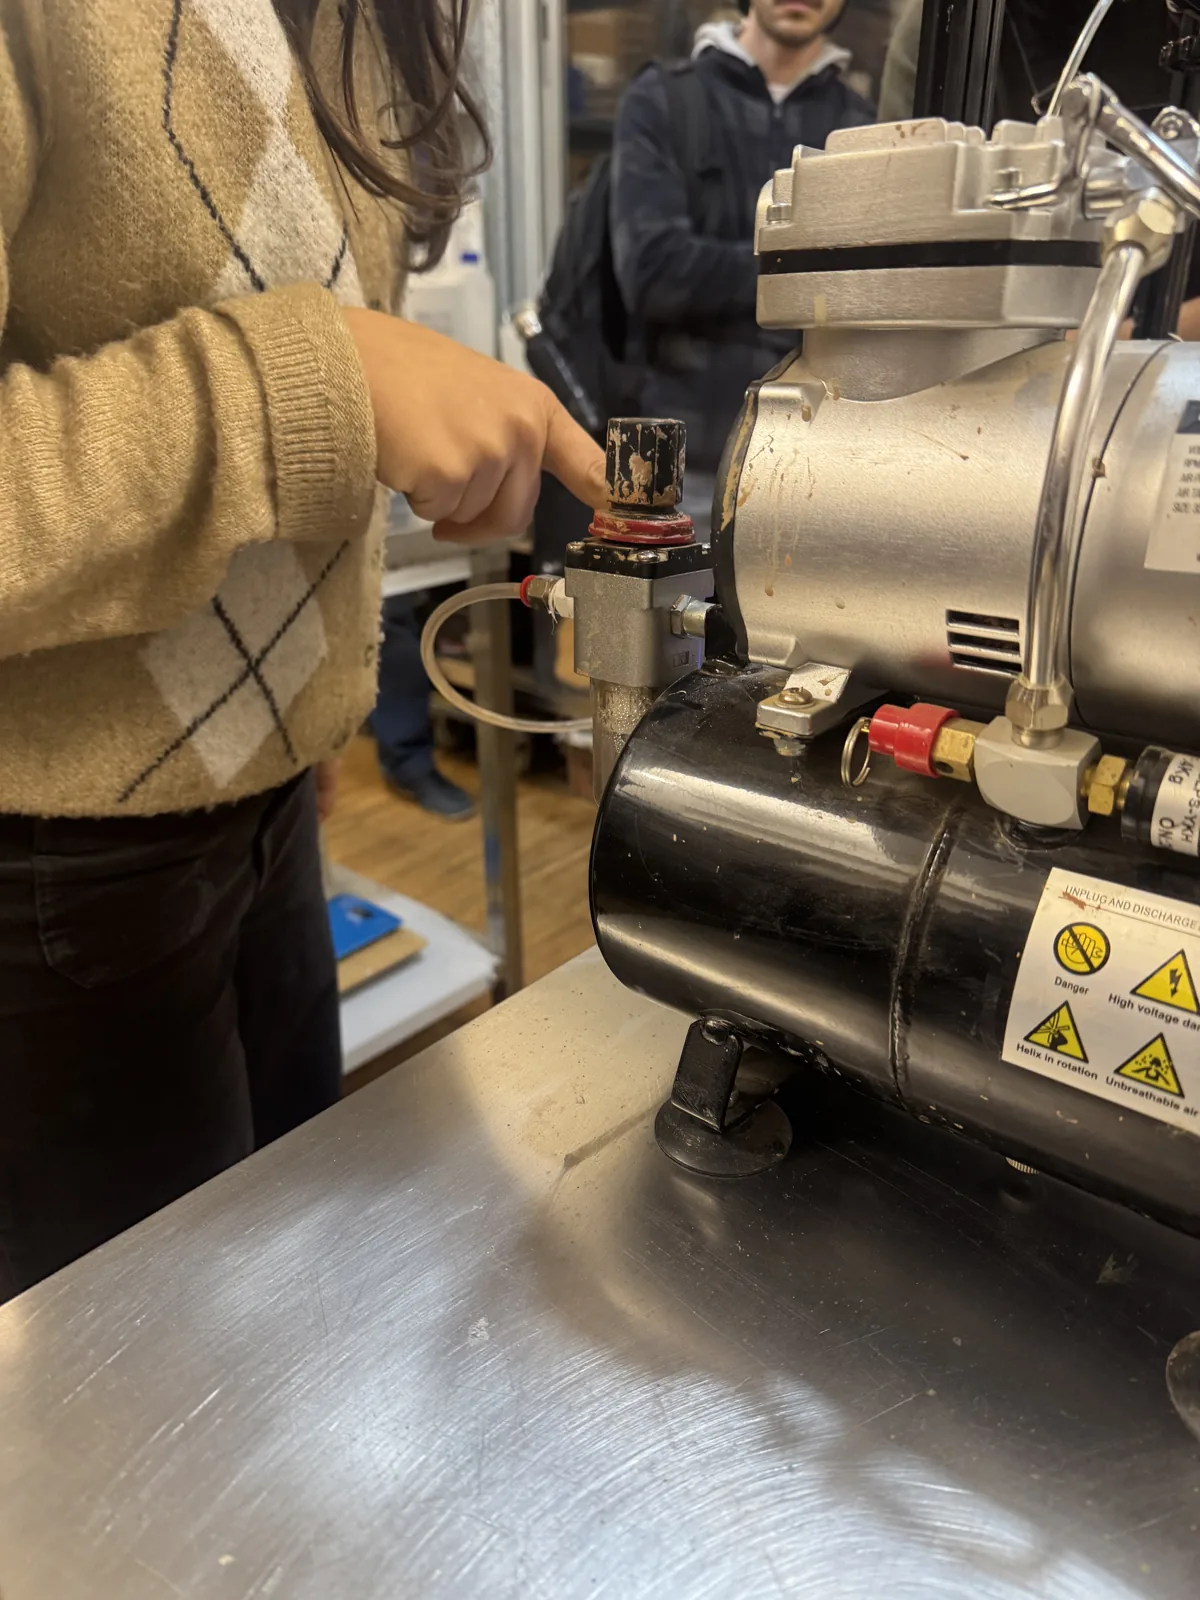 [Working pressure: ADD bar/psi]
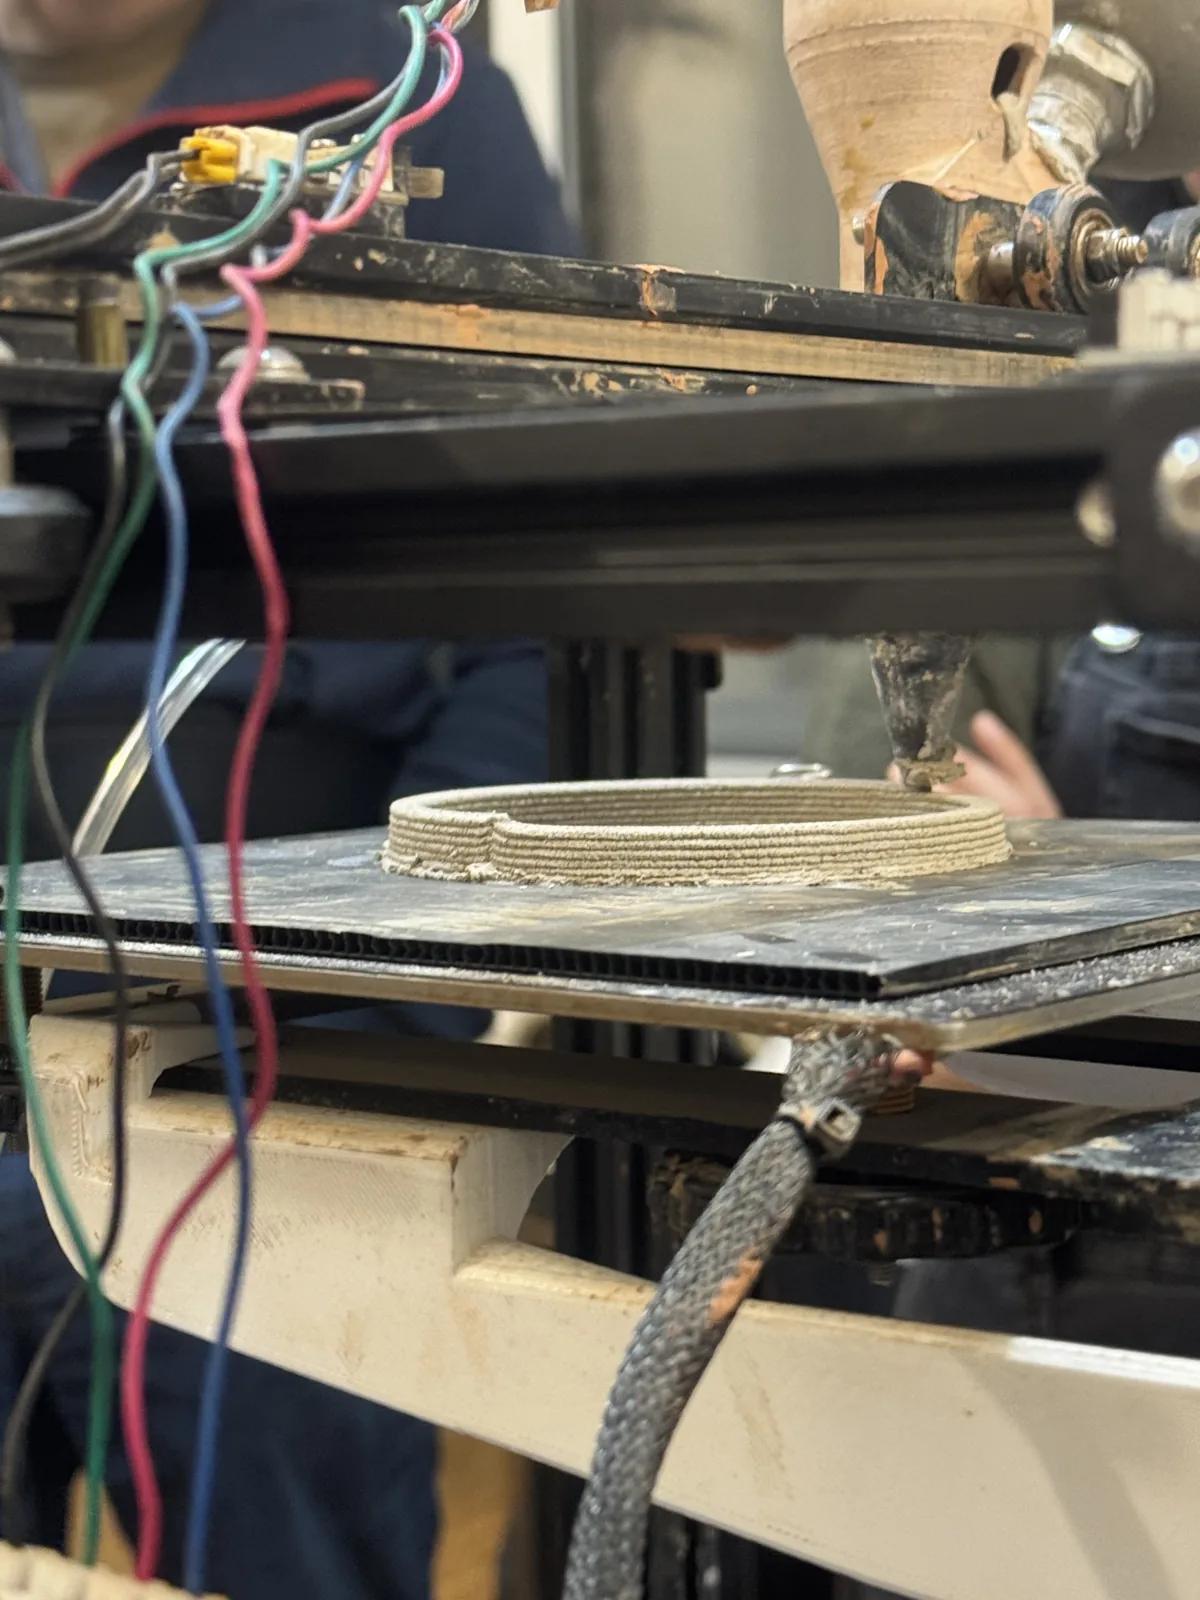
Printing in Progress
The first layers show the bead clearly — a continuous coil welding to the layer below. Bed adhesion and a steady extrusion rate matter more here than on FDM, because a wet wall has almost no strength while it's printing.
Result
The finished cylinder holds even, legible coil lines, walls true through the full height — a clean run before any drying or firing.
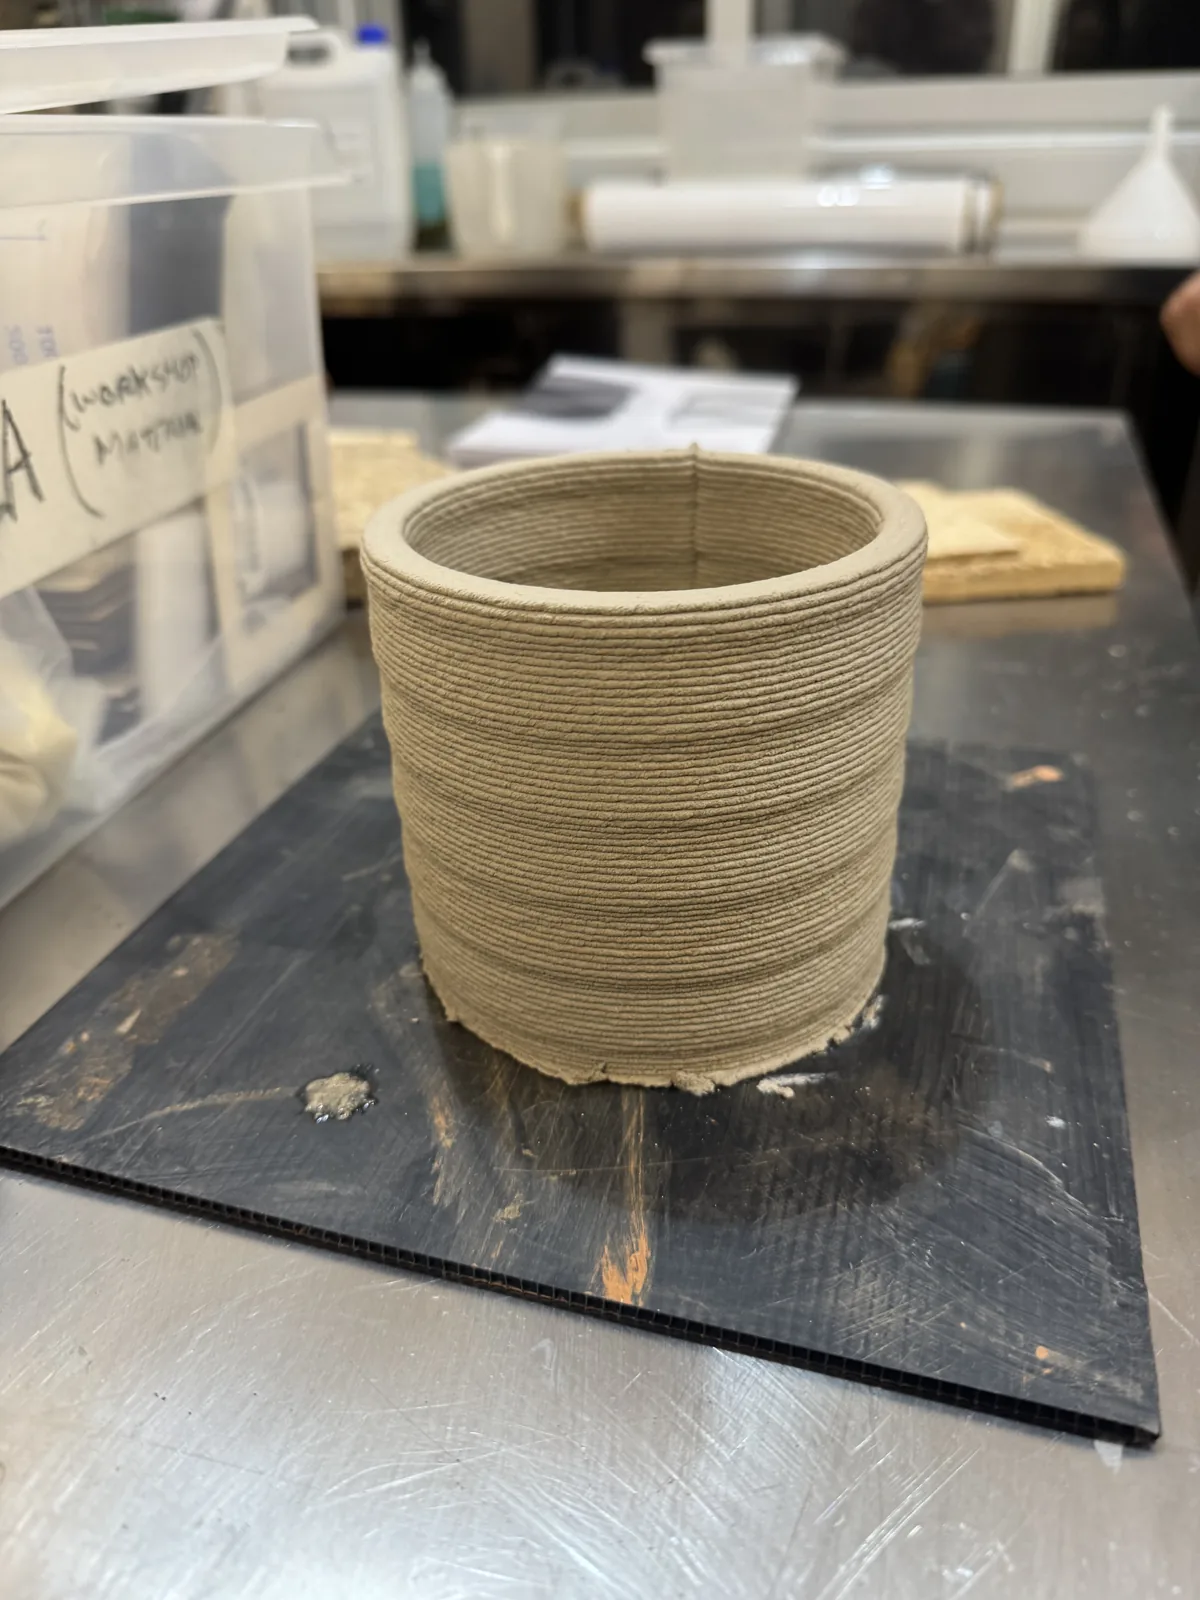
Clay rewards slow and steady. The print is only half the work — drying and firing decide whether it survives.