
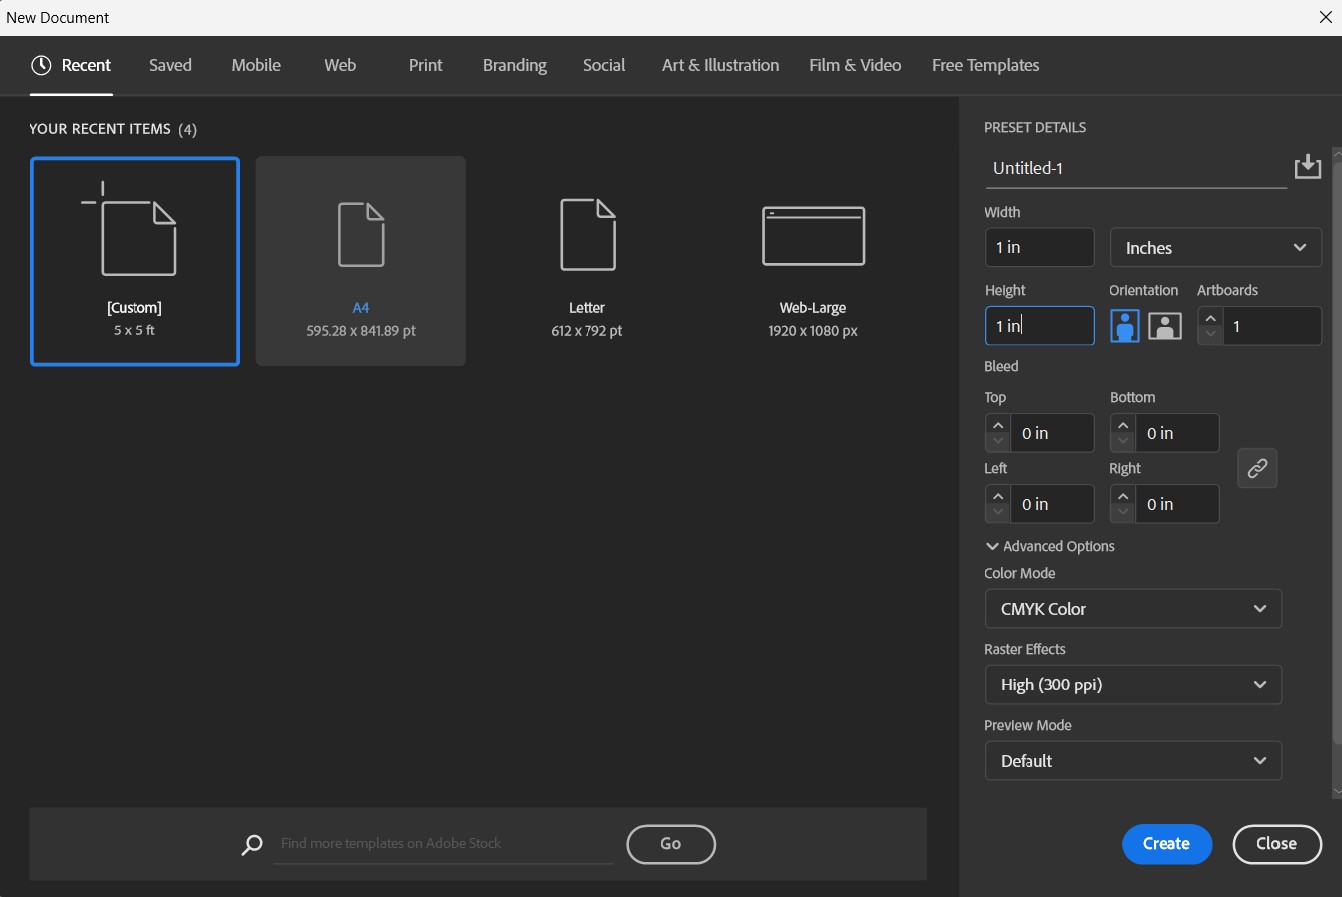
I started by making a custom 1x1" adobe illustrator file for the sake of making a vector (embroidery stitch conversion only accepts vectors)
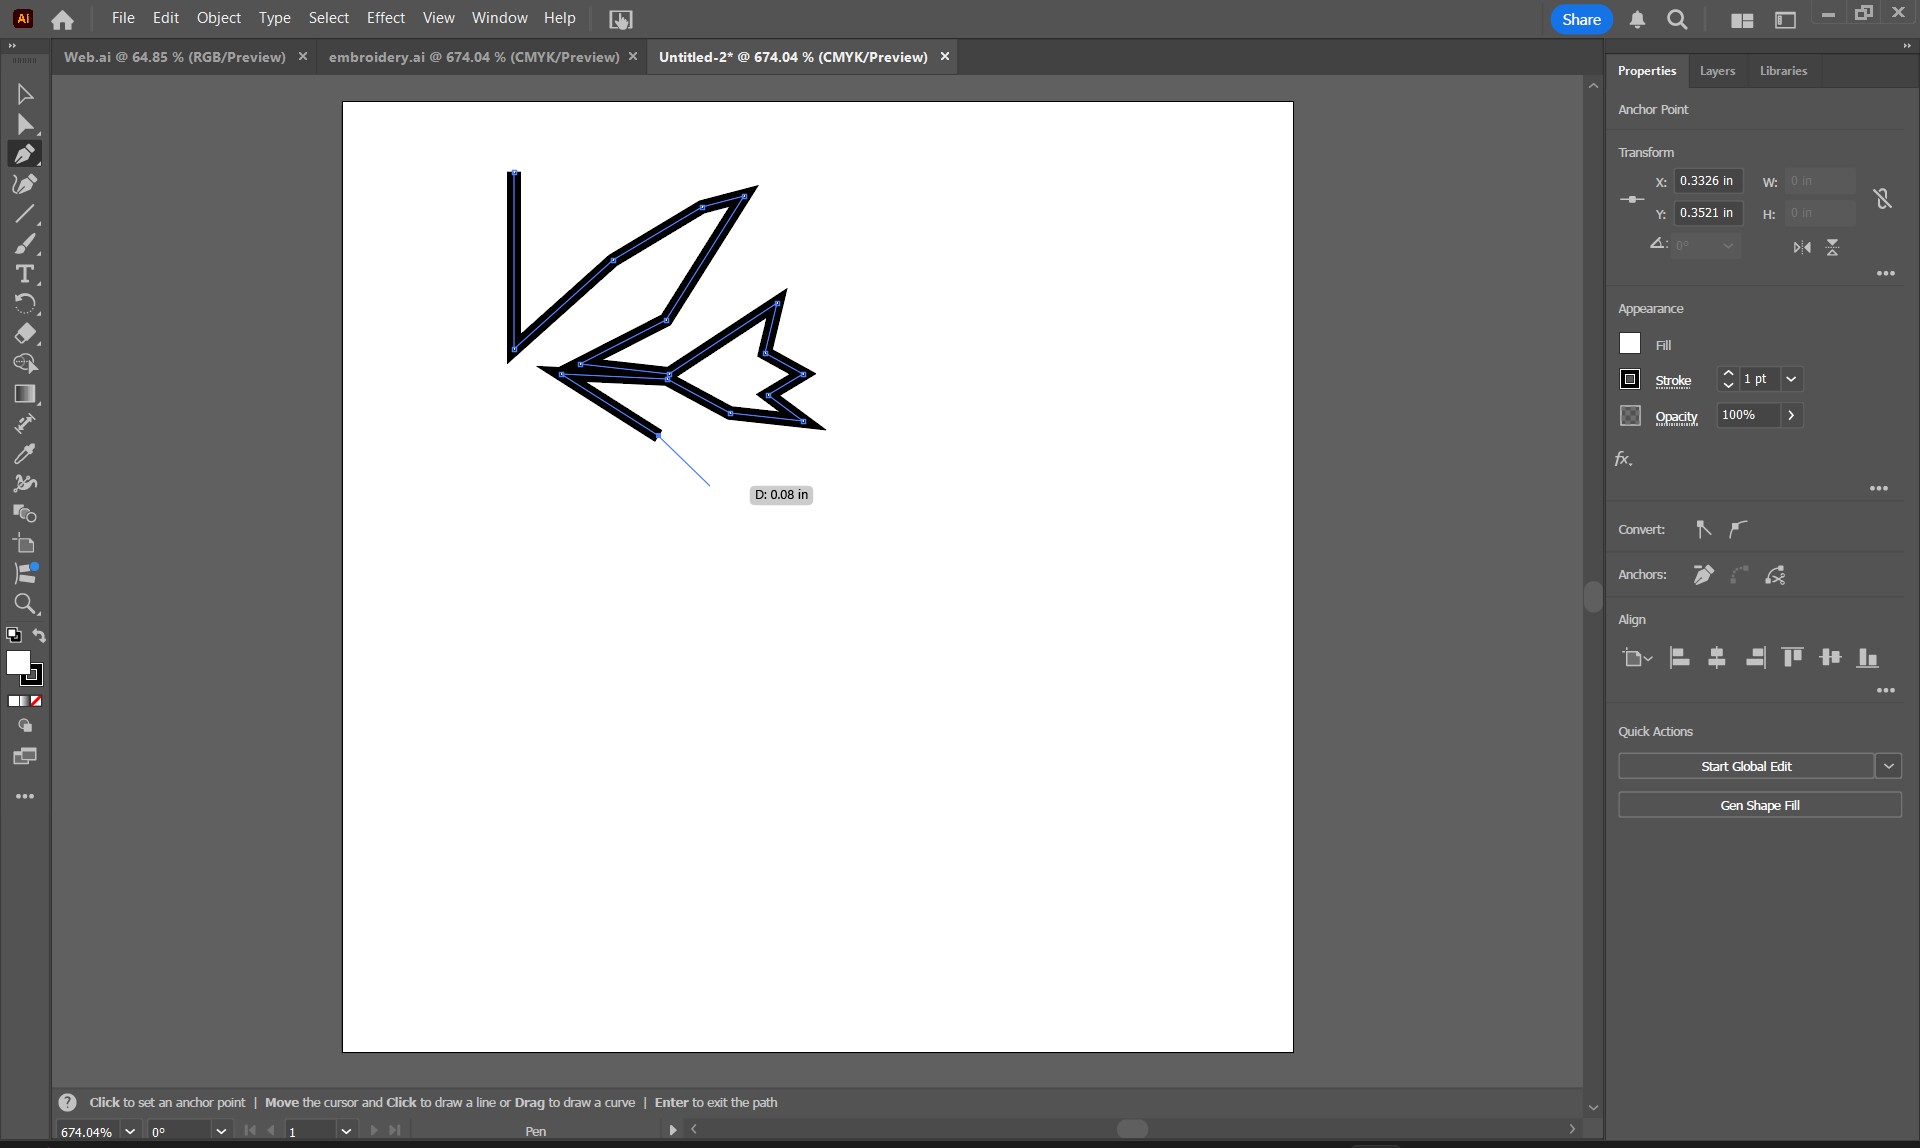
I made my design with the pen tool (this ensures the design is a vector for later export).
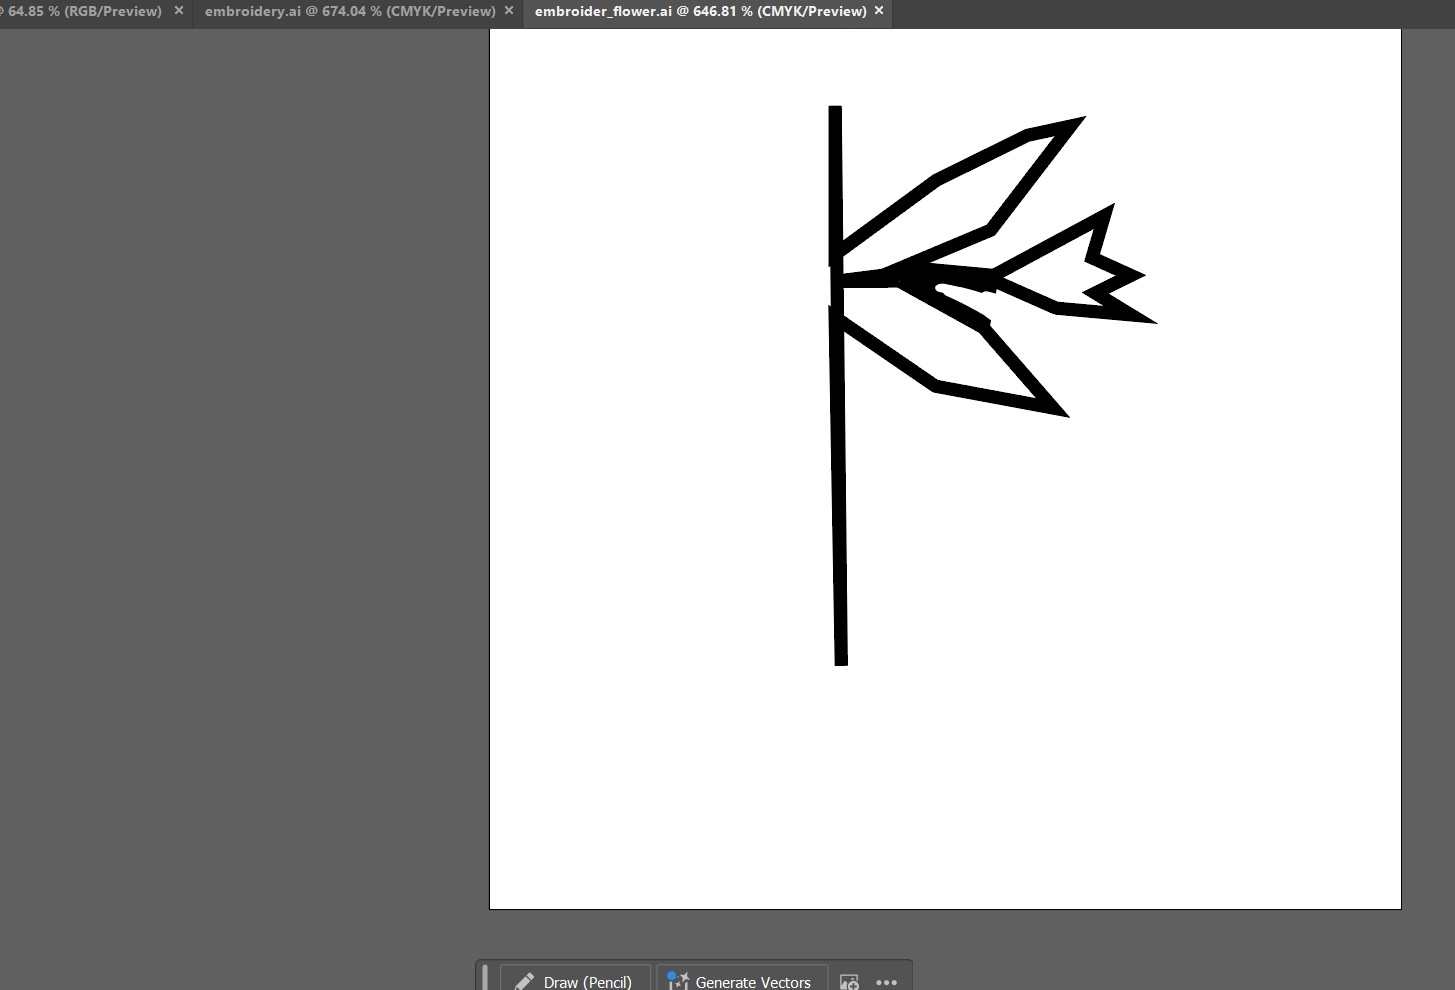
The finished embroidery flower design.
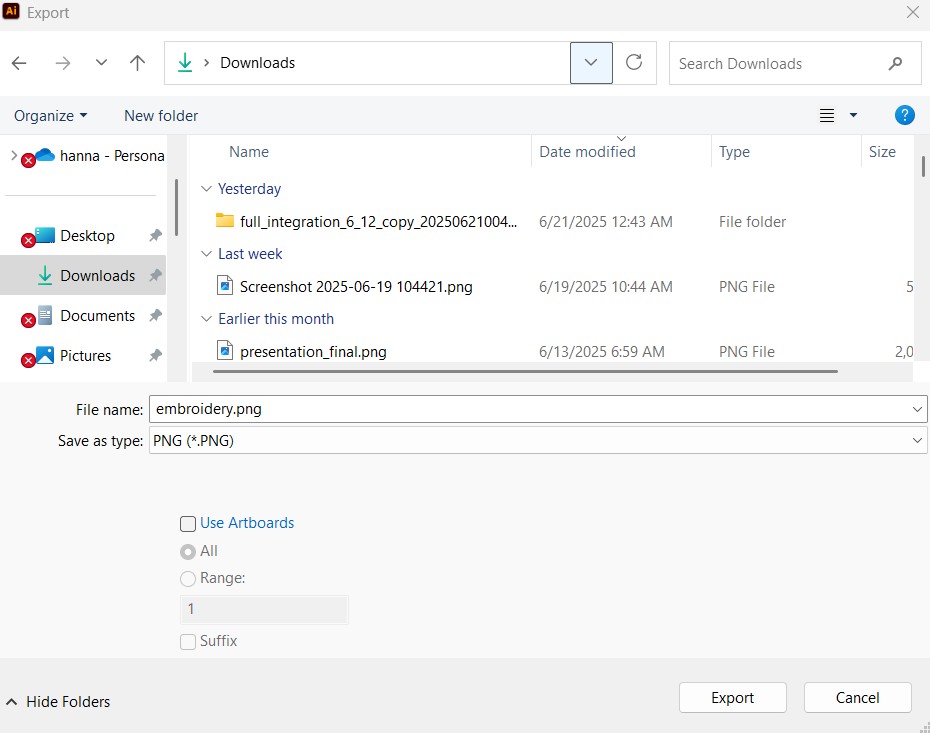
Export the illustrator file as a PNG to get to our next software: Inkscape and the Ink&Stitch extension.
First, download the Inkscape software. The install prompt should look like this.
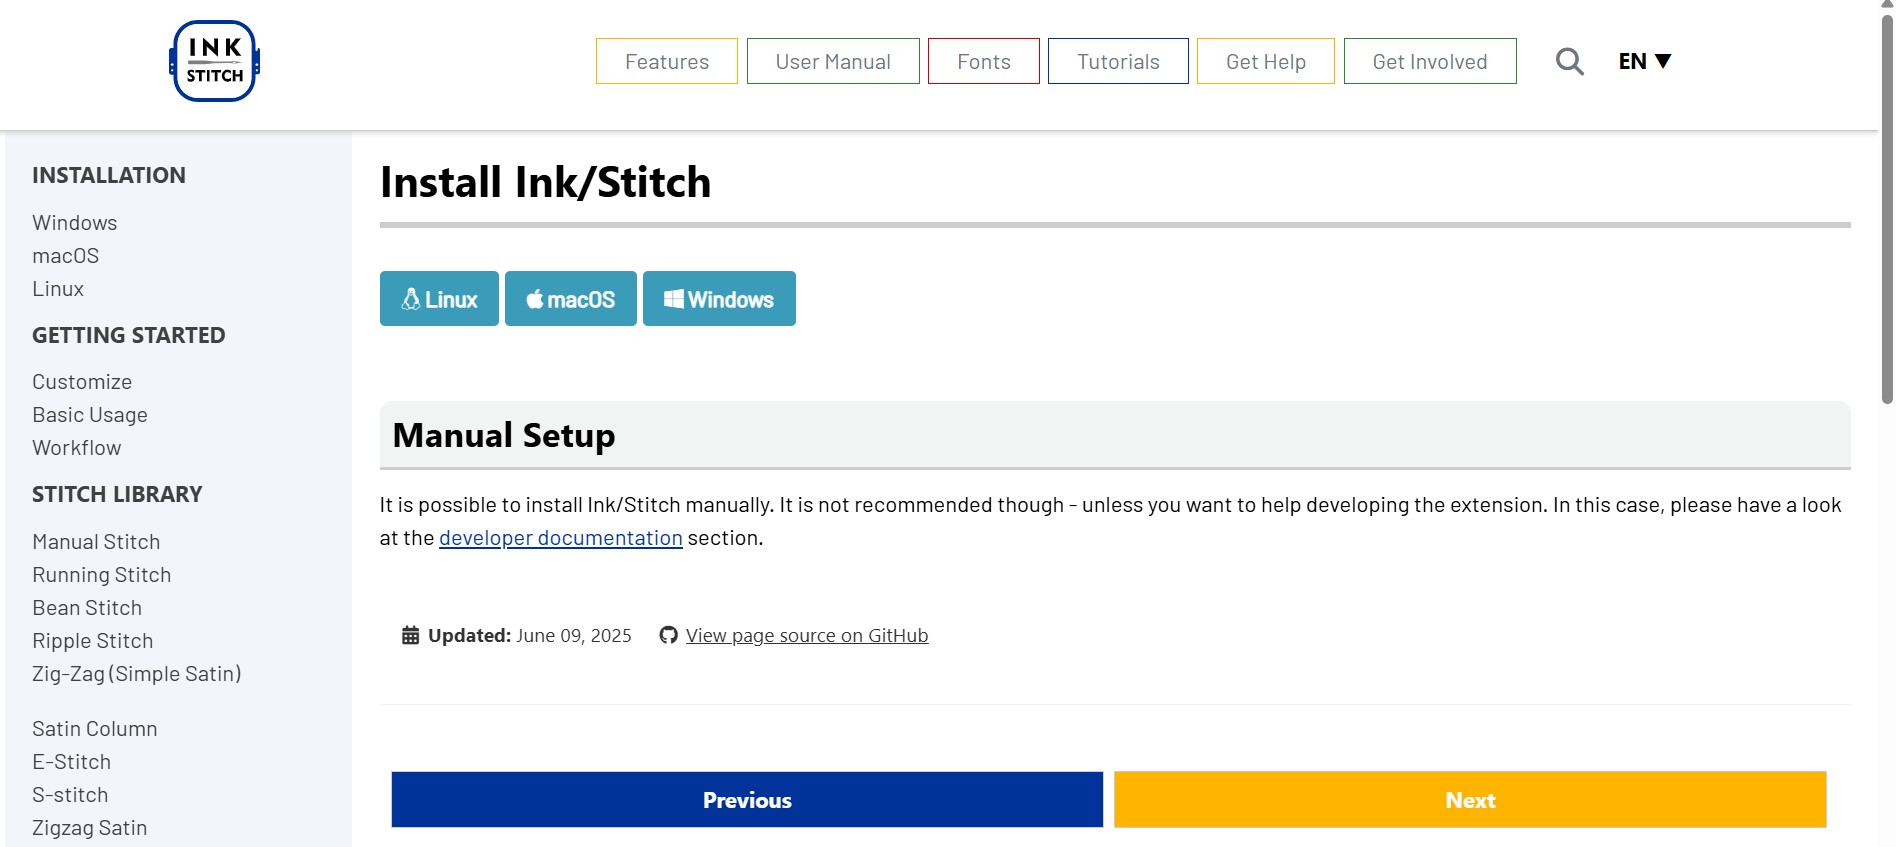
Next, install ink&stitch. This allows us to convert vectors to stitches.
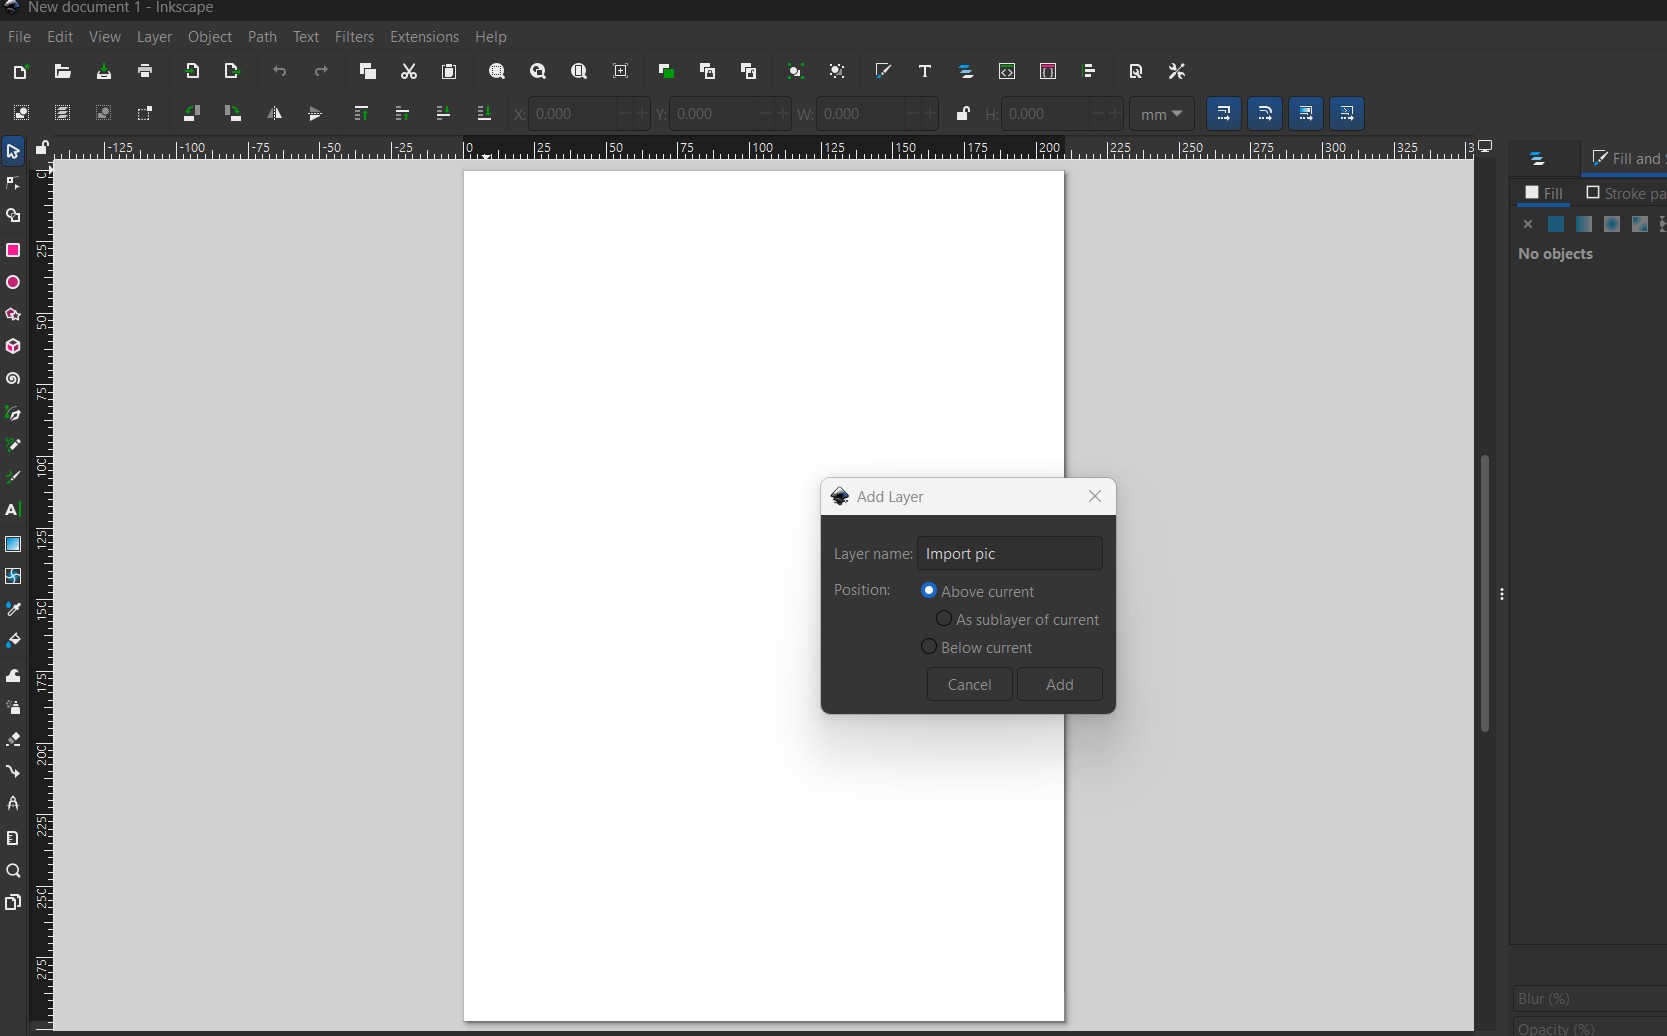
When Inkscape is done downloading, open it and create a new layer. This is where our image will go.
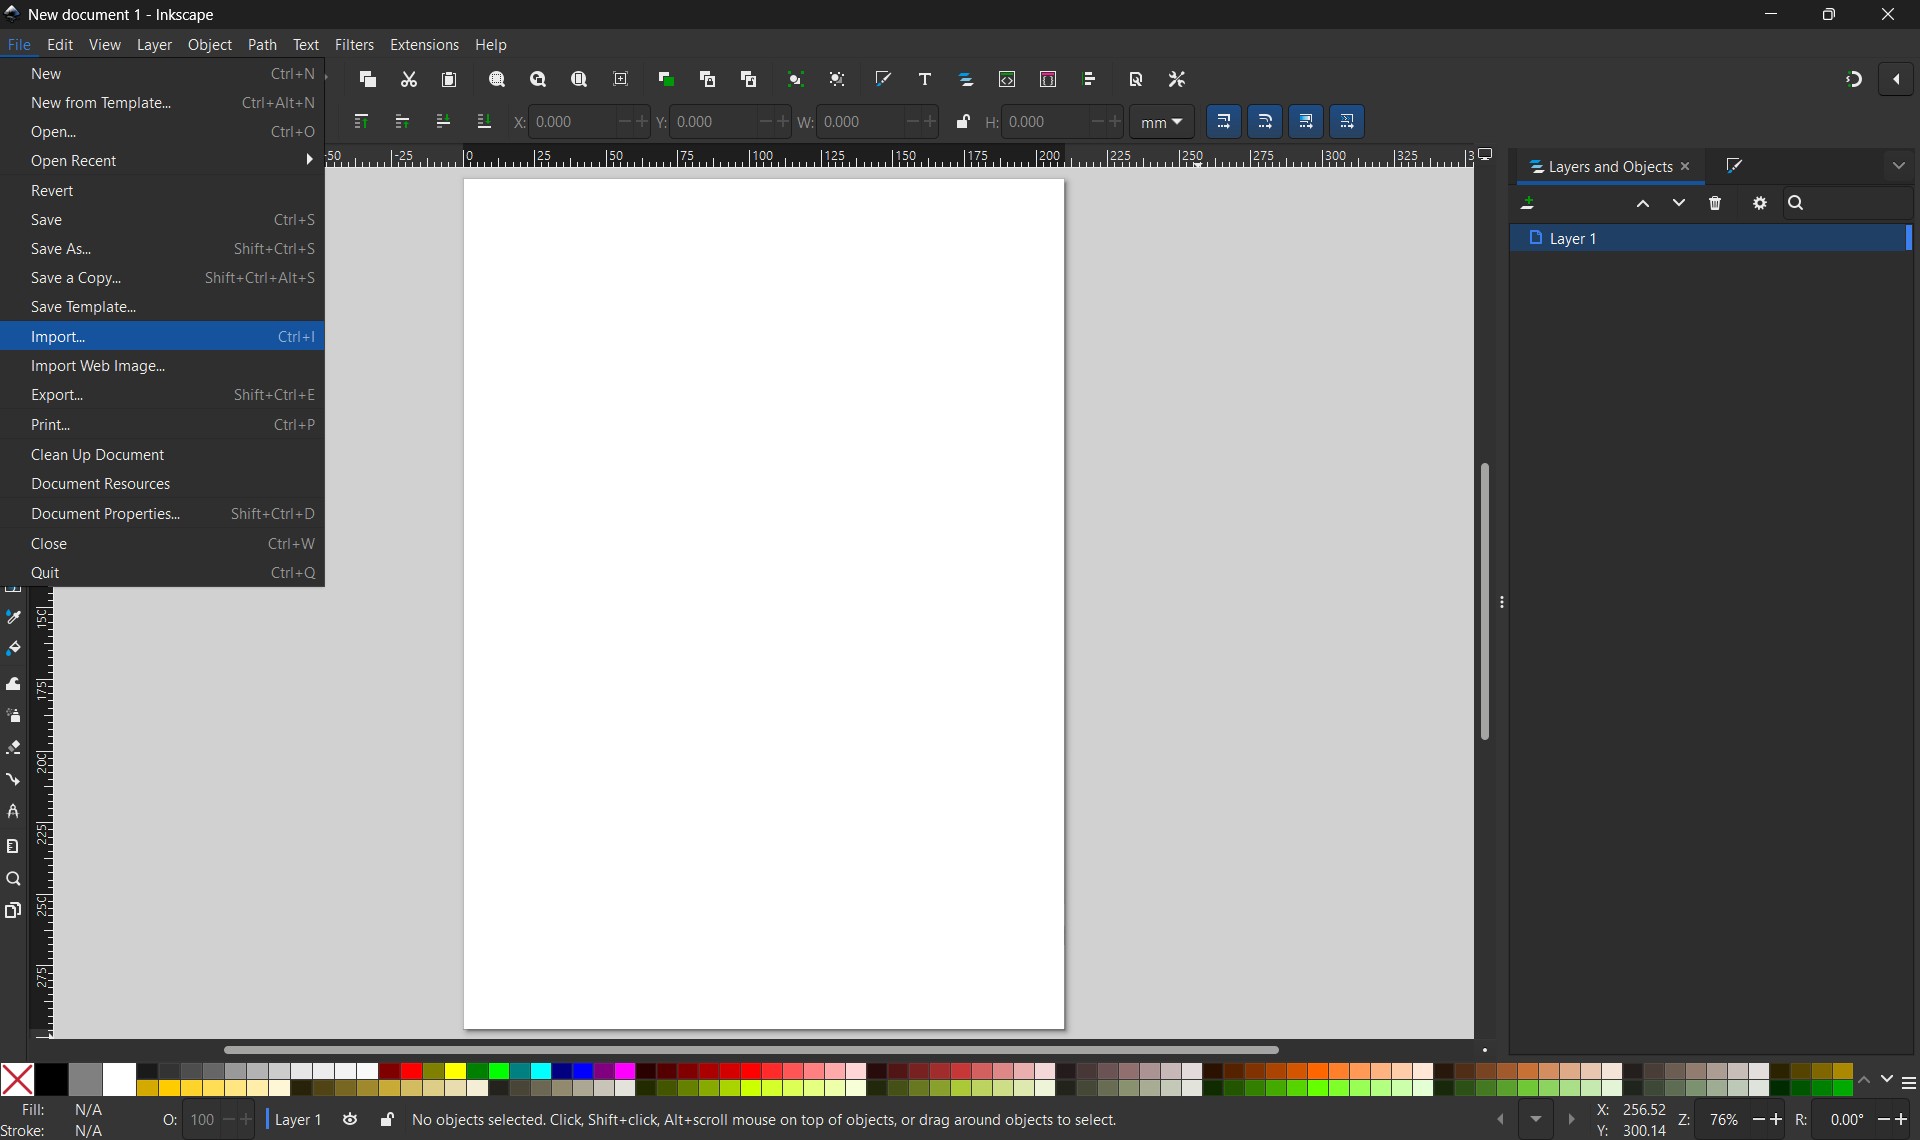
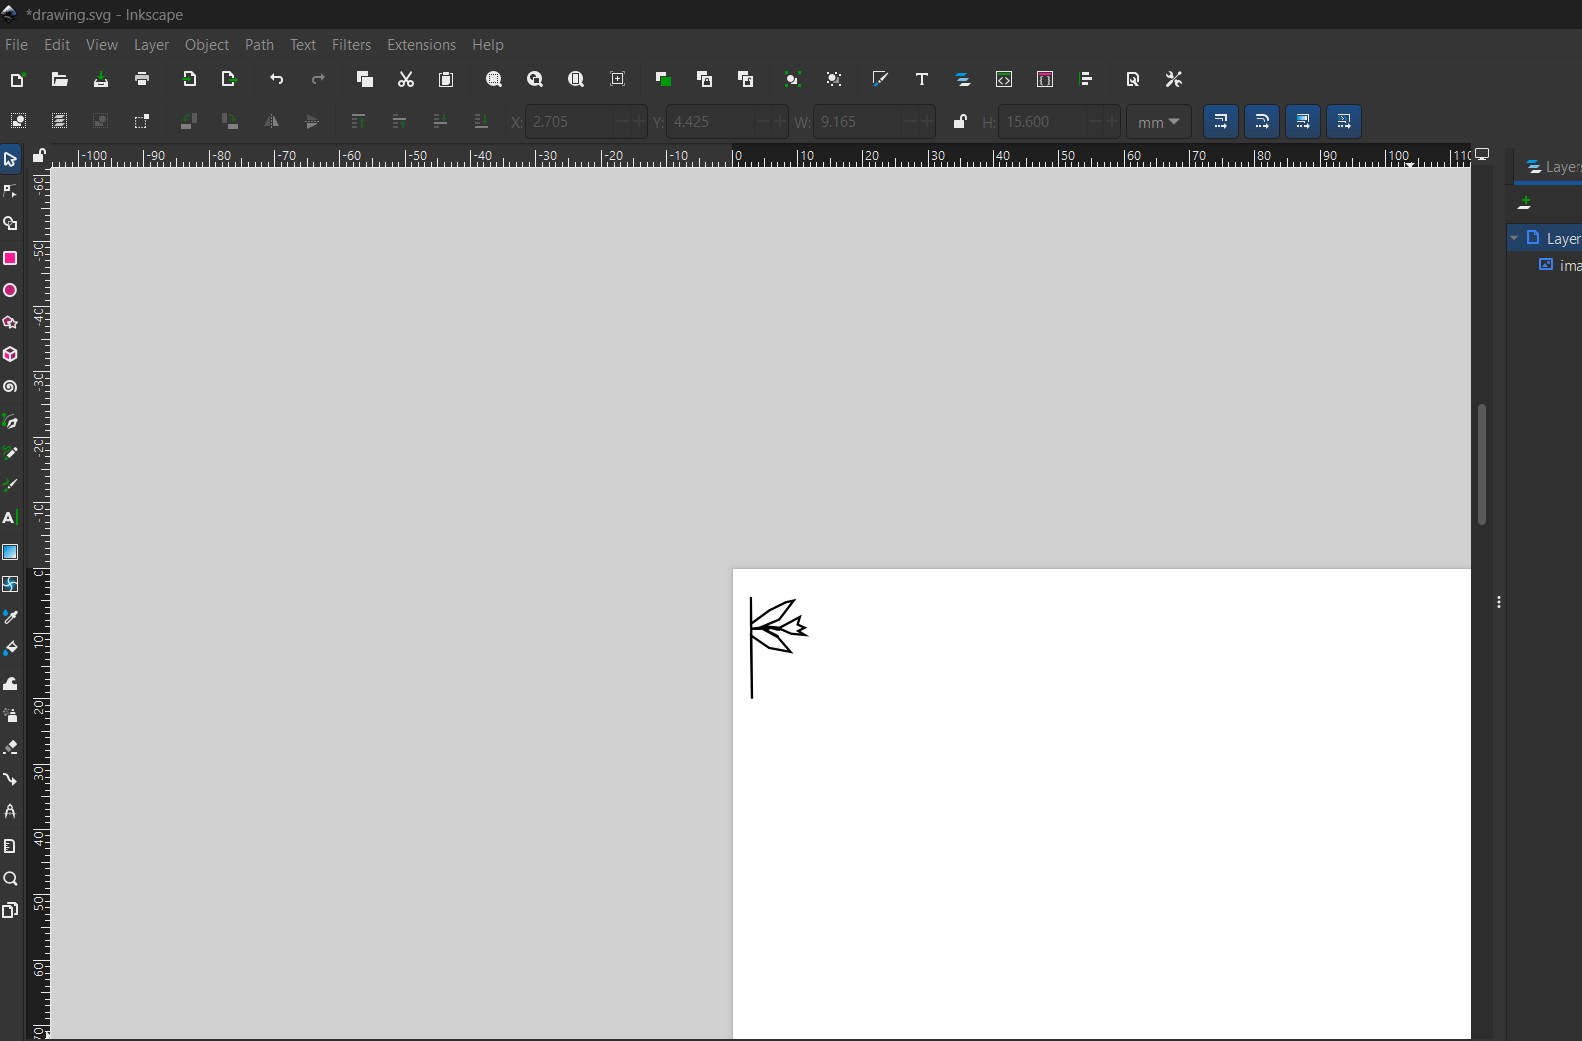
Go to File > Import to import your PNG design.
The imported design in Inkscape. We still have to do a few more steps.
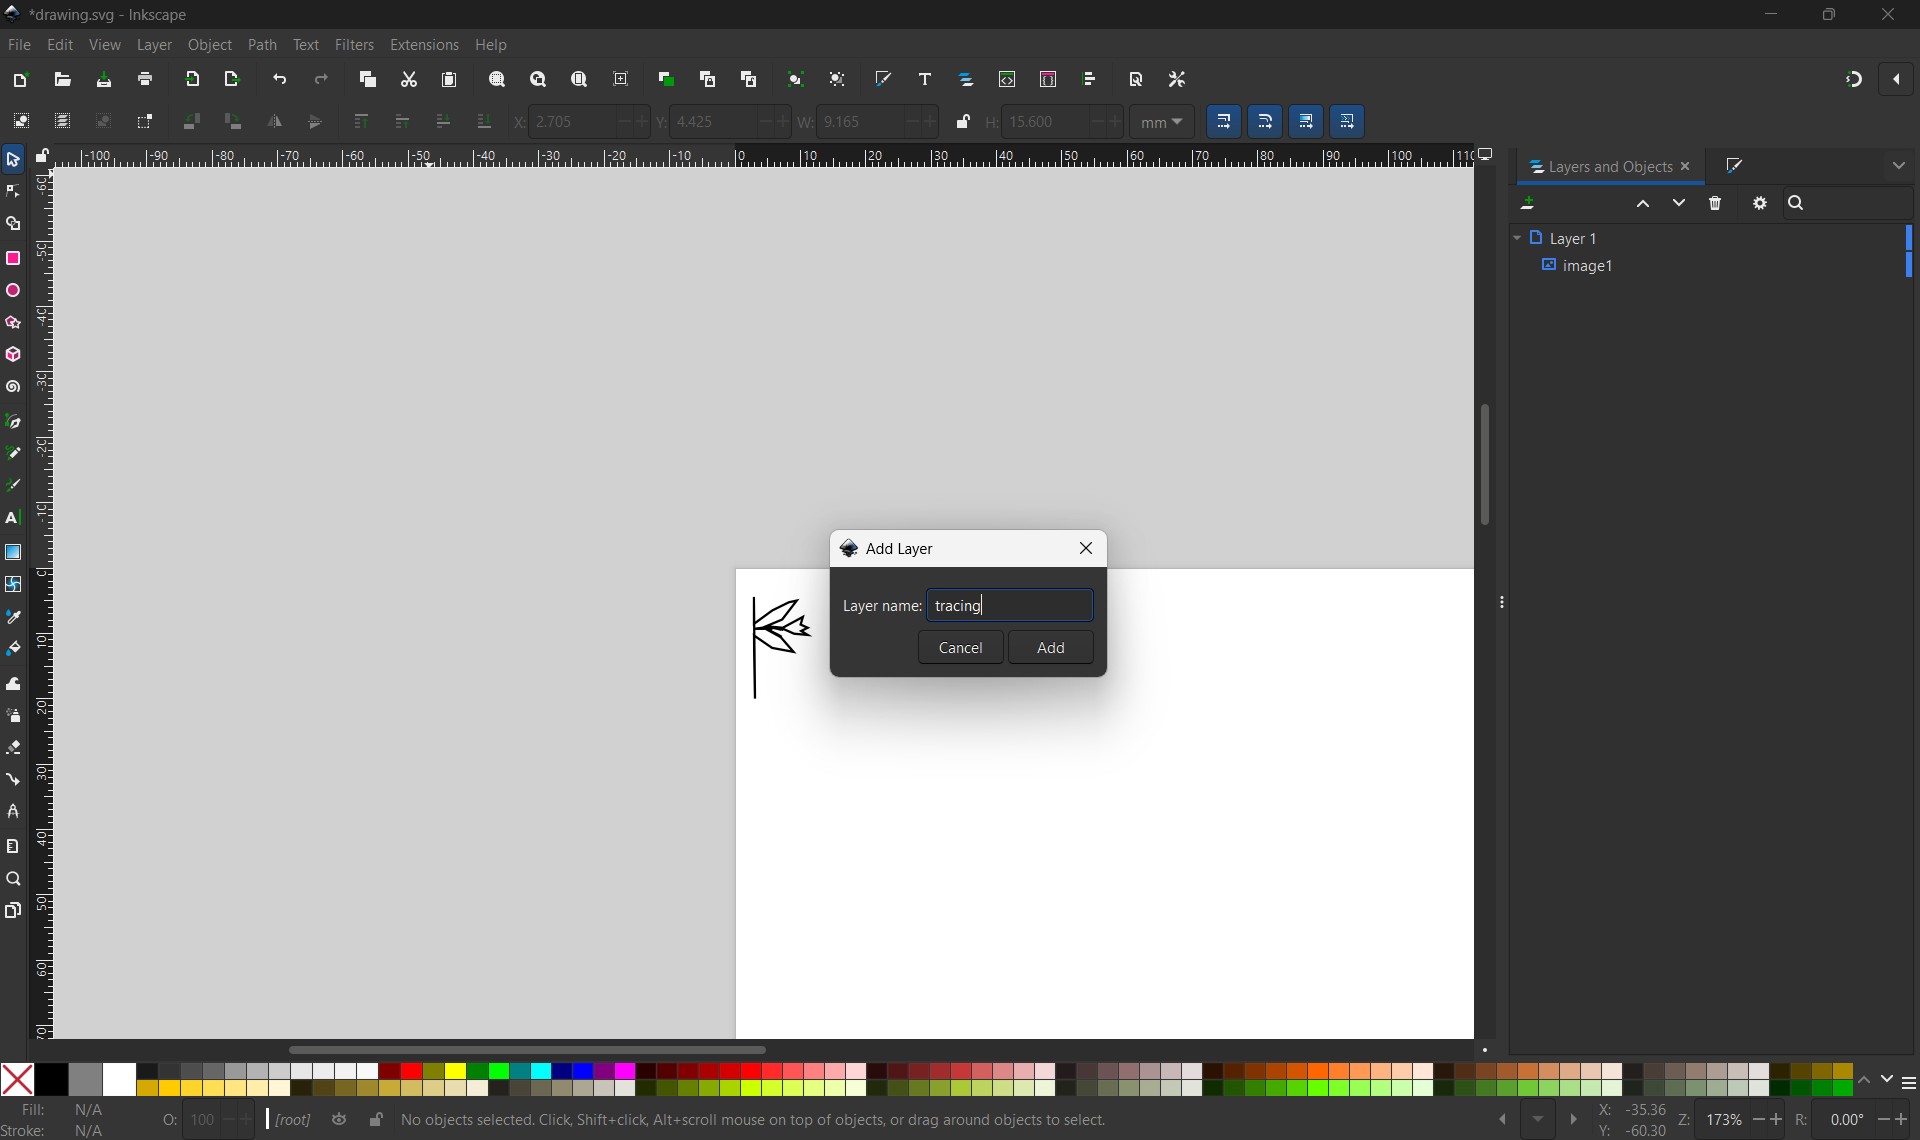
Make a new tracing layer for the embroidery path.
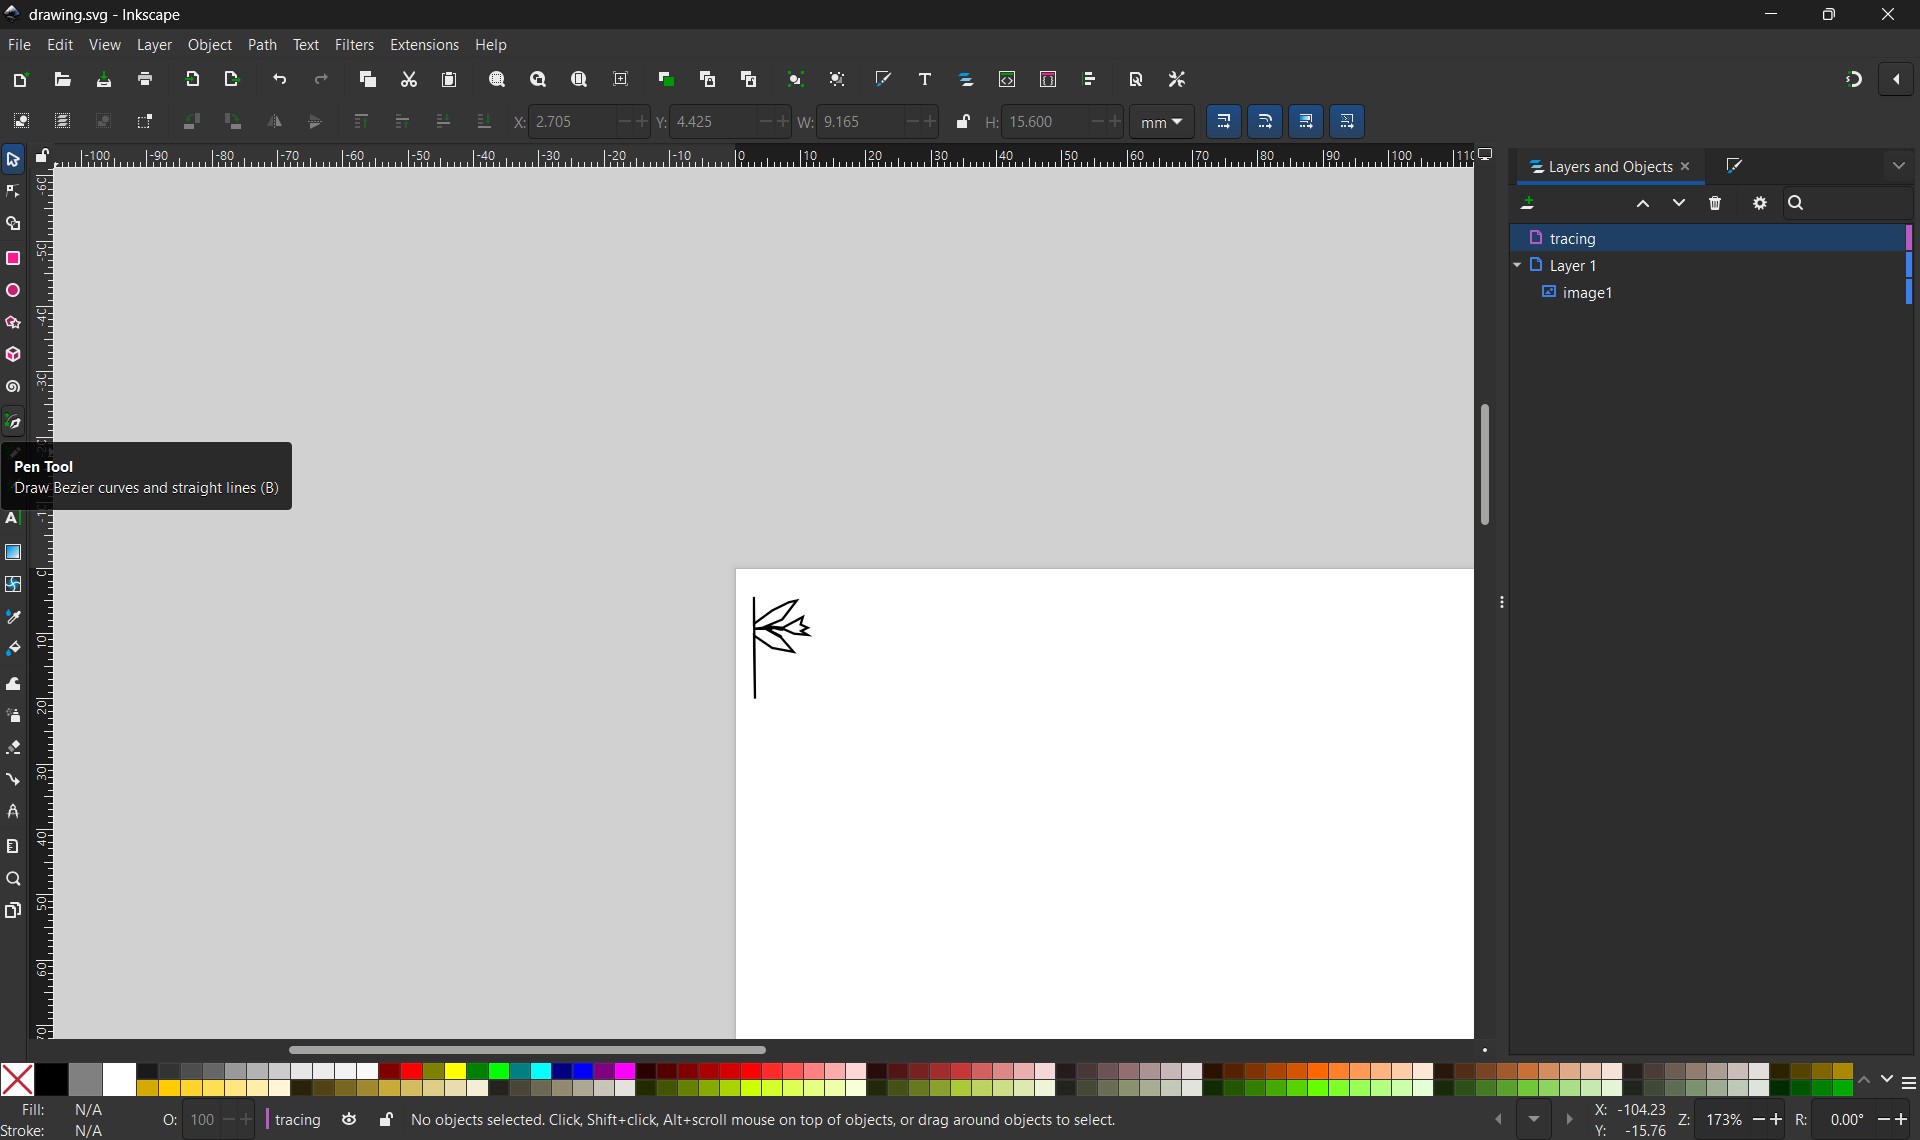
Use the pen tool to start tracing the path.
Making segmented lines using the pen tool.
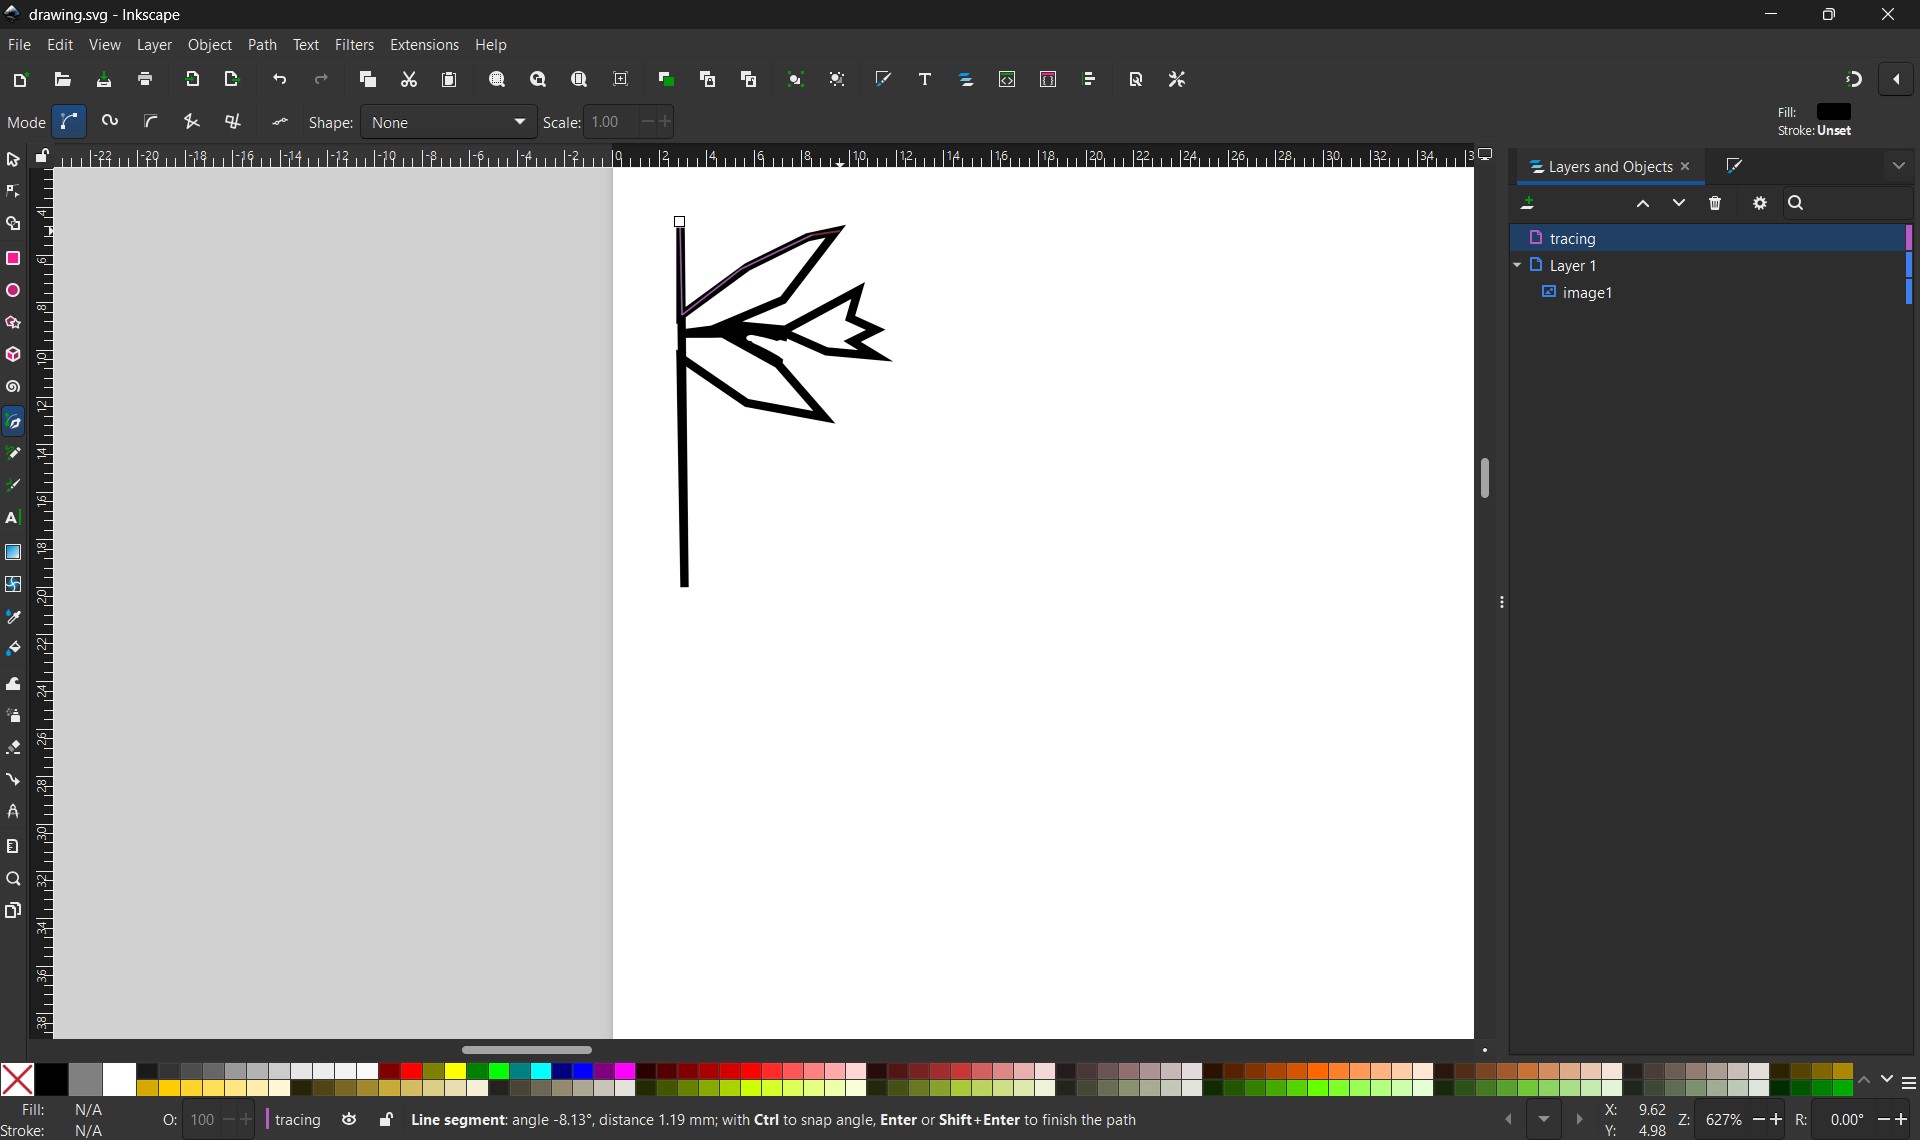
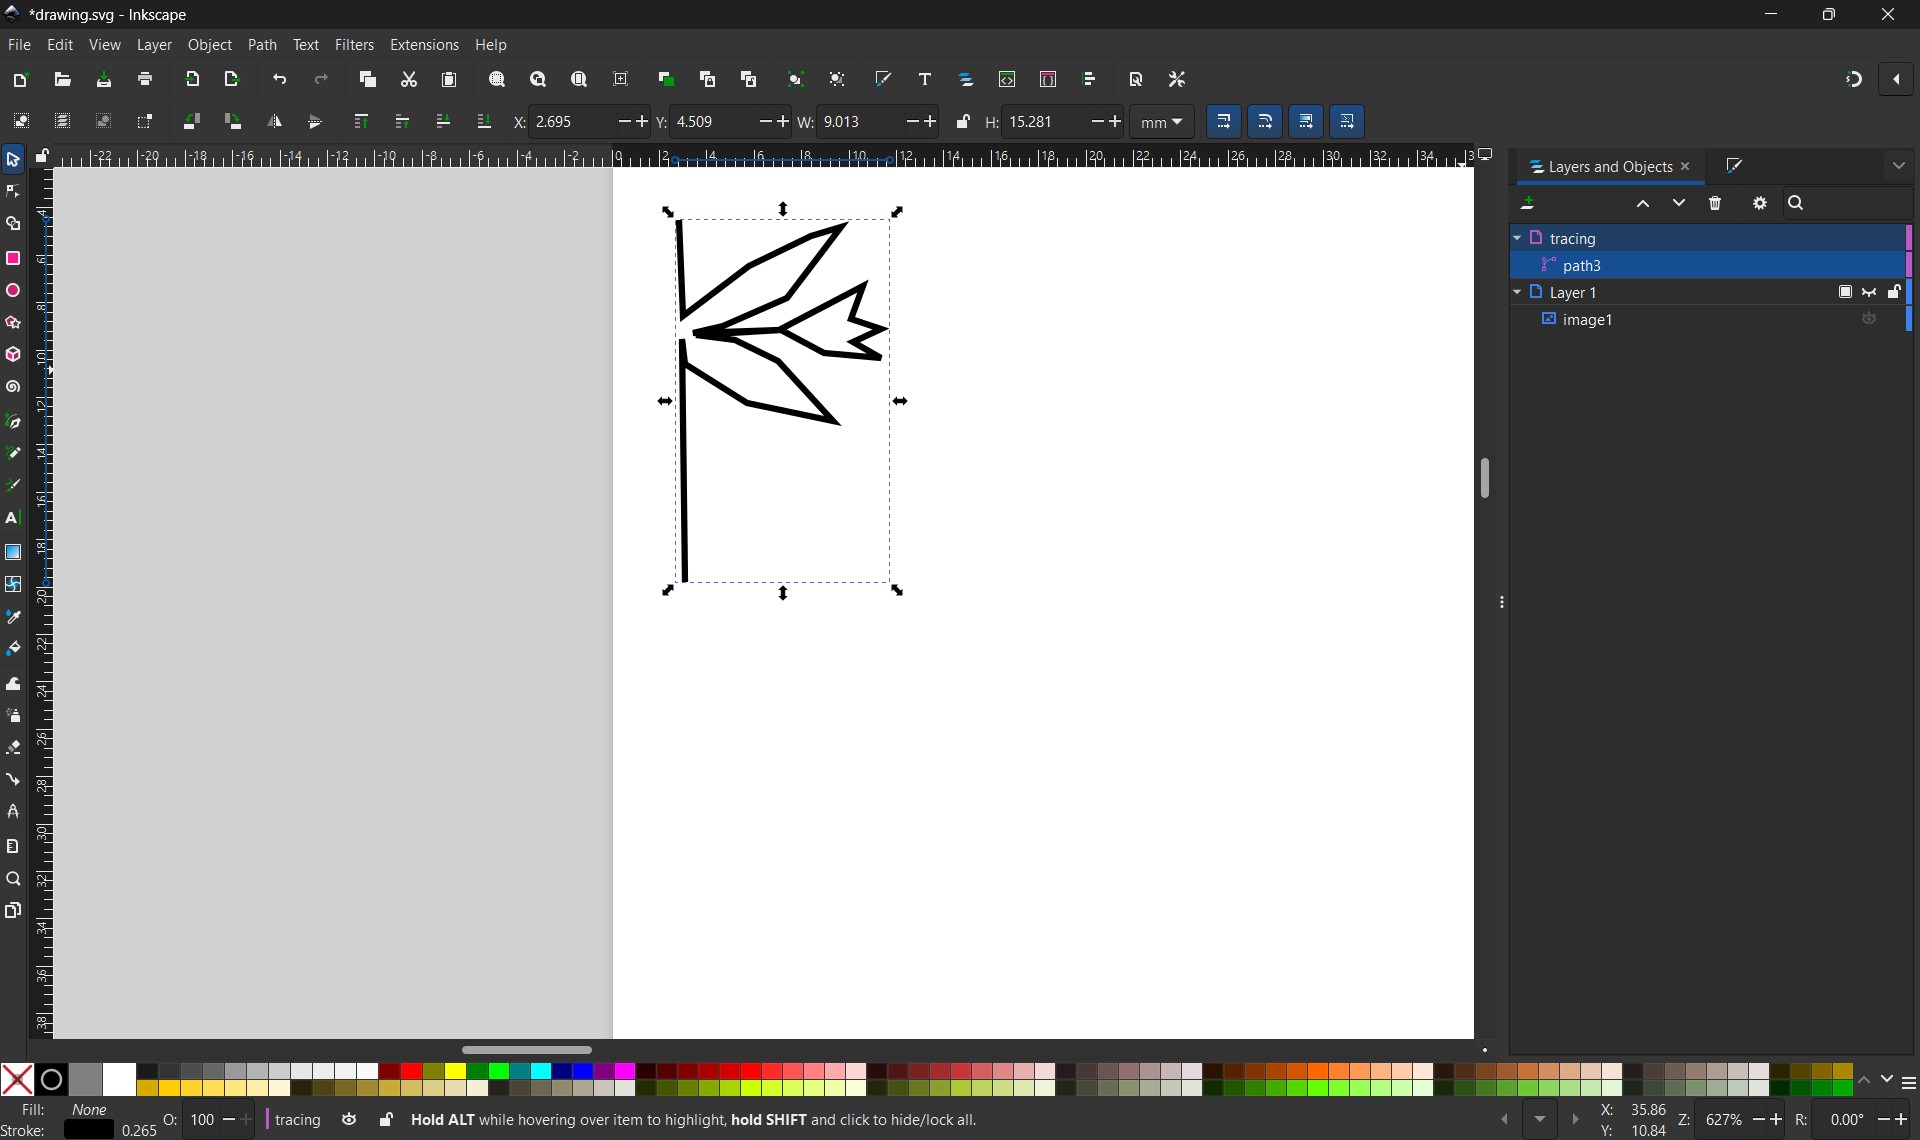
Select the cursor tool to stop making the path. Hide the imported photo layer (as you can see on the right, I've done this).
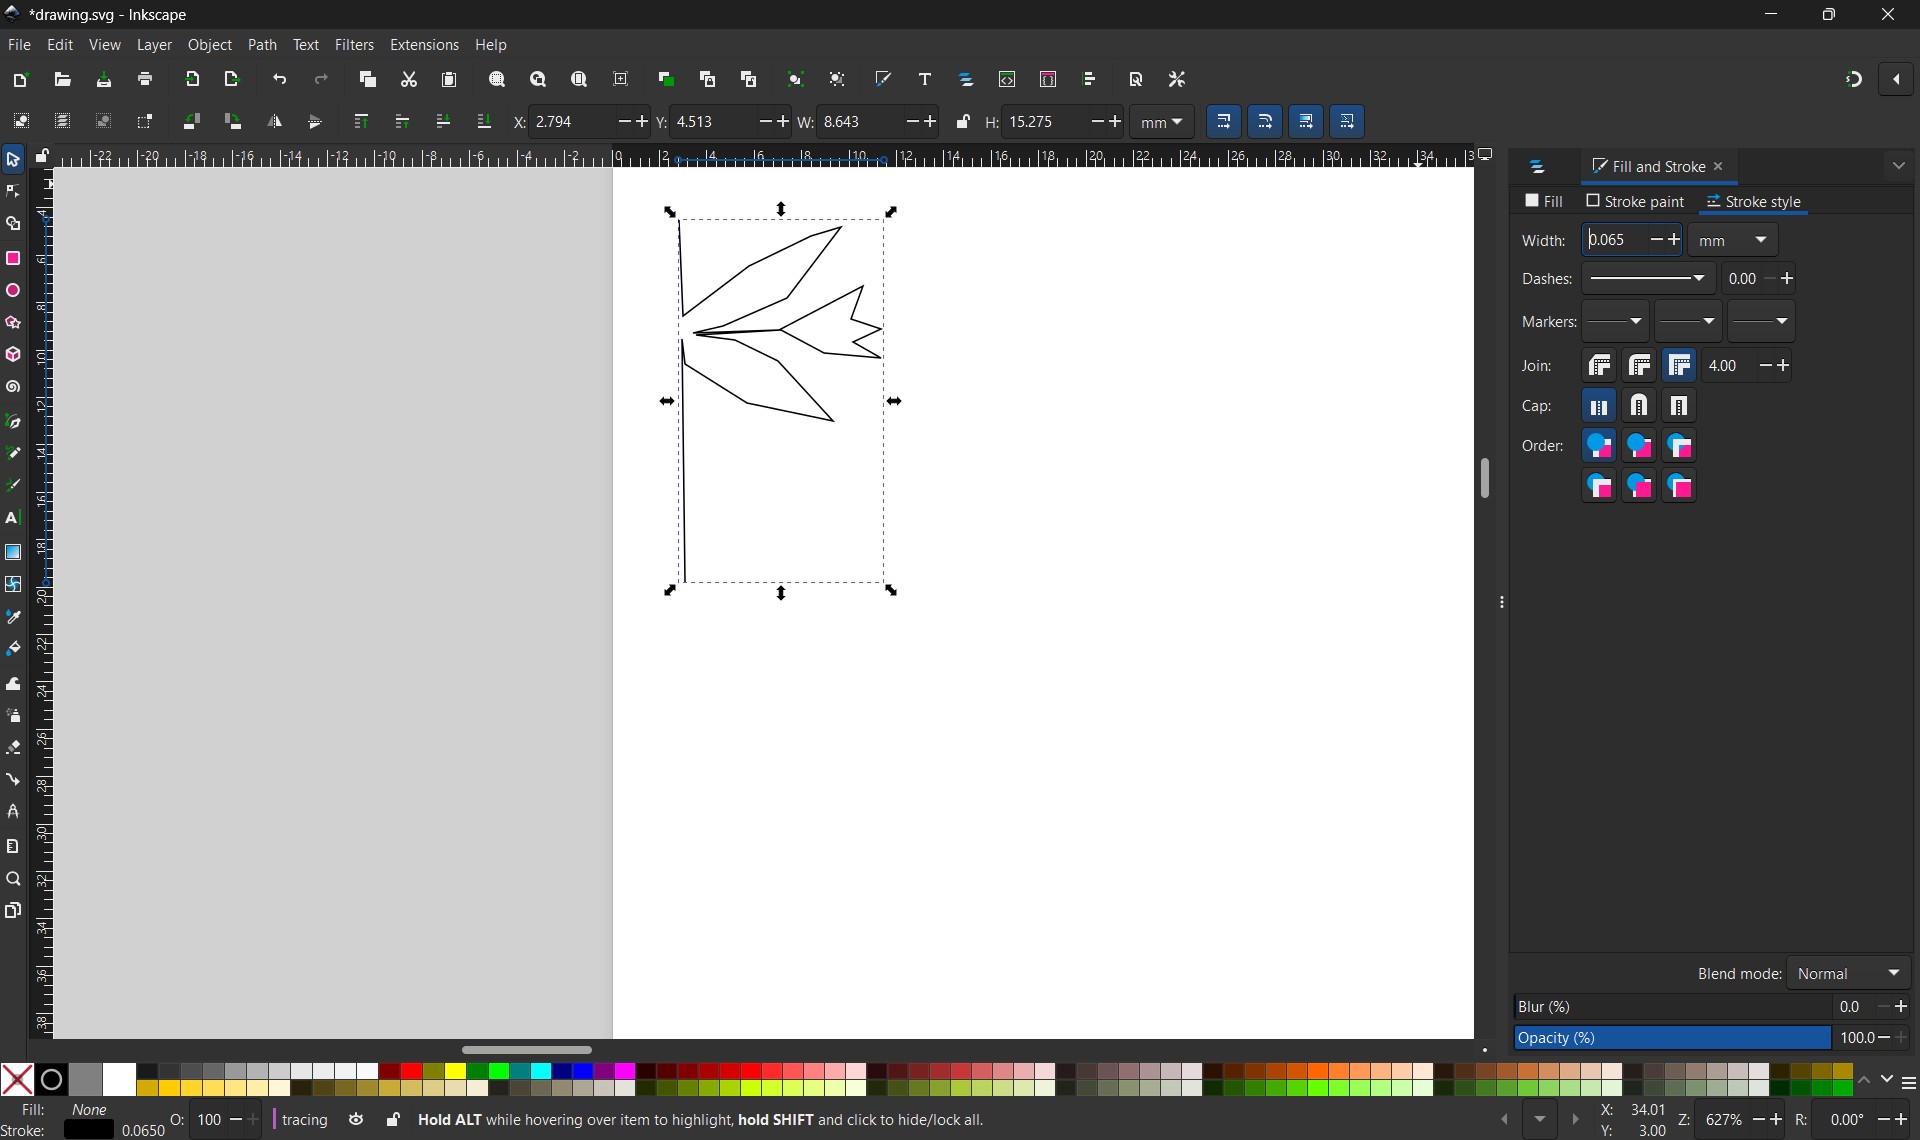
You can make the path stroke width smaller by going to the 'Fill and Stroke' tab. I wanted my path to be thin as I wanted a single-stitch embroidery design.
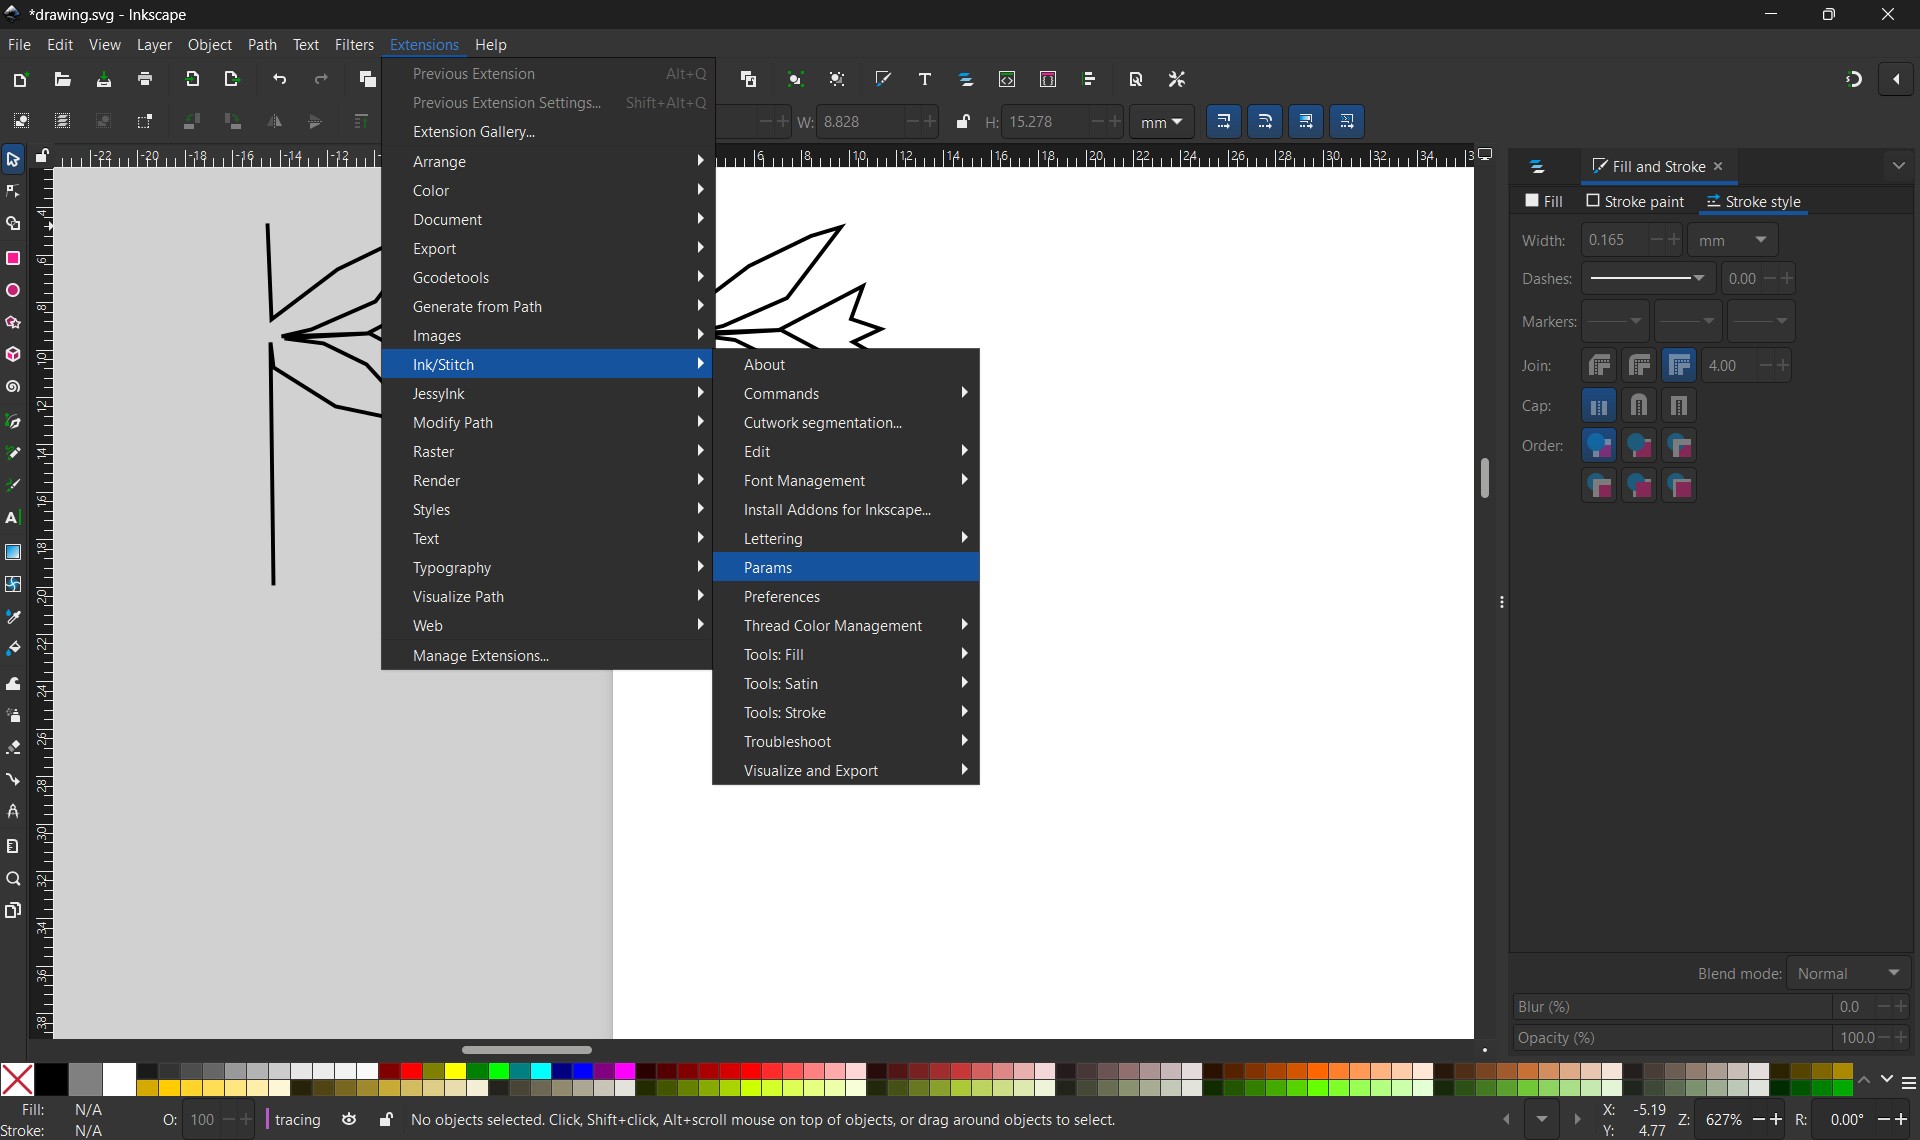
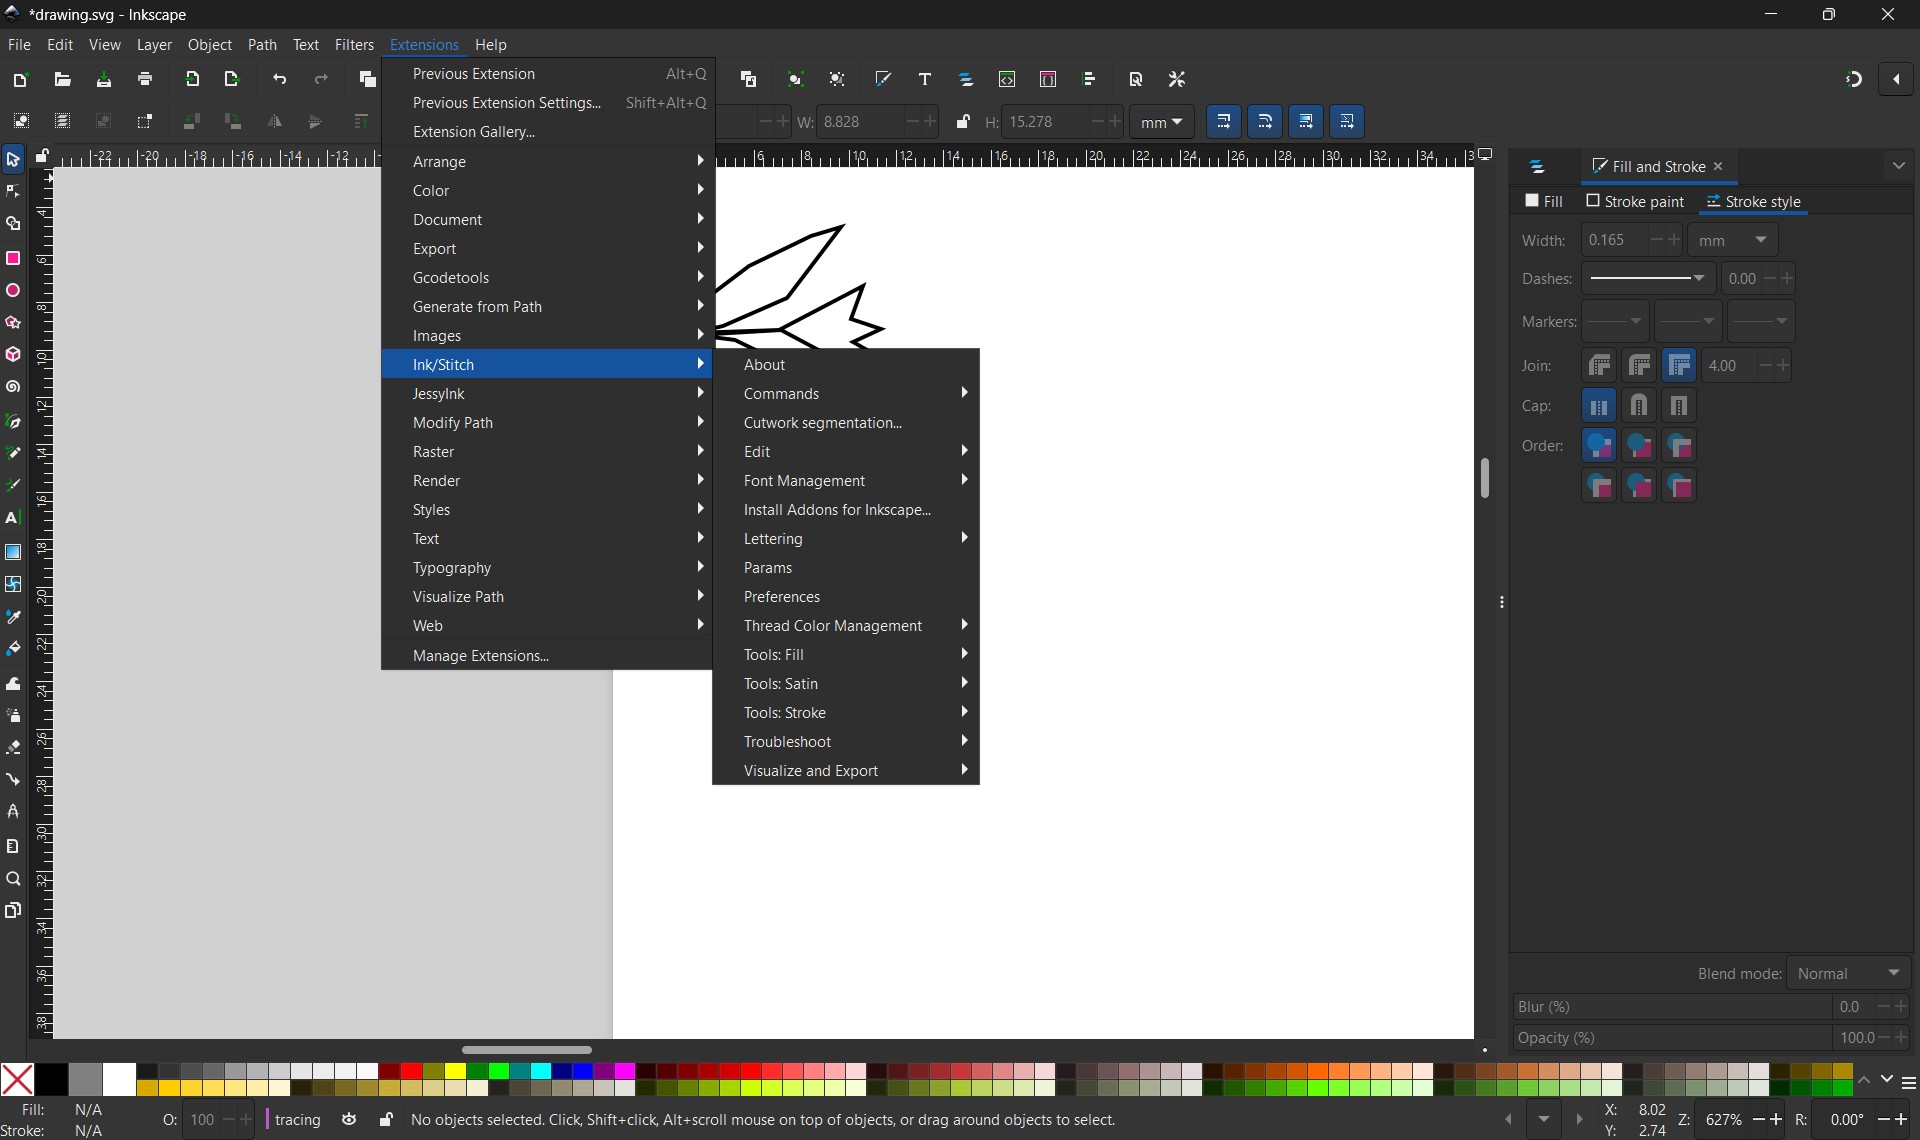
Go to Extensions > Ink&Stitch > Params to view an embroidered version of your design.
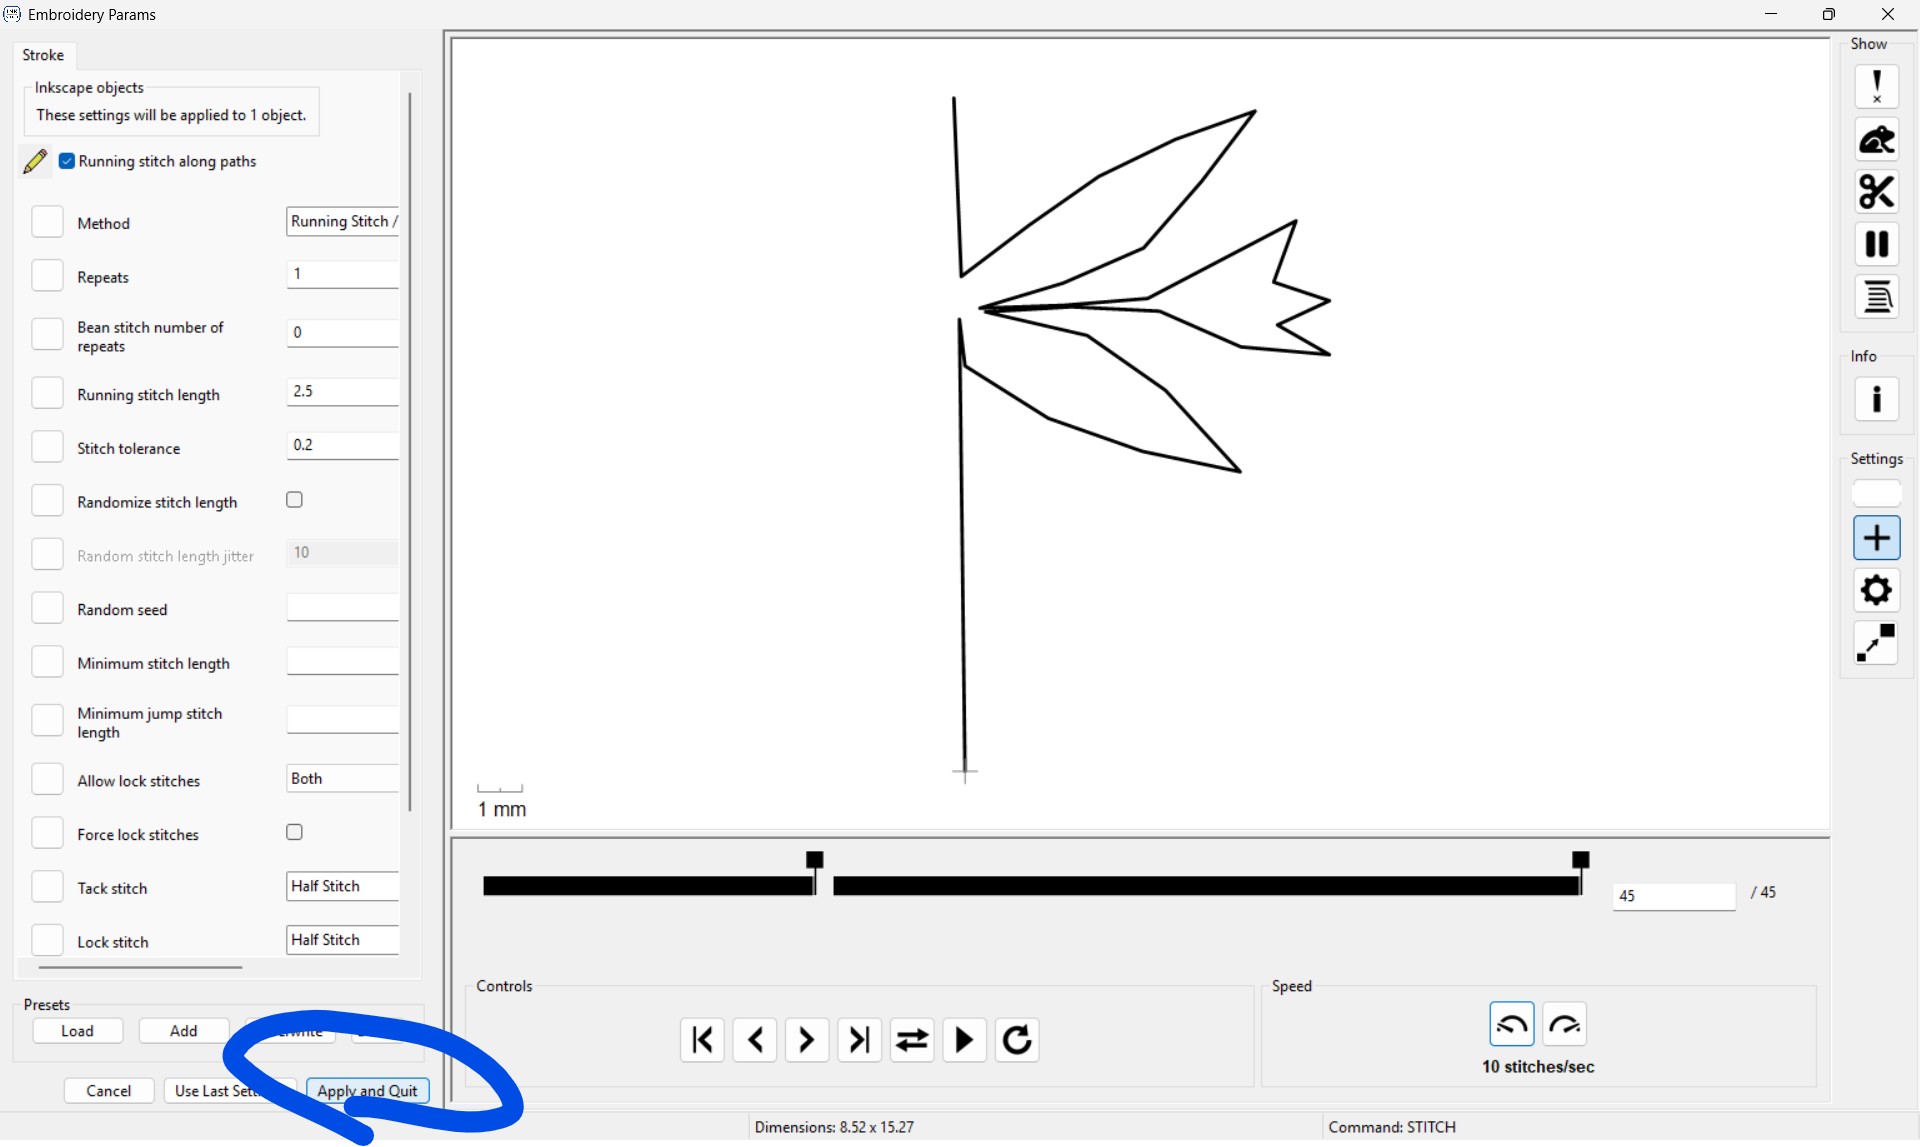
The window. Go to Apply & Quit when you're happy with your settings.
Finally, go to Extensions > Ink&Stitch > Visualize and Export to export this design to your desired embroidery machine file type. Your file type will depend on the brand of machine, for example, I used a PES file type for a Brother embroidery machine. When finished, upload this file to a USB drive and put the USB drive in your computerized embroidery machine.
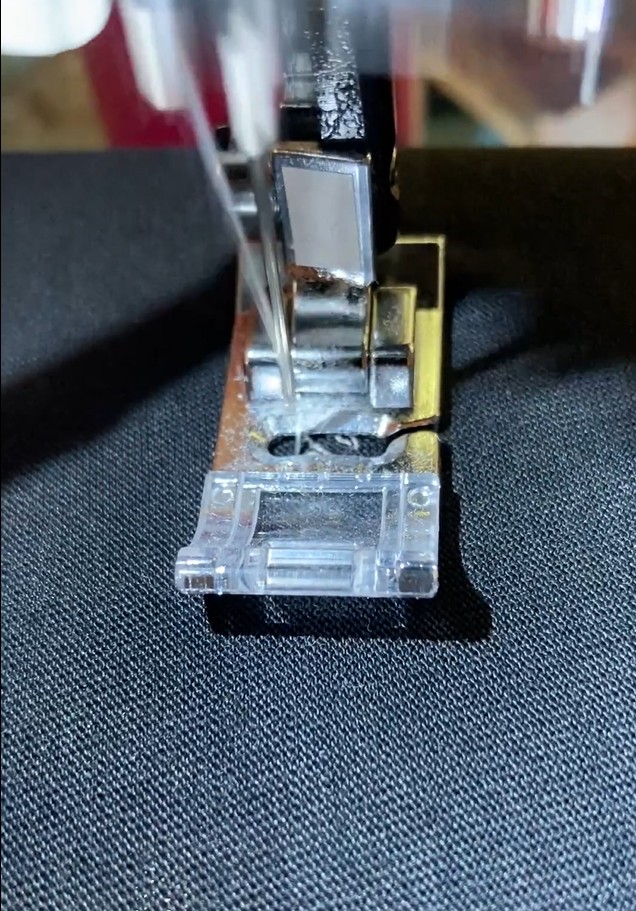
The machine working on the design.
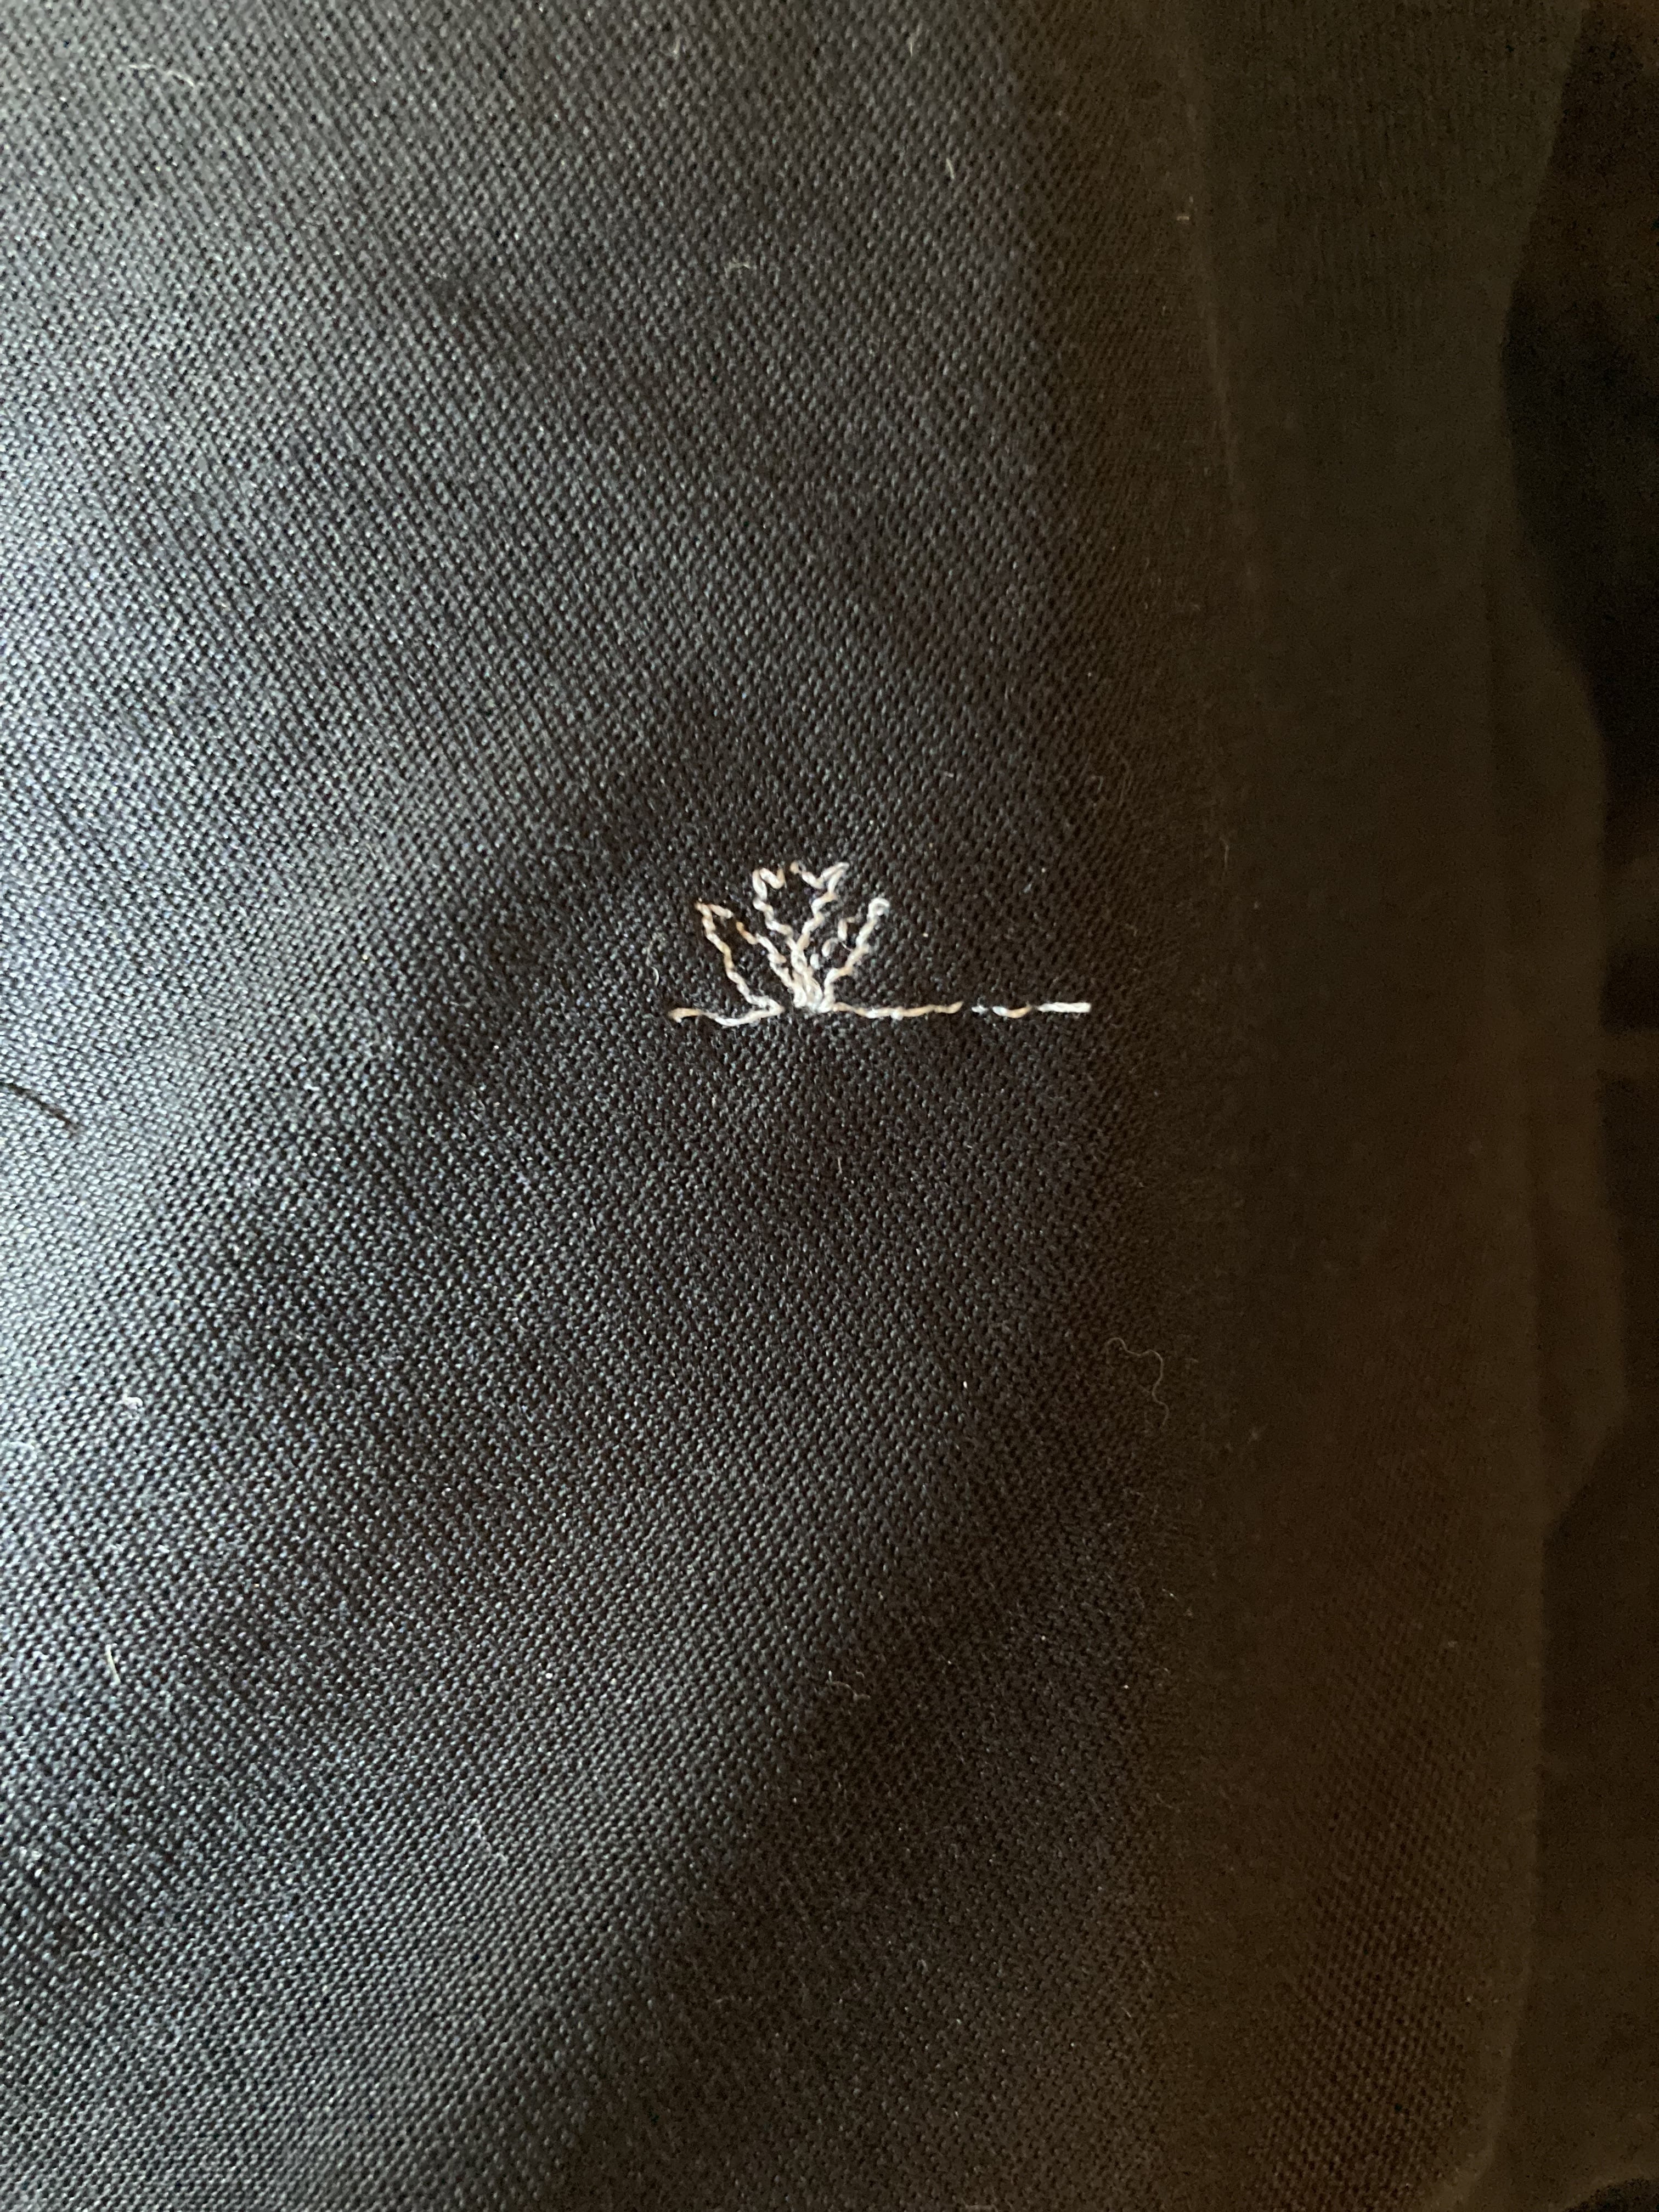
The finished design!
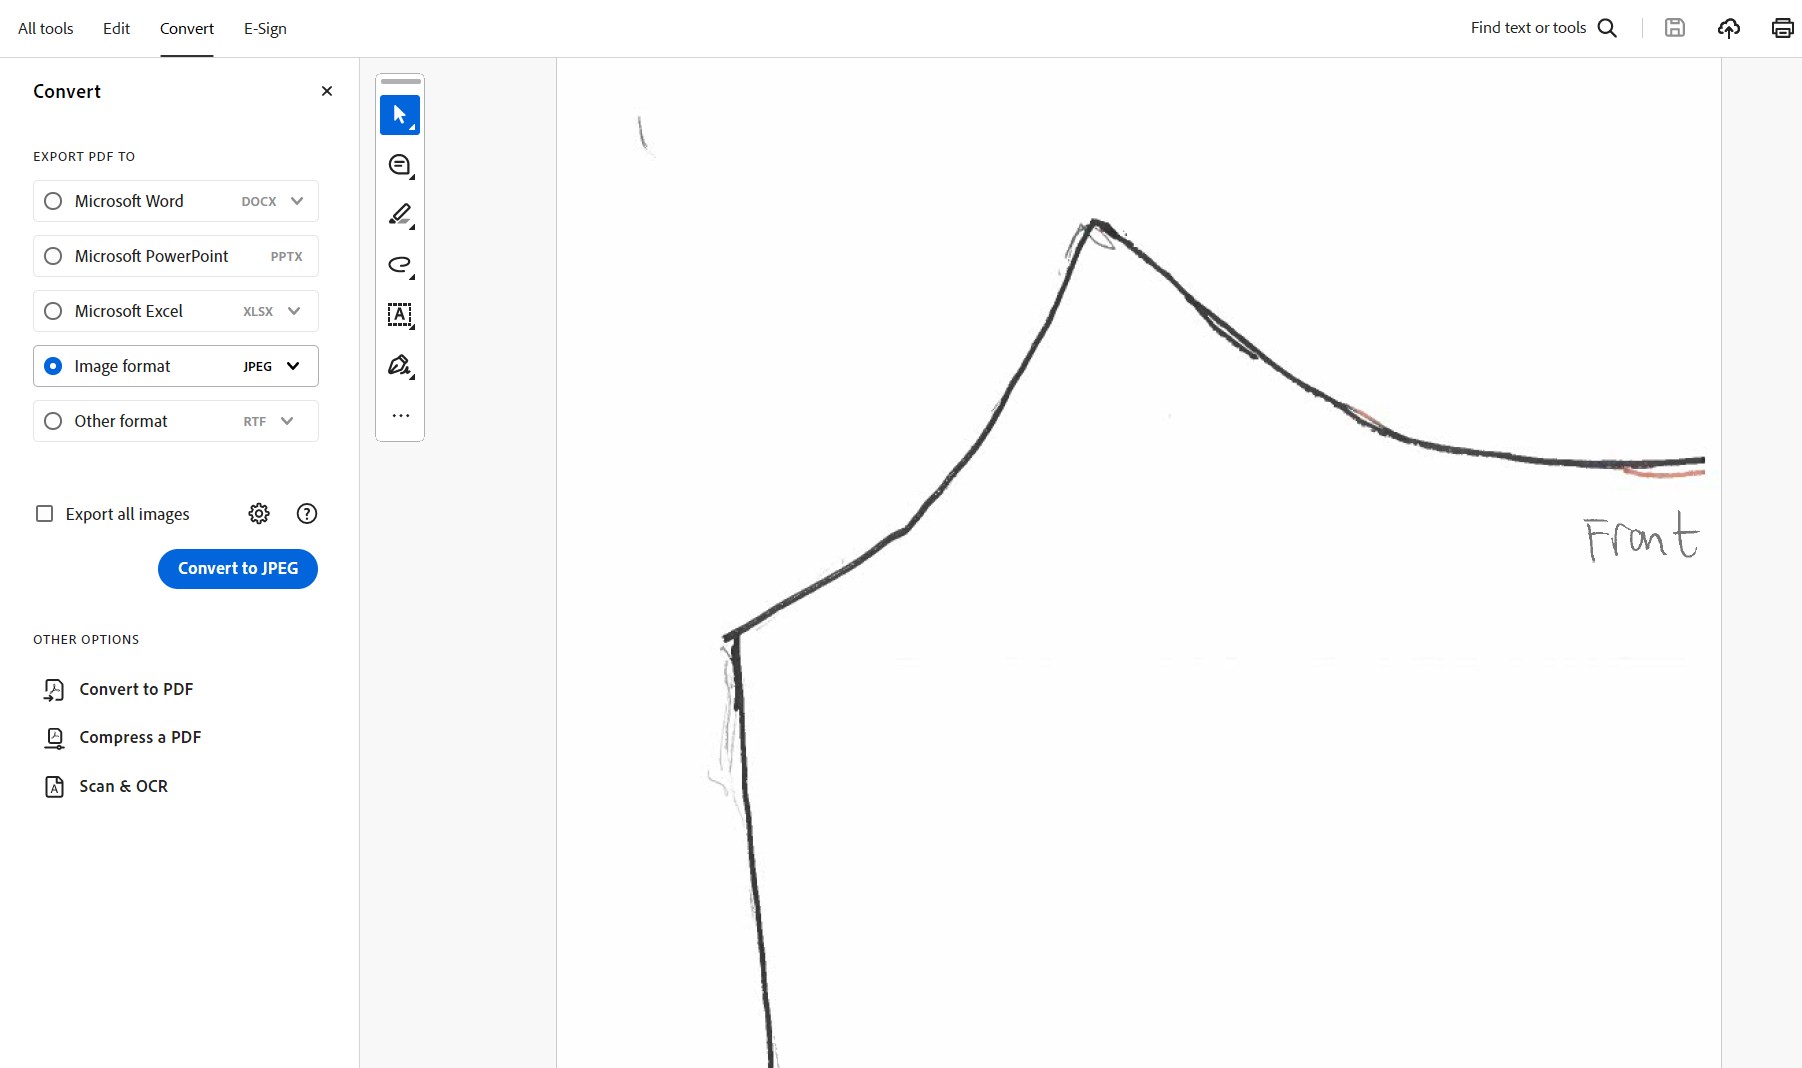
I converted my PDF pattern to a DXF file using Fusion 360. Basically, we convert the pdf to JPG using Adobe, import it into Fusion as a canvas, and sketch on top of the canvas. First, we convert the pdf to JPG using Adobe Acrobat. This could be useful for cutting out pdf patterns on a sheet of cardboard using a laser cutter, which avoids the time wasted taping the pages of a pdf pattern together.
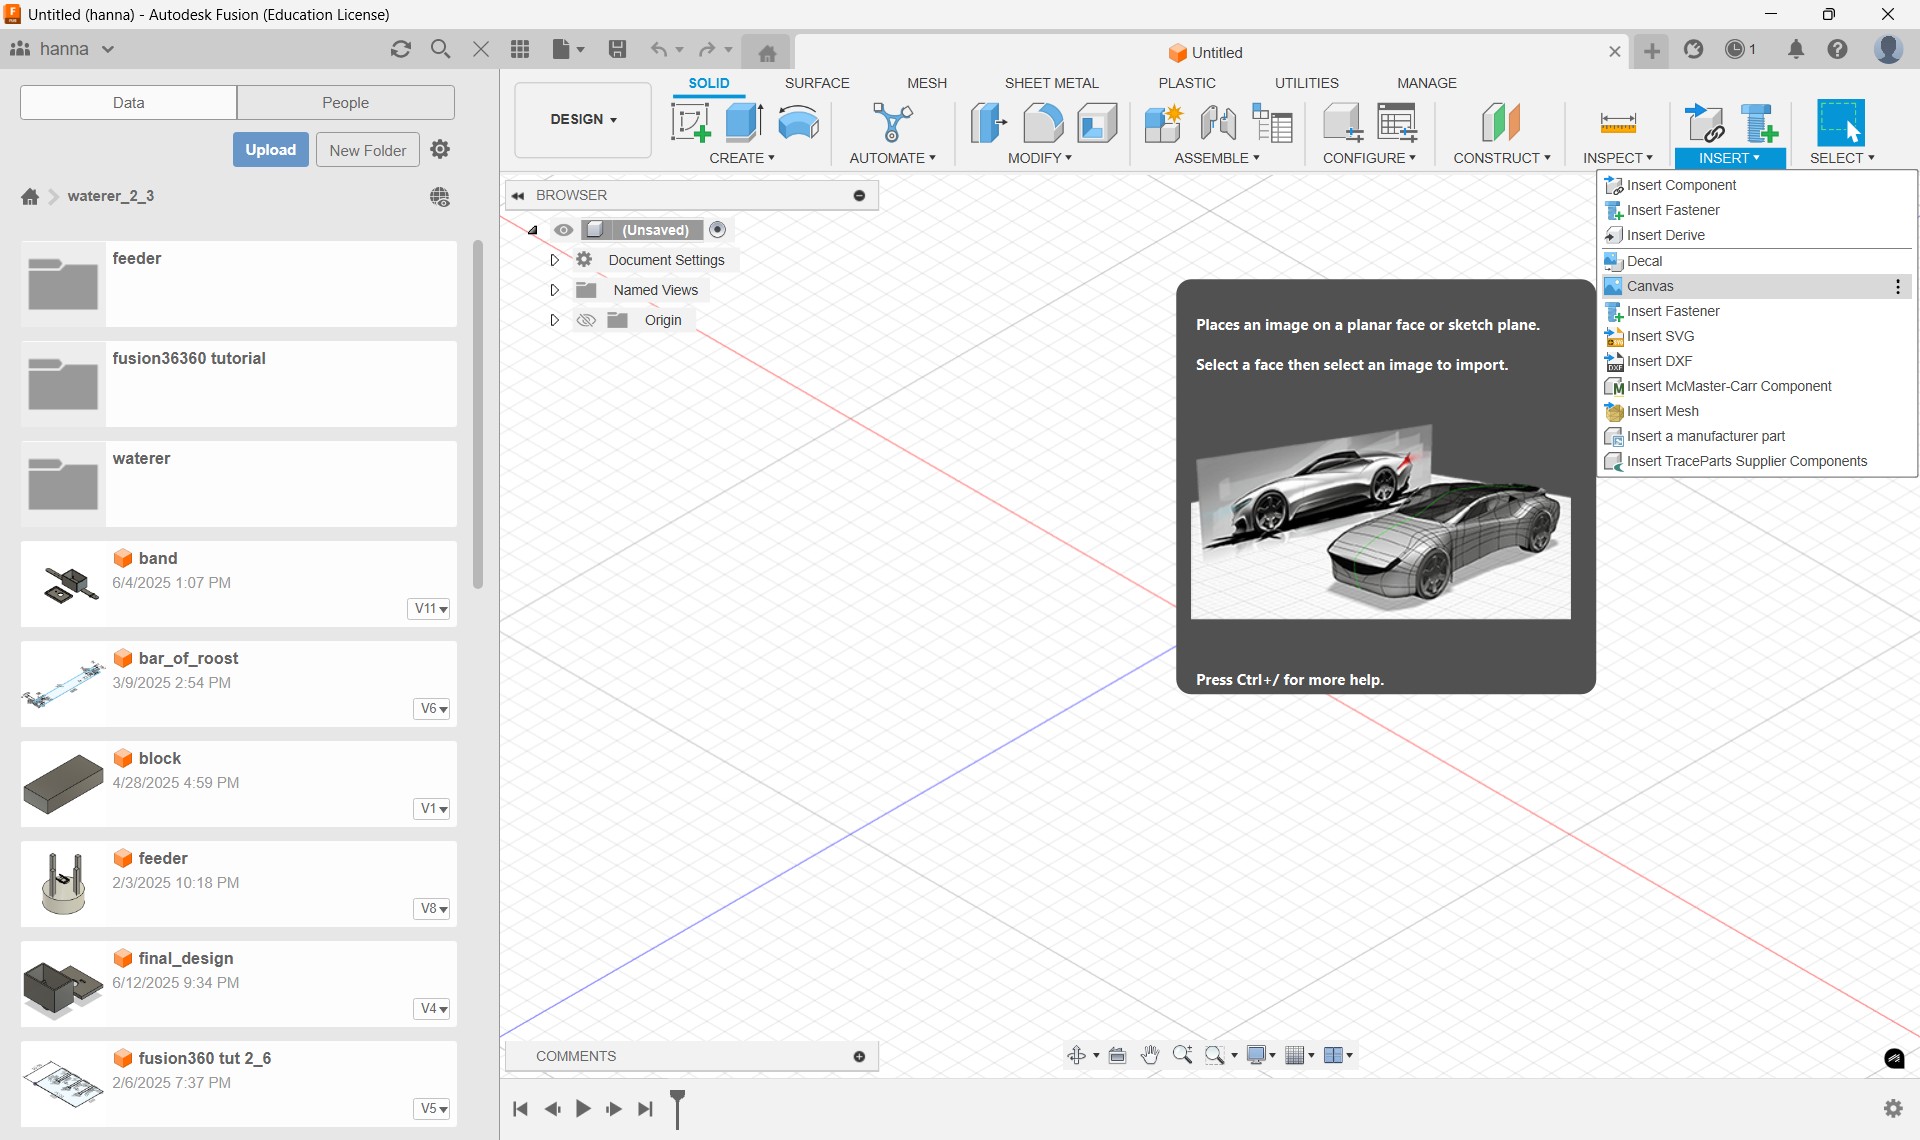
Next, create a new design in Fusion. To insert the new jpg, go to Insert > Canvas.
Scale the canvas according to the real-life size of the paper. Most printer paper has a size in mm of 215 mm x 279 mm.

All 8 pages pieced together. Make sure to match the scale for each canvas piece, mine was 12.816.
Sketch on top of the canvas. I used the segmented line tool.
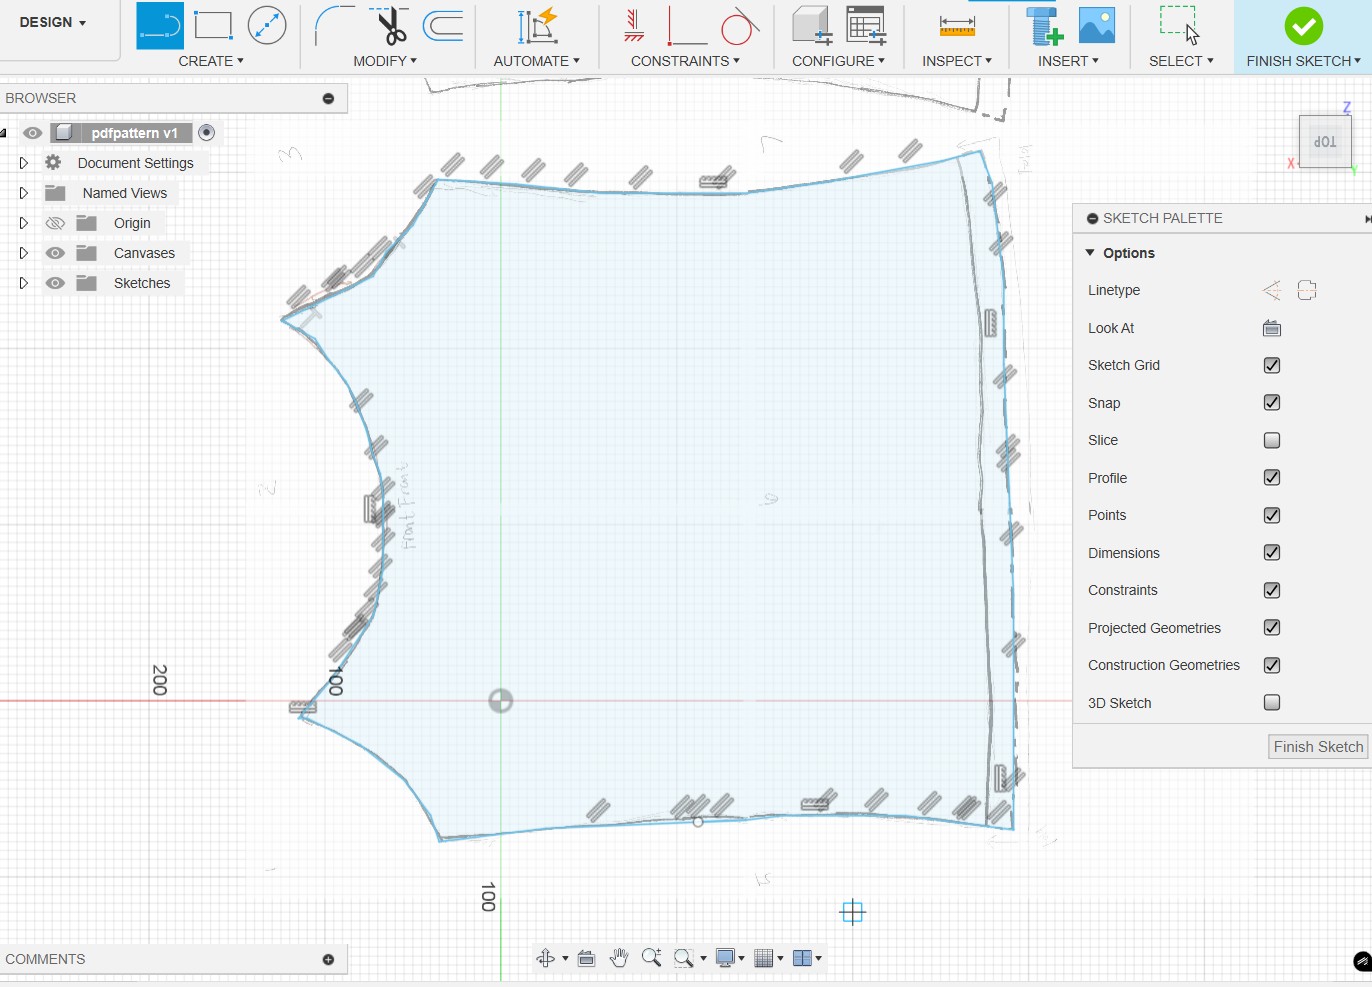
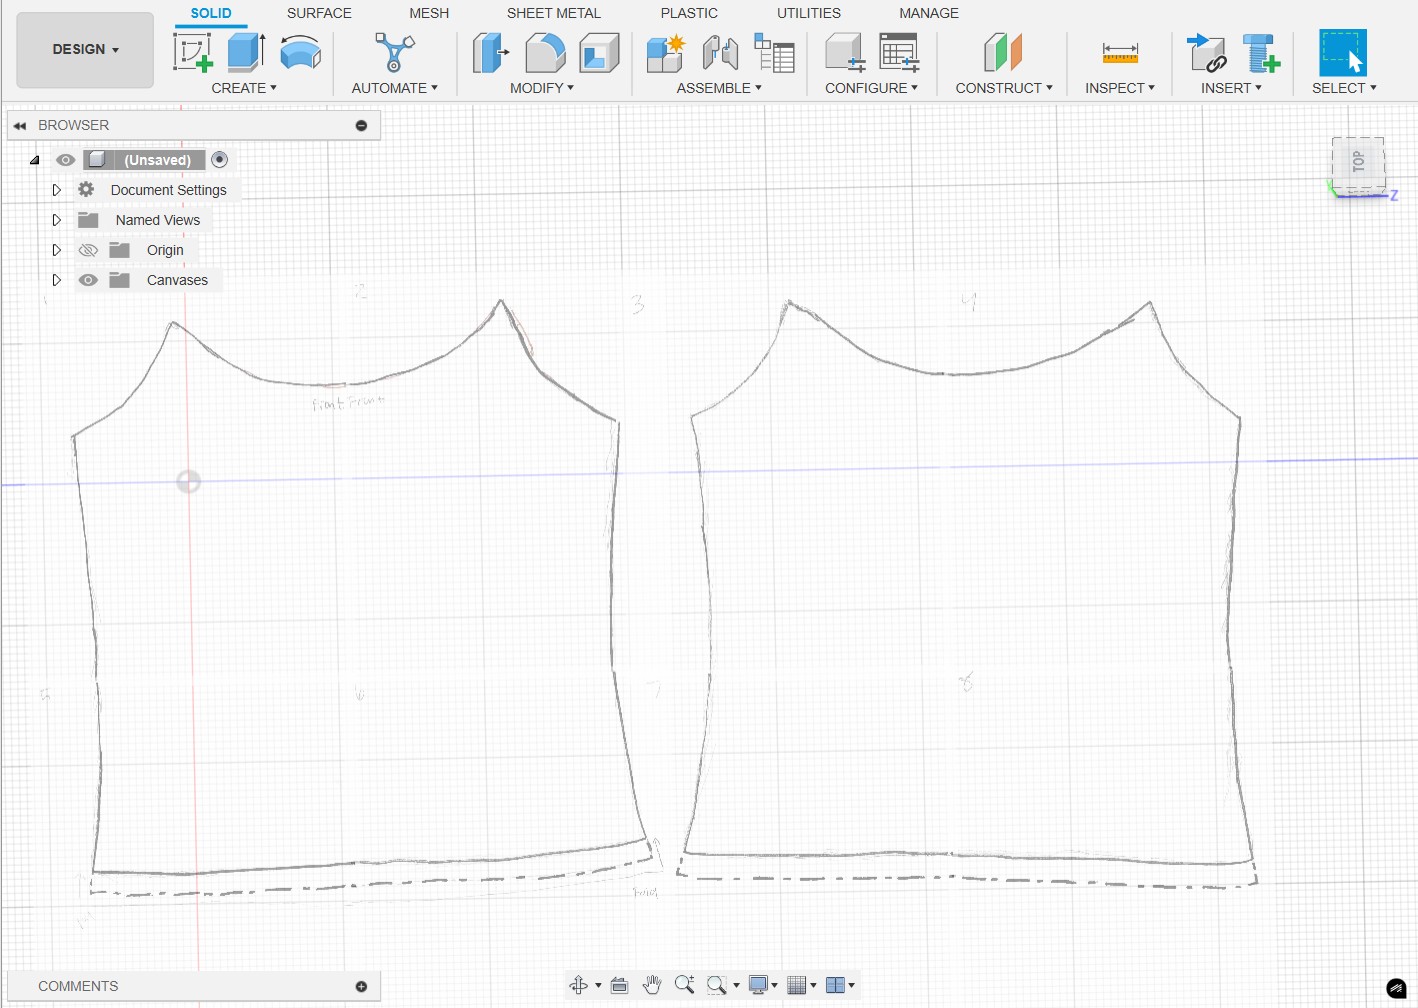
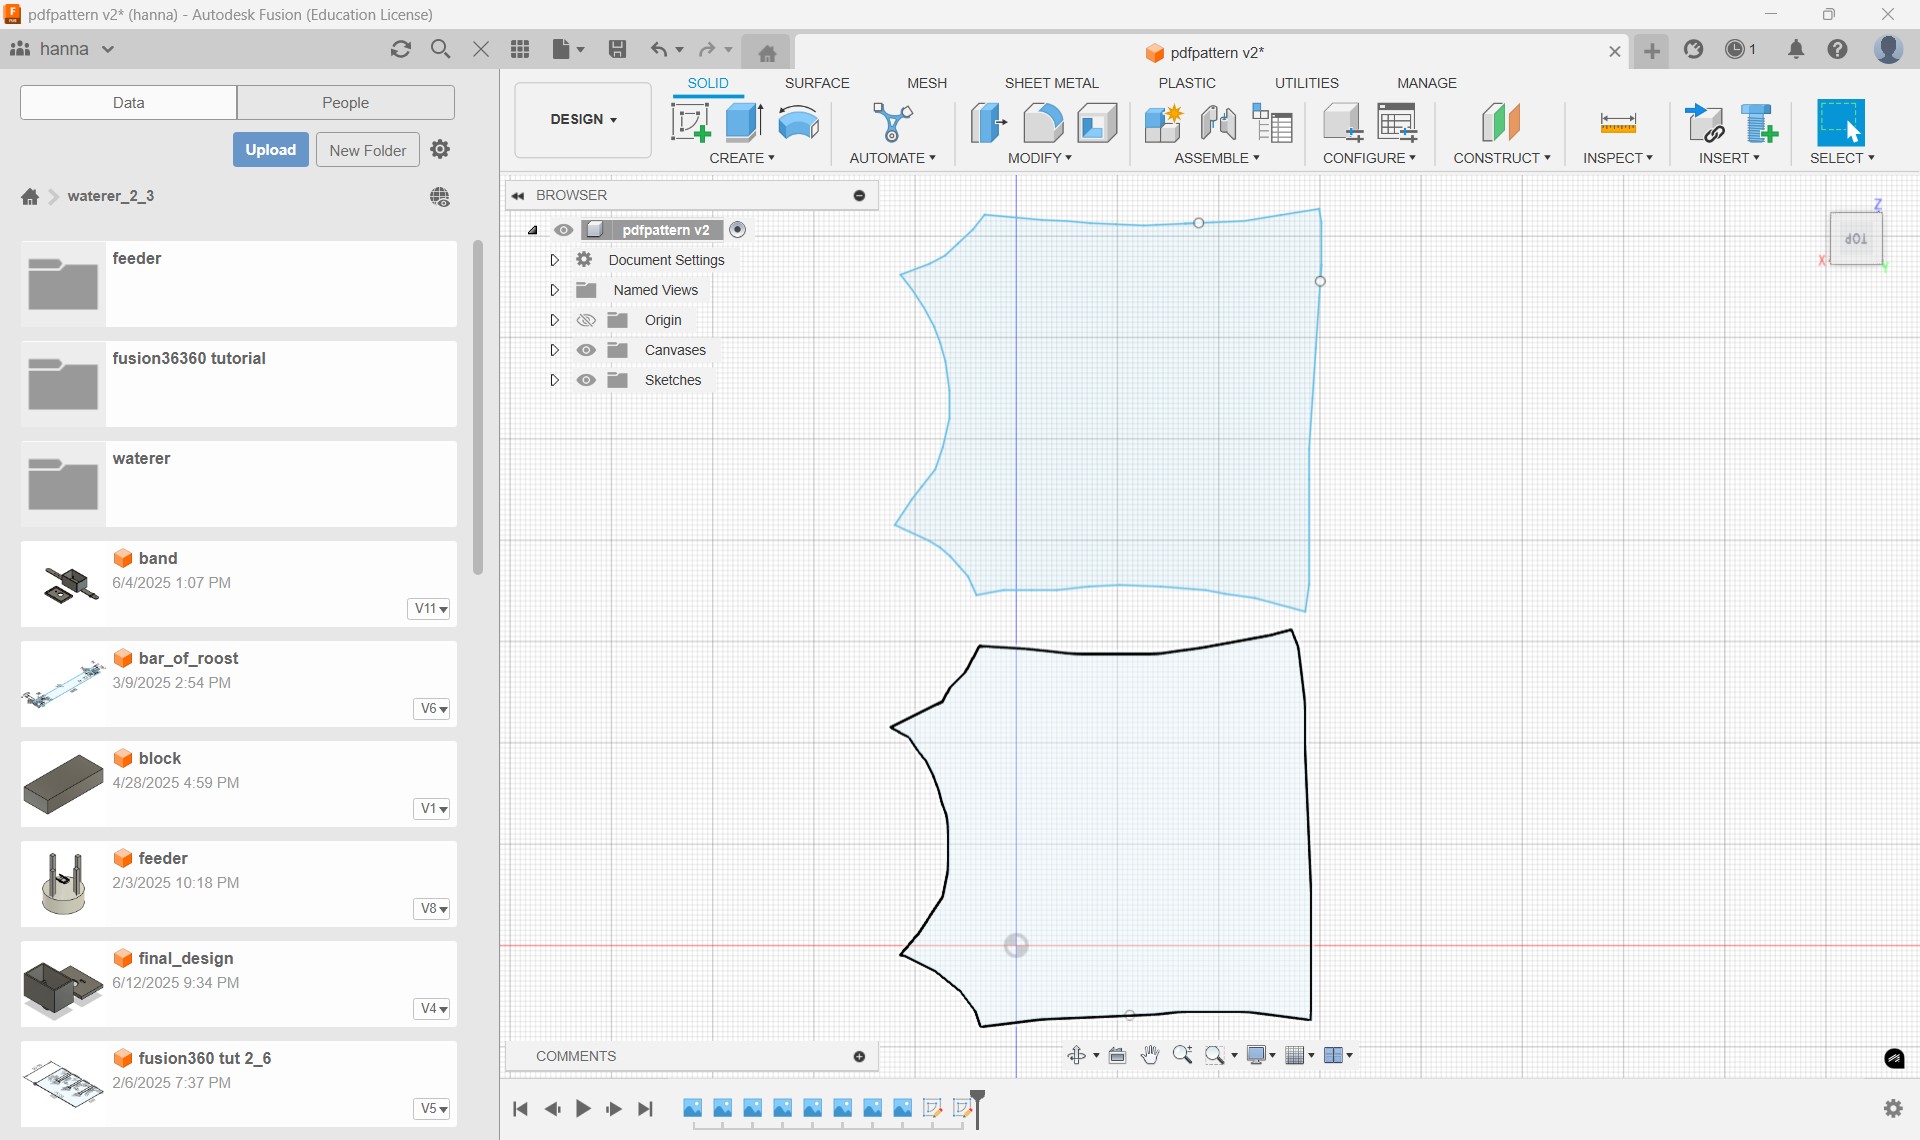
The finished sketches. From here, you can hide the canvases in the Canvases tab and export as a DXF as you normally would.
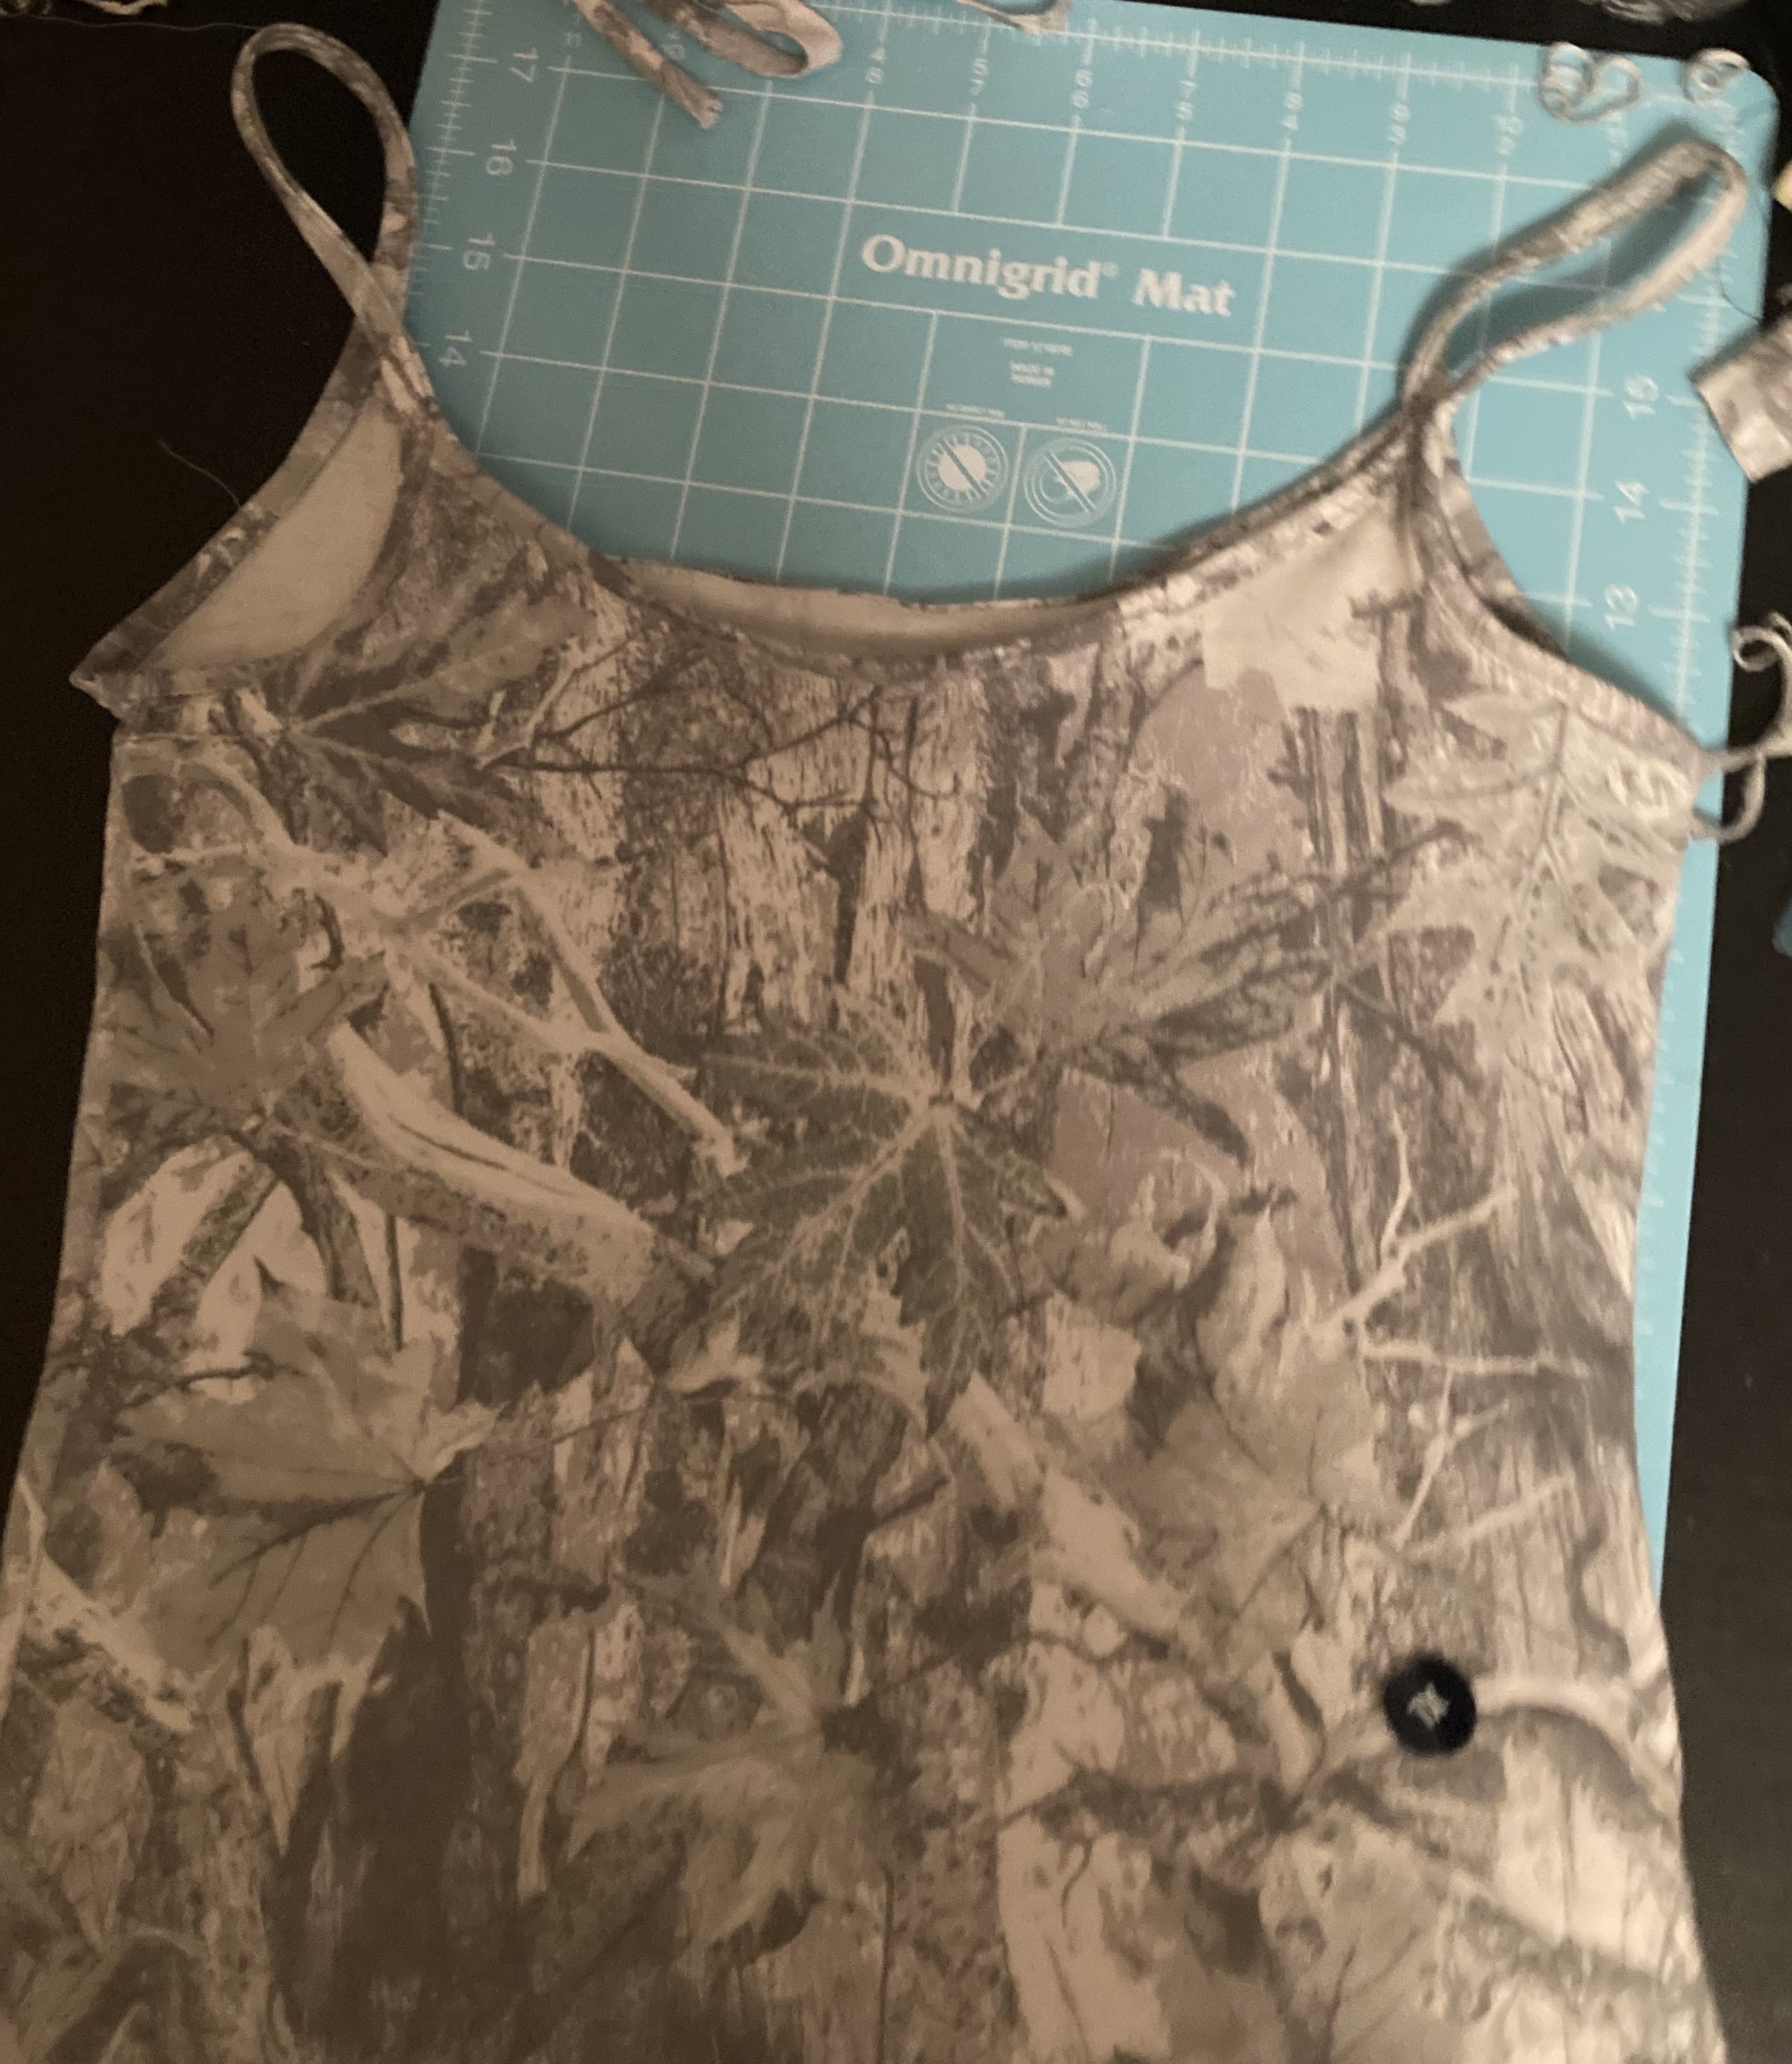
I wasn't happy with the first tank I made from the pattern, because the material was stretchy, and created this wavy texture around the neckline and arms.
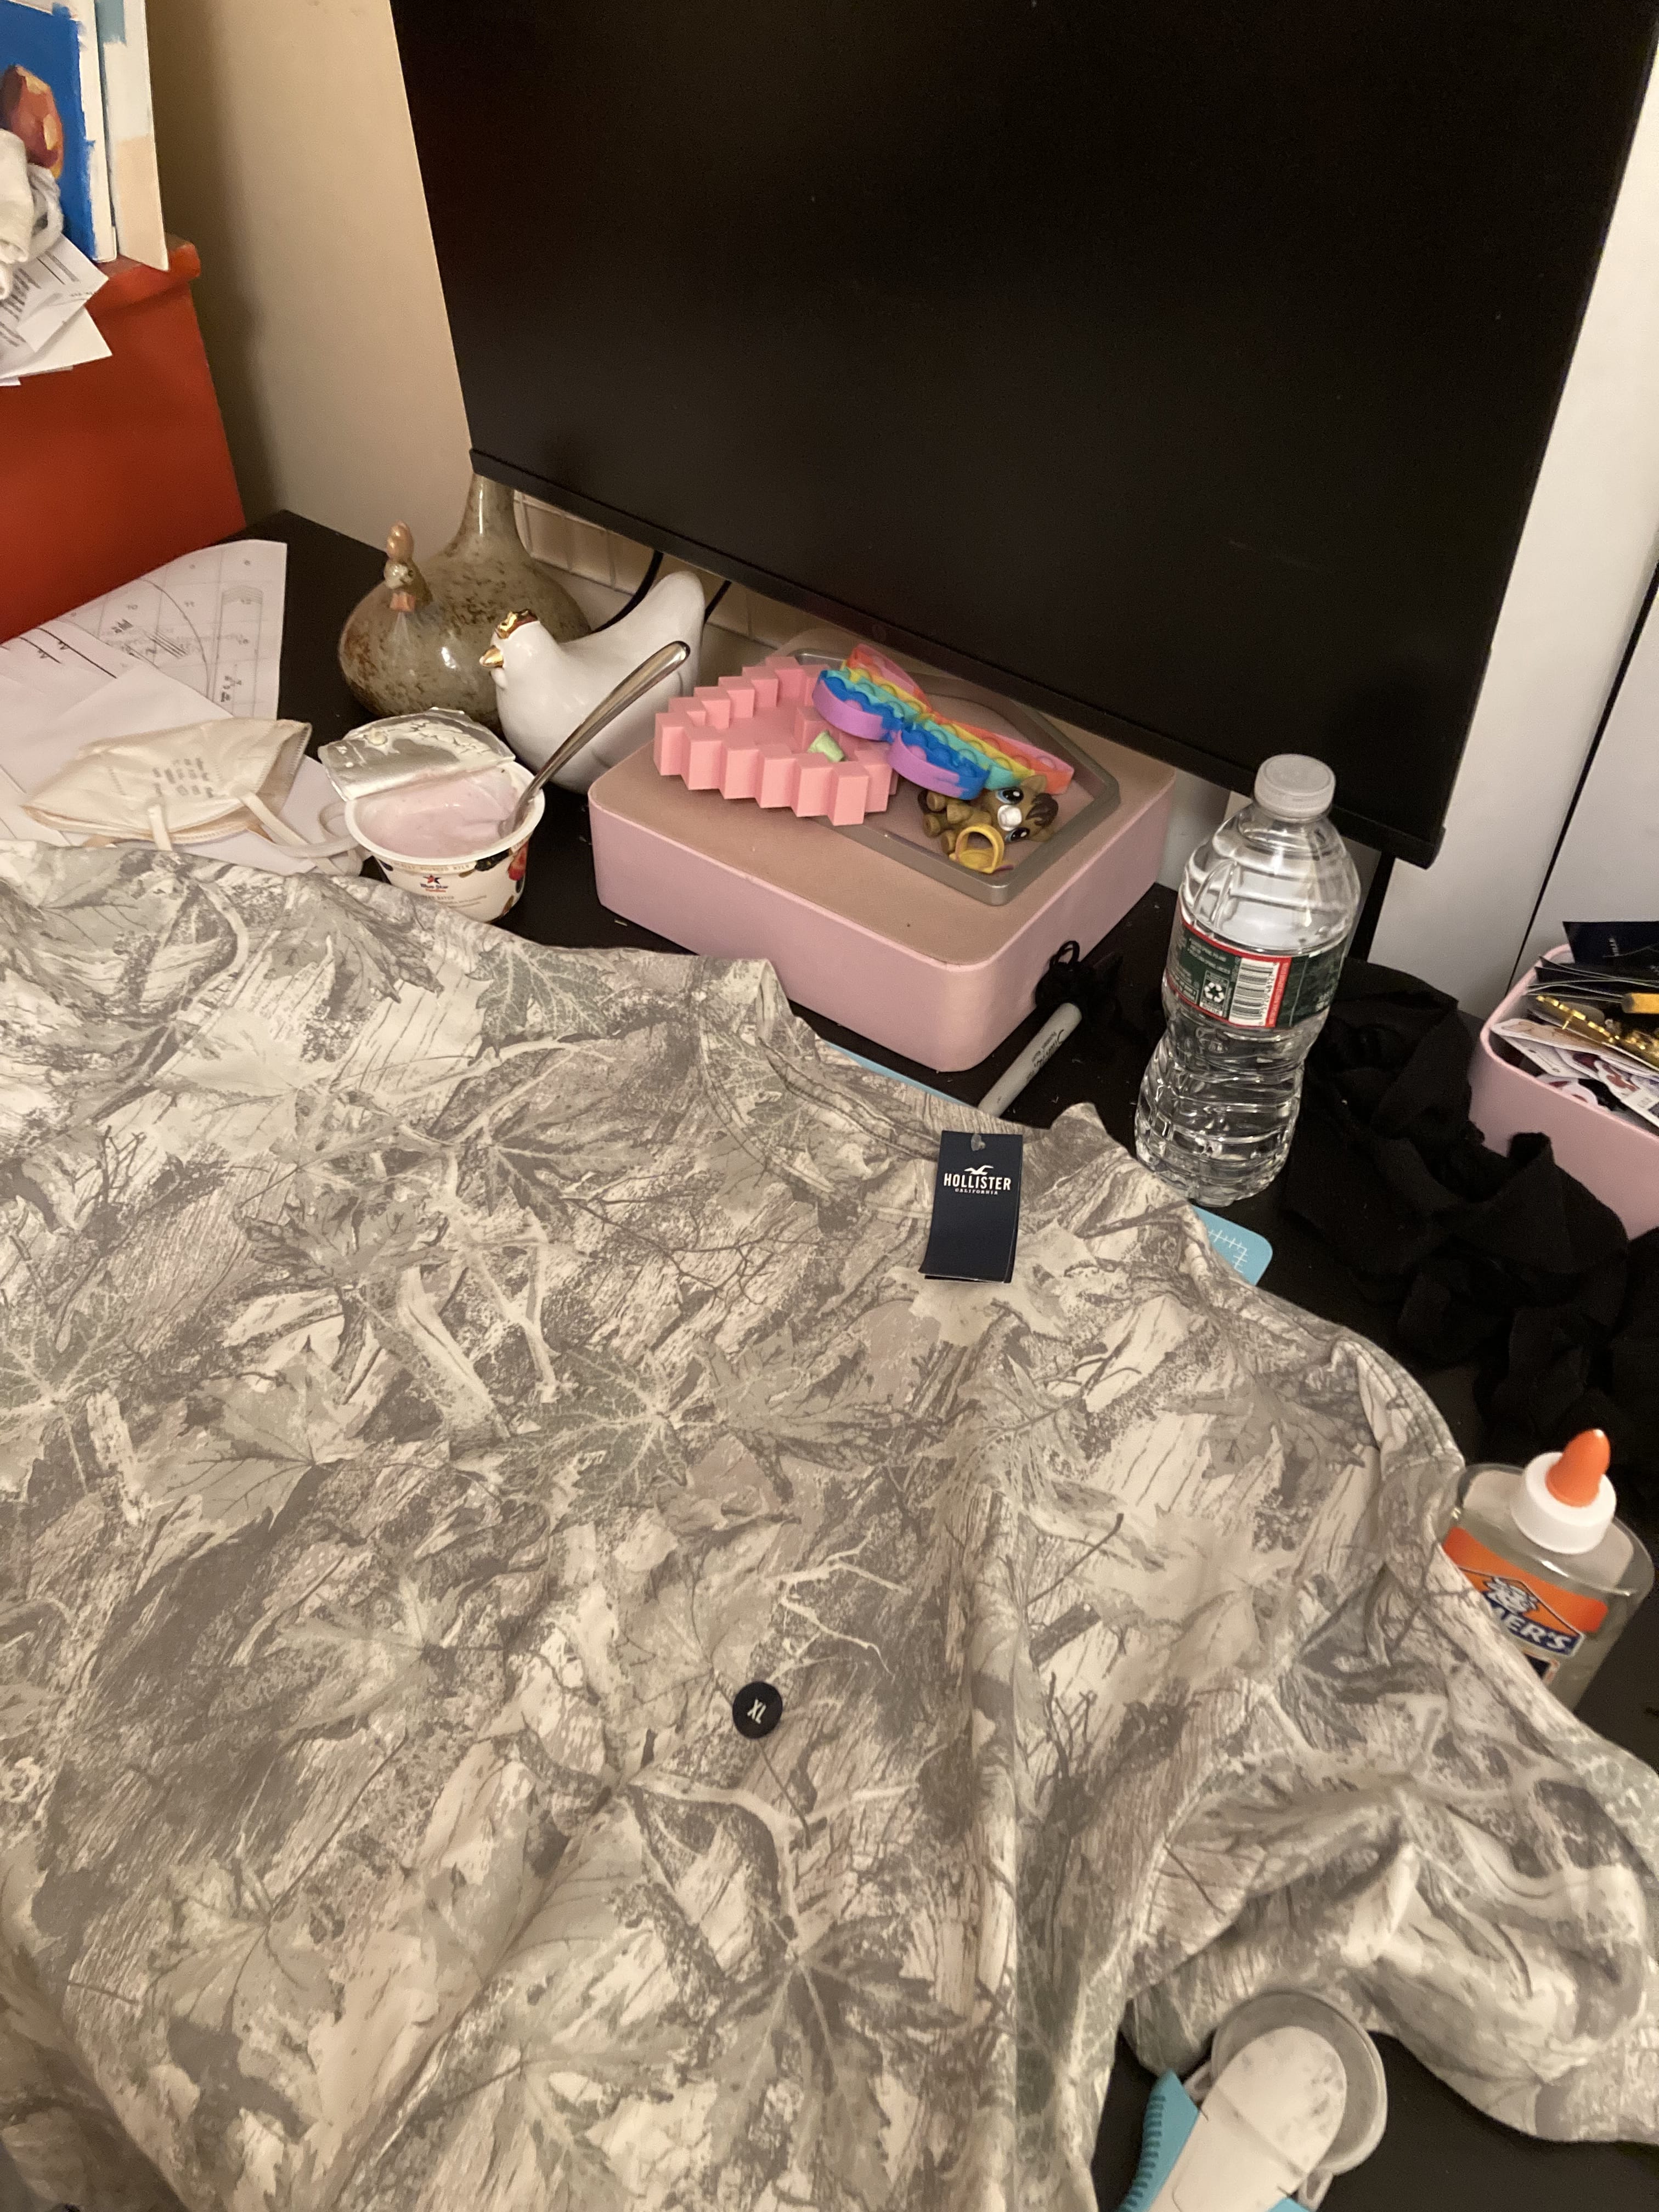
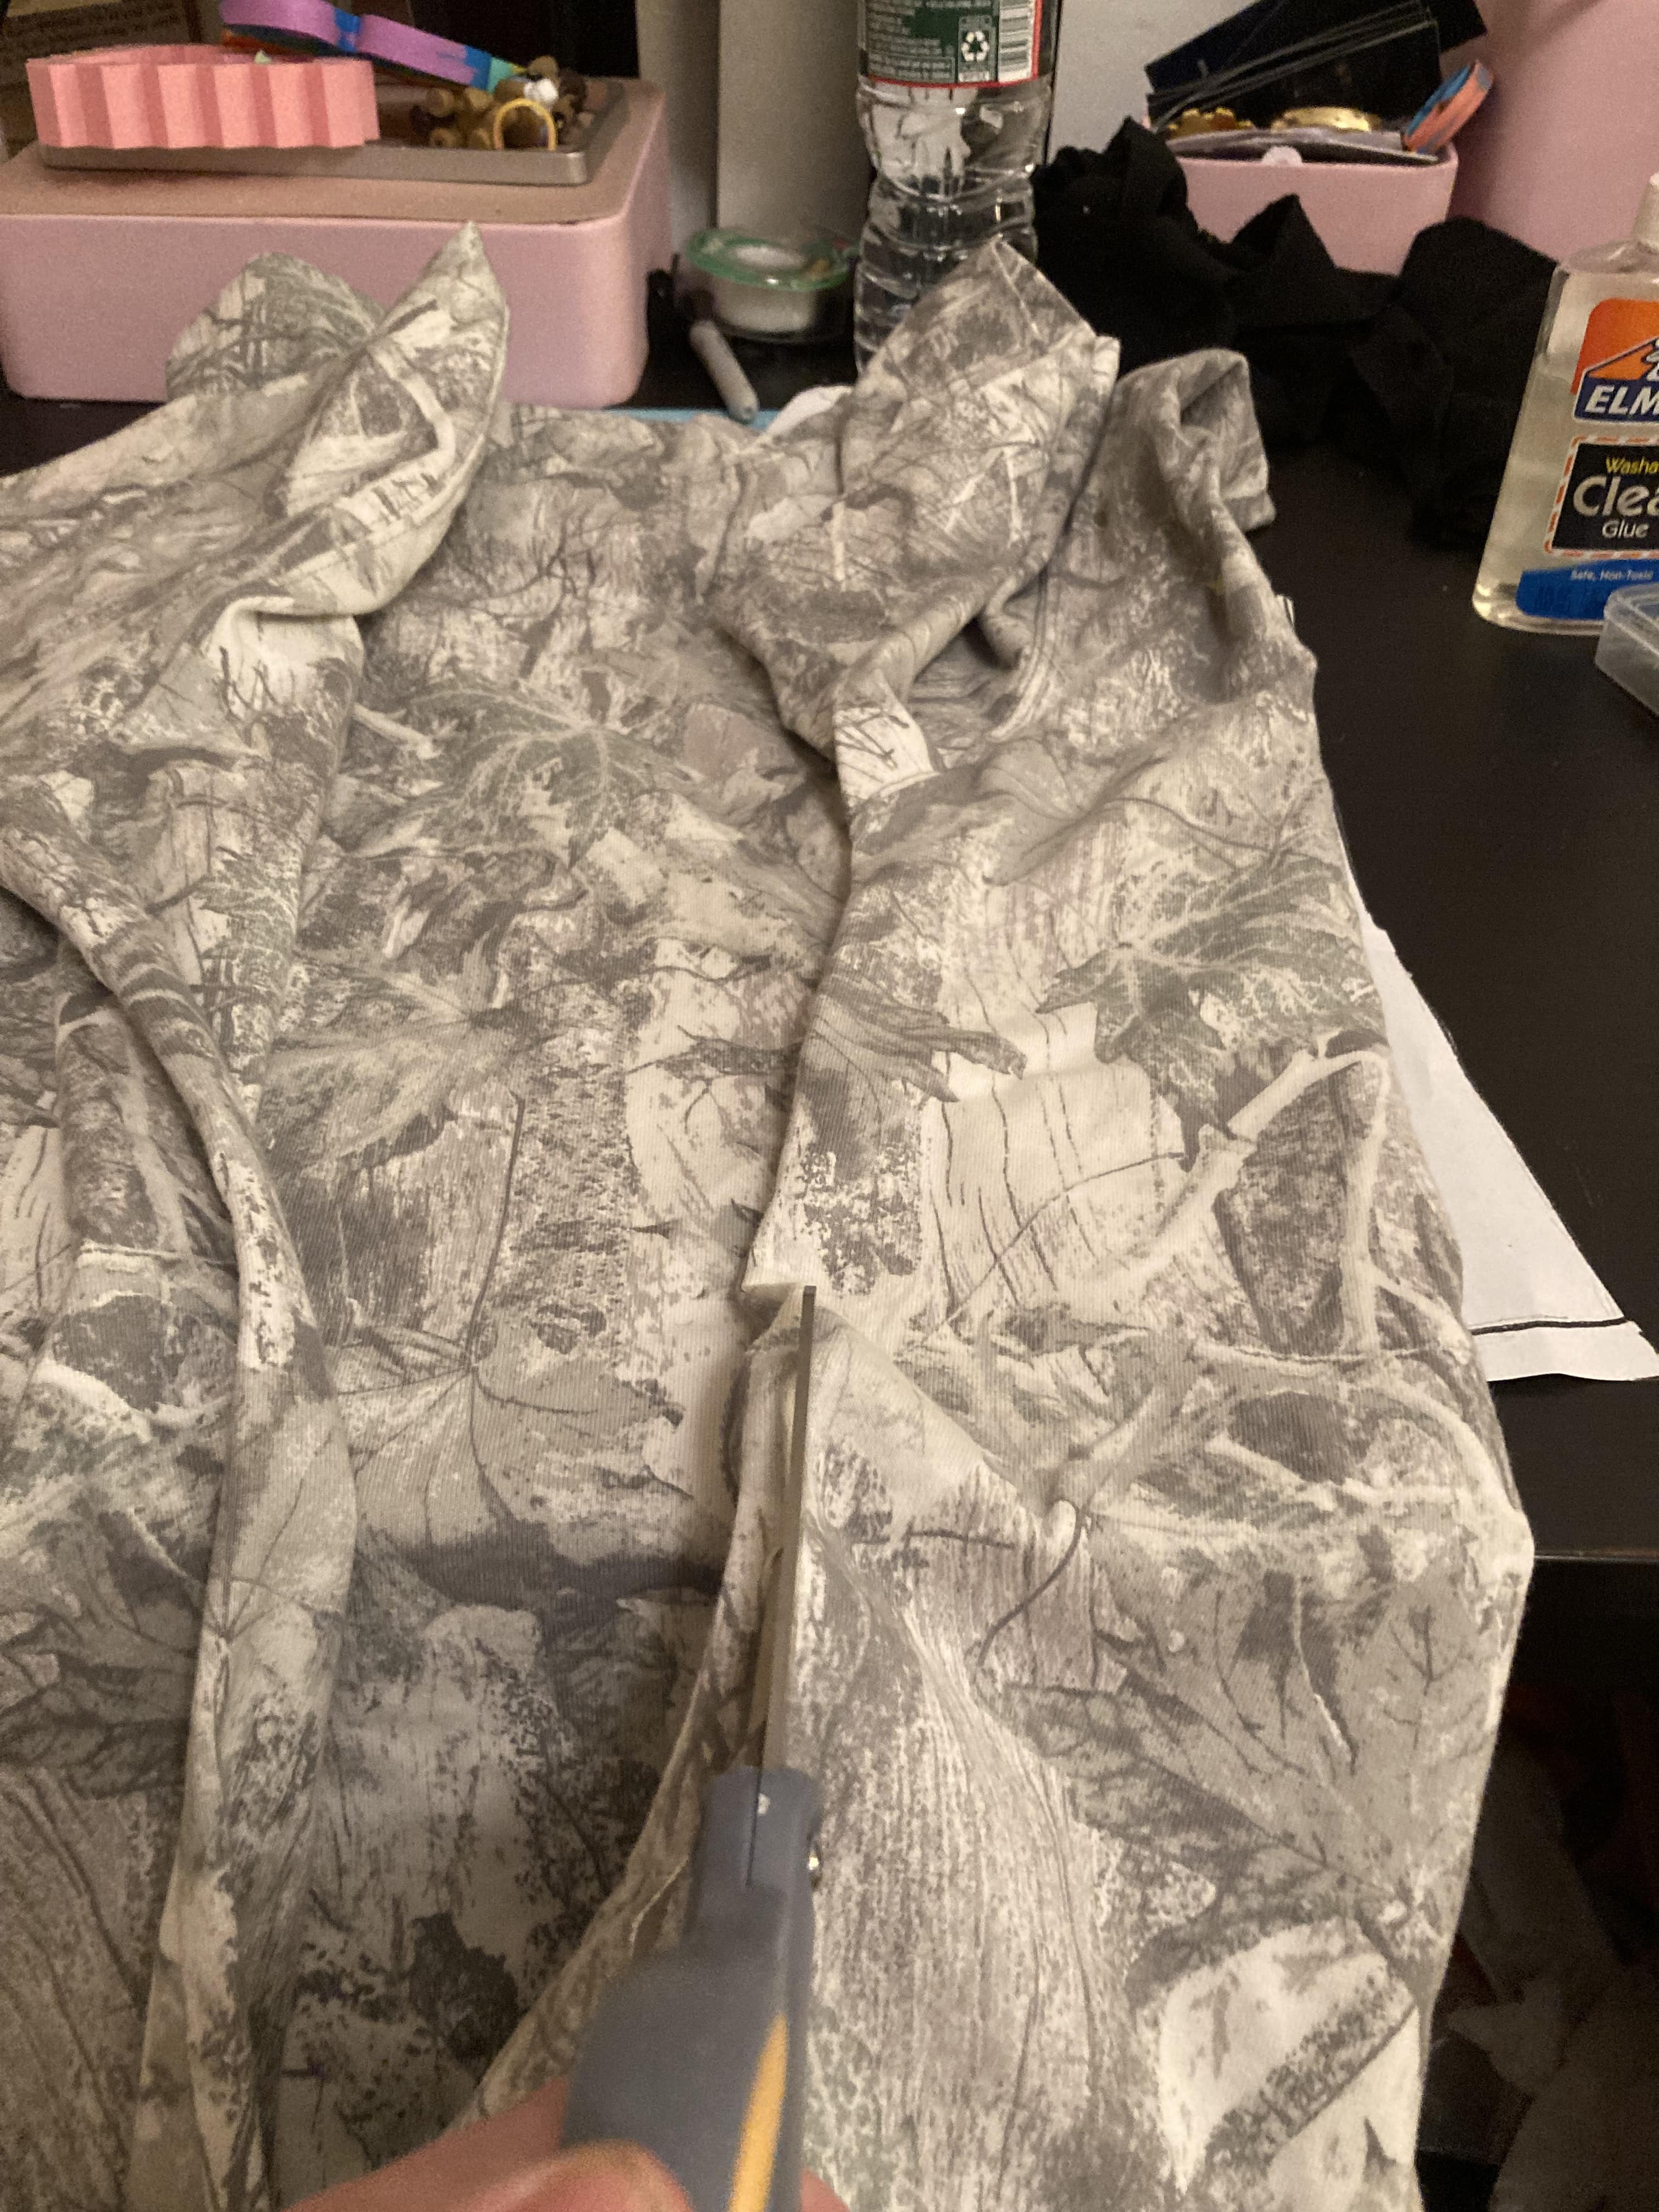
So, I made a new version from a camo shirt I had just bought.
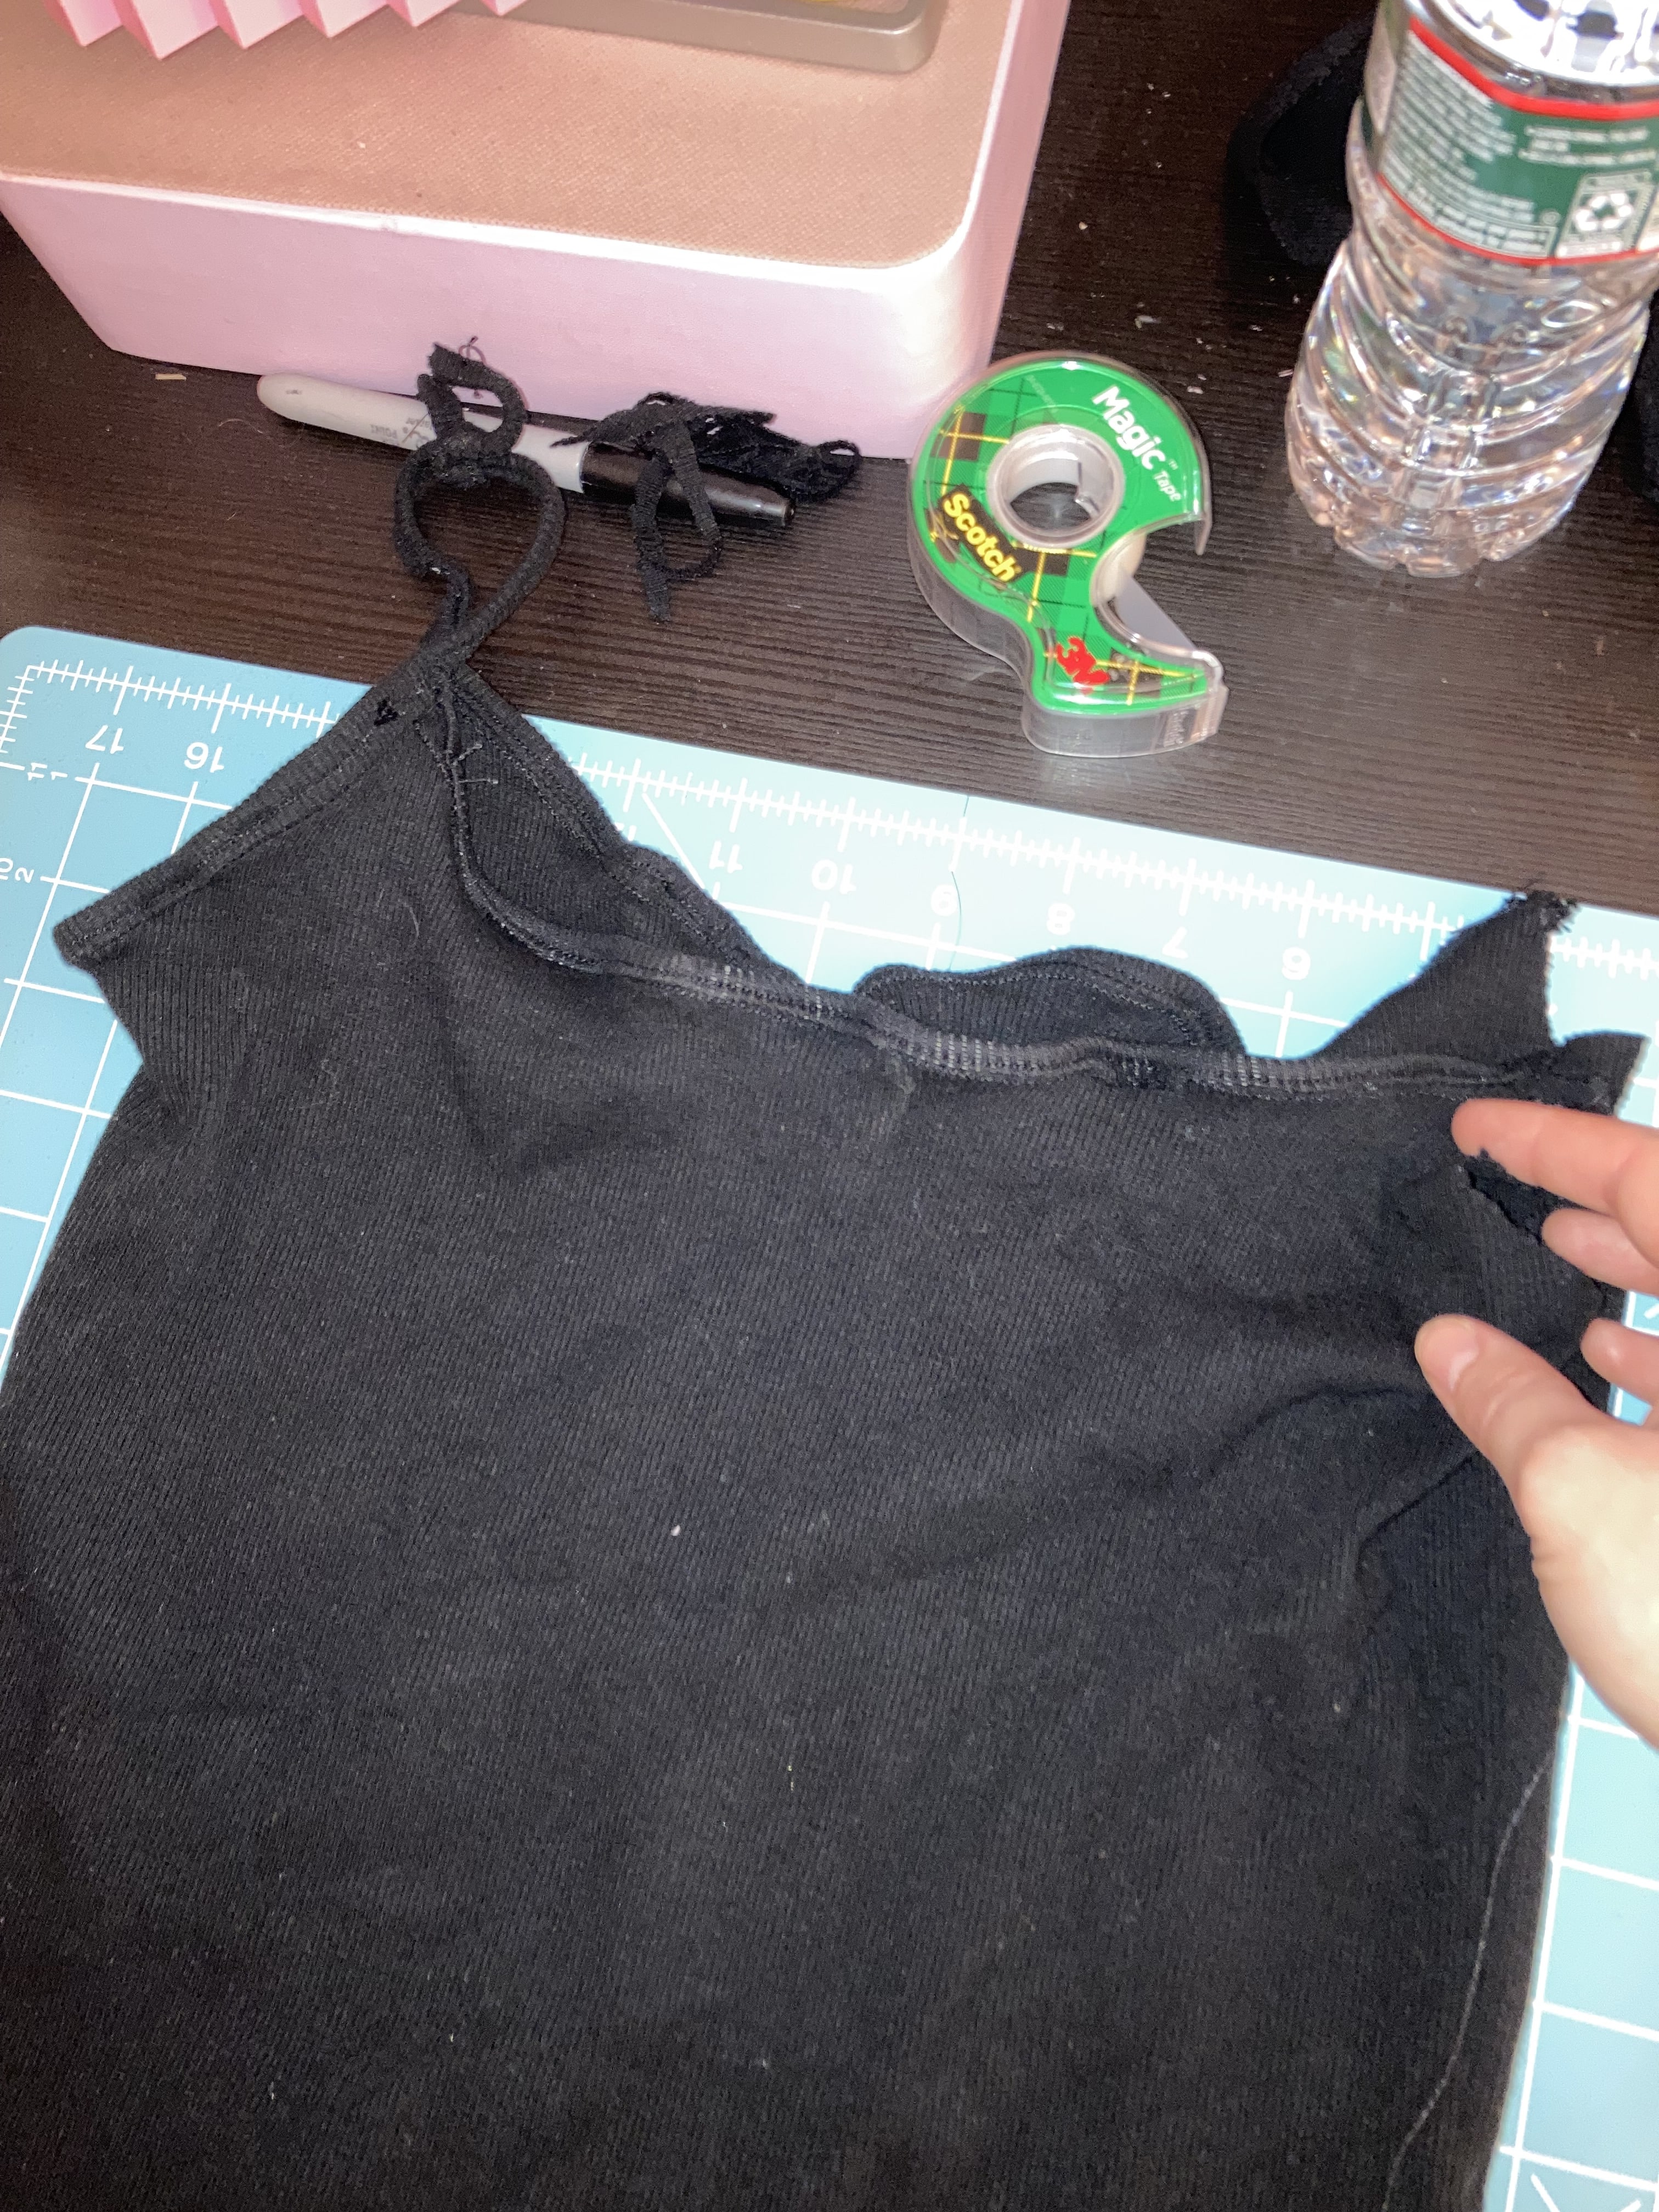
Cutting the side seams to make the front and back of the tank.
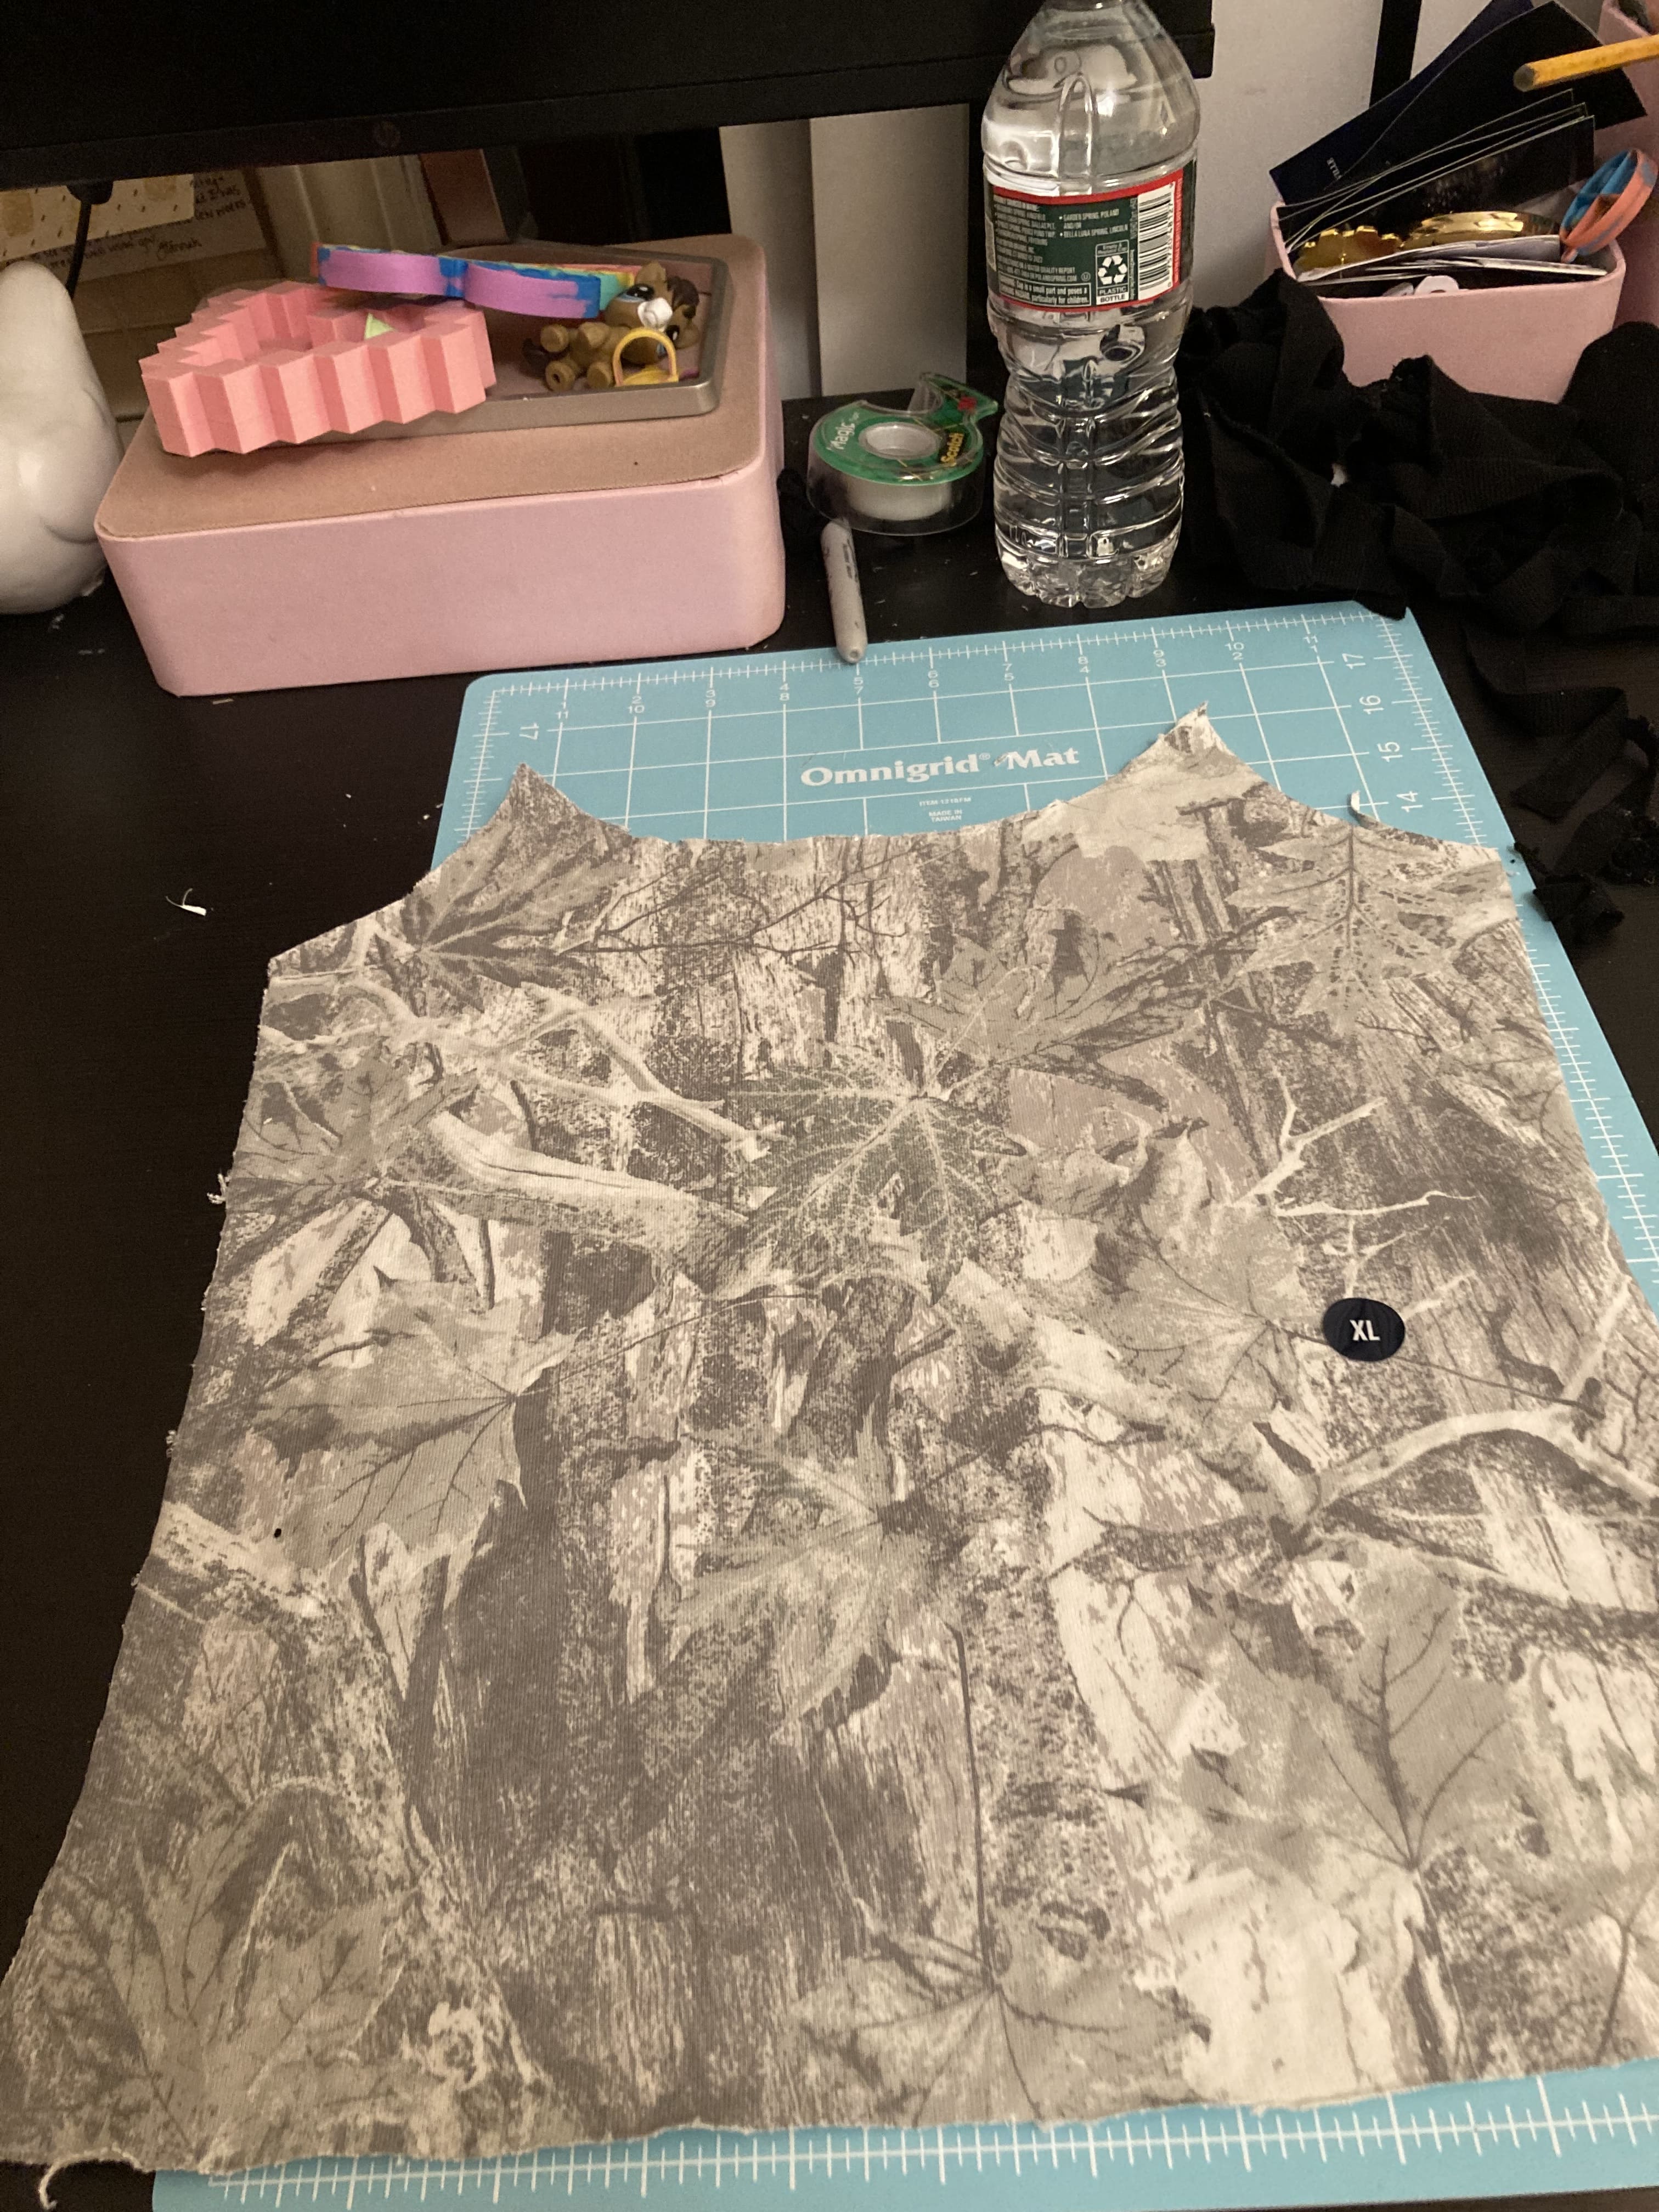
Cut the fabric according to the pattern with a rotary blade cutter. Make sure to put the pattern on top of the fabric, not under.

The fabric cut according to the pattern (this is the front).
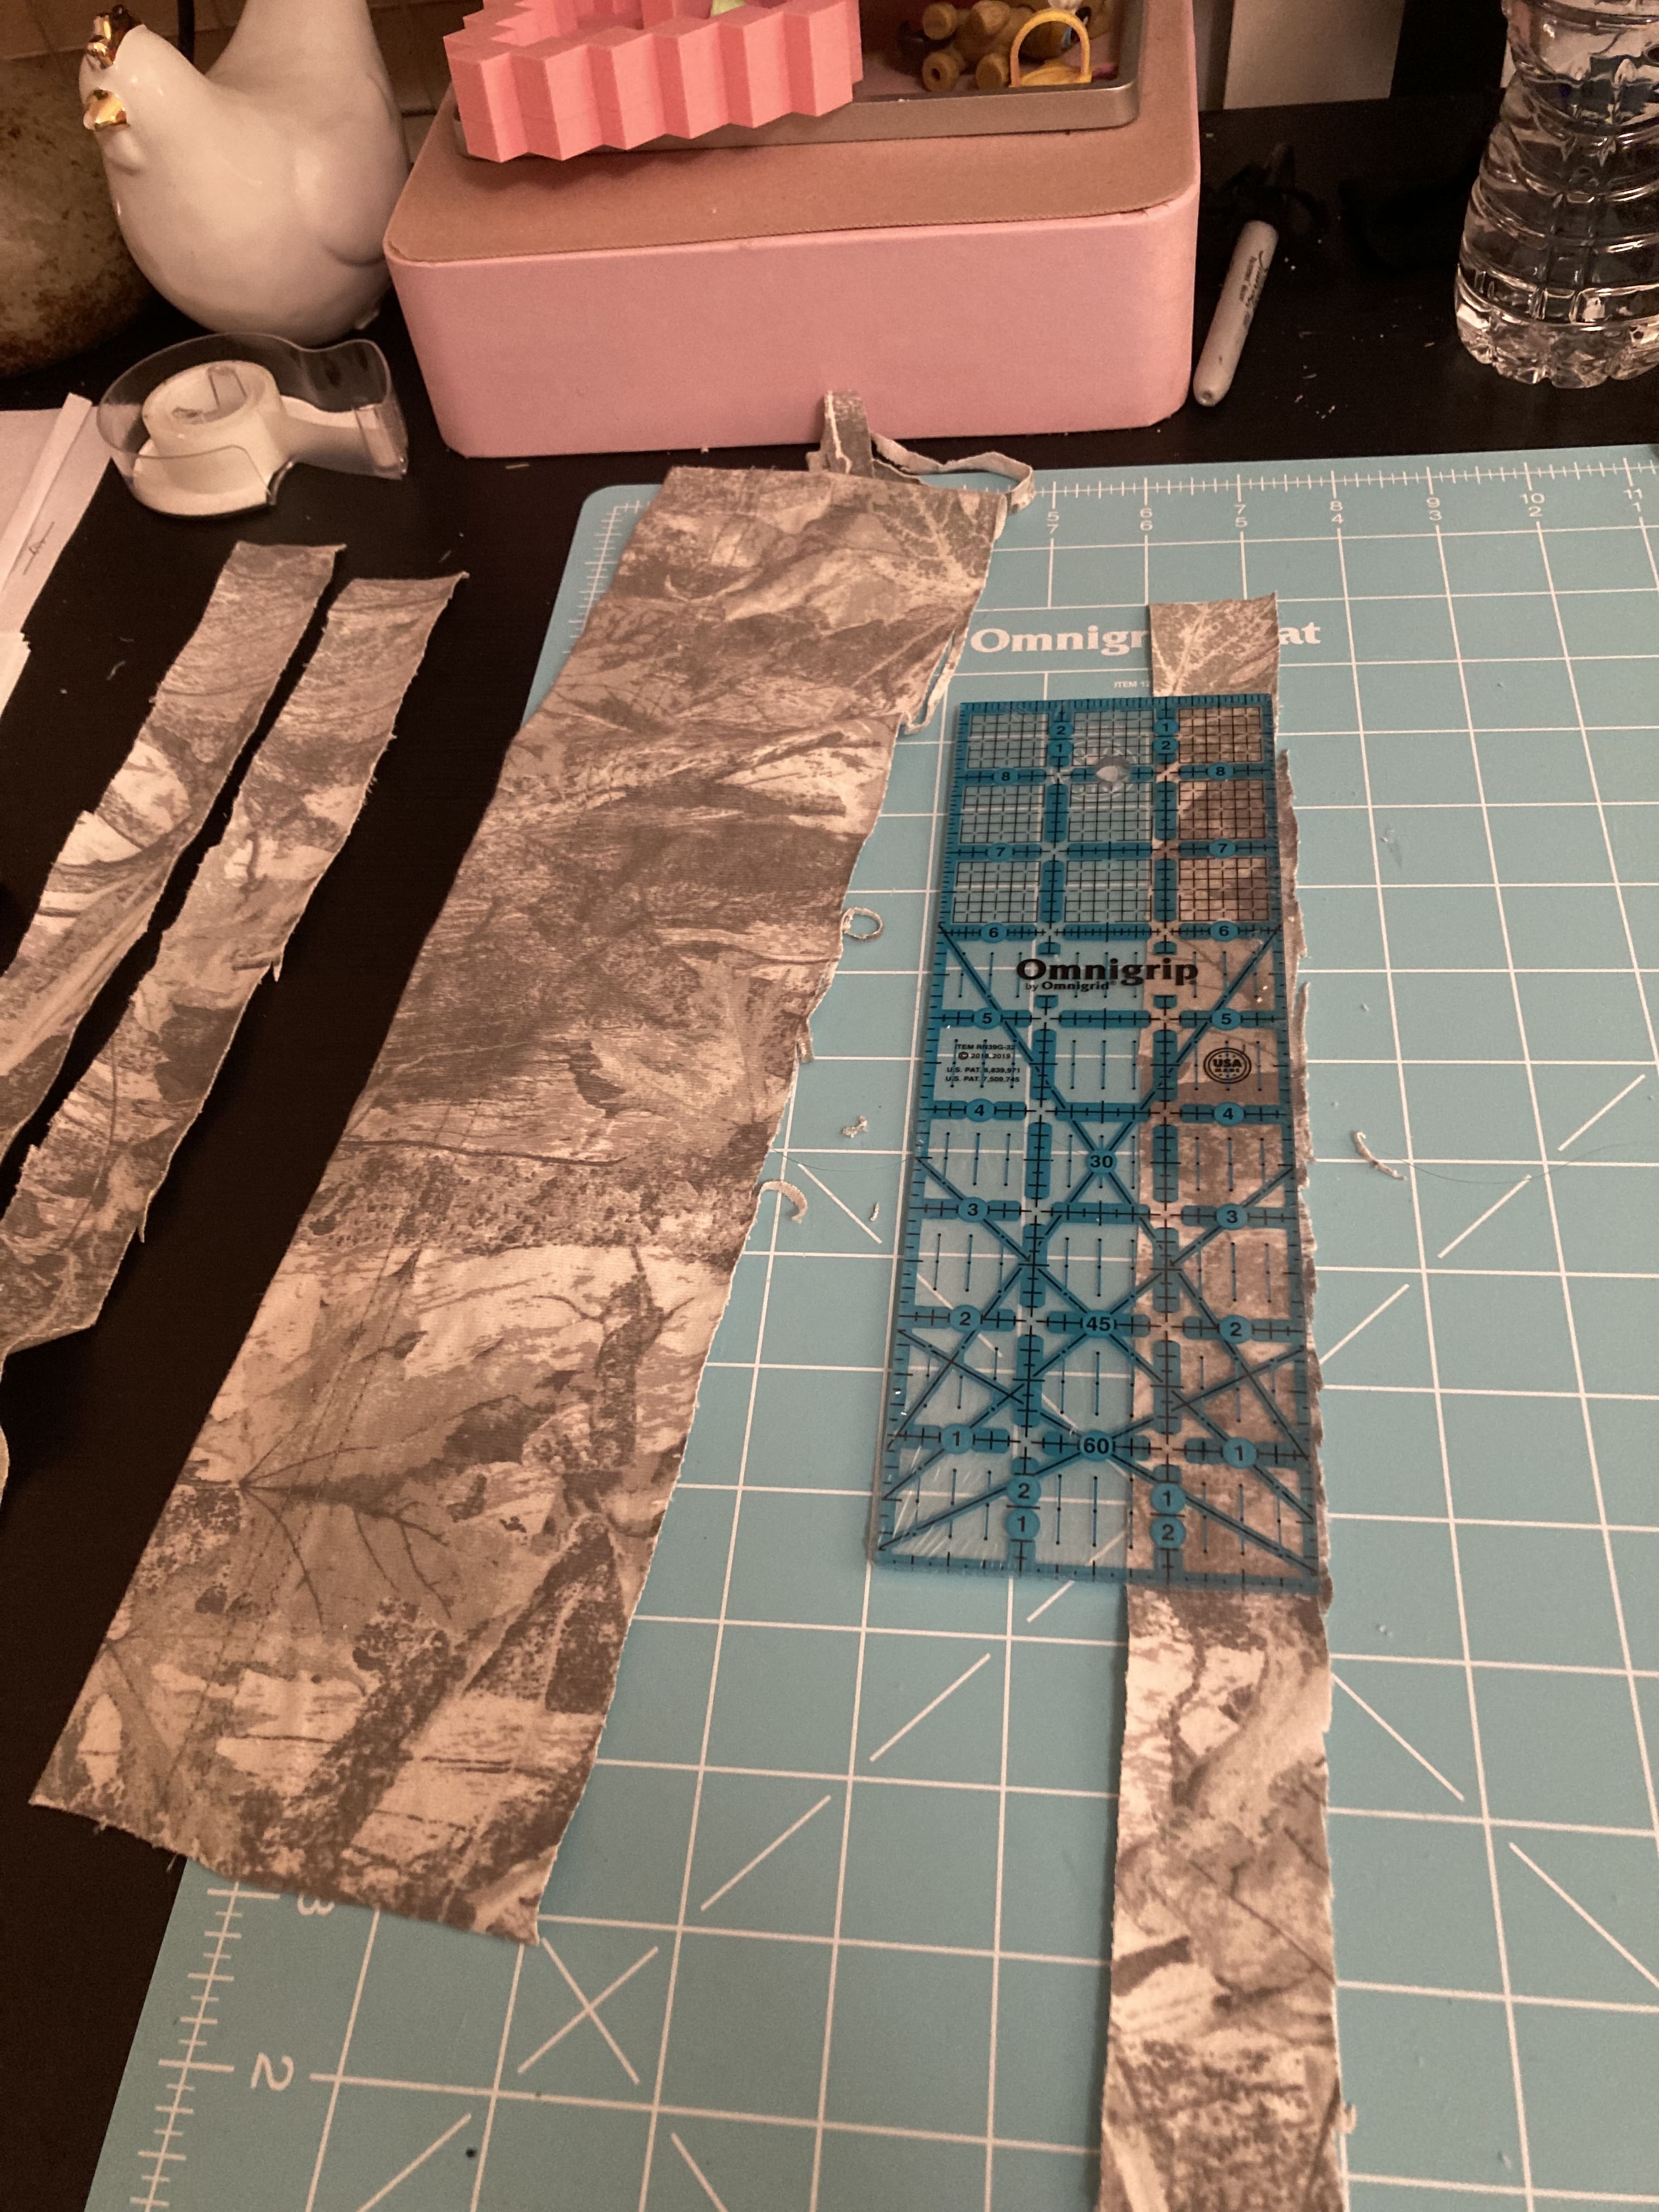
Cutting the bias tape using a rectangular ruler. We want to make the strips about 1" wide so the straps look thin.
Sewing the side seams, the back of the tank top pattern has already been cut by this point.

Hemming the bottom so it doesn't look messy.
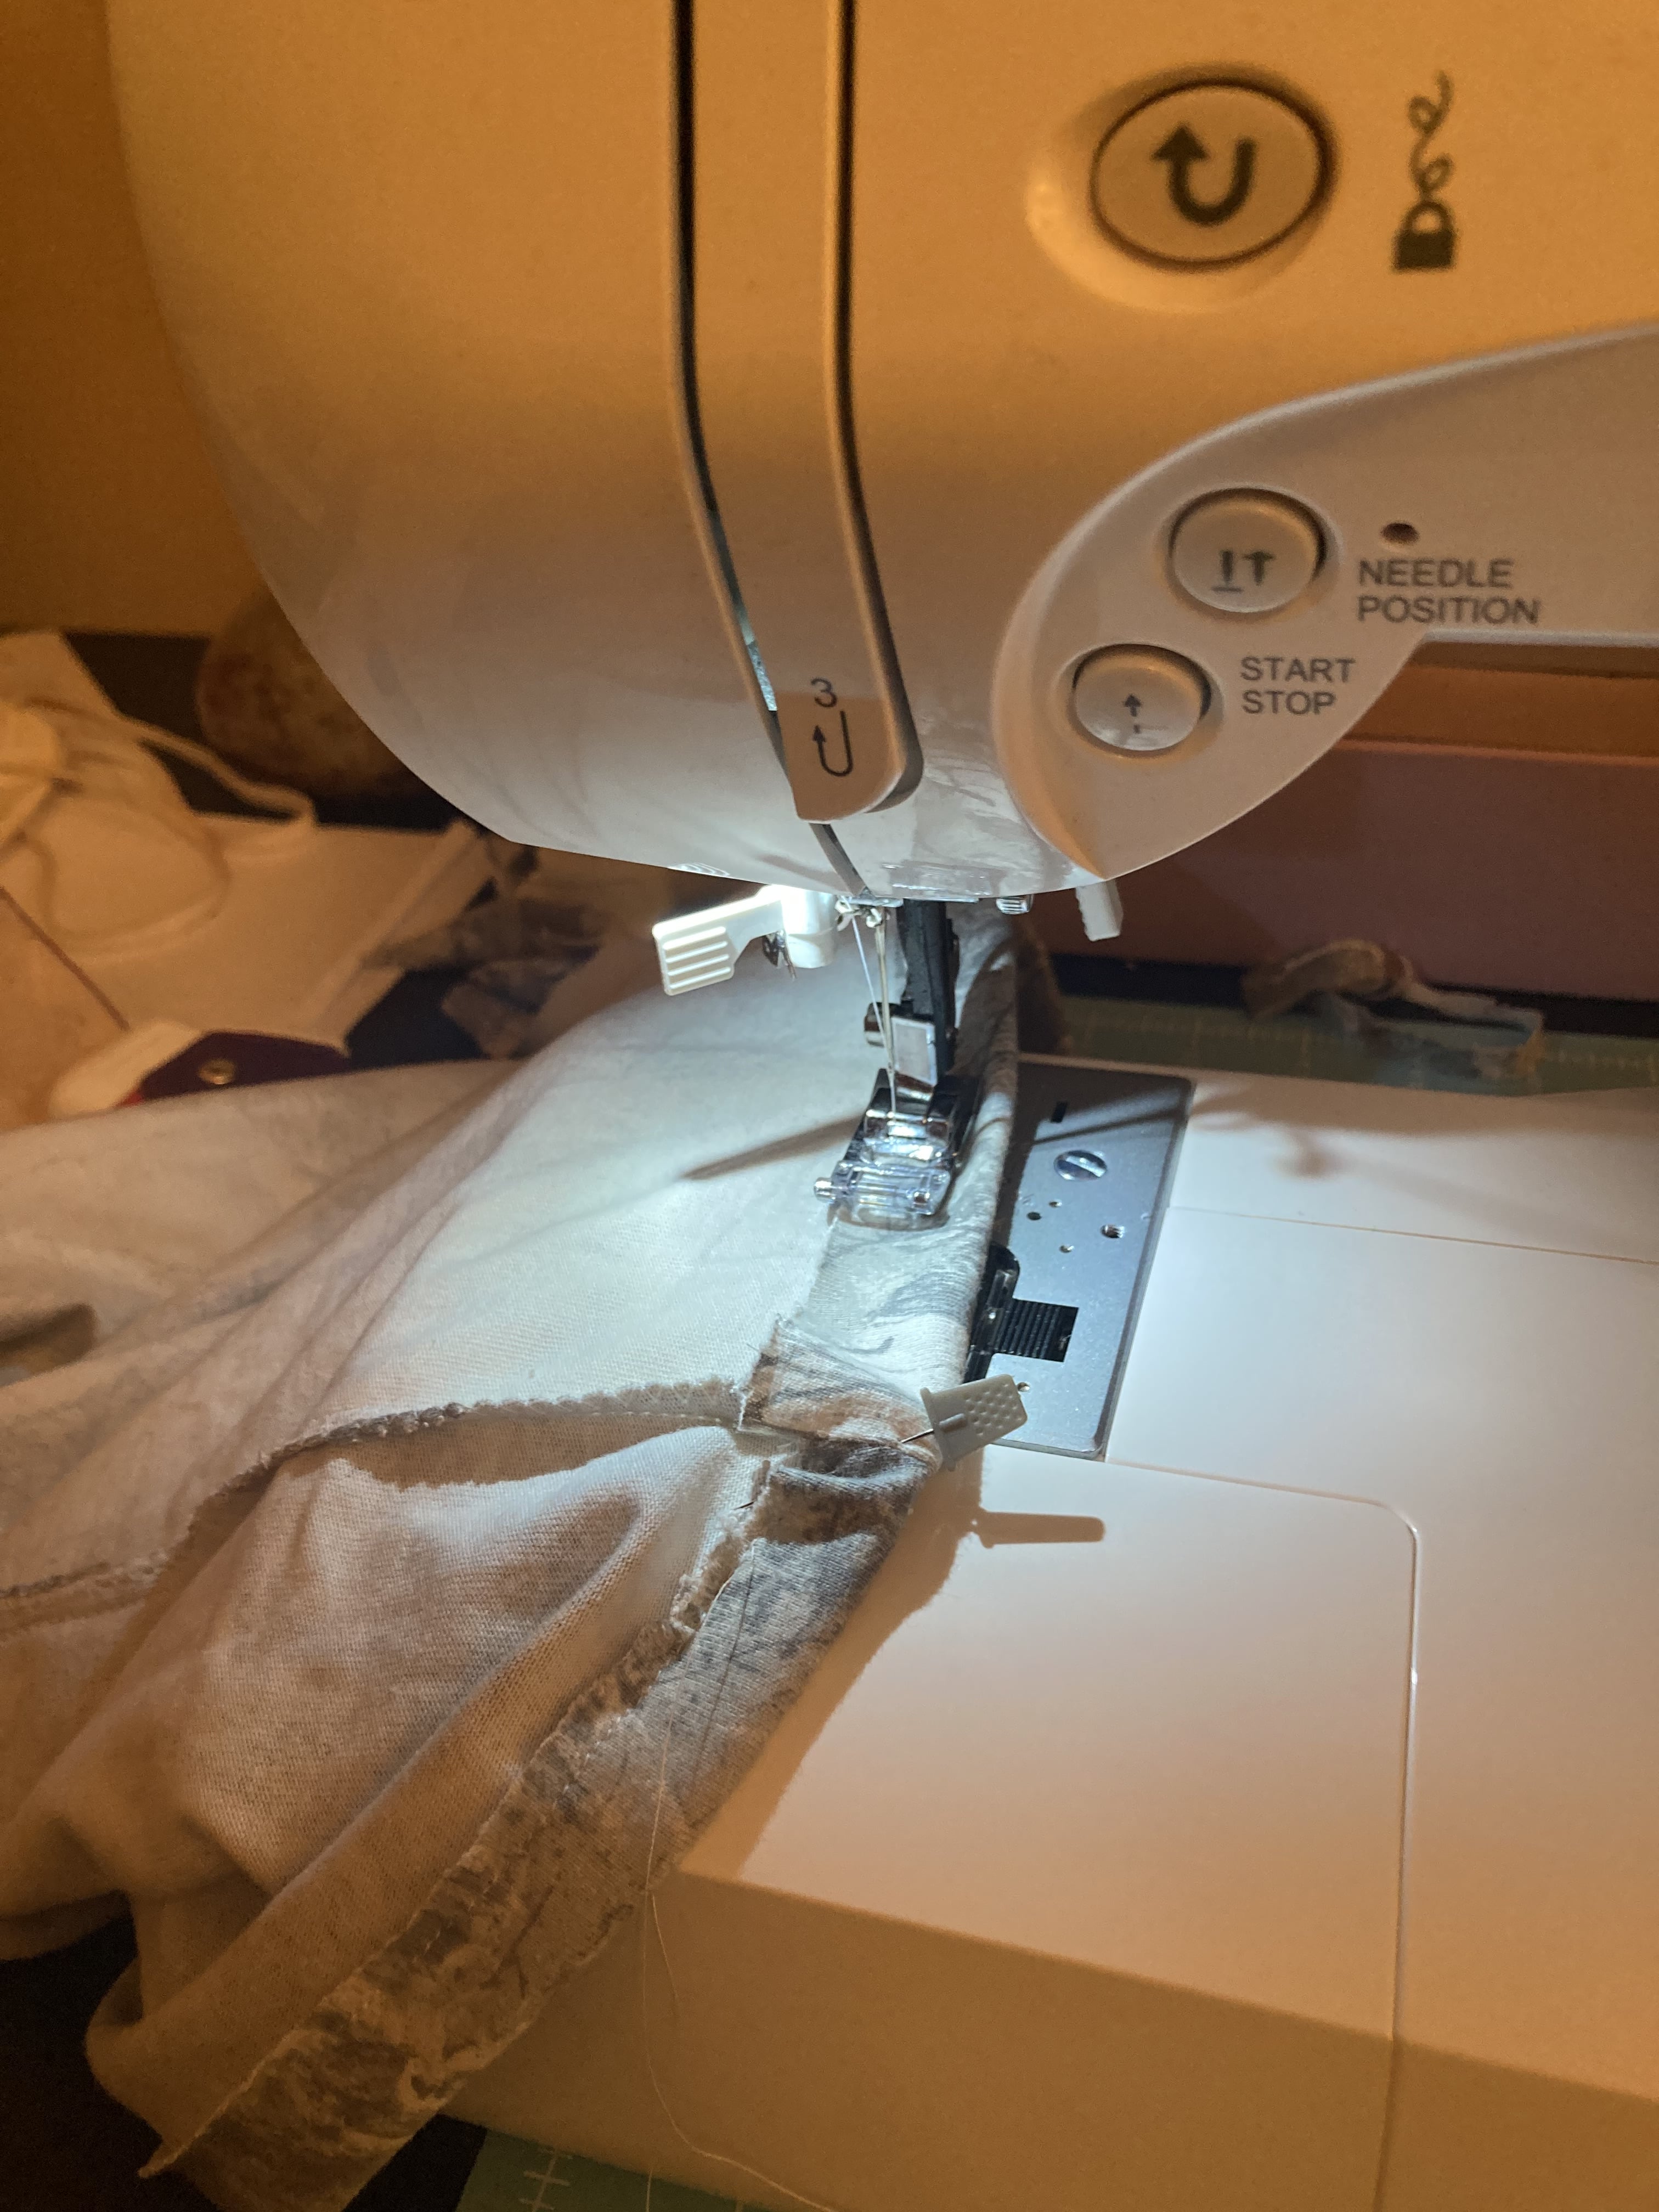
Starting to sew the front of the tank top edge with the bias tape. You have to pin this super thoroughly or else it will immediately become undone.
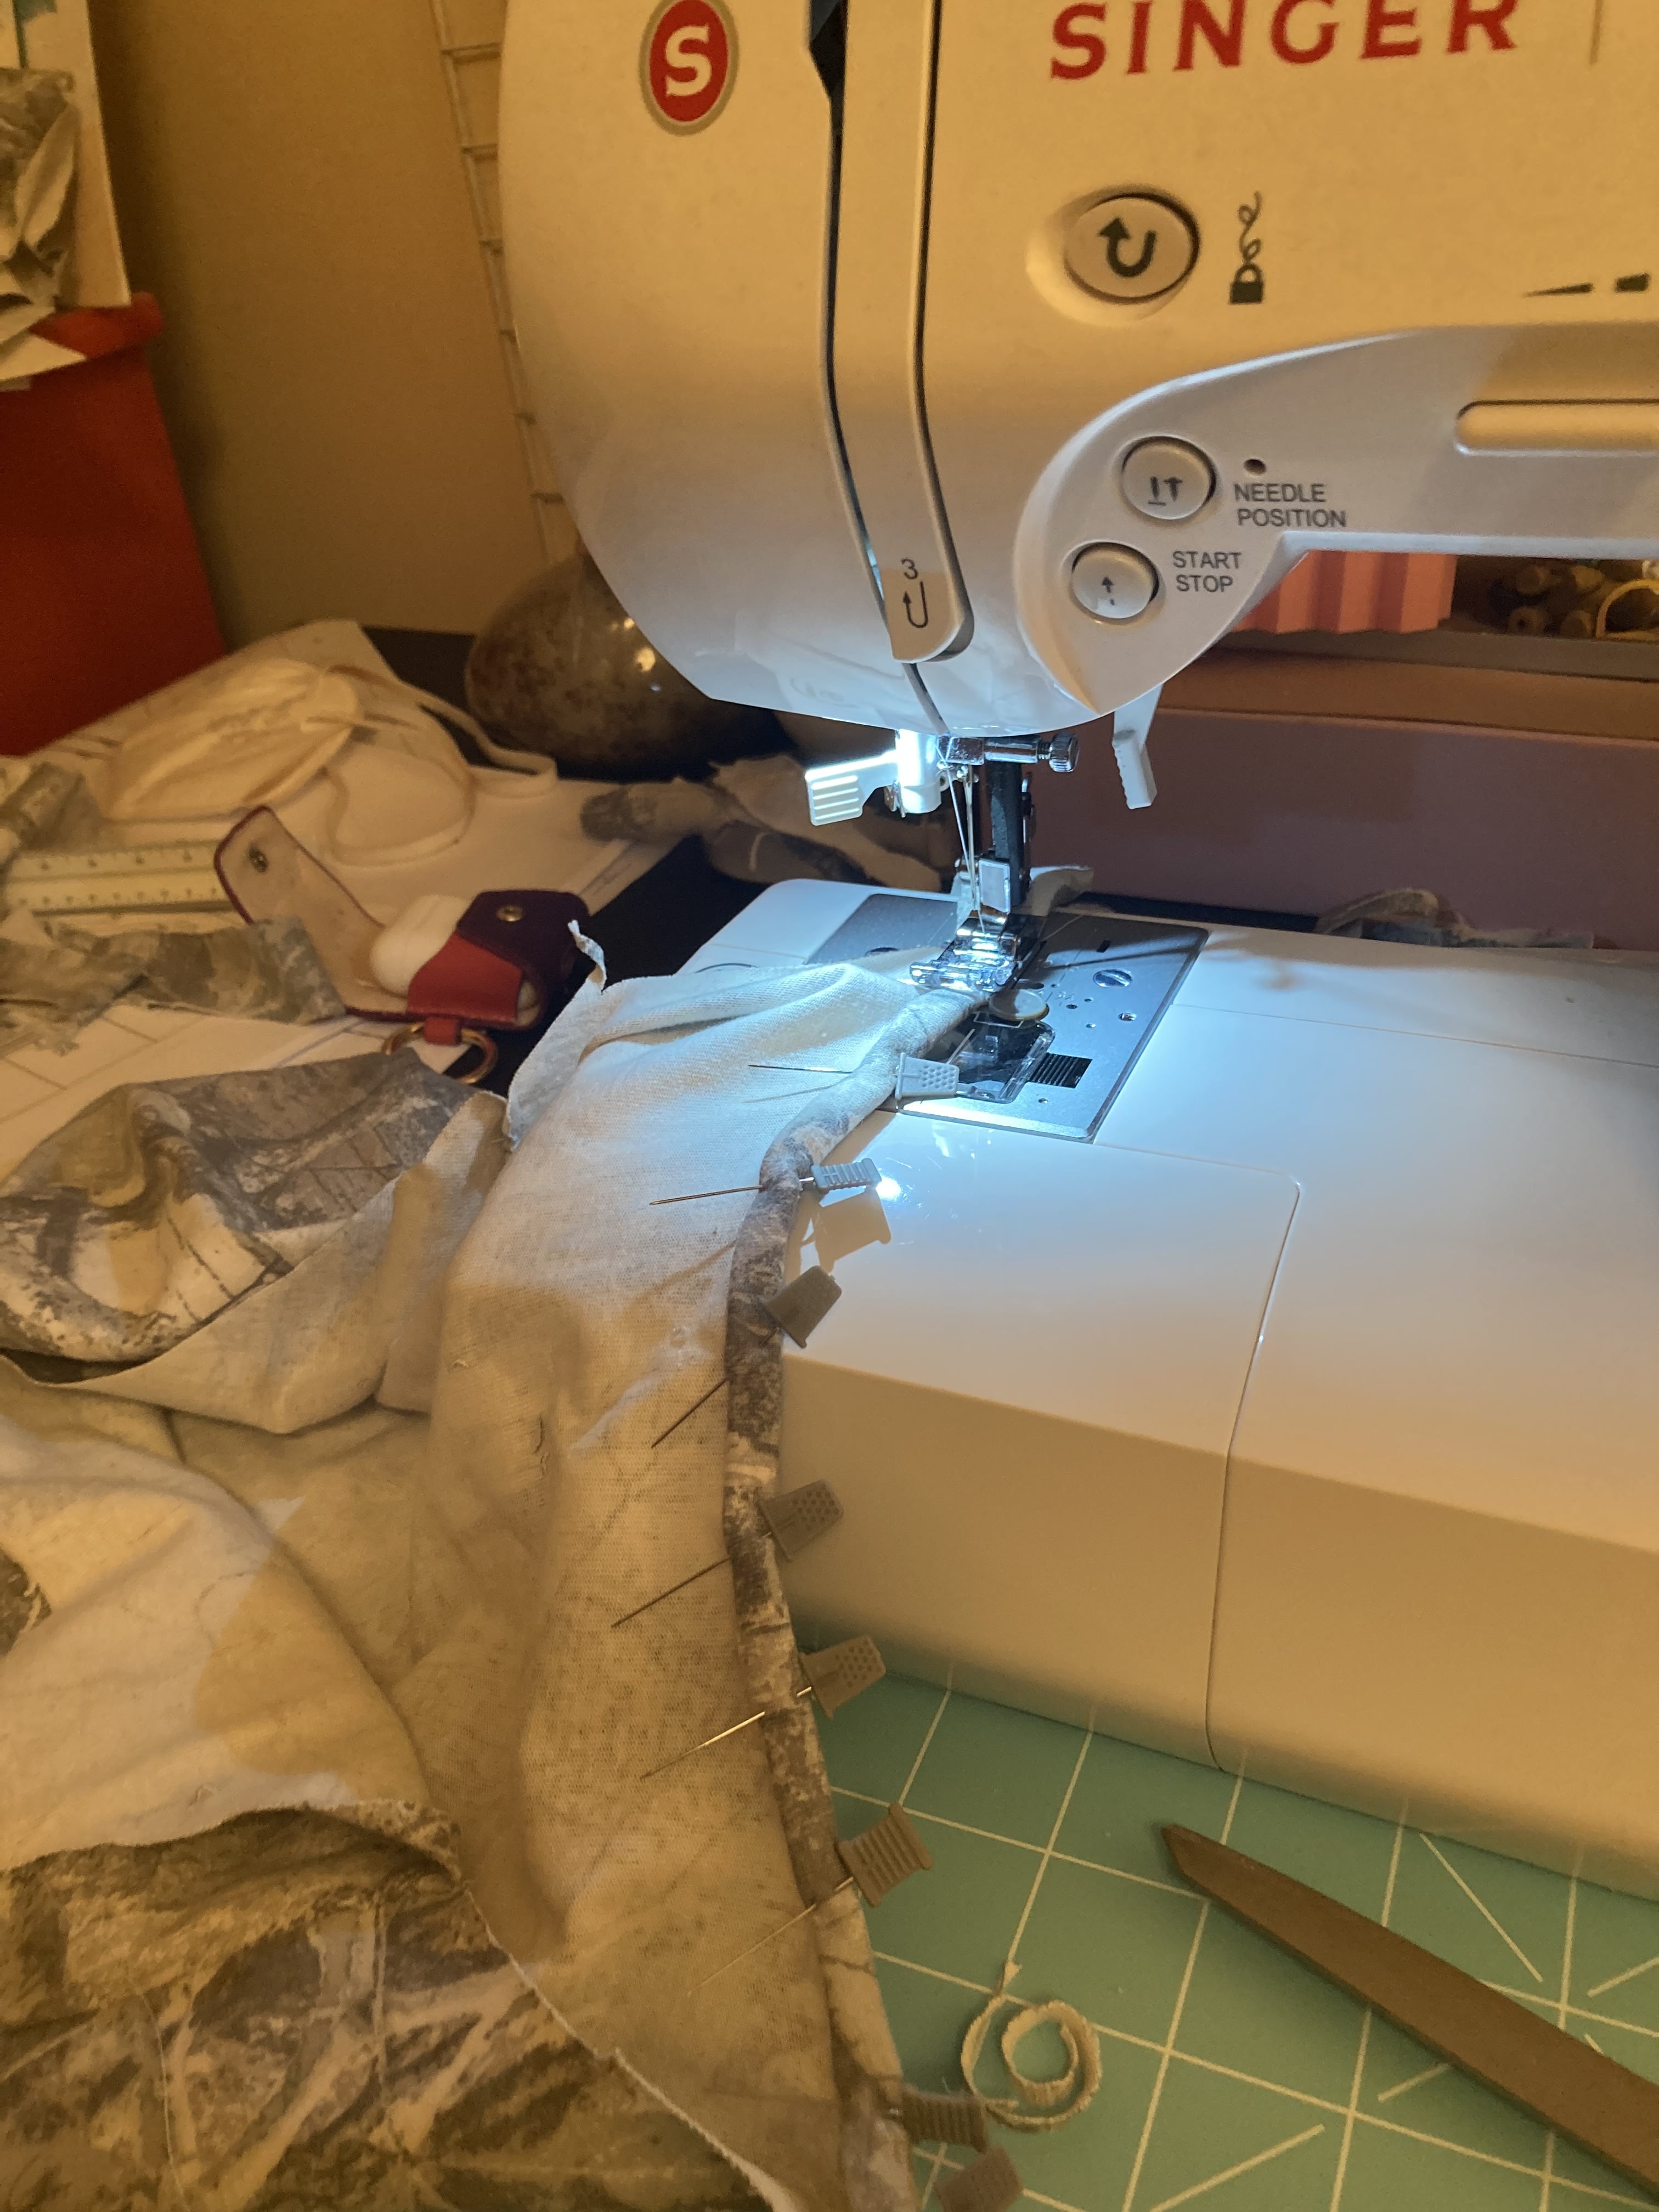
Looks pretty neat, I'm using a single seam, though some people who sew use 2 seams. I think 1 secures it enough.
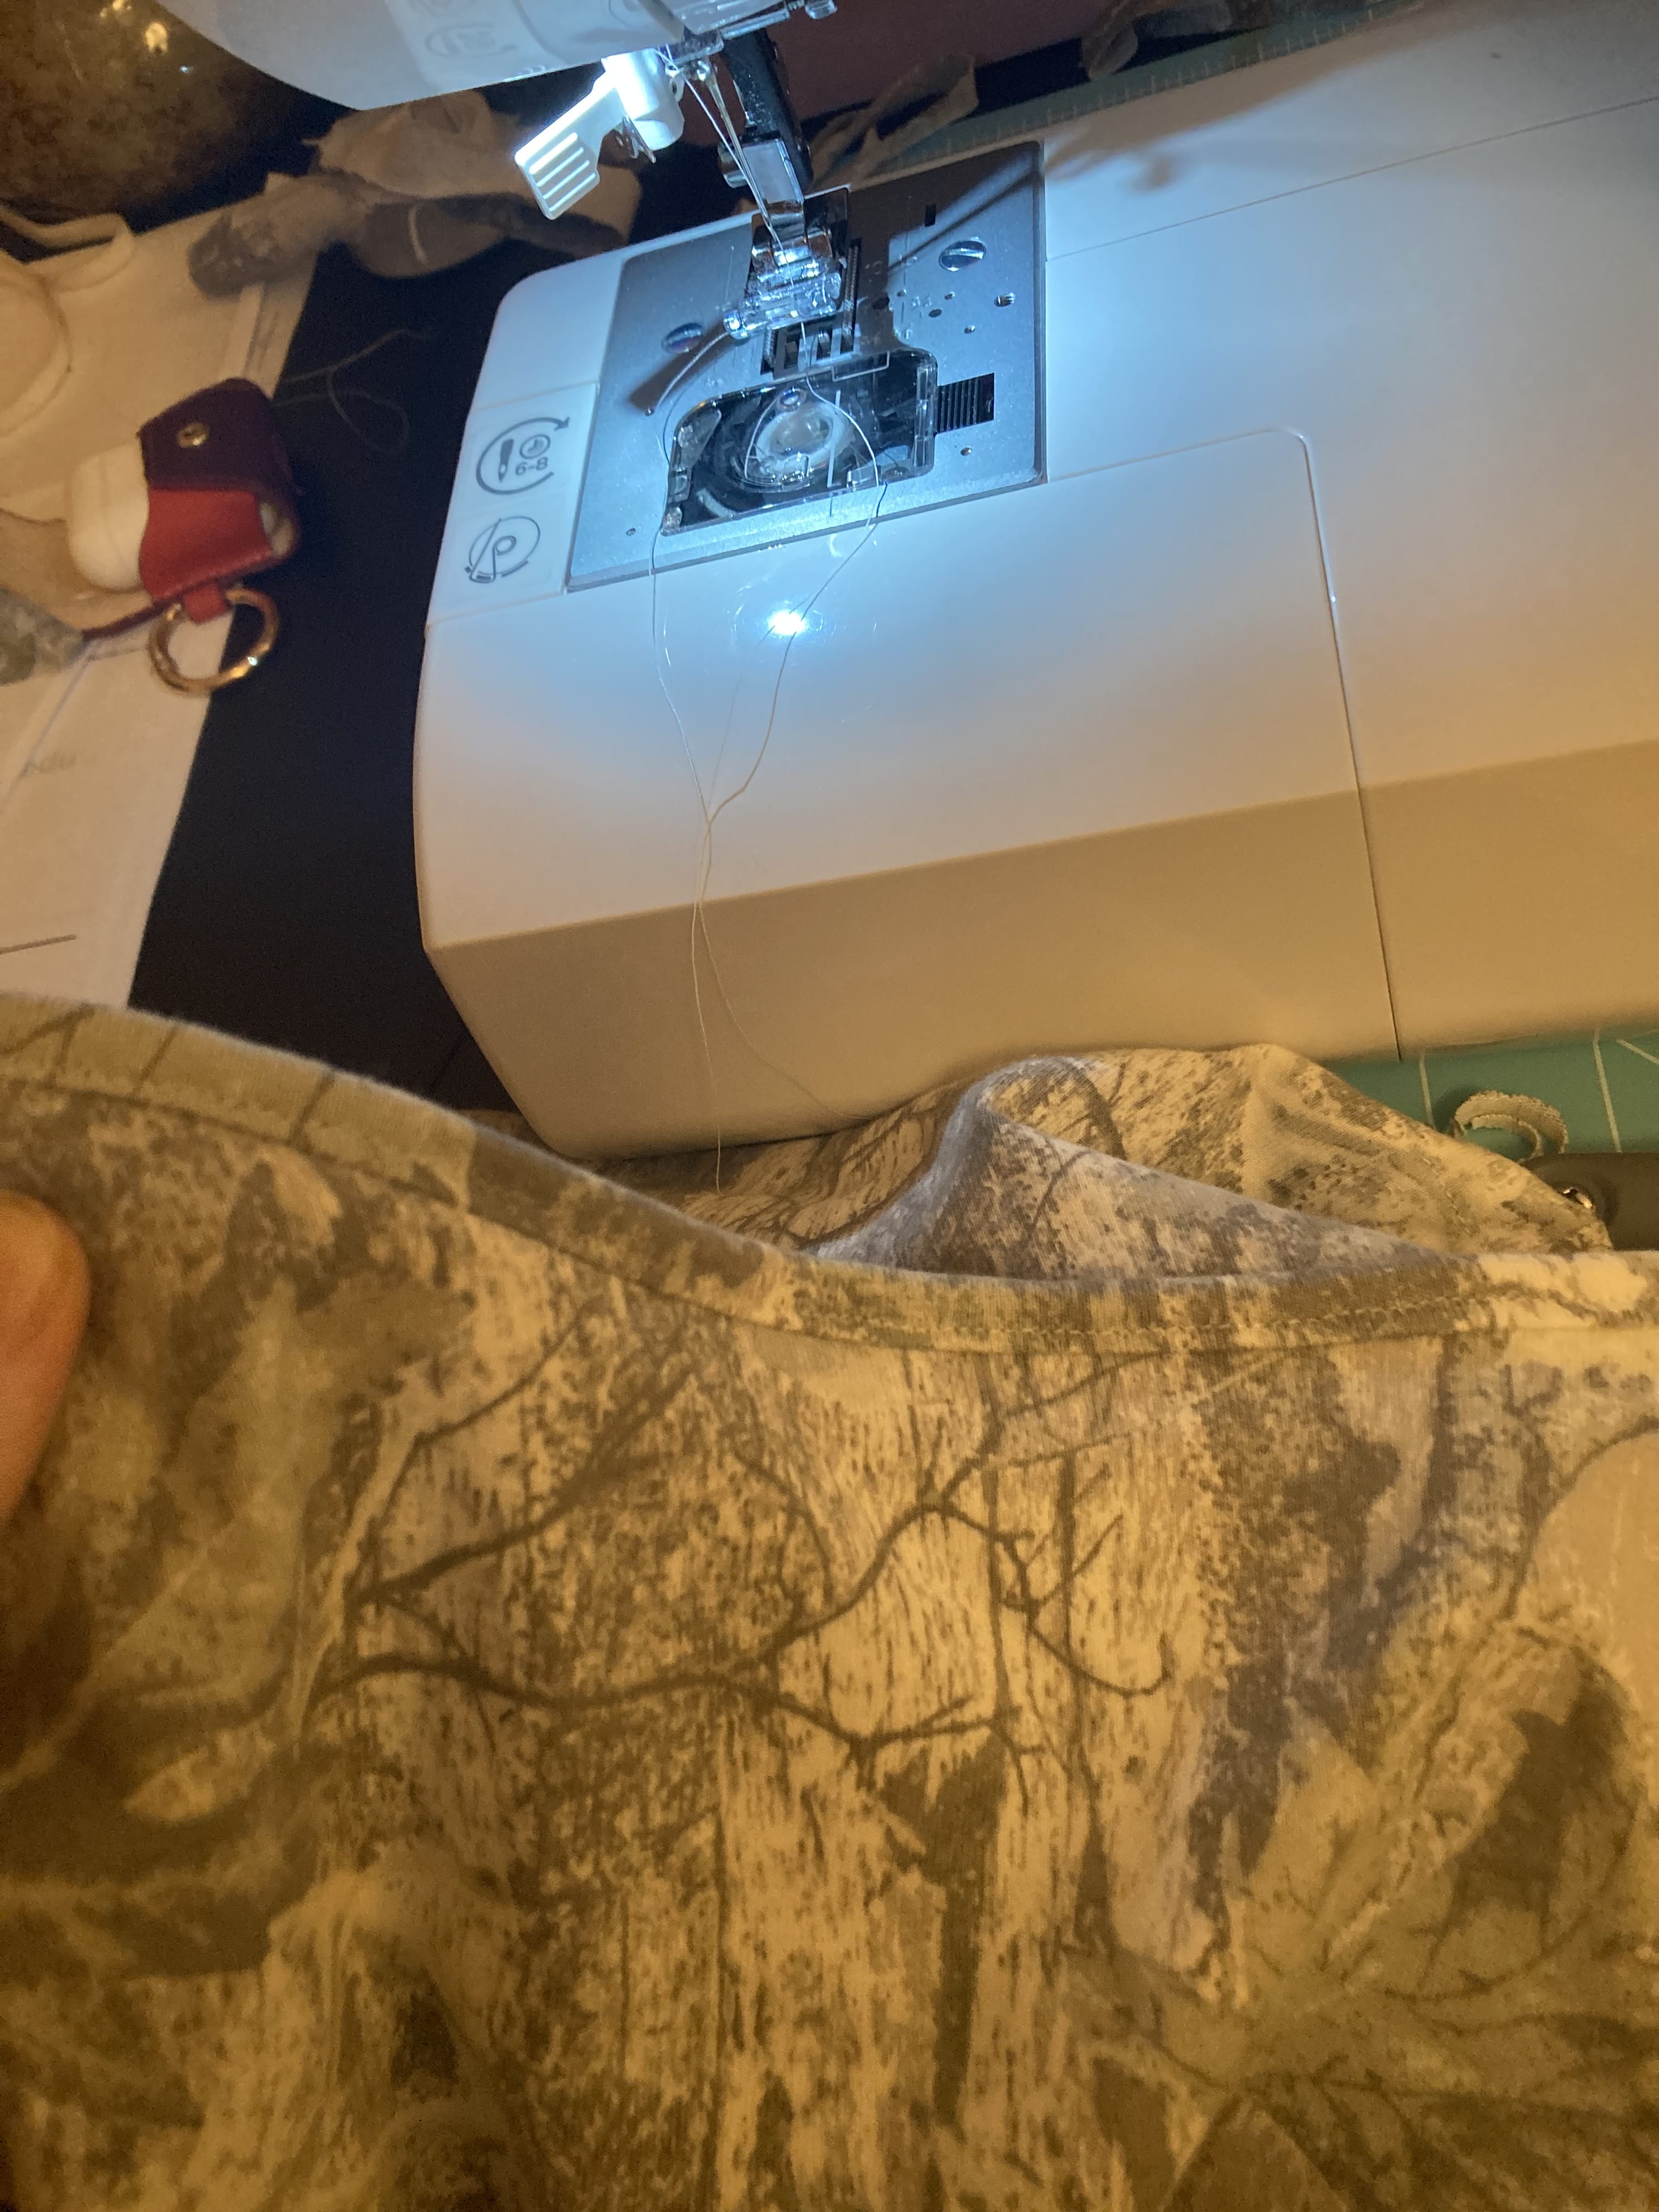
Sewing the straps and bias tape around the arm holes. This part is super tricky because the bias tape has to be continuous around the straps and the arm holes. So you cannot mess up the seam at all or you'll have to redo the whole thing.

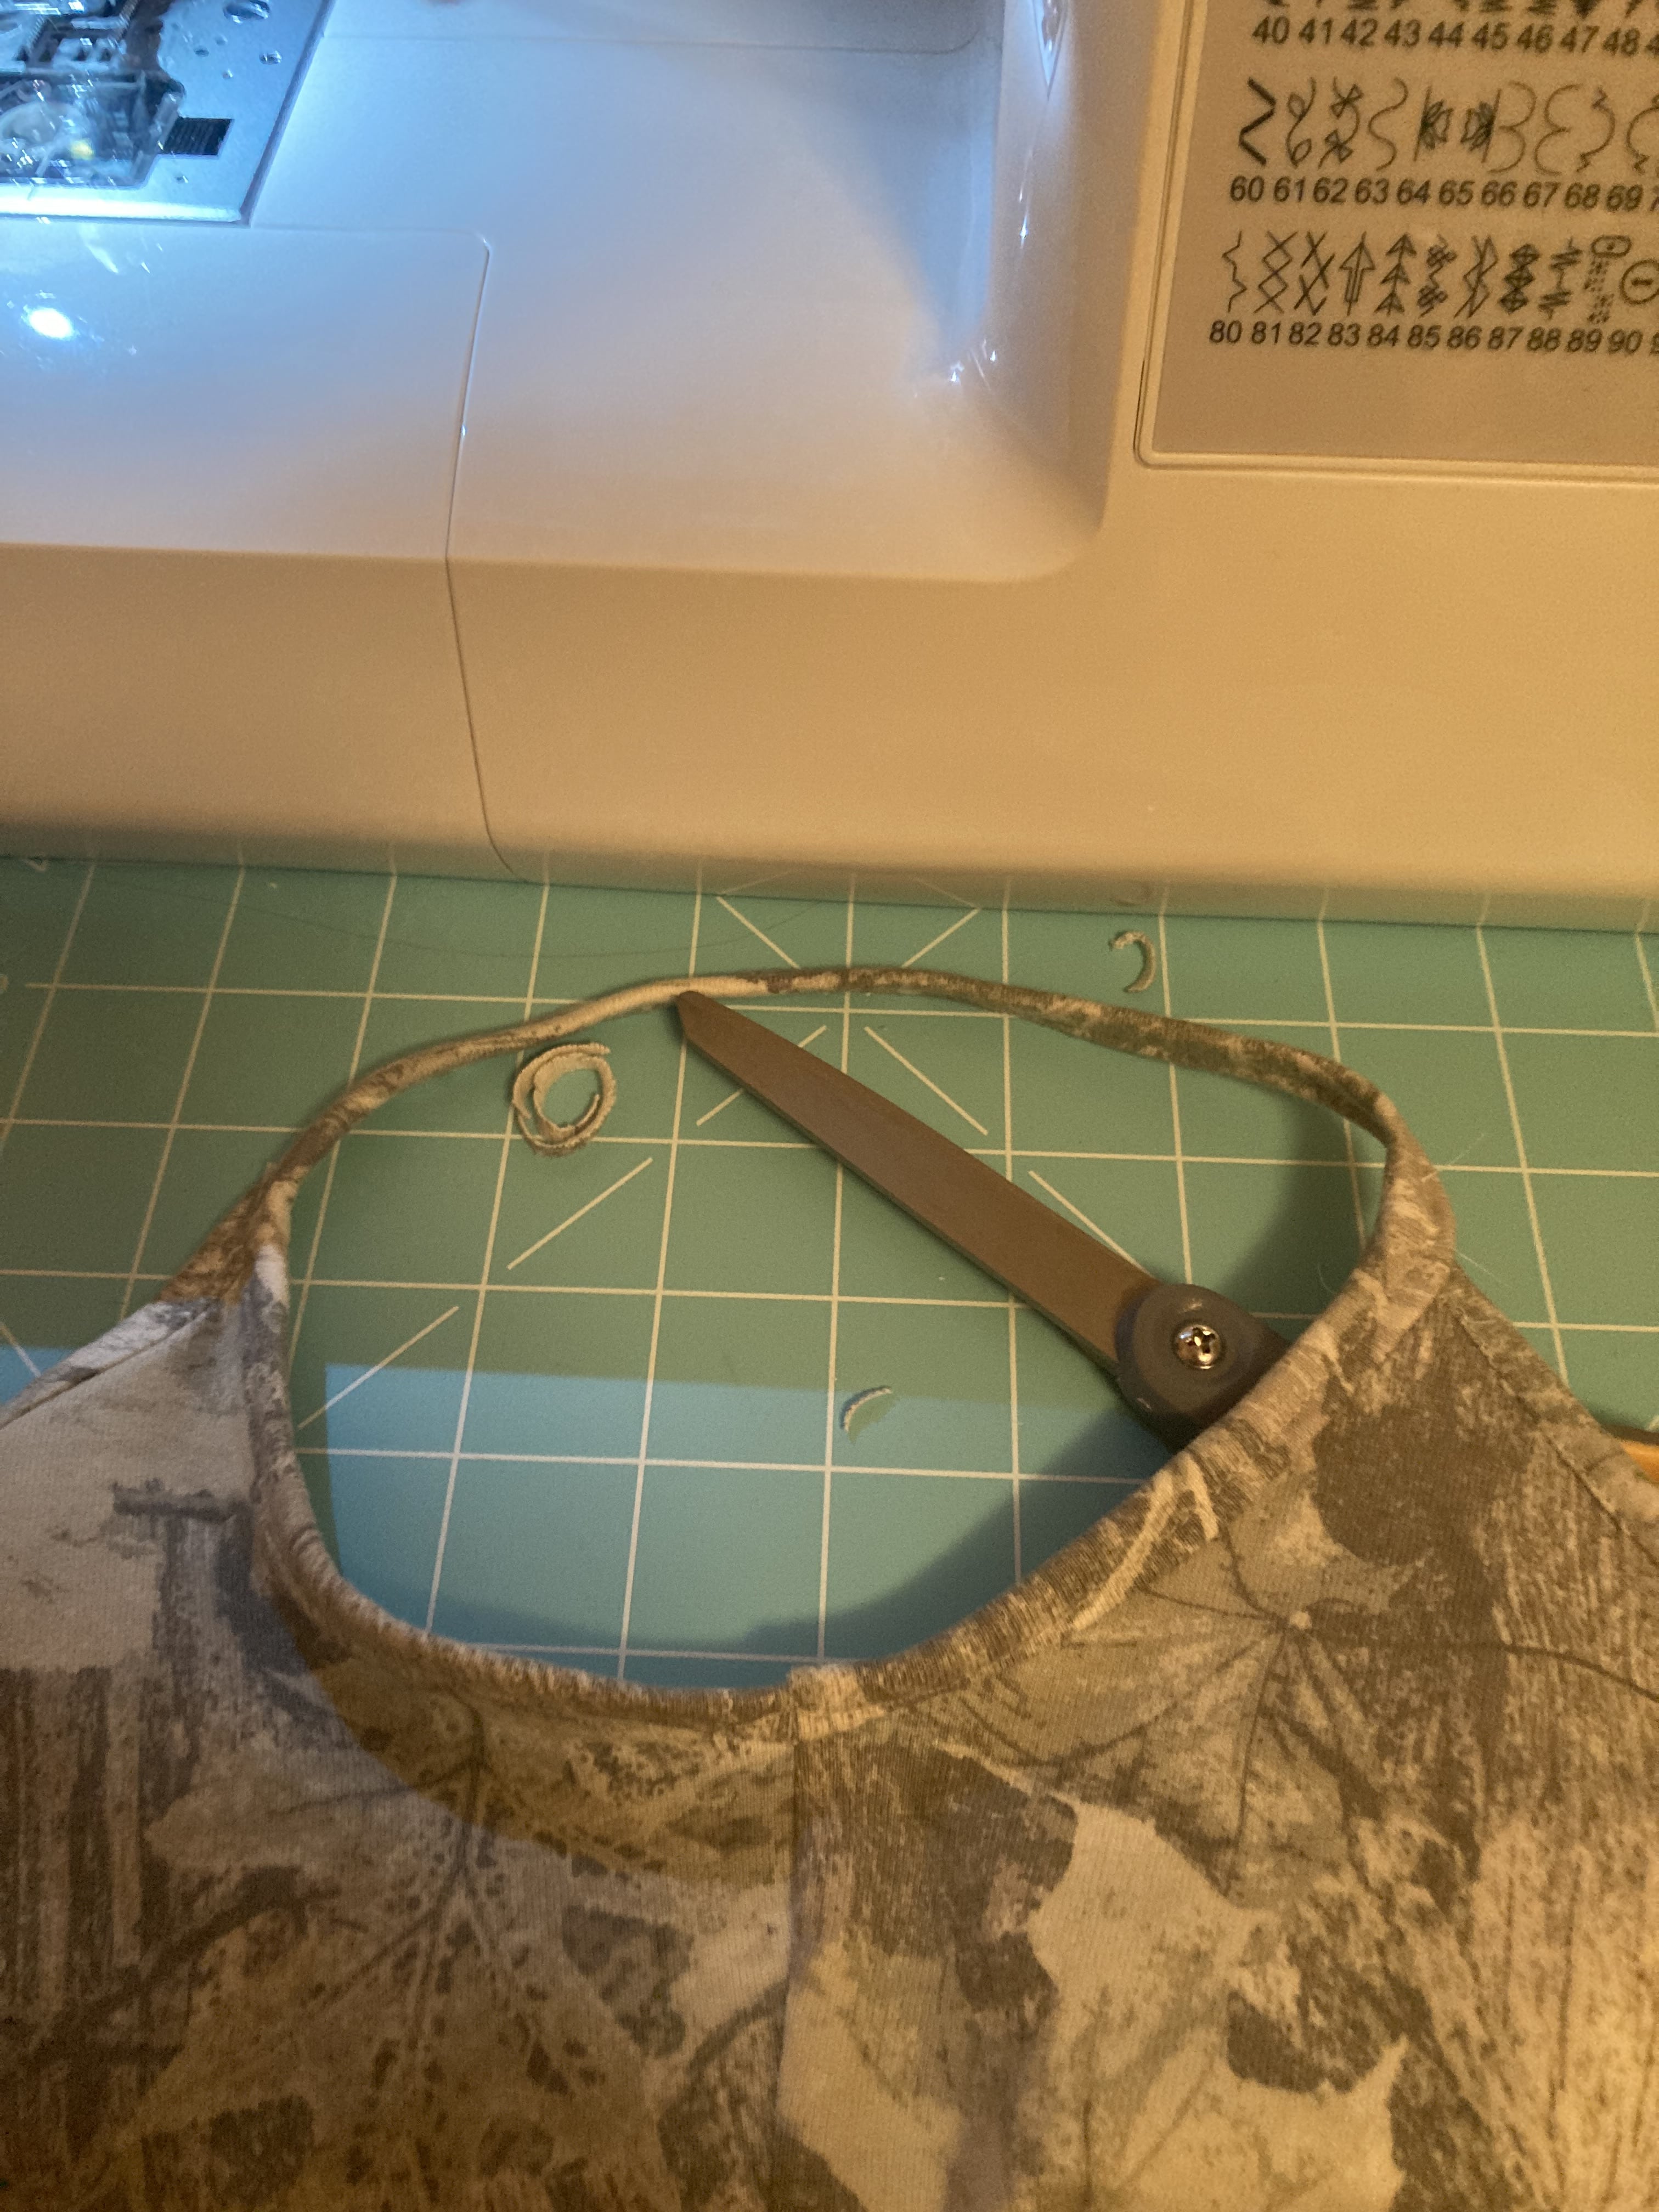
The finished arm hole and strap. I sewed the 2 ends together right at the side seam of the tank so it looks natural.
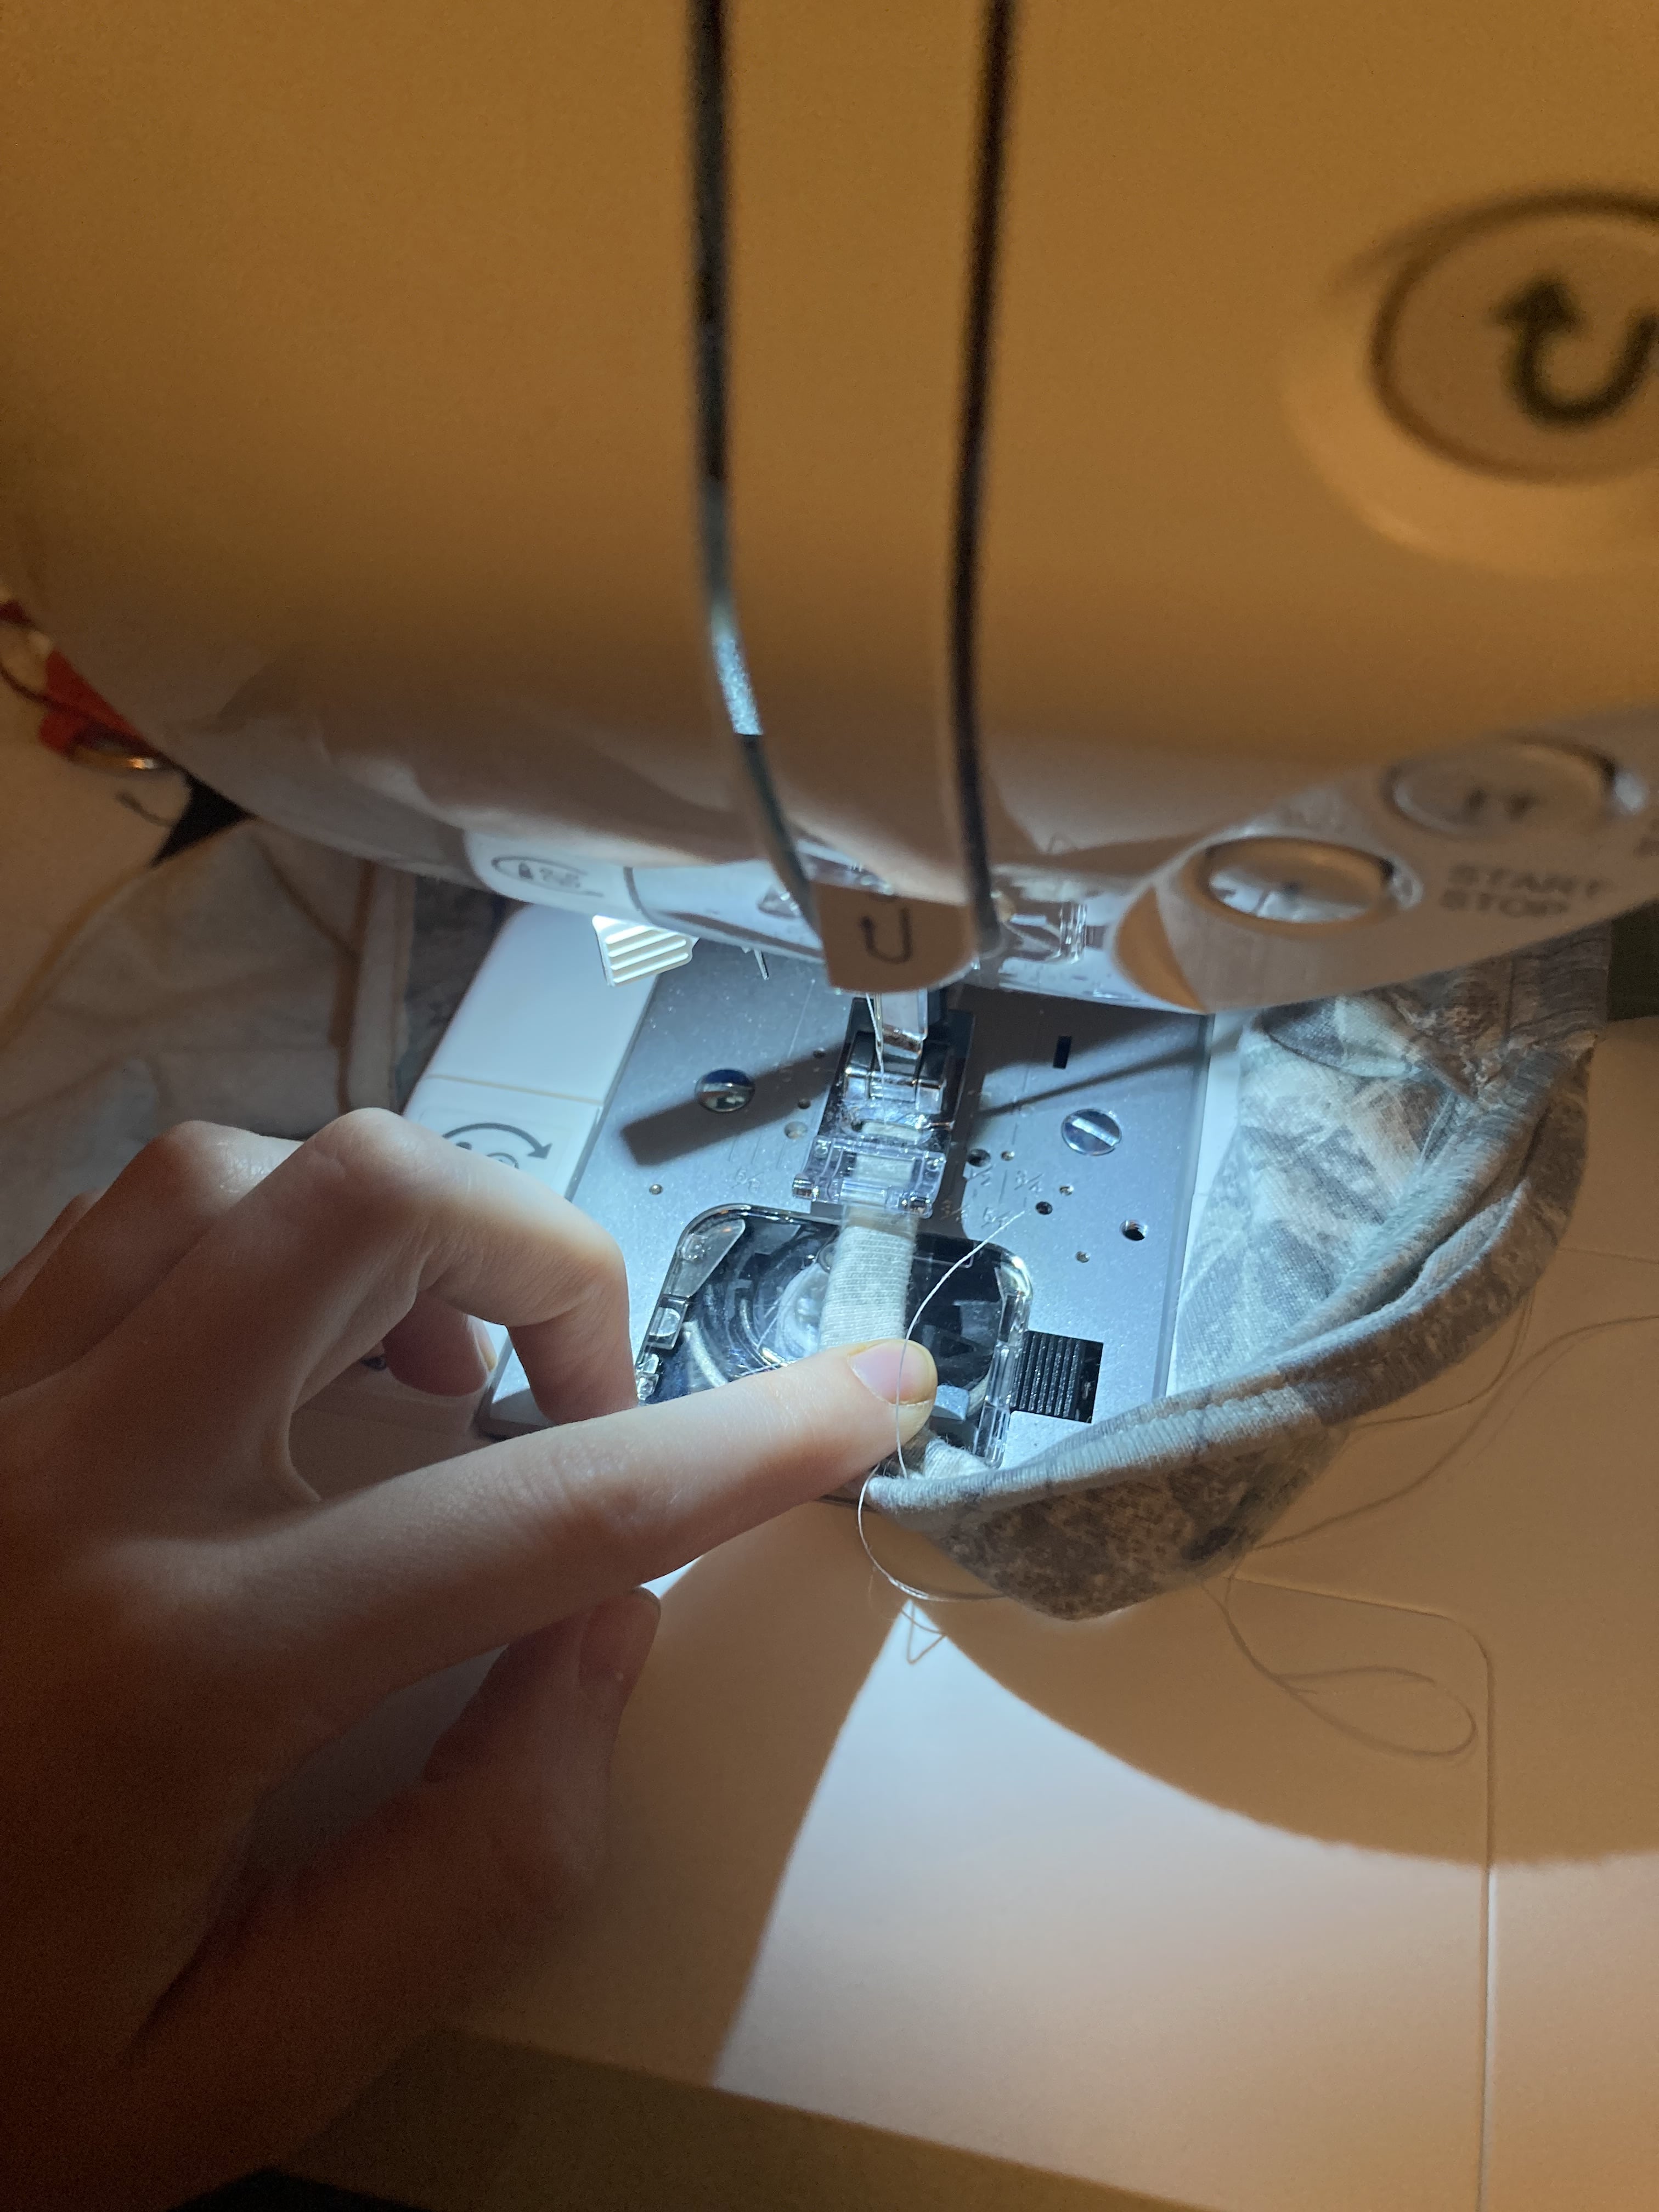
The last few stitches. Since the straps are so thin, there's very little margin for error. If the fabric goes even a few mm a certain direction, it can go right off the fabric.
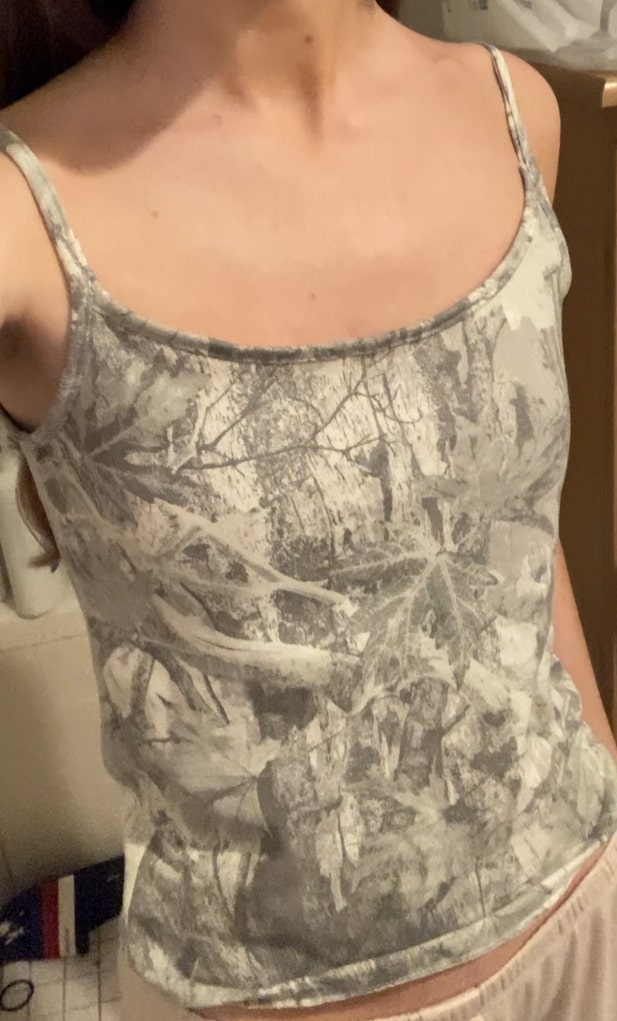
Finished!
I think the fabric itself could've been a less dense cotton material, more like a cotton jersey rather than shirt fabric, but otherwise the construction is fine.