
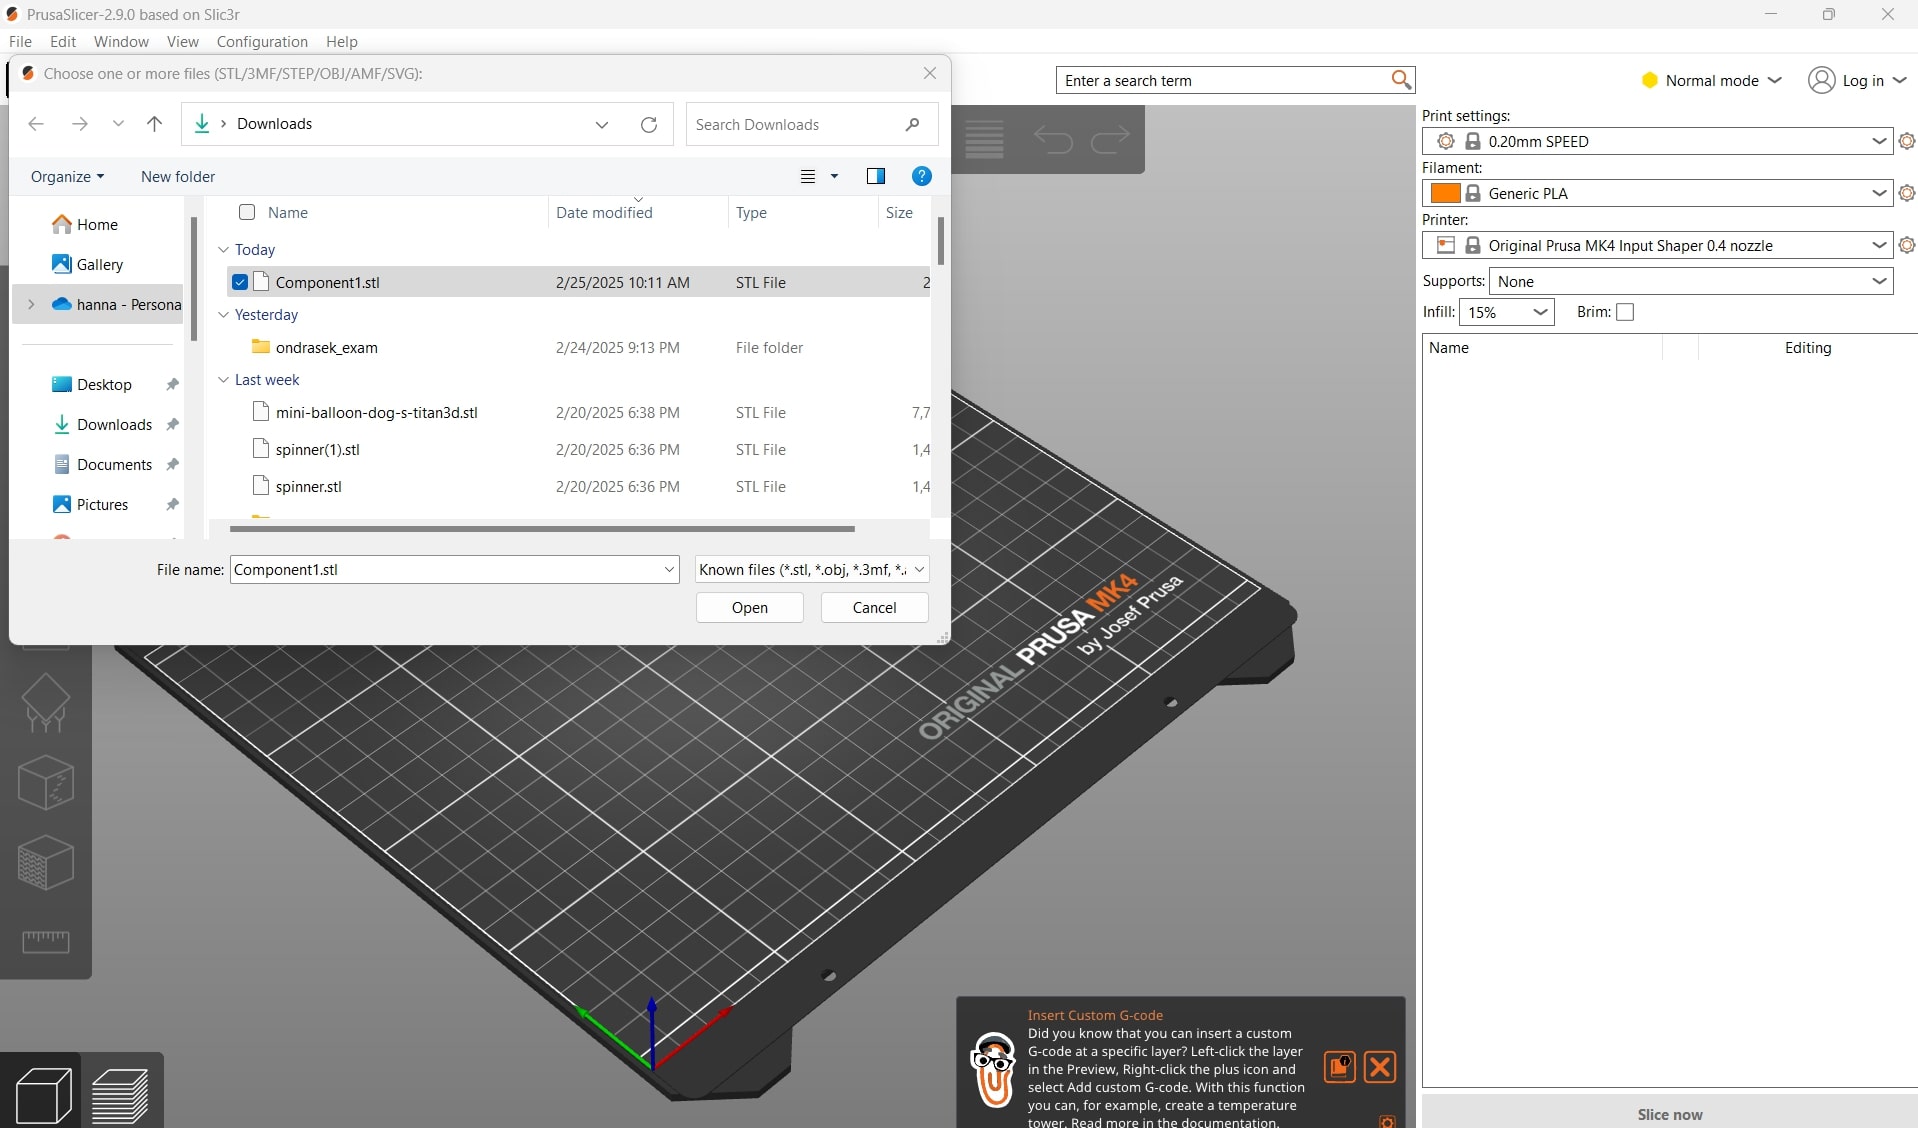
After choosing a model from printables, there is a button to open the model directly in Prusaslicer, which is what I did. However, you can also go to File > Import STL to import the model from an stl file.

I made my supports only be on the build plate for easier removal. Make sure Prusaslicer is in Normal mode. I used generic PLA for this particular print. After all of these are confirmed, we can press 'Slice now'.

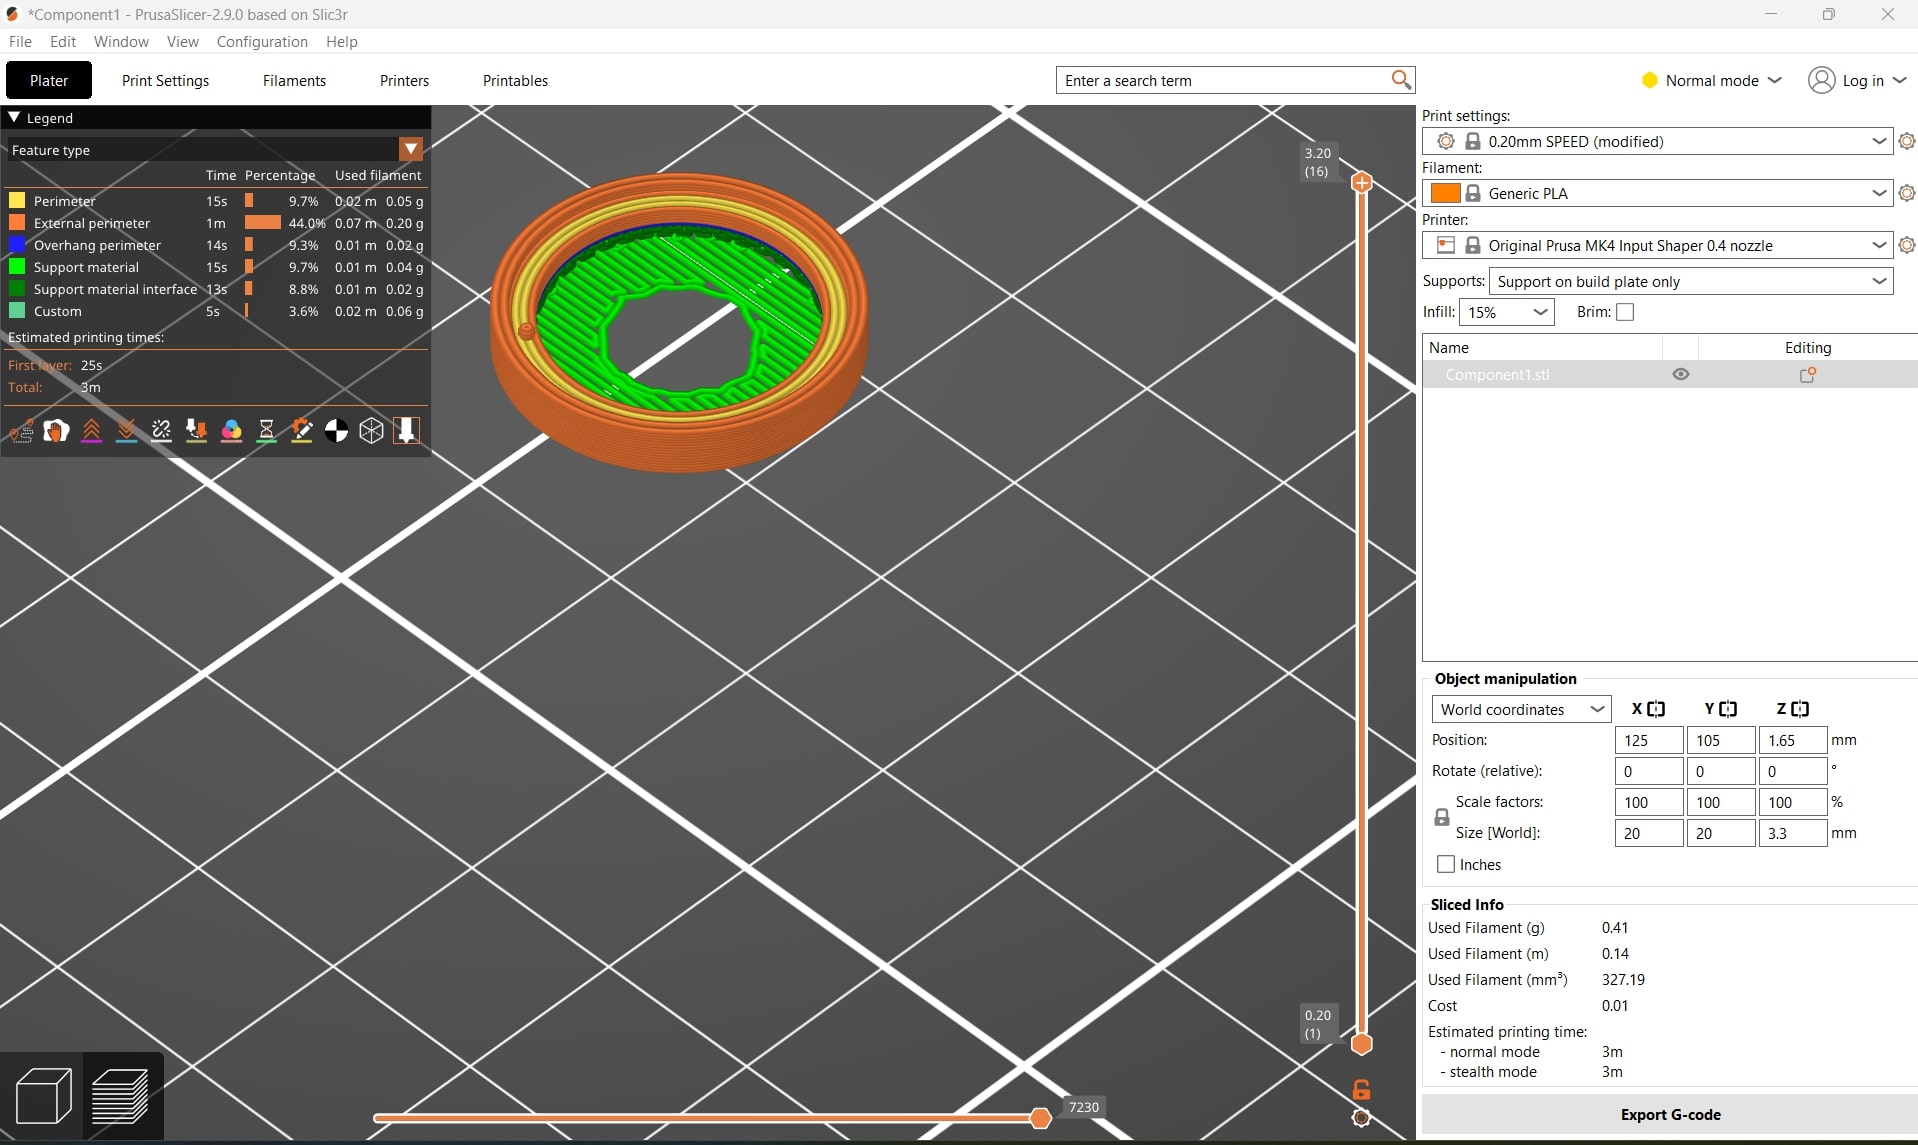
To make the supports organic, we go to Print Settings > Support Material > Style > Organic. This is only accessible in Normal mode. Organic supports are lightweight and reliable.

The prints after generating organic supports. From here, we can select Export G-code. Save the g-code file to somewhere accessible. Plug in a USB stick to your computer's USB port, and copy the g-code file into the USB. Disconnect the USB and plug it into the 3D printer.

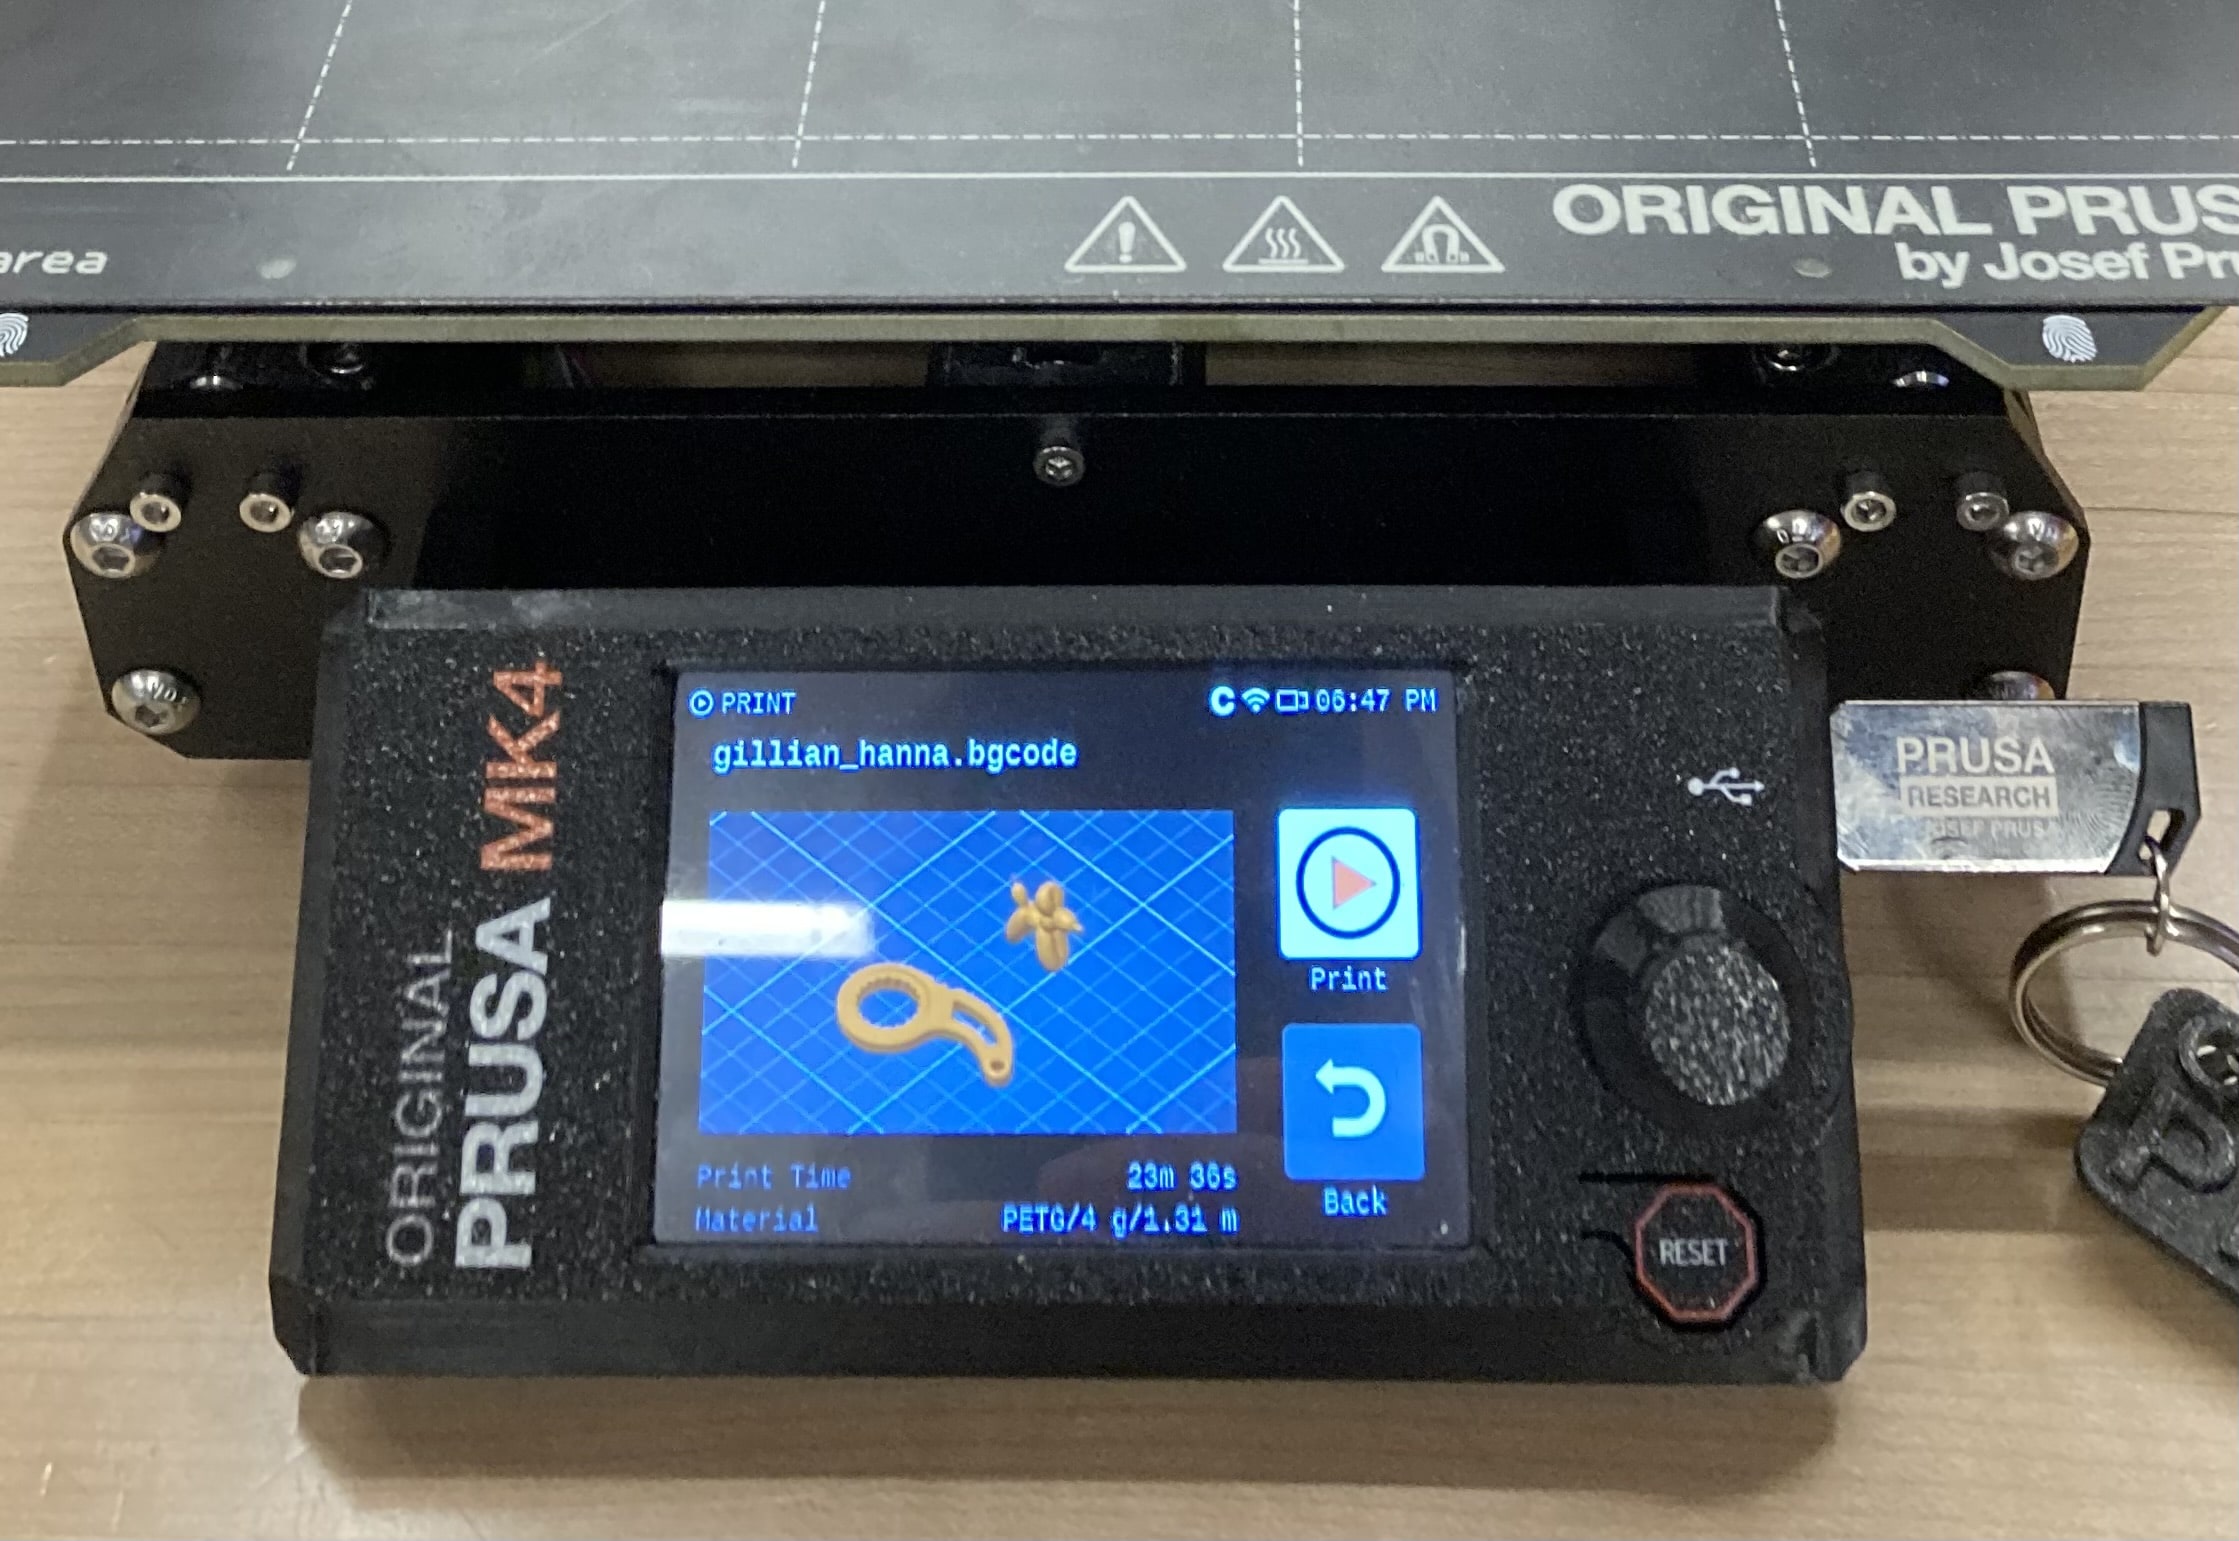
This is what our Prusaslicer will show when we've selected our file from the USB. It shows us the estimated time that the print will take. When we've confirmed the details, we can select Print.
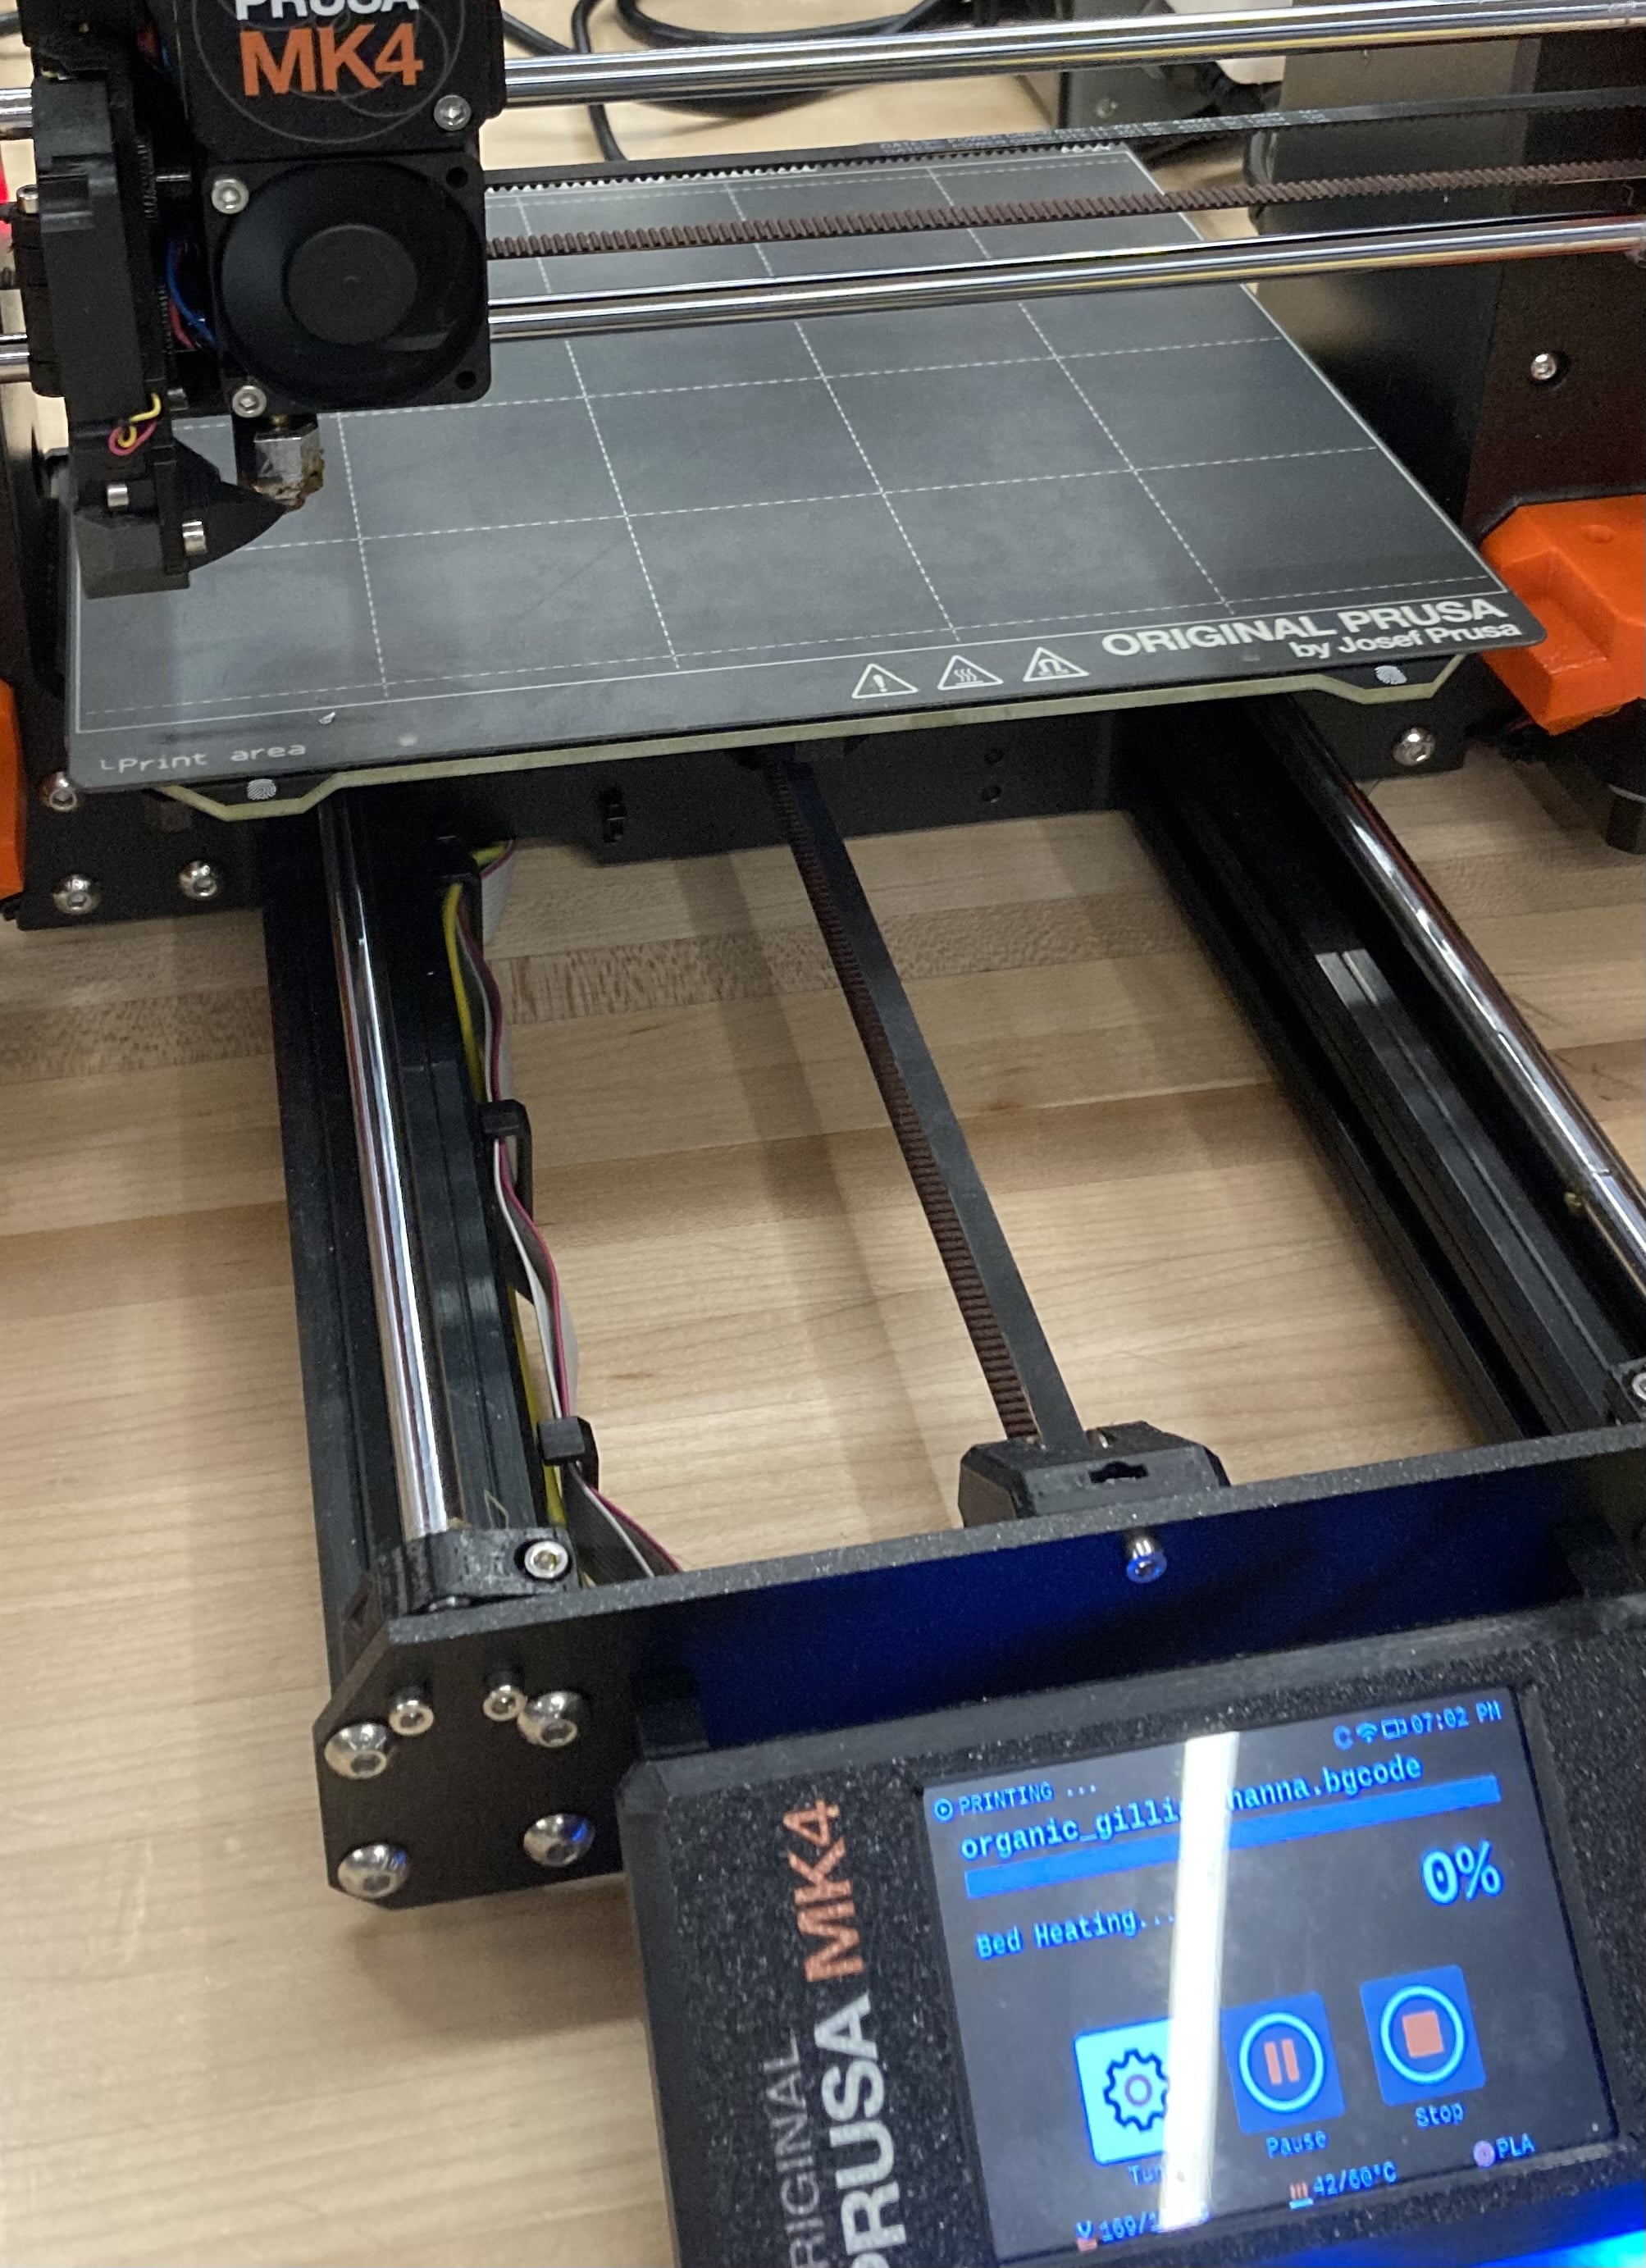
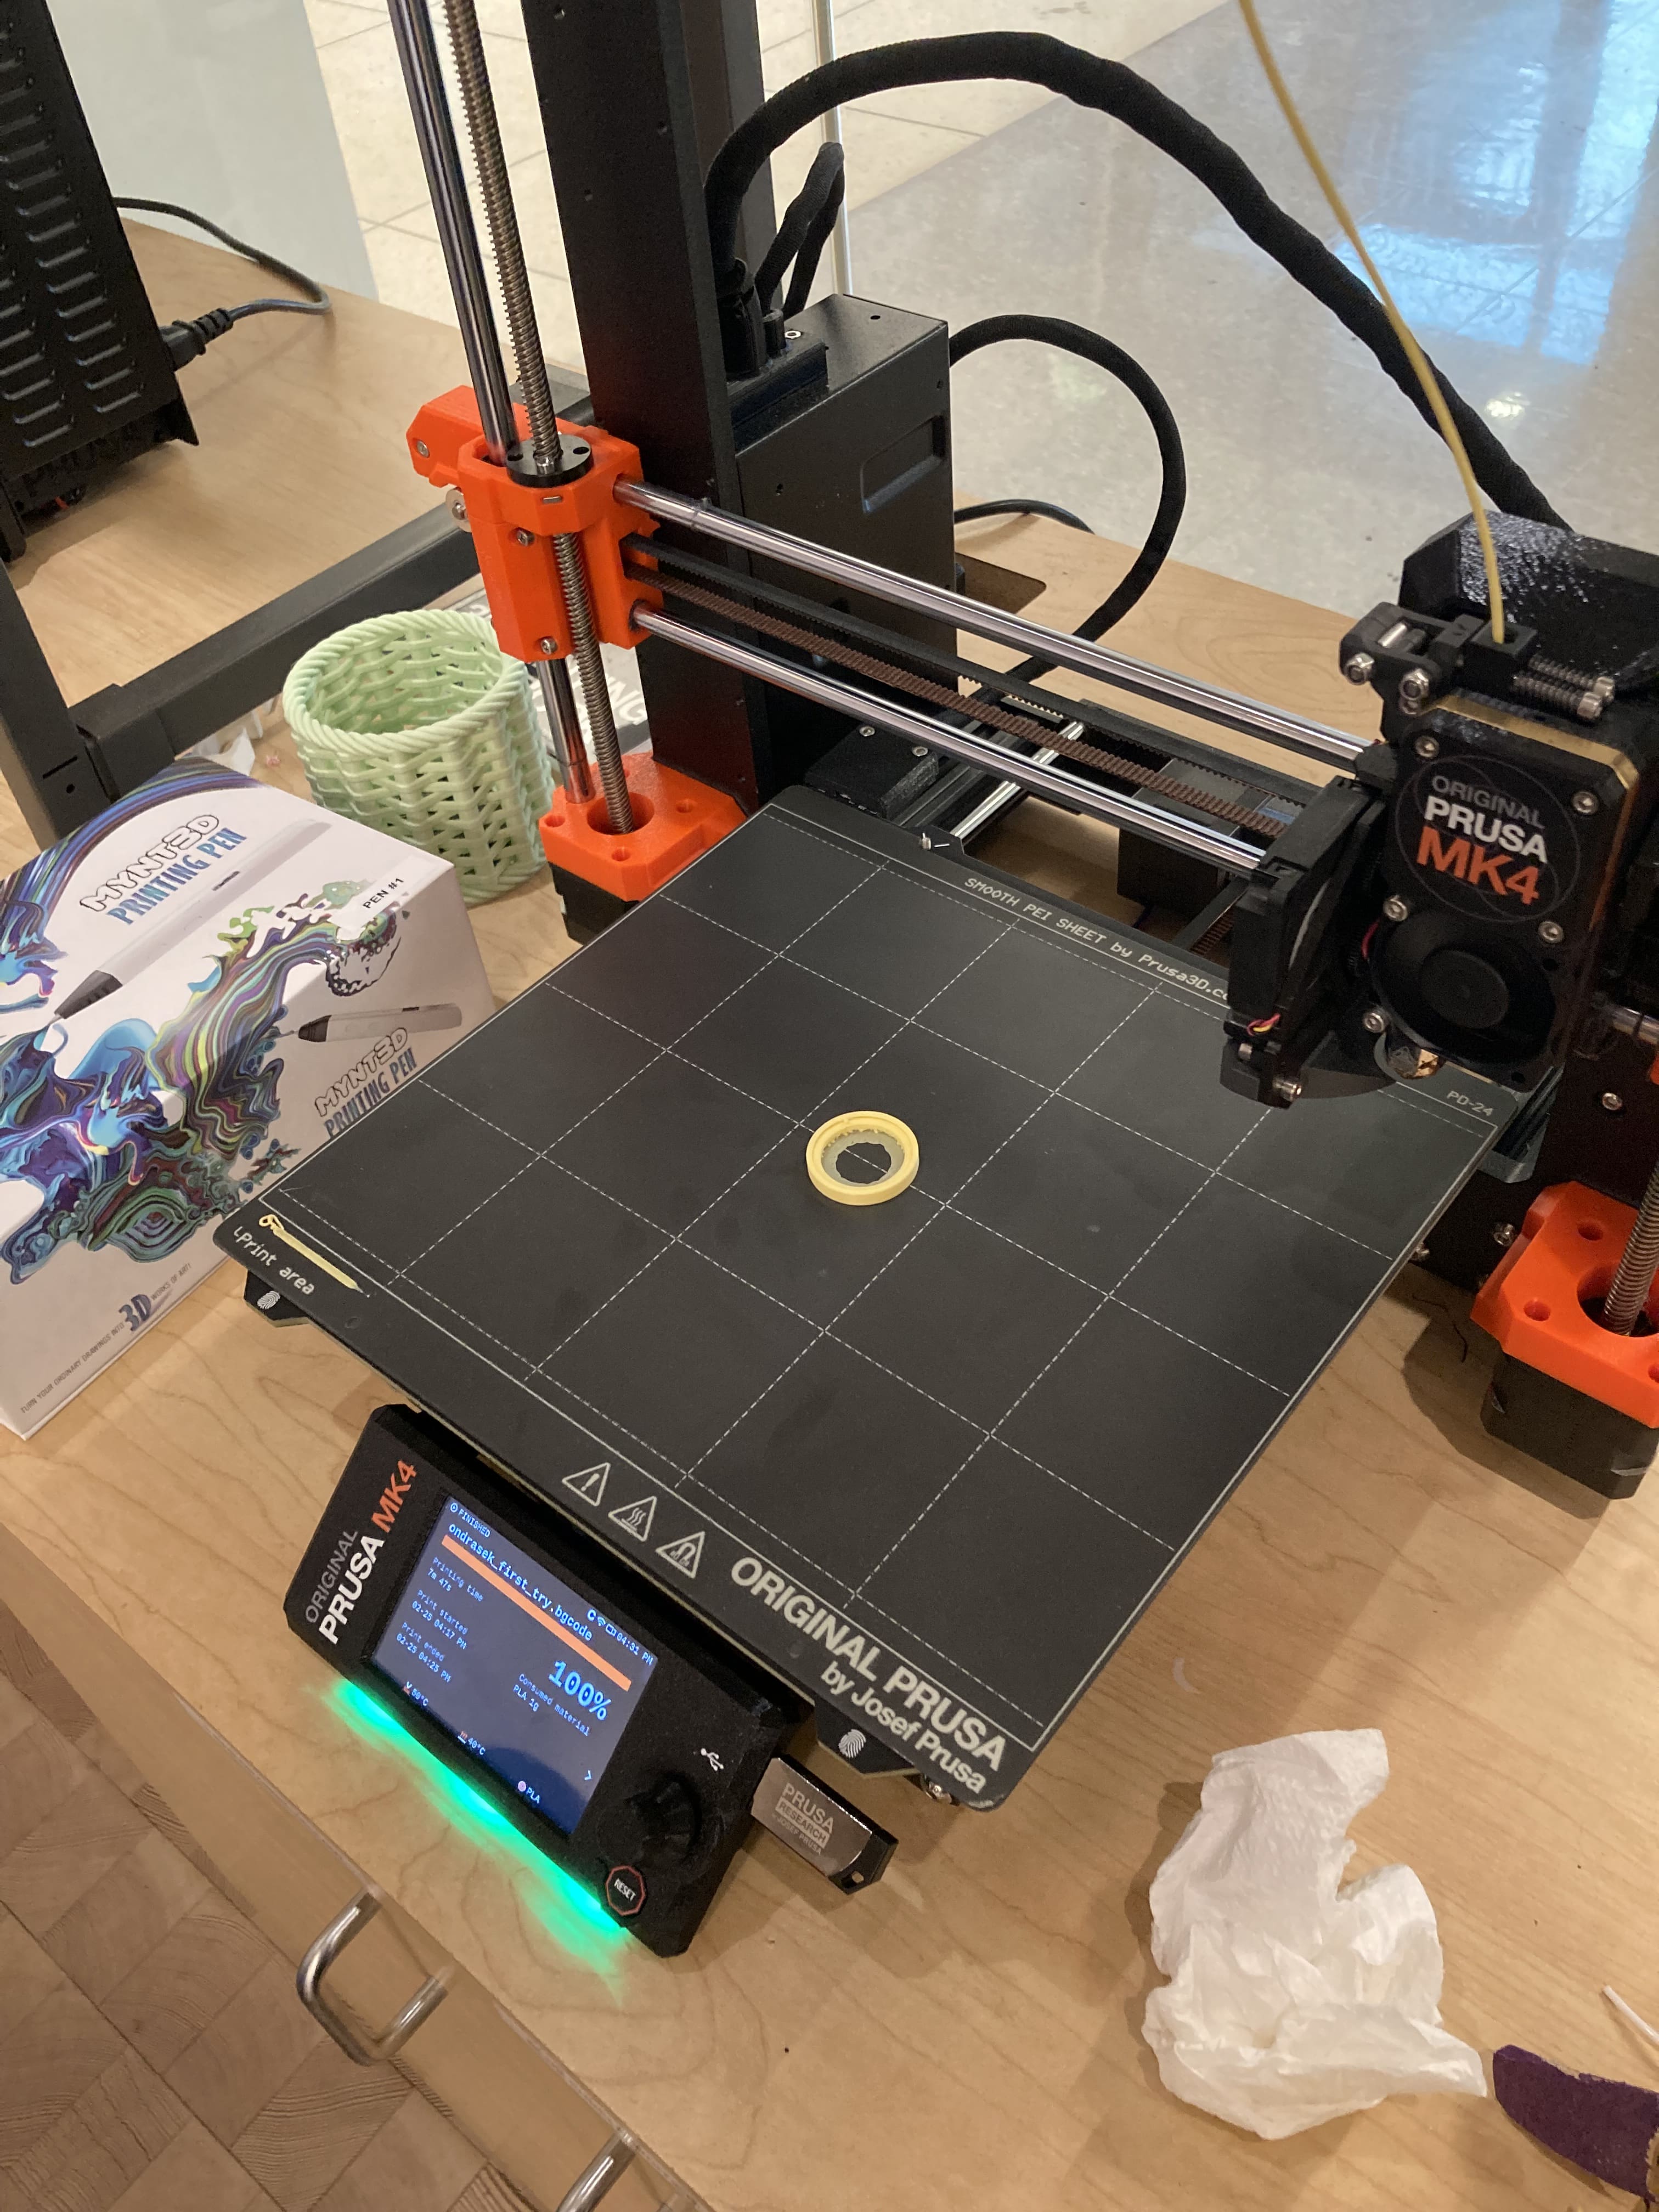
The print in progress.
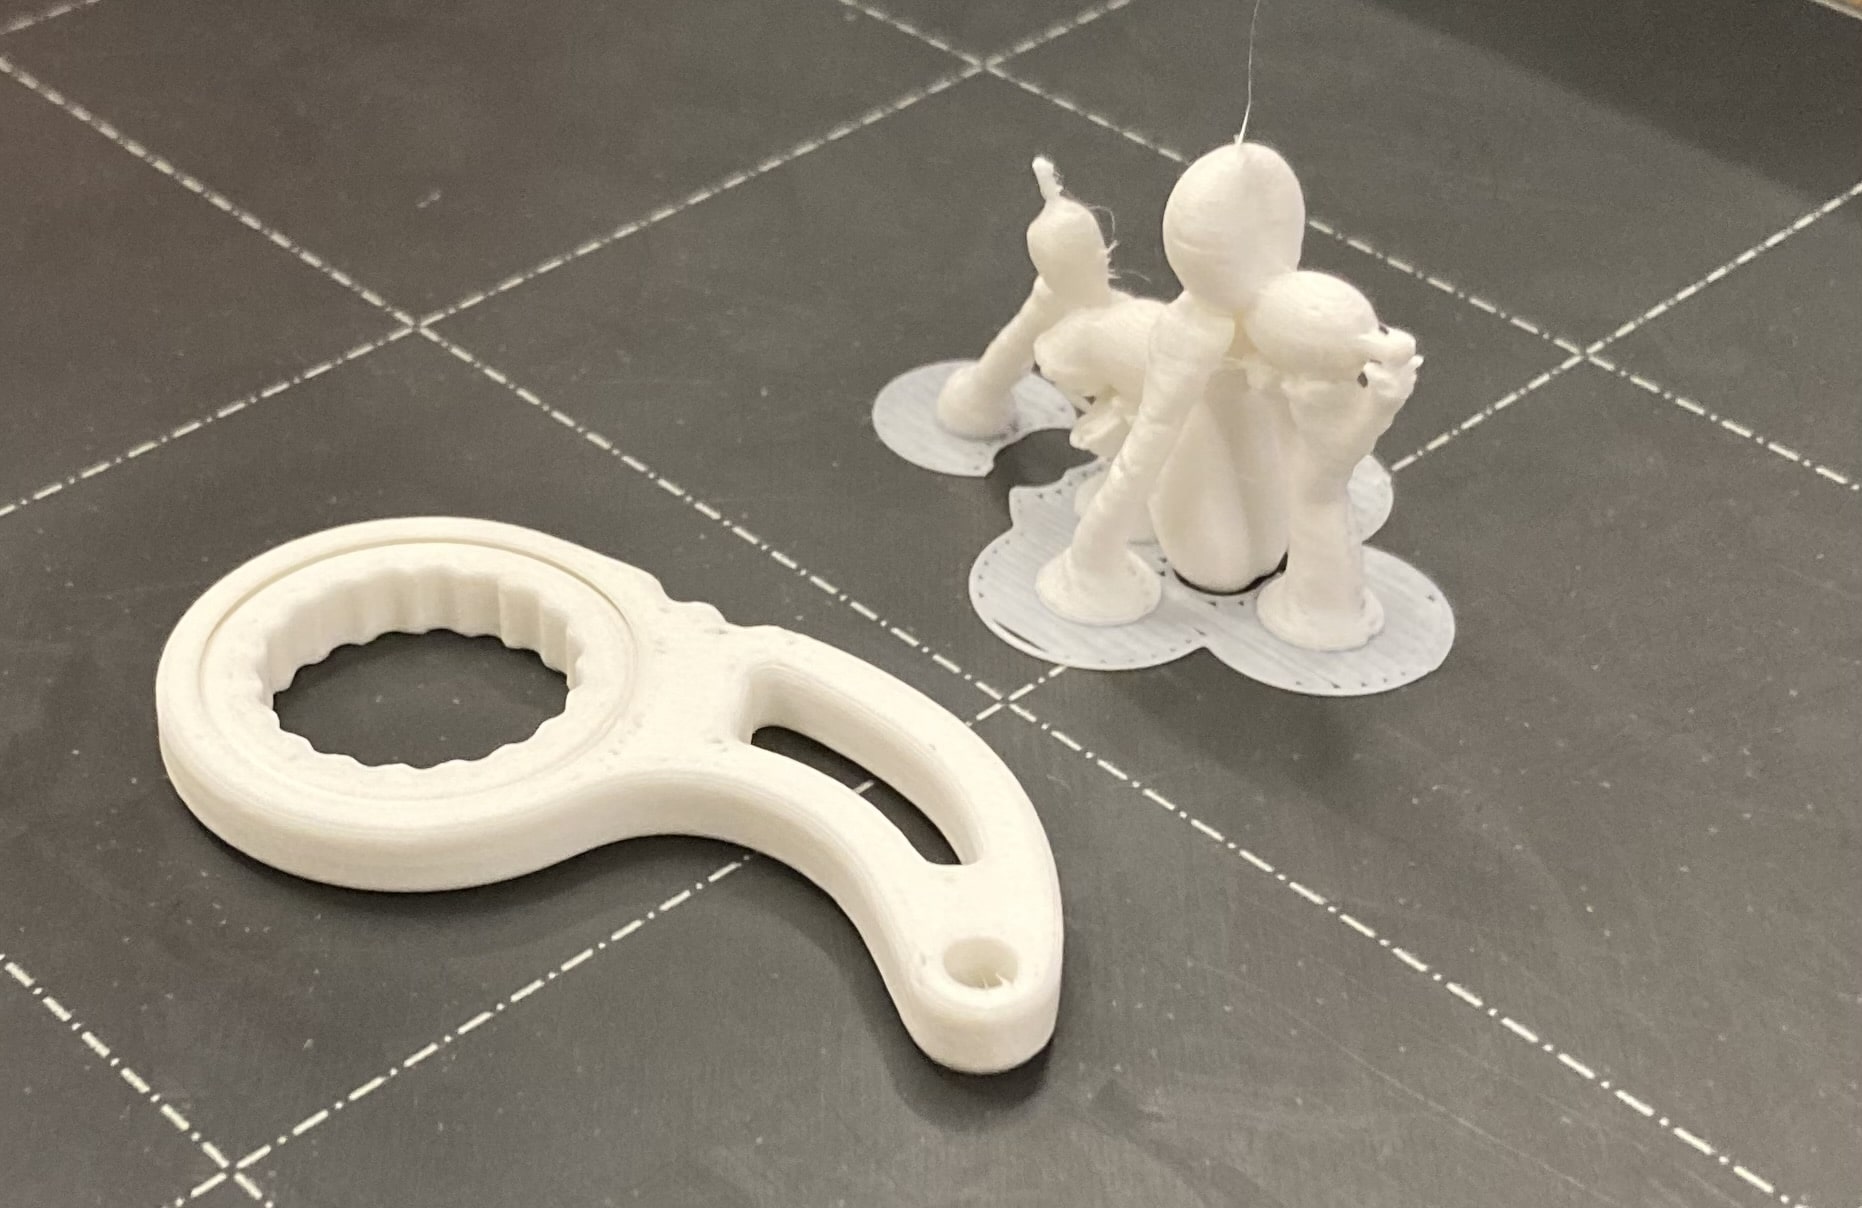
The finished prints. Remove the organic supports by hand or with a plier tool.
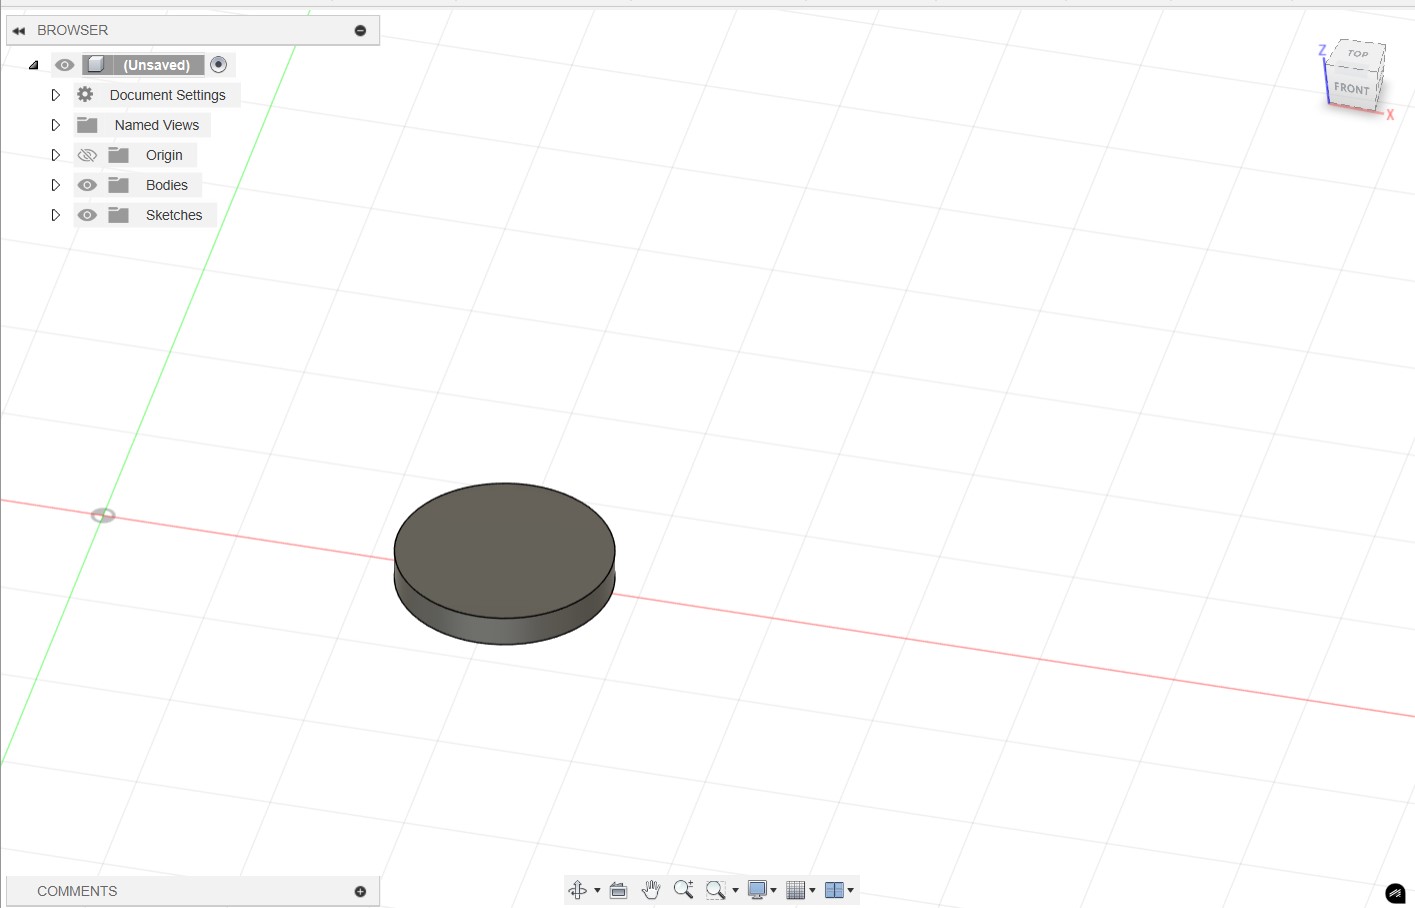
I started off by creating a sketch with a circle with a diameter of just under 1". I then extruded the circle to make this short cylinder.
I cut a hole in the circle to make a ring, then sketched another circle that would just barely cut into the existing ring. We're going to make an undercut with this method.
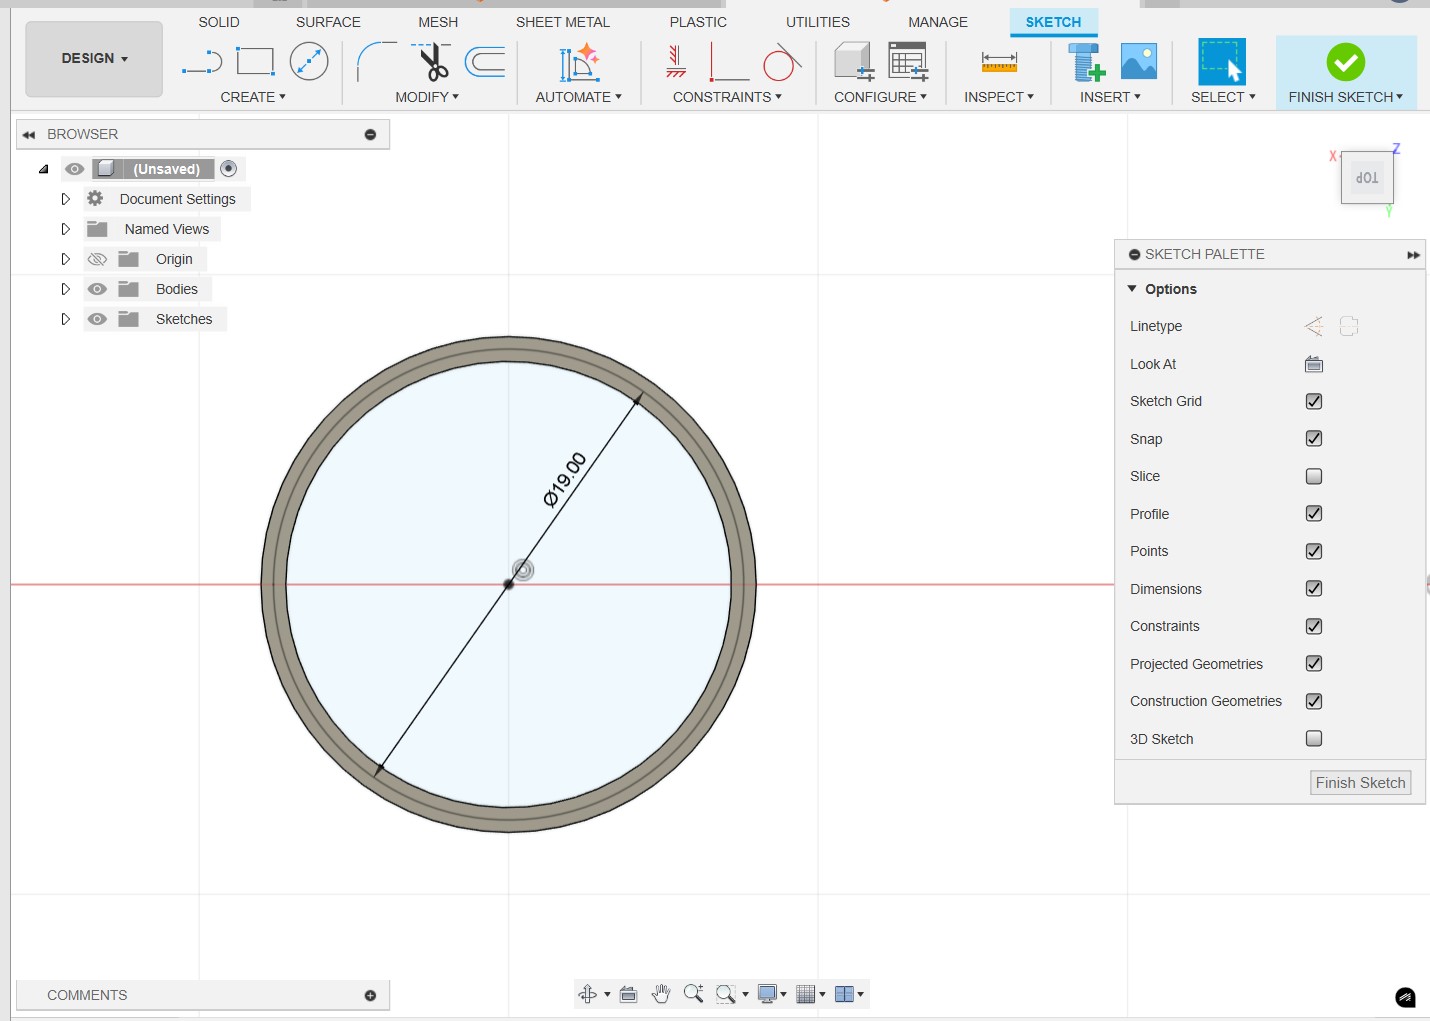
Cutting an undercut where another cylinder will fit and rotate using the extrude tool.
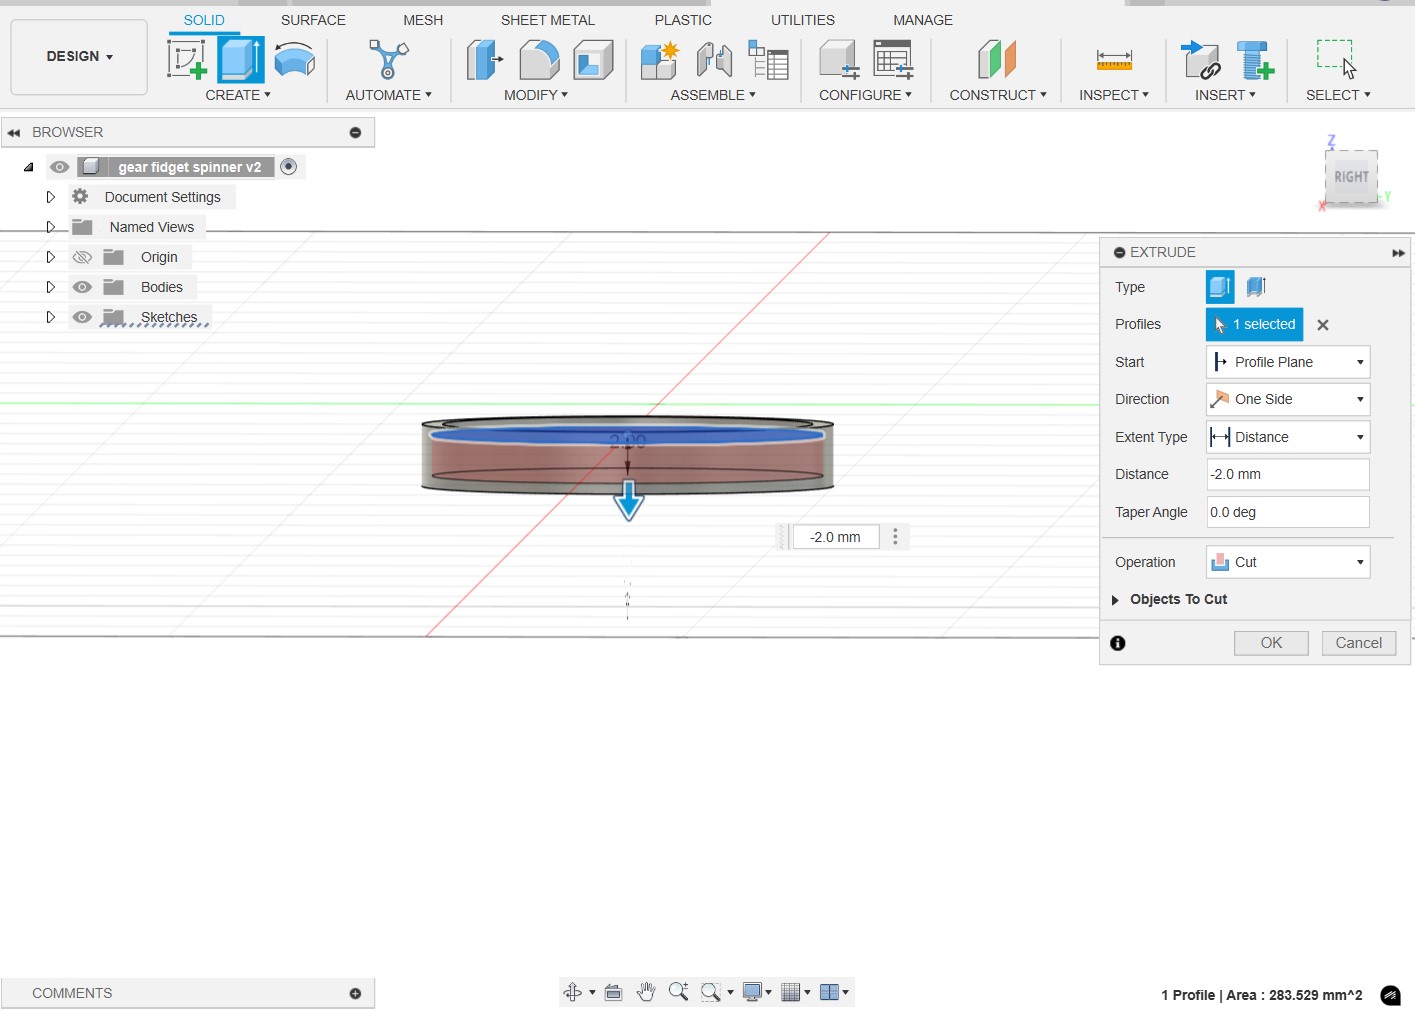
Cutting an undercut where another cylinder will fit and rotate using the extrude tool.

Using the fillet tool to allow for the other cylinder to move more freely, and not be stuck in place.
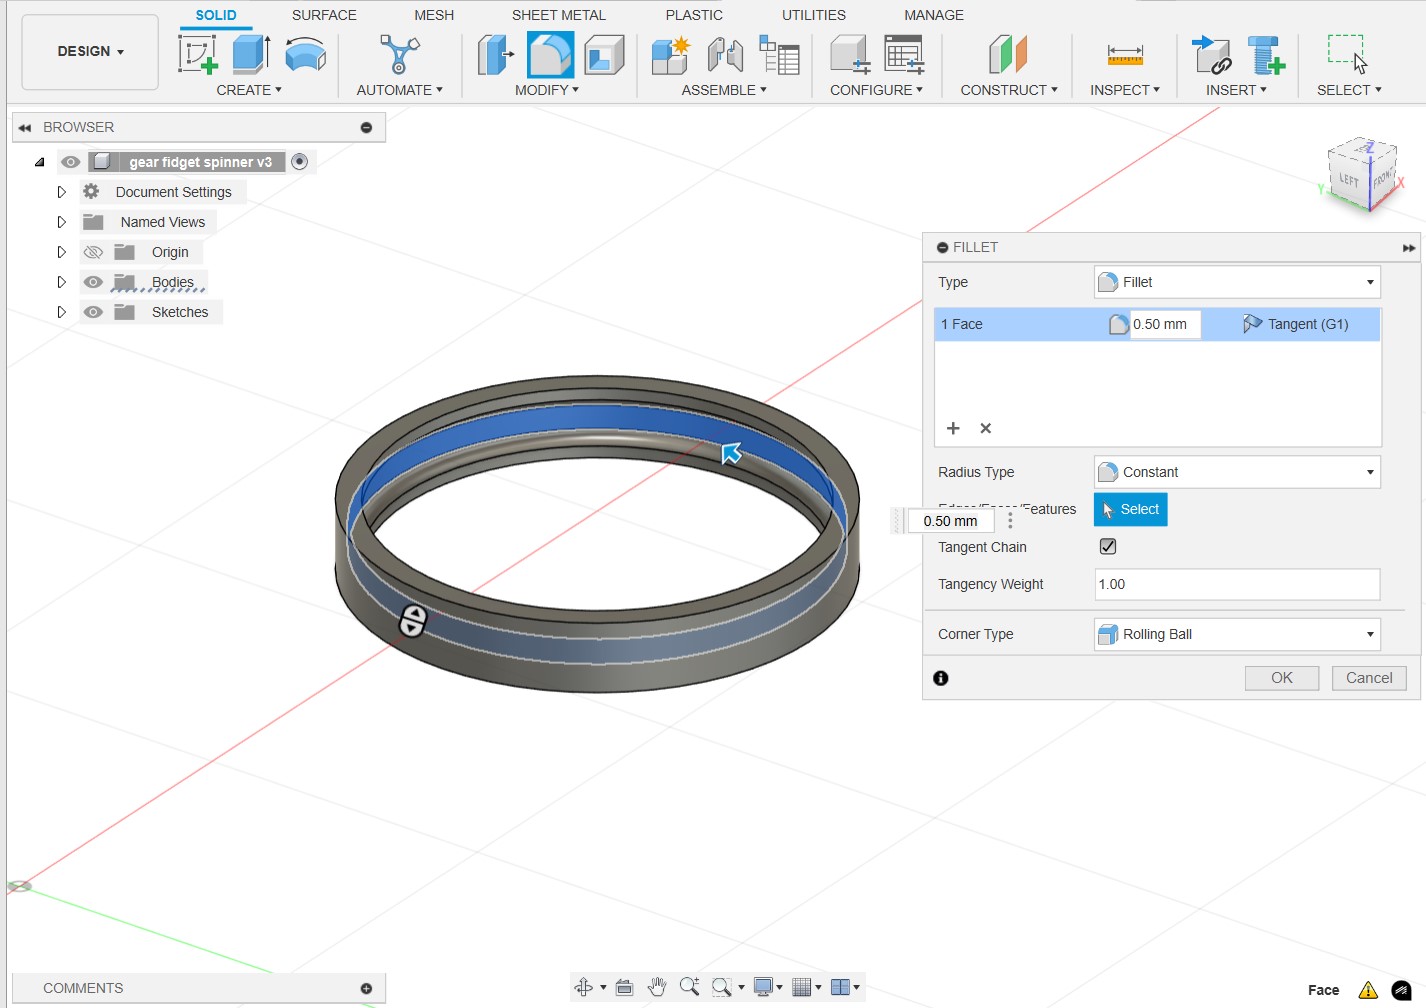
Below is the finished undercut, making this design nearly impossible to make subtractively paired with the ring- shaped design.
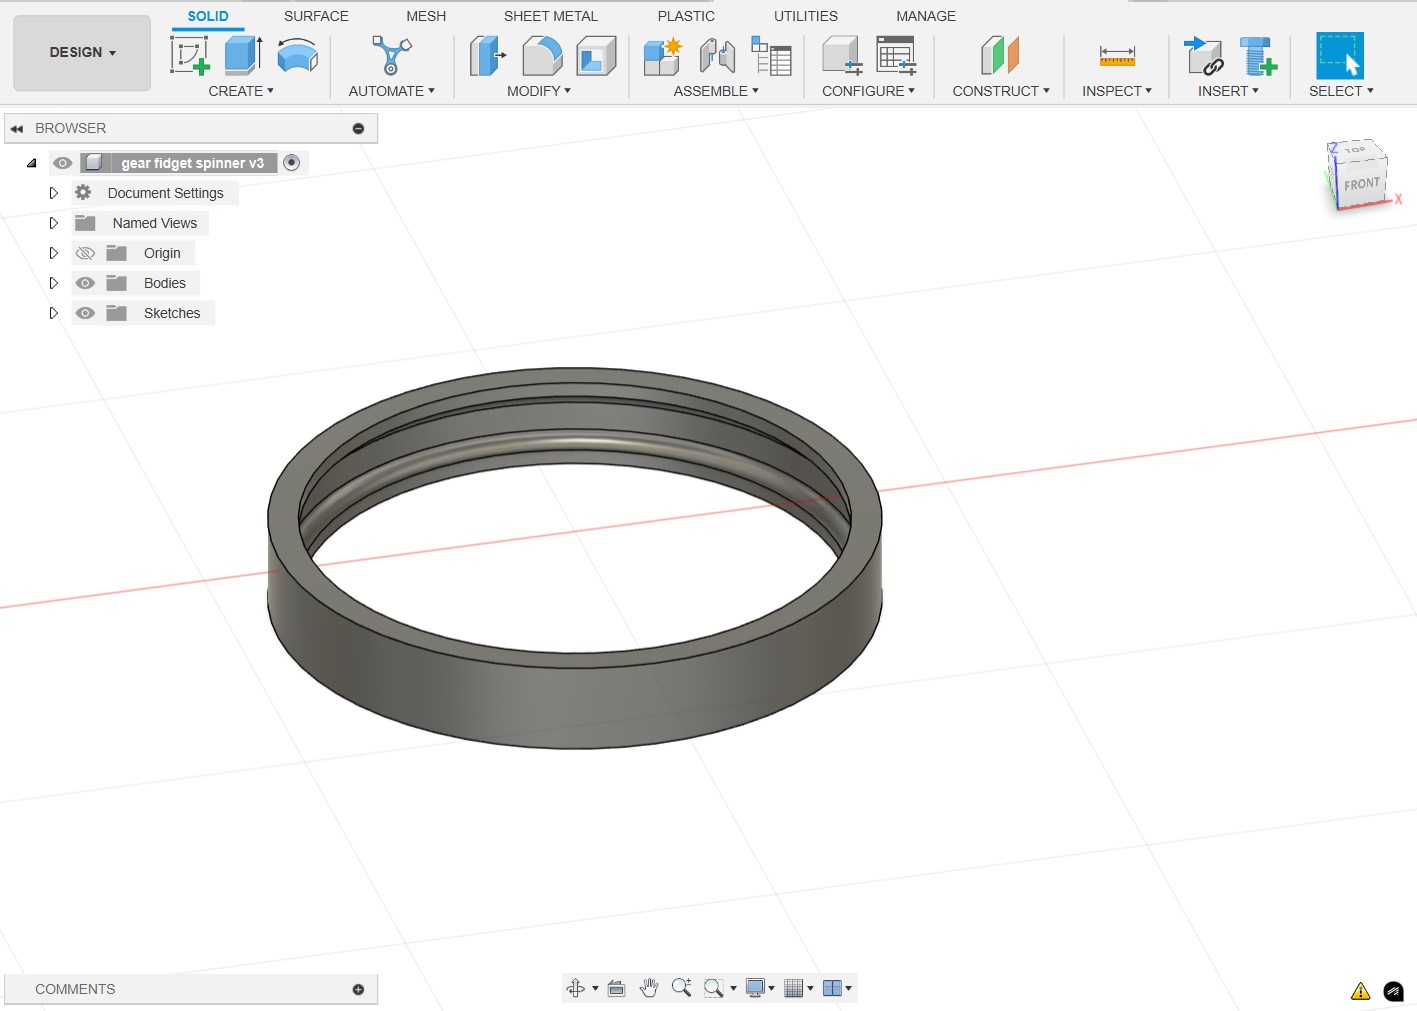
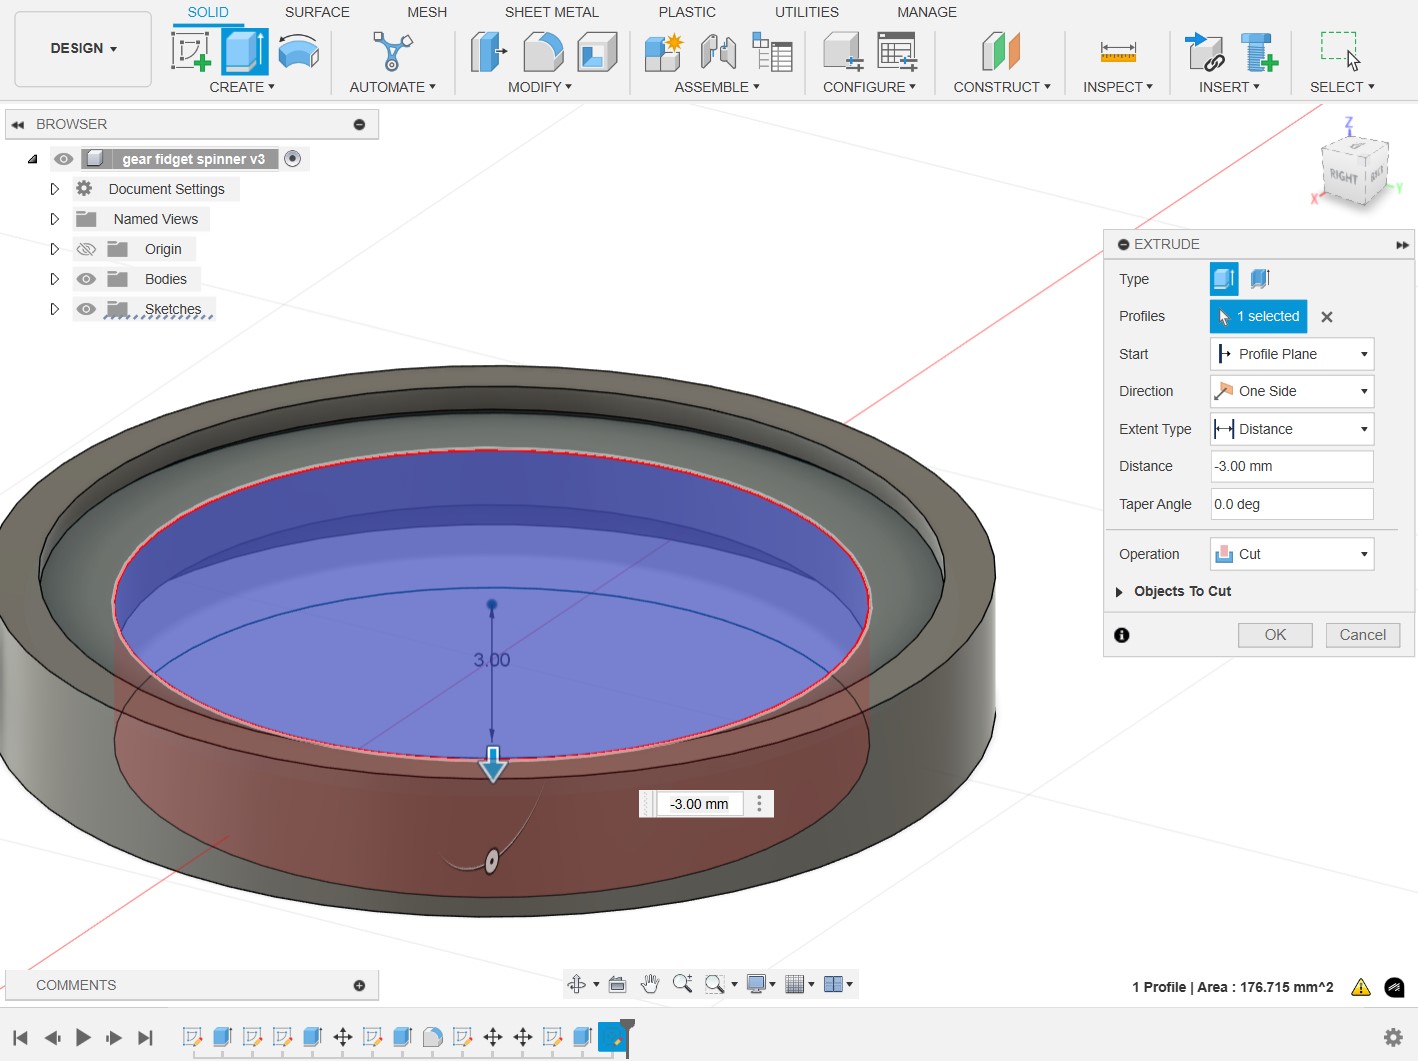
Next, we'll make the cylinder which will actually do the spinning motion by making a cylinder just barely smaller than the radius of the undercut.
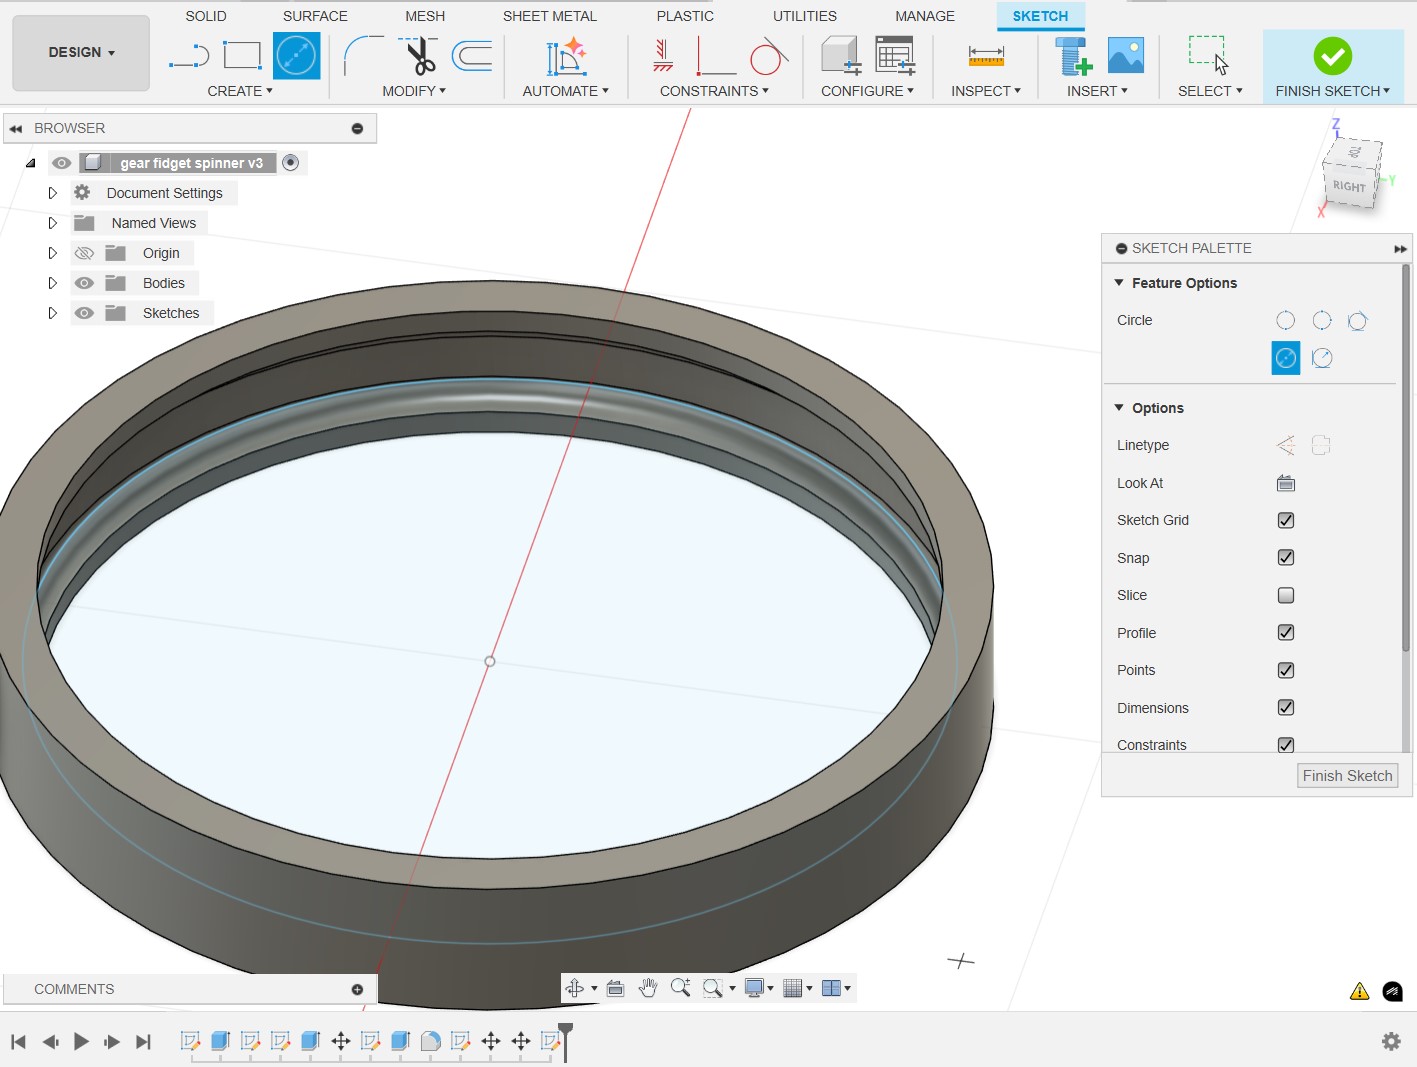
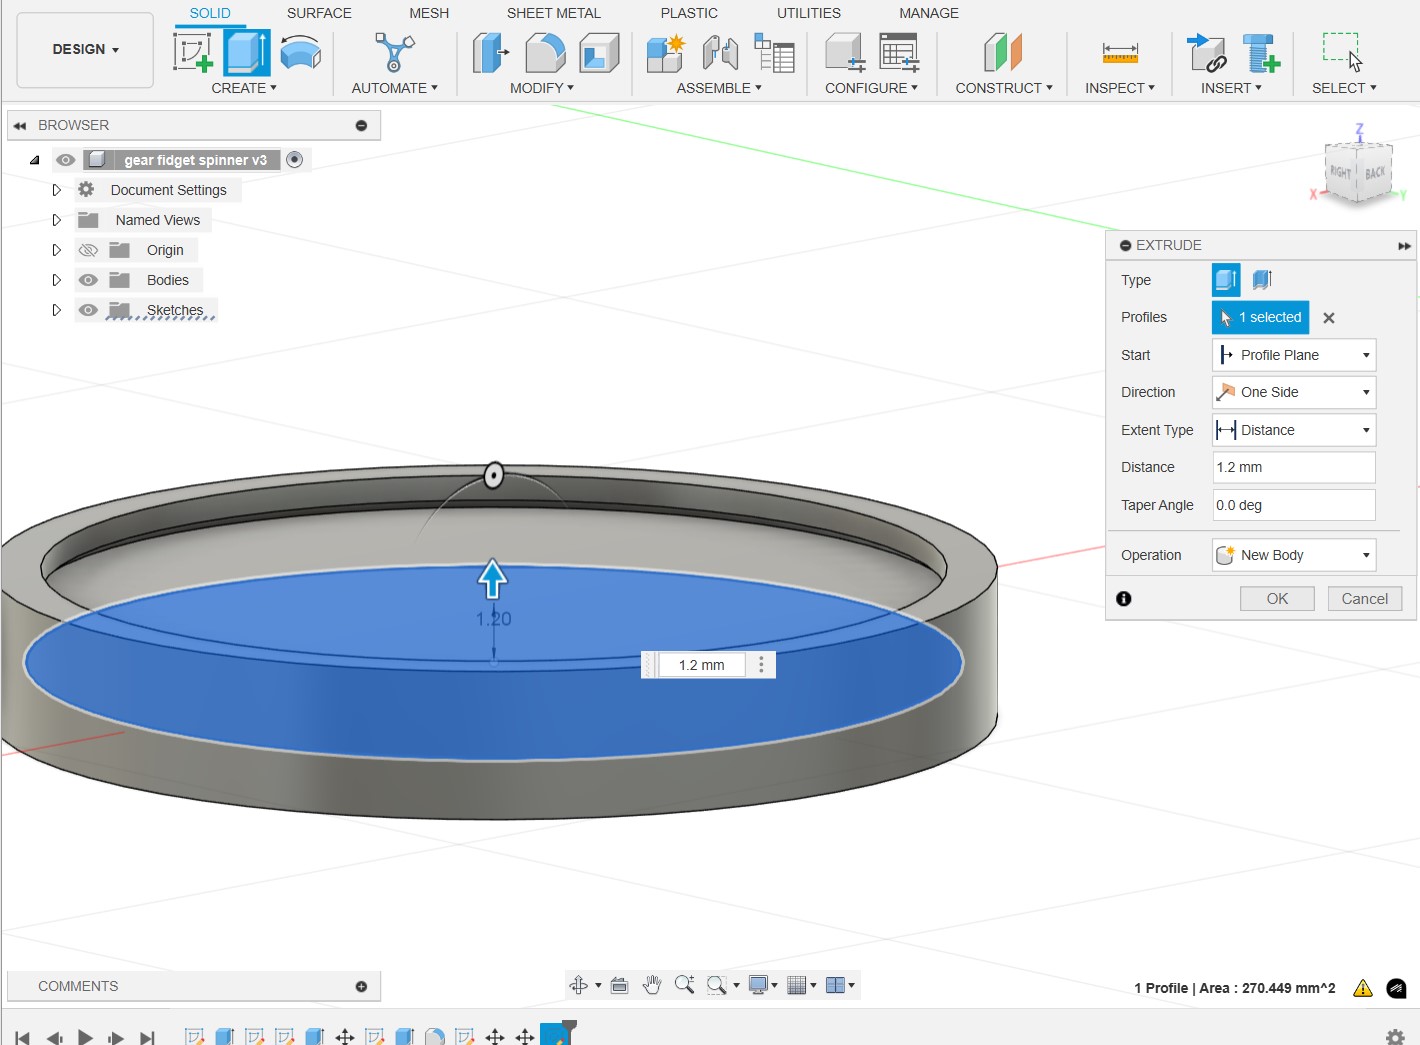
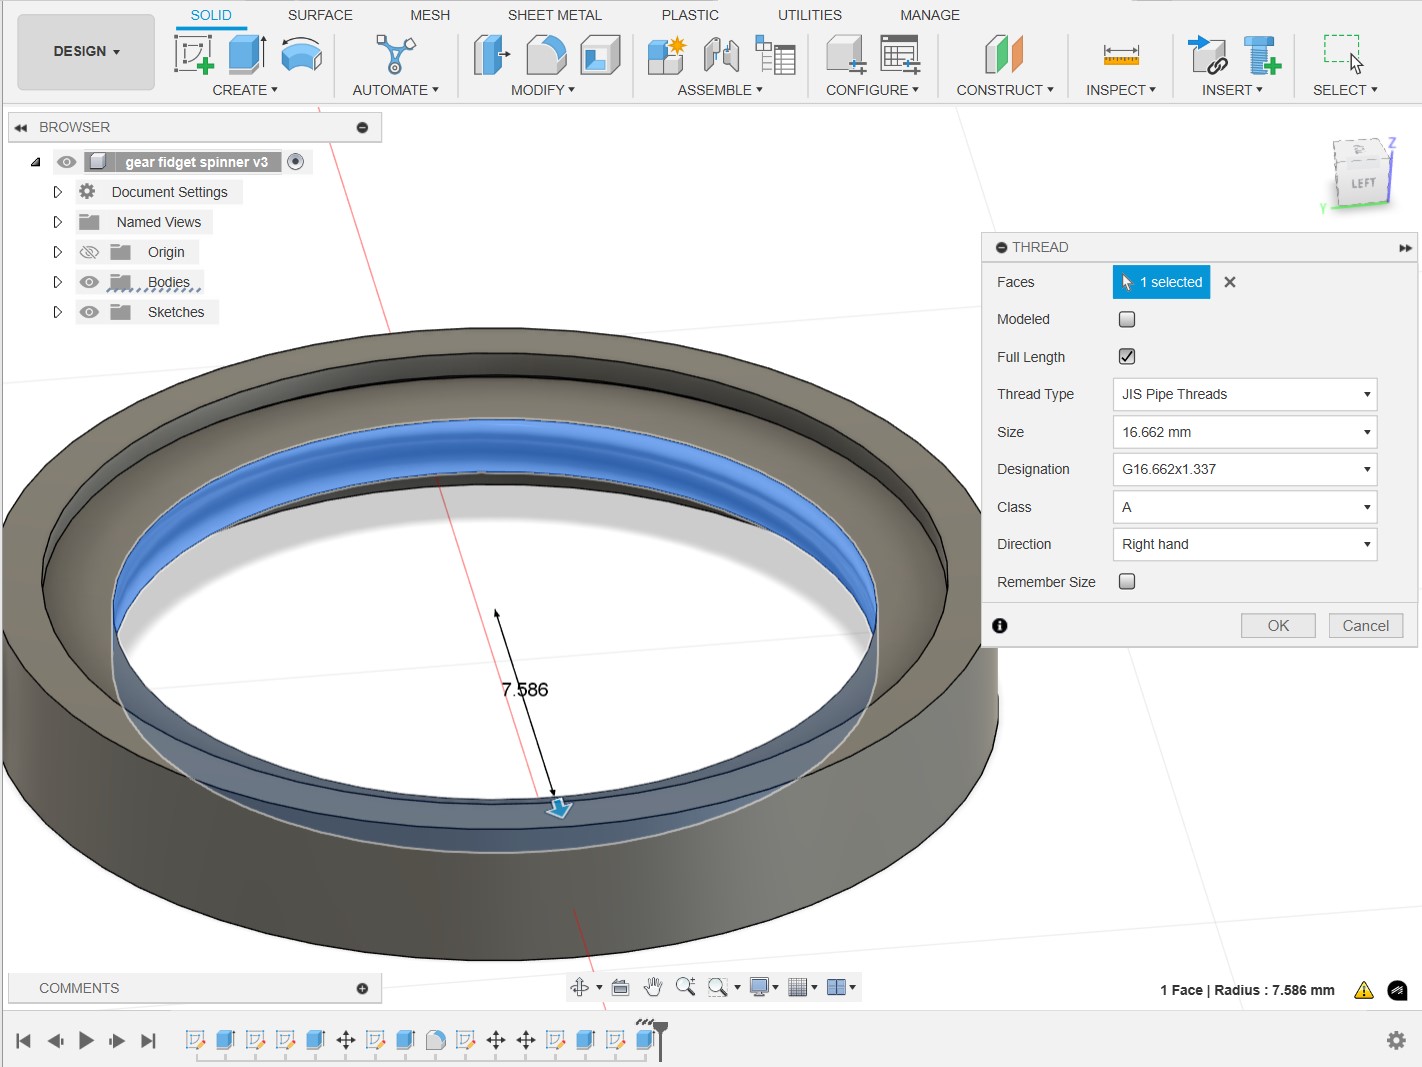
To make the inner cylinder easier to spin, I decided to cut a hole into the cylinder and apply threading to make it easier to grip.
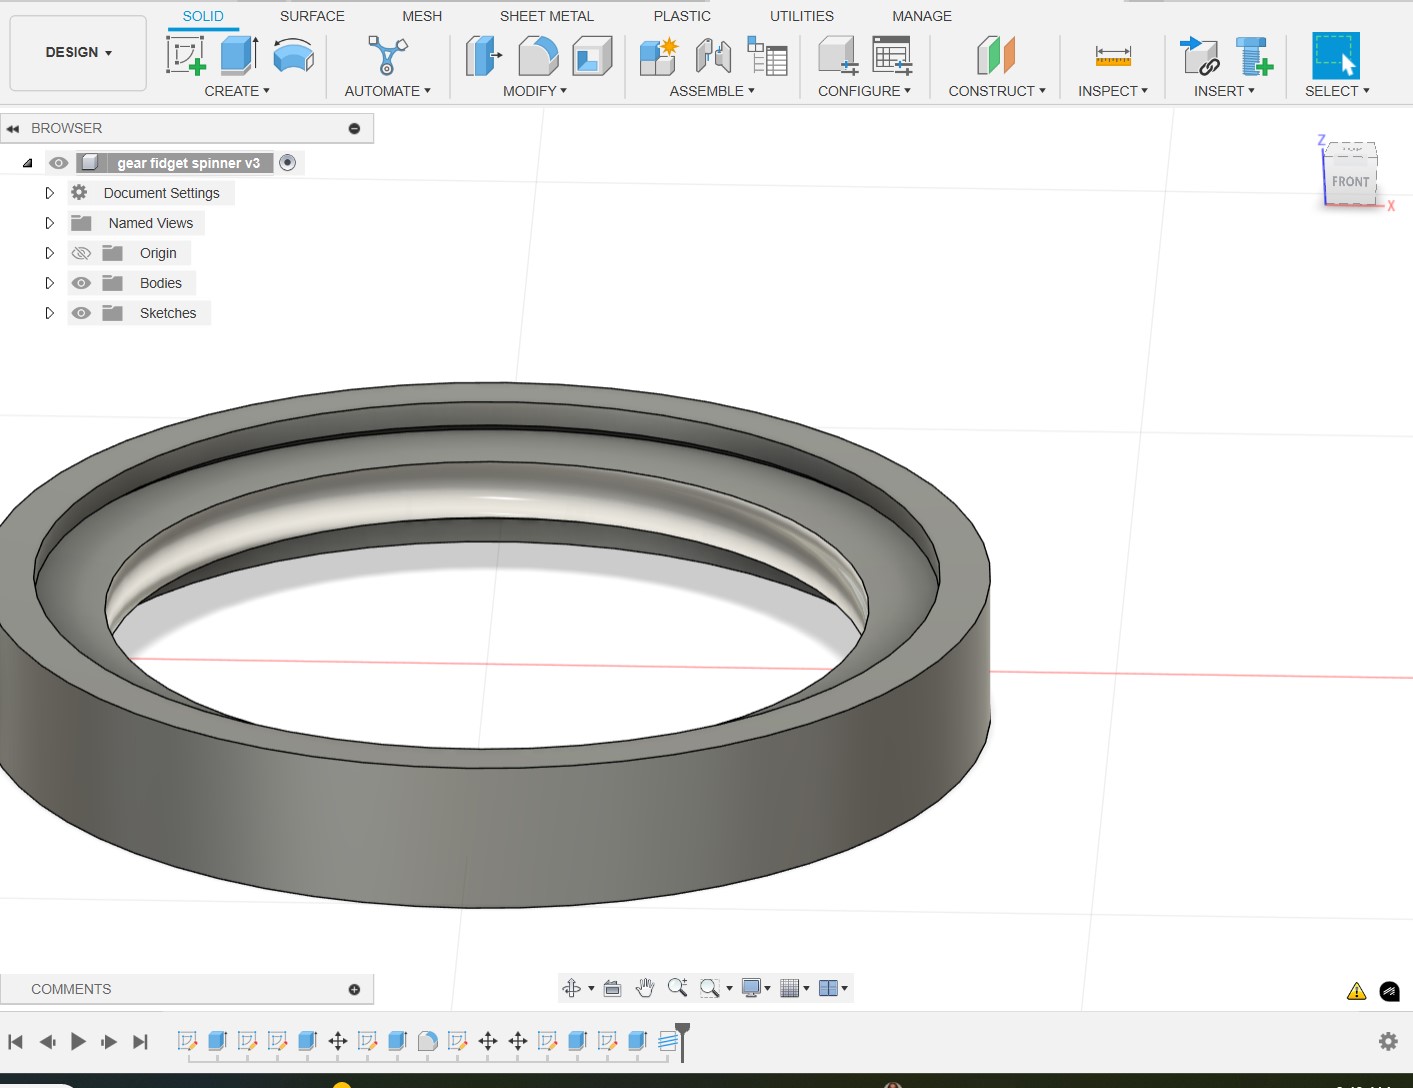
Next, we'll move onto importing the design in Prusaslicer.
For this design, I've decided to use organic supports. In the final printed version, I also scaled by 150% because the model was looking a bit too small to work without any errors. The threading also disappeared in Prusaslicer, and it was not present in the final physical print.
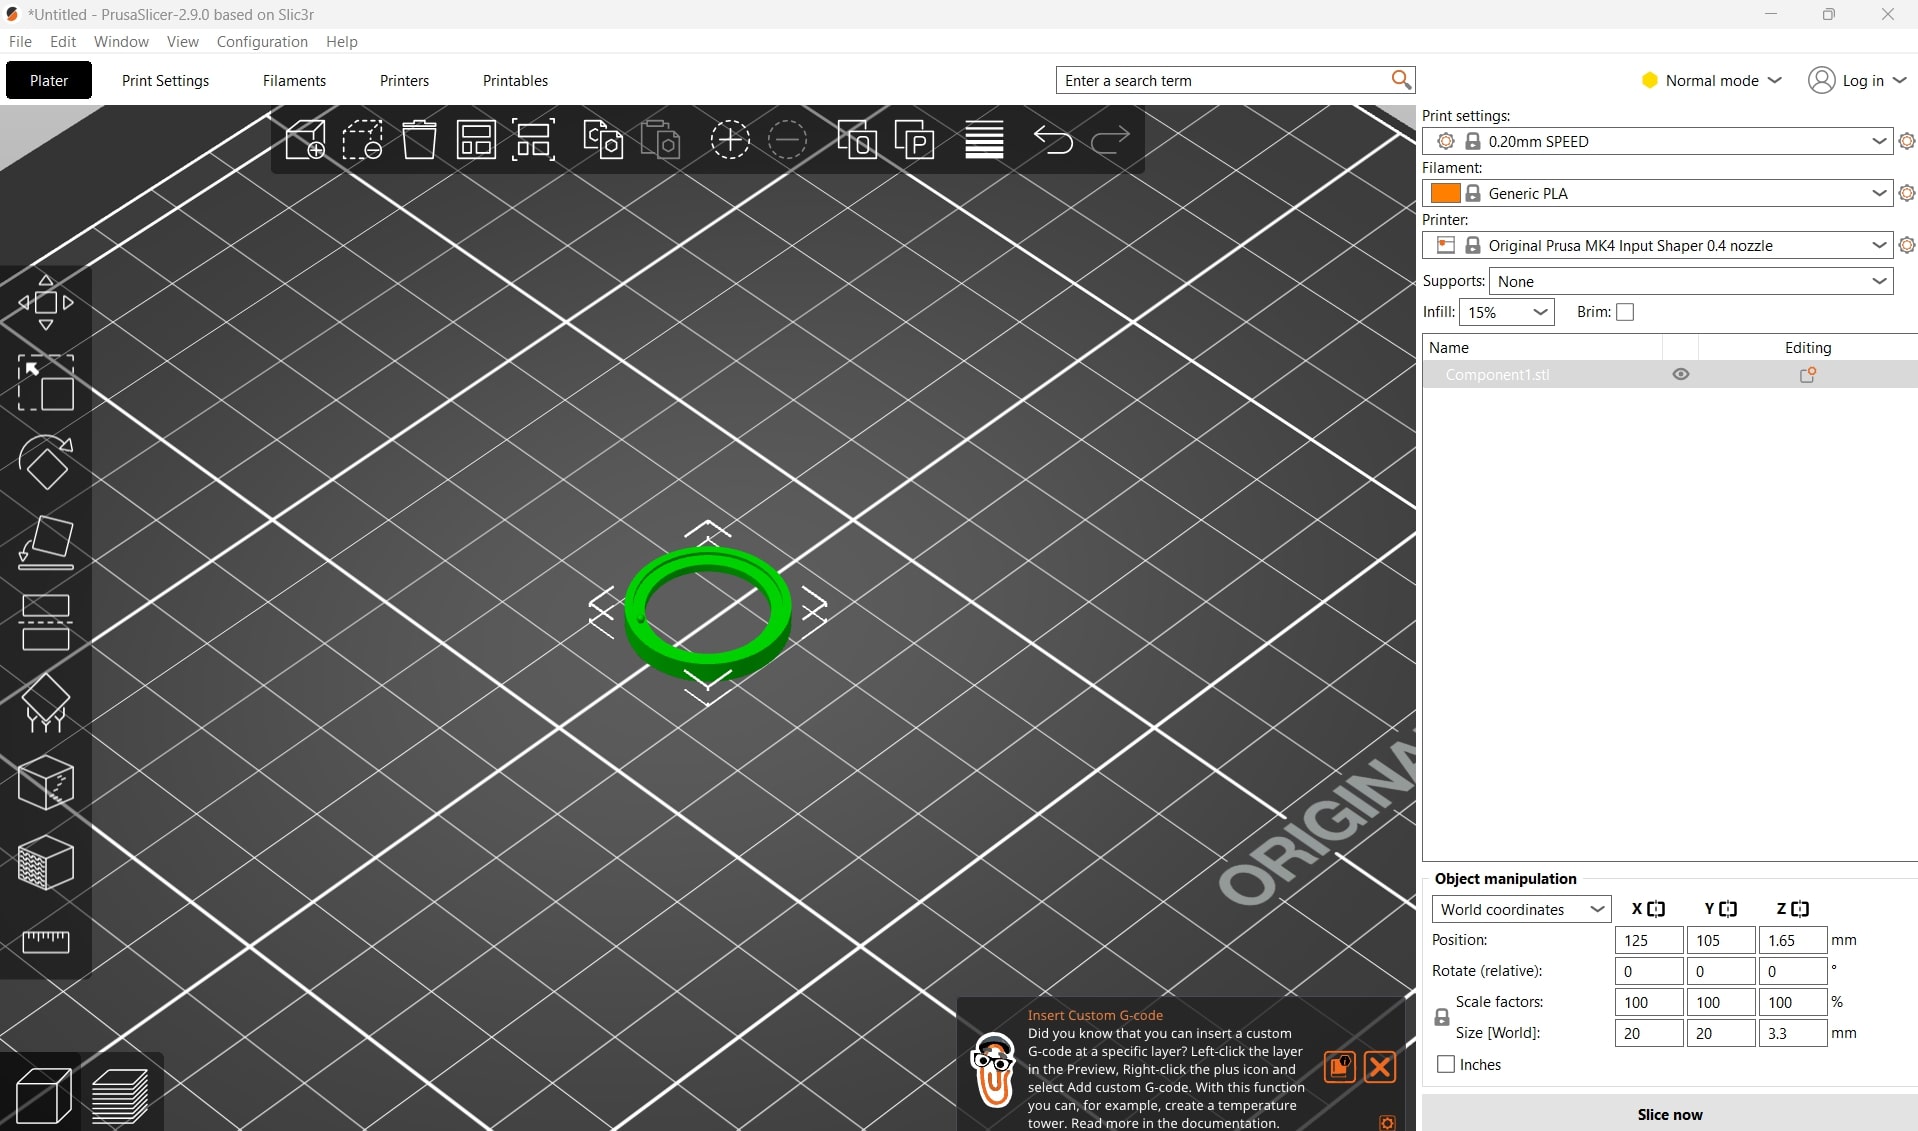
The print on the printing bed.
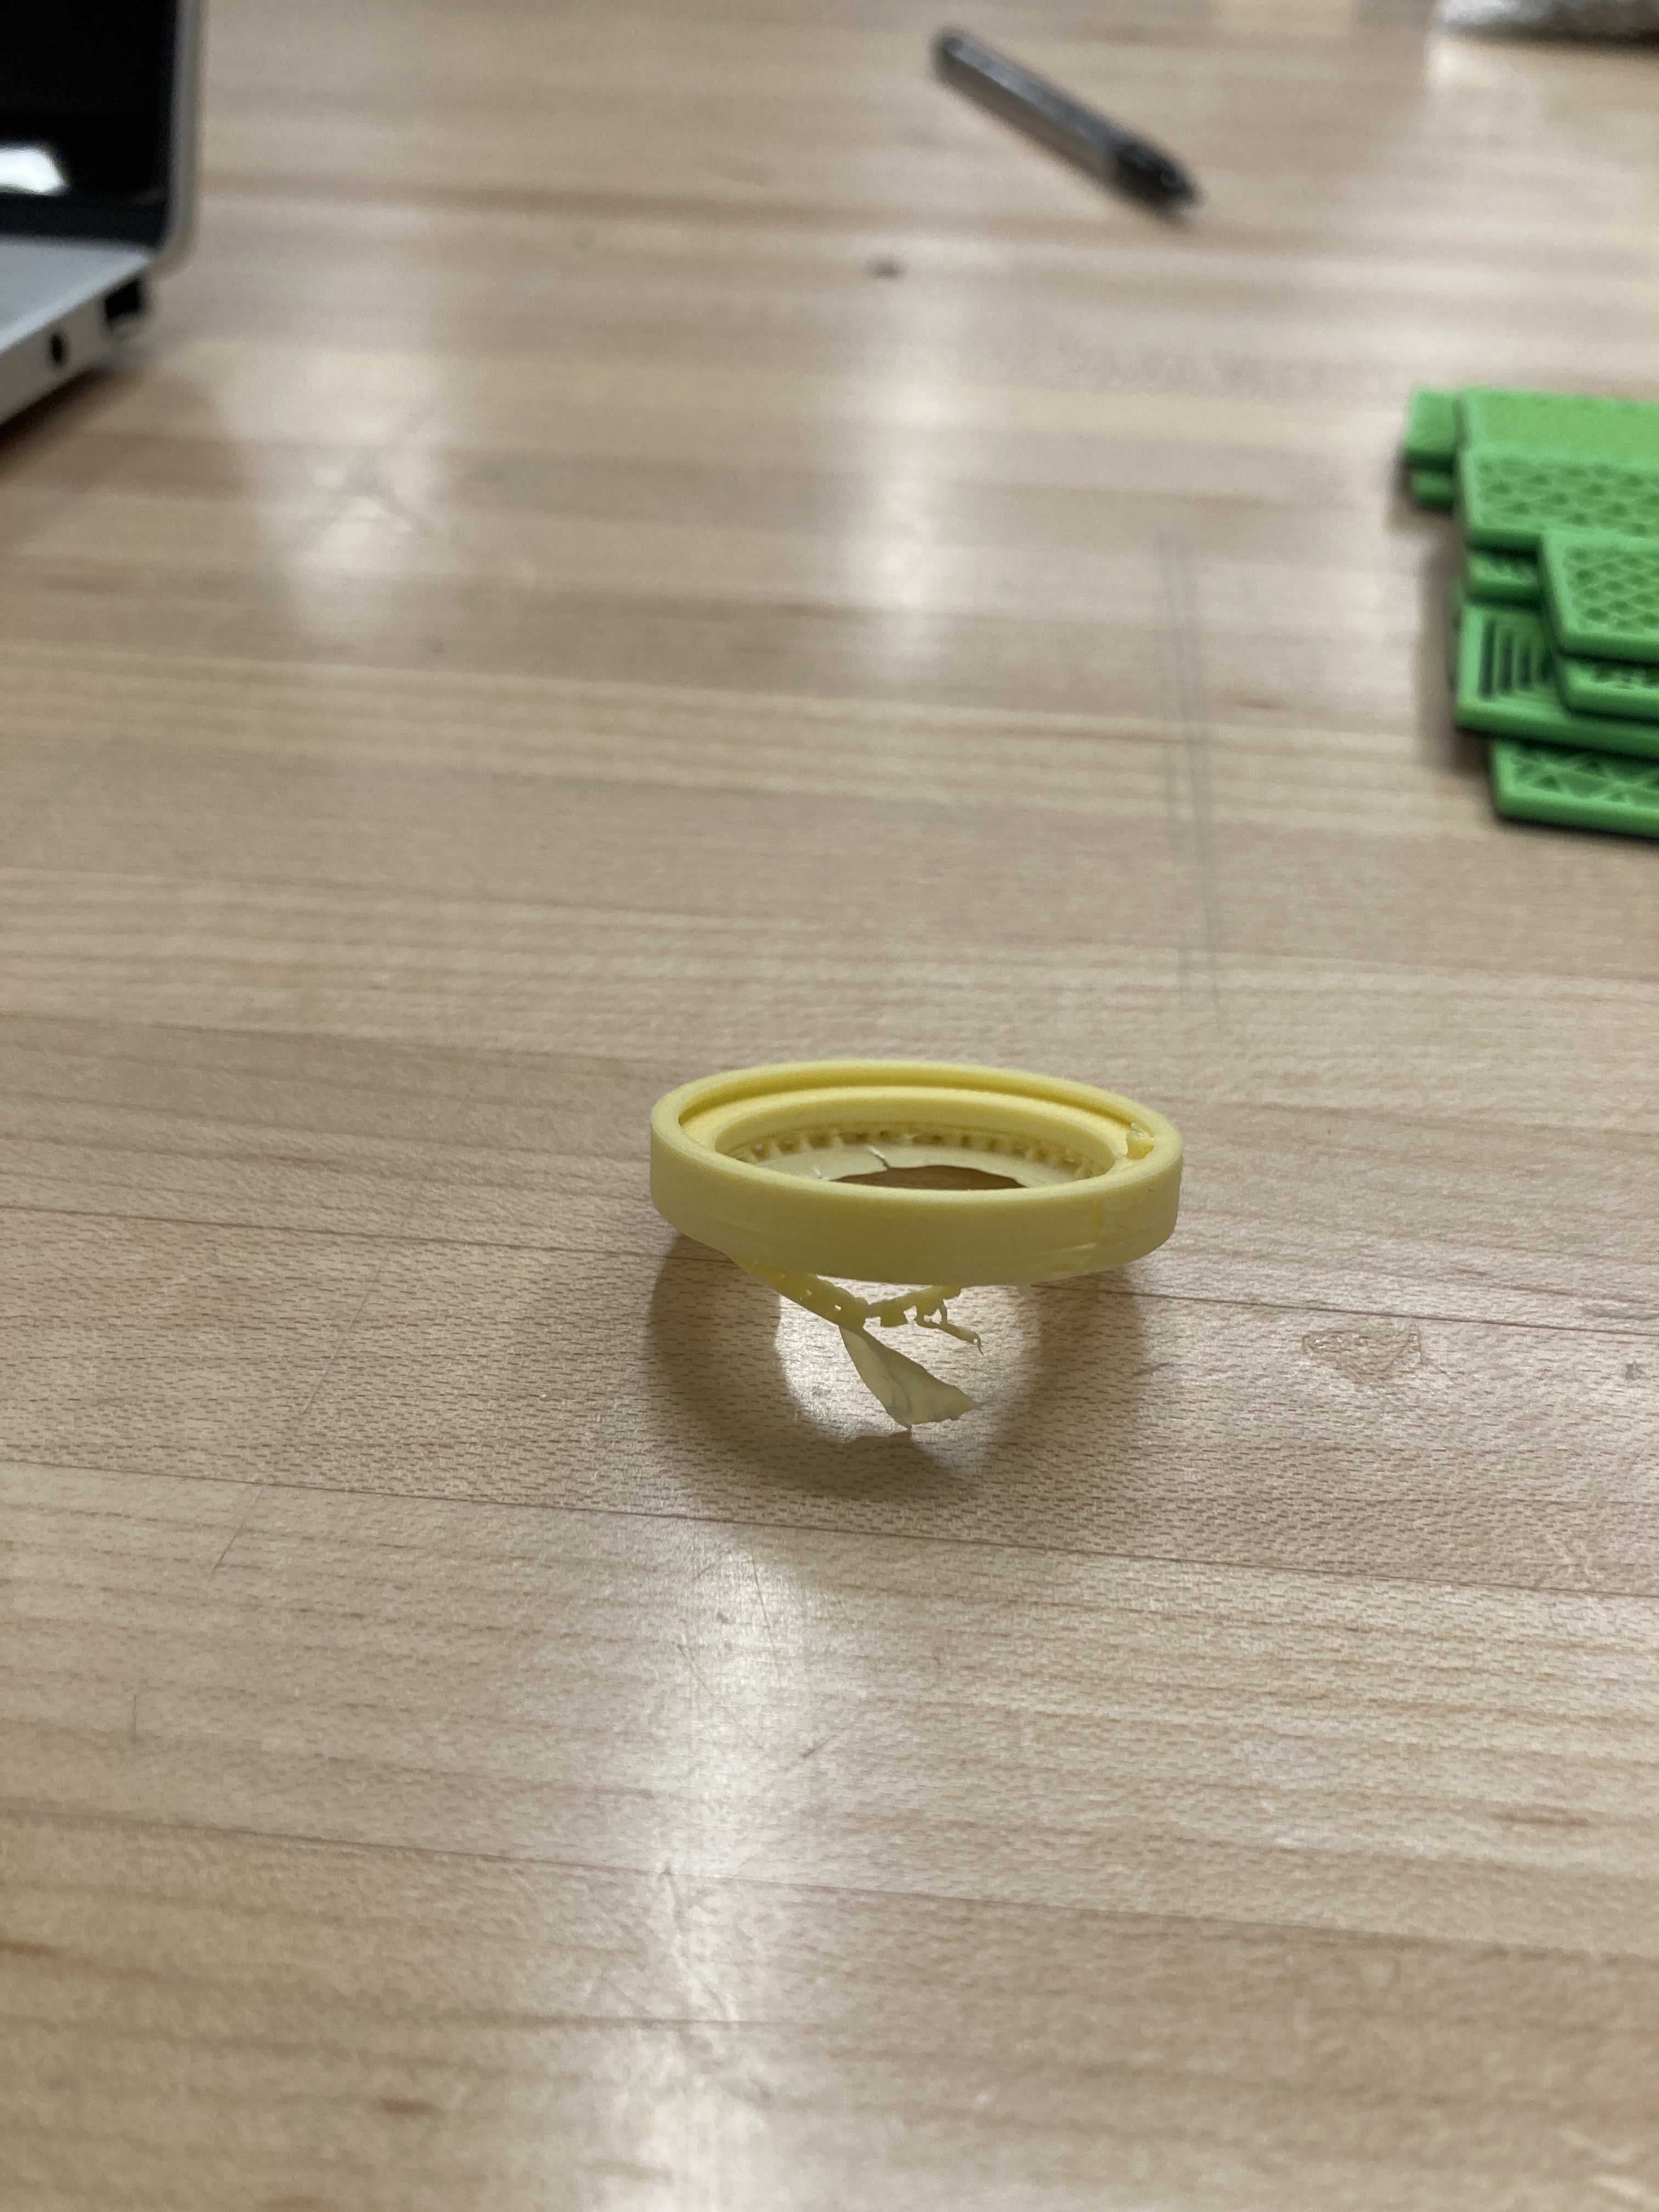
The print during the early stages of removing the organic supports.
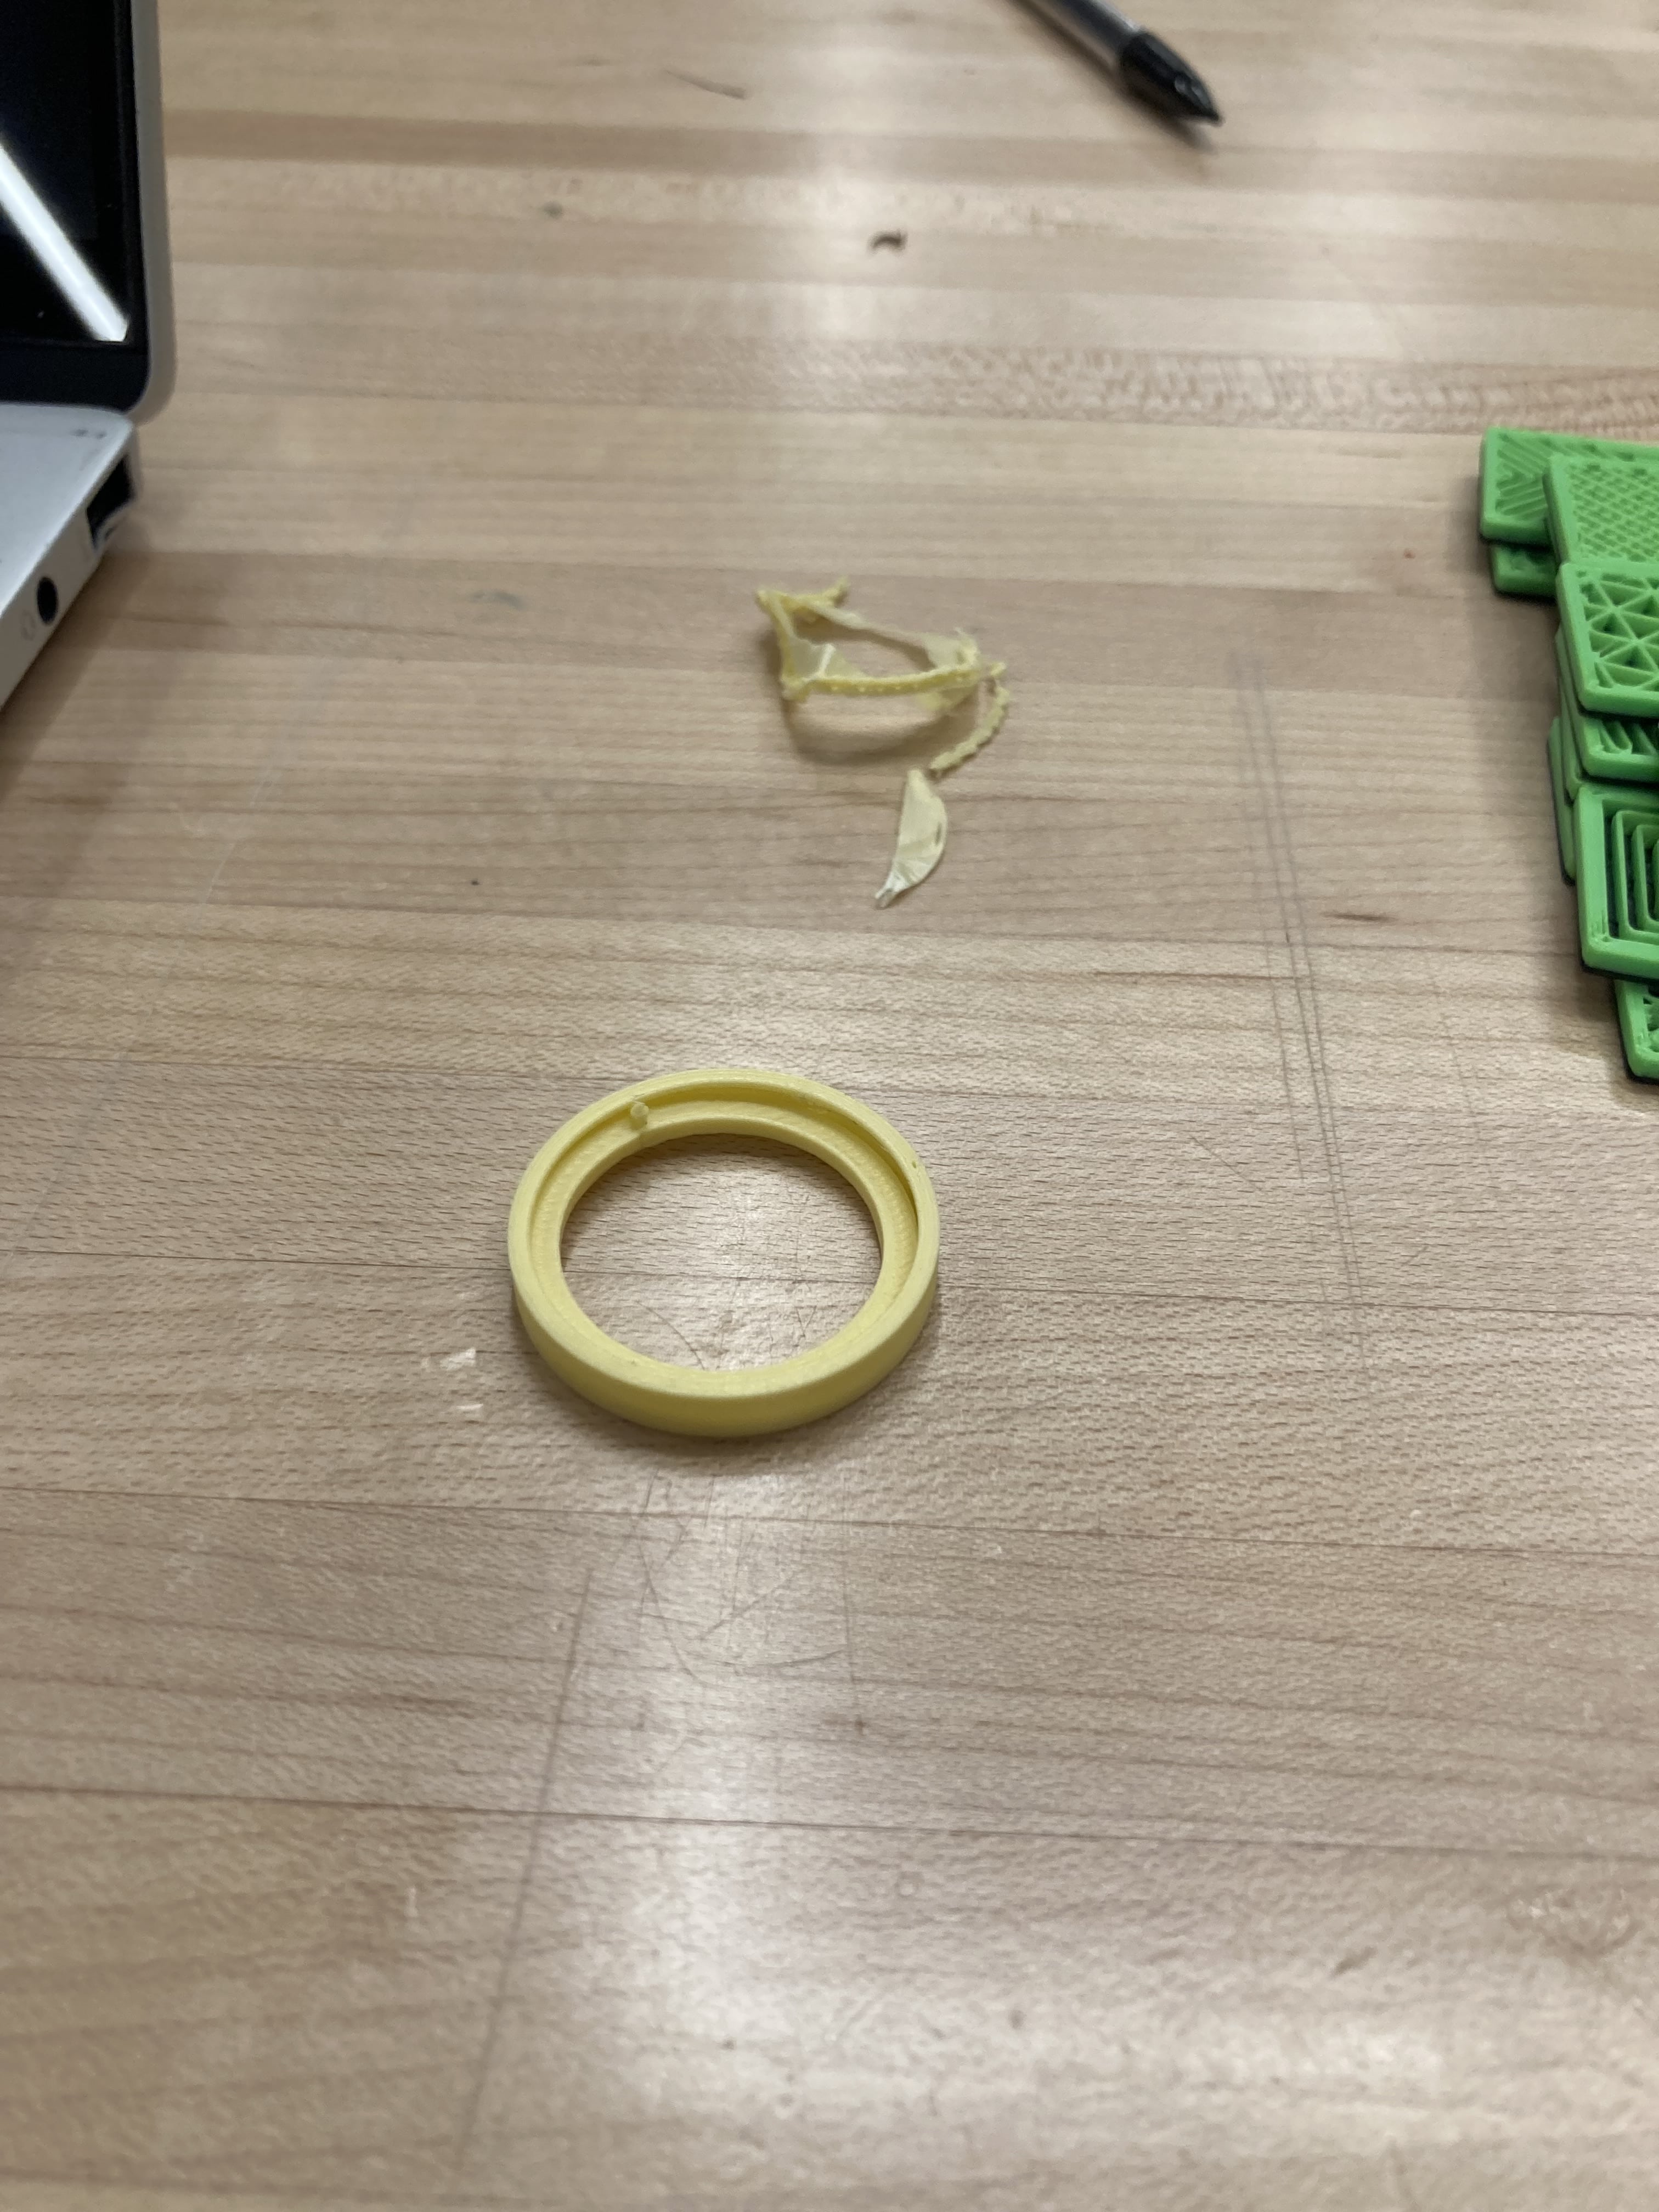
The final print and a demo of the inner cylinder spinning:
Polycam is one of the most popular mobile 3D scanning tools. I downloaded it on my iPhone in the App Store.

My images in the process of creating a 3D object. I took around 20 images. When using the app, try to move around the object for each photo.

An example of one of the images I took of the plant.
The final 3D object. I am not totally sure why the model includes the floor.

The final 360 demo of the 3D model.