
When working with CNC machines, safety is the top priority. Remove loose clothing, wear protective gear, and always stay alert for unusual sounds, smoke, or tool breakages, using the emergency stop if necessary. Runout, caused by imperfections or debris, can slightly alter cut dimensions but was minimal in our case (0.003”). Proper alignment ensures accuracy, with the machine zeroing itself and the Z height set using a metal puck. Fixturing secures materials with screws, clamps, or adhesives to prevent movement. Speed and feed rates must align with manufacturer recommendations to maintain precision. Wood, particularly plywood, was our chosen material due to the machine’s design. Toolpaths guide cutting, with techniques like offsetting and dogboning used to improve fit and accuracy in corners.
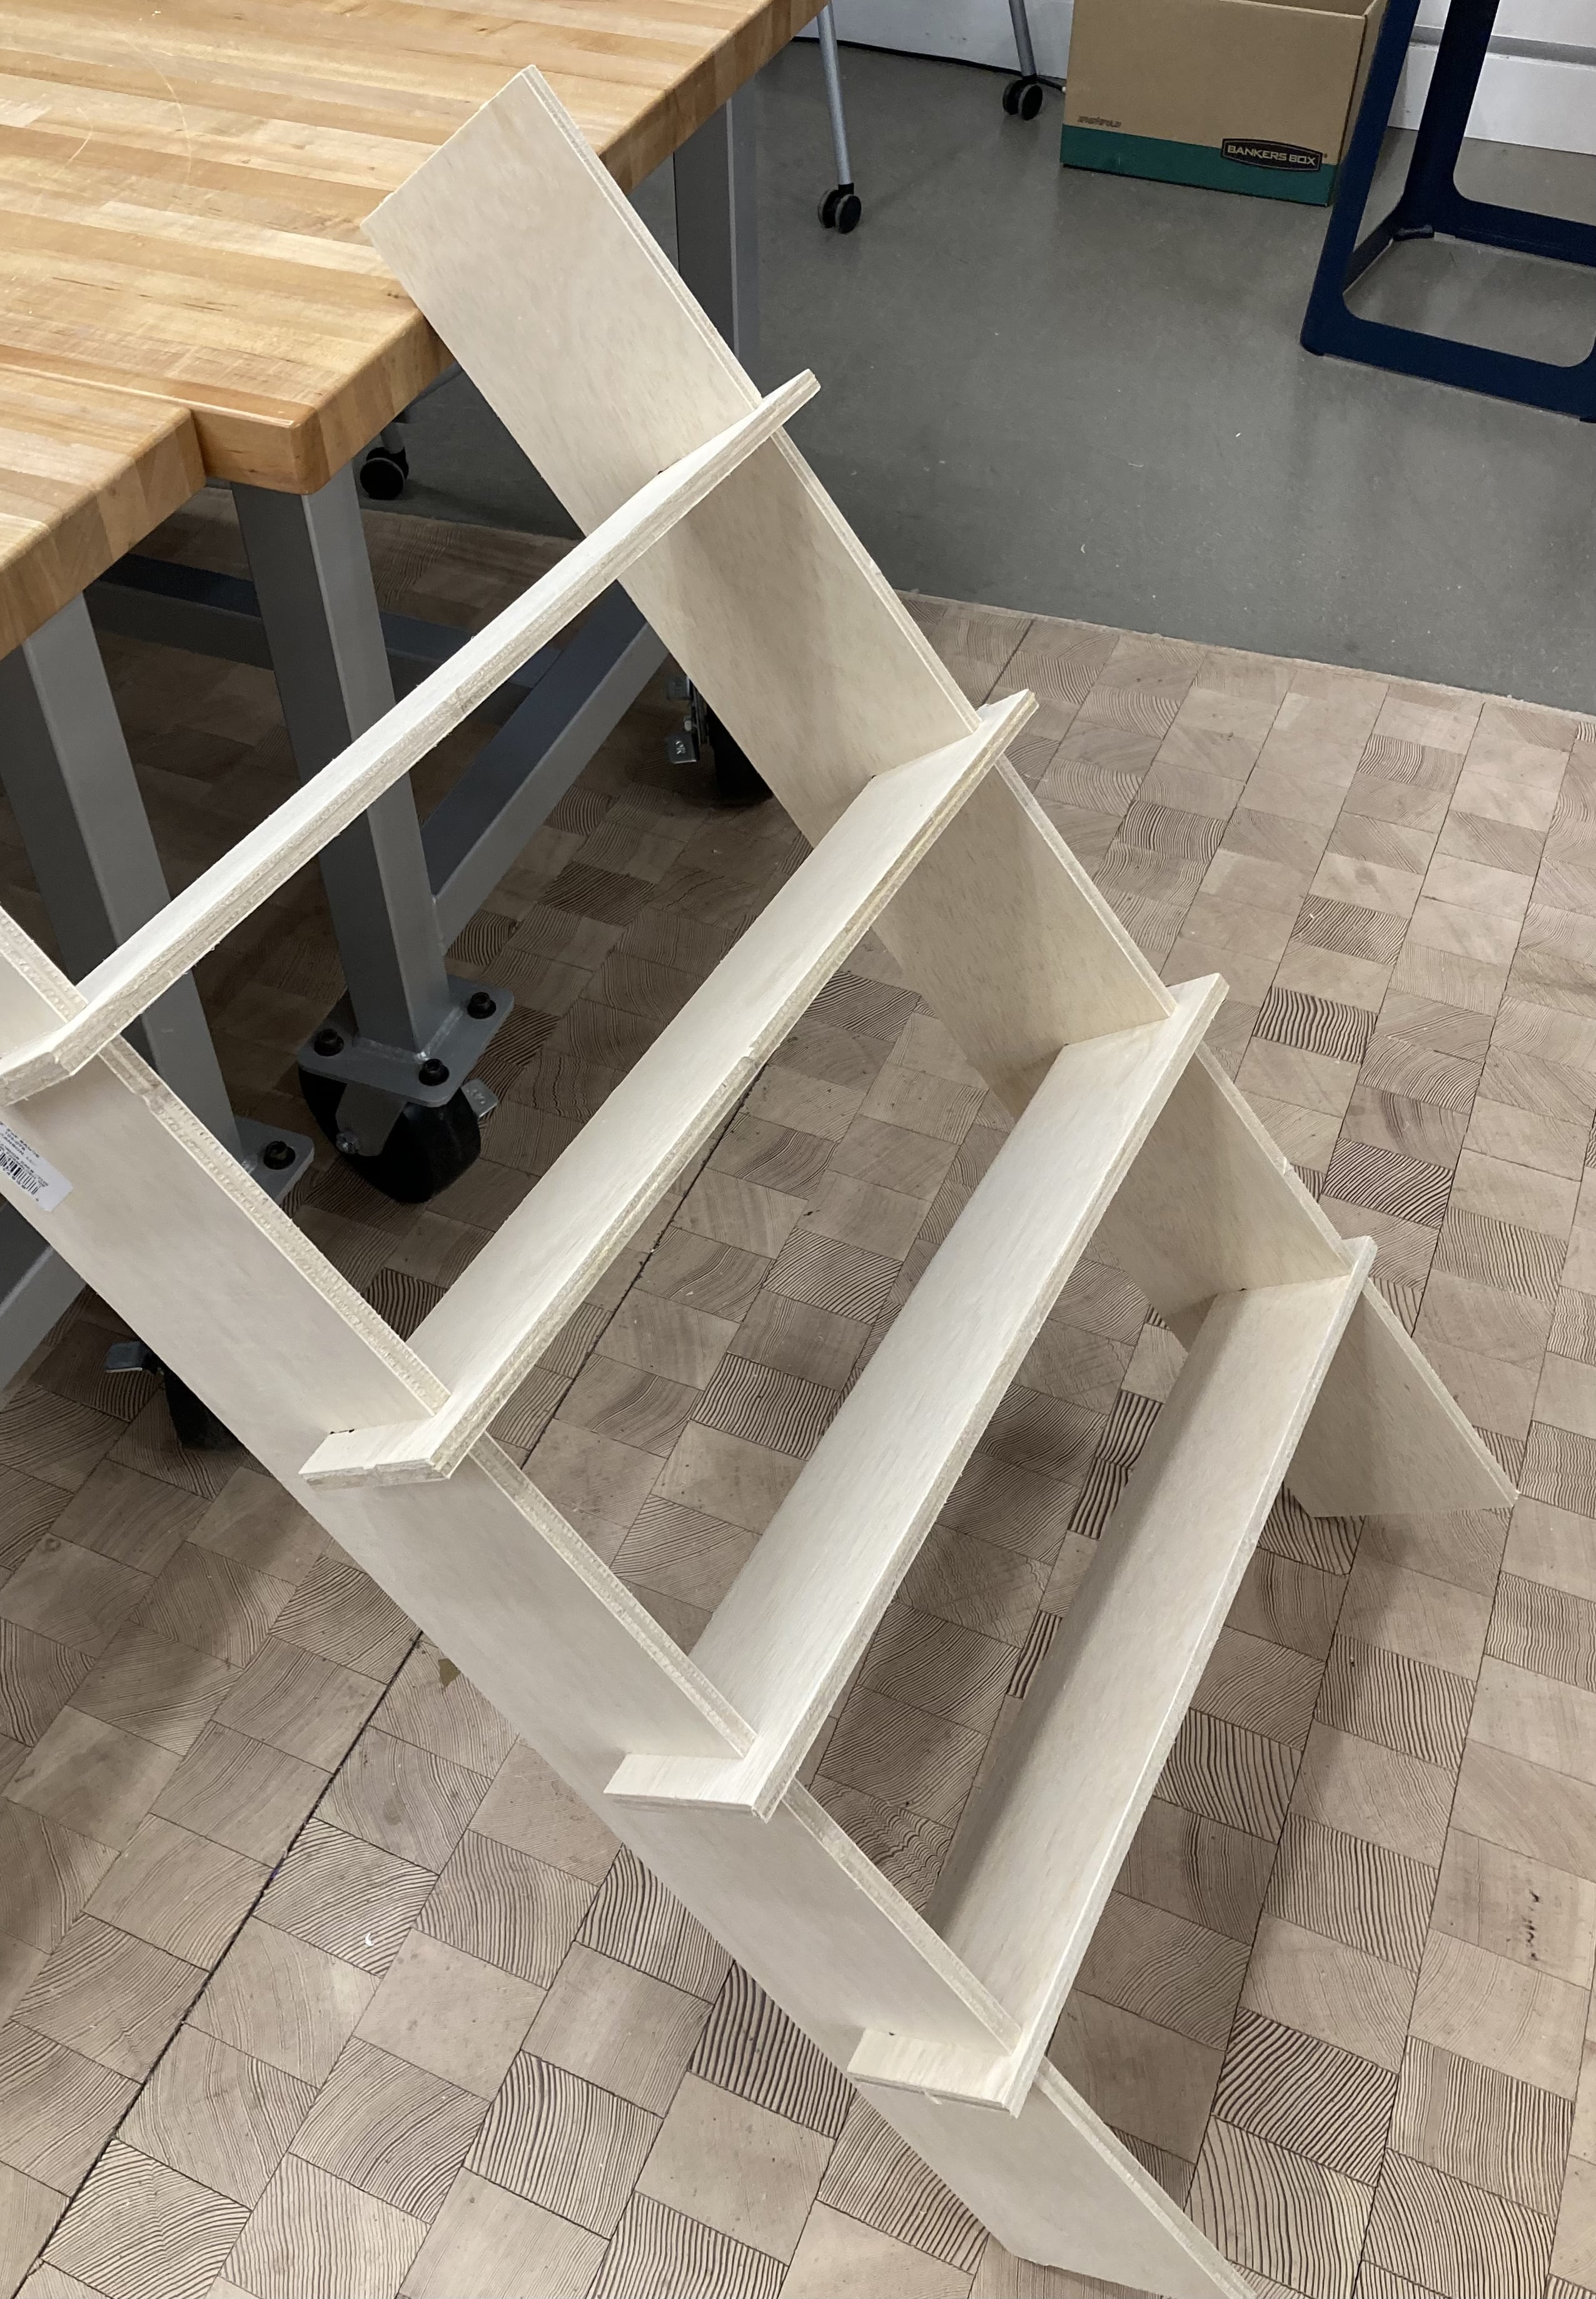
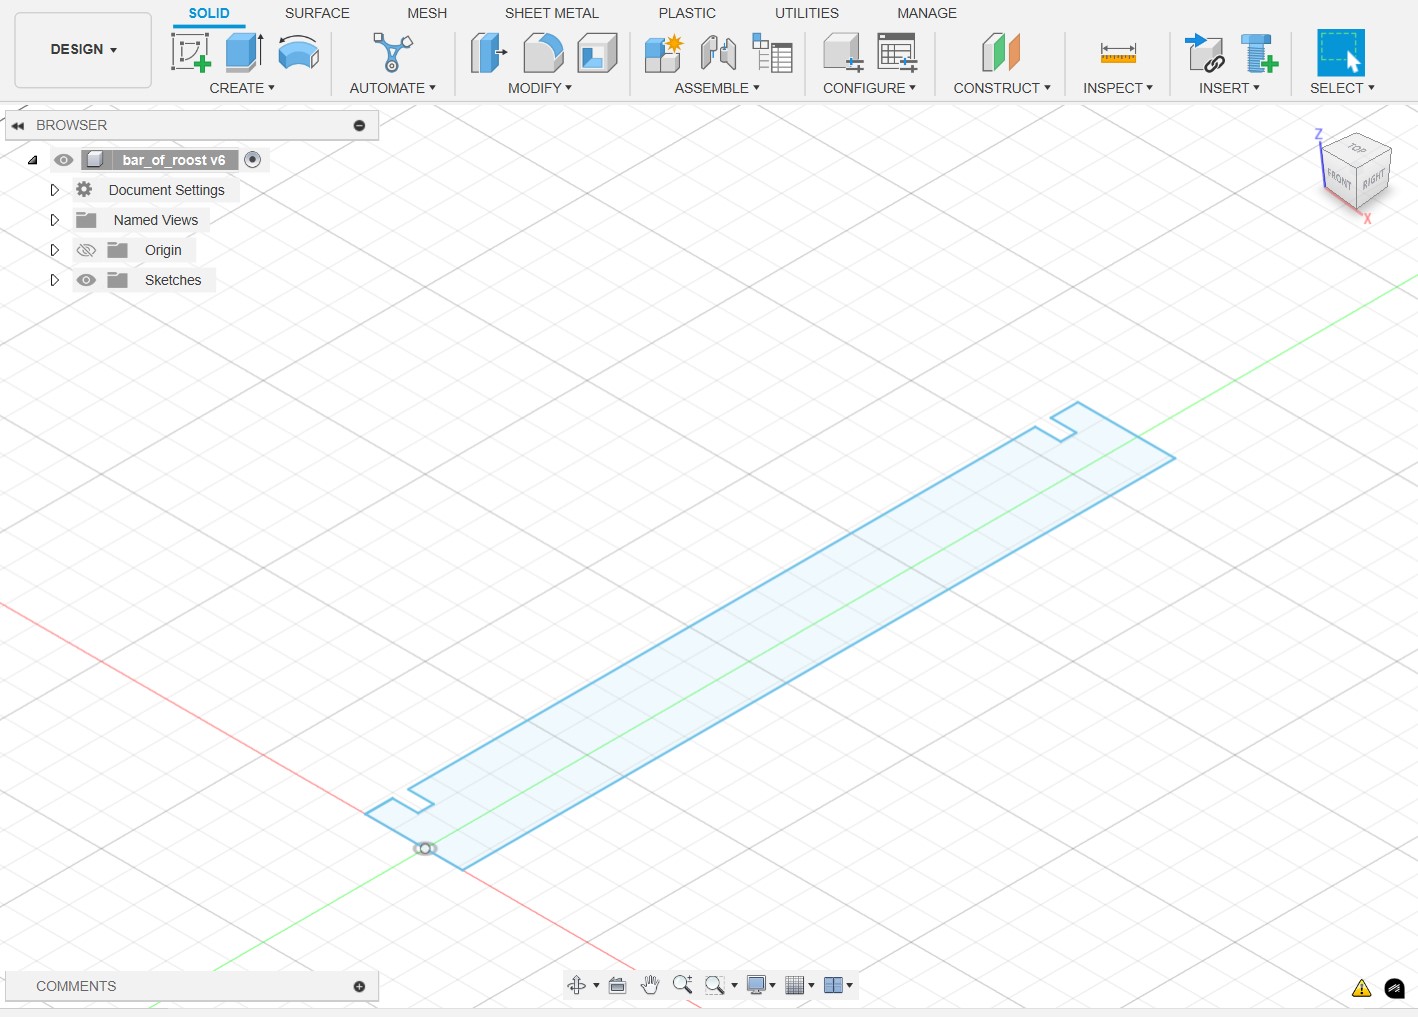
I made my sketches using Fusion 360. As you'll see in my final, actually cut design, I failed to make the slots at a slant, so the perches themselves are at an angle. However, I've updated the designs so for the future, I could mill these and this issue would be resolved. I made the slot widths .48", as this was the thickness of our plyboard. I also made the perches have a little slot, so they wouldn't shift left and right.

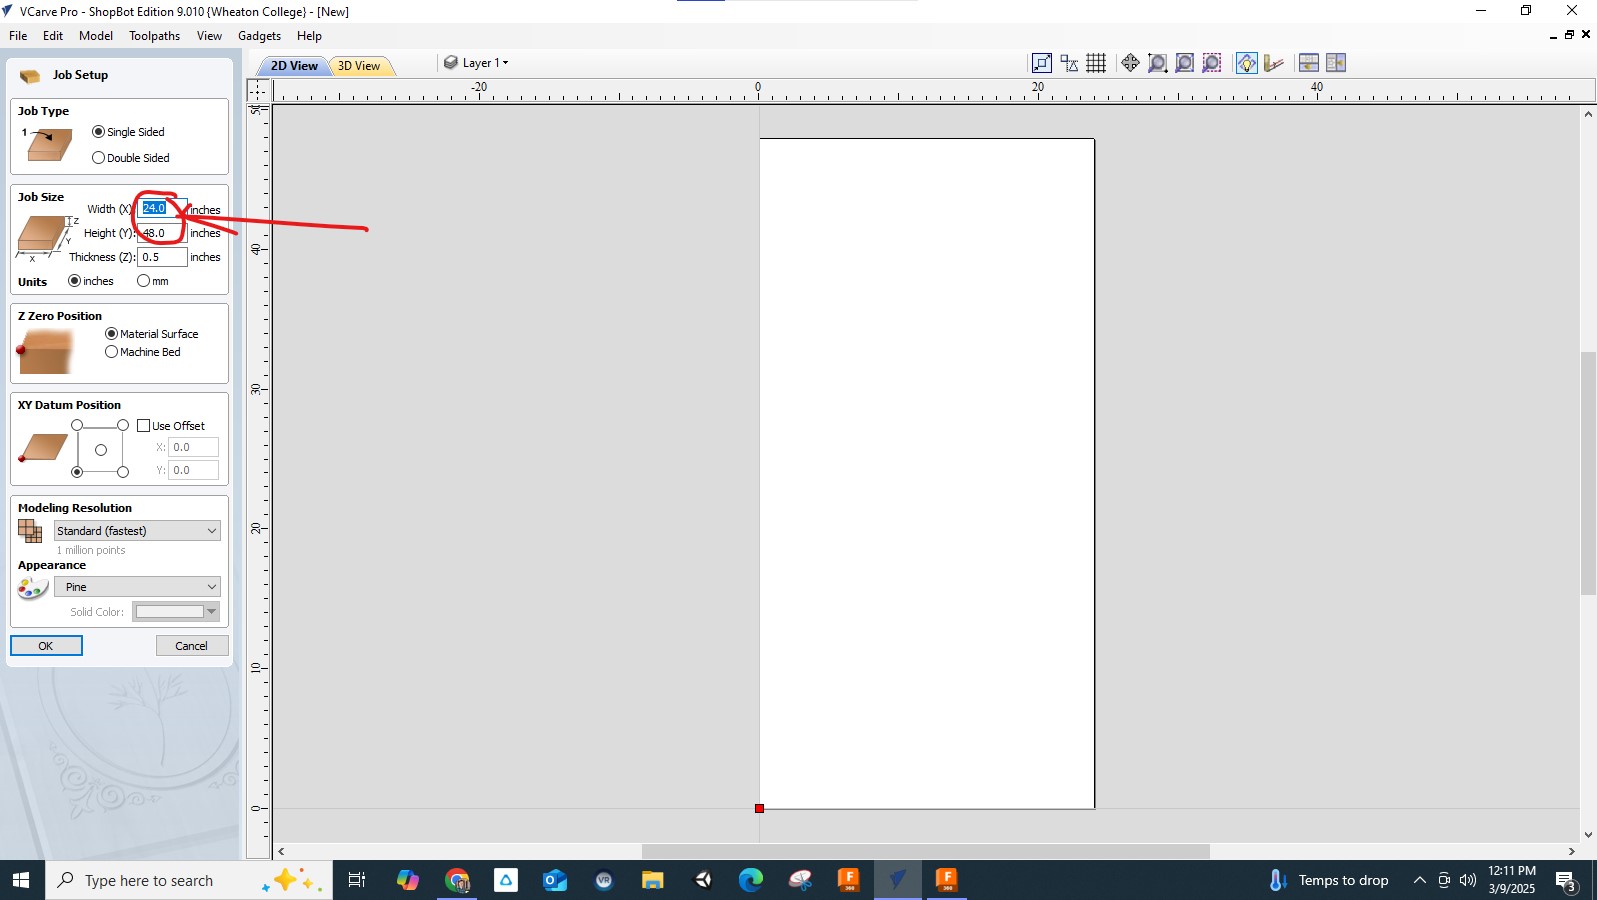
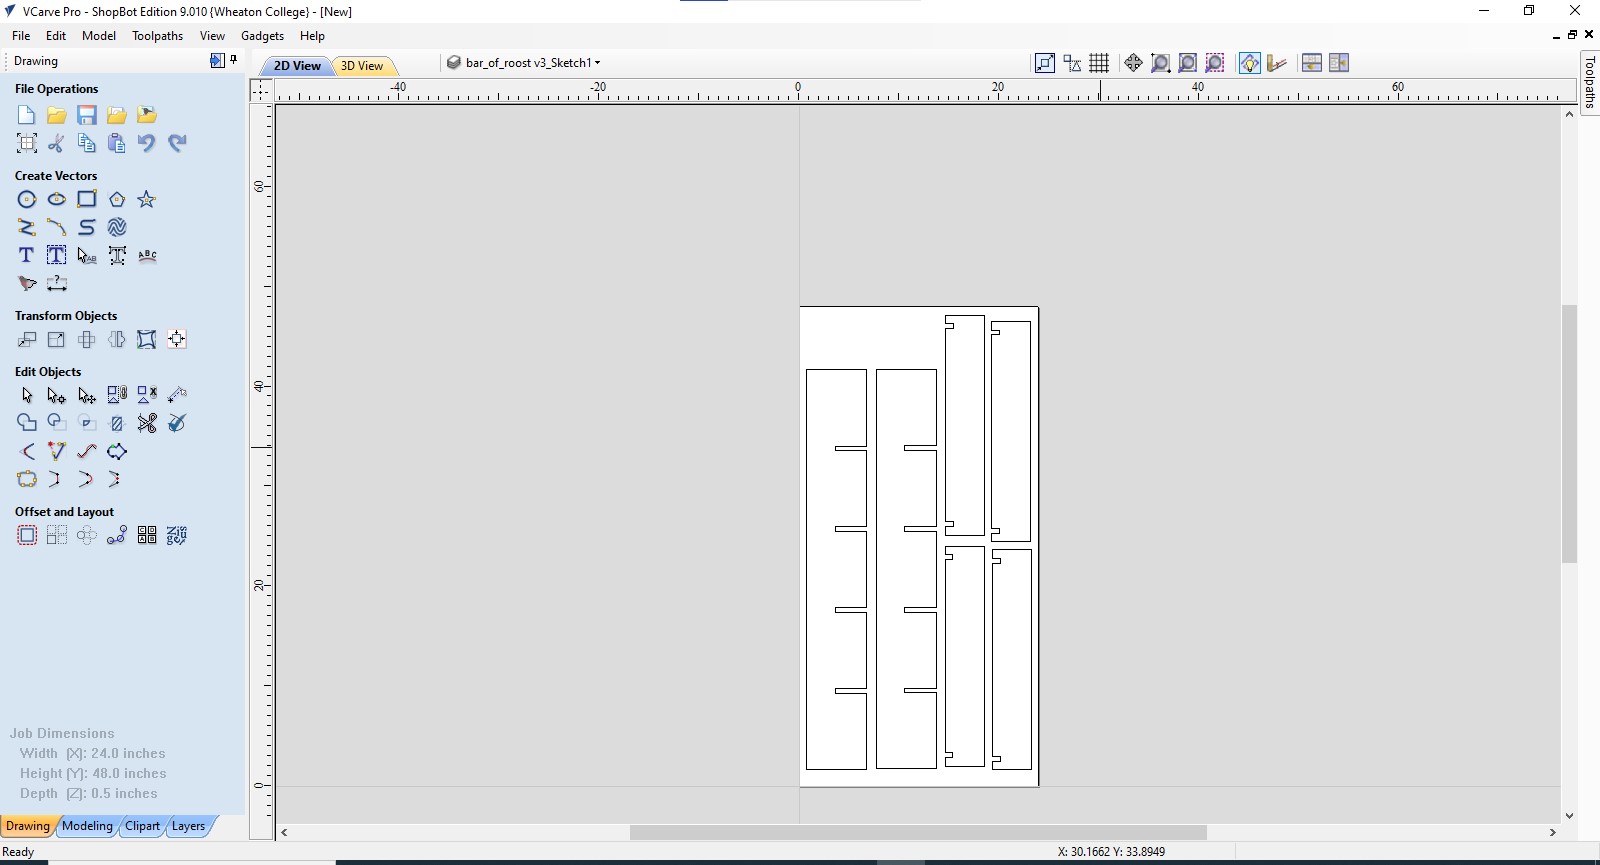
After importing the Fusion 360 file as a DXF, we can go into VCarve Pro and first set the size of our plyboard. Mine was 24" x 48".
Next, set the tolerance to 0.1 inches.
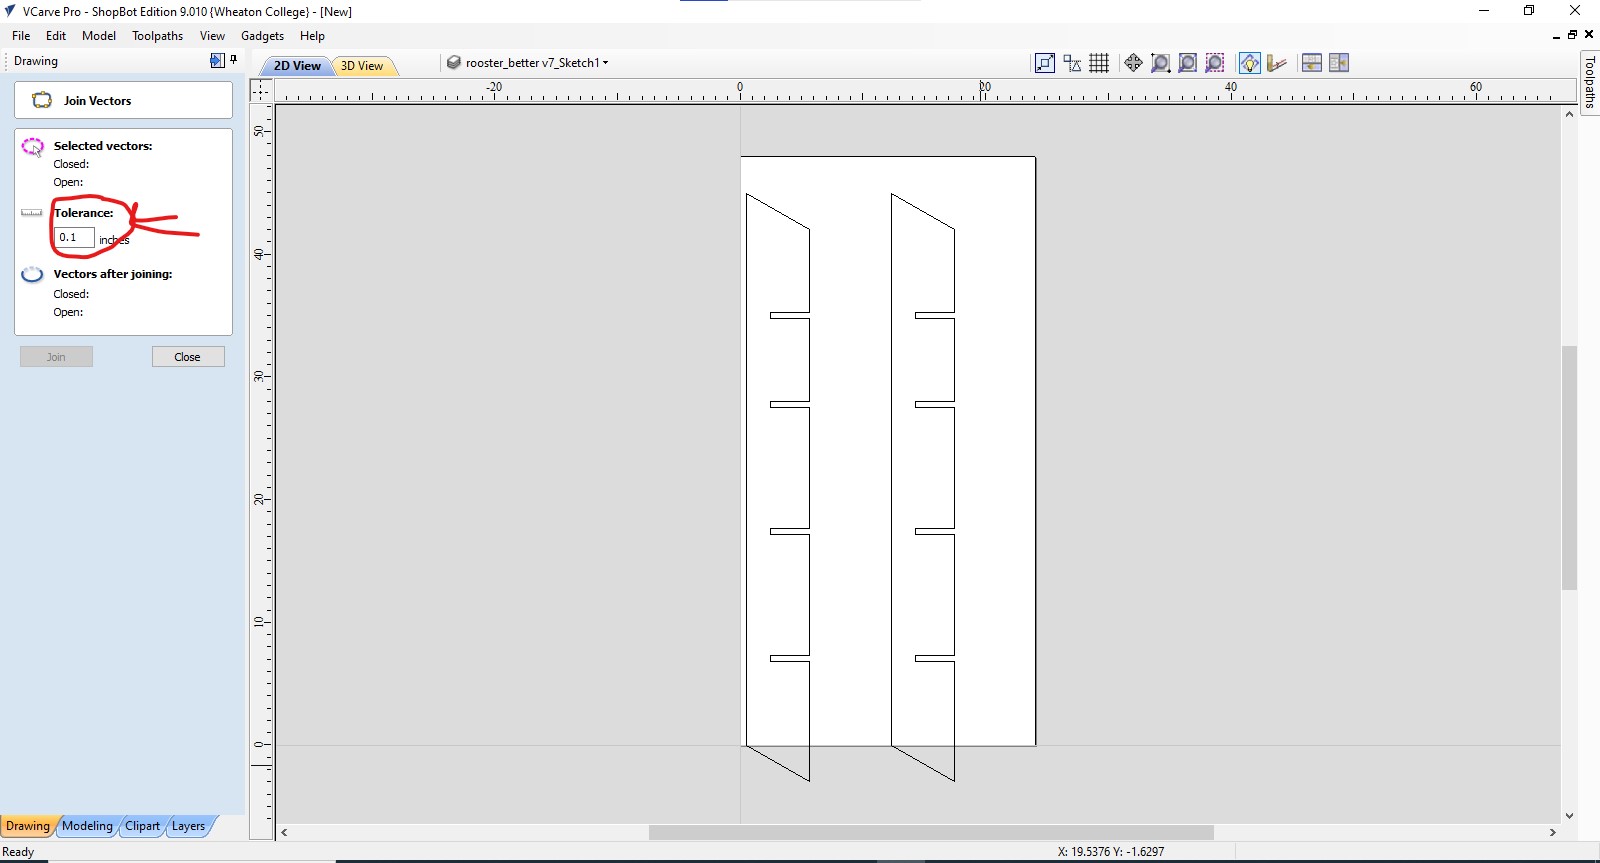
Each of my boards (2 rungs, 4 perches) were able to fit somewhat neatly into the 24" x 48" plywood.
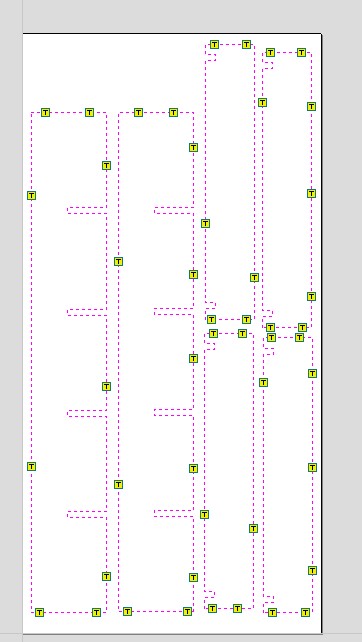
When CNC milling, tabs help prevent the wood from falling out of the main piece of plywood. They will need to be removed when the cut is finished. Below is the placement of my tabs for my design. This did prevent the pieces from falling out of the plywood.
Dogboning is an important technique to include in the design, as the circular pattern of the bit cannot accurately cut inner square corners. Select Create Fillets > "Dog-Bone". You can select where to put the dogboning from here.
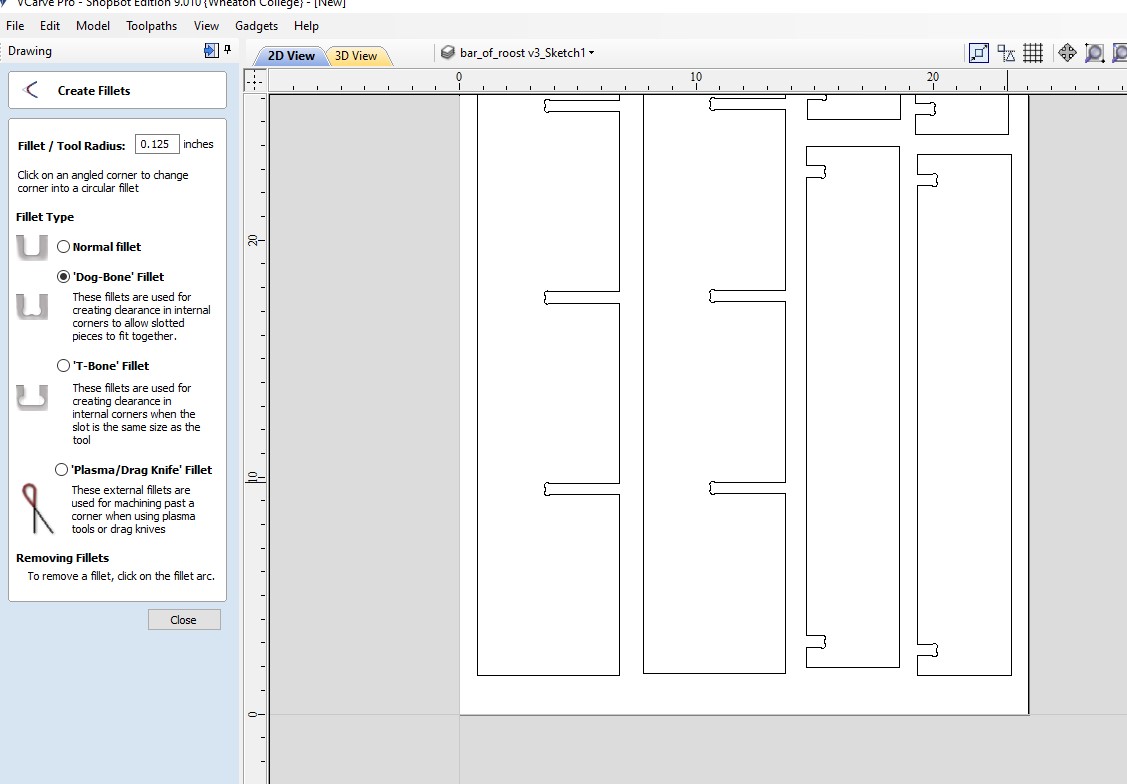
Below is how dogboning will look in the actual design.
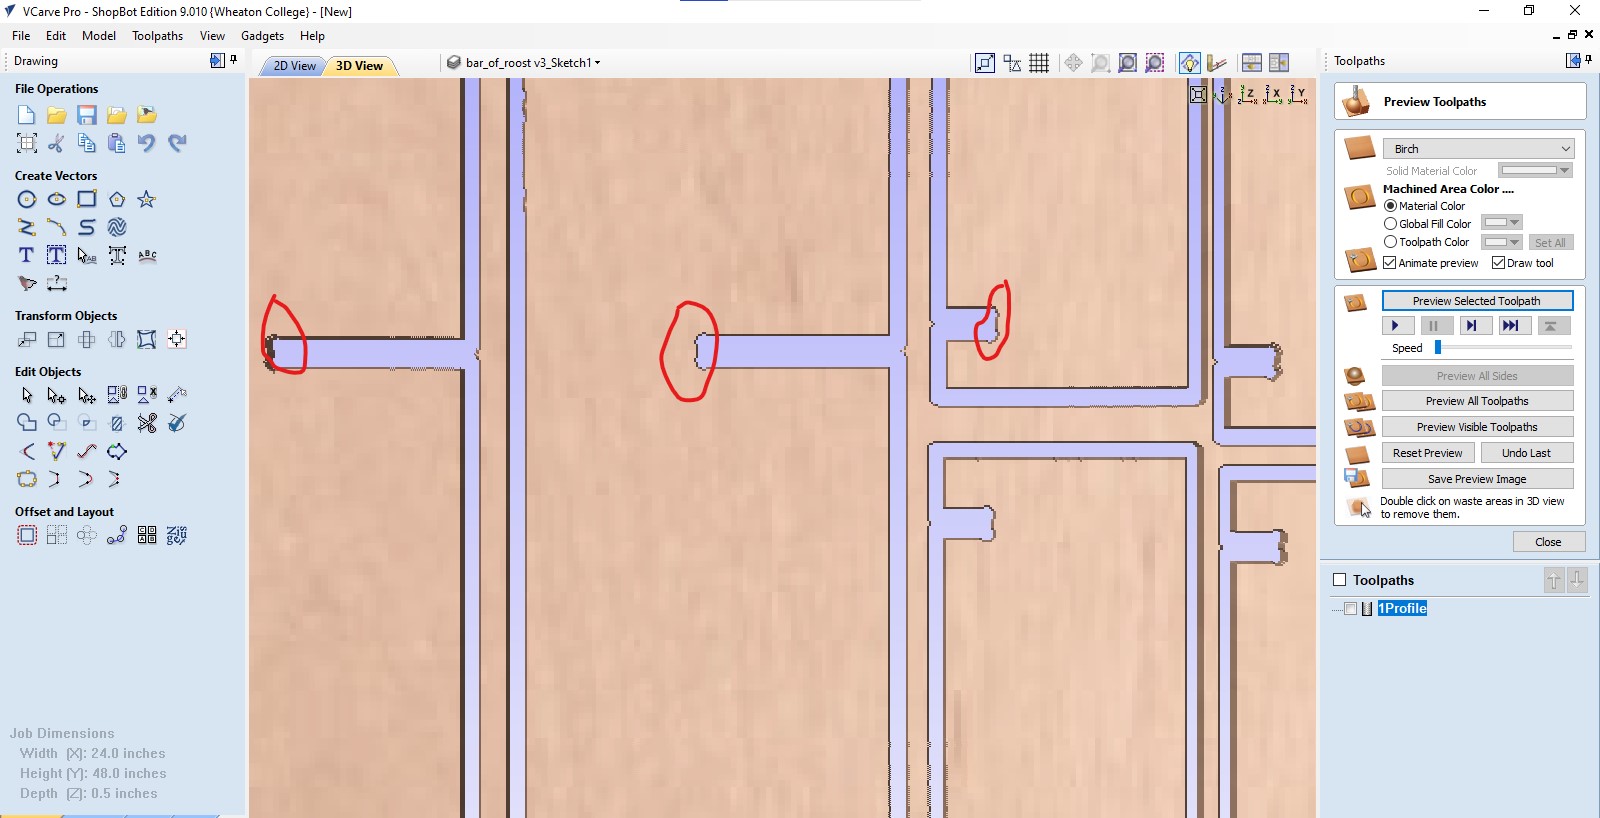
Next, preview the toolpath. This is essential for knowing where to drill the screws which will hold down the plywood while it is being cut. We definitely should make sure none of the screws will be in the cutting path.
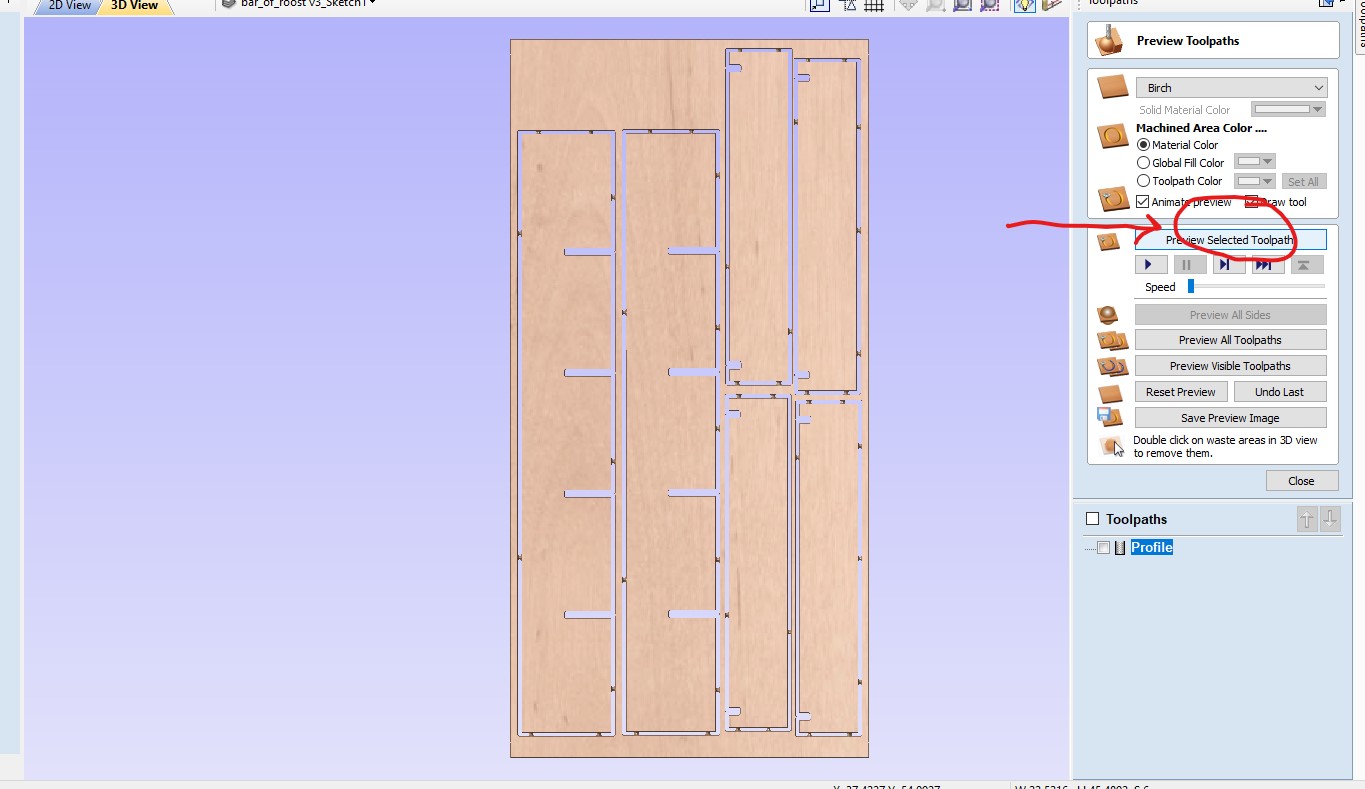
Next, select 'Profile' then 'Save Toolpaths'. From here, save the file. Then, plug in a USB, and upload the toolpath file to the USB. After this, plug in the USB to the CNC miller's remote.
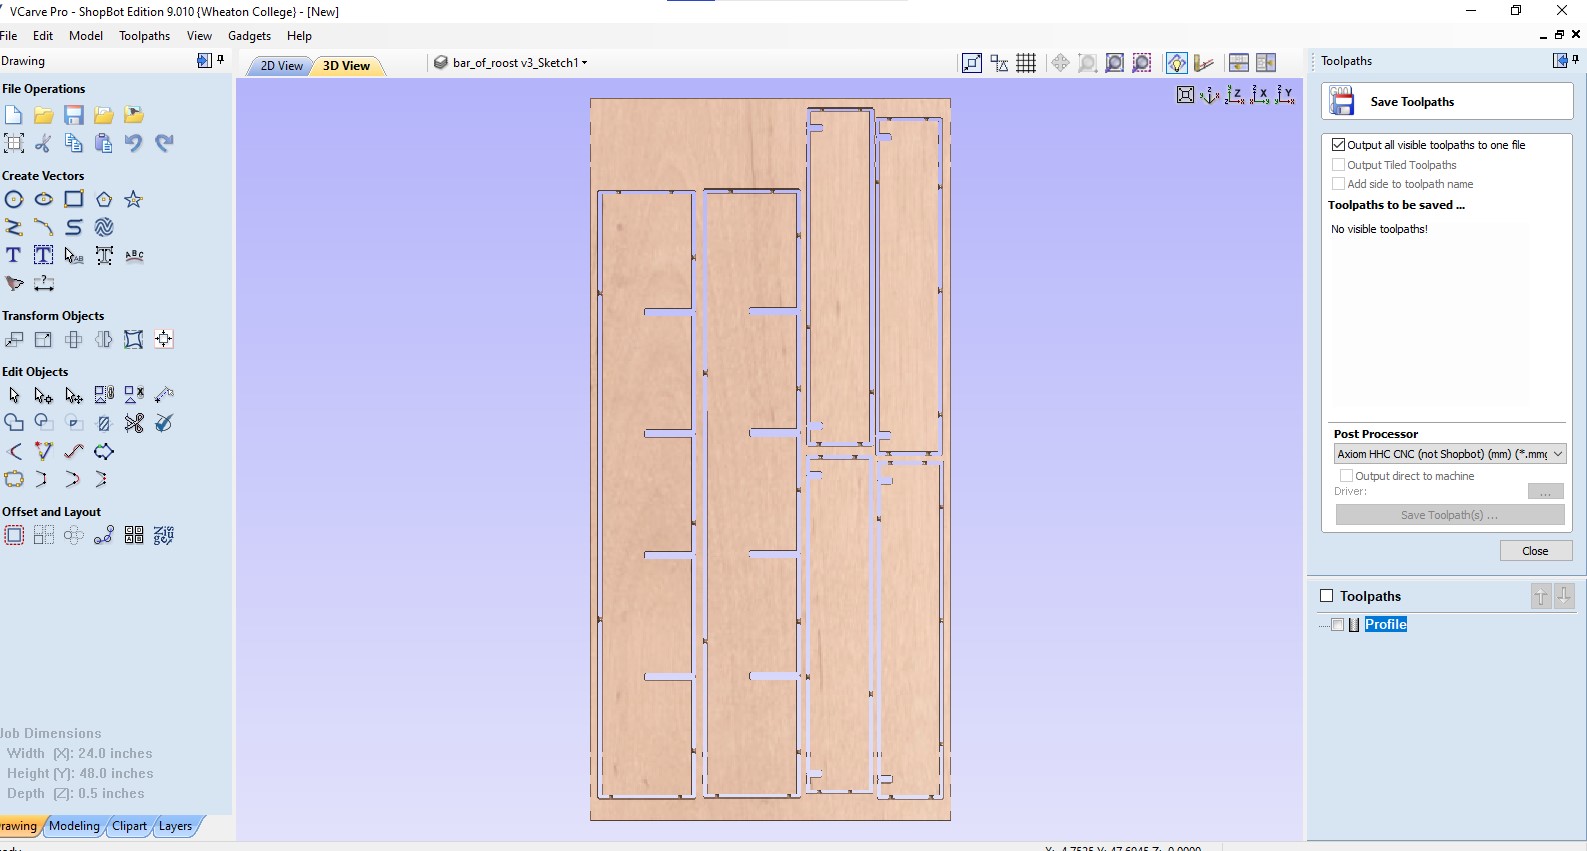
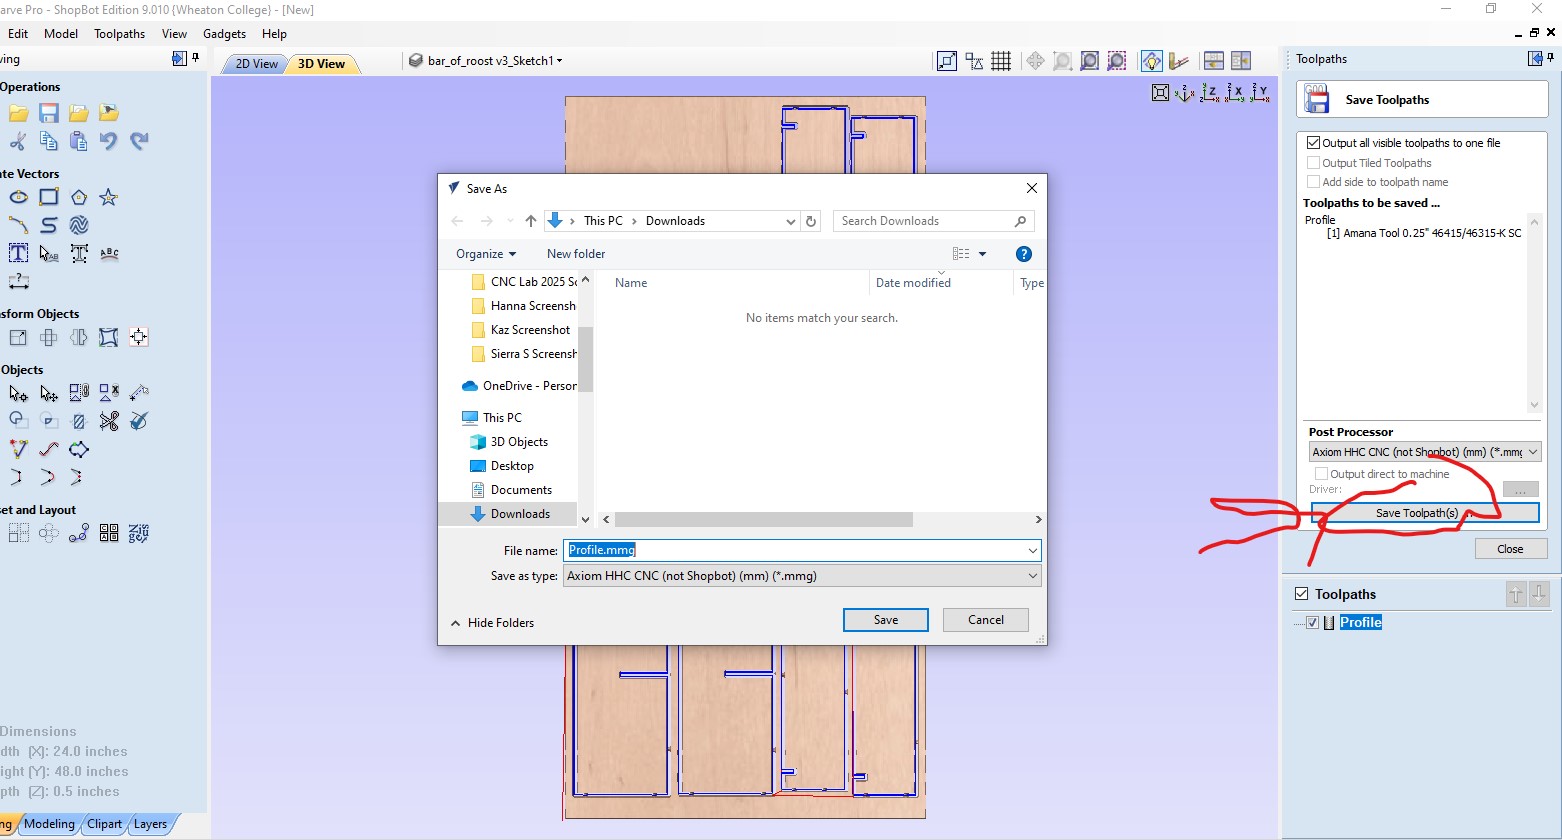
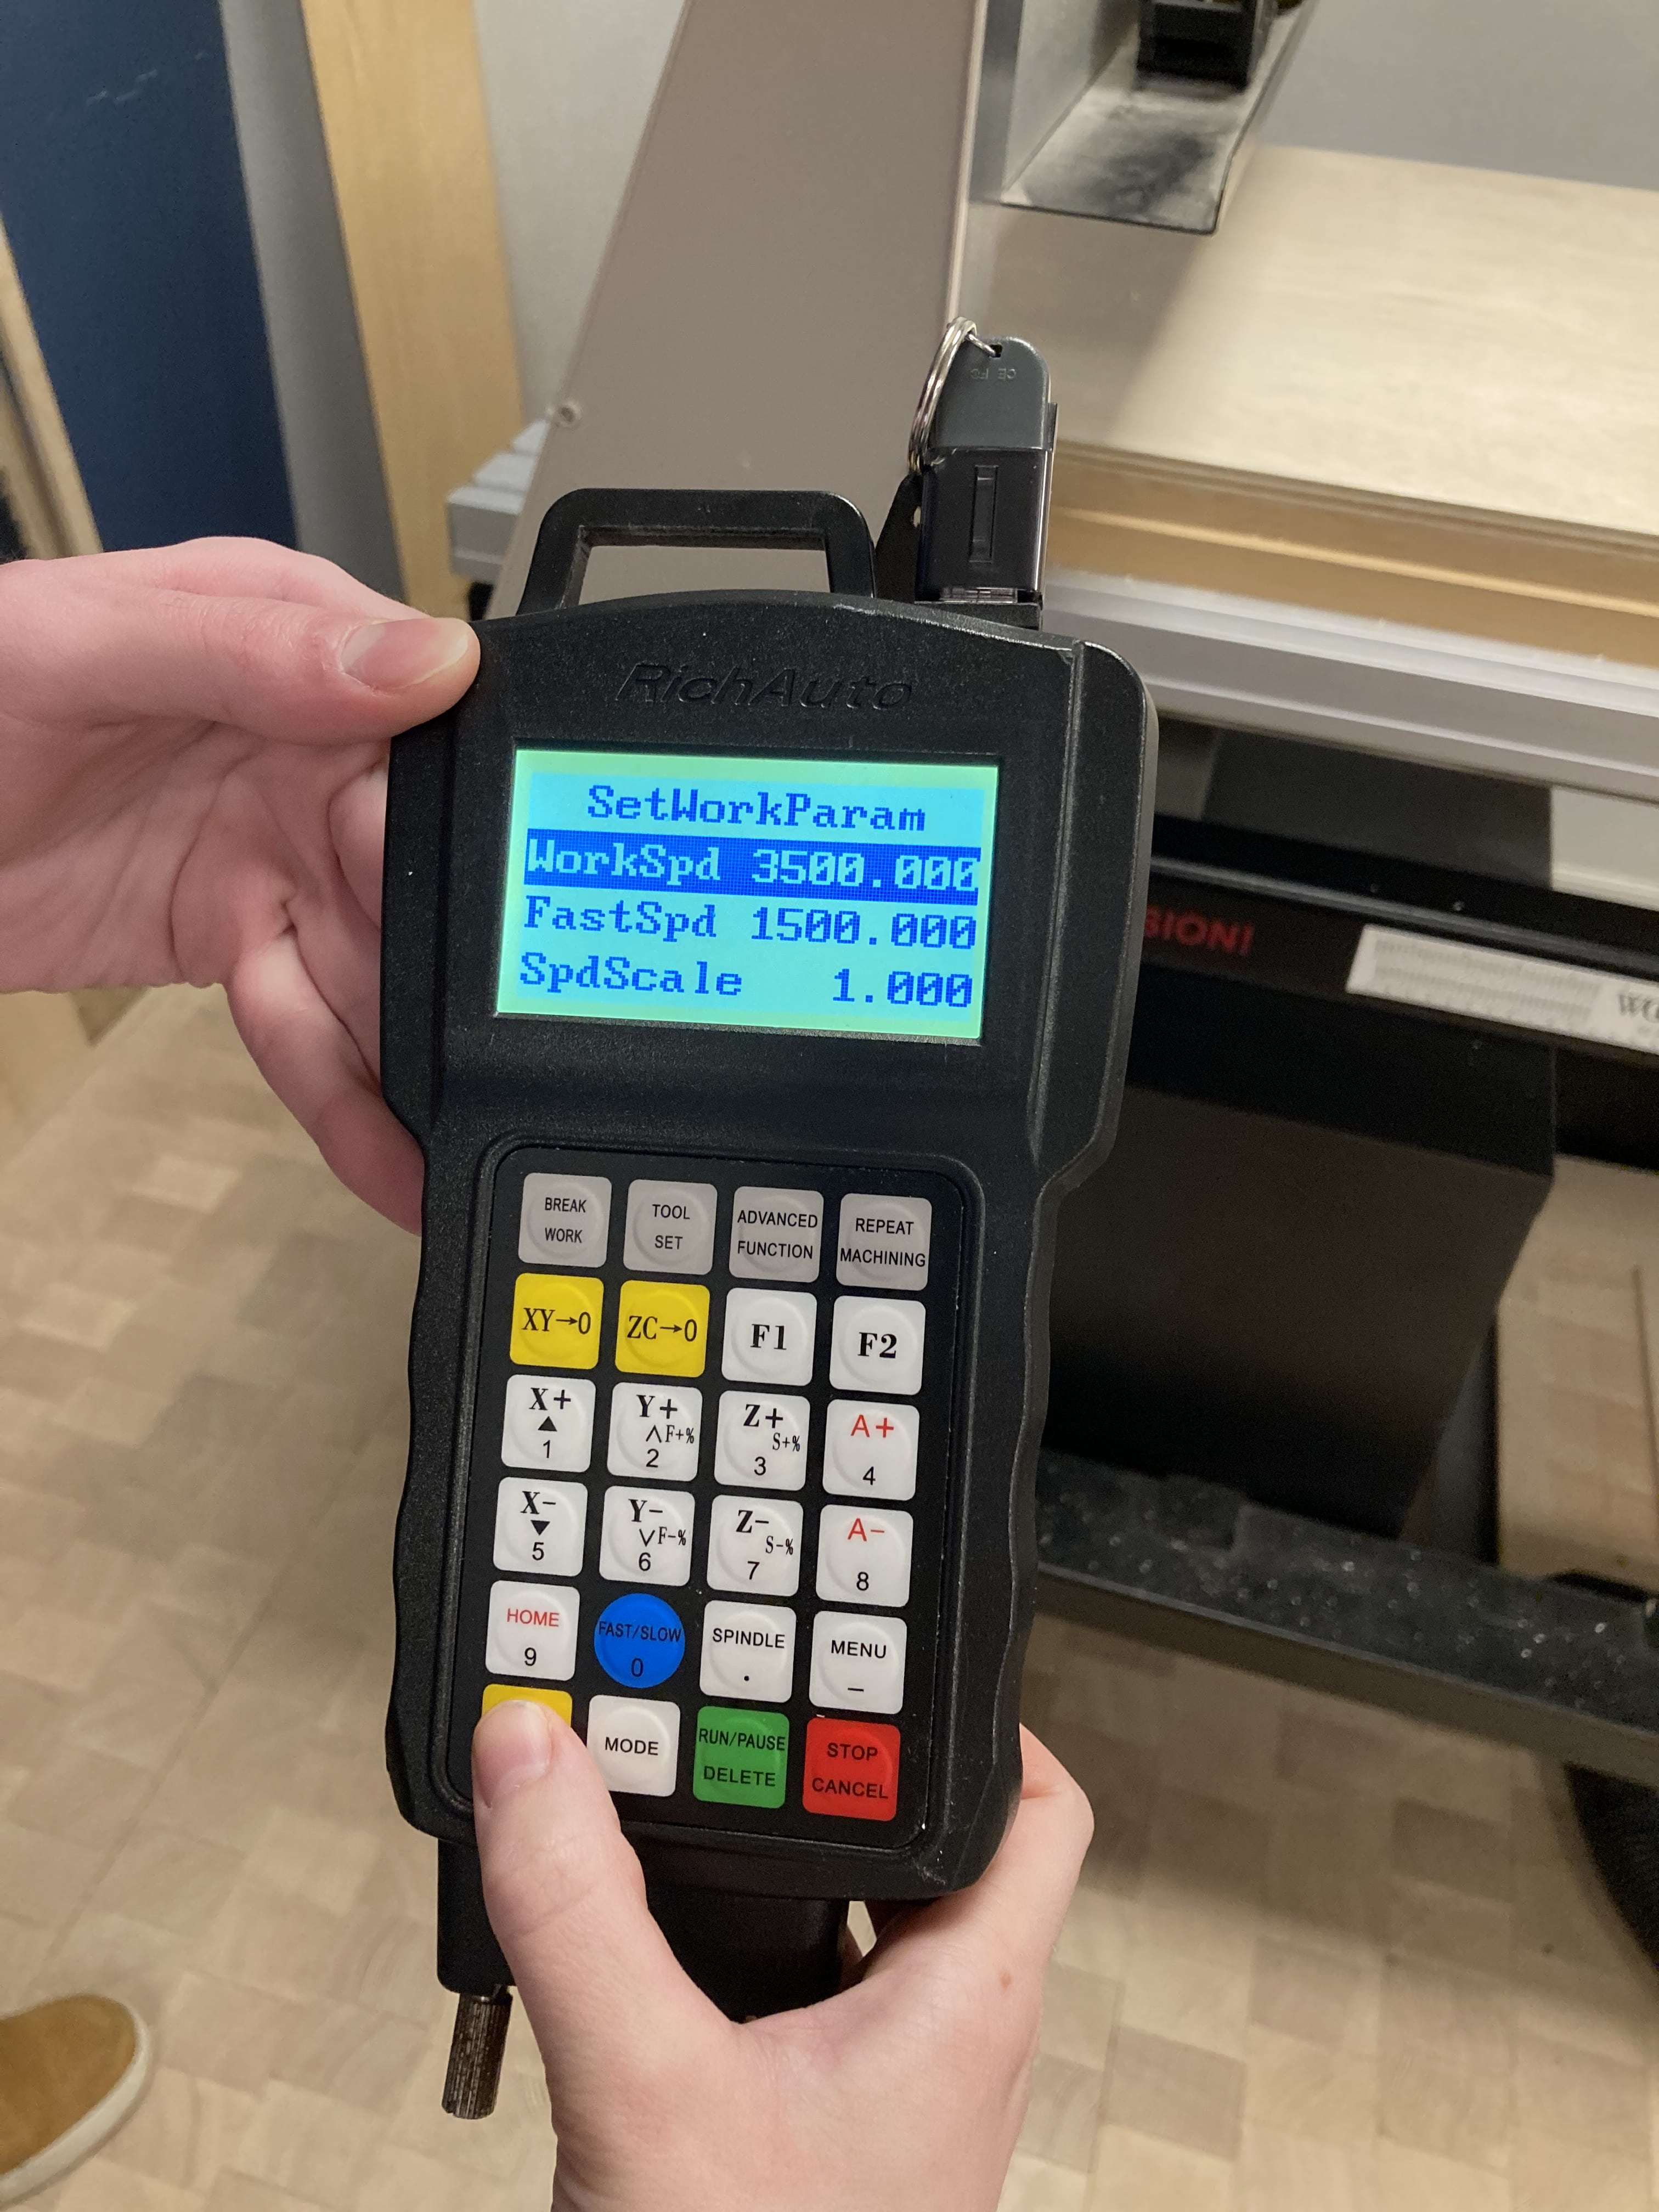
First, set the parameters for the CNC miller, according to the manufacturer's sheet.
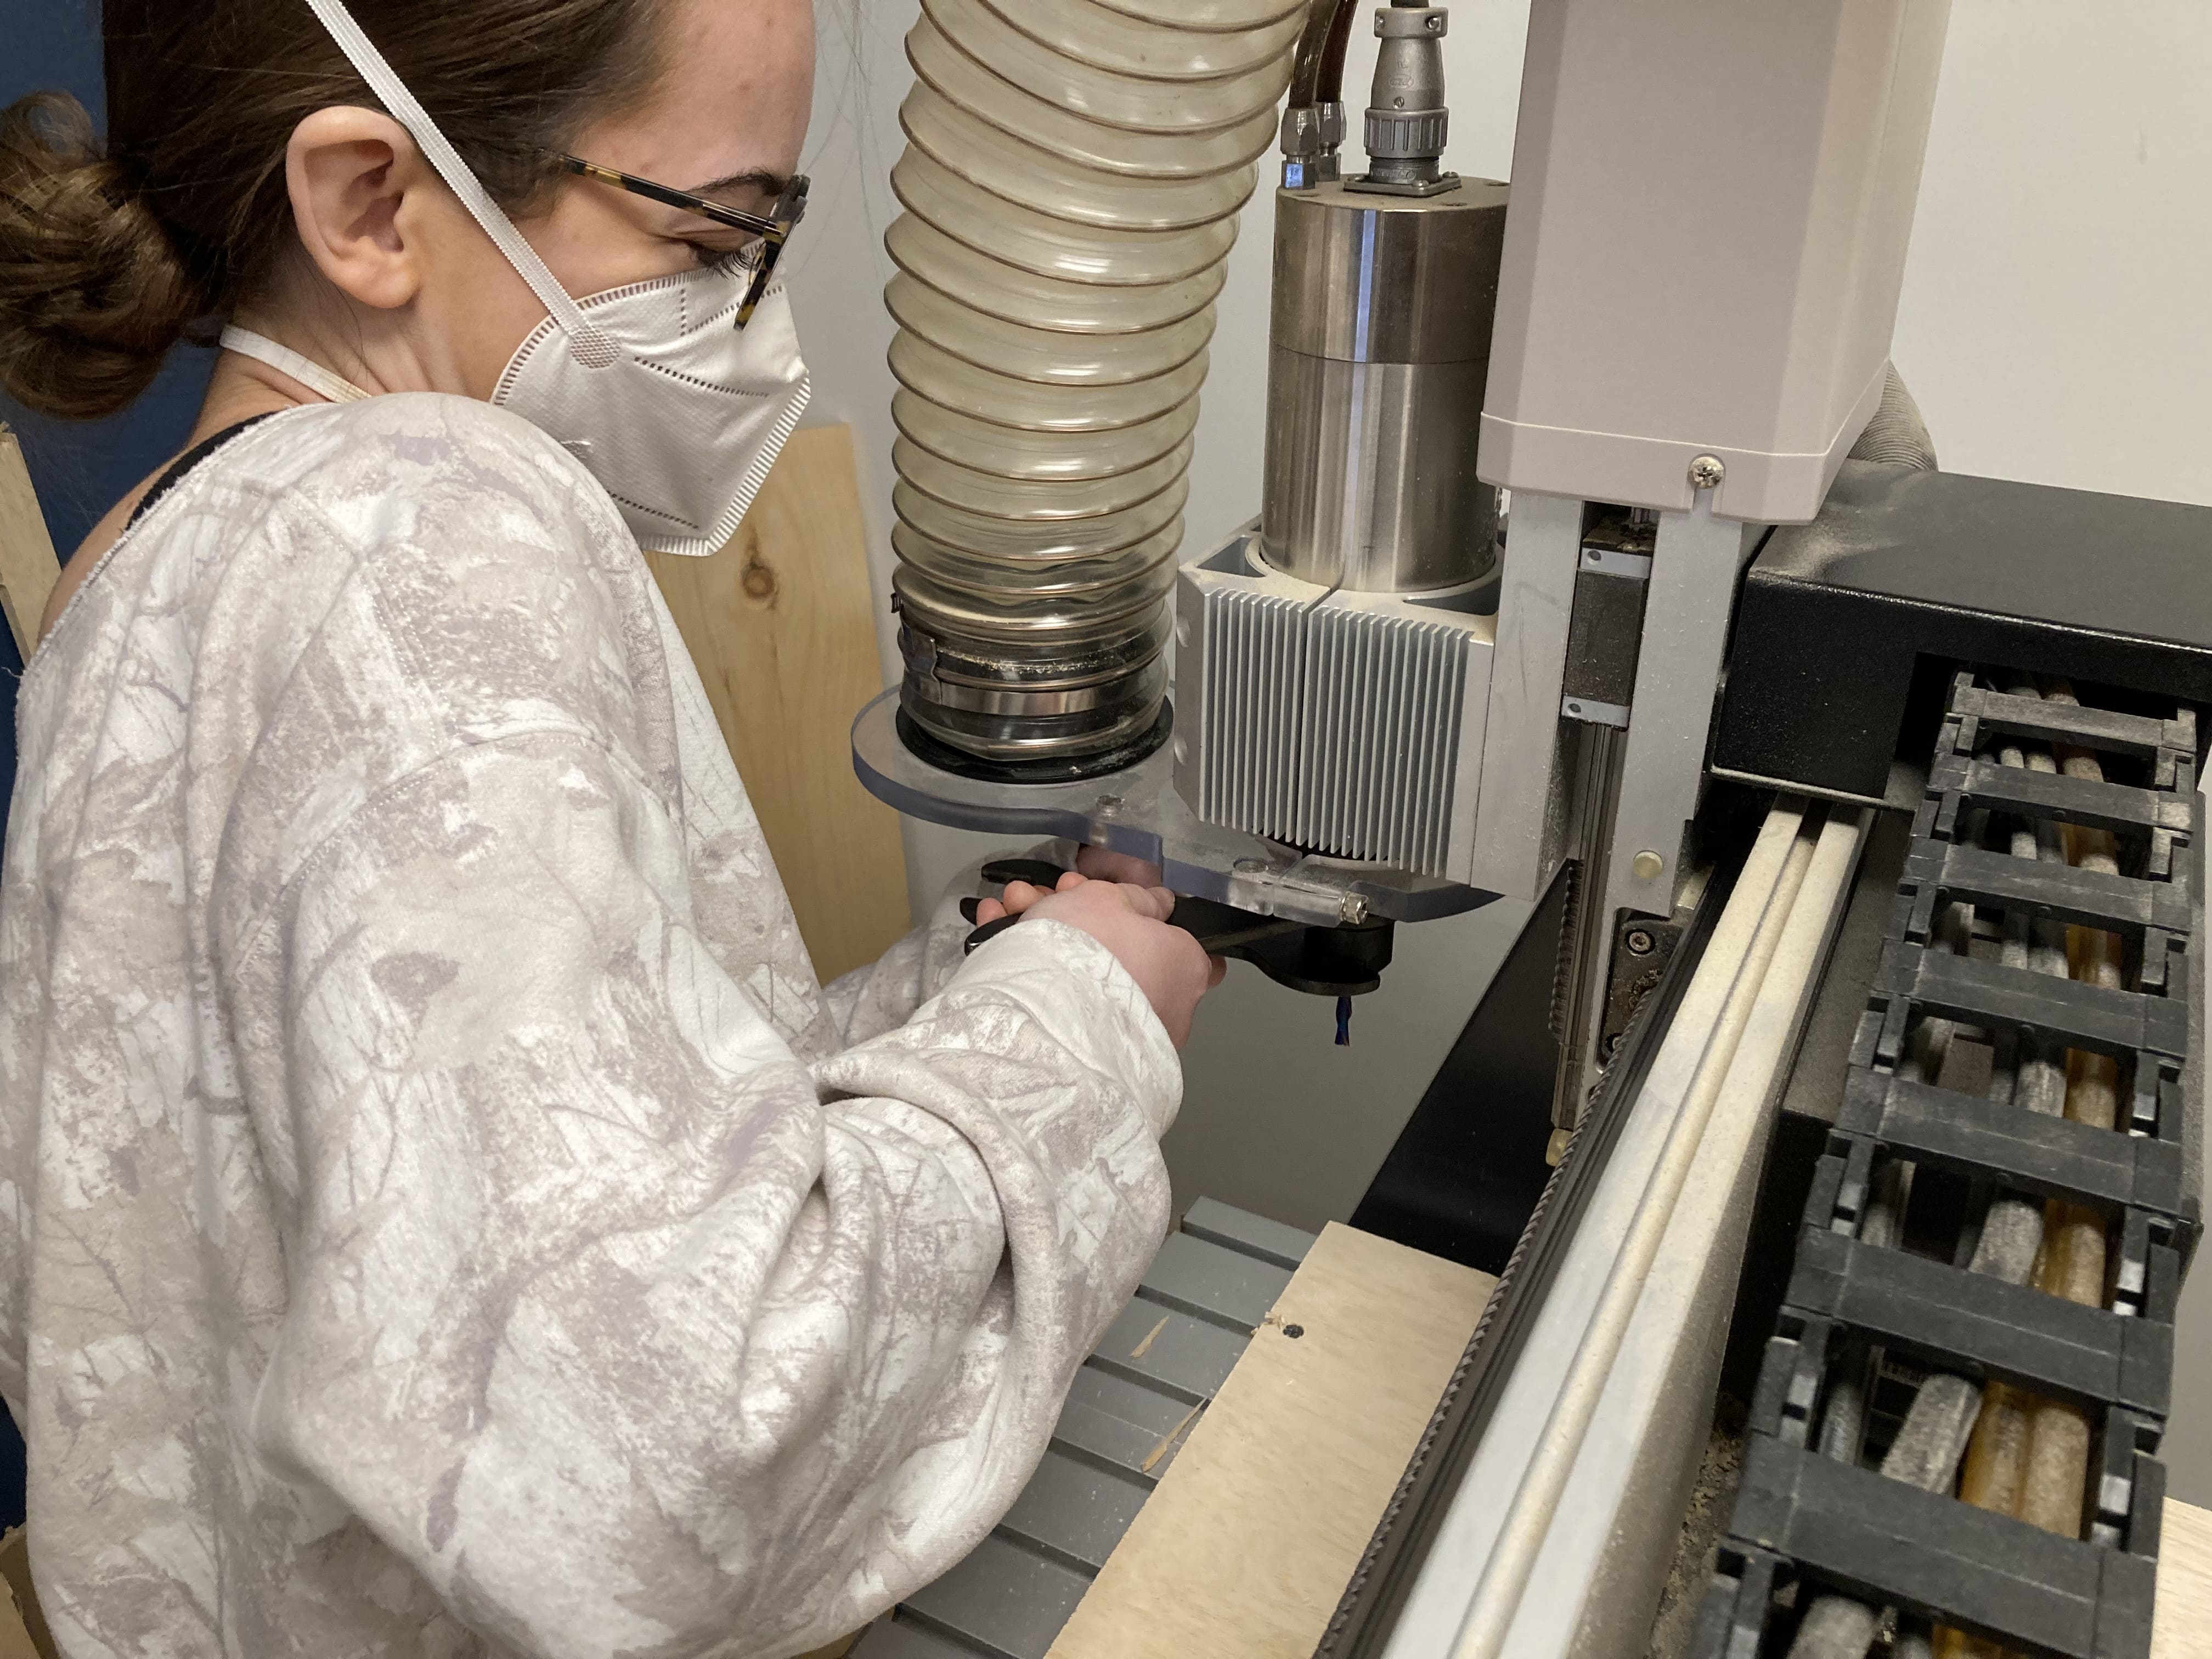
Put the down bit into the machine. Tighten using 2 wrenches in opposing directions.
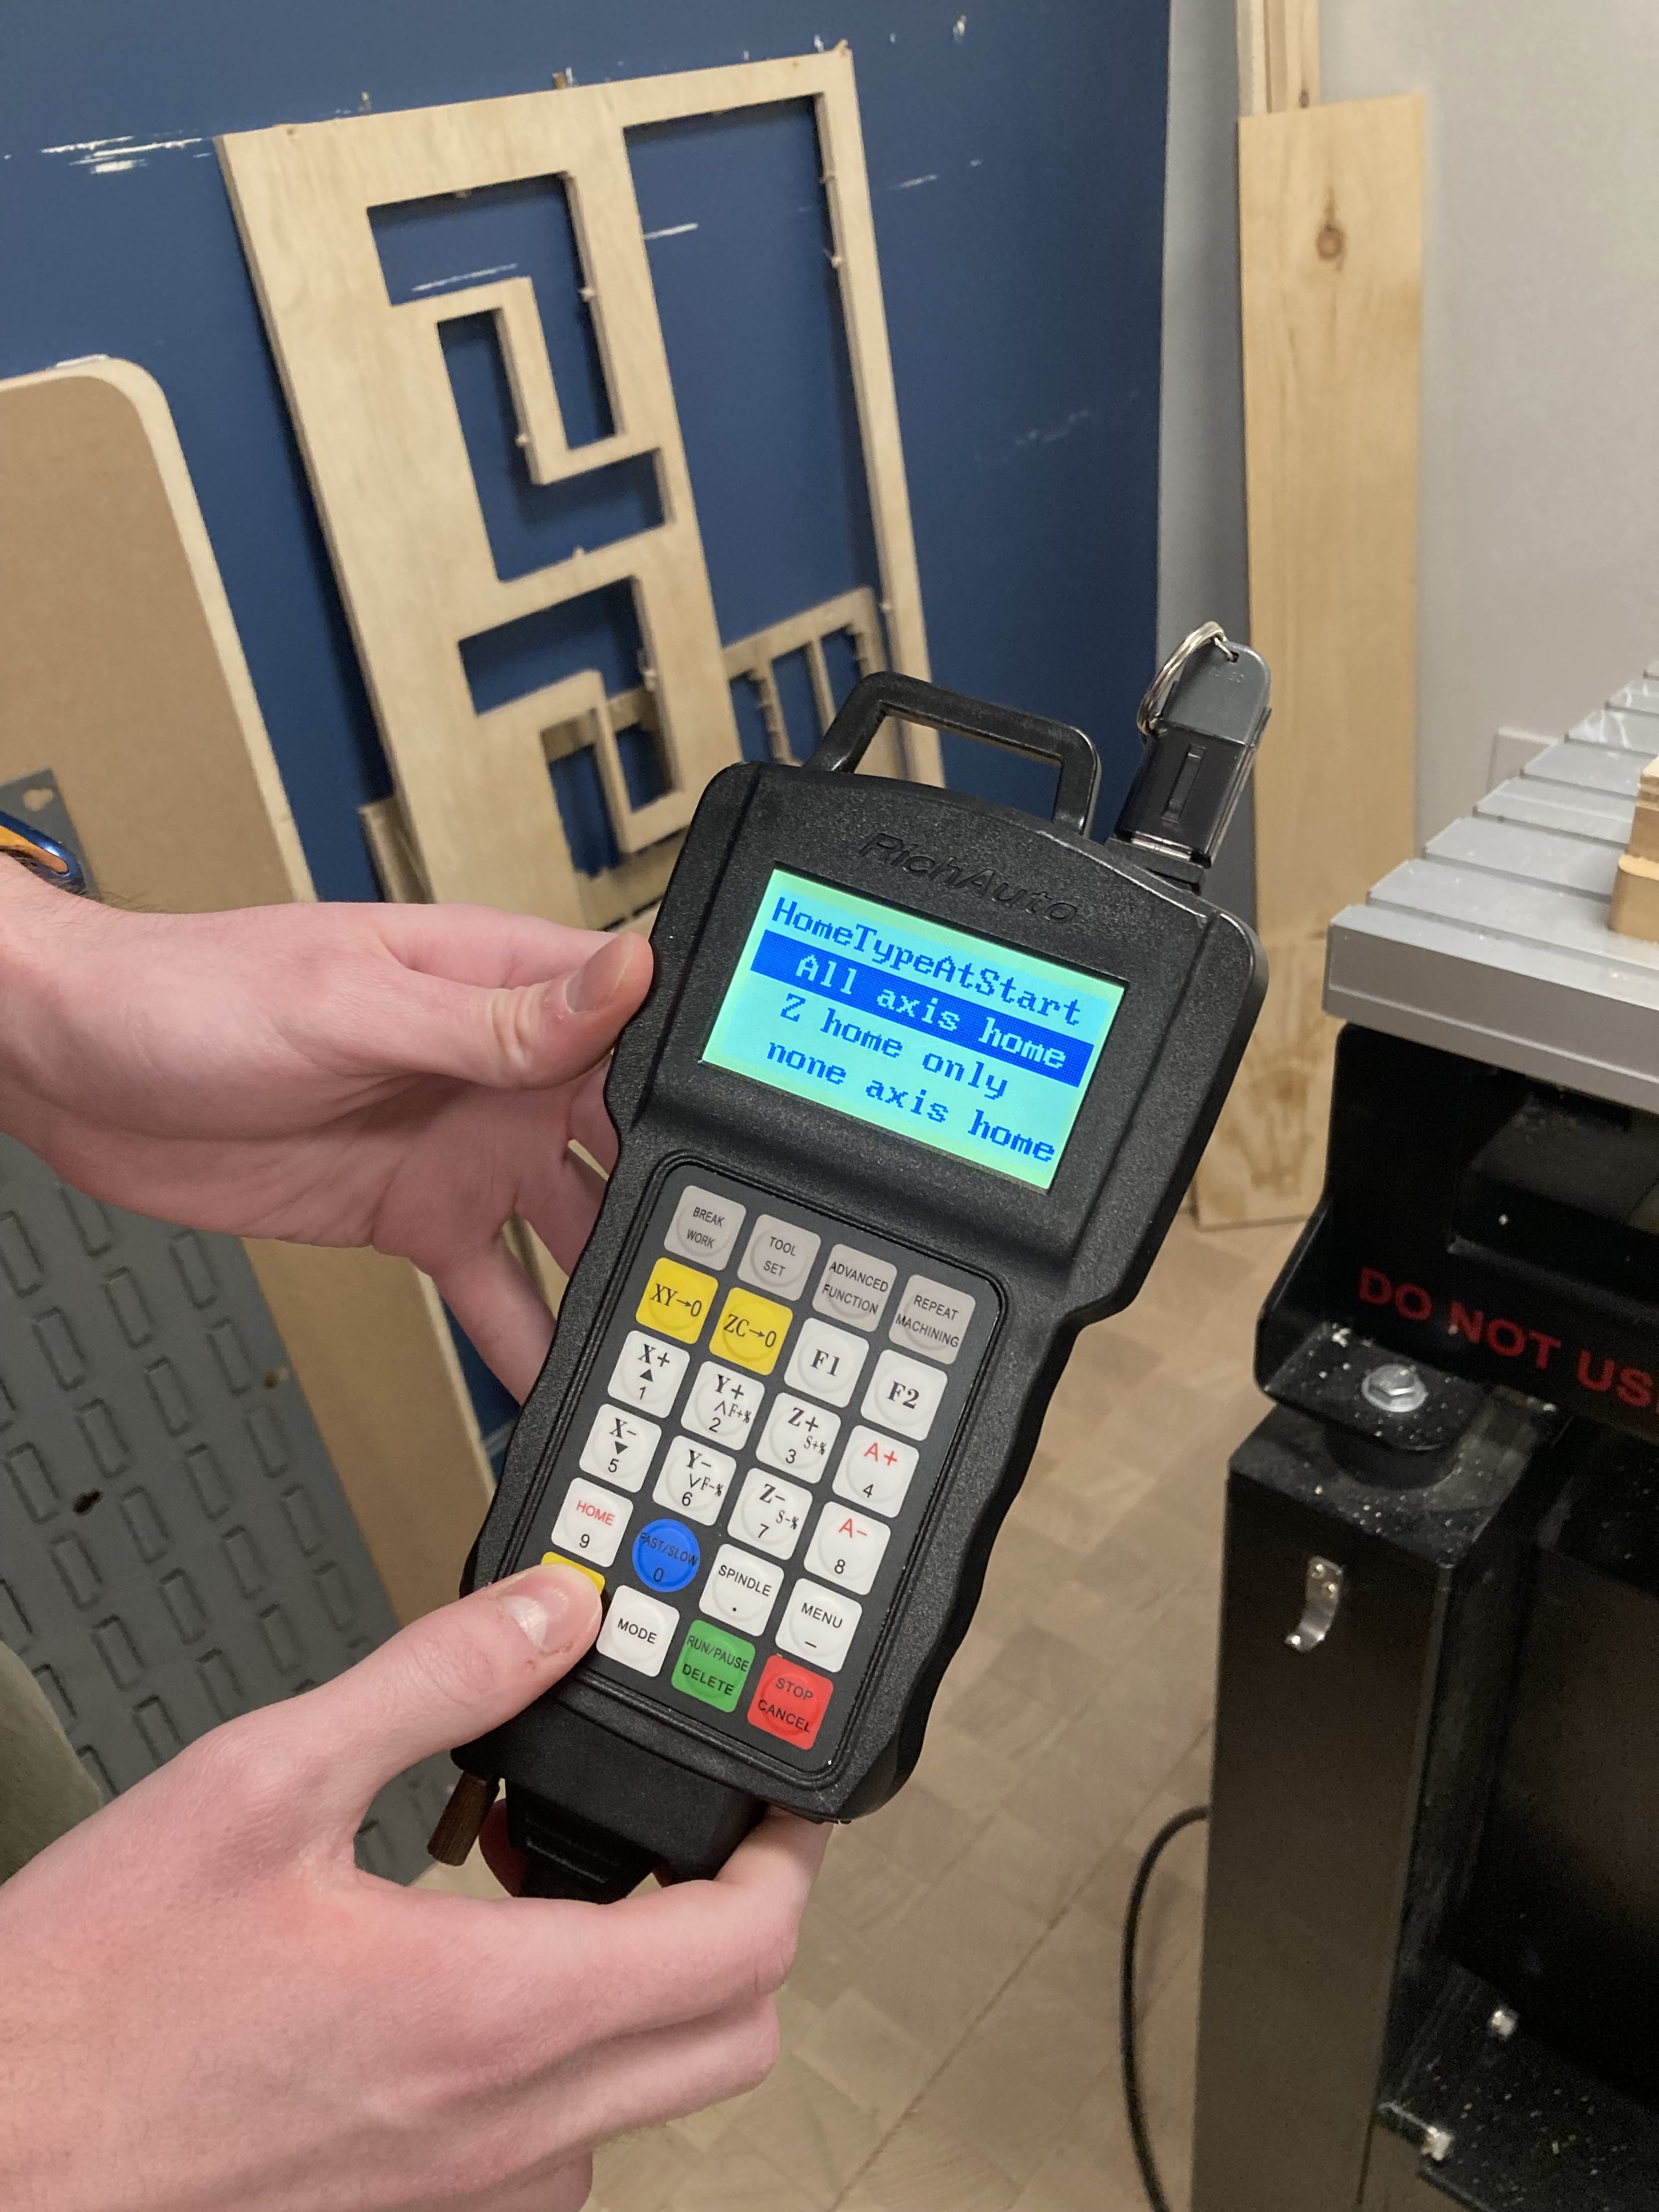
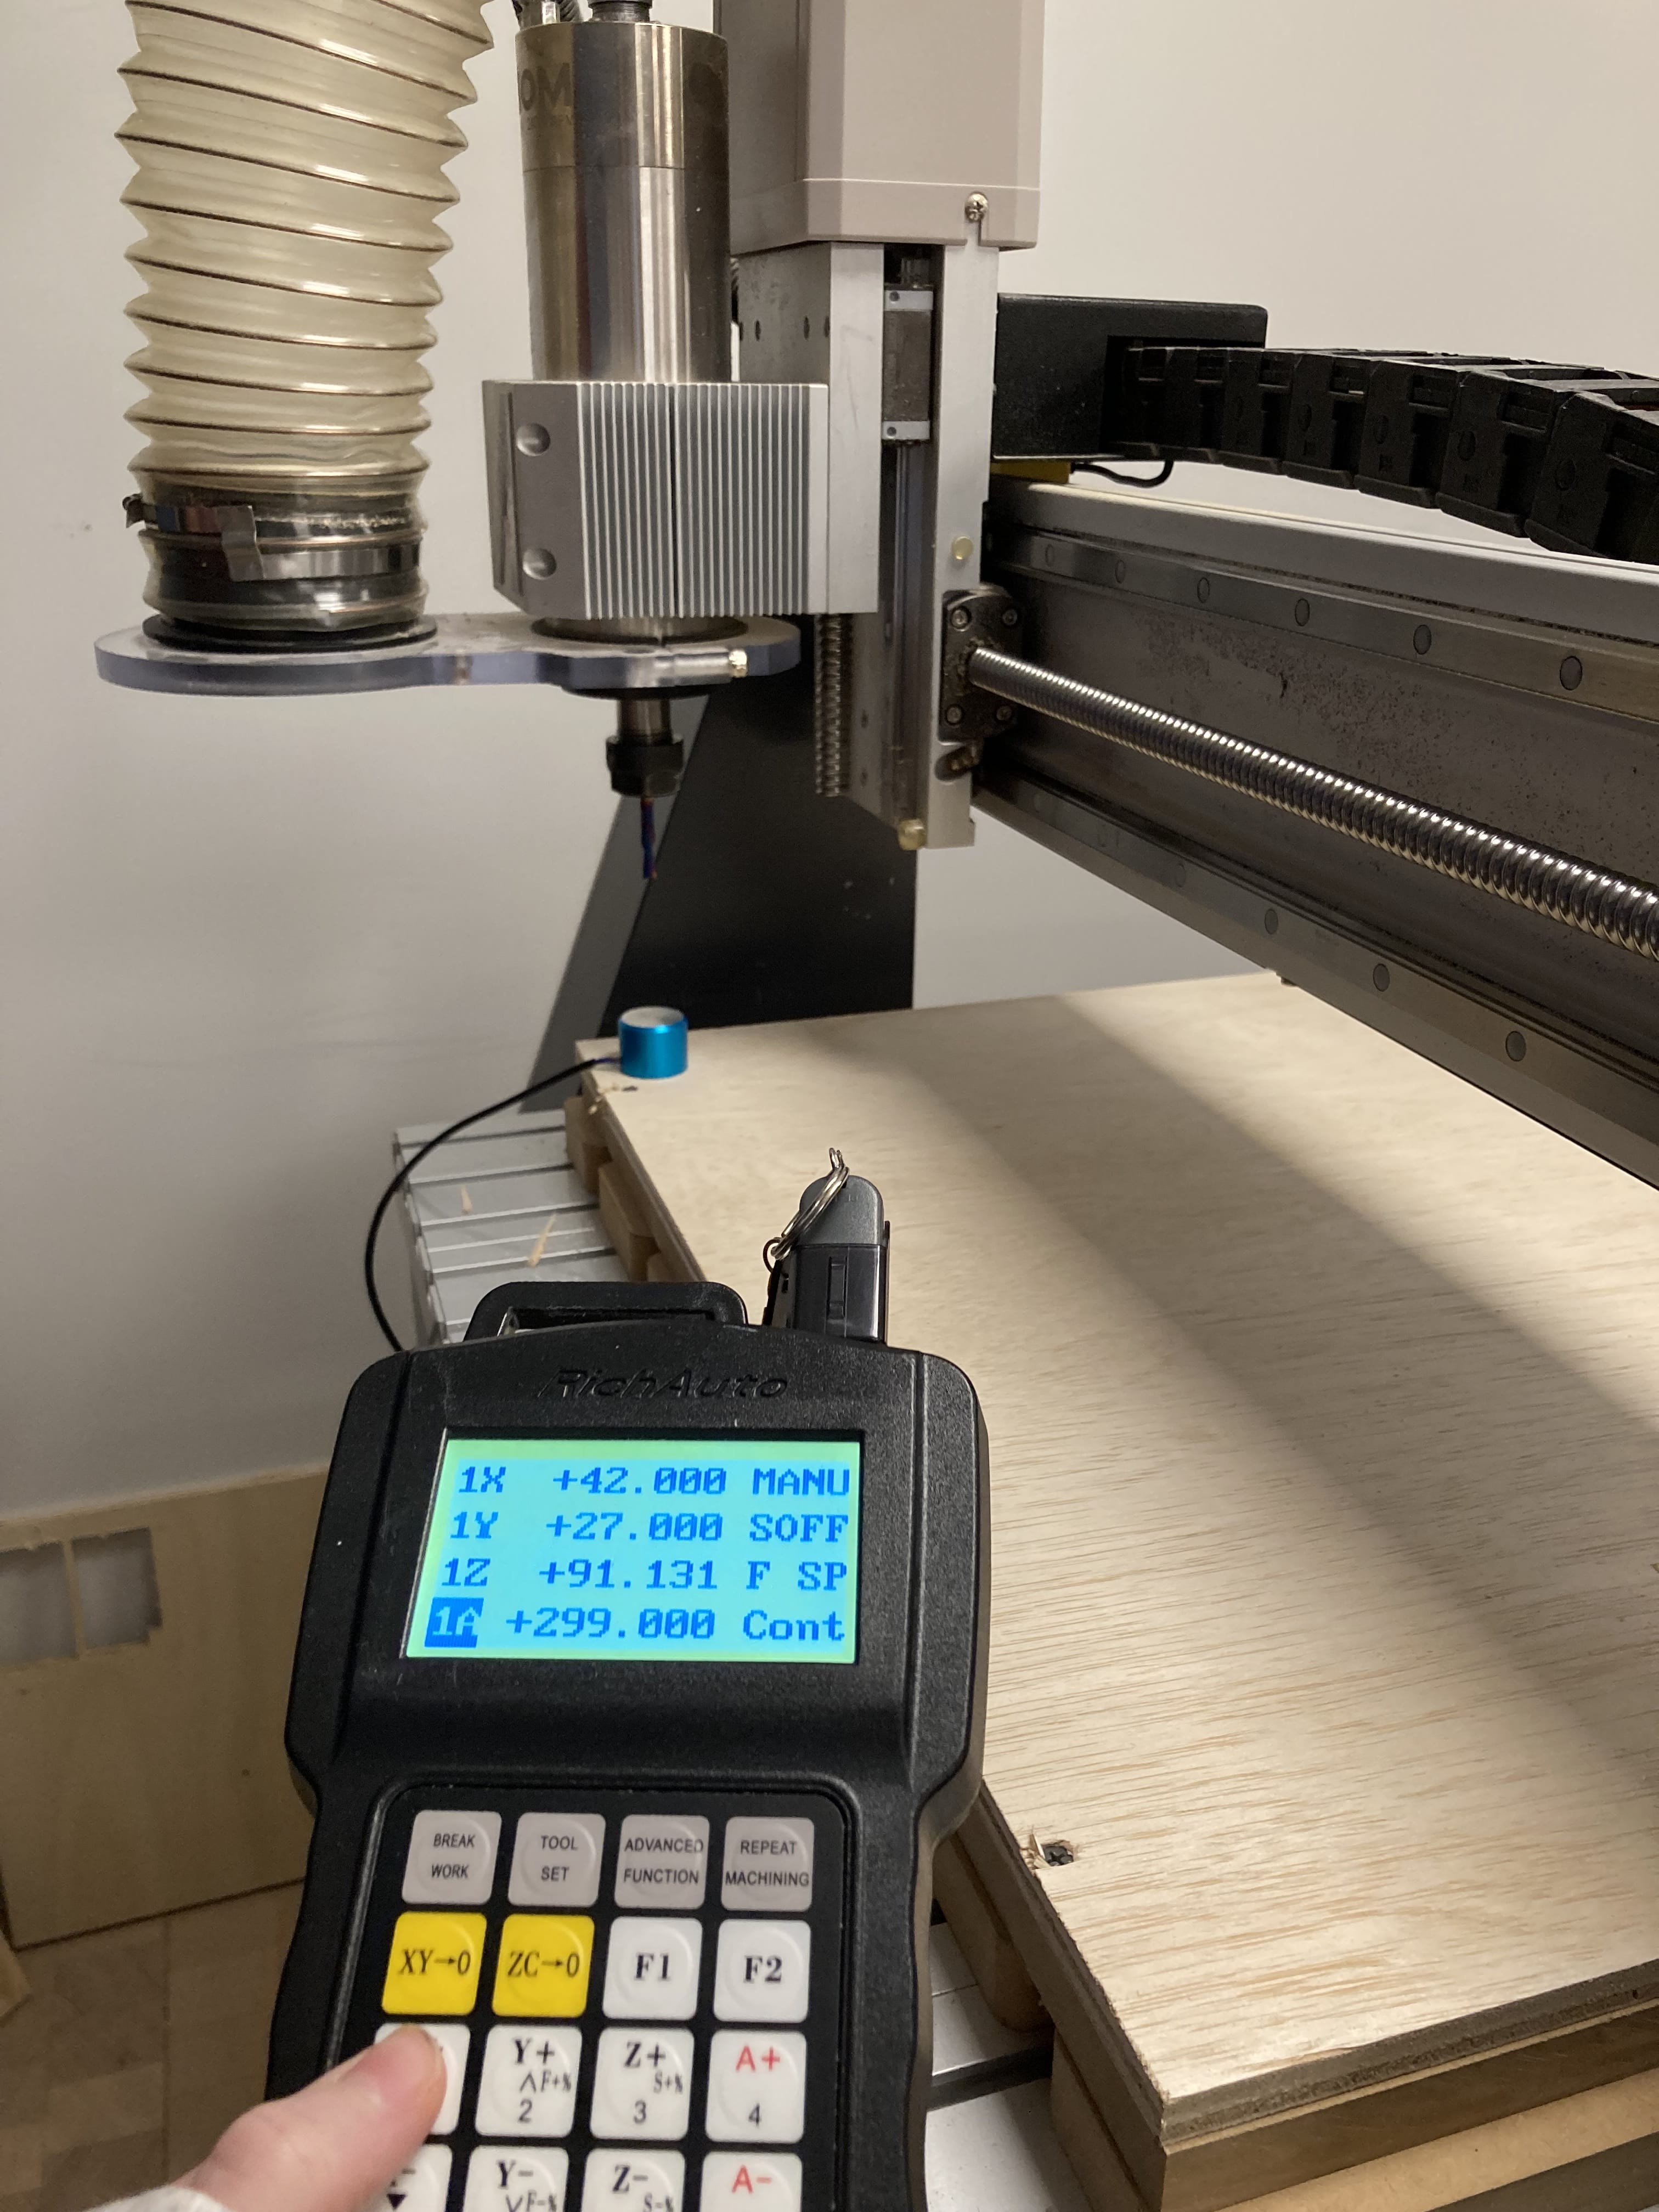
Next, we'll set the origin for the CNC mill. Plug the magnet into the CNC mill. Then, press 'X' and 'Y' to move the head of the bit. When the bit aligns with the magnet, press 'Tool set'.
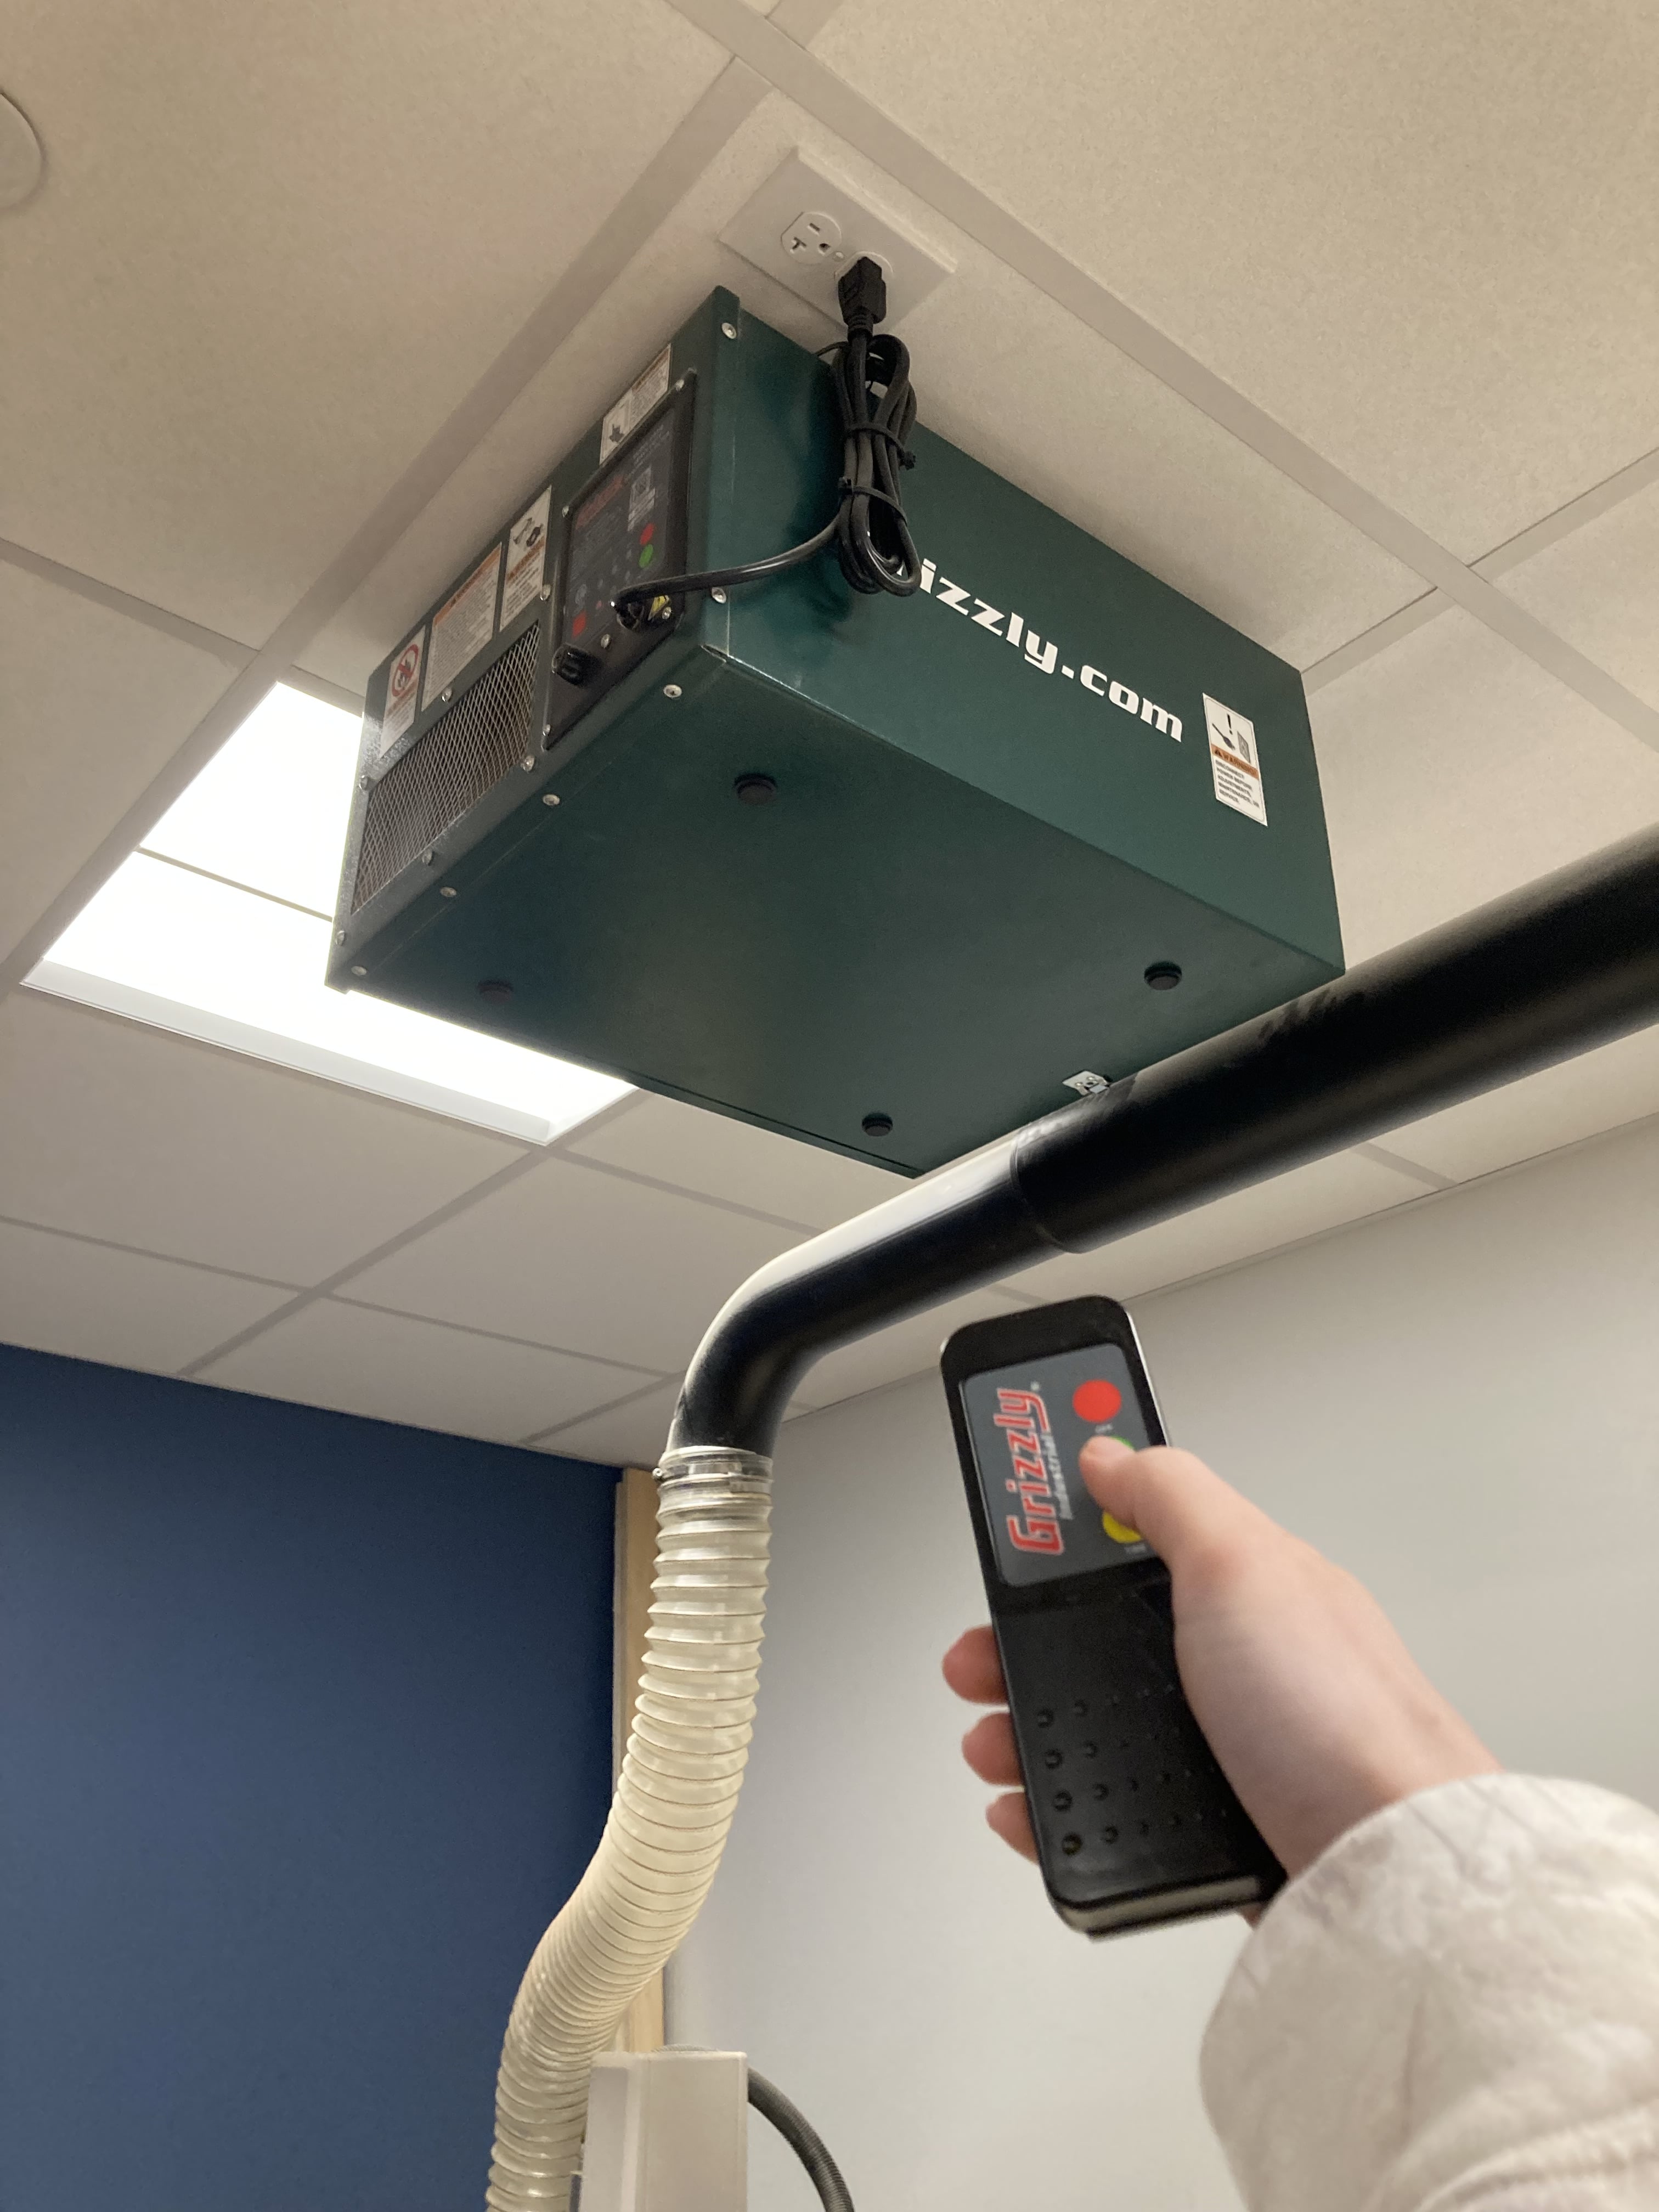
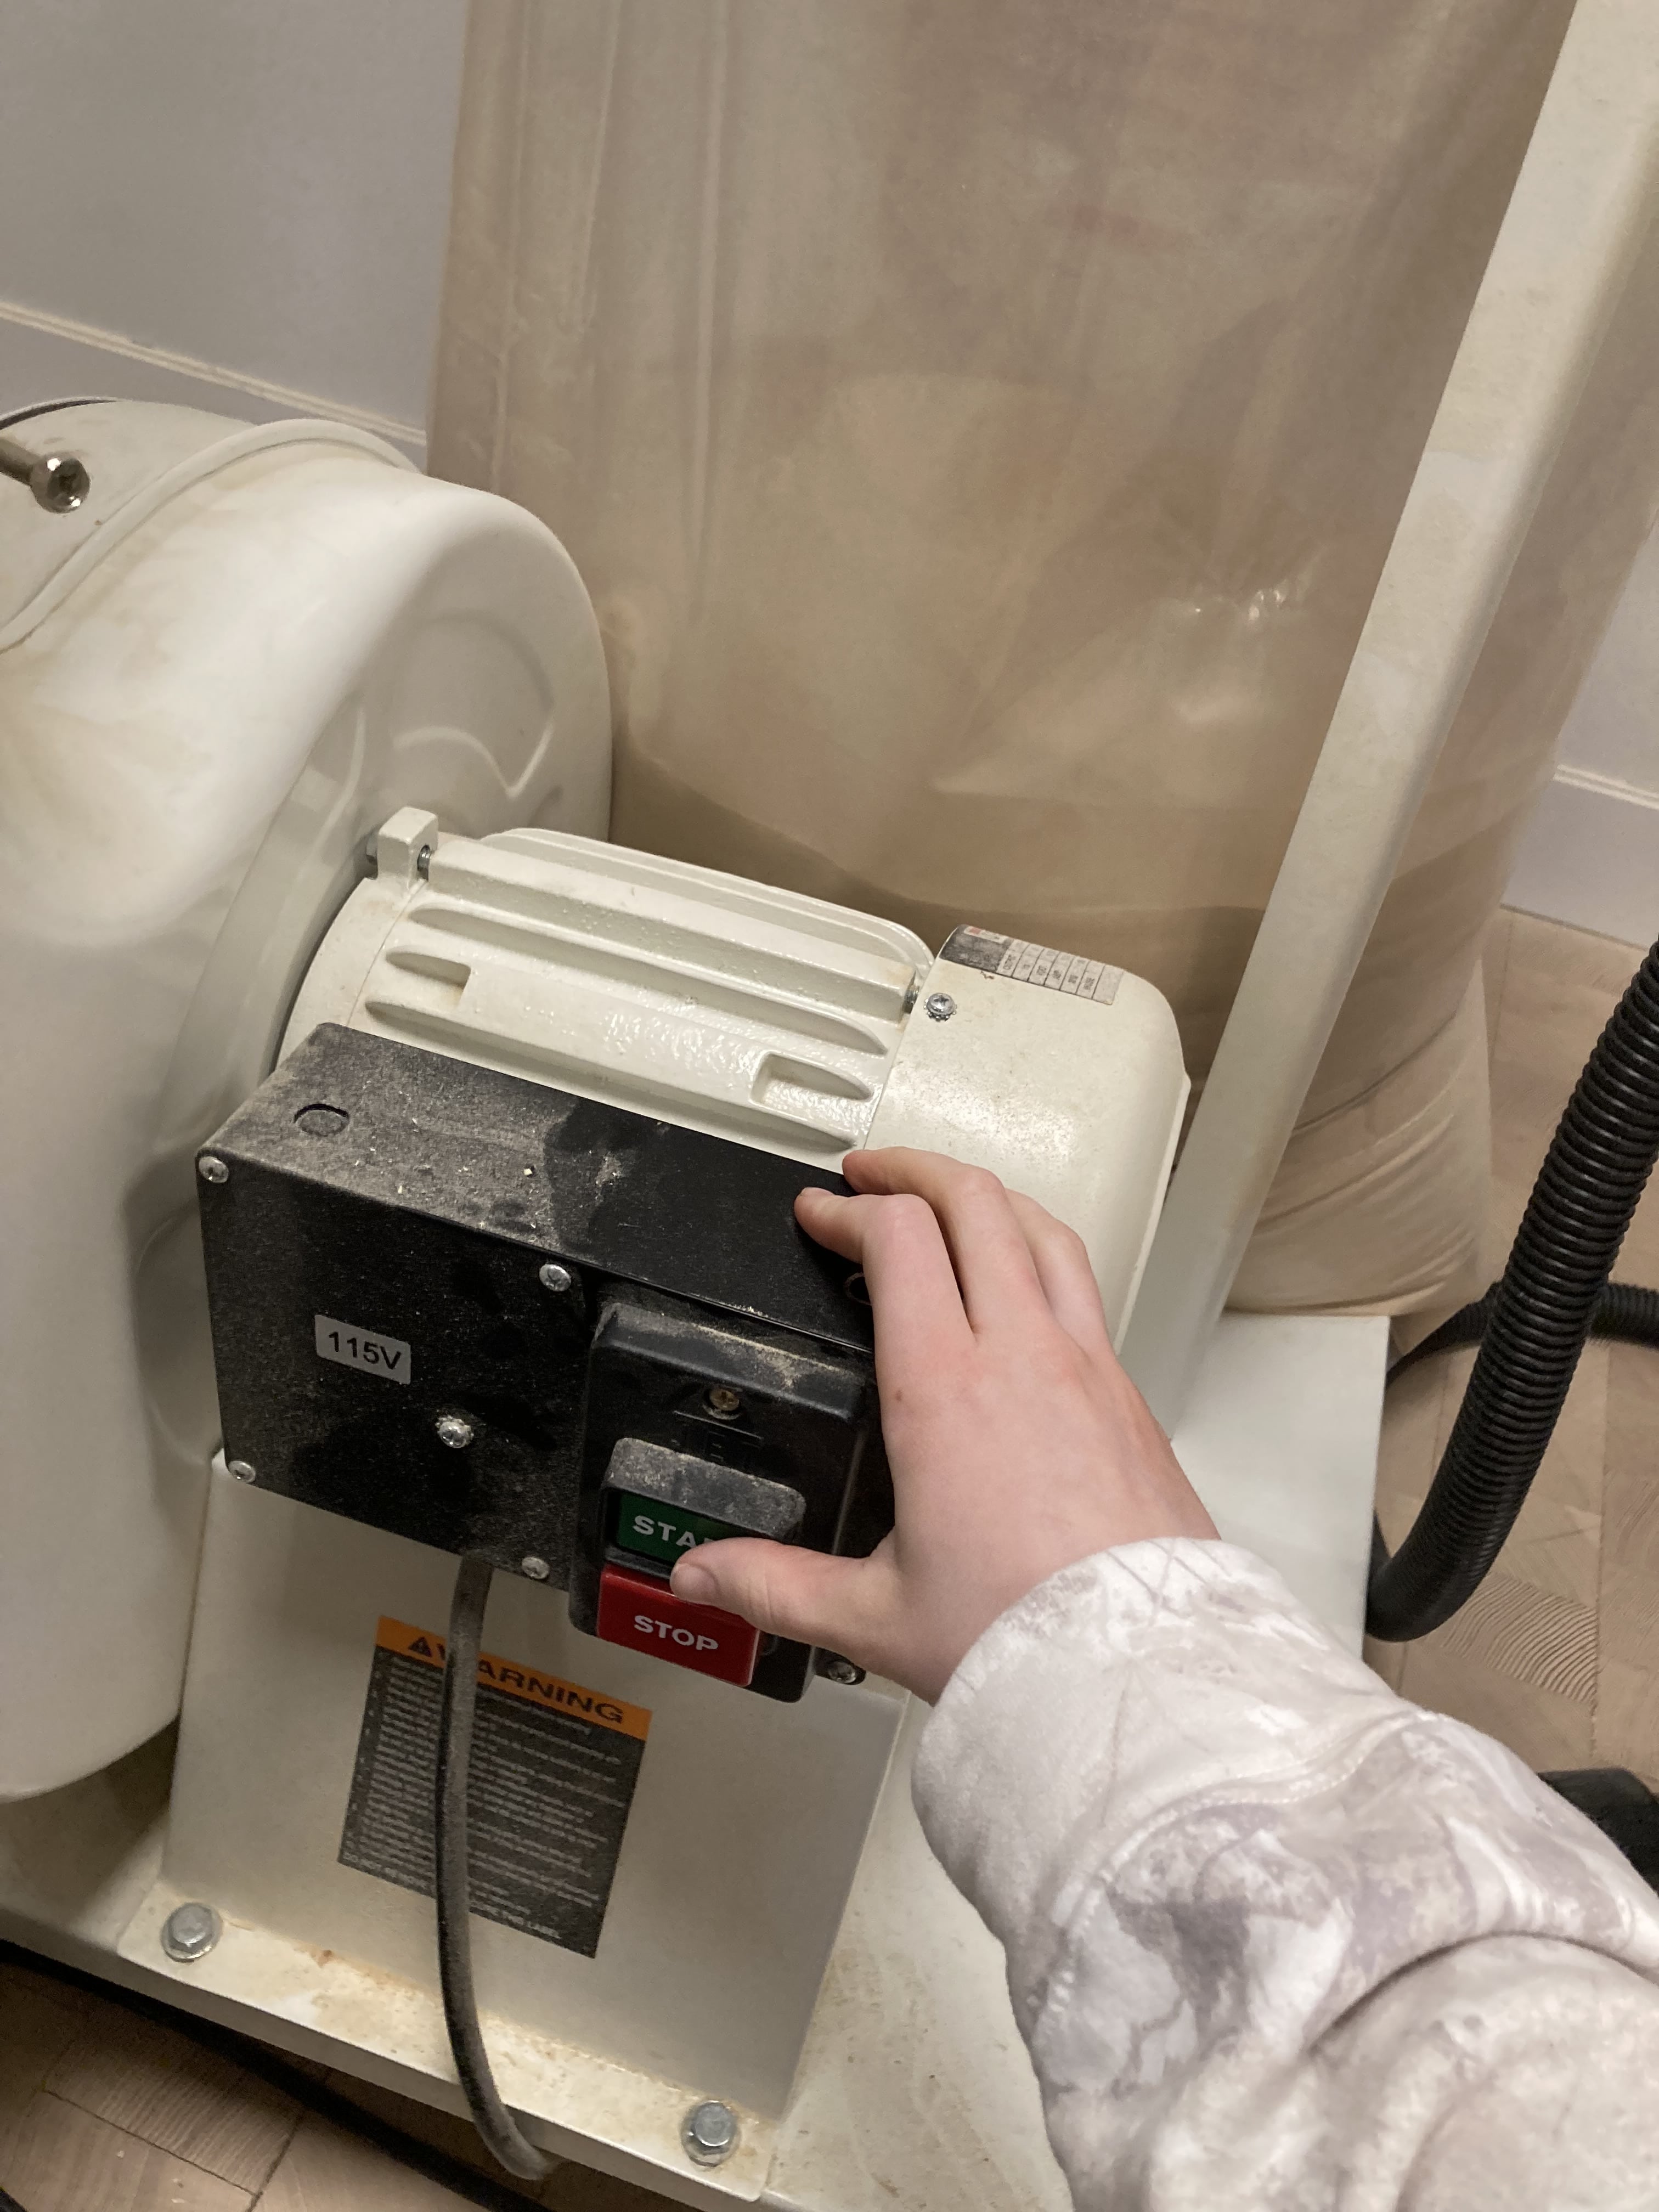
Turn on the ceiling and bag sawdust collectors. Sawdust will accumulate in the air otherwise.
Time to start the job!
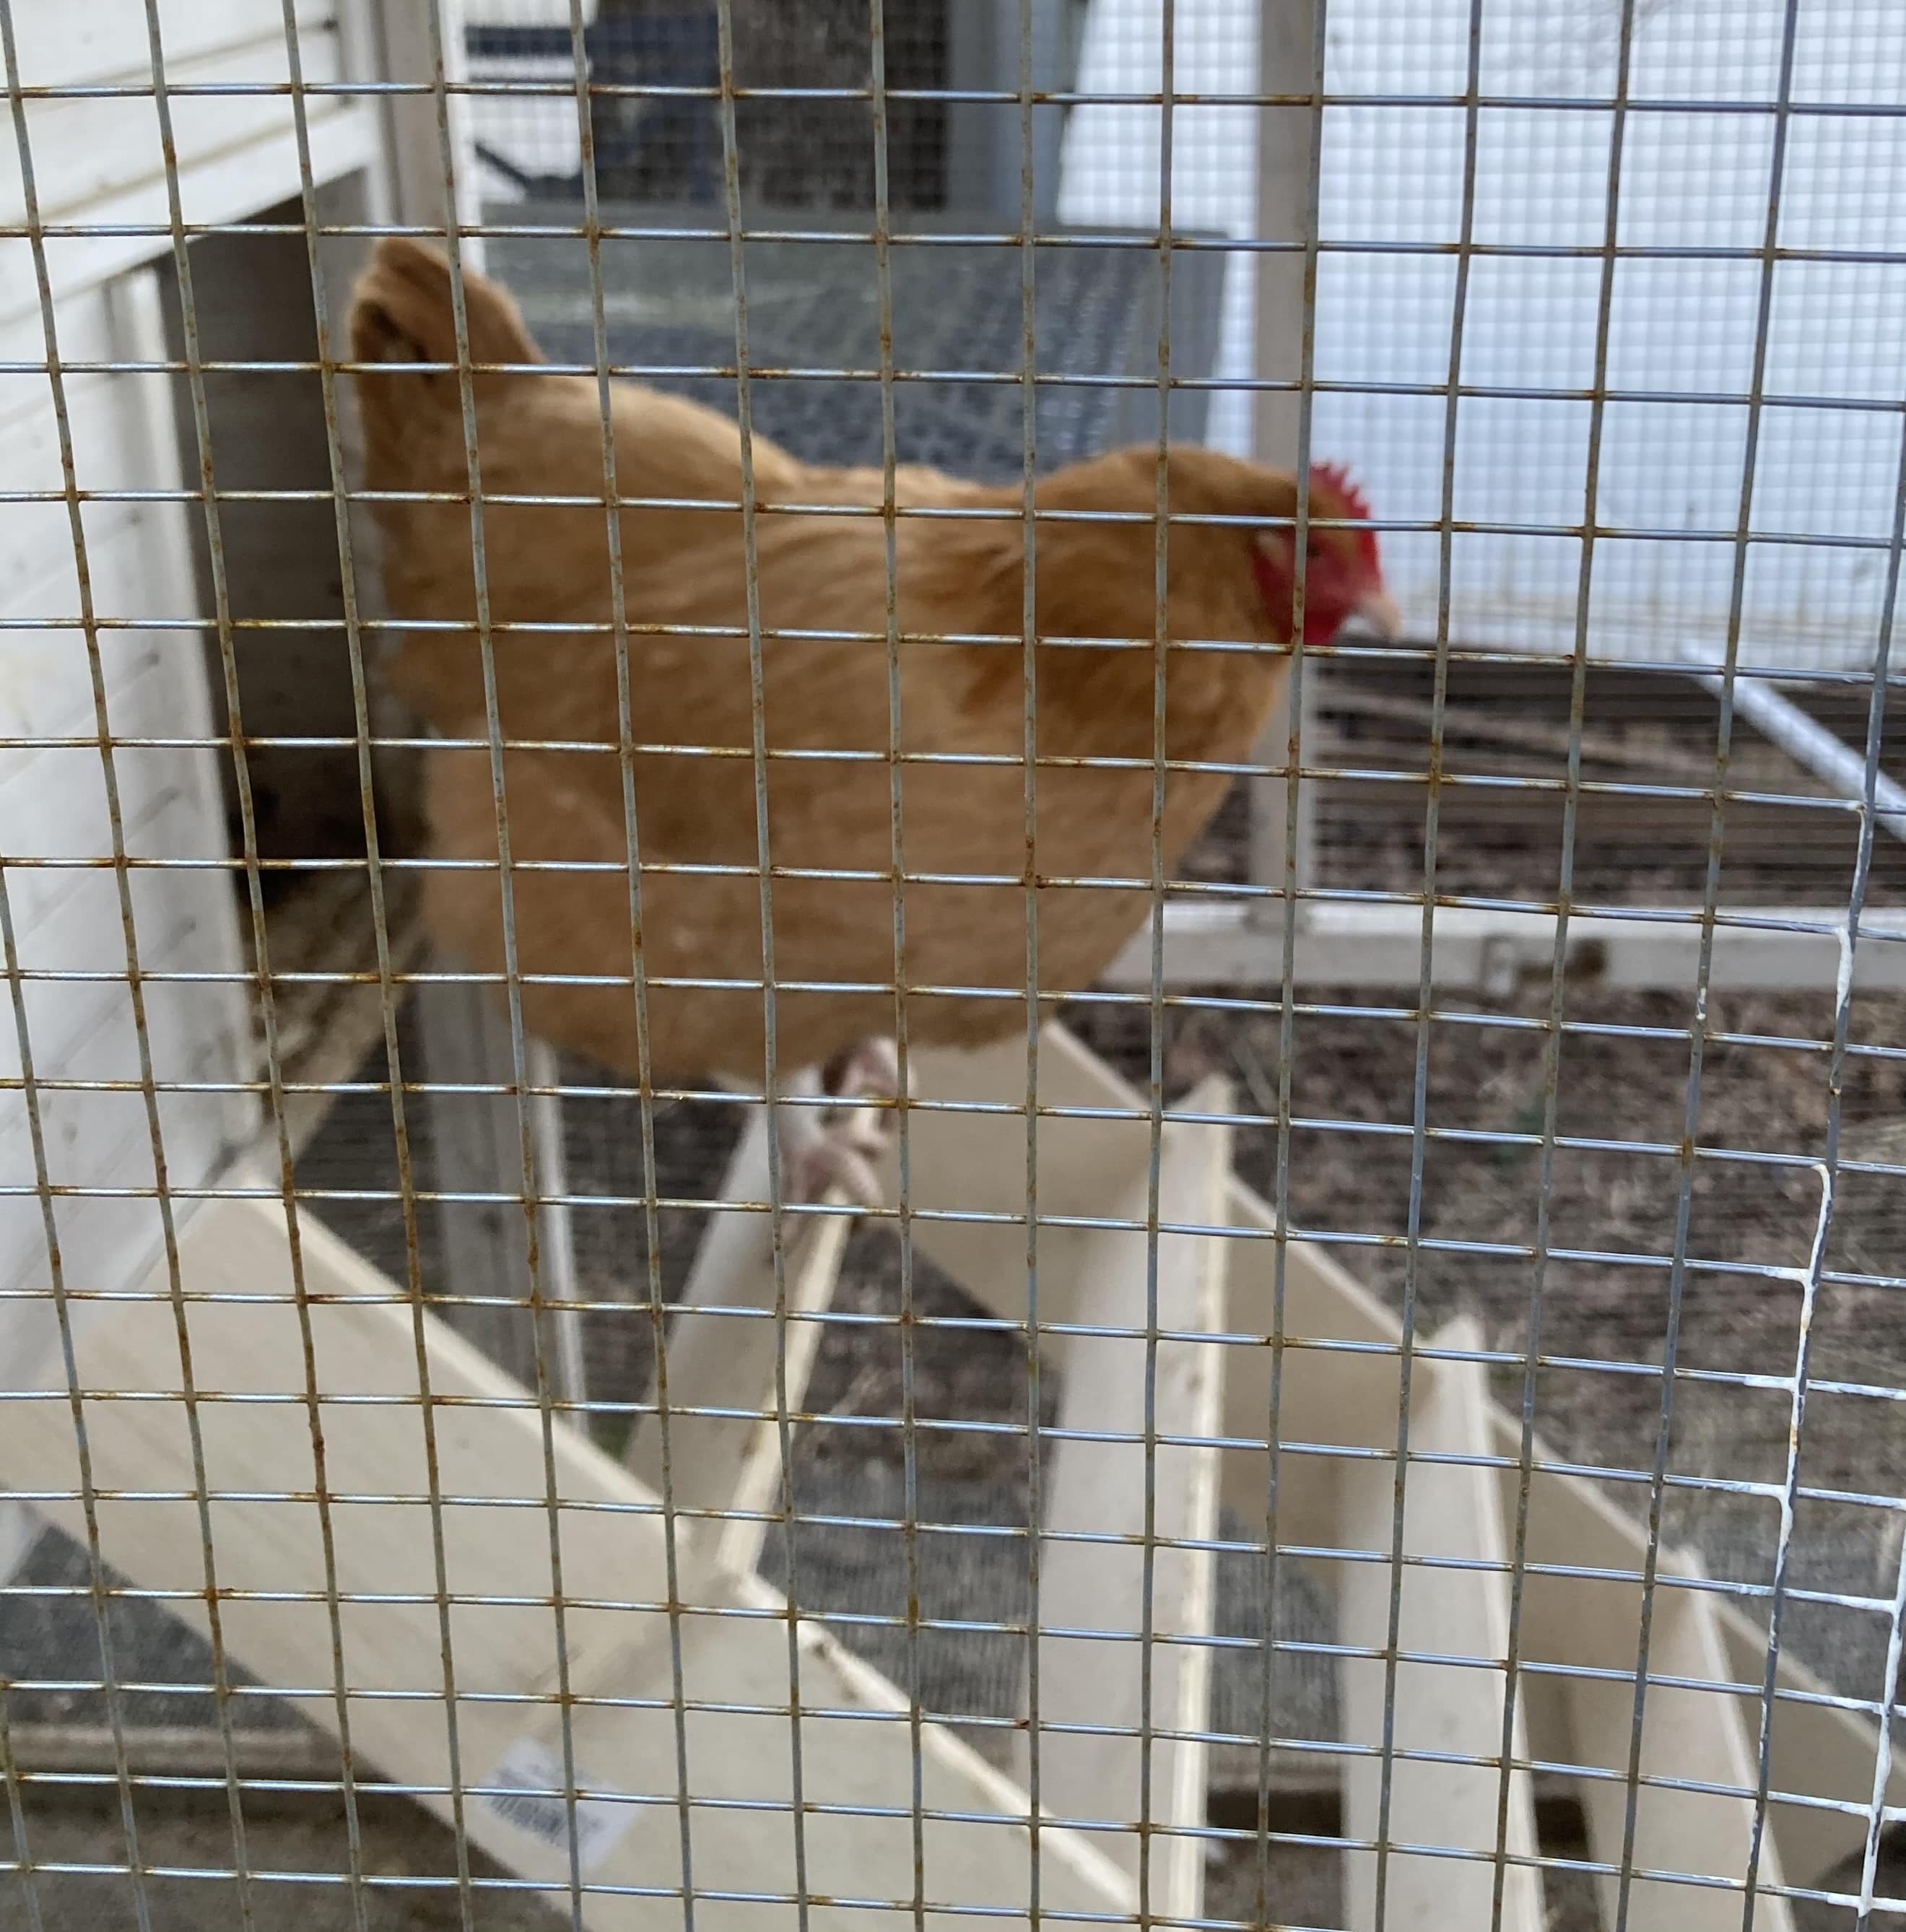
After cutting the tabs off and sanding, this is the finished perch. The chickens used it despite some design flaws. The issue was that the rungs are at a slant, it would have been better if they were flush to the ground.

