
The exact width of the material removed varies based on the tool and the material itself.
Laser cutter: Epilog Laser Cutter
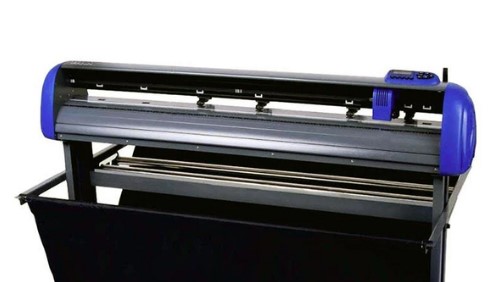
Vinyl cutter: Titan Vinyl Cutter
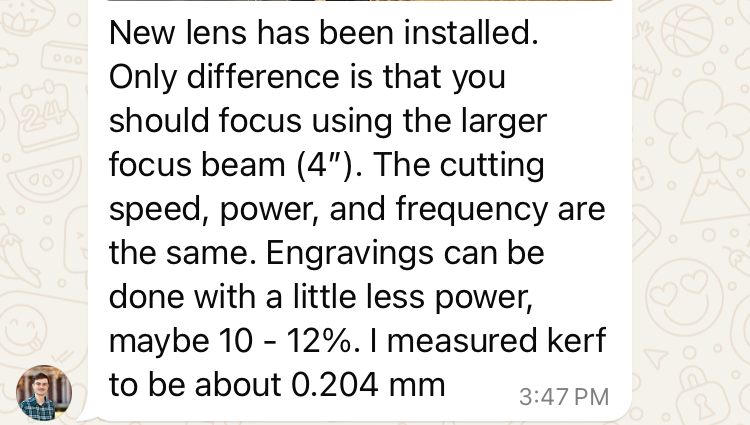
Focus: Focus the machine manually using the 4" focus beam:
Power: 50% for cutting, 10-12% for engraving
Speed: 75%
Rate: Not specified
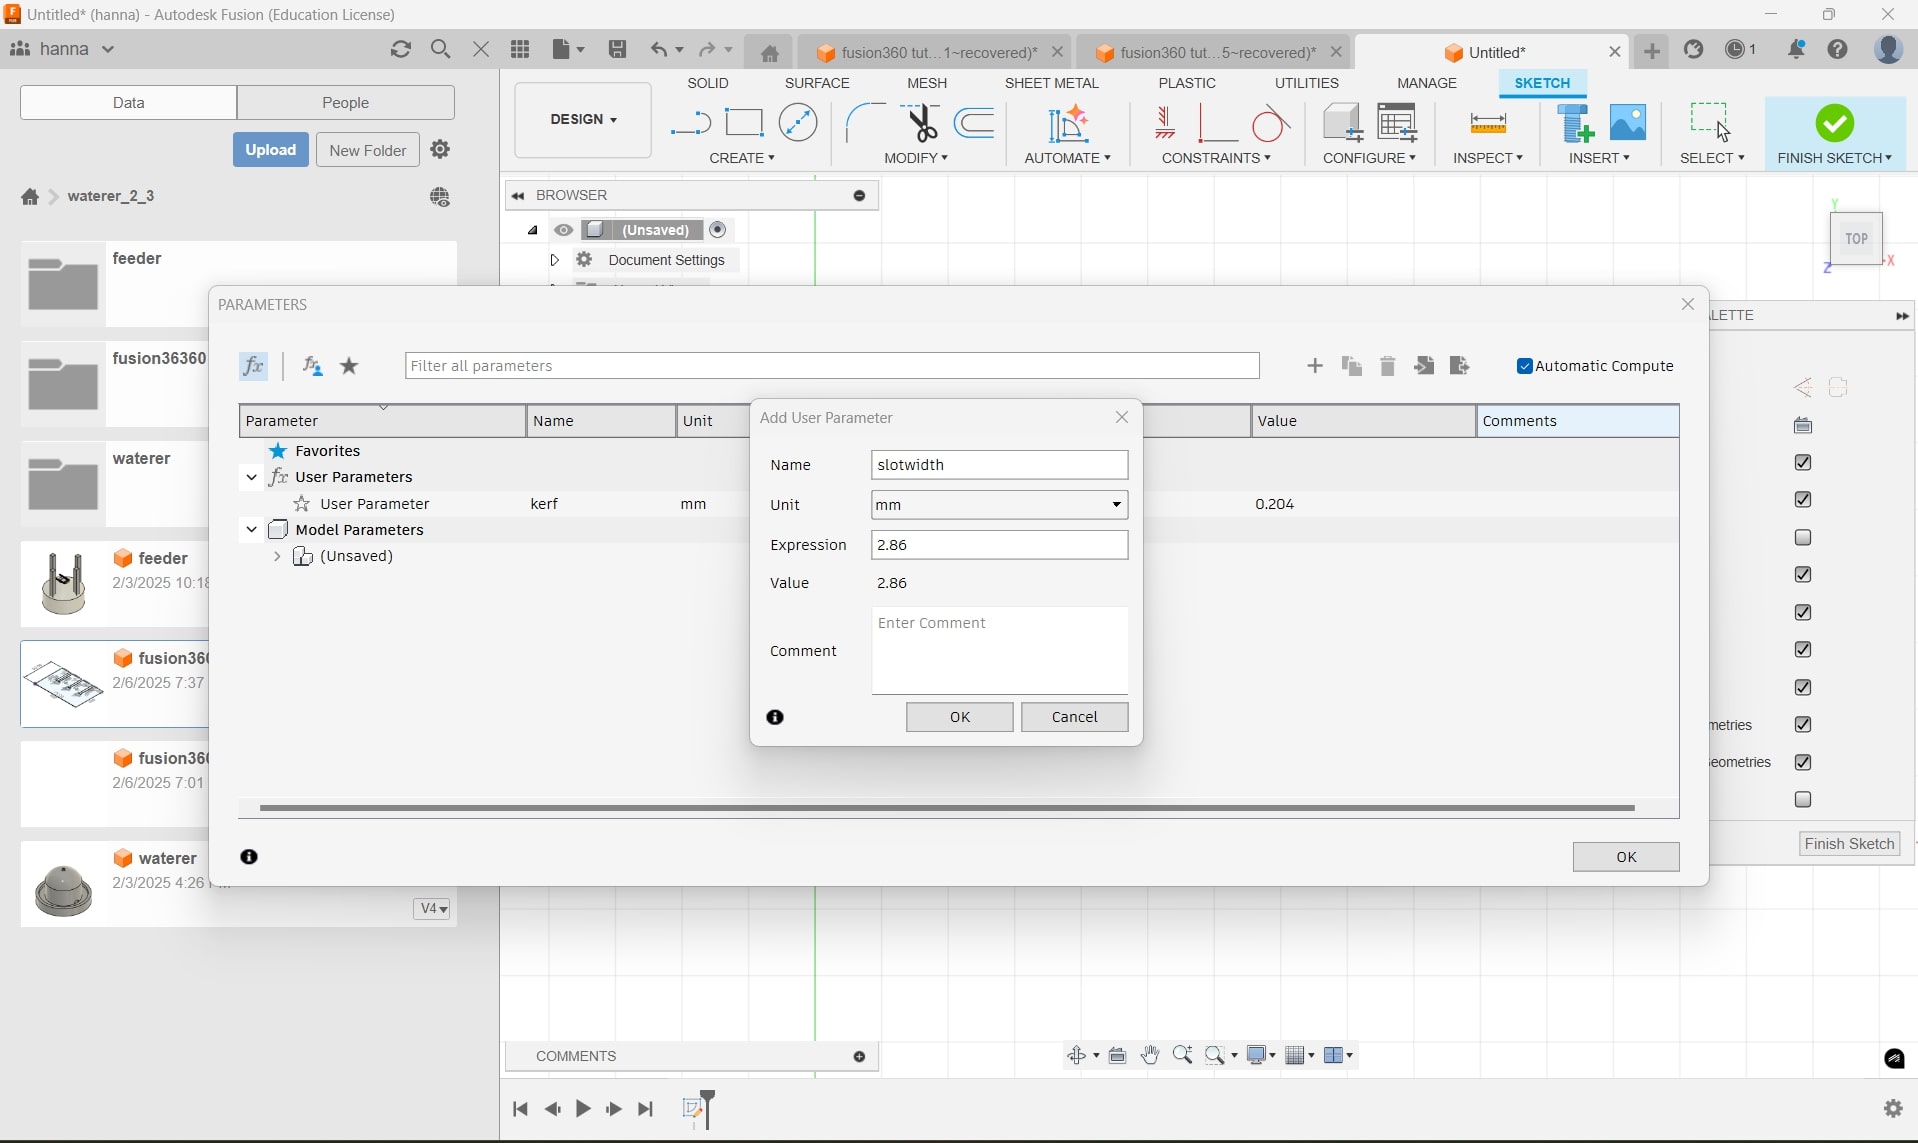
Kerf: 0.204 mm. My instructor told me (see below).
Joint clearance: Not specified
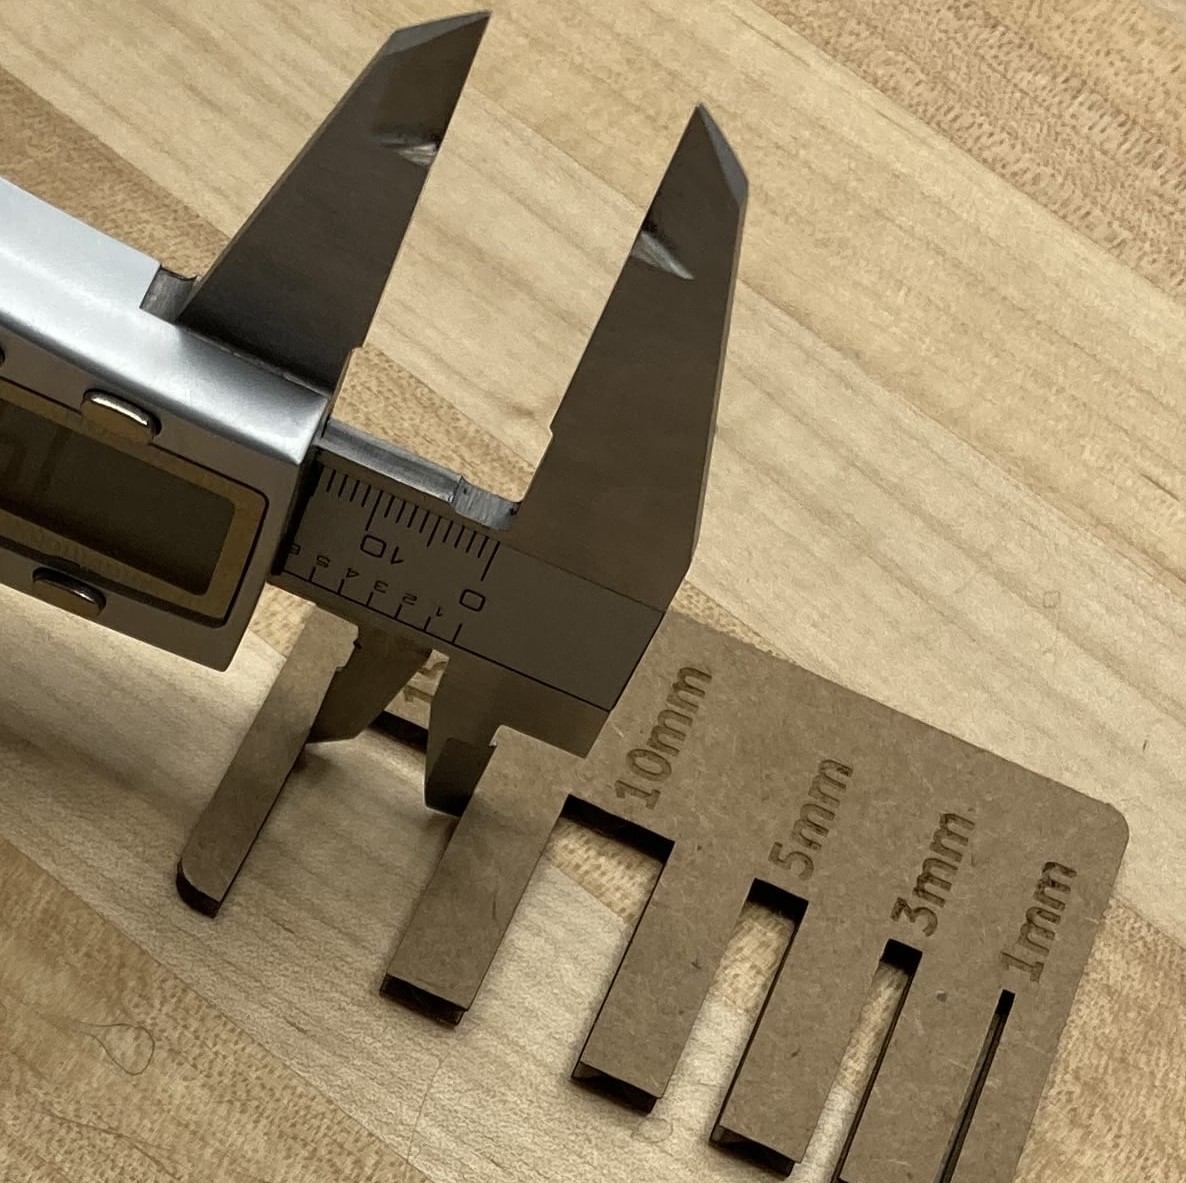
To begin, I gained an understanding of what "kerf" is. Kerf is the actual - expected width of a cutout for laser cutting. It is basically the "extra" that the machine cuts off. In order to account for kerf, we must subtract kerf from the original desired slot width to achieve pieces that fit snugly together. Below is a picture of me measuring the actual slot width to determine kerf:
As you can see, I tried to measure the kerf in the image below. The kerf I found was 0.212 mm, because the measurement was 15.212 mm, when the slot itself is supposed to be 15 mm. This tells us kerf, because that extra bit was what the machine itself cut off.
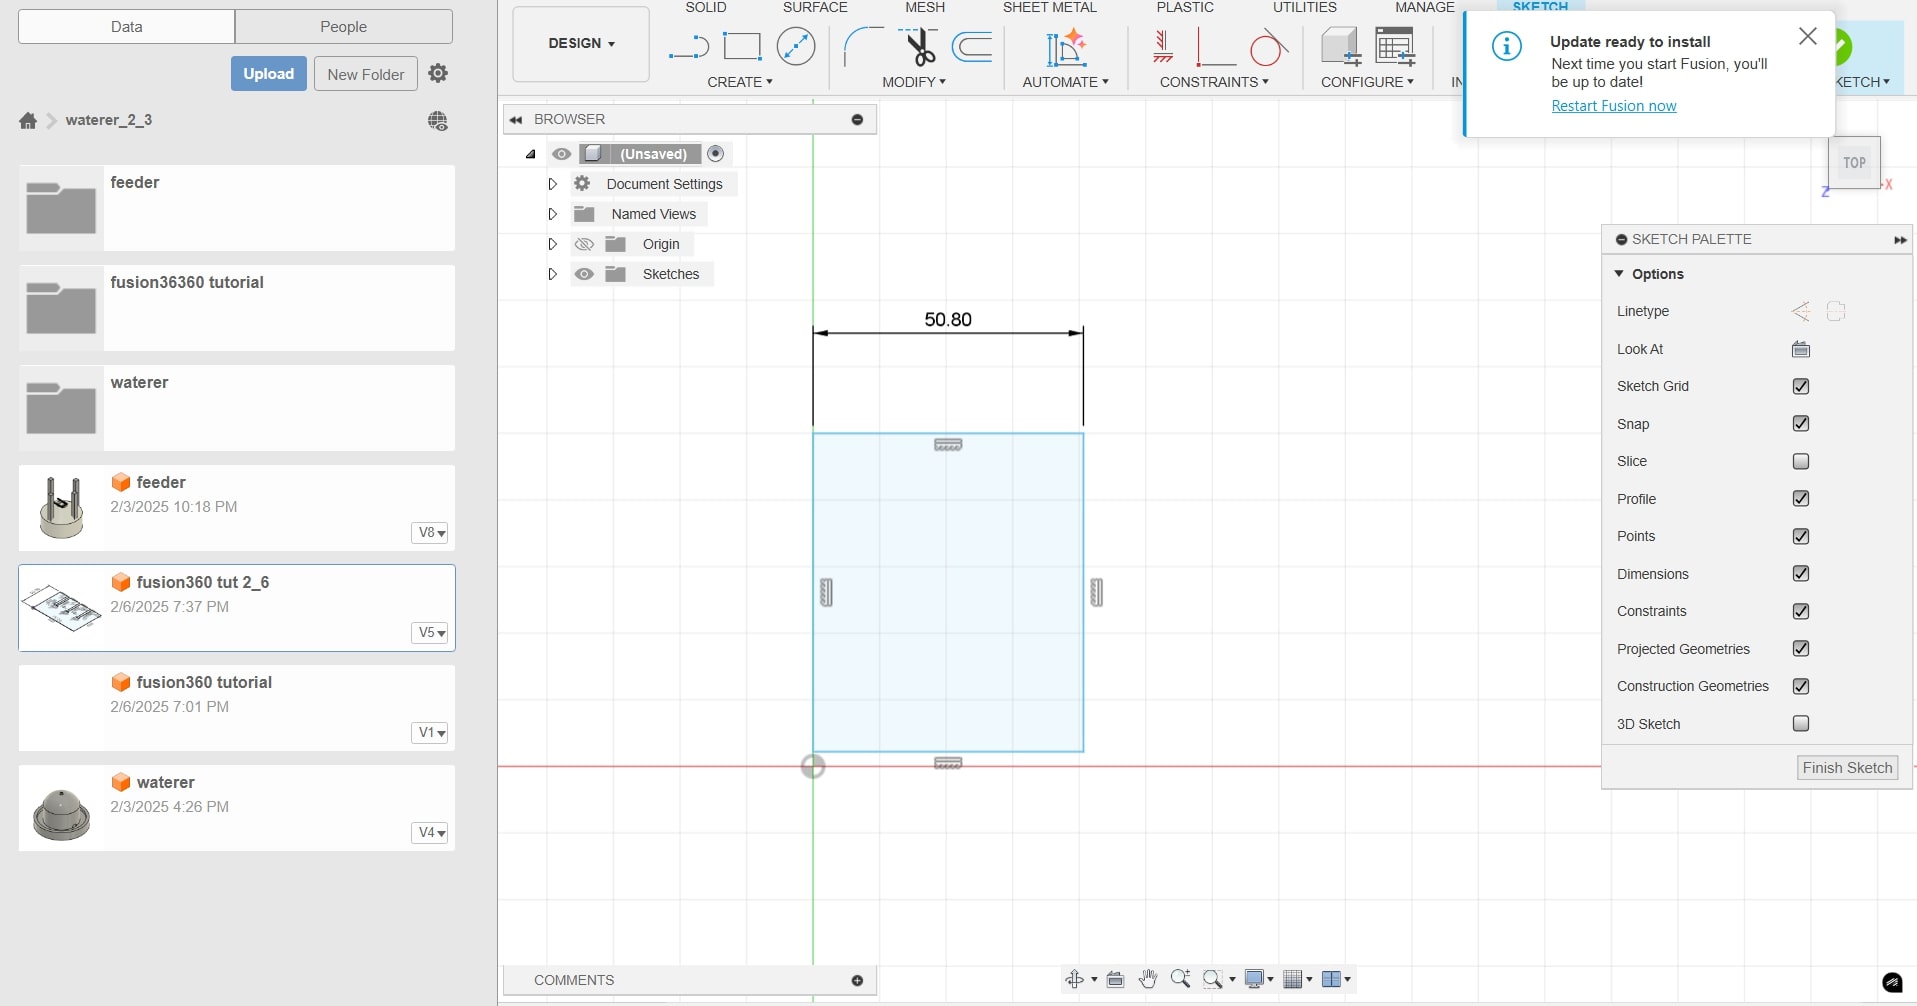
I began sketching my design in fusion 360. I started off with a 2" square.
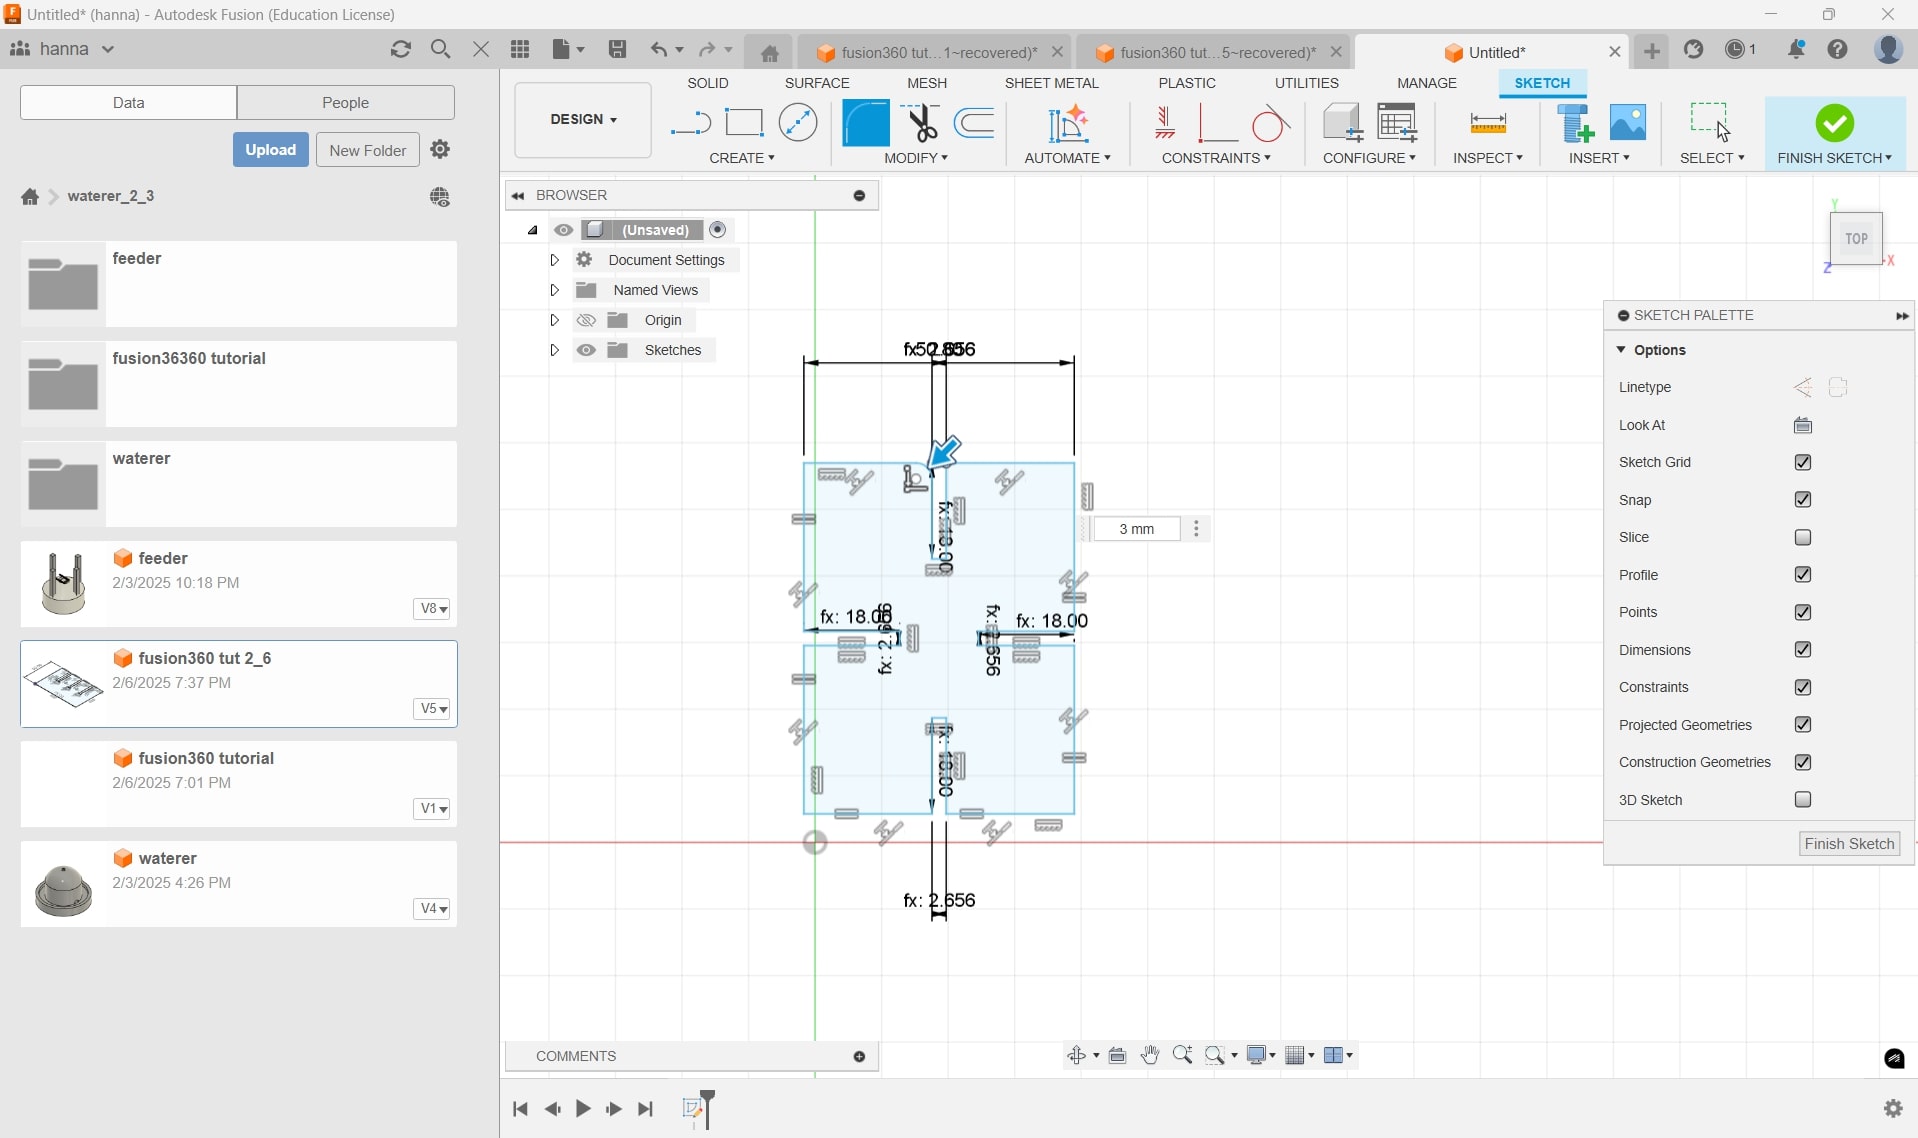
I began making my parameters, with the slot width being the thickness of the cardboard (2.86 mm), and the kerf being that which I measured above. To add/change parameters, go to Design > Modify > Change Parameters.
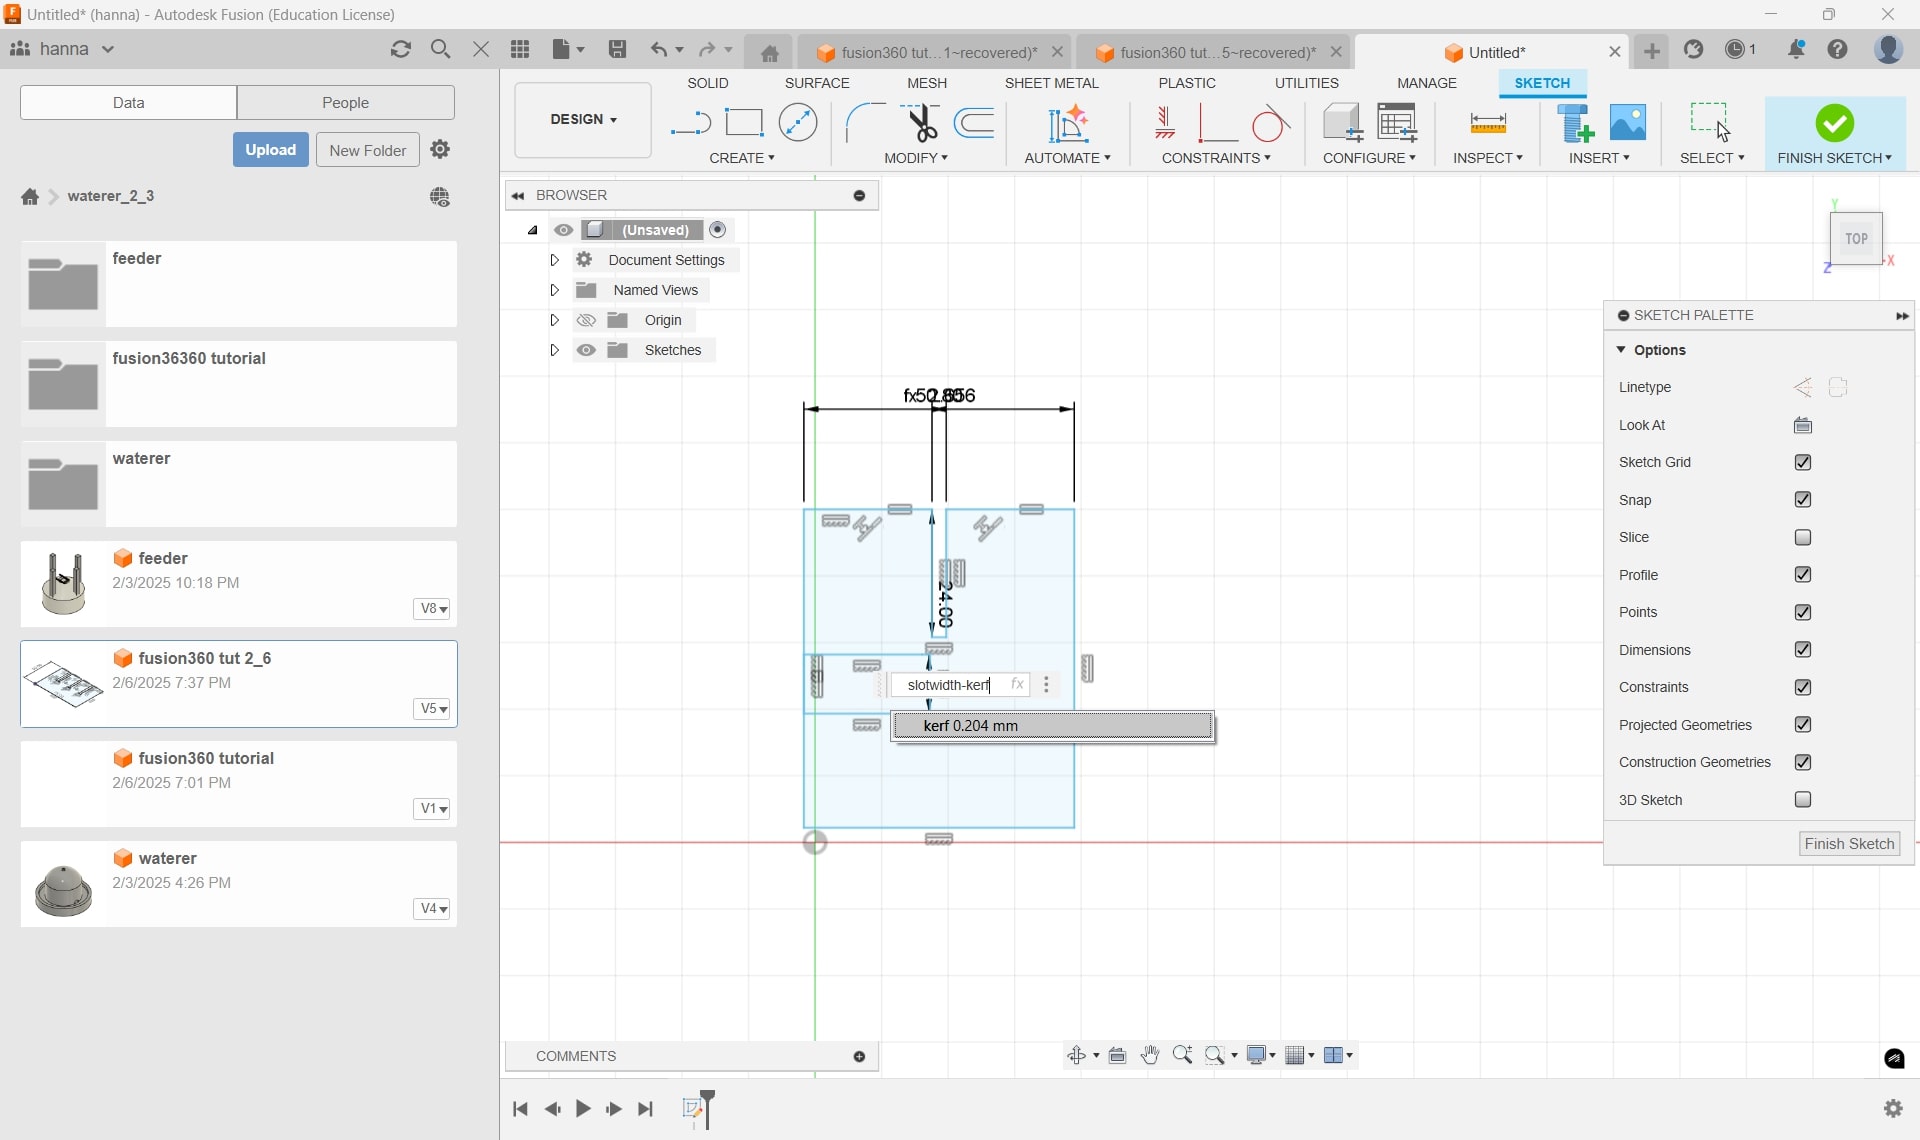
To make each slot, I would create a rectangle where the width of the slot is slotwidth - kerf and the height of the slot is the parameter 'height', which is 18mm. This keeps the slots consistent and allows me to change the width and height of all 4 slots if I just change the parameter.
Make sure to trim the edge of the slot. Also, to make the sides between the slots equal, click Constraints > Equal and click each side.
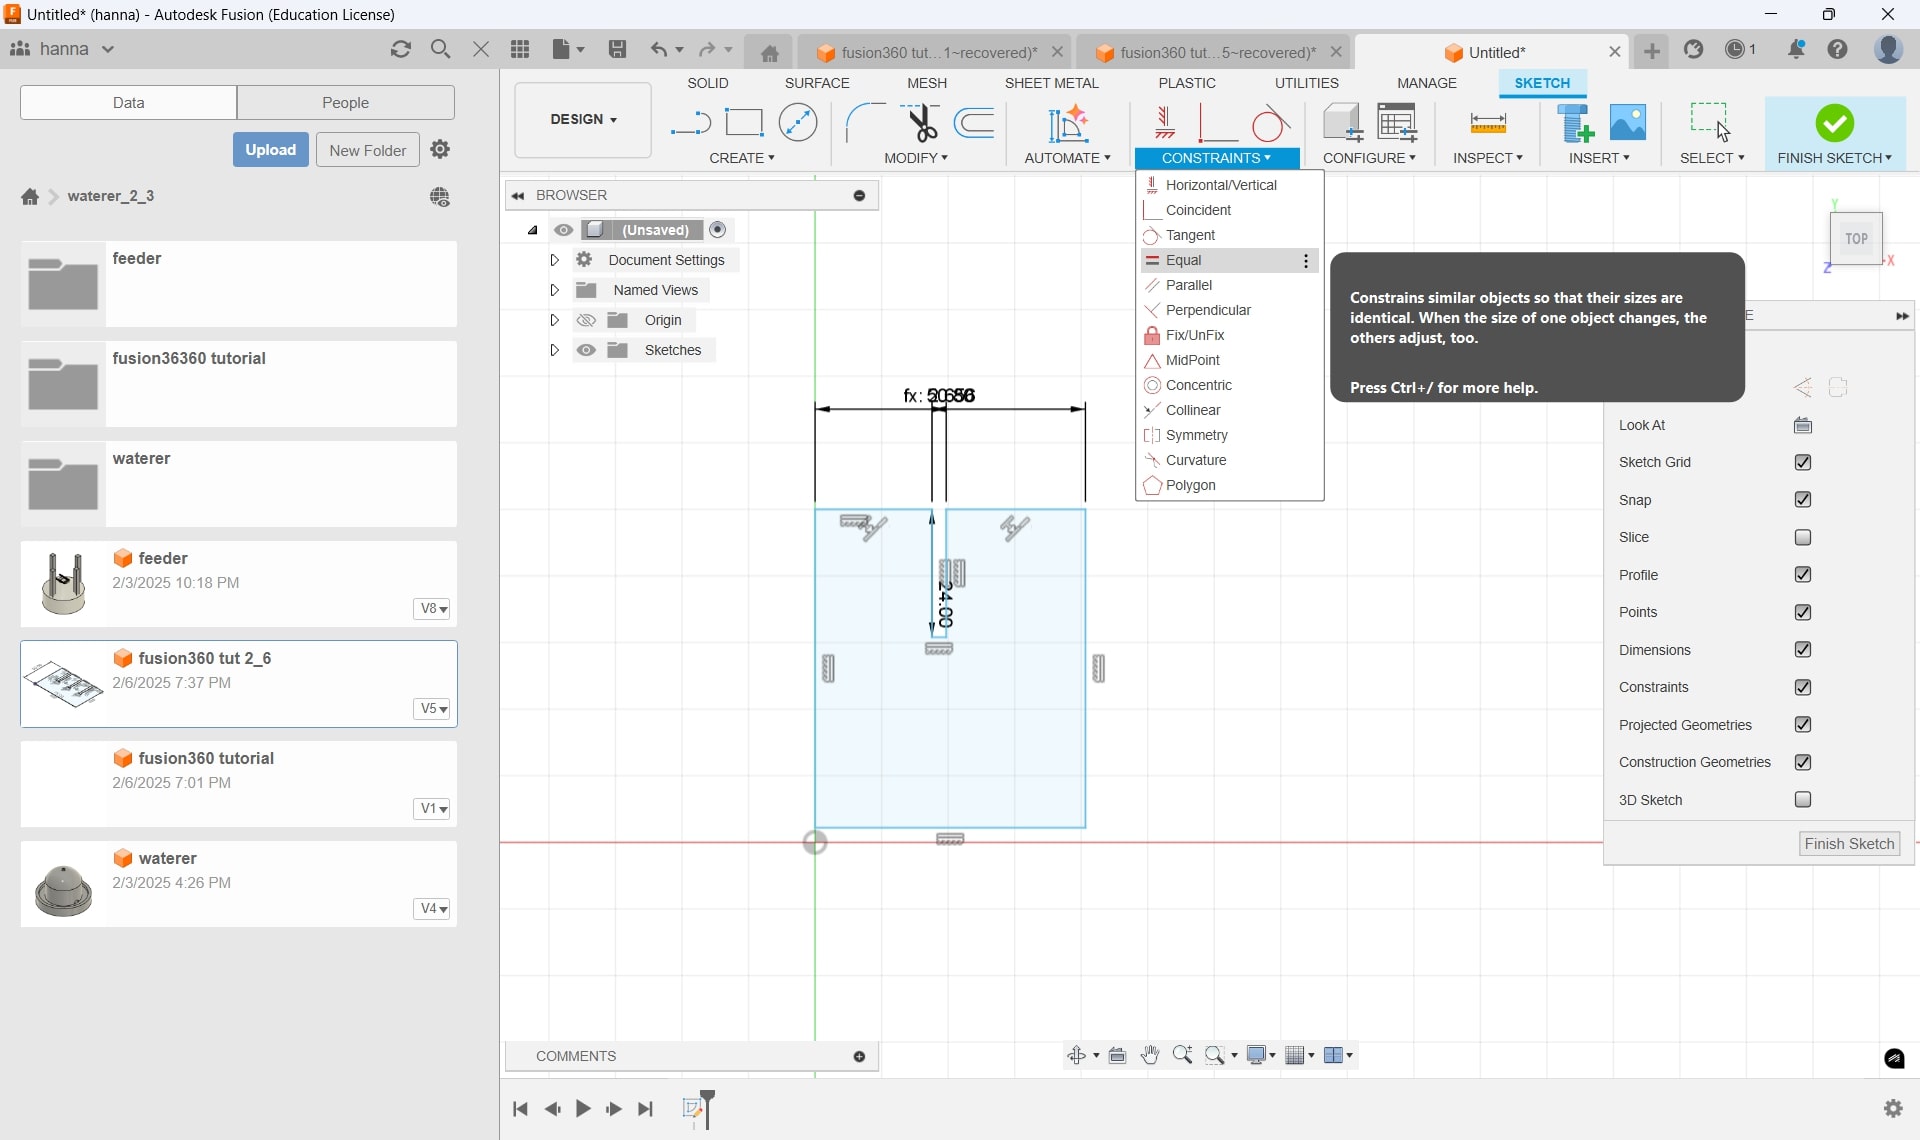
The design with all 4 slots completed. I have also used the fillet tool in the Modify tab to make a 3 mm fillet on either side of the edge of each slot.
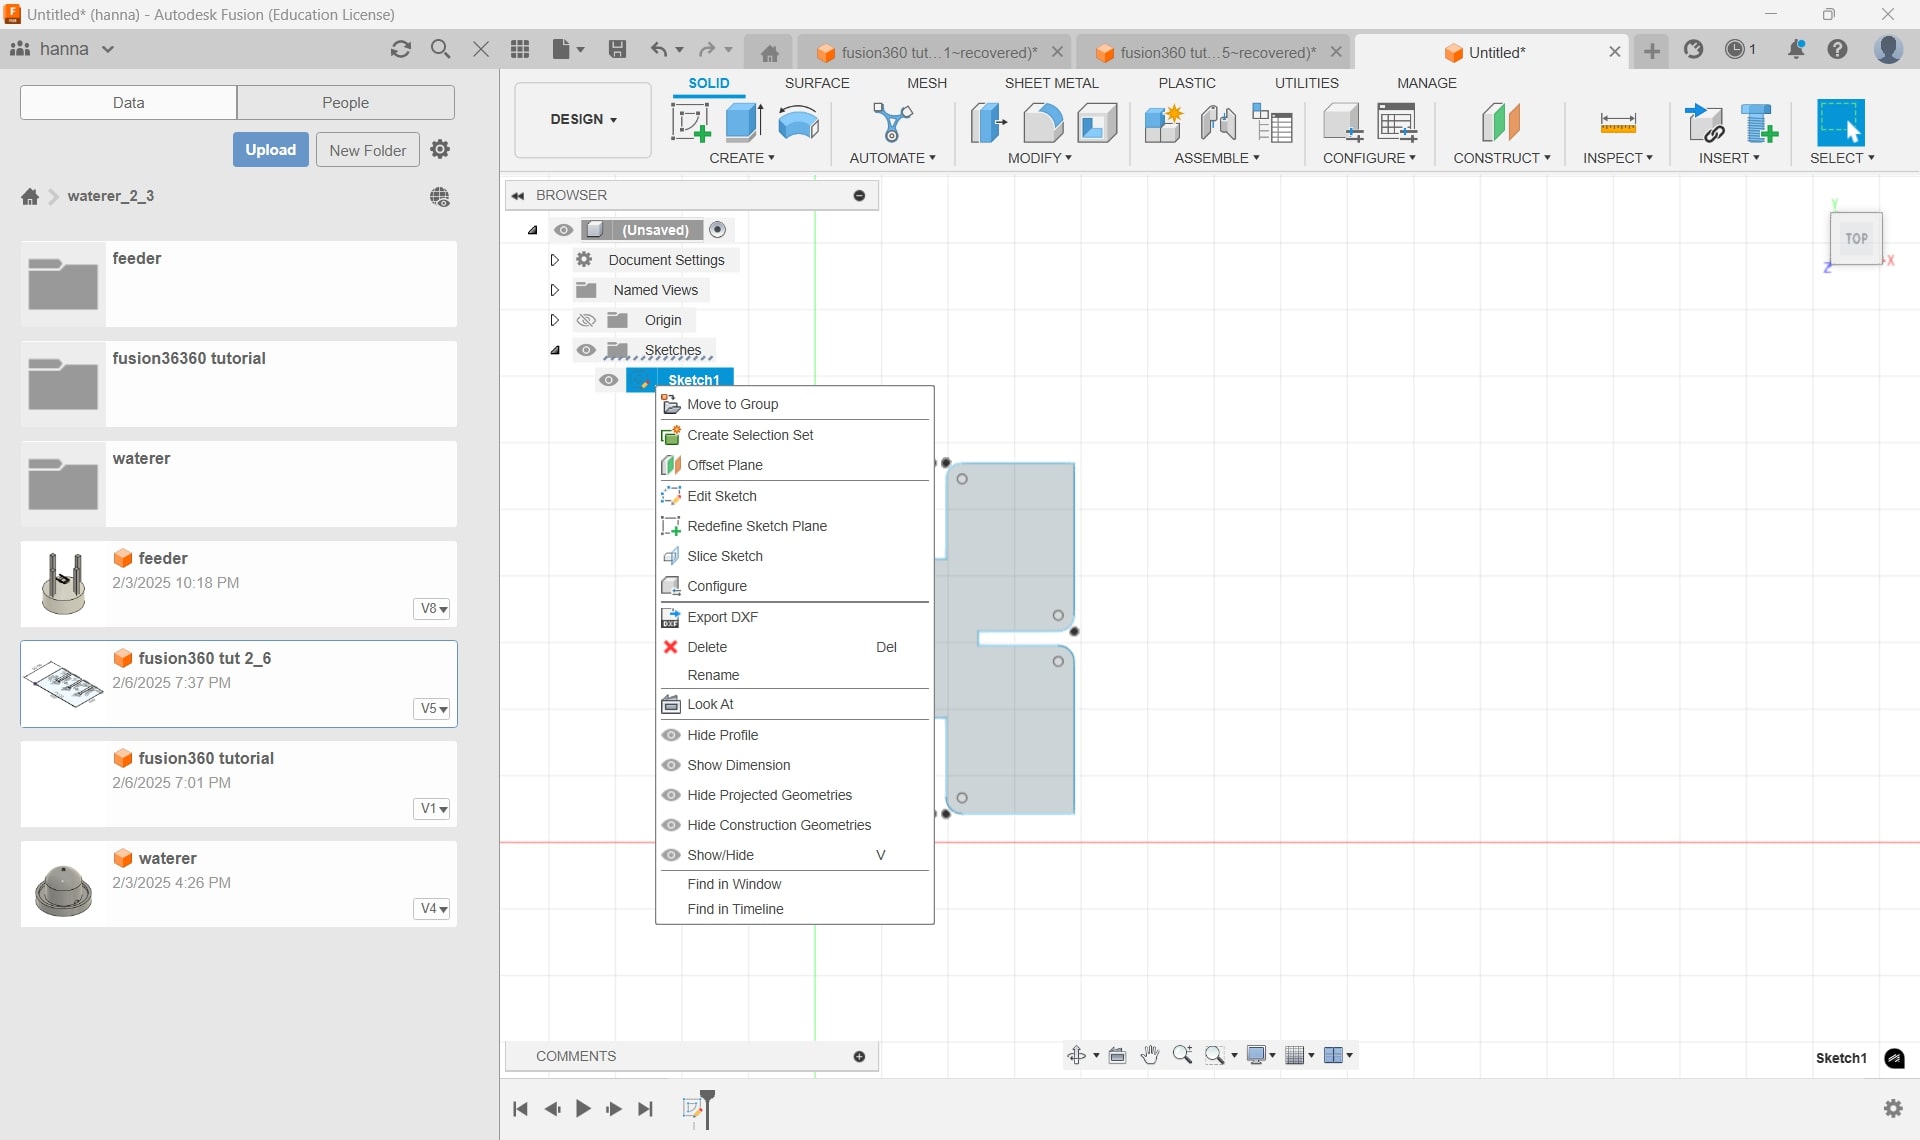
Once the sketch was finished, I right-clicked the sketch itself, and I clicked 'Export DXF'. I'll then open this dxf file in Adobe Illustrator.
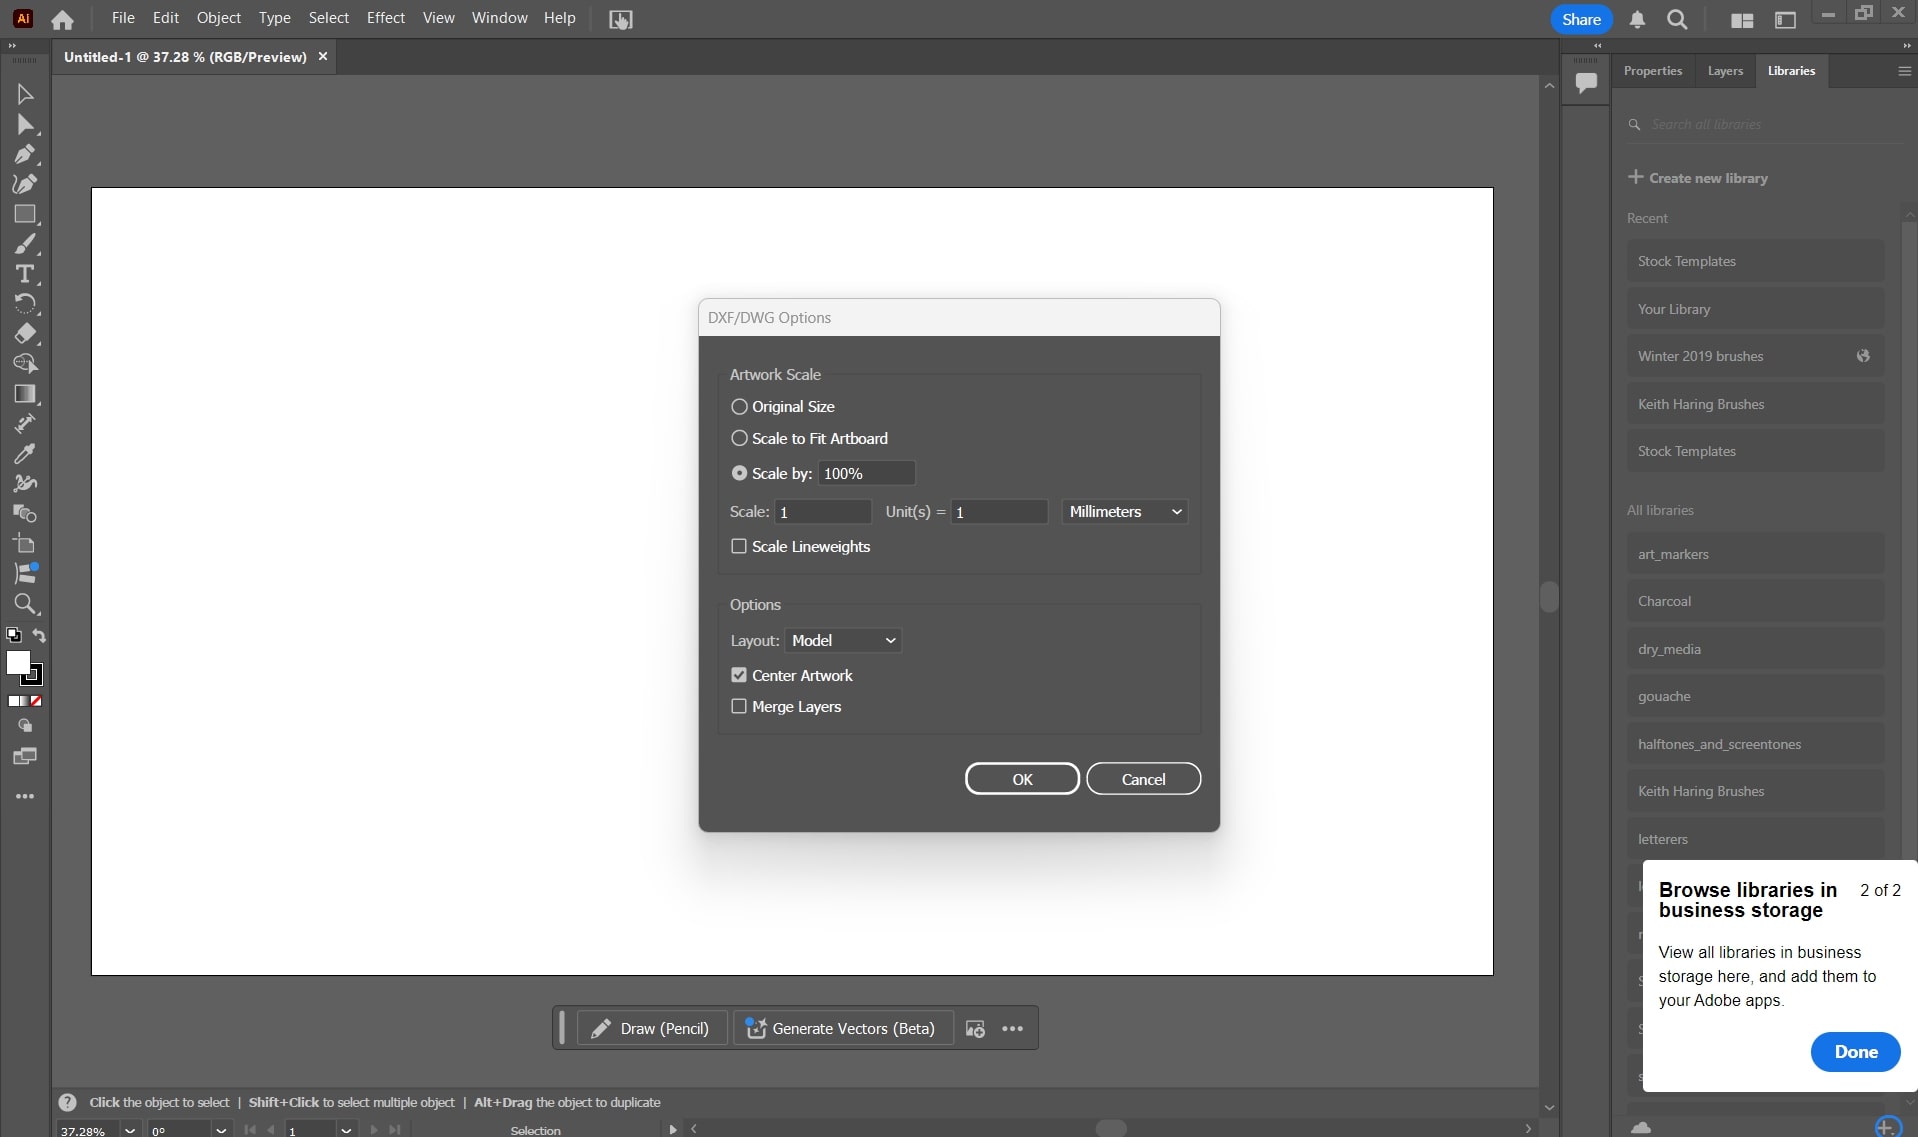
In Illustrator, click File > Open, then click the dxf file. When prompted, use the settings pictured (use mm or inches depending on what you used in Fusion).
The design will appear. Change the cutting path to 0.01 mm, then copy and paste more pieces in the top-left corner.
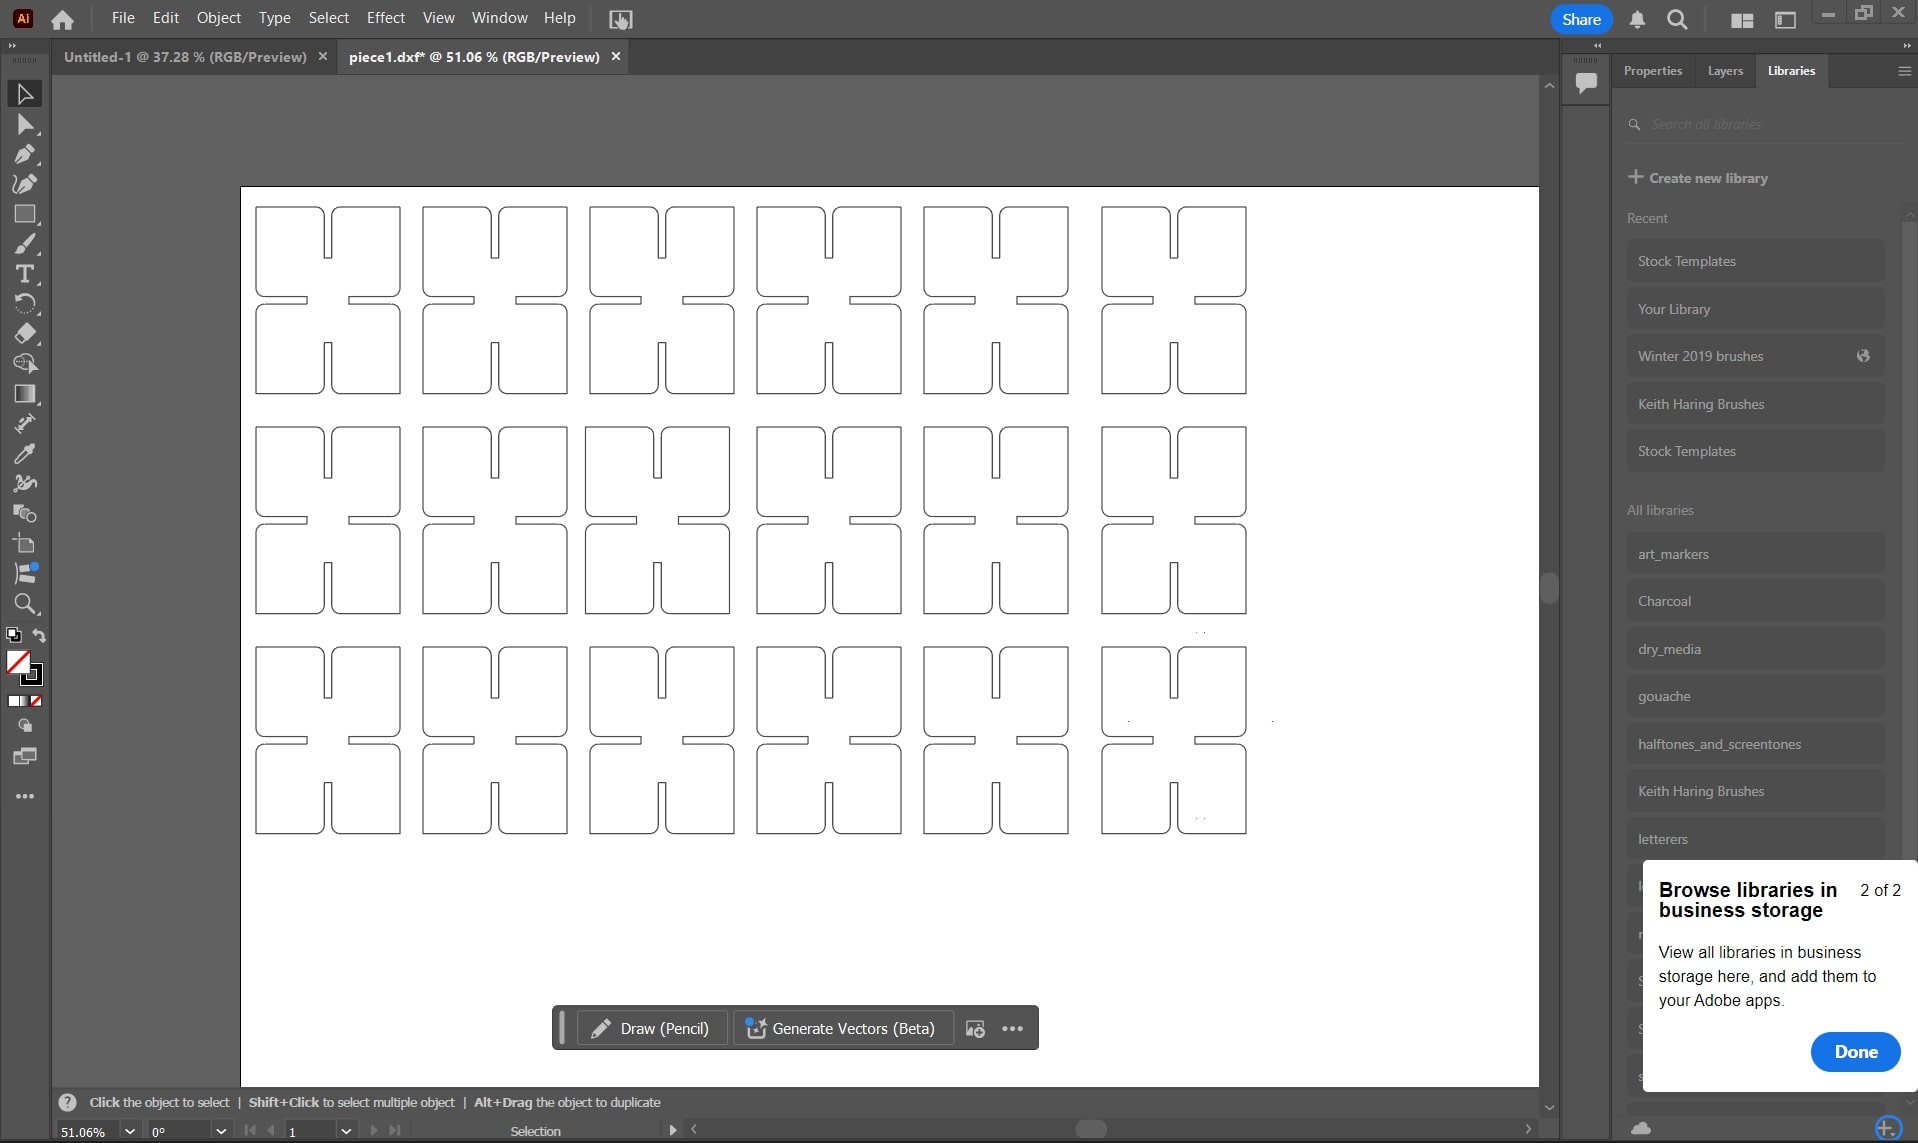
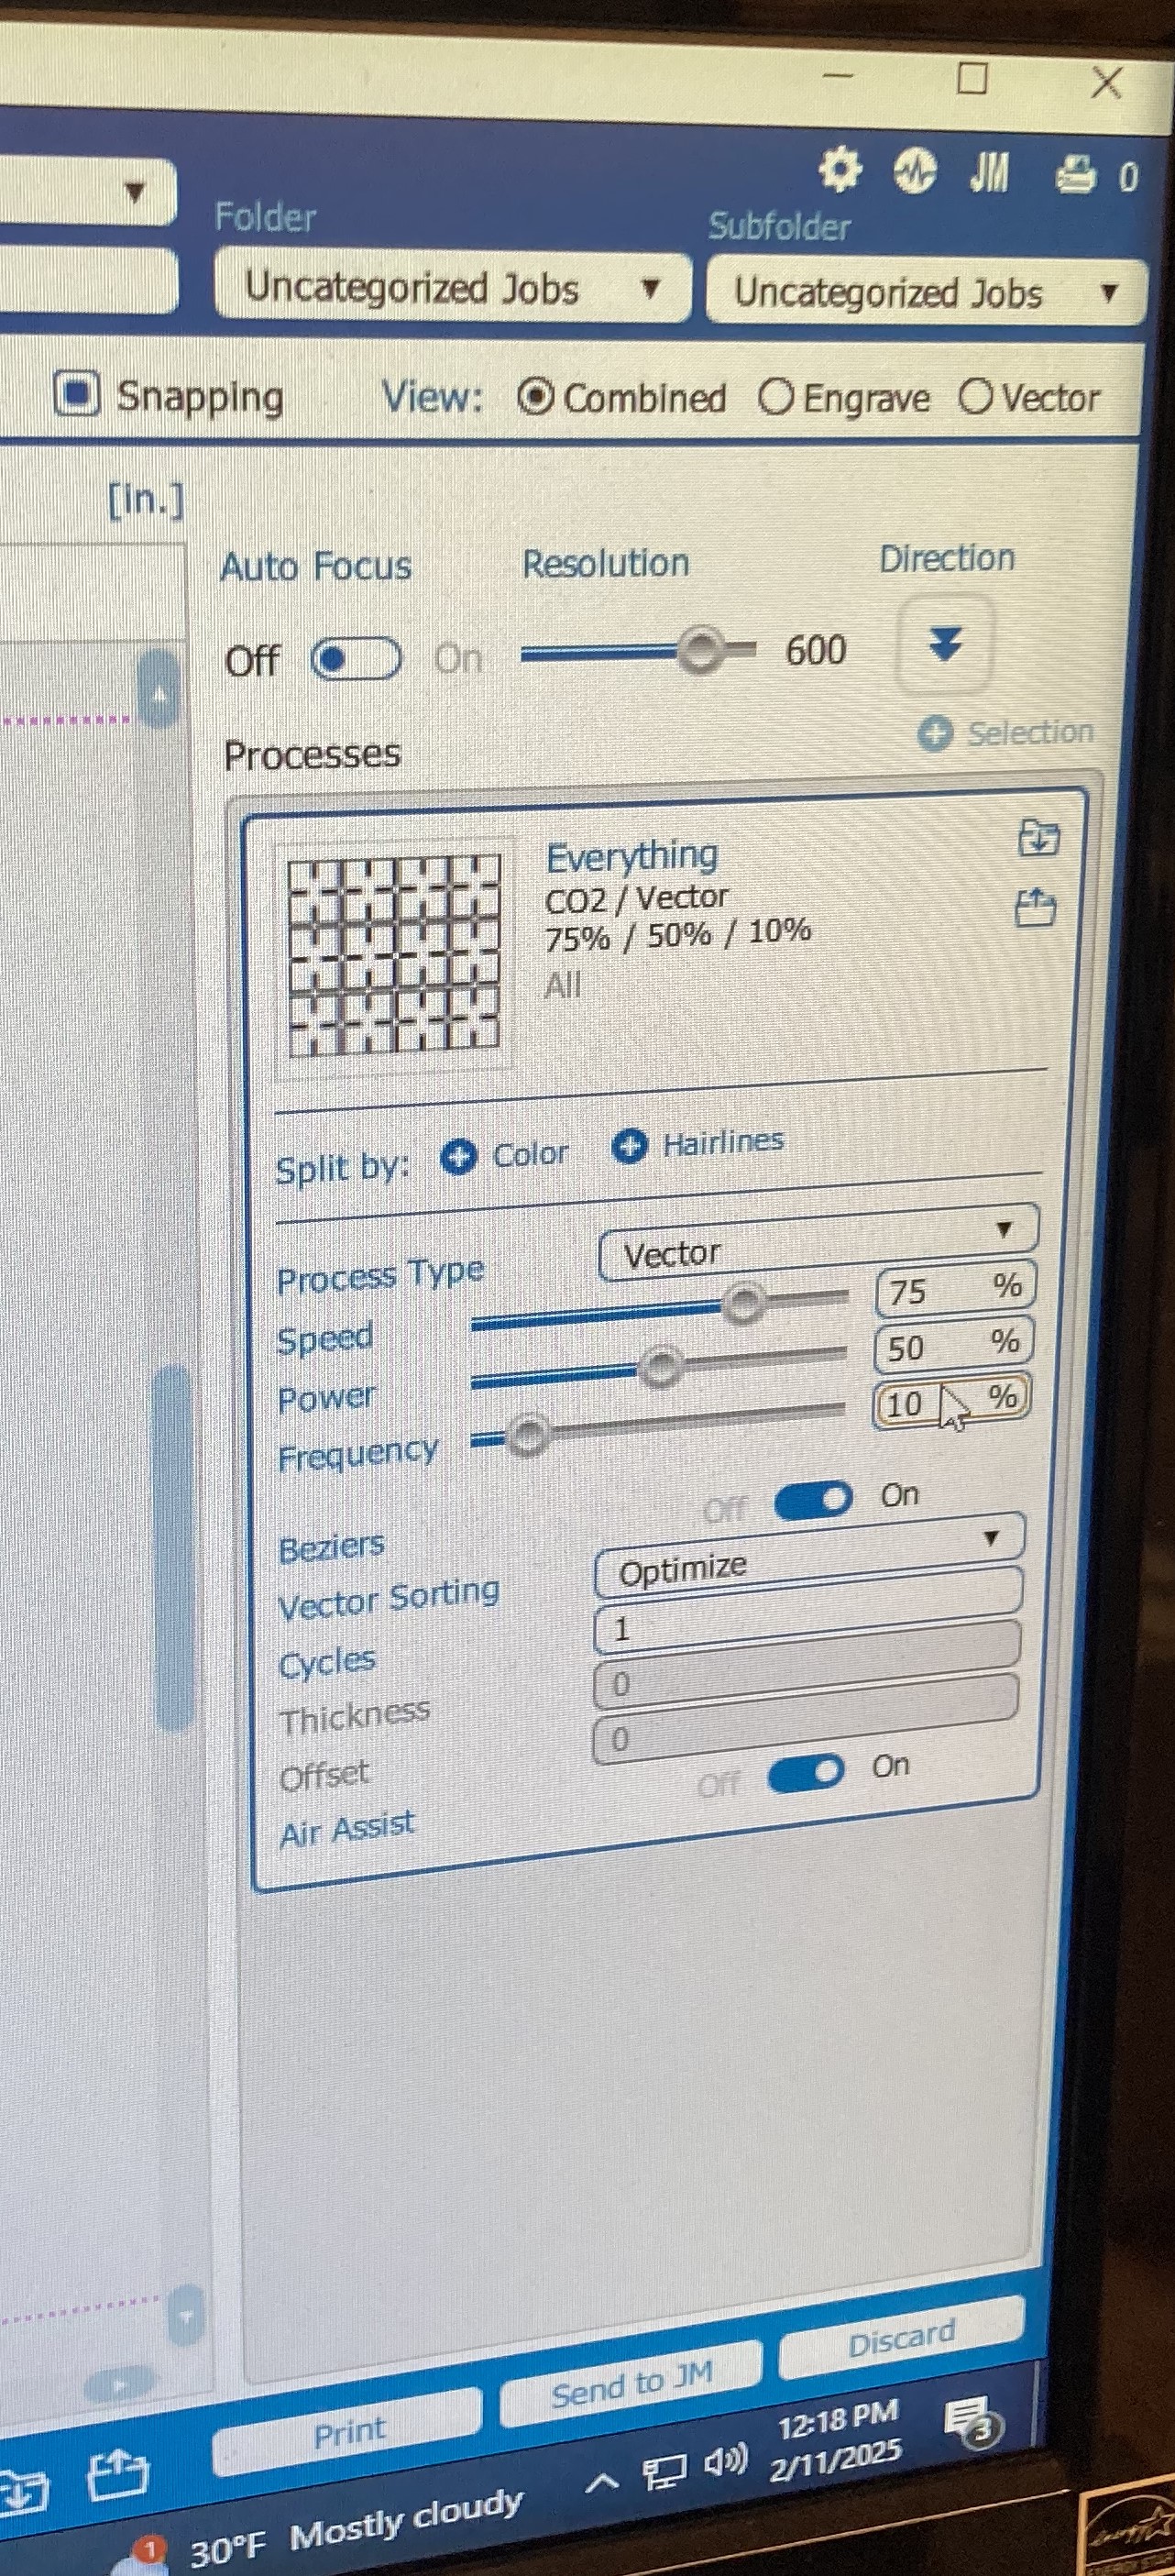
Print the illustrator file to the epilog dashboard. Make sure your design is in the top-left hand corner.
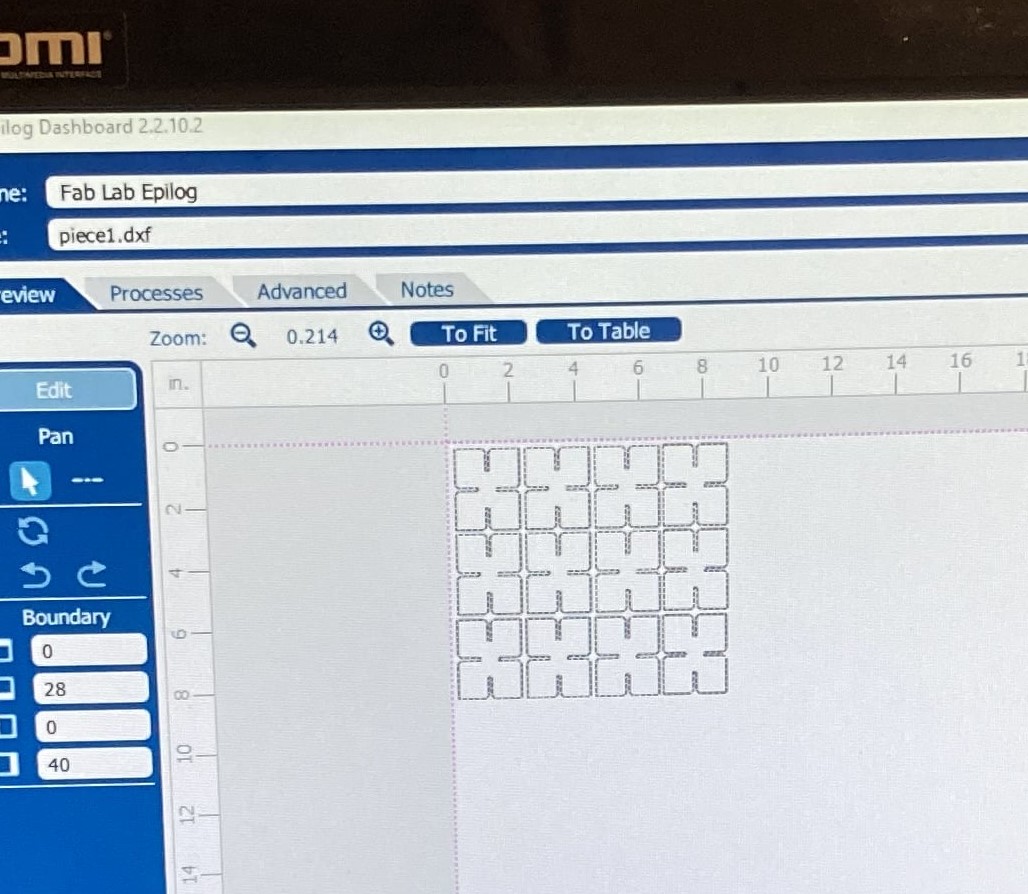
Use the following settings in epilog for cutting cardboard.

Turn on the laser cutter and the smoke vent. Focus the laser using the bolt attachment, then use the jog key to conserve material.
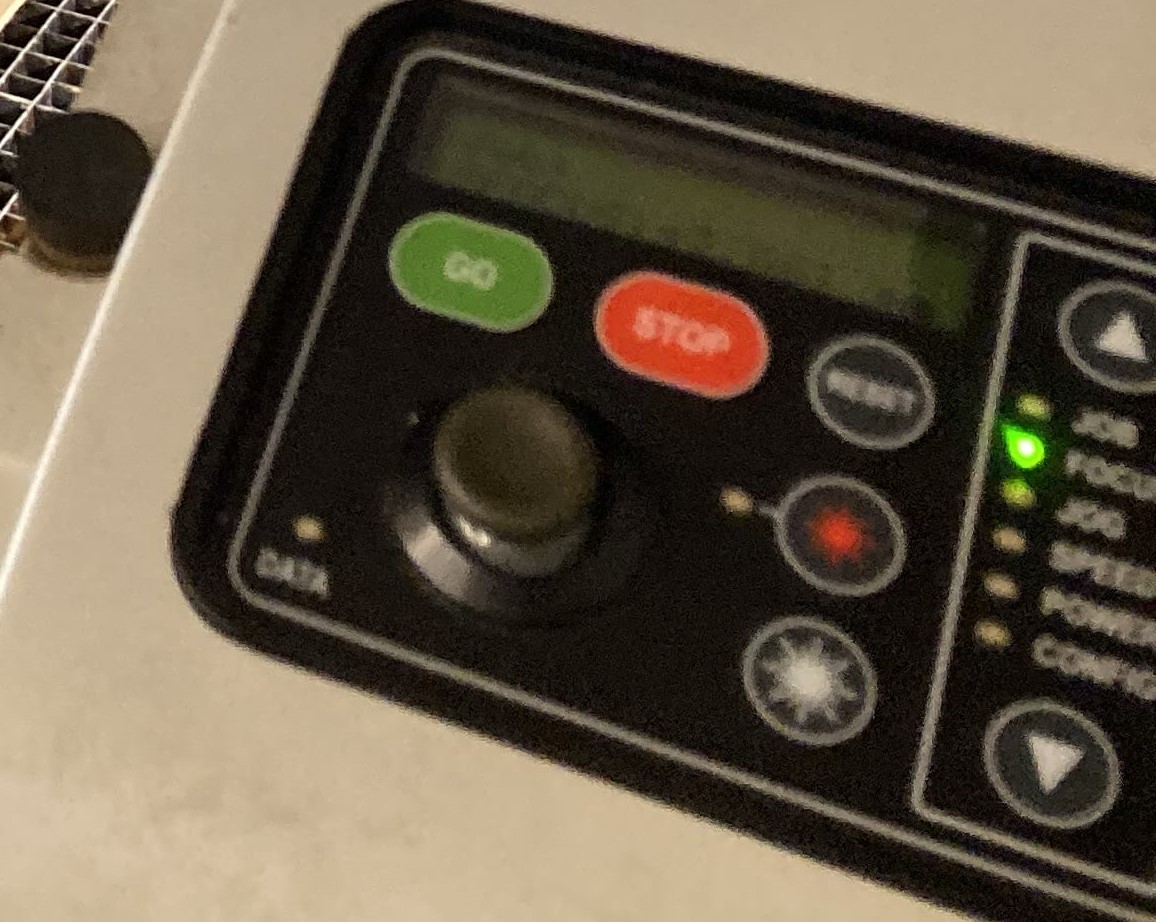
Click 'print' in the epilog dashboard. The job should get sent to the cutter, where you can start the job by pressing the green button. After the job has finished, turn off the vent and cutter.
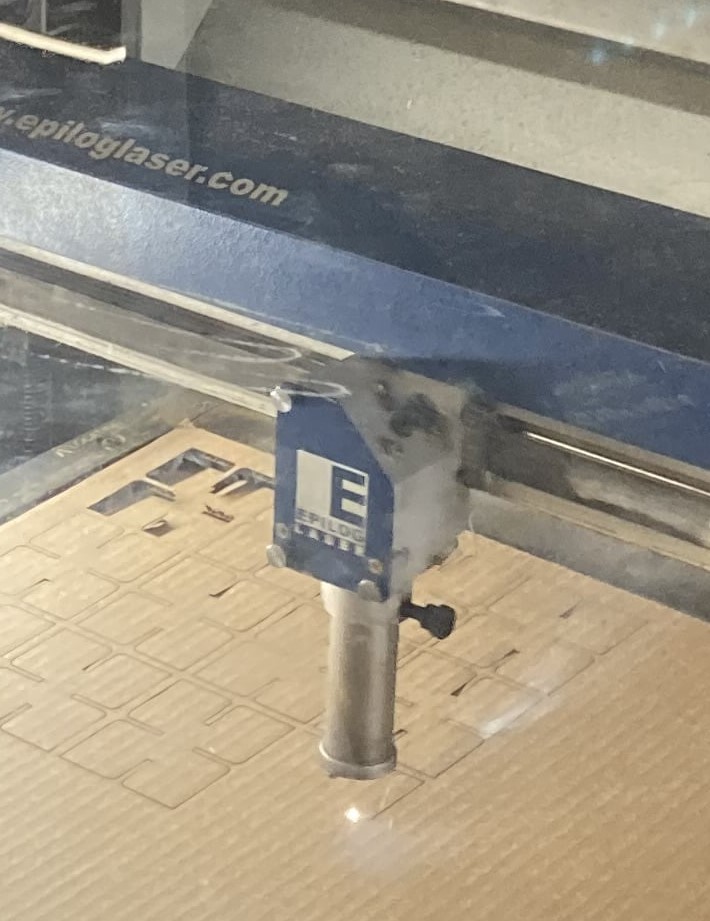
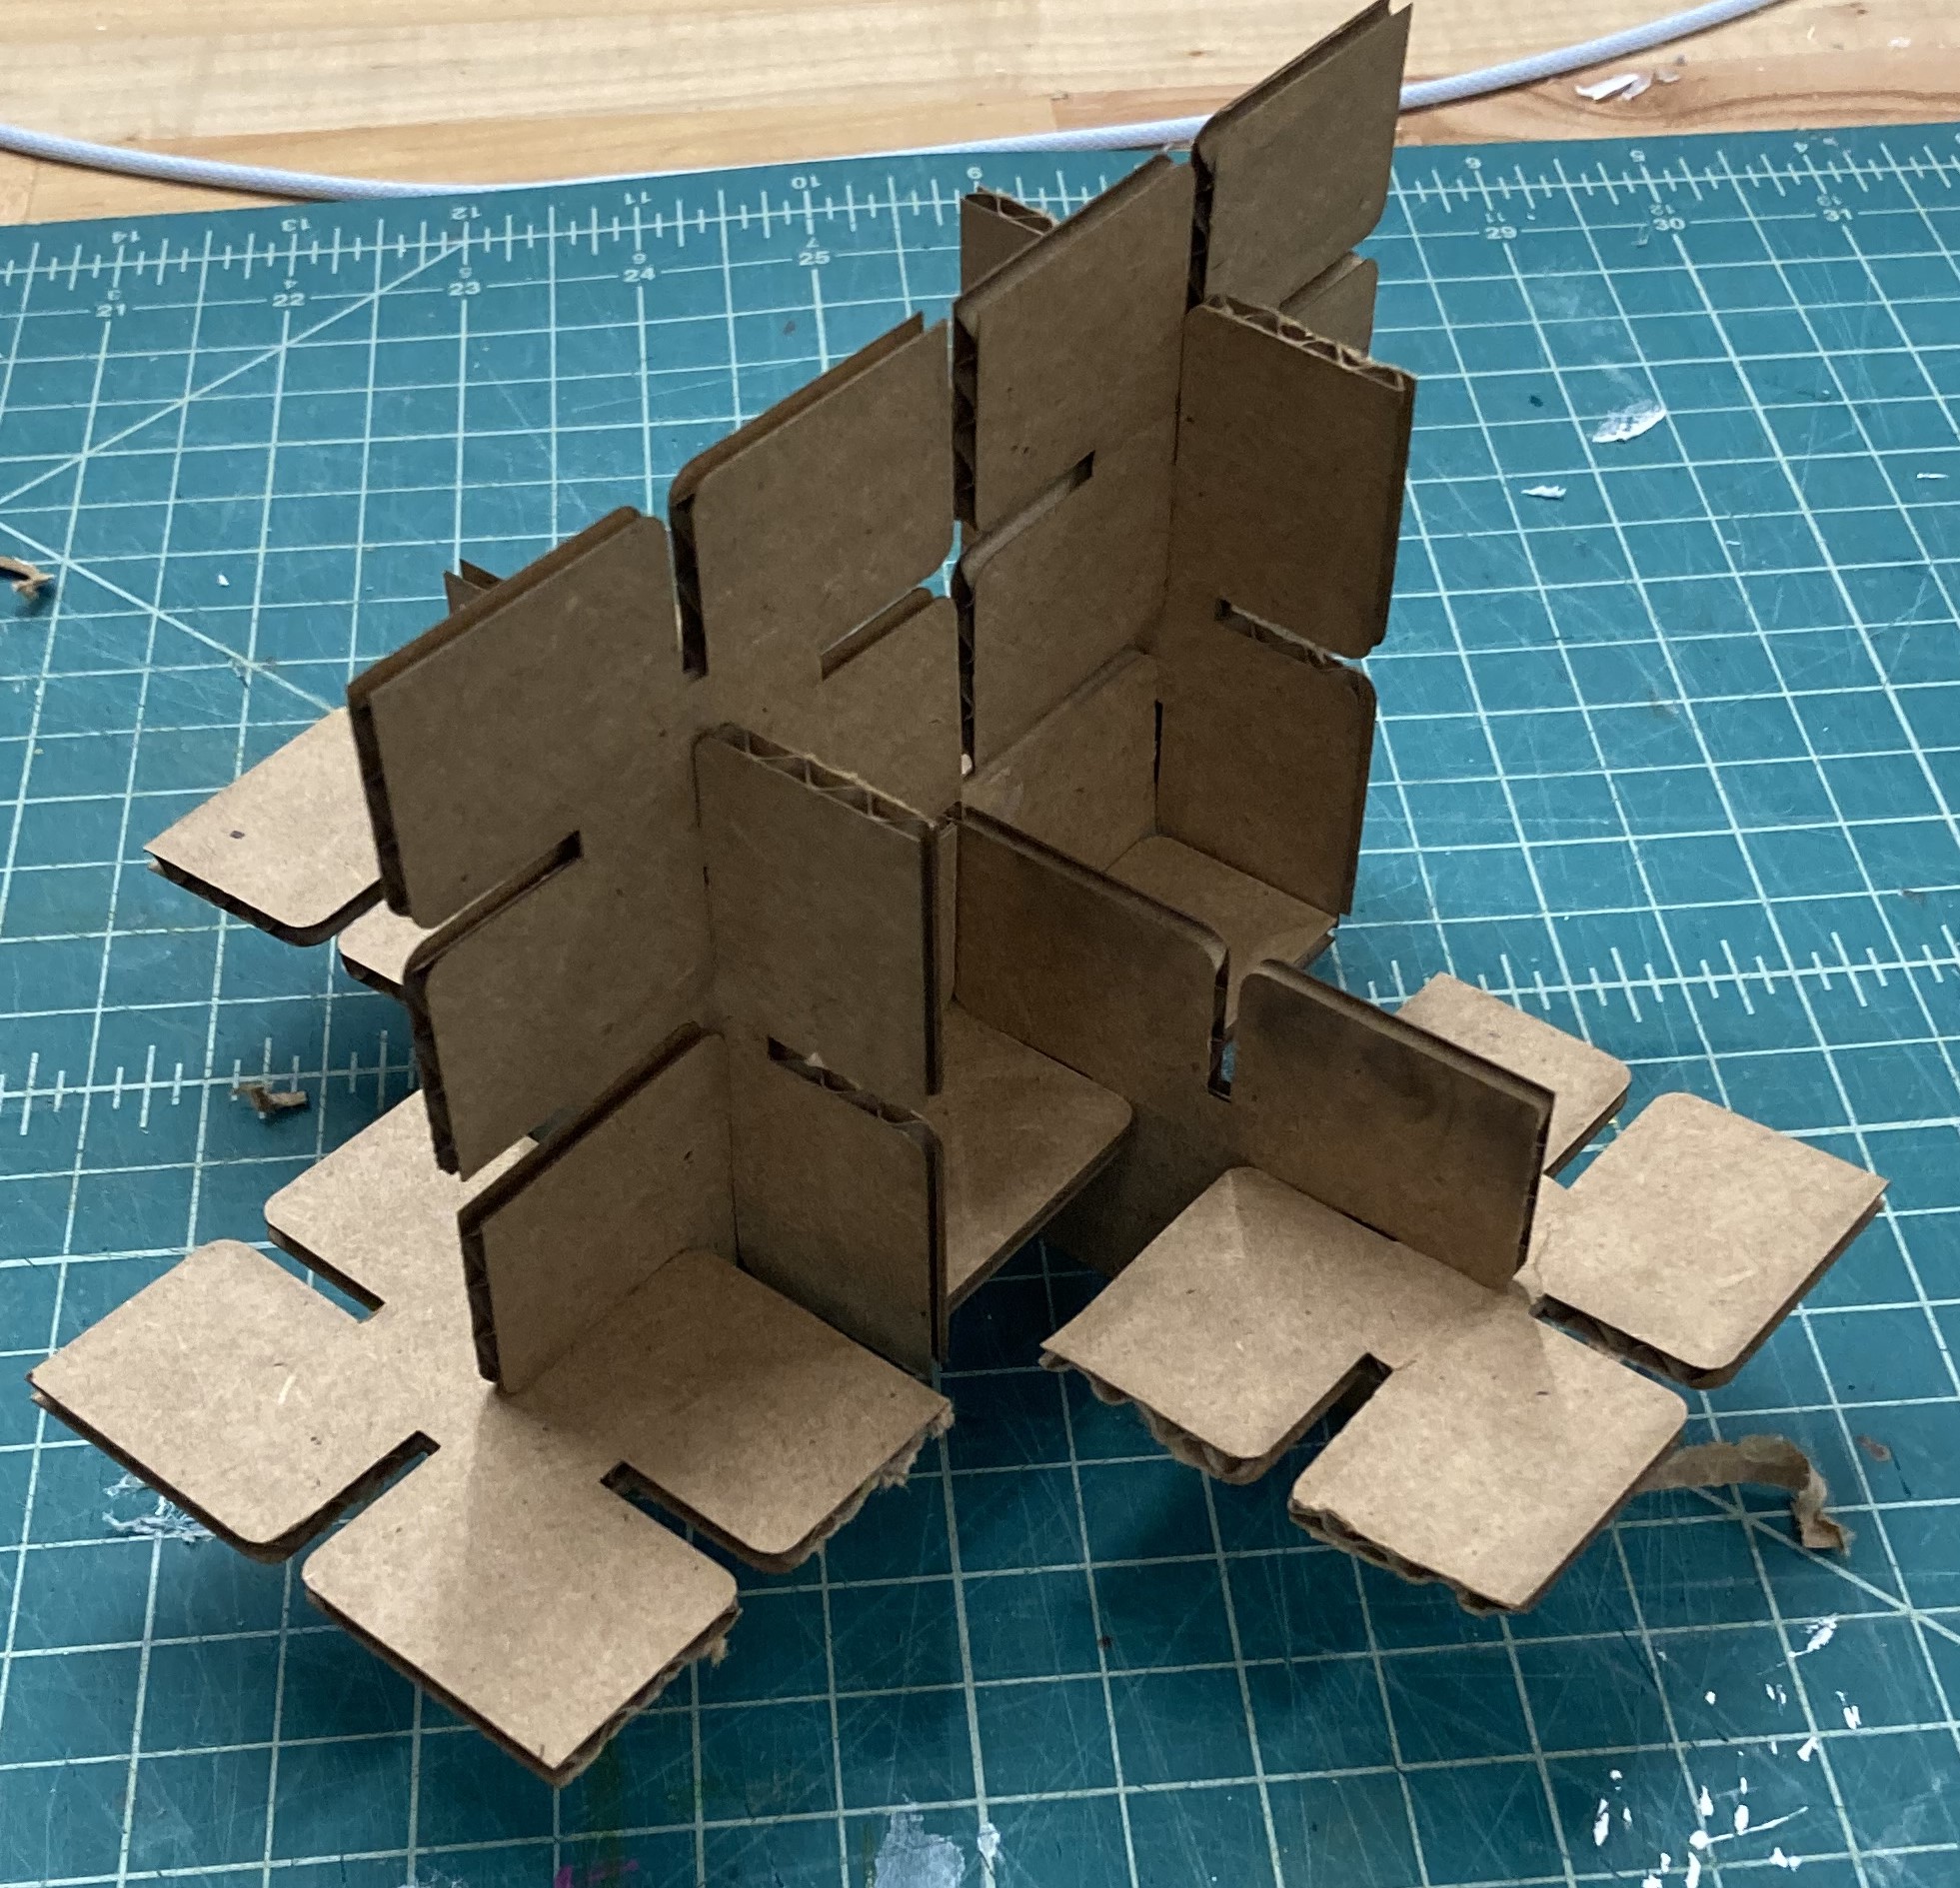
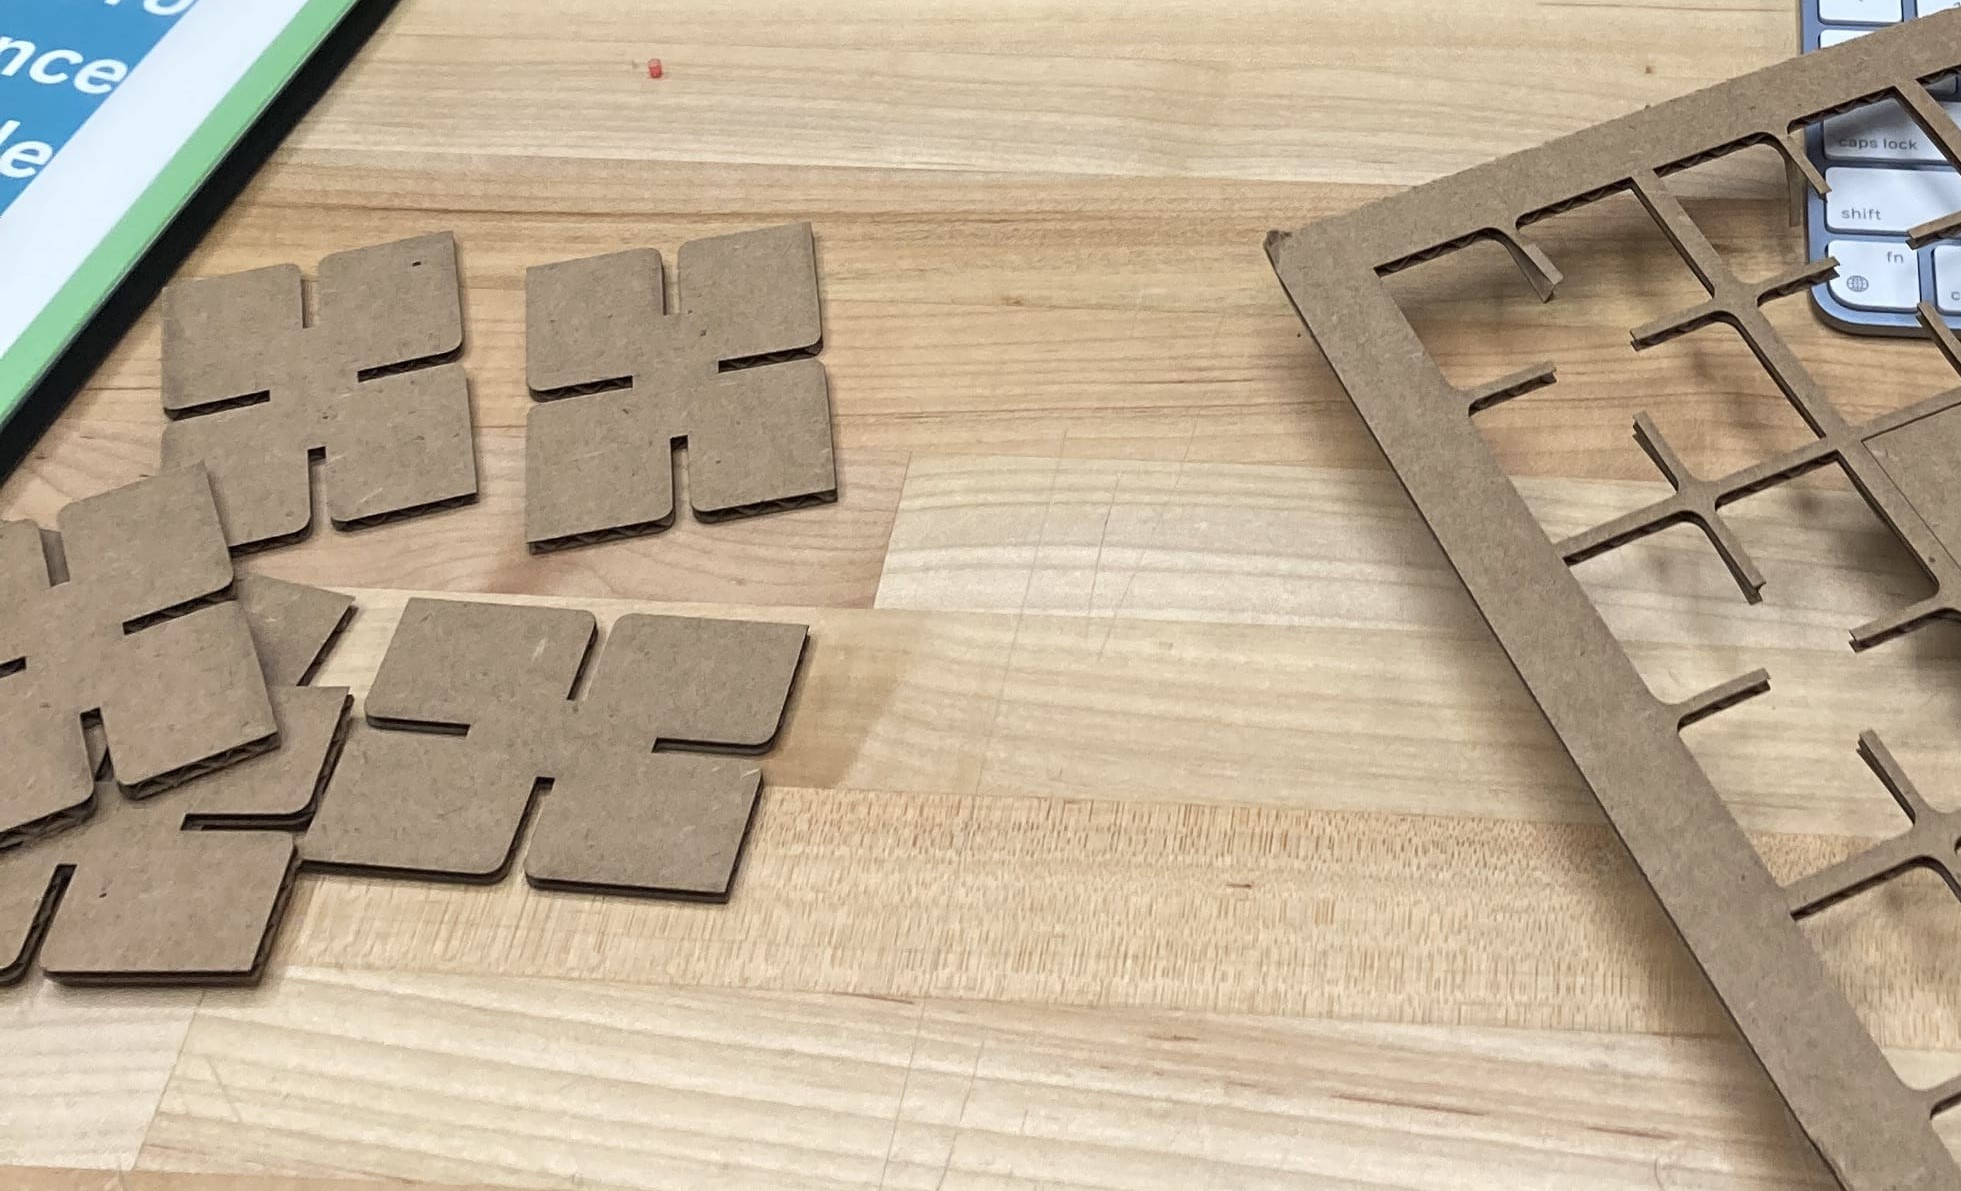
Punching out the pieces and assembling the puzzle:
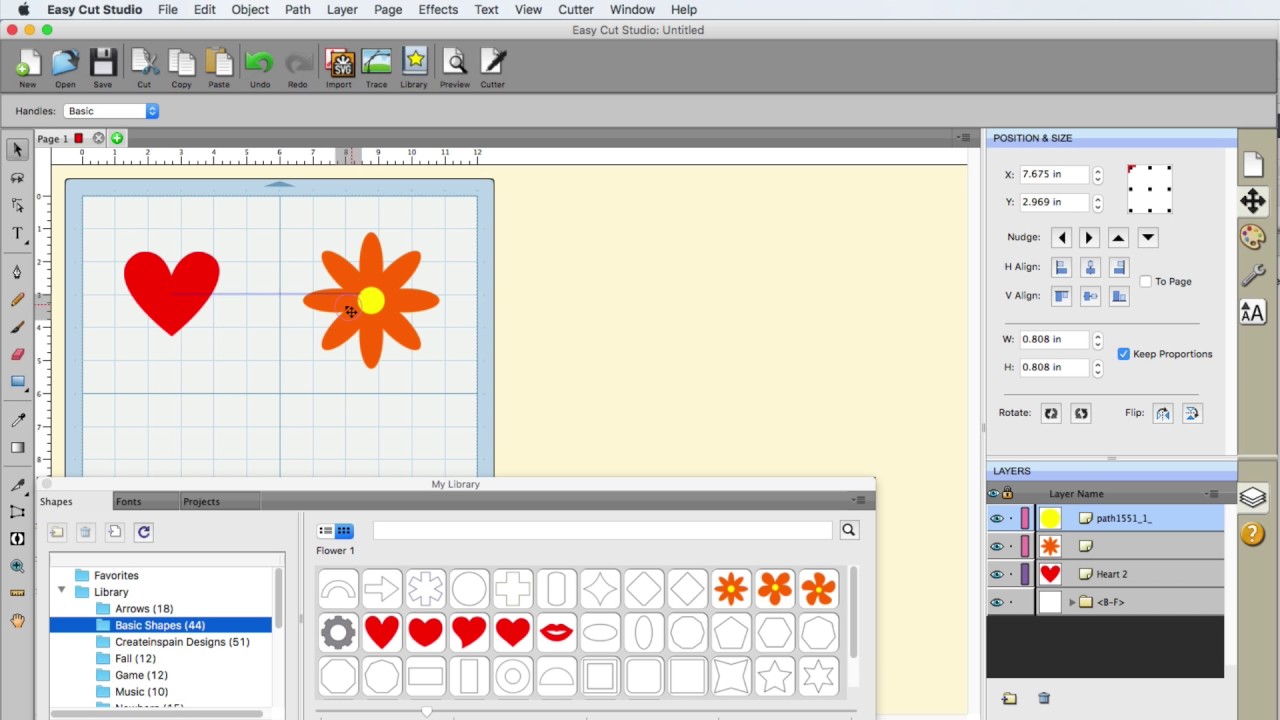
For vinyl cutting at Wheaton, we use easy cut studio. Image source. I imported a corn shape from their basic shapes library. Because the corn design was symmetrical and was not going to be put on fabric, it was not necessary to flip the design.
The corn sticker design prior to weeding. Weeding is when the excess vinyl is pulled away from the design.
The finished corn sticker design.
.jpg)