Week 13
This week, we dove into the world of molding and casting, a hands-on process used to replicate physical objects or transform digital designs into tangible forms using flexible molds and solidifying materials.
It all starts with a positive model, which is used to shape a negative mold. Into this mold, a liquid material is poured and left to cure, eventually taking on the intended form and characteristics of the desire material. And it can turn out so cool!
What is a Mold?
At its core, a mold is a negative impression of an object. This impression is taken from a positive model and allows us to reproduce the same form in various materials. Just like ice cubes ;)
The ideal mold-making process aims to balance detail, time, ease, and cost. In practice, this means:
- Capturing fine details like texture and dimension from the original.
- Completing the process efficiently.
- Keeping the workflow simple and accessible.
- Minimizing material and equipment expenses.
- Allowing for the production of multiple identical copies when needed.
Applications of Molding
Molding and casting techniques are widely used across industries, from rapid prototyping to high-precision manufacturing.
- Prototyping – Quickly testing product concepts.
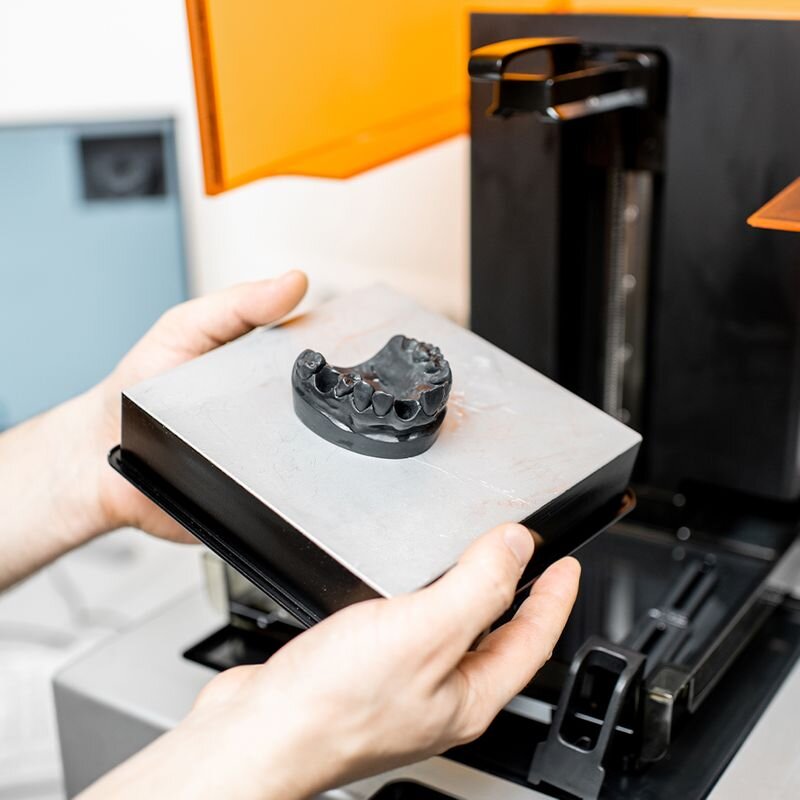
- Dental CAD/CAM – Creating accurate dental impressions and models.
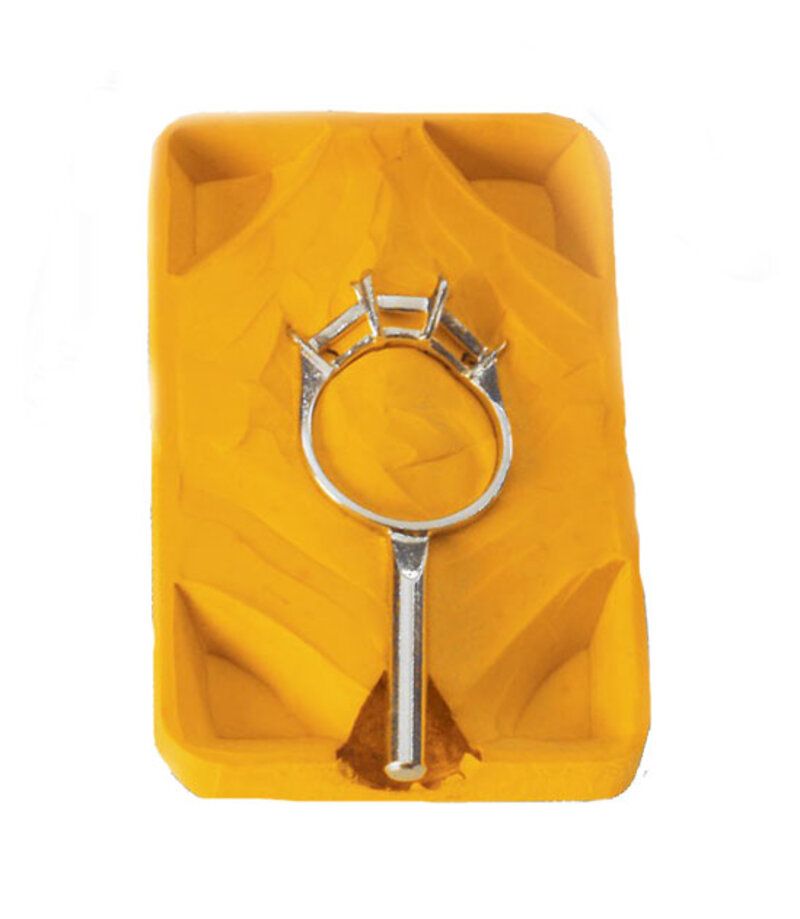
- Jewelry Manufacturing – Producing detailed, small scale replicas.
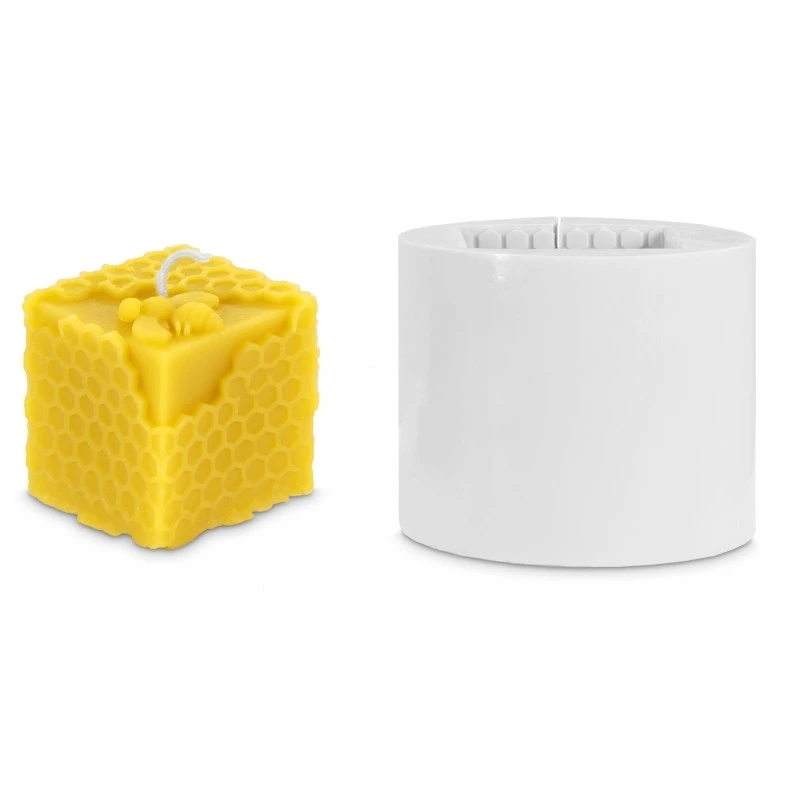
- Wax Casting – For low precision, repeatable forms, just like candles.
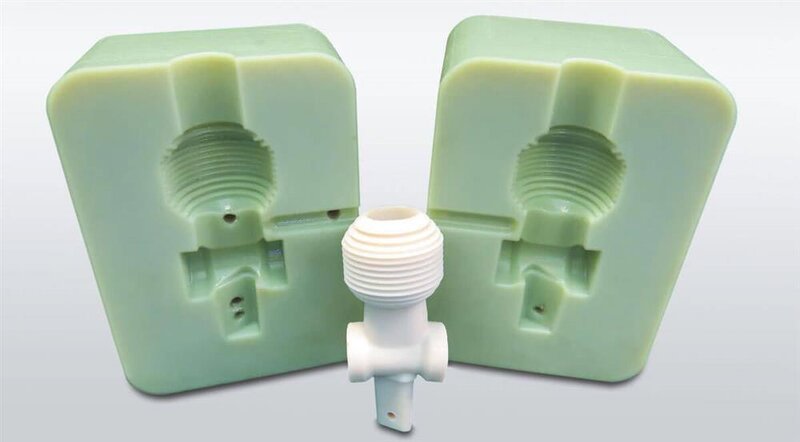
- Tooling and Mold Production – Fabricating the tools and master molds used for casting or mass production processes.
- Functional Mechanical Parts – Used to produce components like gears, turbines, and other elements that require both precise geometry and high material strength.
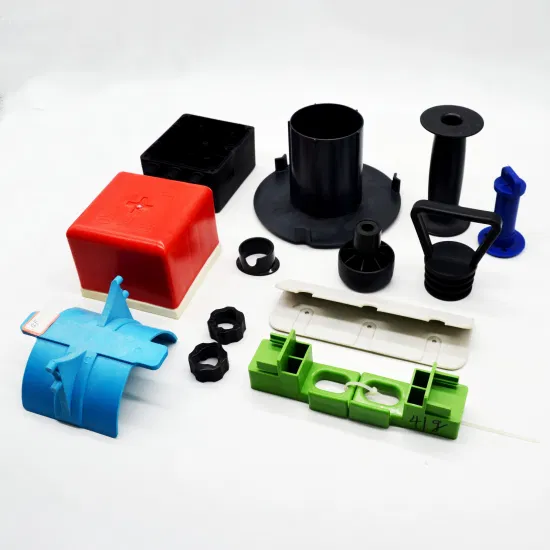
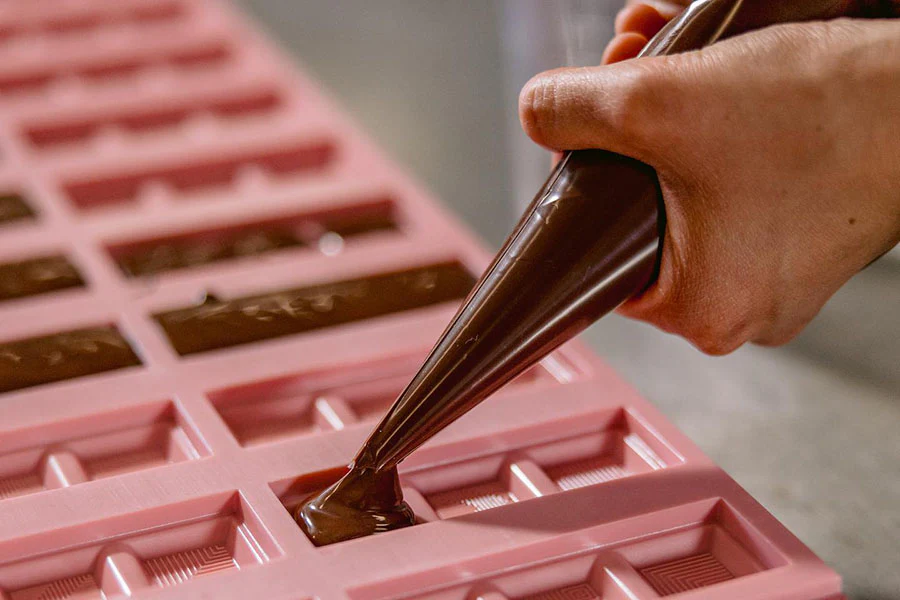
-Food Applications – Making molds for chocolate, gelatin, ice cubes, or baked goods like tarts and cakes.
Types of Molds
Choosing the right mold type depends entirely on your object’s geometry and intended use.
These are ideal for simple, flat-backed objects like badges or plaques.
- Require only one surface to capture.
- No overhangs or complex features.
- Often made using digital tools like CNC or 3D printing.
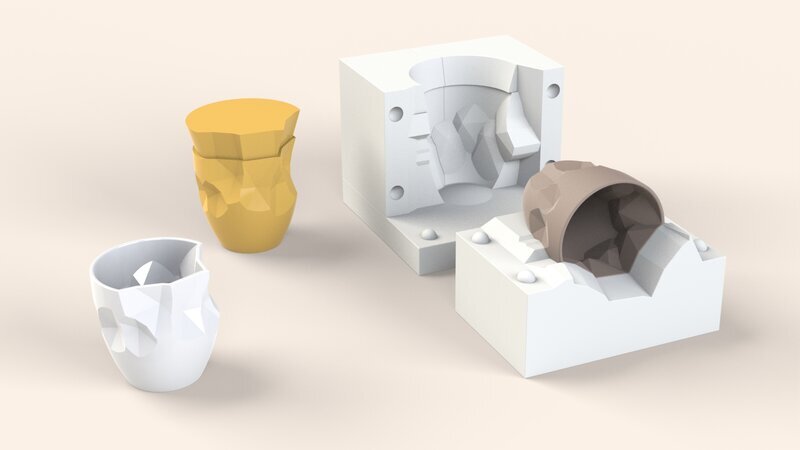
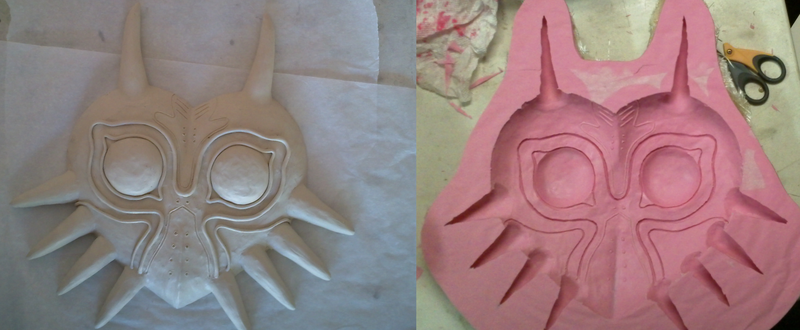
For more volumetric or complex objects, multiple sides are necessary.
- Capture full 3D shapes with overhangs.
- May require 2-part or even multi-part molds (3, 4, or more sides).
- Typically used when full replication is needed — not just one face.
- Can involve both analog and digital workflows.
Before you start, it’s important to design your object with the molding process in mind. This can drastically affect how the mold will be made.
Designing a mold isn’t just about the final object — it’s about how that object will be made. You’ll need to consider:
- How many sides your mold requires.
- Whether the design includes undercuts or overhangs.
- The parting lines and how the mold will open or separate.
- Material shrinkage or curing properties.
3D Milling for Mold Making
One way to create a mold, especially for digital designs, is through 3D milling. With this method, a CNC machine uses all three axes simultaneously, allowing it to cut curves, depths, and fine features in a single setup.
This process is especially useful when working with wax, machinable foam, or other millable materials to make the positive that will be molded.
The 3D Milling Workflow
To prepare a mold through 3D milling, a typical workflow includes:
- Rough Cut (Flat) – Quickly removes large areas of material.
- Rough Cut (Round) – Begins to shape contours with a rounded bit.
- Finish Cut (Round) – Final pass that adds detail and smoothness to the surface.
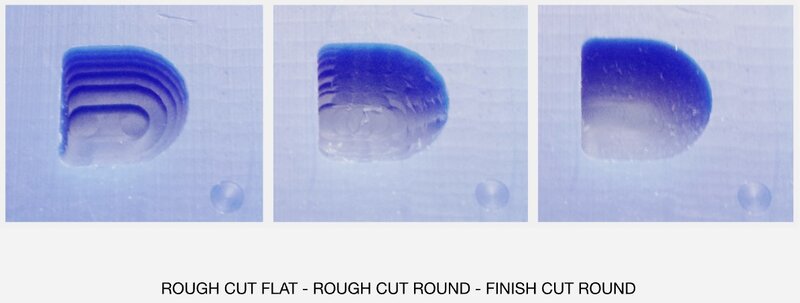

!Careful not to choose a rough output in foam using CLIMB style of cutting.
Silicone Cure Inhibition
Some platinum-cure silicones don’t play well with fresh SLA 3D prints. They can fail to cure. To avoid this, SLA models should be cleaned thoroughly, UV-cured completely, and ideally sealed or coated before pouring silicone over them.
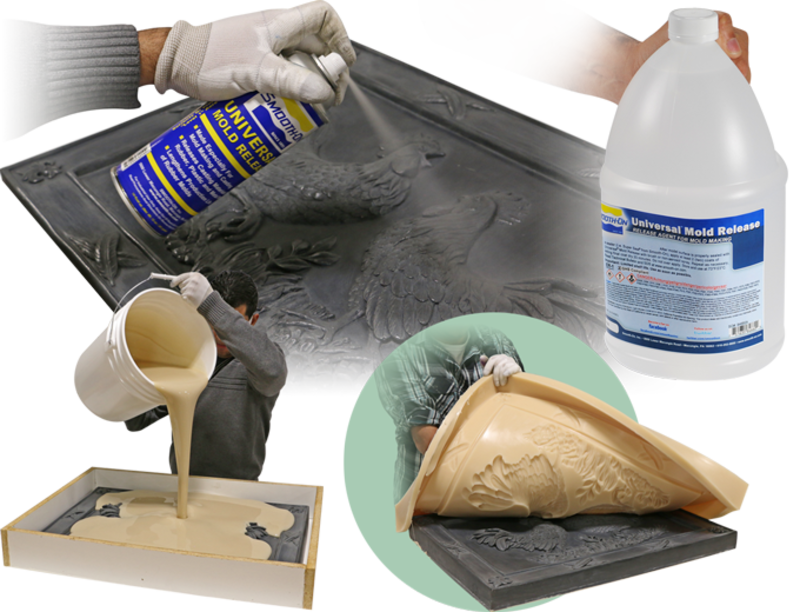
Using a Release Agent
To extend the life of your mold and ensure smooth demolding, always use a release agent.
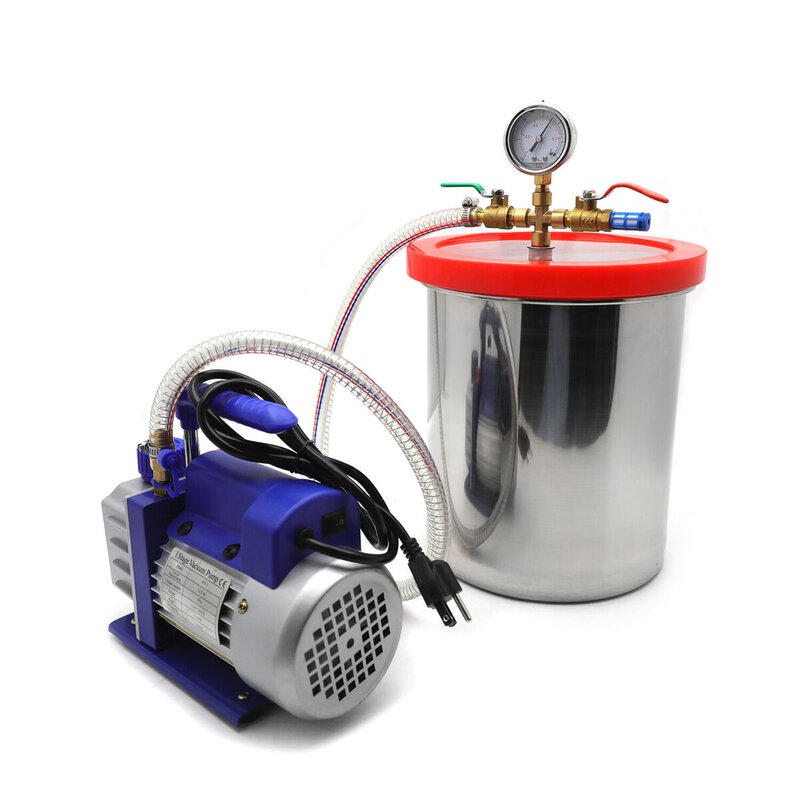
Pressure vs Vacuum Casting
Air bubbles are the enemy of clean casting. <( •̀ᴖ•́)>
Vacuum chambers can be used to remove air from the resin before casting, but they require more setup and timing.
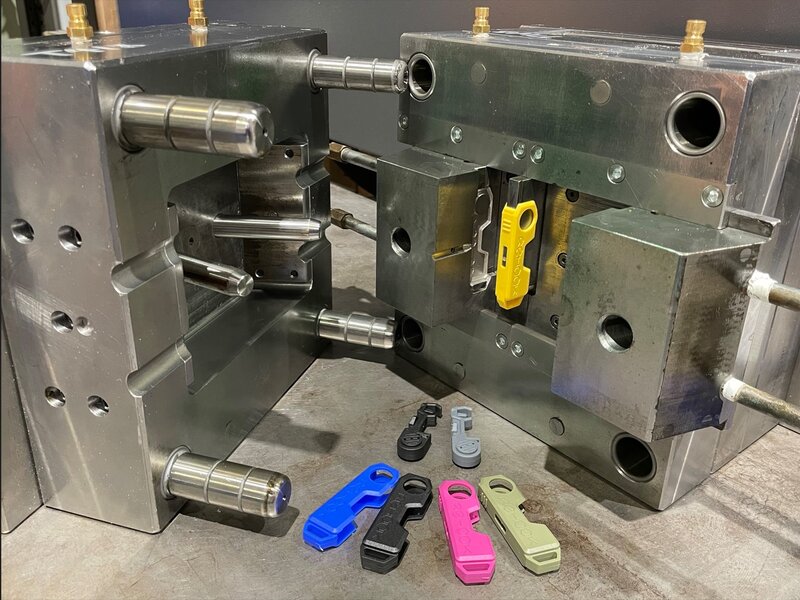
For clean, professional-looking results, pressure casting is the most reliable method. Sadly, it is more expensive because it involves a more professional and industrialized process such as plastic injection molding.

Key Casting Properties
Understanding your material helps avoid mistakes:
- Mixing Ratio: must be exact
- Pot Life: working time before curing starts
- Durometer: softness/hardness, important for molds with undercuts
- Viscosity: thicker materials trap more air
Choose materials based on what your mold geometry requires.
Designing Better Molds
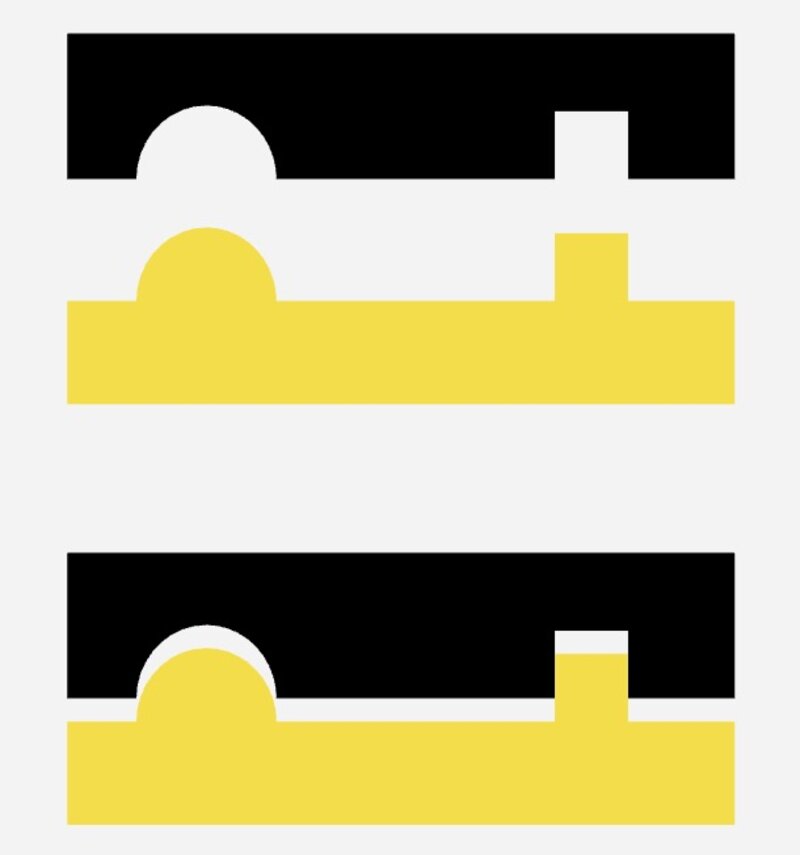
Mold design starts with geometry. Simple shapes without undercuts can be cast in basic one-part molds. For more complex forms, especially with undercuts, you’ll need envelope or multi-part molds.
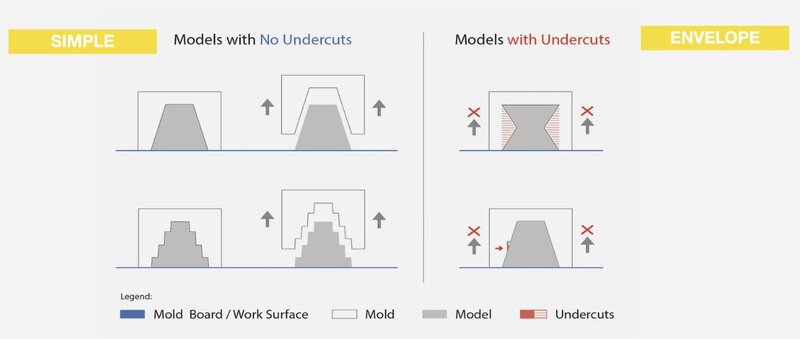
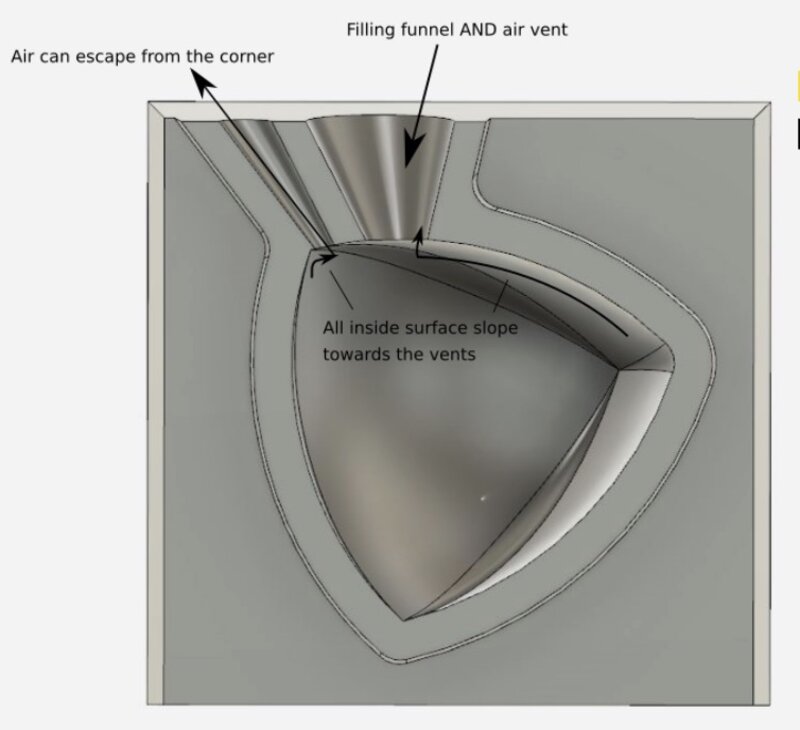
Always think ahead: add vents so air can escape during pouring, and include alignment pins or pads to keep multi-part molds in place: one side male, the other female.
Mold & Casting Materials
Mold materials vary based on tooling method:
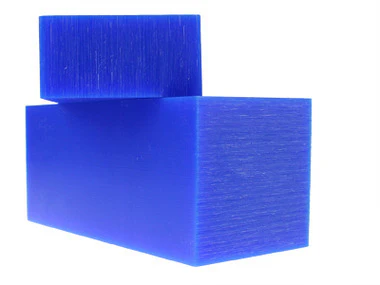
- Machinable wax: easy to CNC, ideal for prototyping.
- Synthetic wood: splinter-free, holds fine detail.
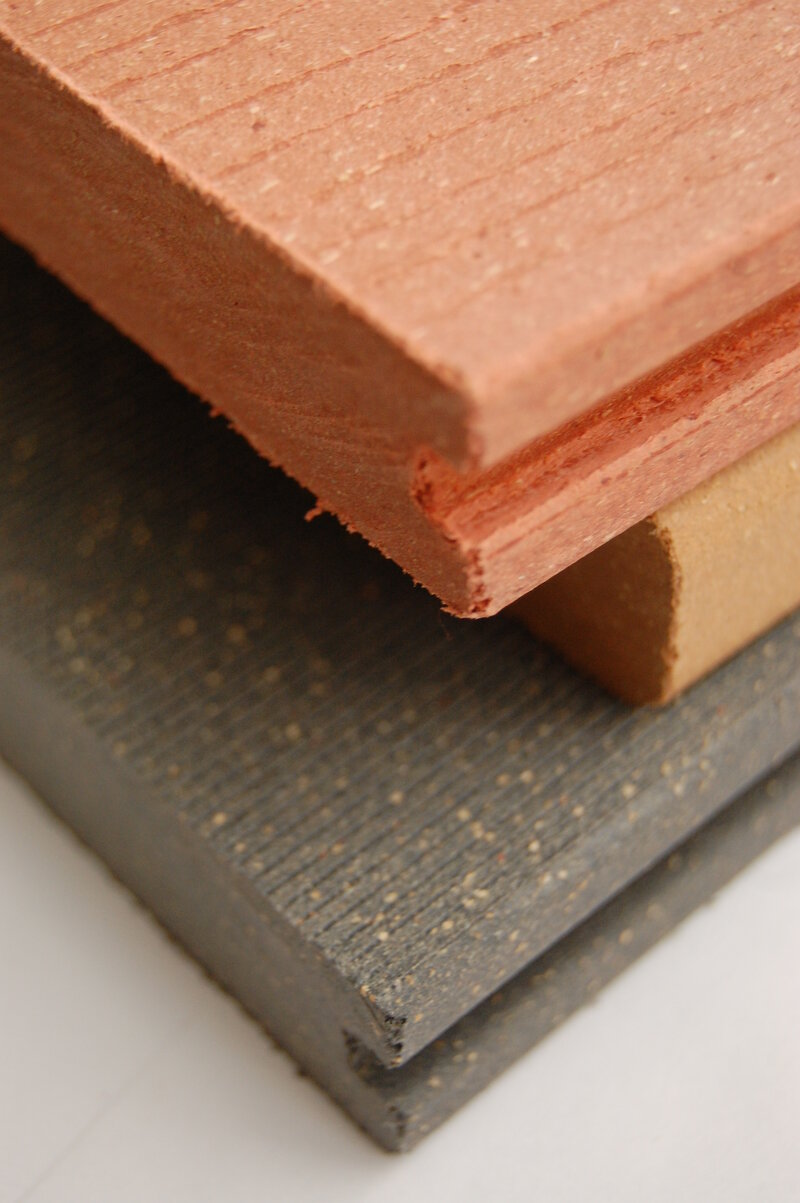
- Tooling boards: polyurethane, epoxy, or RAKU for more durable molds.
Casting materials depend on flexibility and finish:
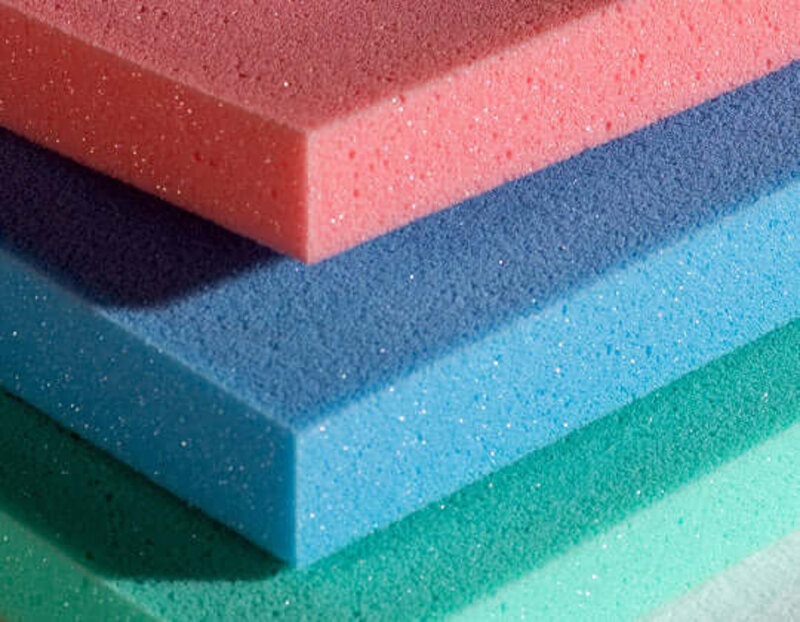
- Flexible: silicone, polysulfide, latex
- Rigid: resin plastic, or even metal for high-strength parts
Choose based on durability, detail, and final use.
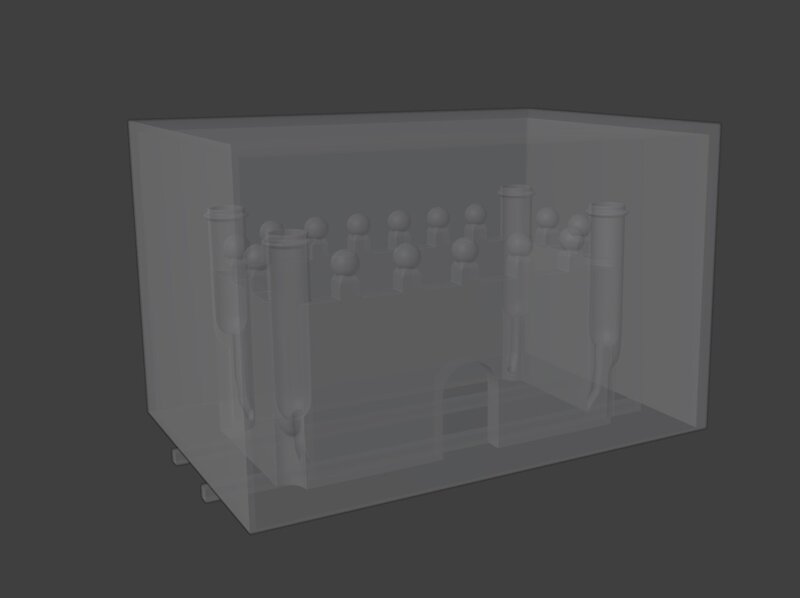
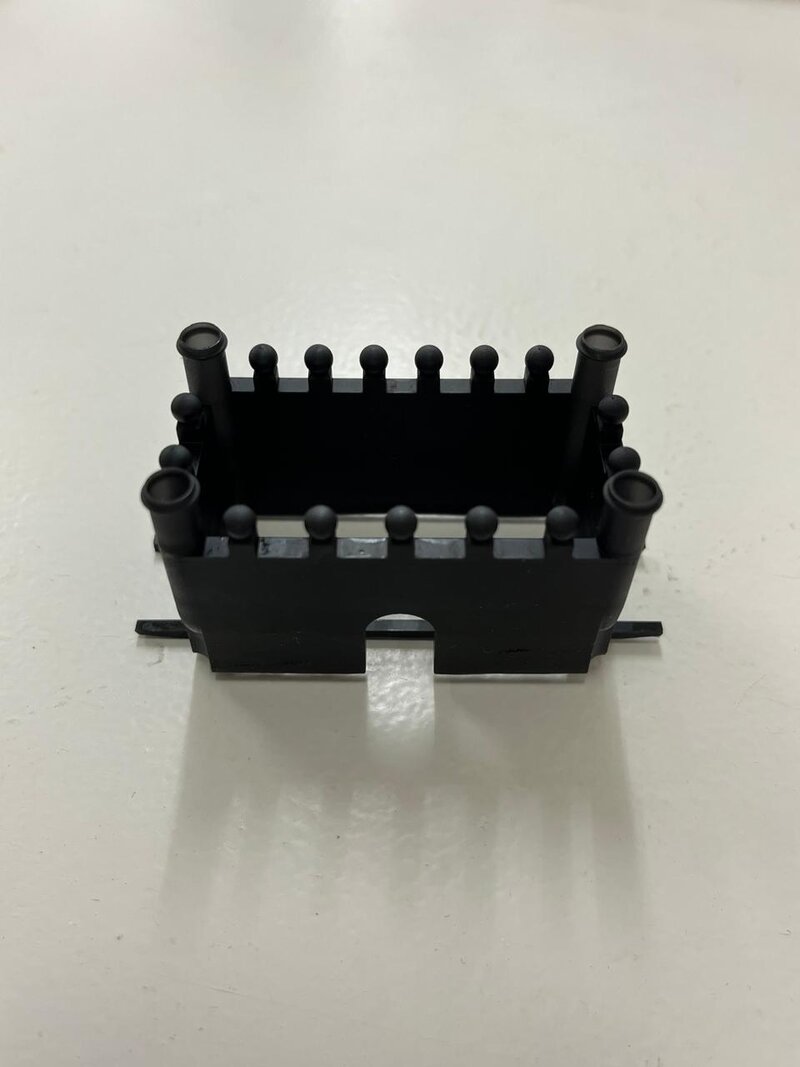
I set out to make a transparent resin castle, using an SLA-printed model as my positive — similar to the idea I explored in Week 8. The design is a simple, four-walled castle with column holders and small pinnacles on each corner.
The plan was to use this 3D print as the positive, then create a box in PLA to pour silicone around it, forming the negative mold. Once cured, I’d remove the model and pour epoxy resin into the cavity.
I started with an old Blender design, modifying it by adding two crossbars at the base so it could hang upside down inside the PLA box during molding.
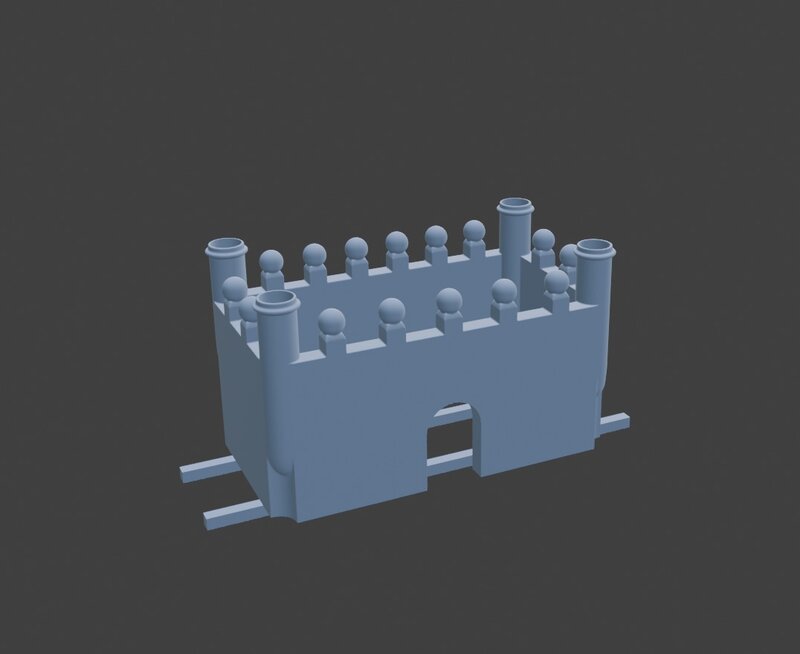
You can access the [.stl file here](../images/week-13/Castle-positive-object.stl.zip).
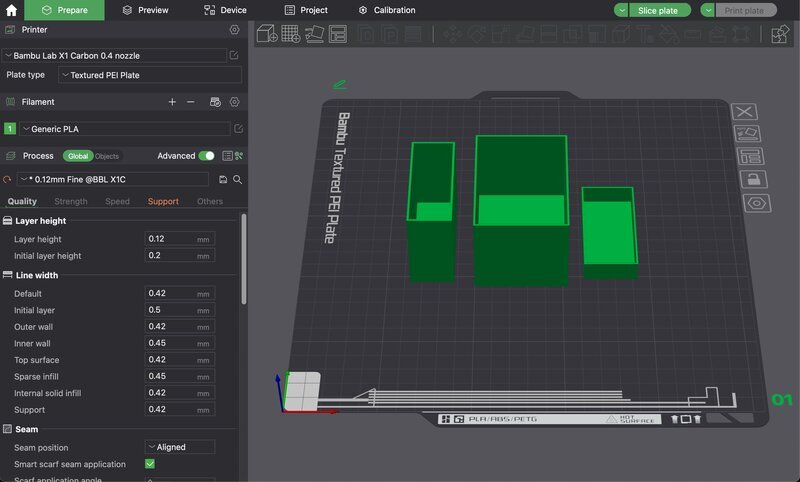
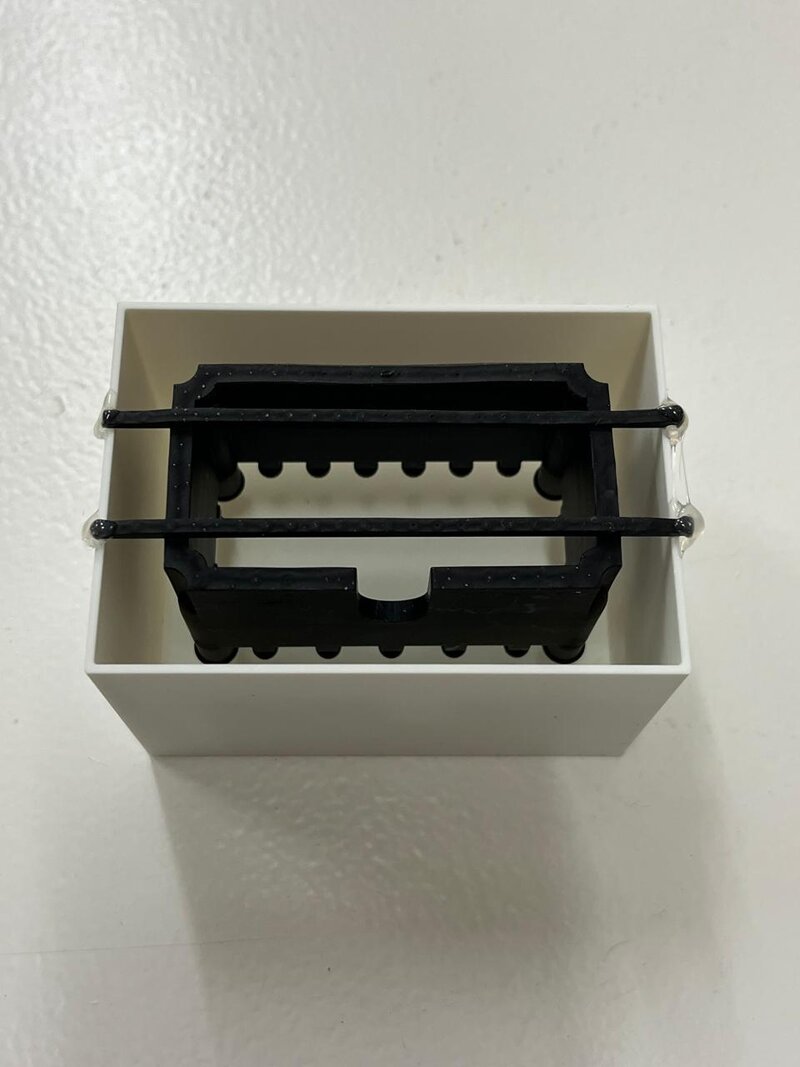
Then I added the box that would hold the silicone in.
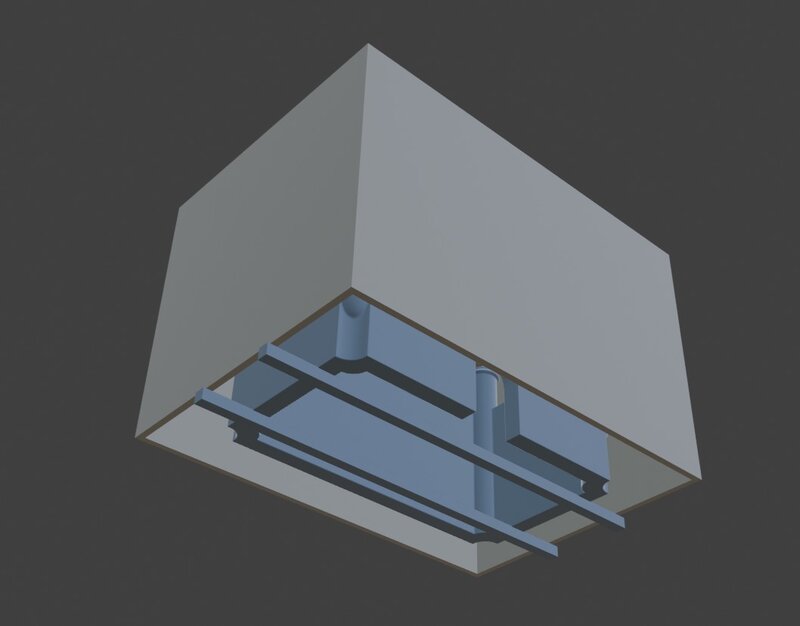
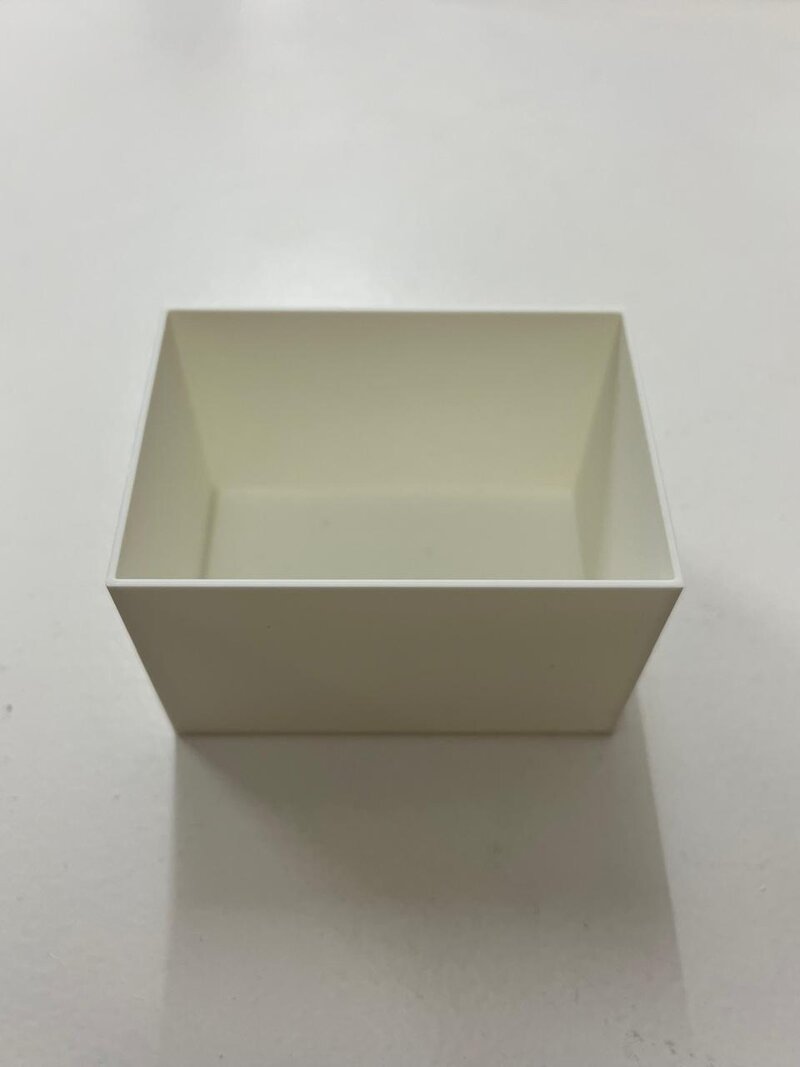
I made sure to make the walls thick enough so it could be watertight. Sent it to Bambu Slicer to print it in the Lab's X1-Carbon.
Results in white filament!
Then I printed the castle and some other parts in the Elegoo Saturn 4 usind the Chitubox slicer.

These where my settings for black standard resin:
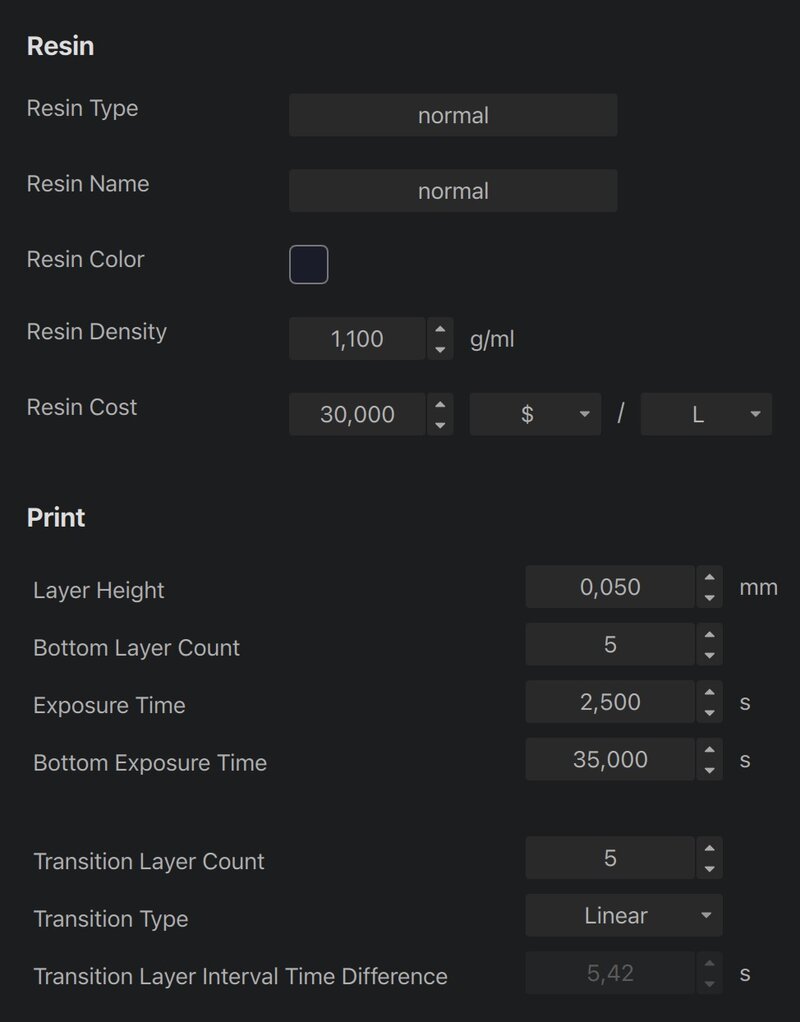
Results!
I used hot glue gun to ensure the object stayed in place while pouring the silicone.
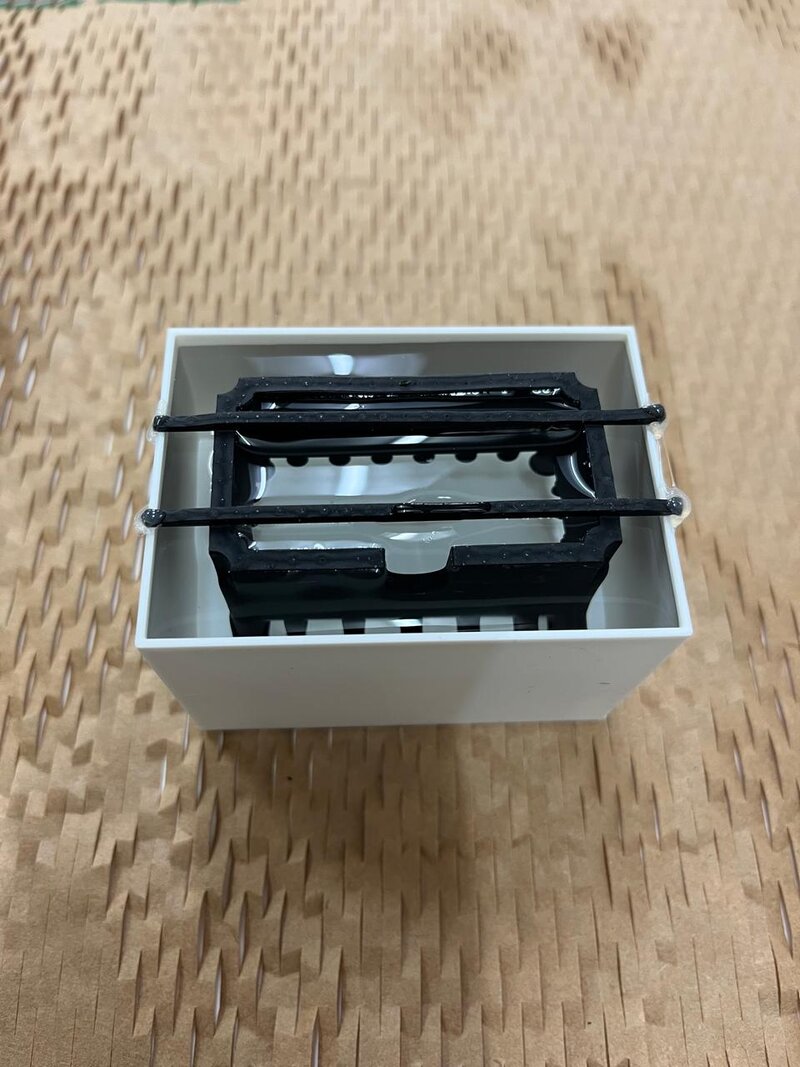
Then I procedeed to fill the box with water to measure the weight that would be equivalent to how much silicone I would have to use.
This process also proved that it was a watertight print.
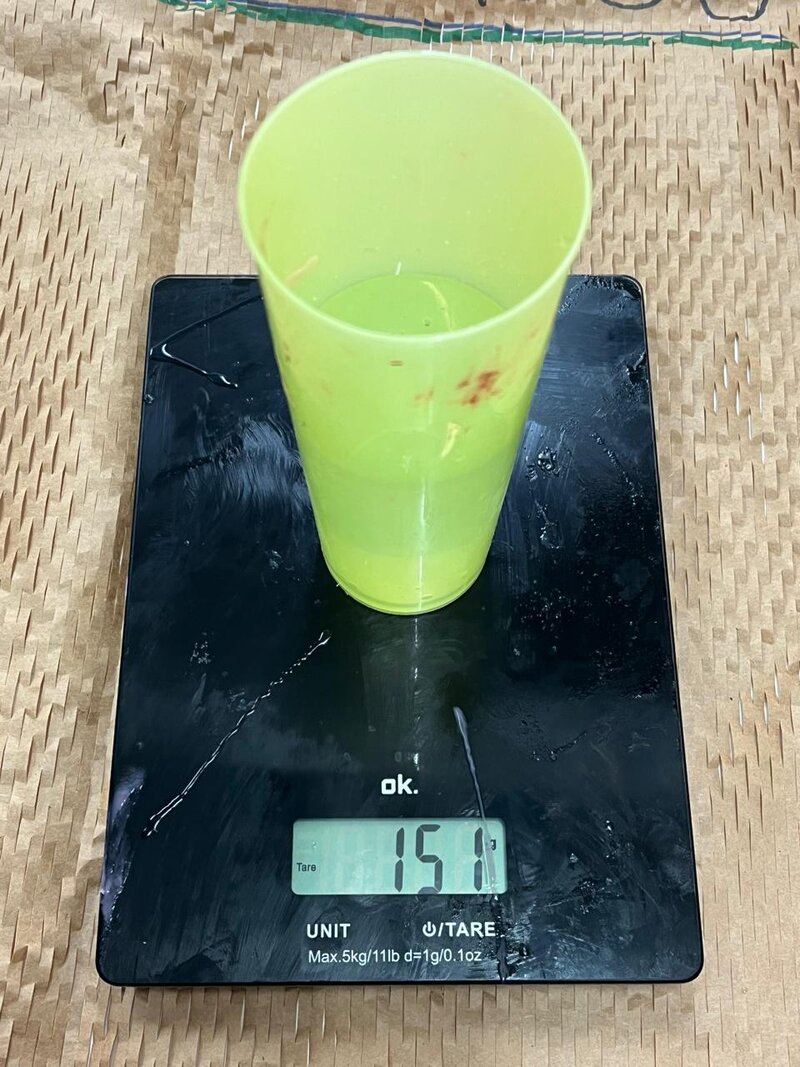
I poured the water into a cup and it turned out to be 150 gr. Don't forget to press tame when you place the empty cup ;) This will keep your scale from adding the weight of the holder.
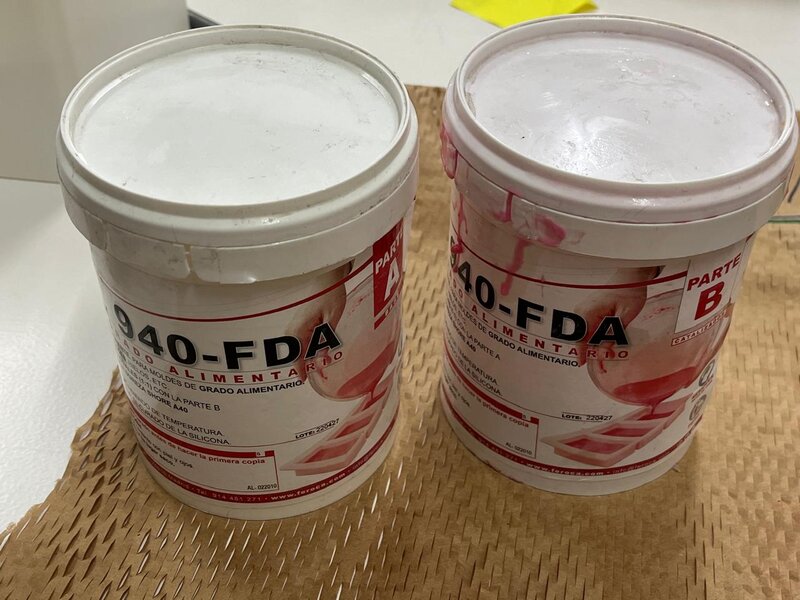
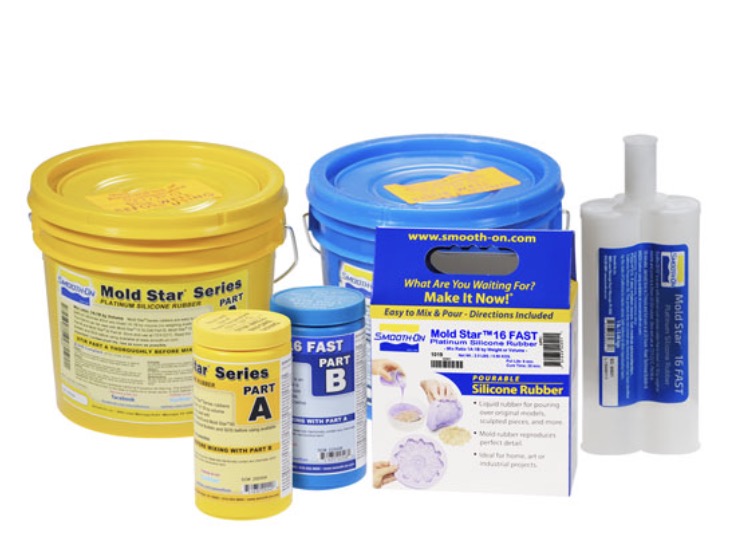
I used this silicone that had a 50:50 mixing ratio with 30 minutes working time and a 4 hour curing time.
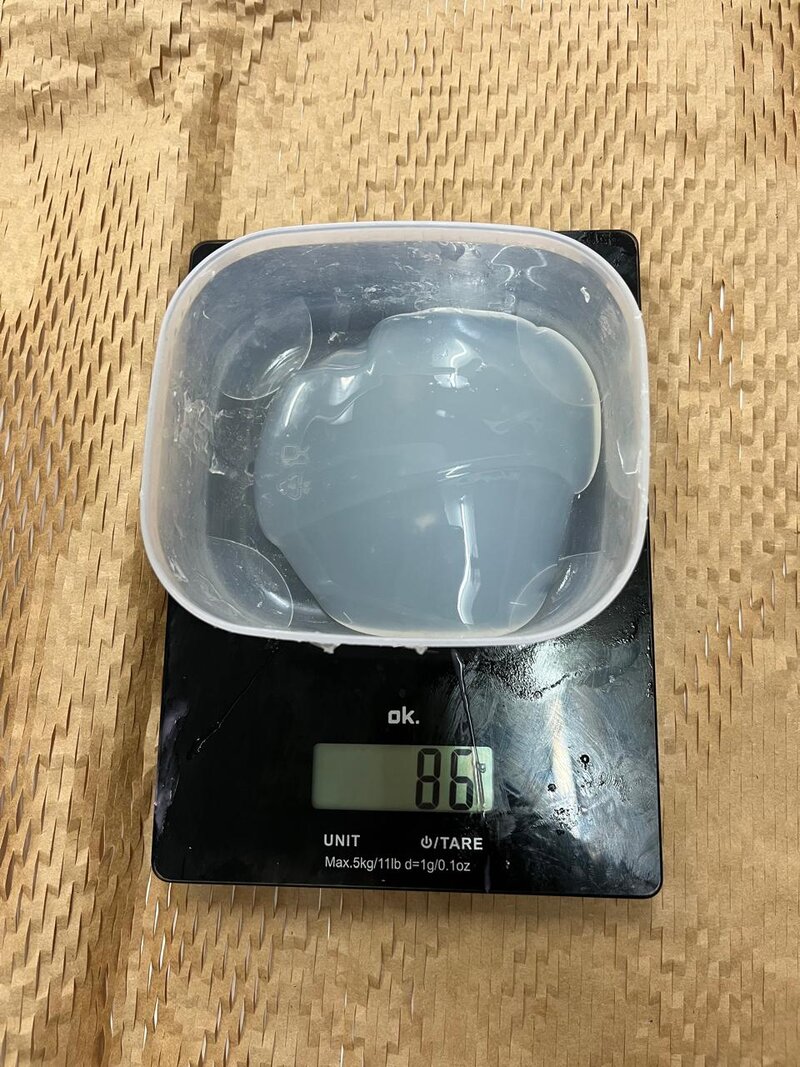
First I poured the A component, half of the weight in water. A little more just in case, 86 gr was fine.
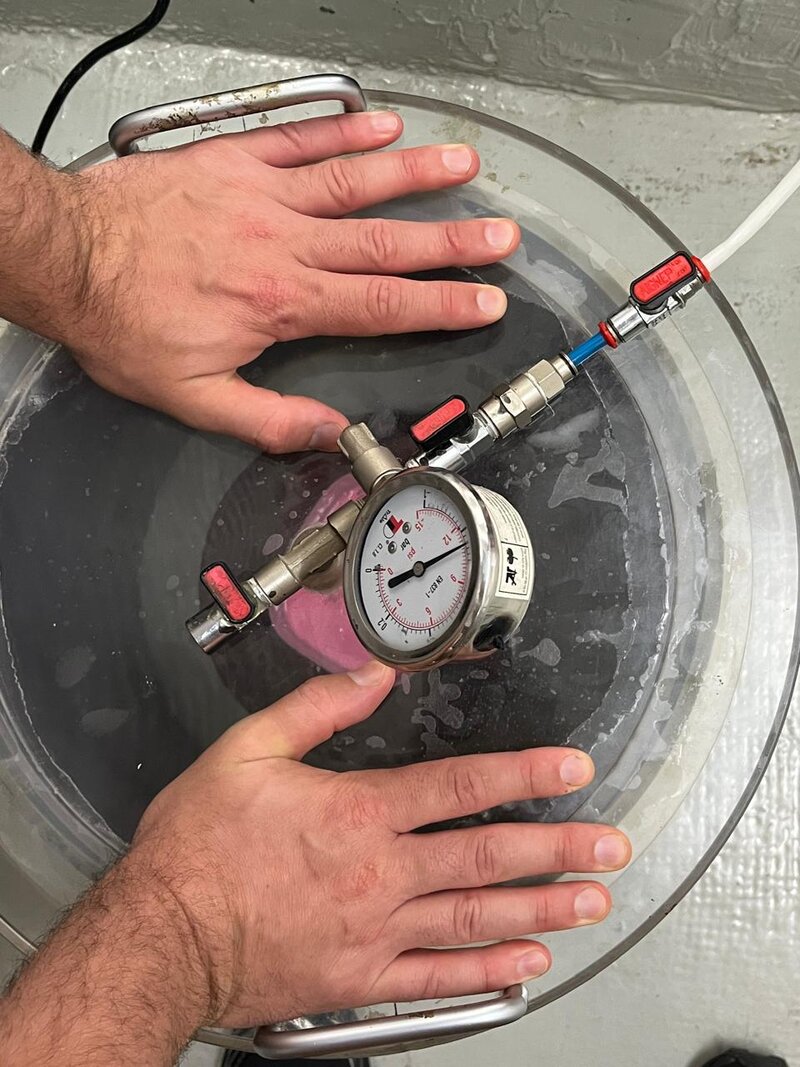
Then I poured the same amount of B component and got mixing. Once I had stirred it long enough I placed it on the vacuum chamber to win... the battle on bubbles.
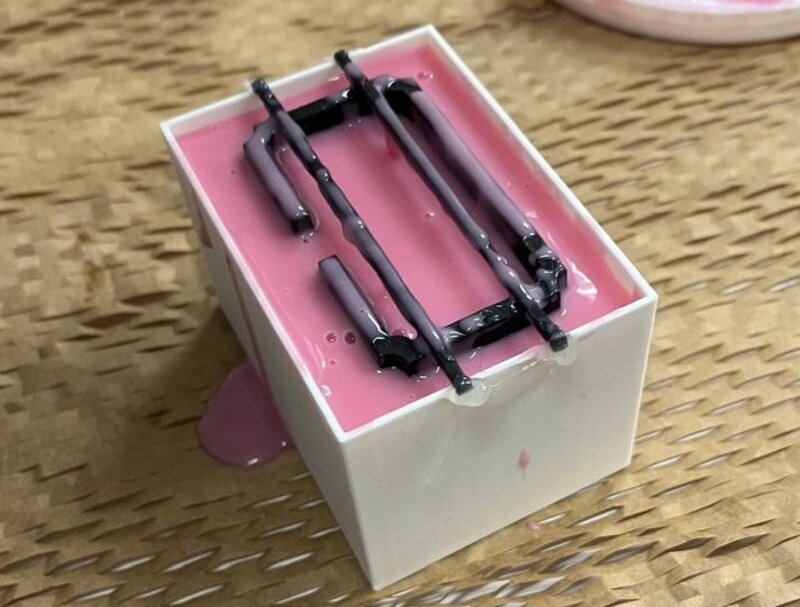
Then I poured the silicone on the mold and placed the mold on the vacuum chamber again until it had almost no bubbles. Looking like this!
Done! I removed the castle inside and poured some water on it then straight to the fridge.
I realized as I took it out of the freezer that most of the water had leaked through the silicone cut I had to perform in order to remove the resin print. Therefore not much ice was there.
It was also extremly hard not to crack it since it was so thin. This is the only portion I could take out with a distinguished castle shape...

Remnants of a long-lost ancient arctic kingdom in the distant frostbound ends of the Earth. Maybe one day other remains will be found and unveil long buried secrets within the icy mists of Iaac's smelly fridge.
Let's Try Again
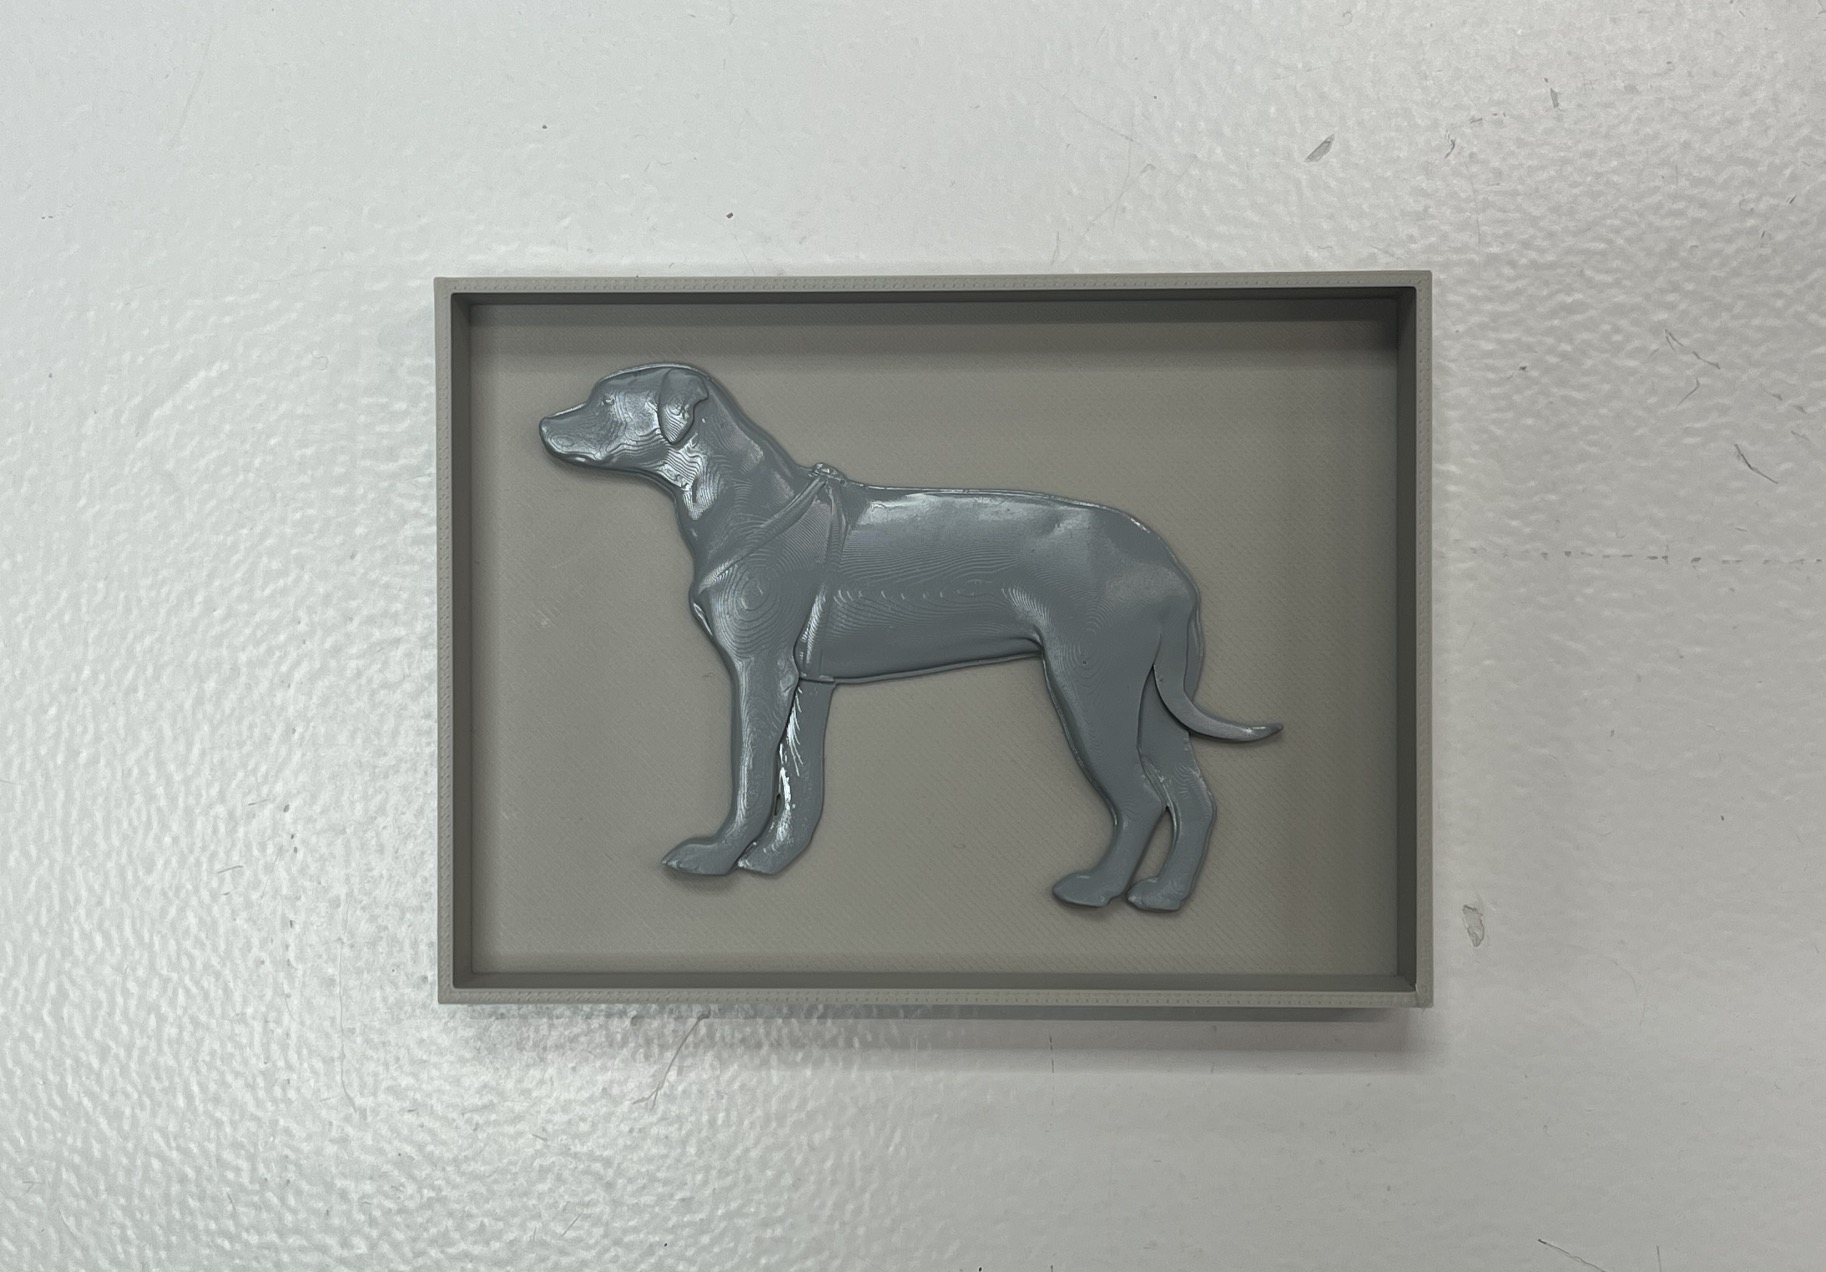
This time I will create a bas-relief figure of a dog with a flat side. But not just any dog; Chena, the dalmatian at our local lab.
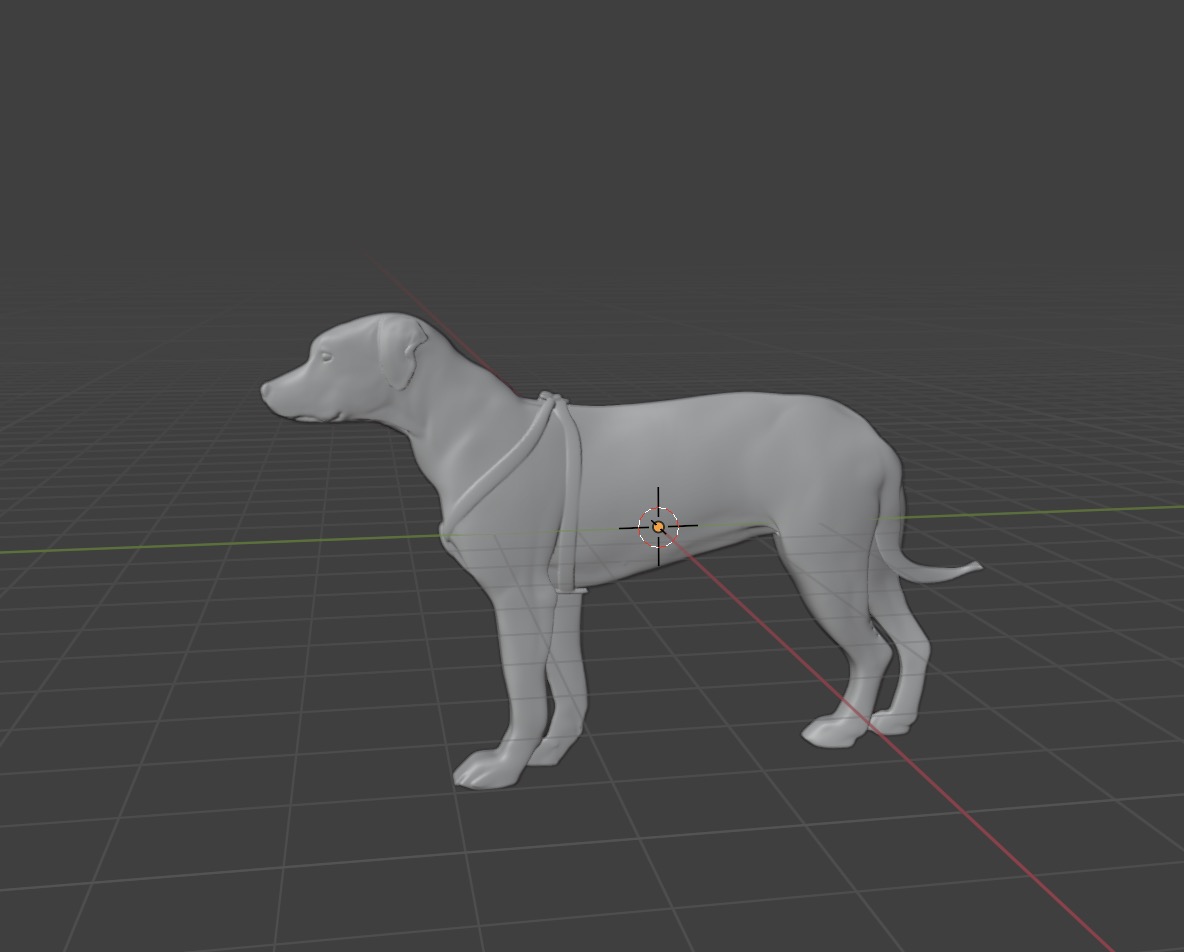
You can download the blender file here.
Then I went ahead and print it in "Smoky Black" resin.
After curing it, because I didn't want to repeat the same mistakes, I sprayed it with a coat of paint.
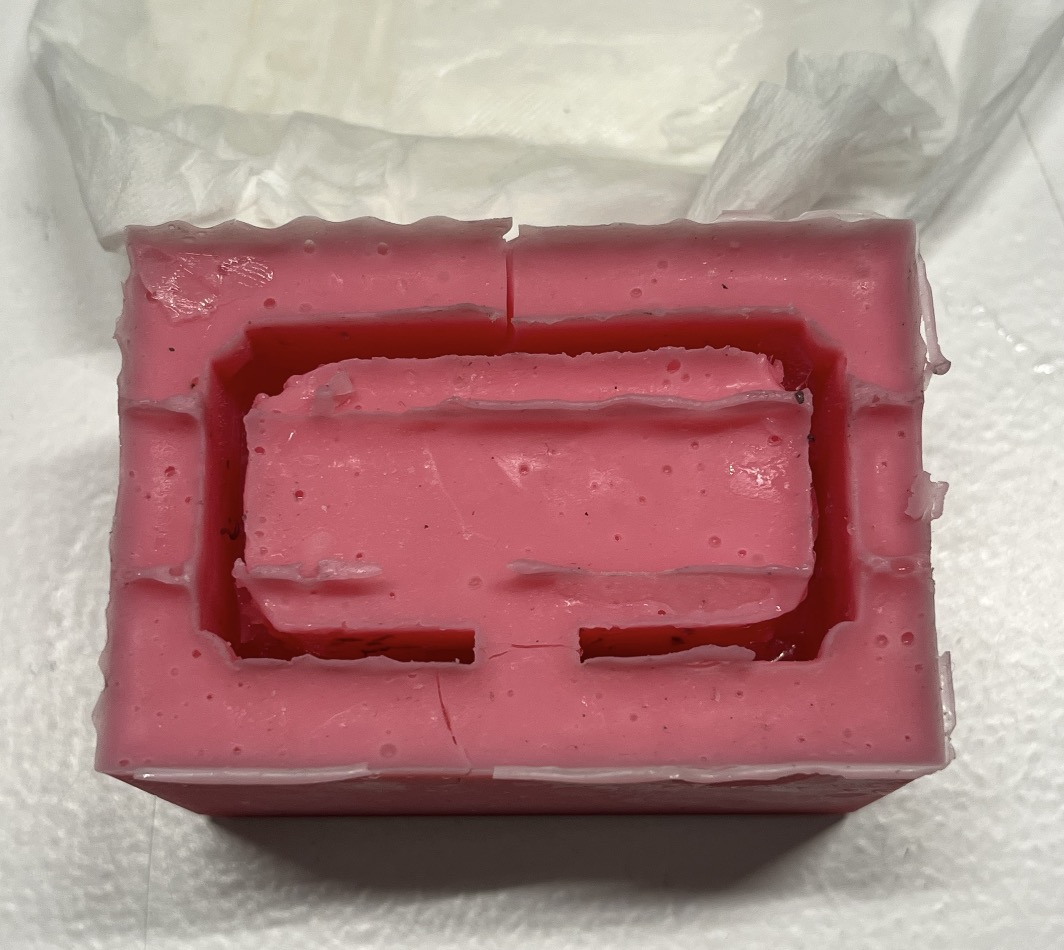
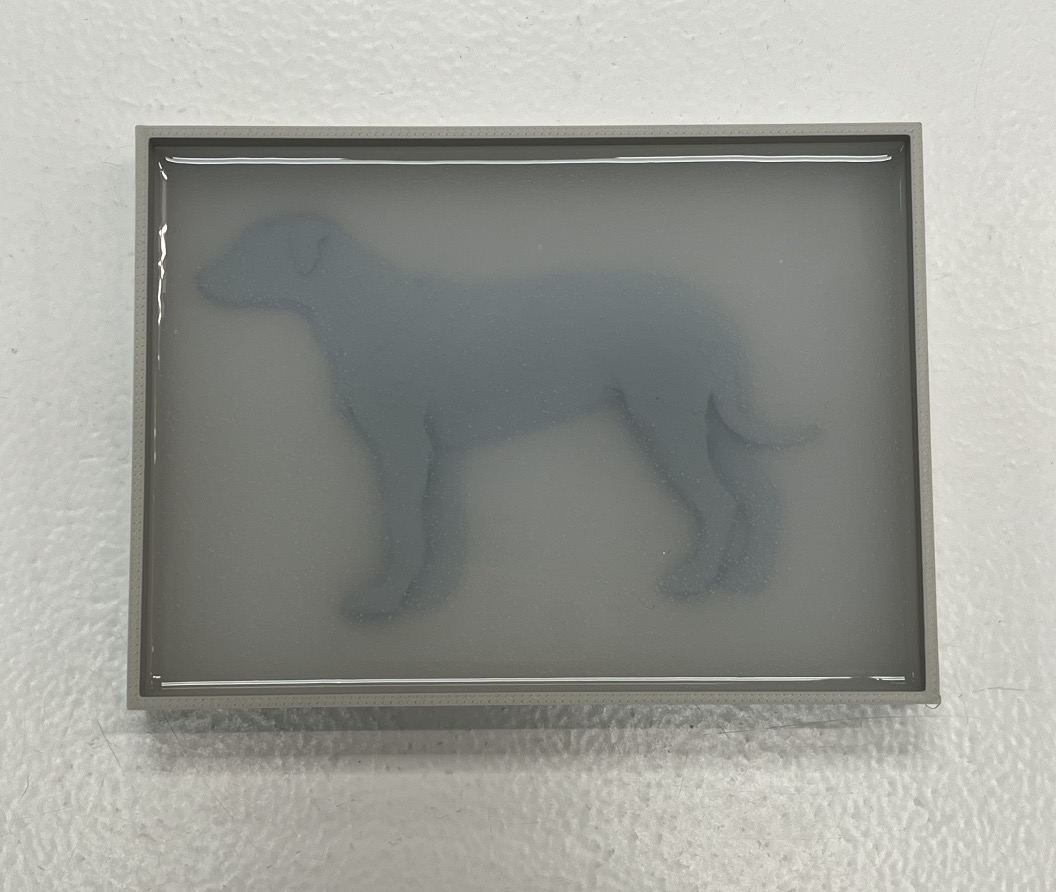
I printed a small PLA box for the silicone mold and glued the bottom of my design to it.
Then I covered Chena withthis very fast silicone.
Waiting for it to dry:
Once it was done I removed the silicone from the original model, added some water to it and sent it to the fridge. Here it is once it was frozen and before I took it from the mold:
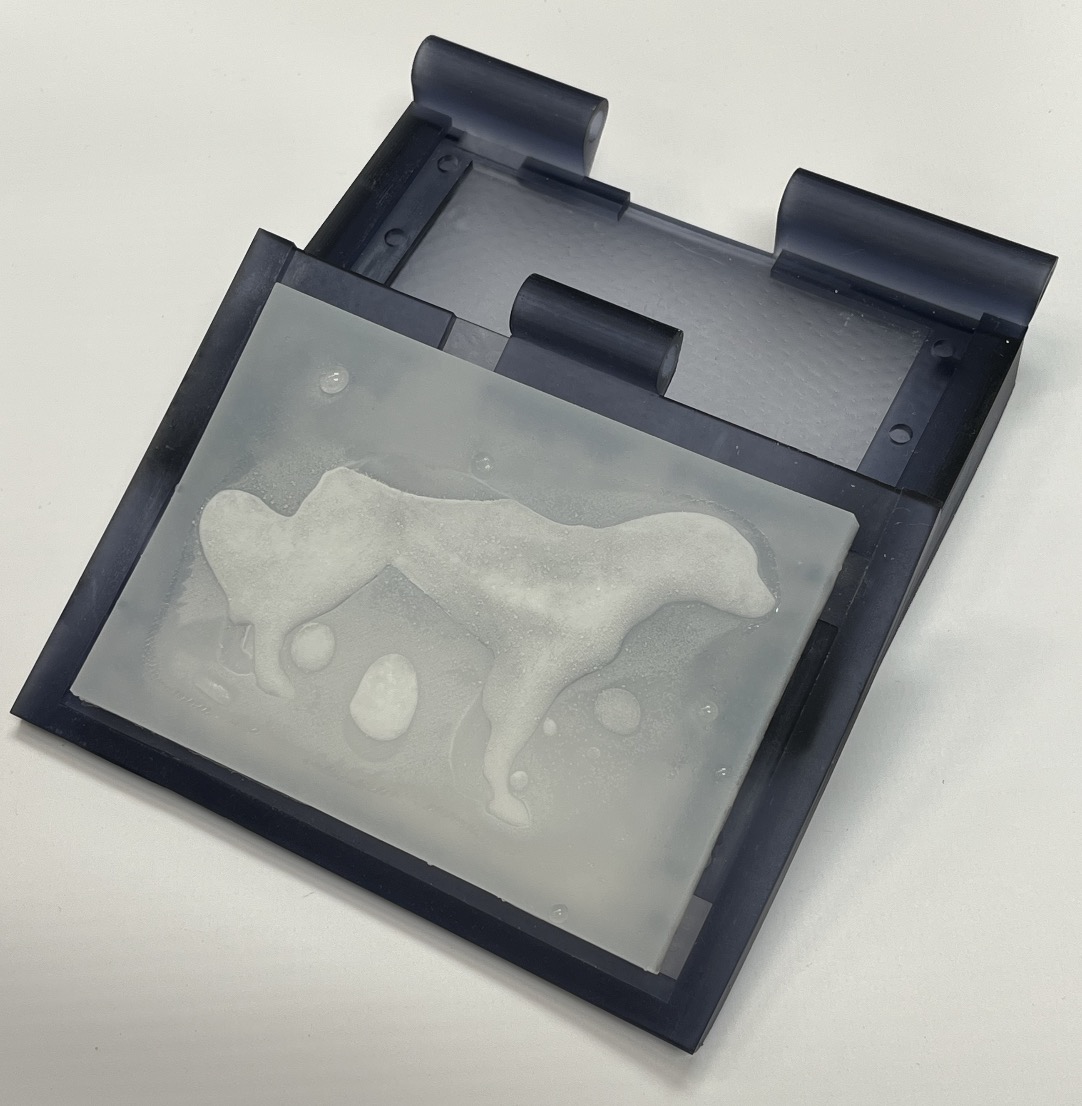
Cute!
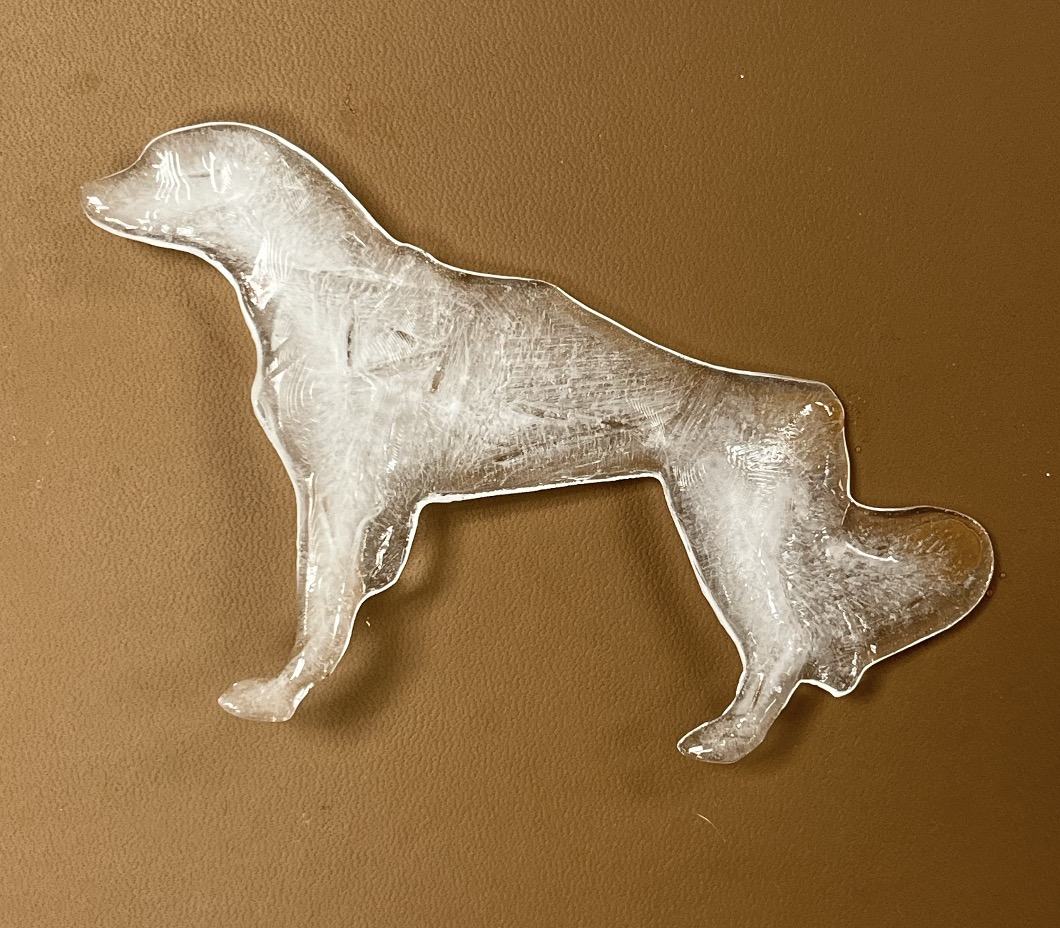
Not quite perfect... Next time, I’ll be sure to place it on a flat surface so the water stays evenly in the mold.
Luckily, I think the real Chena liked it.
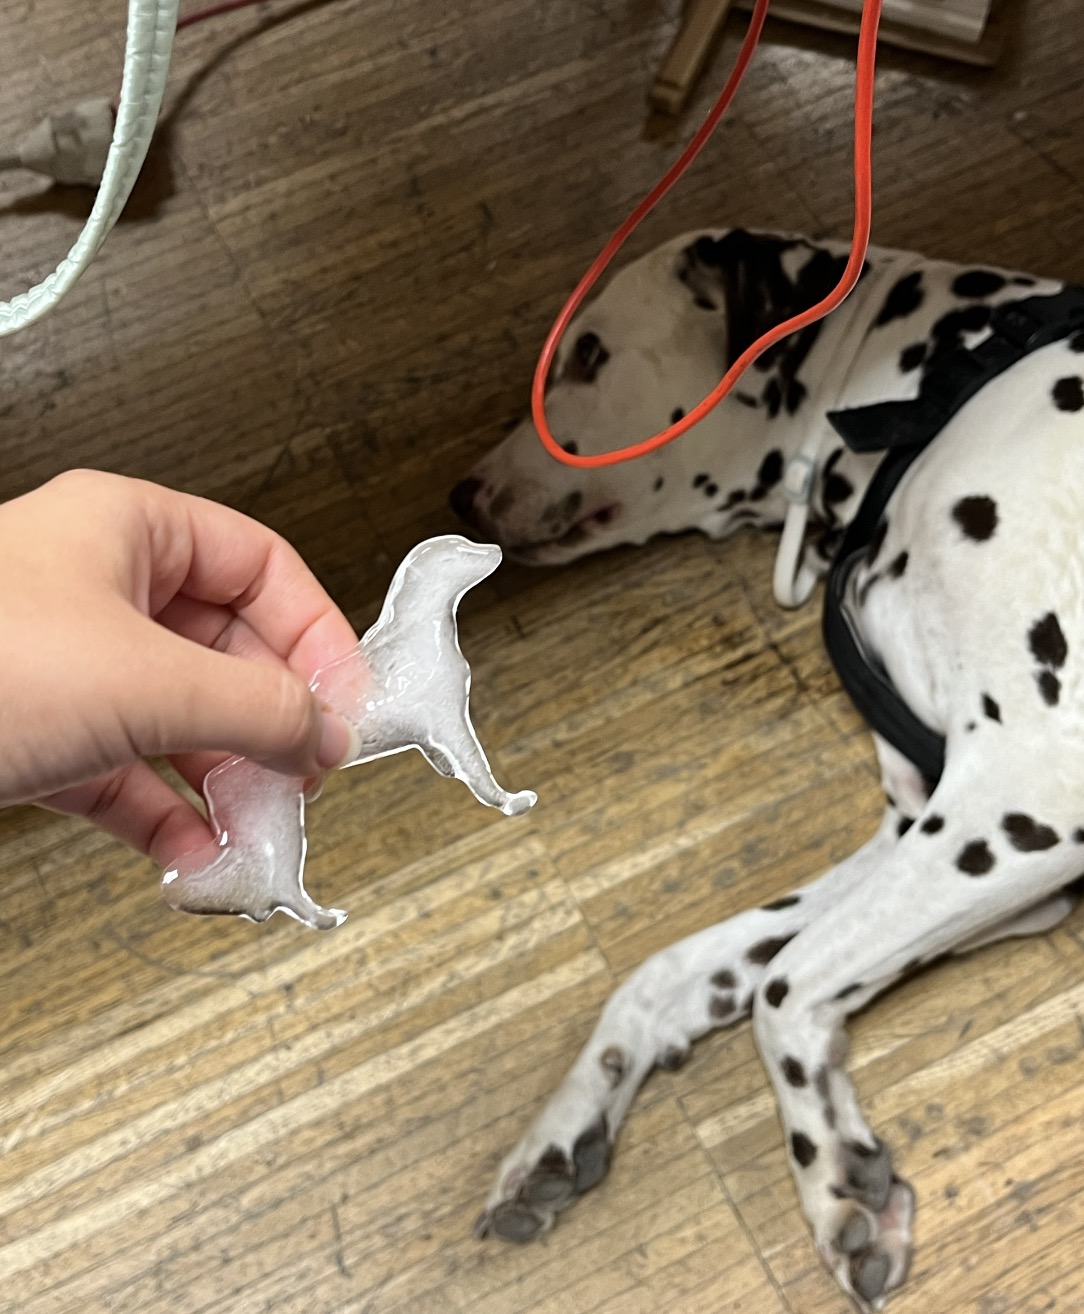
kiss*