Week 12
During these two weeks at FabAcademy we set out to build our own machine from scratch!
Pretty cool huh?
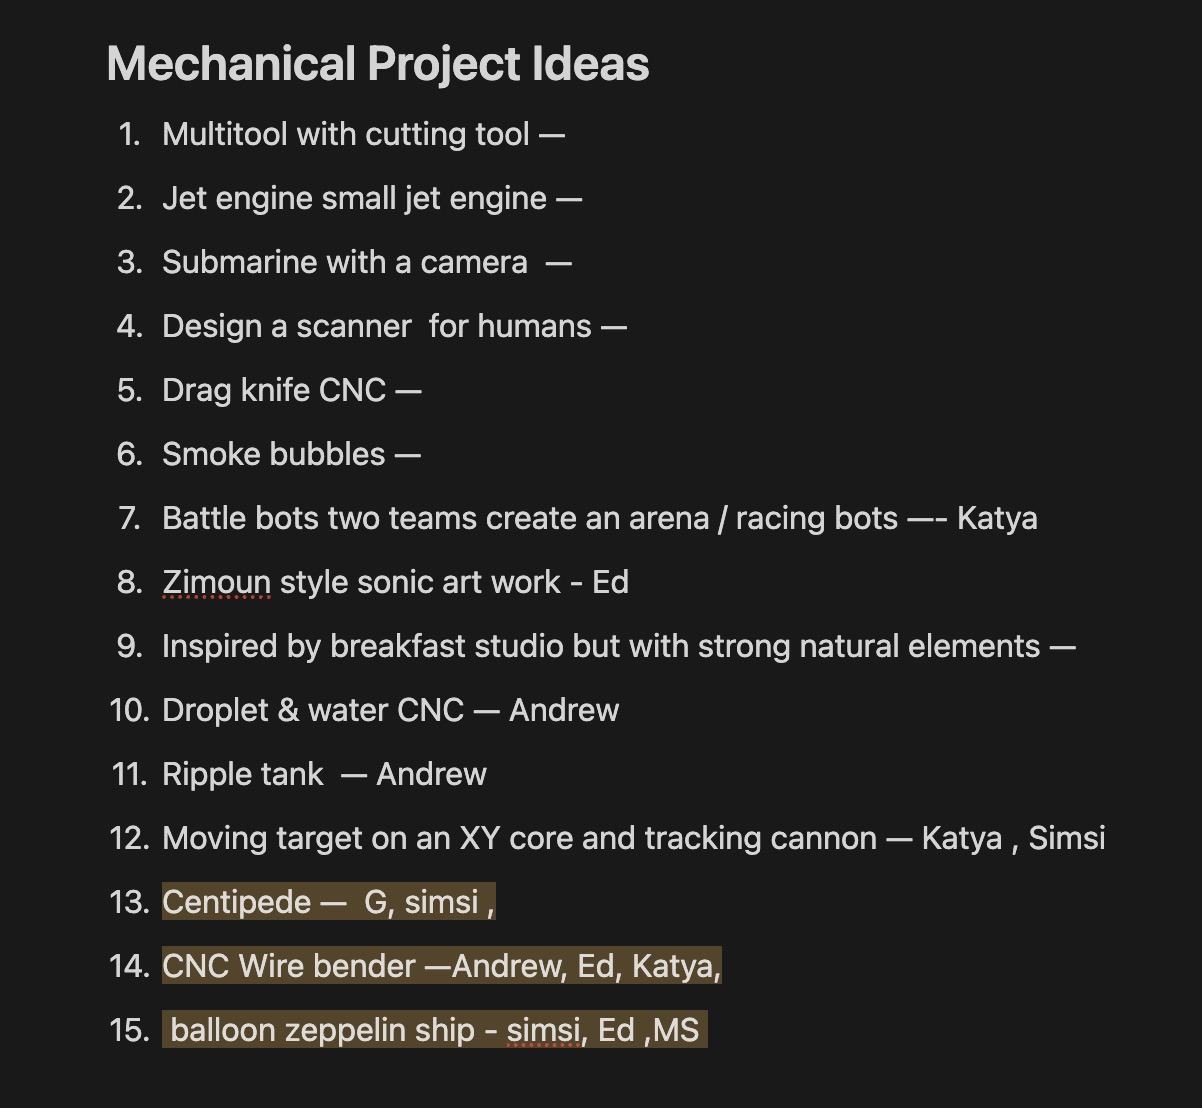
As with all group assignments, we collaborated to bring it to life. After discussing with Gonzalo, Katya, Andrew, Edward, Mark, and Felix, we all voted on a single idea: a wire bender.
I think it's funny to show other ideas that were mentioned during the brainstorming. And to imagine what would have turned out if another one of these were made:
Anyway, check out how it was created and more here!
Building Process
We named the machine Super Chena 5000 CNC and it was developed over three iterative design spirals:
-
Spiral 1 focused on manual assembly and structural testing. The team 3D printed parts, reworked components to be printable instead of laser cut wood, created a bill of materials (BOM), and performed a dry mechanical test without electronics.
-
Spiral 2 integrated electronics and mechanical upgrades, including redesigns of critical parts such as the feeder base, wire guide, and motor mounts. The electronics were activated and basic motor control was tested using simple code.
-
Spiral 3 brought a visual redesign, implementation of a planetary gear reducer for the Z-axis issue, and a custom milled PCB. Aesthetic improvements were made using Blender, and final laser cutting and assembly were completed. Unfortunately, persistent issues with the stepper controller system prevented full operation.
Task Distribution
-
Andrew: Major mechanical CAD redesigns, including part conversions from wood to 3D-printed plastic, mechanical integration, and press-fit optimizations.
-
Mark: BOM creation, spool feeder design, laser cutting, and final assembly.
-
Gonzalo: Electronics integration, fastener sourcing, and mechanical assembly.
-
Katya: Custom PCB design using KiCAD and board production.
-
Camila: Visual identity and industrial design in Blender.
-
Ed: Electronics troubleshooting, software integration, and planetary gear design.
I chose to focus on the visual identity of the project for two main reasons.
First, I’m naturally drawn to objects and devices based on how they look. Even if something isn’t particularly useful, if it has an appealing design, I’m interested in it. I tend to associate thoughtful design in appearance with thoughtful design in function, as if the care put into the aesthetics reflects the same attention to its performance. Even though I know that’s not always true.
That’s why I wanted to contribute in this area and prevent the machine from ending up as just another tangled, uninspired-looking robot.
The second reason is more practical, there were many people involved in the project, and this role became a natural fit for me.
I also announced that I would take charge of the “marketing department,” since I was already full of ideas on how to use the machine to create these kinds of circuits:

However, this hasn't happened yet because... we didn't get it fully working (╥﹏╥). There where issues with the stepper control system and although we did manage to assemble everything, at the end it was just one part that was failing. And Even though my complete design didn’t come together as planned, I’m actually more satisfied with the final result.
Design
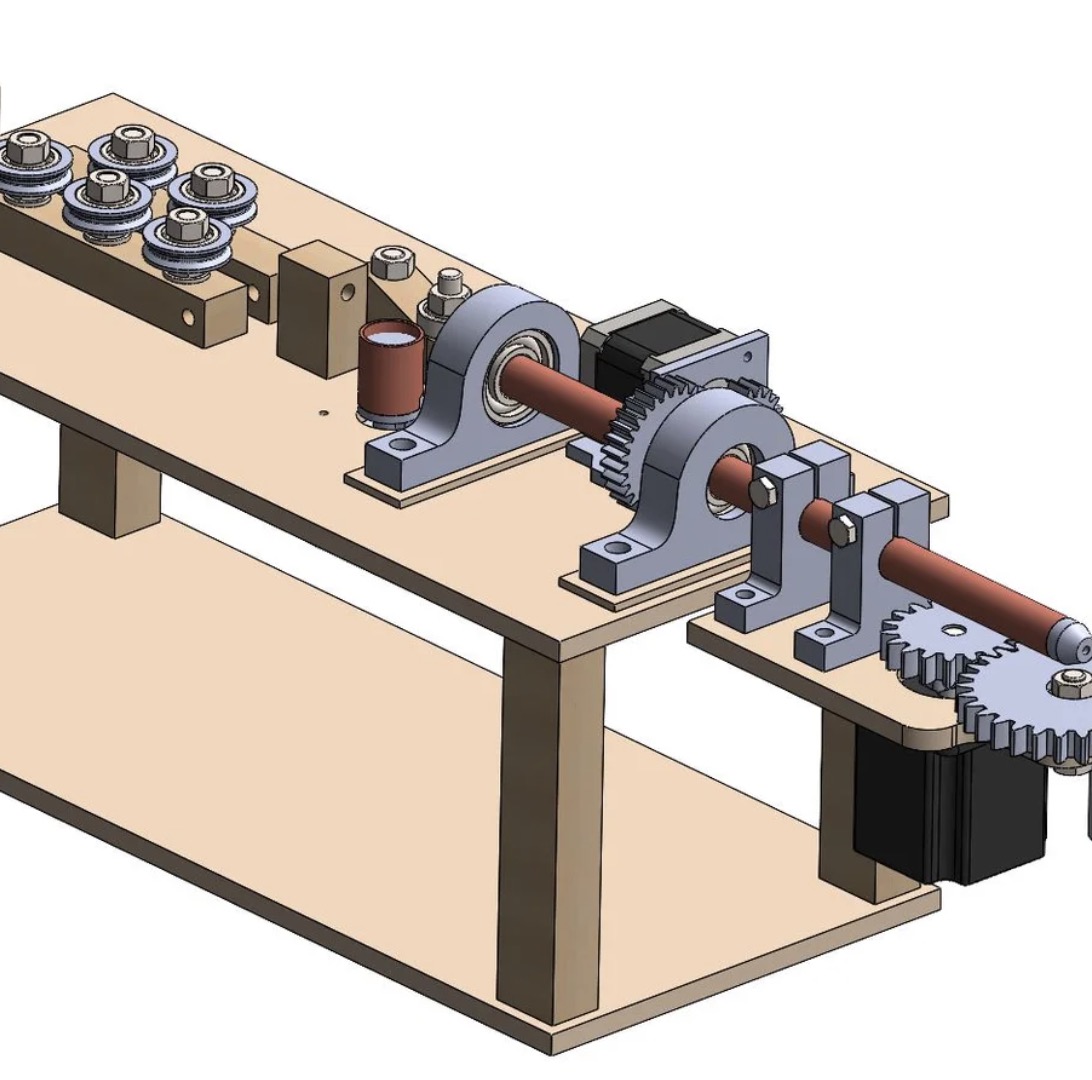
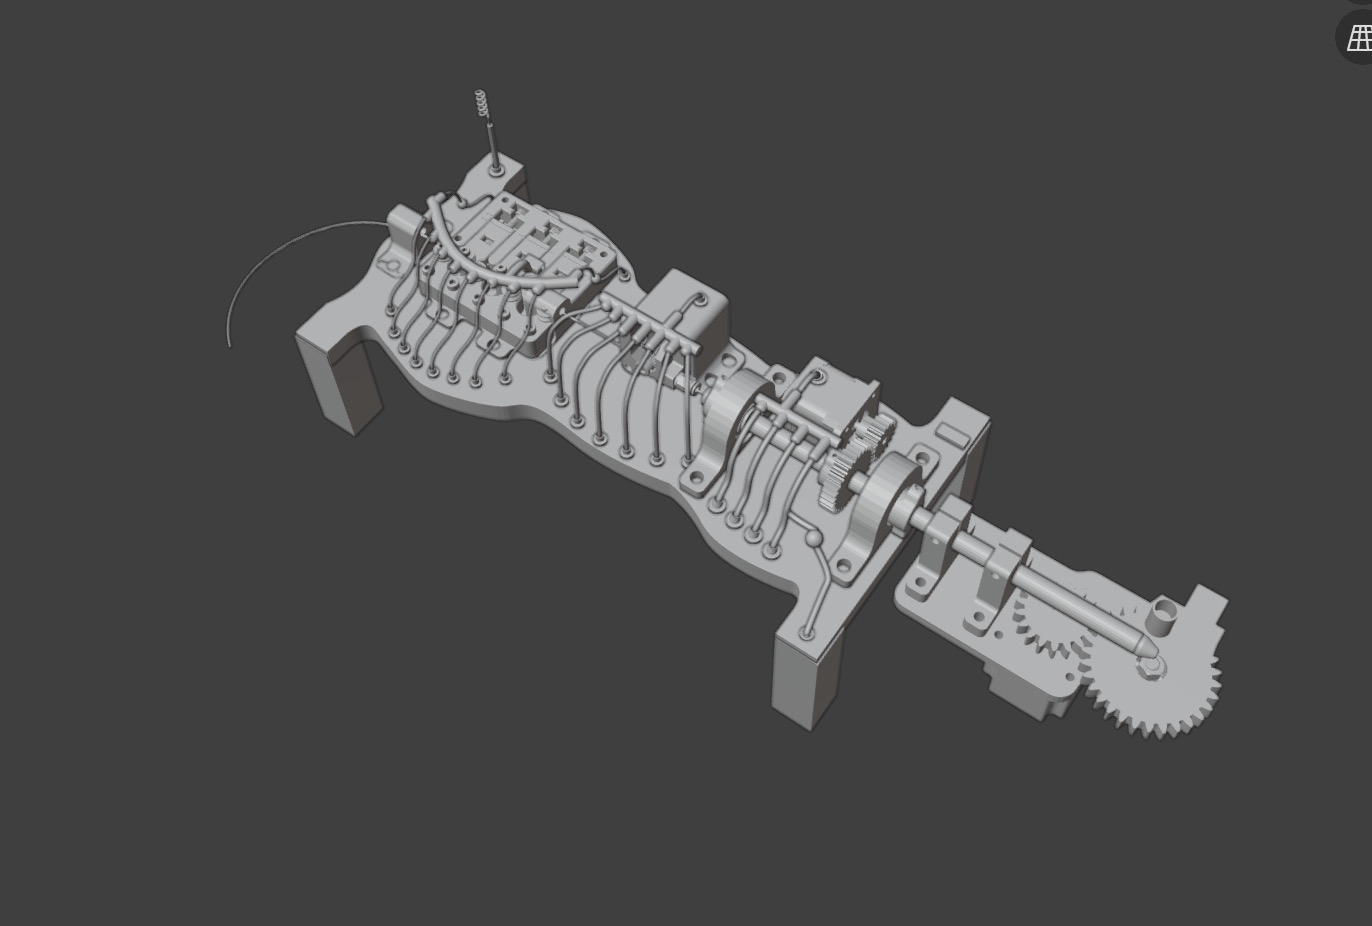
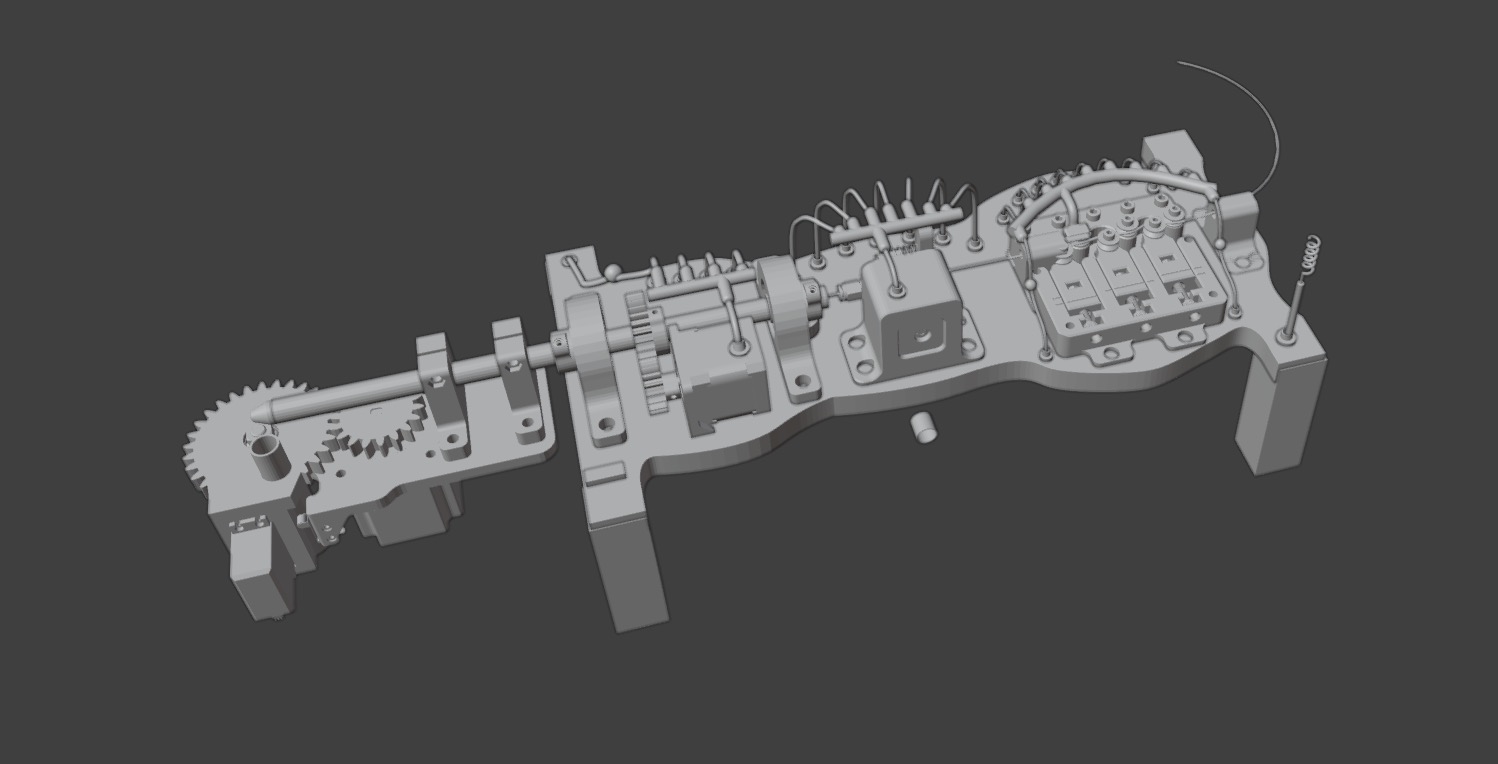
The original idea we were trying to replicate was this, which had avaiblable 3D files.
After some fixes by Andrew, the machine was looking like this:
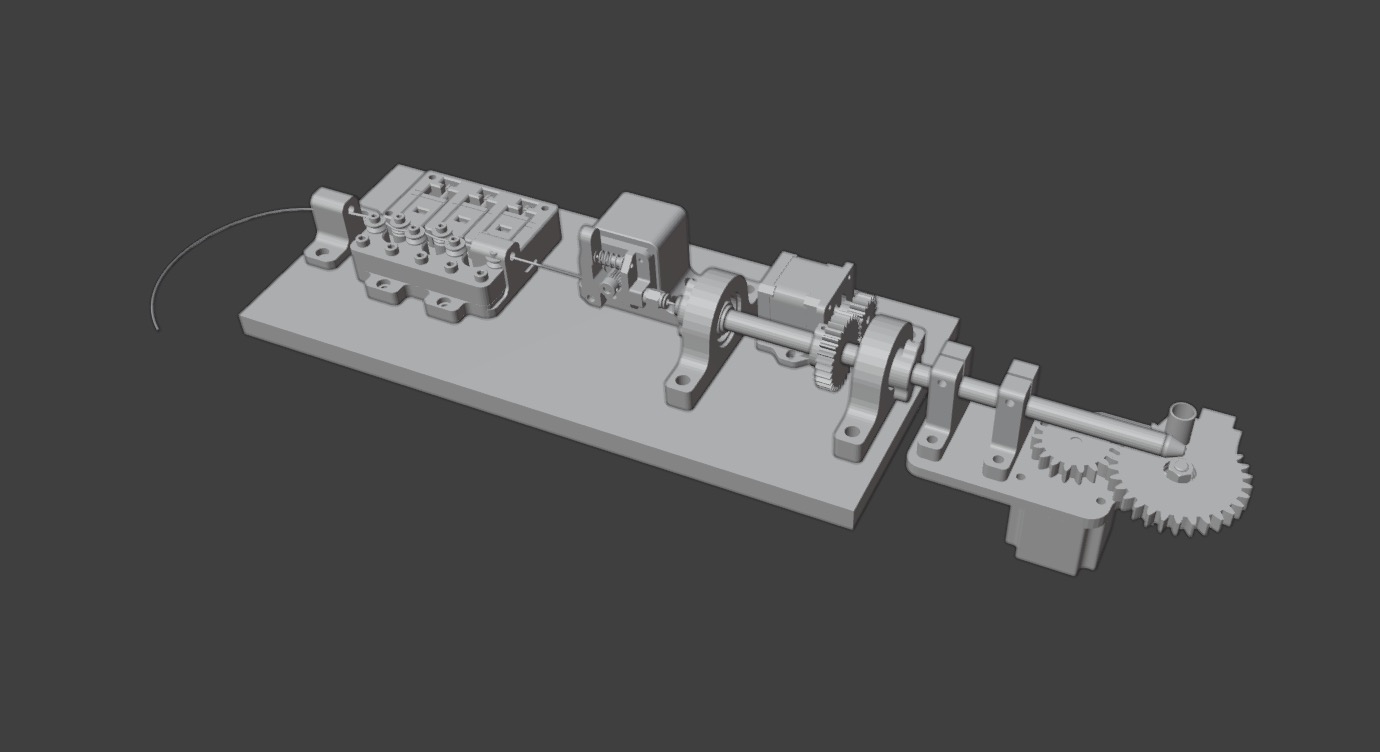
Hm... not very.. appealing. Let's think this through.
What about something like this?
Or something like this?
Maybe all at once.
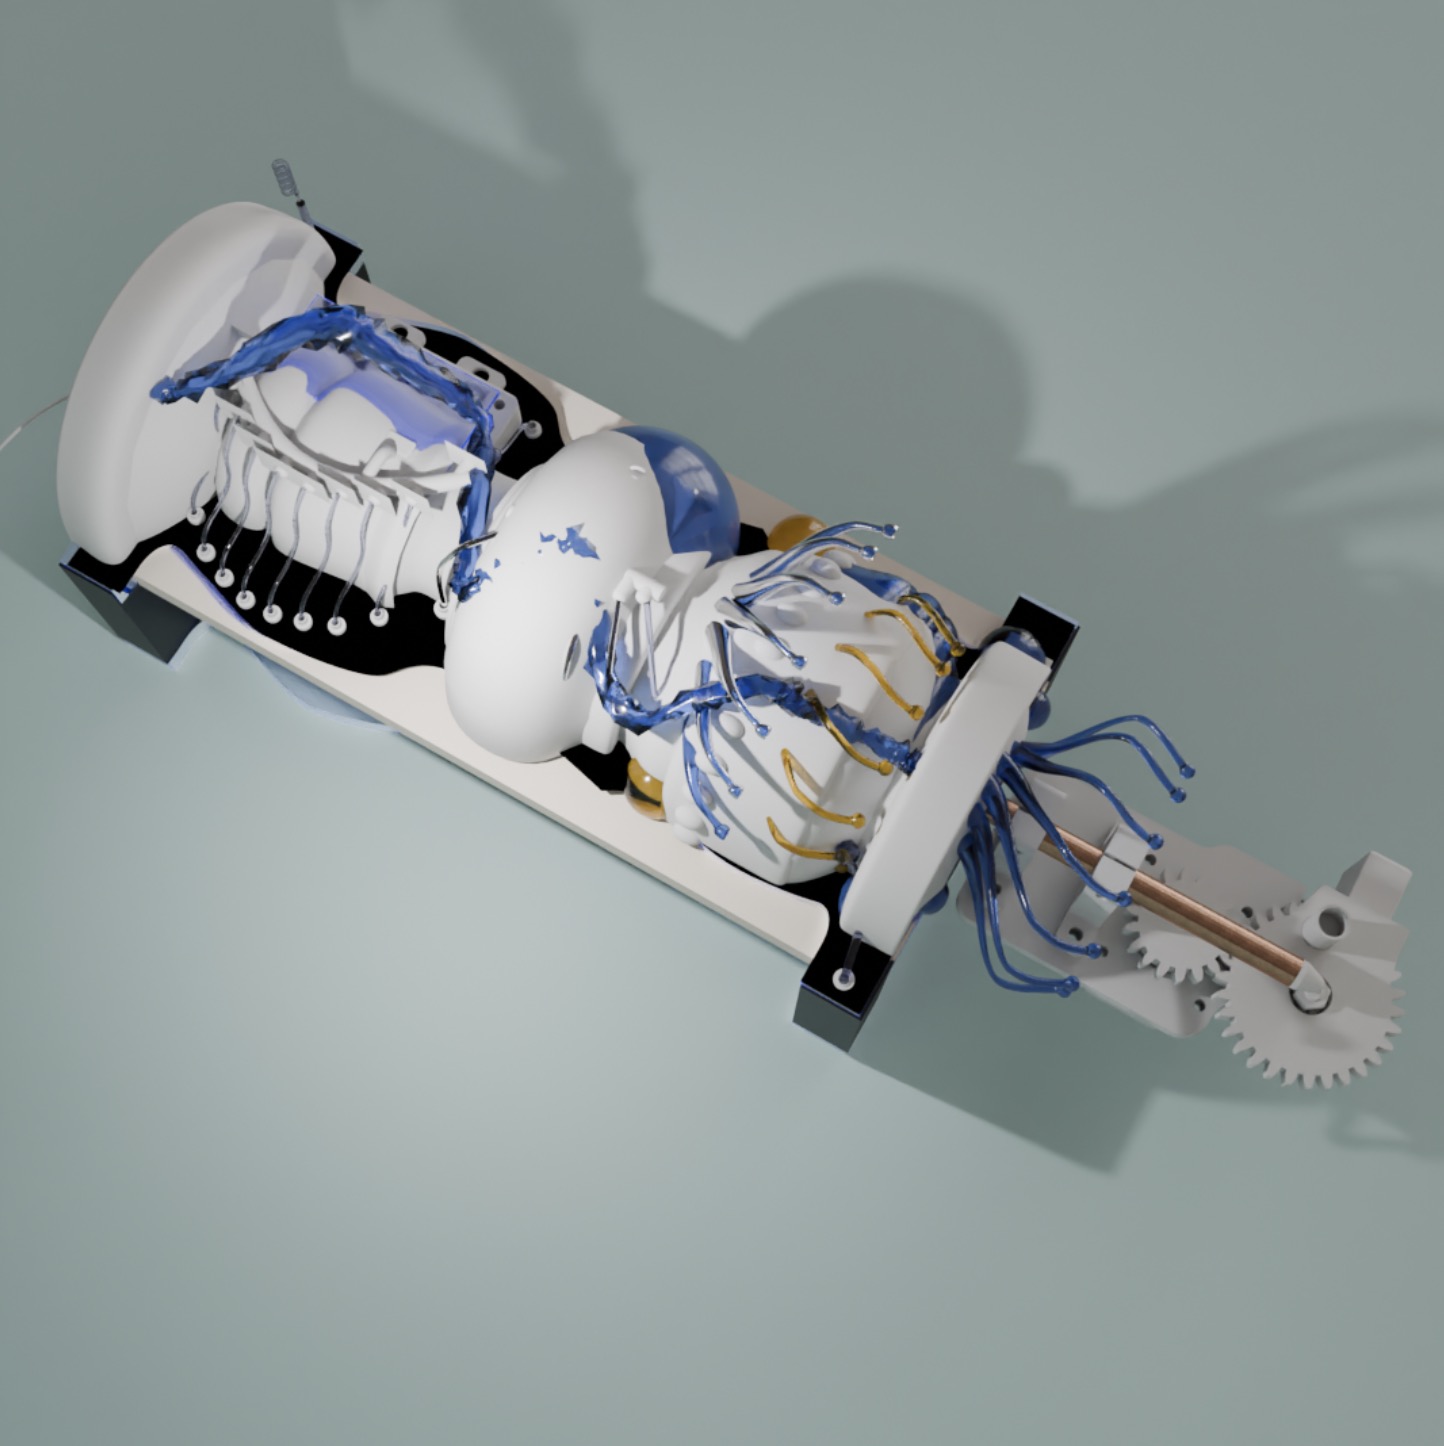
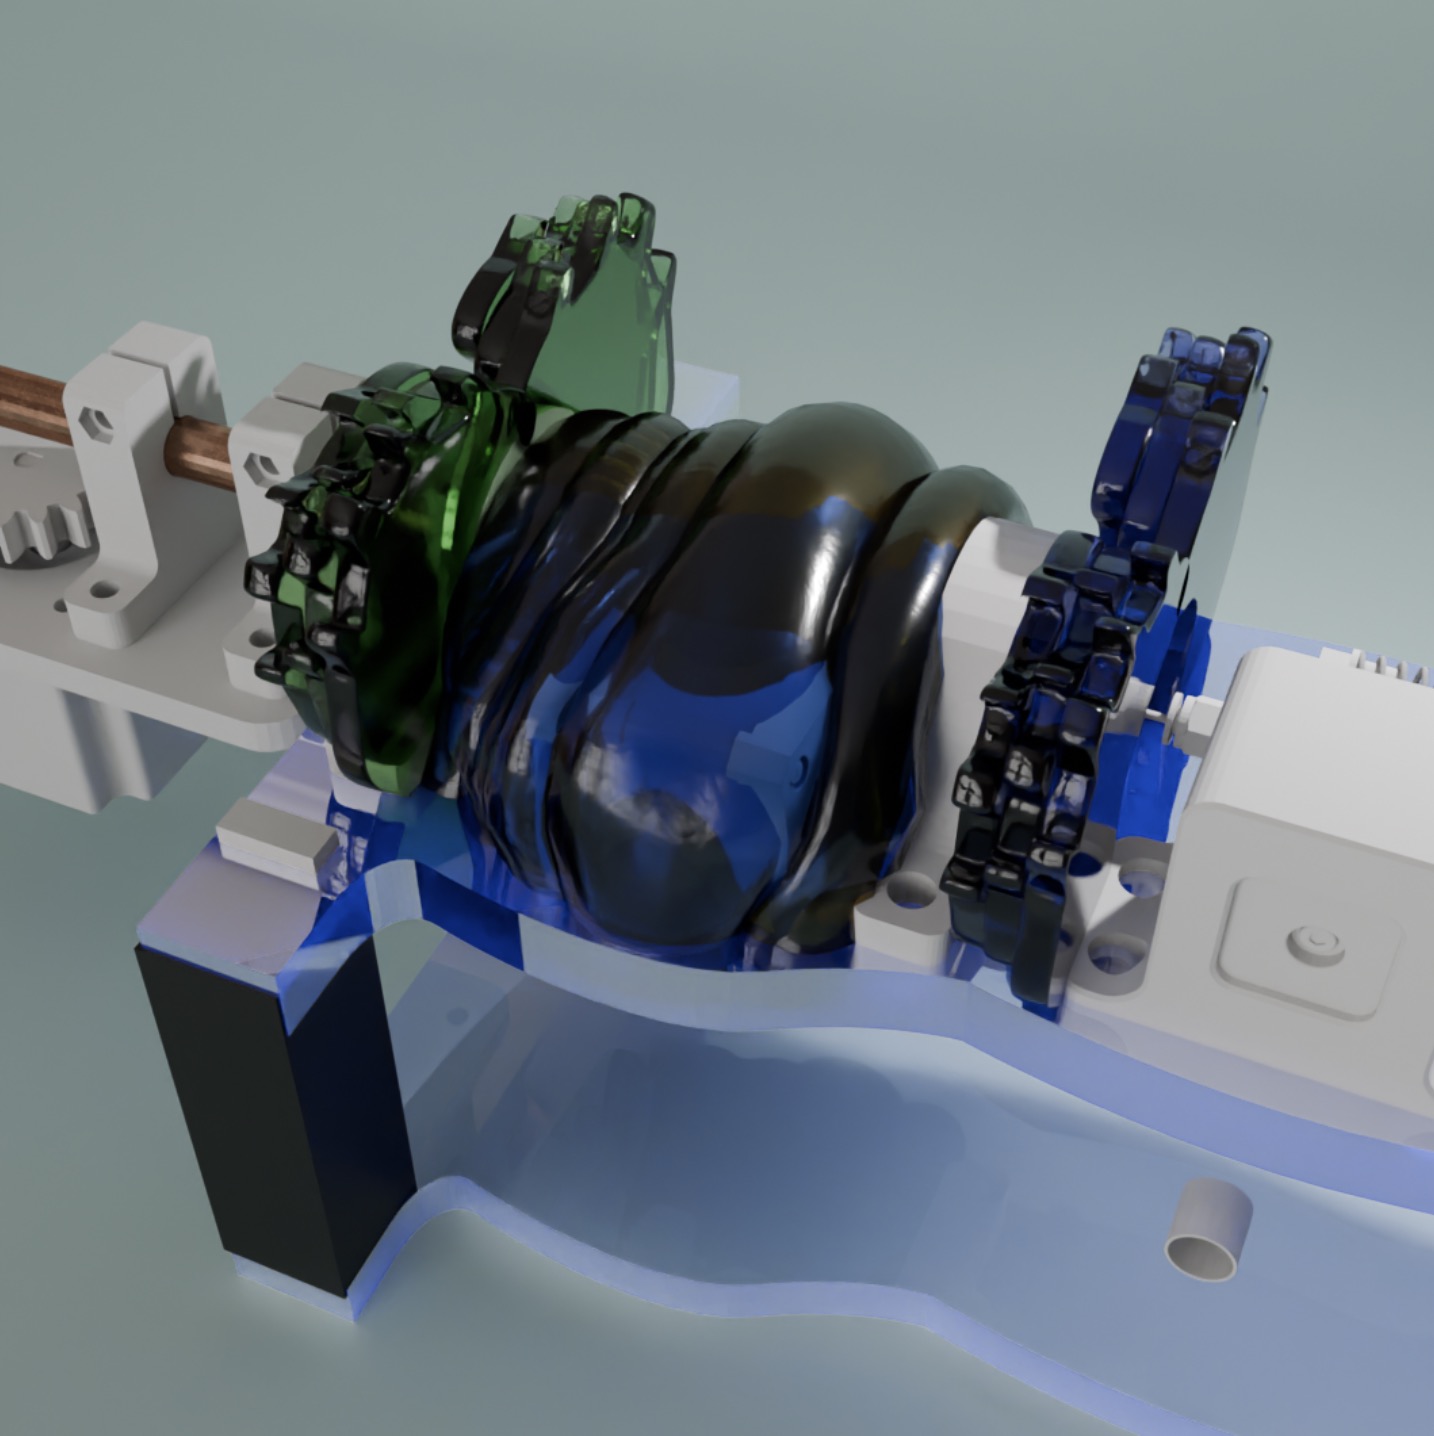
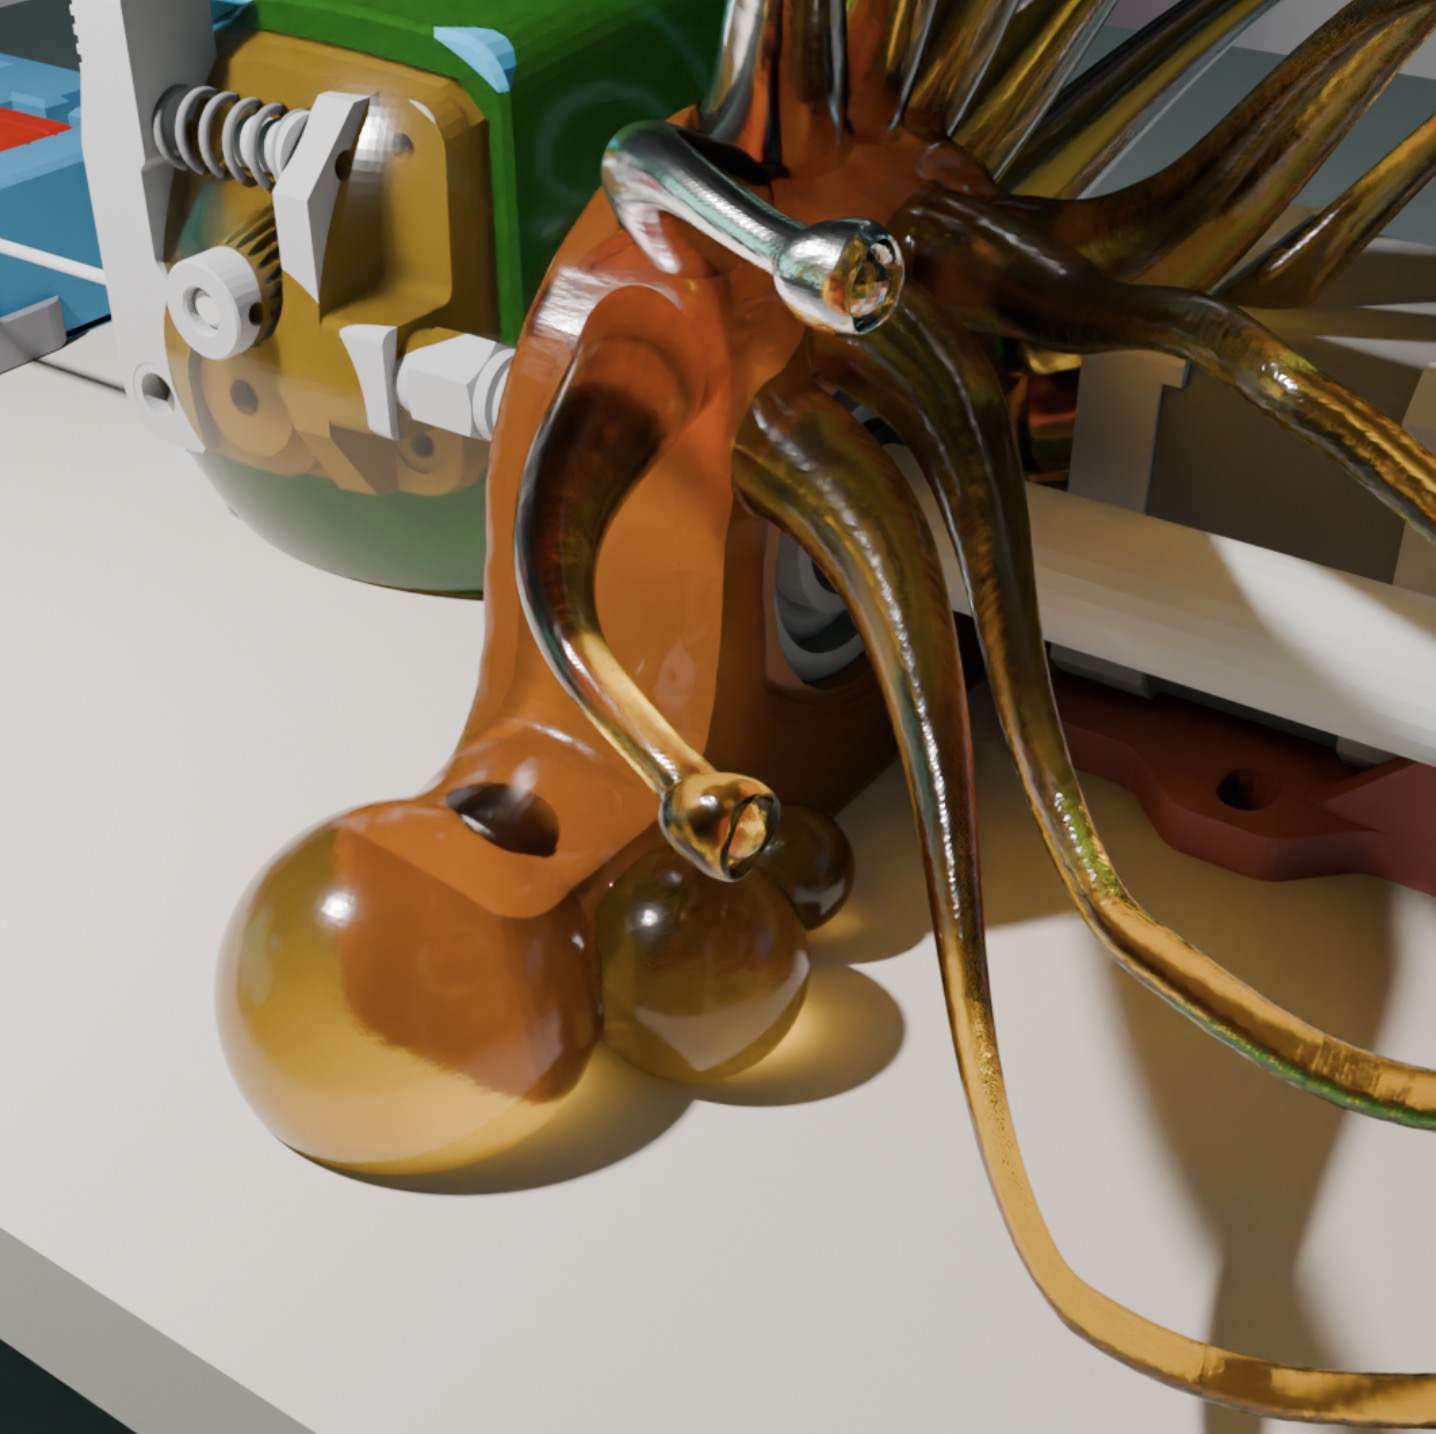
At the end, I came up with something like this:
Let's see with color now.
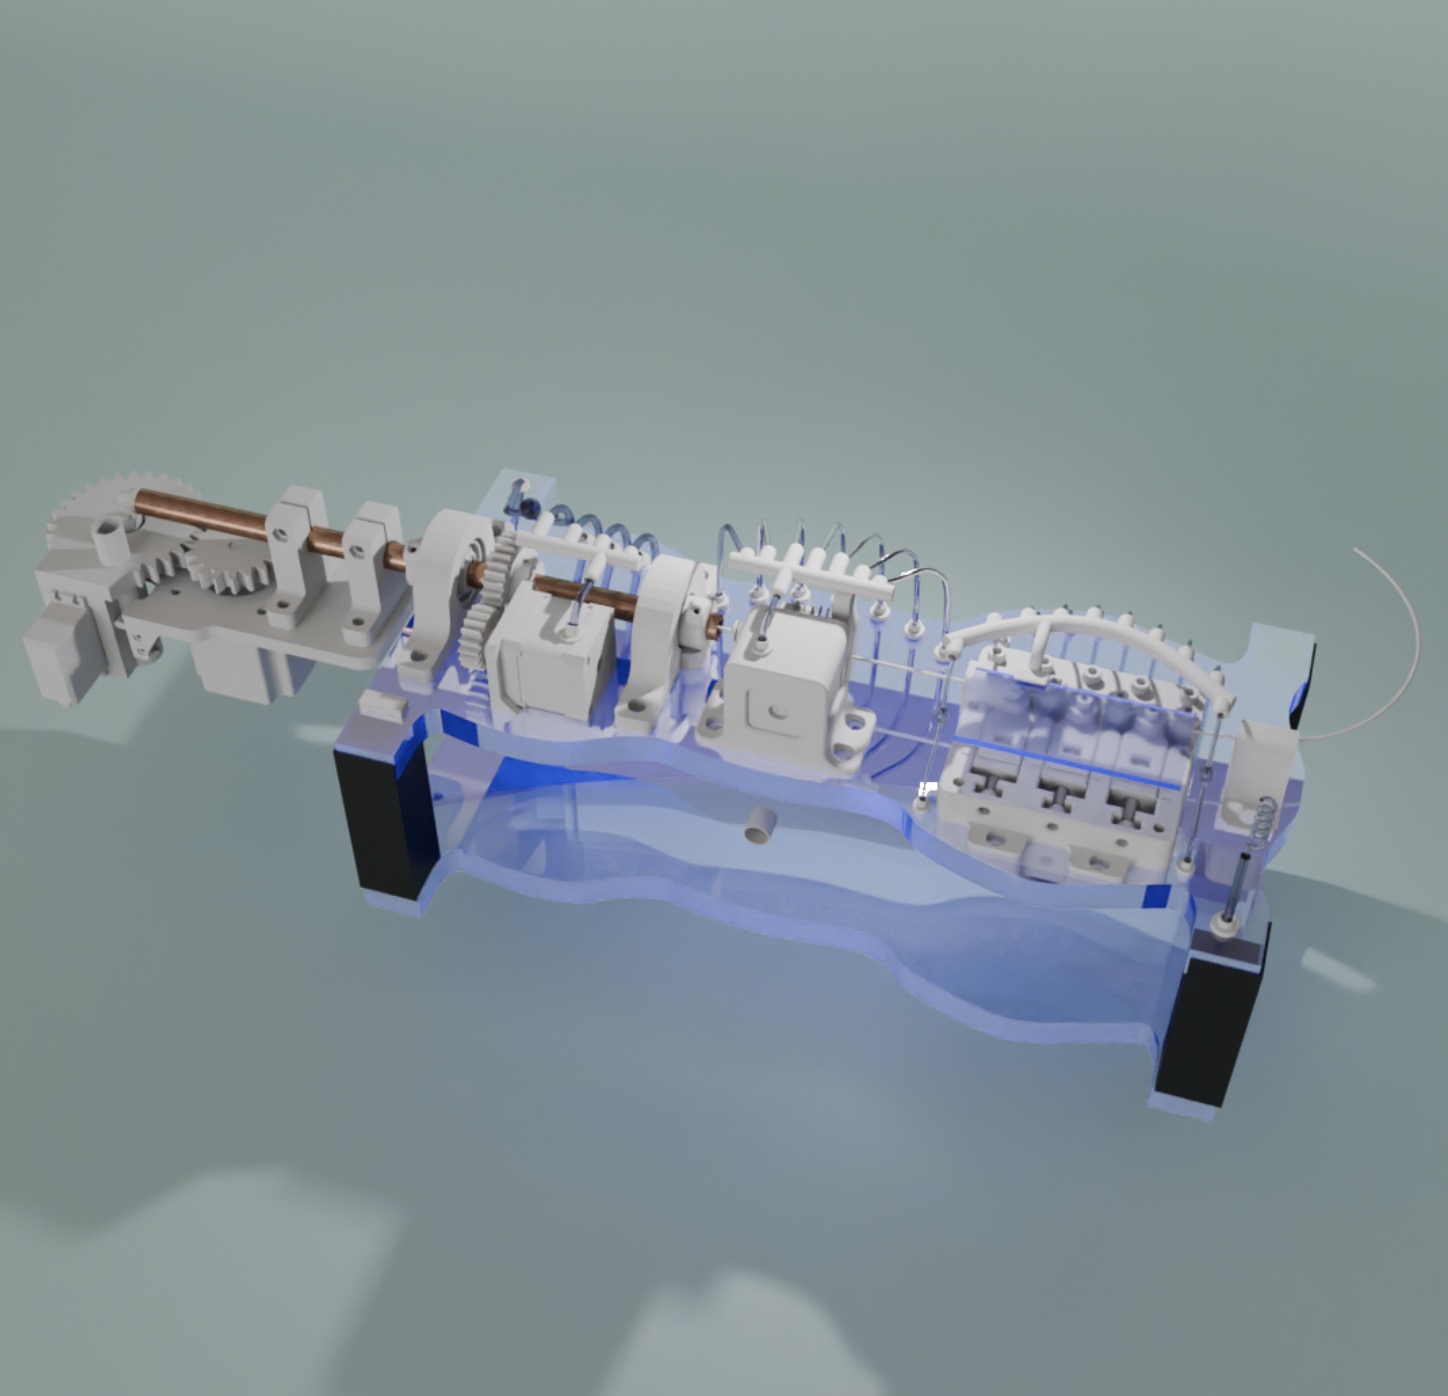
The goal was to incorporate into the design a visual representation of the wire bending results. I wanted the machine itself to showcase these outcomes. In my vision, this design would also enclose all the gears and motors, making the whole device more compact.
Making It Real
I chose to bring this design to life using acrylic, resin printing, and PLA printing.
I created a new base with a shape that outlines only the essential components.
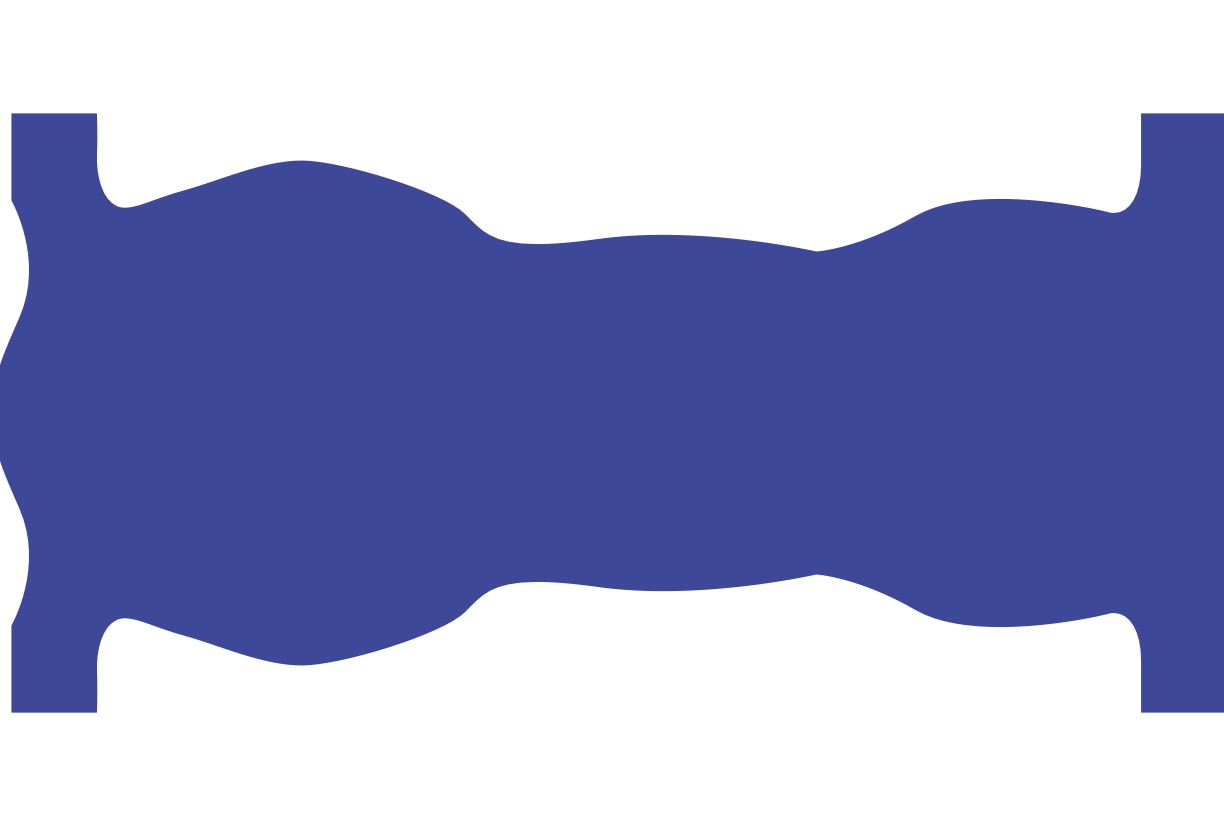
You can access the .dxf and .svg file [here](../images/week-12/base.zip)
After havind the shape laser-cut, I found a resin that matched the color of the acrylic. After some testing, I went ahead and printed these parts.
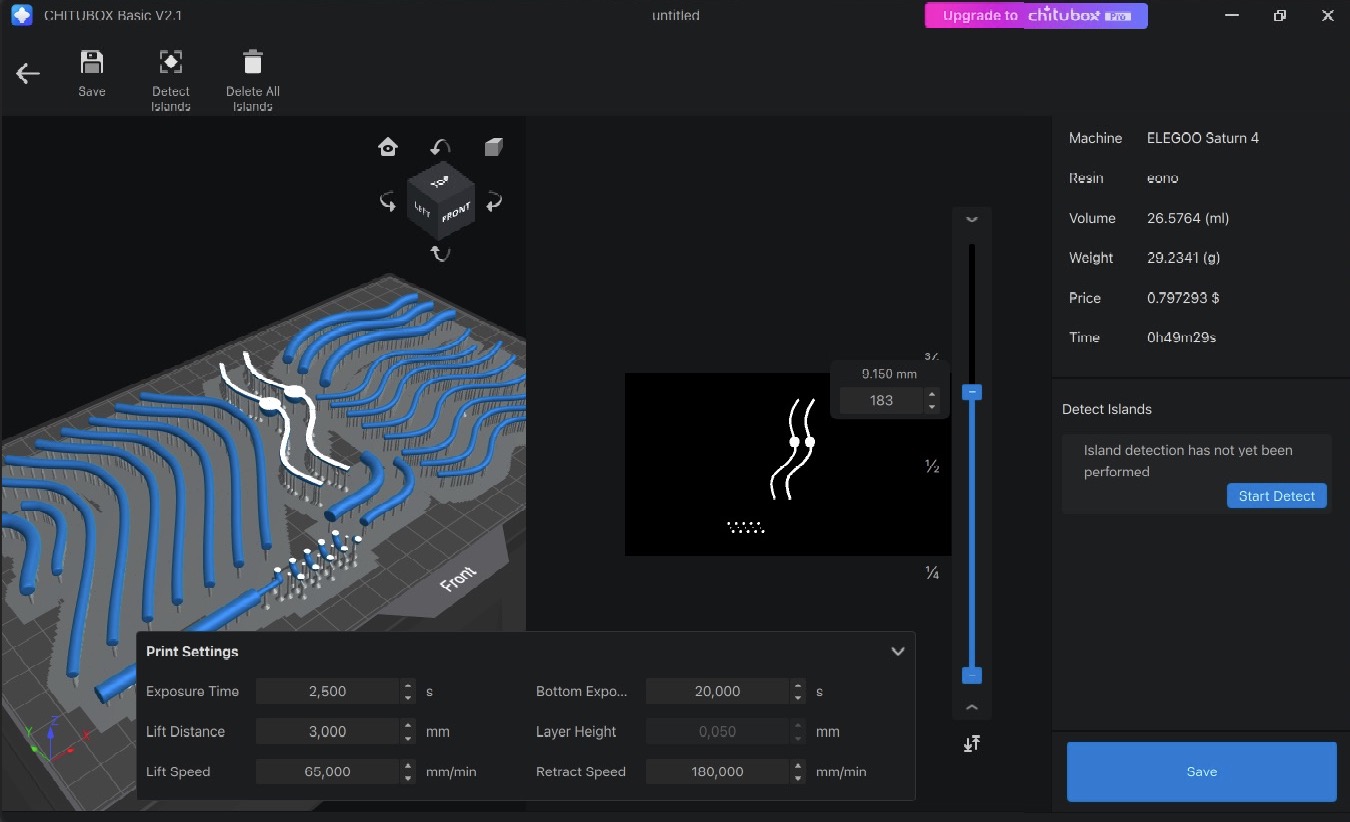
I loved it... (ෆ˙ᵕ˙ෆ)♡
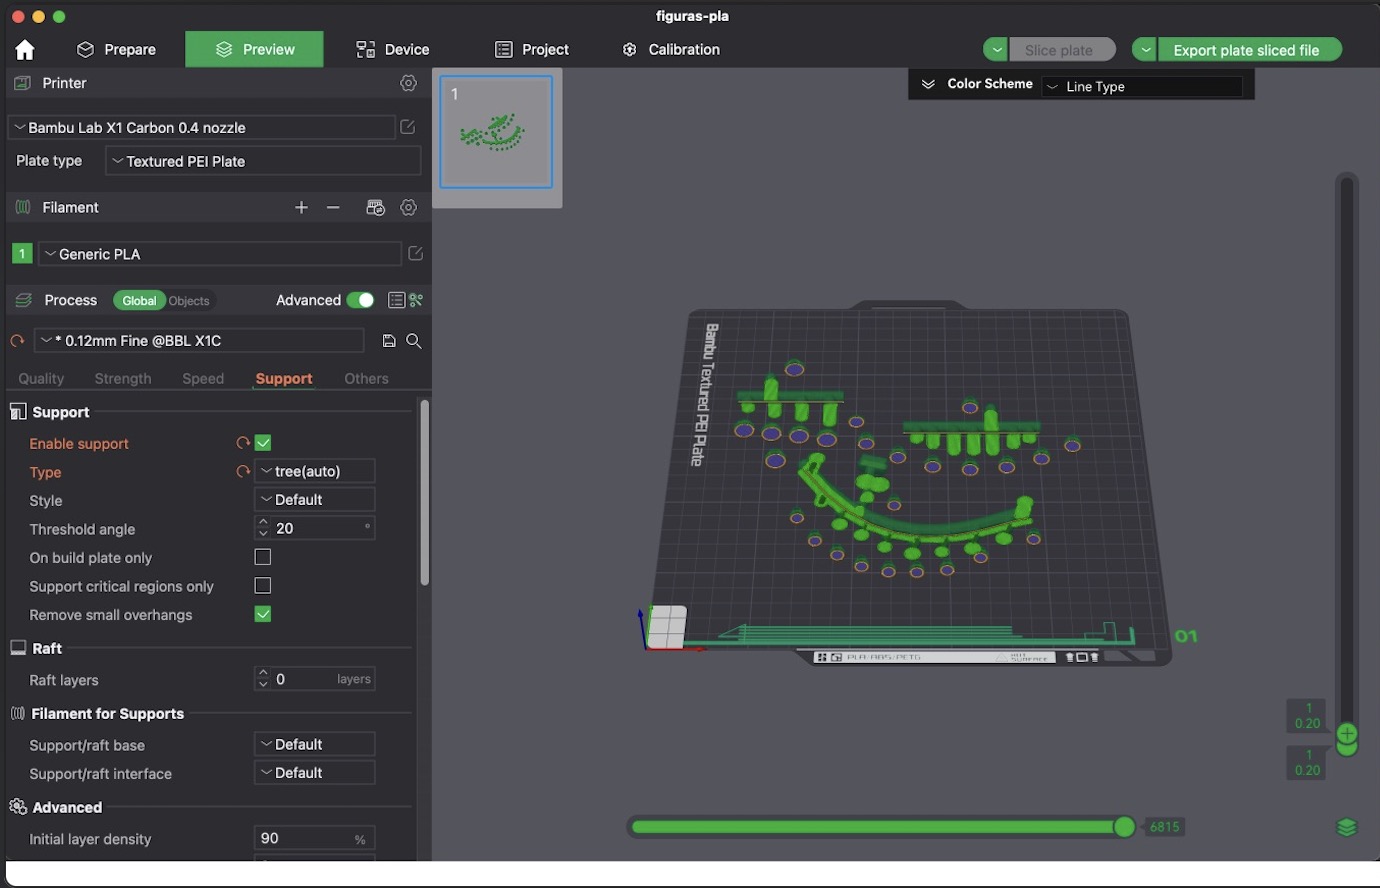
Then I printed the PLA parts in white.
Finally I tried to assemble everything. But as I was working on this, so were my colegues, and as we tried to put it together I realized my structure wasn't really stable. More like weak and in-the-way. So I waited until my classmates were done so the prints wouldn't bother or be damaged. But in the end I understood that less is more. And I am genuinely happy with how the final base turned out.
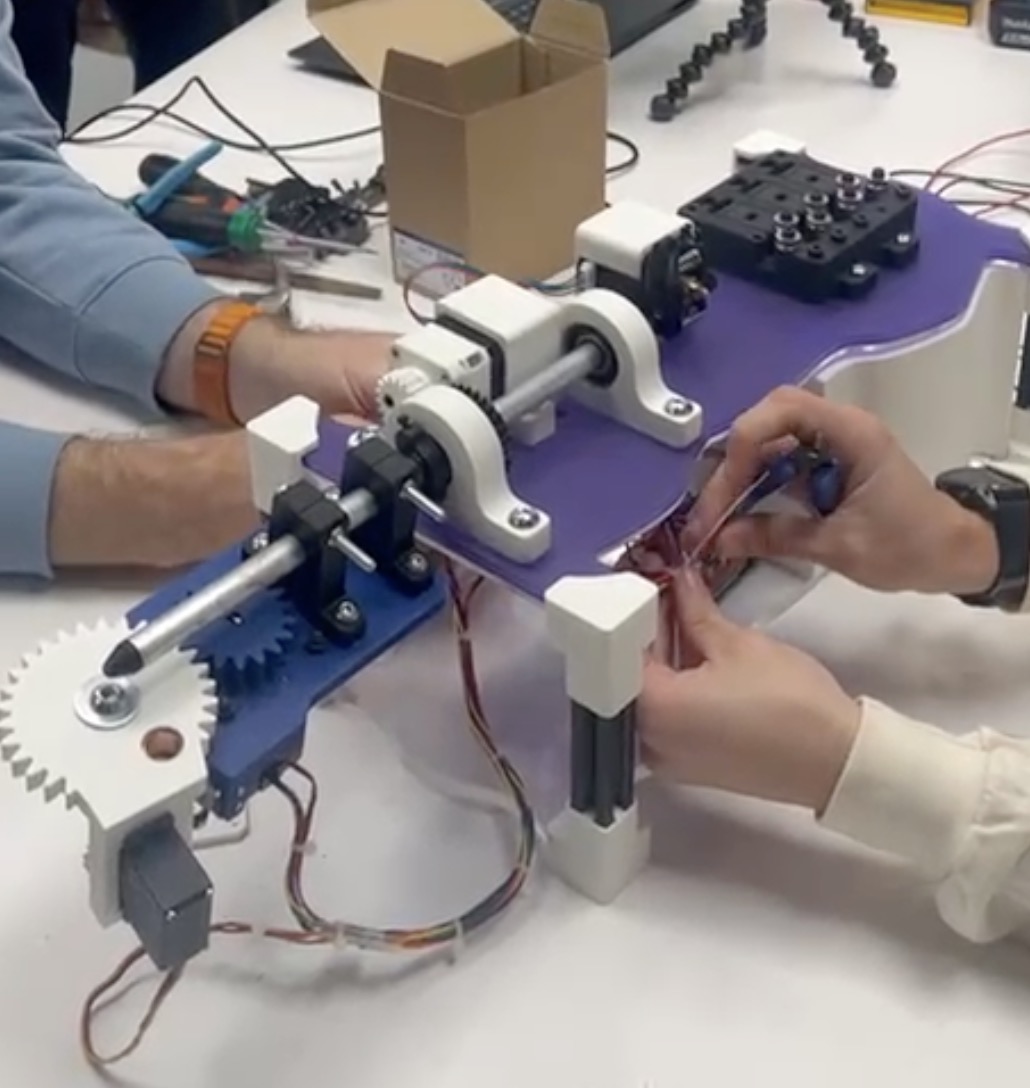
This was enough to make me proud. Such a pretty wire bender!
Listed Possible Improvements for This Project
The team listed several thoughtful improvements:
-
Use prebuilt electronics (e.g., 3D printer control boards running Klipper) instead of custom boards to simplify debugging and setup.
-
Improve structural rigidity, especially the front pipe and Z-axis motor mount.
-
Upgrade feeder grip by limiting material types and replacing the brass gear with a harder one.
-
Avoid multi-layer acrylic, which is fragile—use thicker single-layer sheets instead.
-
Redesign from scratch might be more efficient than continuing with this architecture.
My personal Improvents:
-
Design larger parts to ensure stable and sturdy designs.
-
Carefully reconsider fit tolerances, especially when combining different materials like resin and PLA. Never underestimate the importance of precise fitting.
-
When working on a group project with multiple people handling the object, make sure your design doesn’t interfere with others' work.
I’m glad to have had this experience. Even if the final result wasn’t what I or the group originally envisioned. These lessons I’ve learned are ones I’ll carry with me into every future project, like they’re tattooed in memory.
Also working with my classmates was extremely fun! And I know I would have never tried out a project like this if it hadn't been picked, which makes it better for me because it really felt like a challenge! <3 I had never worked with shapes like these and I definetely learnead a lot.
Bonus Track
While things came together, on of my roles was to visually document what happened so that I could put in a 1 minute video requiered for the global recitation. Check it out!
And don't forget to stop by our group assignments page where you can access all of the files and code.
Find us ;)