Wildcard Week
SB8000 Sewing Machine by Brother:
The SB8000 is a cutting-edge sewing machine manufactured by Brother, renowned for its precision, efficiency, and user-friendly design. Ideal for both beginners and seasoned sewists, this machine offers a wide range of features to elevate your sewing projects to new heights.
Key Features:
Advanced Stitching Capabilities: The SB8000 boasts an extensive array of built-in stitches, including decorative, utility, and heirloom stitches, allowing you to explore your creativity and customize your projects with ease.
Automatic Thread Cutter: Say goodbye to tedious manual cutting with the SB8000's automatic thread cutter, which snips your threads with precision at the touch of a button, streamlining your workflow and saving you valuable time.
Large LCD Display: The machine features a large, easy-to-read LCD display that provides clear stitch selection and customization options, ensuring intuitive operation and minimizing the learning curve for beginners.
Wide Workspace: With its spacious work area and extended sewing table, the SB8000 accommodates large projects comfortably, providing ample room for maneuvering fabric and enhancing your sewing experience.
Advanced Needle Threader: Thread your needles effortlessly with the SB8000's advanced needle threading system, which guides the thread through the needle with precision, even for those with dexterity challenges.
Speed Control: Adjust the sewing speed to suit your preference and project requirements with the SB8000's variable speed control feature, allowing for precise stitching and greater control over intricate details.
Ink Stitch Extension for Inkscape:
Ink Stitch is a powerful extension for Inkscape, a popular open-source vector graphics editor, designed to facilitate the creation and customization of embroidery designs for compatible sewing machines, including the Brother SB8000.
Key Features:
User-Friendly Interface: Ink Stitch integrates seamlessly with Inkscape, providing a familiar and intuitive interface for users to design and edit embroidery patterns effortlessly.
Extensive Design Tools: Explore a wide range of design tools and features within Inkscape, including drawing tools, text manipulation, and path editing, to unleash your creativity and bring your embroidery visions to life.
Embroidery Stitch Support: Ink Stitch supports various embroidery stitch types, allowing you to create intricate patterns with satin stitches, fill stitches, and more, catering to diverse design preferences and project requirements.
Export Compatibility: Easily export your embroidery designs in the appropriate file format compatible with the Brother SB8000 sewing machine, ensuring seamless integration and flawless execution of your creations.
Community Support: Benefit from a vibrant community of users and developers who contribute to the ongoing improvement and support of Ink Stitch, providing valuable resources, tutorials, and assistance to enhance your embroidery journey.
How to Install Ink/Stitch and Add It to Inkscape on Windows
Step 1: Download Inkscape
First things first, we need Inkscape. Here's how you can get it:
- Head over to the Inkscape website.
- Click on the download link for Windows.
- Once the download is finished, run the installer and follow the on-screen instructions to get Inkscape set up on your computer.
Step 2: Download Ink/Stitch
Next, let's grab Ink/Stitch. This is the plugin that turns Inkscape into an embroidery powerhouse.
- Go to the Ink/Stitch page.
- Look for the latest version of Ink/Stitch and download the
inkstitch-vX.X.X-windows.zipfile. (ReplaceX.X.Xwith the latest version number.)
Step 3: Install Ink/Stitch
Now, let's get Ink/Stitch installed:
- After downloading the
inkstitch-v3.0.1-windows.exefile, double-click on it to run the installer. - Follow the on-screen instructions to install Ink/Stitch.
Step 4: Verify Installation
Time to check if everything's in place:
- Open Inkscape.
- Click on
Extensionsin the menu bar. - You should see
Ink/Stitchlisted there. If you do, you're all set!
Step 5: Using Ink/Stitch
Here's where the fun begins:
- Create or open a design in Inkscape.
- To use Ink/Stitch, go to
Extensions>Ink/Stitchand pick from the options available (like Params, English, Commands). - Follow the prompts and tweak the settings as needed to start embroidering your design.
Troubleshooting
If you run into any issues, don't worry:
- Make sure the
inkstitchfolder is in the right place (the Inkscapeextensionsdirectory). - Restart Inkscape if you moved any files around while it was open.
- For more help, check out the Ink/Stitch GitHub page for updates or additional troubleshooting tips.
Design a Real Madrid Logo Using Inkscape and Ink/Stitch Extension for SB8000 Sewing Machine
Introduction
In this documentation, I will walk you through the steps to design the Real Madrid logo using Inkscape and the Ink/Stitch extension to generate the G-code required for an SB8000 sewing machine. This process will allow us to create a beautiful embroidered version of the Real Madrid logo.
Tools and Materials
- Inkscape - A free and open-source vector graphics editor.
- Ink/Stitch Extension - An Inkscape extension for creating embroidery designs.
- SB8000 Sewing Machine - A computerized sewing machine capable of reading G-code.
- Real Madrid Logo Image - A high-quality image of the Real Madrid logo that I get it from this website.
- Computer - For designing and generating the G-code.
- USB Drive - To transfer the G-code file to the sewing machine.
- Embroidery Hoop and Fabric - For the embroidery process.
Step-by-Step Guide
Step 1: Setting Up Inkscape and Ink/Stitch
- Download and Install Inkscape: If you haven't already, download and install Inkscape from Inkscape's official website.
- Install Ink/Stitch Extension: Download the Ink/Stitch extension from Ink/Stitch's page. Follow the installation instructions provided on the page.
Step 2: Importing the Real Madrid Logo
- Open Inkscape: Launch Inkscape on your computer.
- Import Image: Go to
File > Importand select the high-quality image of the Real Madrid logo. - Trace Bitmap: With the logo selected, go to
Path > Trace Bitmap. Adjust the settings to get a clean vector version of the logo. This step might require some tweaking to get the best result. ClickOKonce satisfied, then delete the original bitmap image.
Step 3: Preparing the Design for Embroidery
- Simplify the Design: Simplify the traced paths to reduce the complexity of the design while maintaining its recognizability. Use the
Simplifyoption underPath. - Adjust Stroke and Fill: Set the stroke width and fill color as needed. Typically, the stroke should be set to a width that matches the thread thickness you plan to use.
- Convert to Embroidery Path: Select the entire design, then go to
Extensions > Ink/Stitch > Params. Adjust the parameters such as stitch type, stitch length, and underlay settings according to your needs.
Step 4: Generating the G-Code
- Preview the Design: Go to
Extensions > Ink/Stitch > Simulate. This will allow you to see a preview of how the embroidery will look. - Save the G-Code: Once satisfied with the preview, go to
Extensions > Ink/Stitch > Embroider. Choose theG-codeformat and save the file to your computer.
Step 5: Transferring the G-Code to the Sewing Machine
- Copy G-Code to USB Drive: Transfer the saved G-code file to a USB drive.
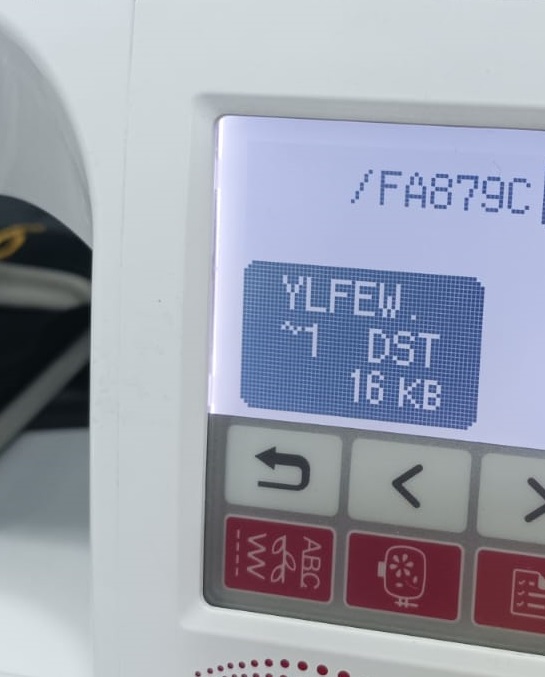
- Load G-Code on SB8000: Insert the USB drive into the SB8000 sewing machine. Navigate to the file on the machine's interface and load it.
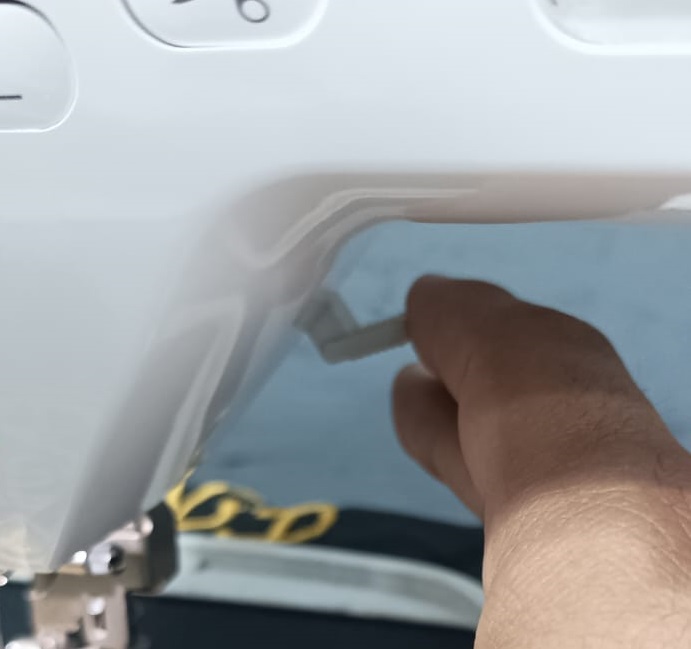
Step 6: Setting Up the Sewing Machine
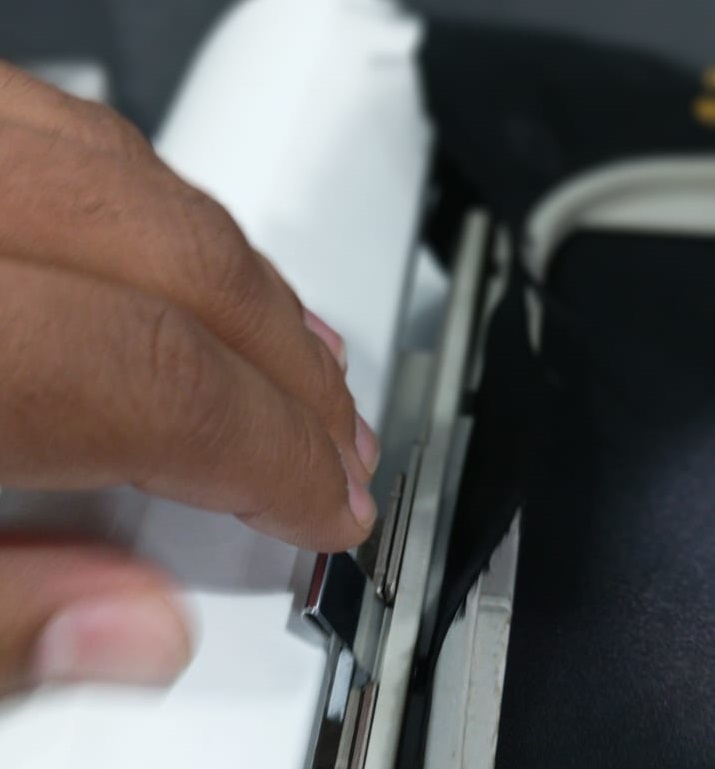
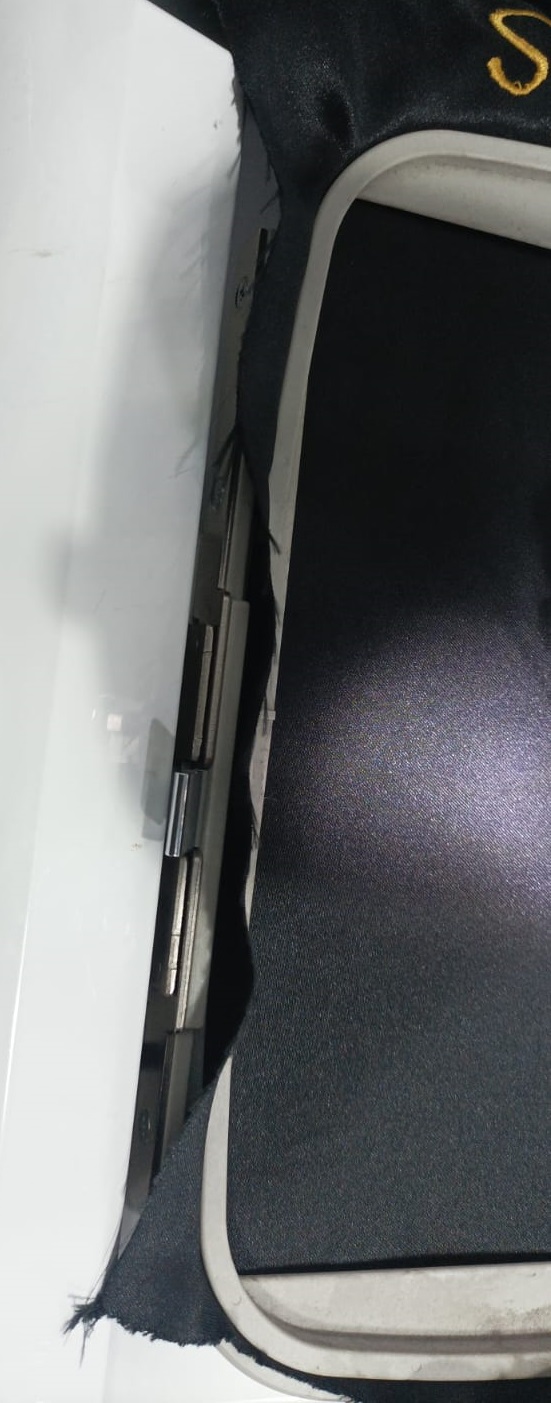
- Hoop the Fabric: Place the fabric in the embroidery hoop and attach it to the sewing machine.
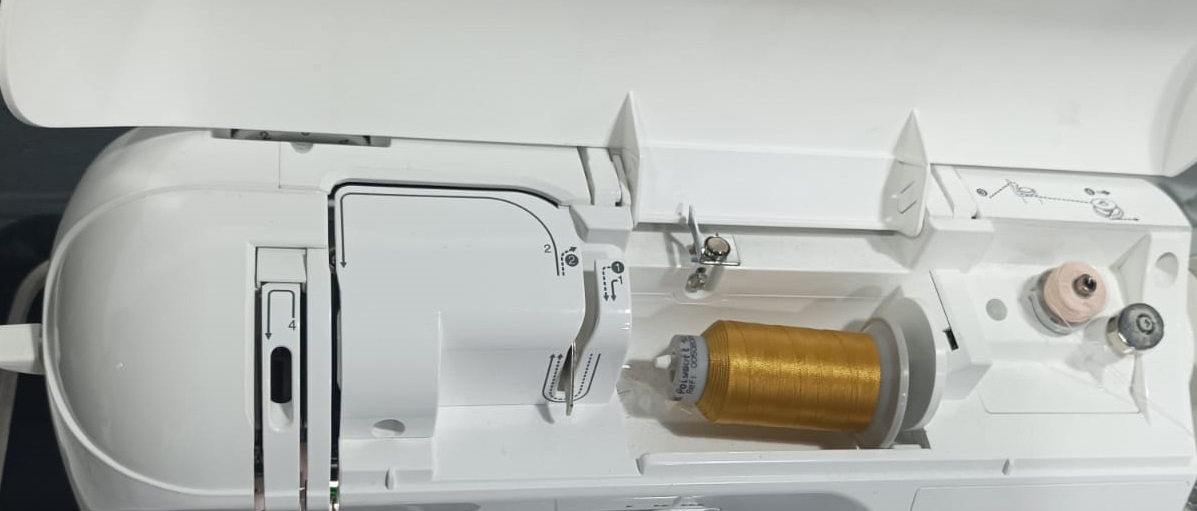
- Thread the Machine: Ensure the sewing machine is threaded with the appropriate color threads.
- Position the Hoop: Position the hoop so that the needle is aligned with the starting point of the design.
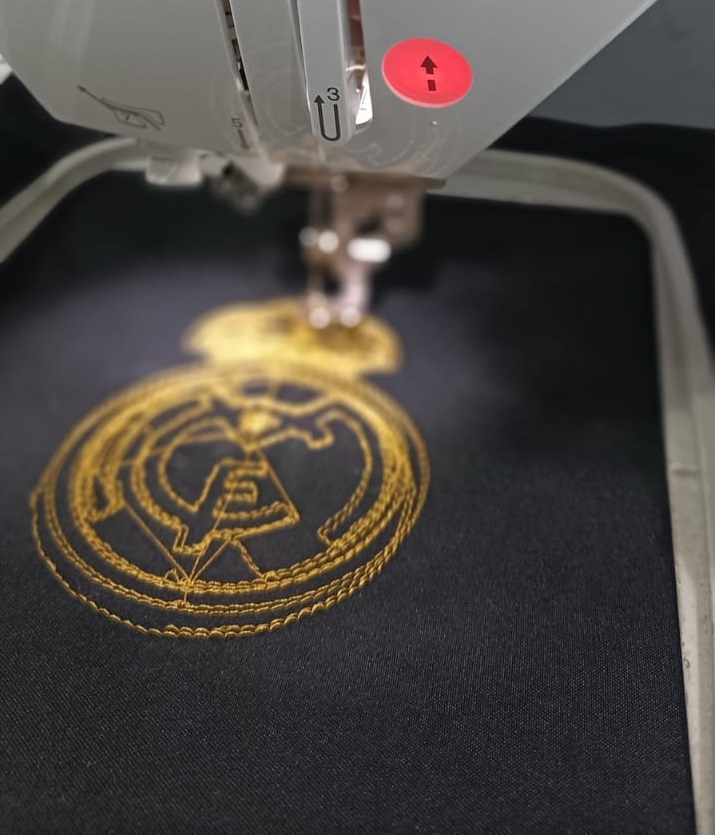
Step 7: Embroidering the Logo
- Start the Embroidery: Begin the embroidery process by starting the machine. Monitor the progress and ensure the machine runs smoothly.
- Change Threads if Necessary: If the design requires multiple thread colors, pause the machine to change threads as needed.
Conclusion
Following these steps, I successfully created an embroidered Real Madrid logo using Inkscape, the Ink/Stitch extension, and an SB8000 sewing machine. However, my initial attempt had issues with fabric movement during sewing, resulting in a poor outcome. To avoid this, ensure you use a stabilizer and adhesive to keep the fabric in place. This process can be applied to any logo or design, allowing for a wide range of customized embroidery projects. Happy stitching!