Principles and Practices, Project Management
Starting My FabAcademy Journey
Here, I'm starting my new journey as a FabAcademy student. Although everyone says it's challenging and exhausting, we should remember that great creativity often arises from overcoming obstacles. In this 6-month journey, topics will be covered weekly, along with assigned tasks to be completed. The assignments for the first week are:
- Plan and sketch a potential final project.
- Work through a Git tutorial.
- Build a personal website describing me and my final project.
- Upload my work to the website.
With determination and perseverance, I embark on this transformative journey, ready to learn, create, and grow.
The journey began with exploring the fundamentals of website development, discovering that websites are primarily built using Markdown and HTML for structure and CSS for customization. Initially daunting, the process of creating a functional and editable website became clearer, especially after choosing HTML for its flexibility. Resources like W3schools proved invaluable for learning HTML and CSS basics. Understanding the importance of version control, GitLab emerged as the repository platform, while Git became the essential tool for managing changes and collaborations in codebases. Git's distributed nature facilitates offline development and branching, enhancing collaboration and experimentation efficiency. The journey's purpose is to document progress in the course, making it accessible to supporters and family. Before downloading Git, selecting the right code editor, such as Visual Studio Code or Sublime Text, became another crucial step in enhancing productivity and efficiency in software development.
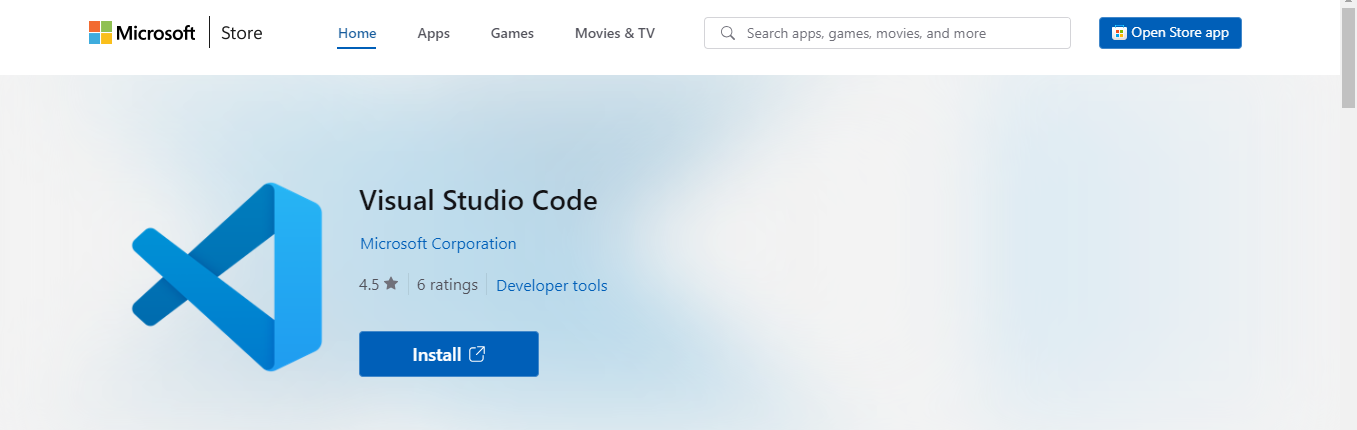
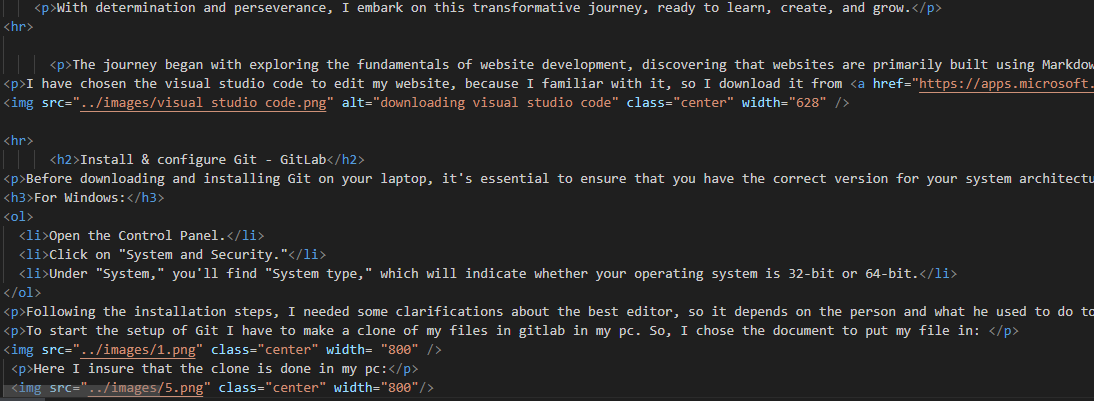
I have chosen the visual studio code to edit my website, because I familiar with it, so I download it from Microsoft.
Install & configure Git - GitLab
Before downloading and installing Git on your laptop, it's essential to ensure that you have the correct version for your system architecture. Here's how to determine if your system is 64-bit:
For Windows:
- Open the Control Panel.
- Click on "System and Security."
- Under "System," you'll find "System type," which will indicate whether your operating system is 32-bit or 64-bit.
Setting up a Git repository and adding files to it involves several steps. Here's a documented guide, including where to get the HTTPS link to clone your repository and the link to download the Git client for Windows:
Setting Up a Git Repository and Adding Files
Step 1: Download and Install Git for Windows
- Download Git for Windows:
- Go to the official Git website: https://git-scm.com/.
- Look for the download link for Git for Windows.
- Click on the link to download the installer.
- Run the installer and follow the installation instructions.
Step 2: Configure Git
Open Git Bash:
- After installing Git, you can find Git Bash in the Start menu or by searching your programs.
Configure Your Name and Email:
- In the Git Bash terminal, type the following commands, replacing "Your Name" and "your_email@example.com" with your name and email address:
arduinogit config --global user.name "Your Name" git config --global user.email "your_email@example.com"
Step 3: Create a Repository

Step 4: Add Files to the Repository
Create or Add Files to Your Project Directory:
- Add the files you want to include in your Git repository to your project directory.
Add Files to the Staging Area:
- In the Git Bash terminal, use the following command to add files to the staging area:
csharpgit add .This command adds all files in the current directory to the staging area. Replace
.with specific file names if you want to add only certain files.Commit Changes:
- After adding files to the staging area, commit the changes to the repository using the following command:
sqlgit commit -m "Initial commit"
Congratulations! You have successfully set up a Git repository, added files to it, and obtained the HTTPS link to clone your repository from GitHub. You can now continue to work on your project, commit changes, and push them to your remote repository as needed.
Following the installation steps, I needed some clarifications about the best editor, so it depends on the person and what he used to do to write different commands.
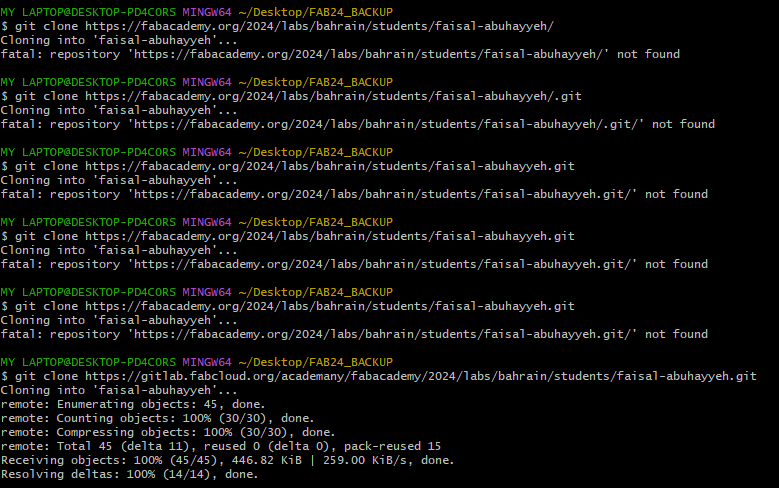
To start the setup of Git I have to make a clone of my files in gitlab in my pc. So, I chose the document to put my file in:

Here I insure that the clone is done in my pc:
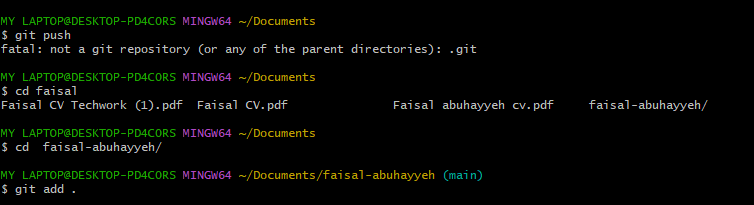
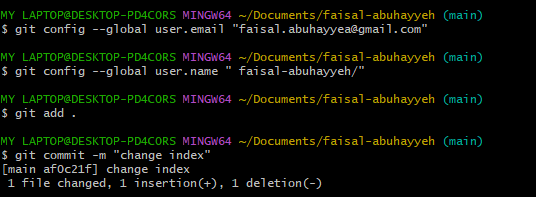
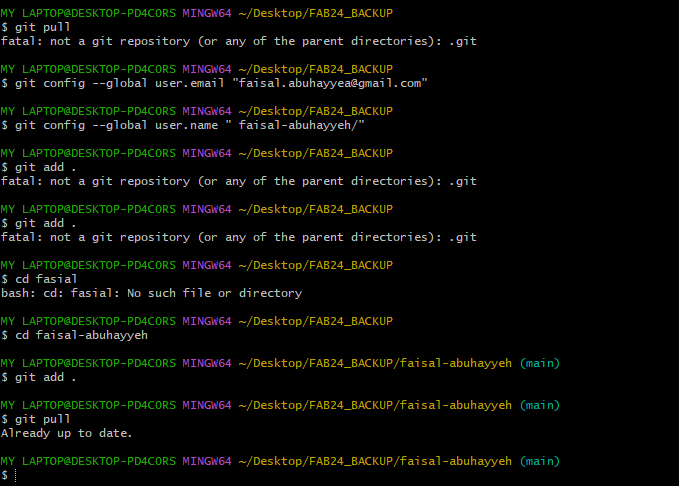
To start the setup of Git and let Git know who I am, I used the following commands:
- Configure user name : git config --global user.name “YOUR_USERNAME”
- Configure email address : git config --global user.email your@mail.com
Upload to the repository
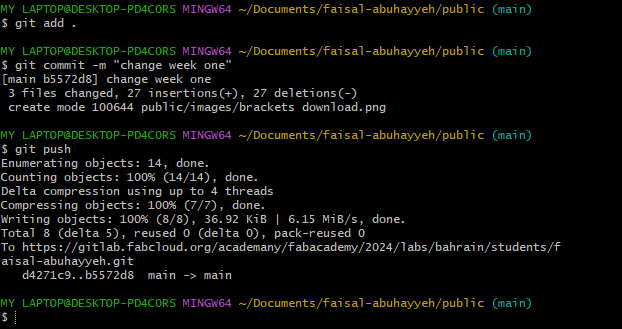
Now I'm ready to make my first push! (push means that let's upload all changes to the repository) So, I've righted-click as usual, then git bash and write the following commands in the terminal window:
- Git add . : adds everything I have changed to an index to prepare it for commit.
- Git commit -m "comment" : applies the changes only to the local directory with some explanatory comments about what I had changed.
- Git push : saves all changes to the remote repository.
For bad scenario a made a back up to the files just in case the files deleted for any reason. I made all the previous steps in new file a called it fab24 backup
I have just added here a command git pull to make my online changes and the local chnges are the same.
Working with html and css
Certainly! Exploring and using website development tools can greatly enhance your web development workflow and productivity. Here are a few popular tools and platforms that you might find helpful:
Text Editors/IDEs:
- Visual Studio Code (VS Code): A highly customizable and feature-rich code editor with support for various programming languages, extensions, and themes.
- Sublime Text: A lightweight yet powerful text editor with a minimalistic interface and extensive customization options.
- Atom: Another open-source text editor developed by GitHub, offering a wide range of features and plugins for web development.
CSS Frameworks:
- Bootstrap: A popular front-end framework for building responsive and mobile-first websites with pre-designed components and a grid system.
- Foundation: Similar to Bootstrap, Foundation provides a responsive grid system and customizable UI components for building modern websites and web applications.
JavaScript Libraries and Frameworks:
- React.js: A JavaScript library for building user interfaces, developed by Facebook. It allows for building interactive and dynamic web applications.
- Vue.js: A progressive JavaScript framework for building UIs and single-page applications. Vue.js is known for its simplicity and flexibility.
- Angular: A comprehensive JavaScript framework developed by Google for building scalable and feature-rich web applications.
Content Management Systems (CMS):
- WordPress: A widely-used CMS for creating blogs, websites, and e-commerce stores. It offers a user-friendly interface and a vast ecosystem of themes and plugins.
- Joomla: Another popular CMS known for its flexibility and extensibility, suitable for creating various types of websites.
- Drupal: A powerful CMS and web application framework that offers advanced functionality and customization options for developers.
Version Control Systems:
- Git: A distributed version control system used for tracking changes in code and collaborating with other developers.
- GitHub: A hosting service for Git repositories, offering collaboration features, issue tracking, and project management tools.
I started editing my website using html and css and here some of my work for week 1. I used a free template from this website html5up.
To edit your webpage do the following:
- Open a window for editing the webpage.
- Choose the page you want to edit from the left panel.
- Locate the section you want to edit, identified by HTML tags such as
<p>for paragraph and<h>for heading. - Remove the old text between the tags and replace it with your own text.
Here's a brief explanation of the HTML commands you mentioned:
Adding a Link:
<a href="The link">"The word"</a>: This HTML code creates a hyperlink where "The word" is displayed as the clickable text that users will see, and "The link" is the URL to which the link will direct users when clicked.
Adding an Image:
<img src="pic name.jpg" alt="words appear when the image not showing" width="104" height="142">: This HTML code inserts an image into the webpage.src: Specifies the URL or path to the image file.alt: Provides alternative text that is displayed if the image cannot be loaded.widthandheight: Sets the dimensions of the image in pixels.
By using these HTML commands and adjusting the attributes like width and height, you can customize the appearance and functionality of your webpage to include references, photos, and other multimedia content. If you have any more questions or need further assistance with HTML or web development, feel free to ask!
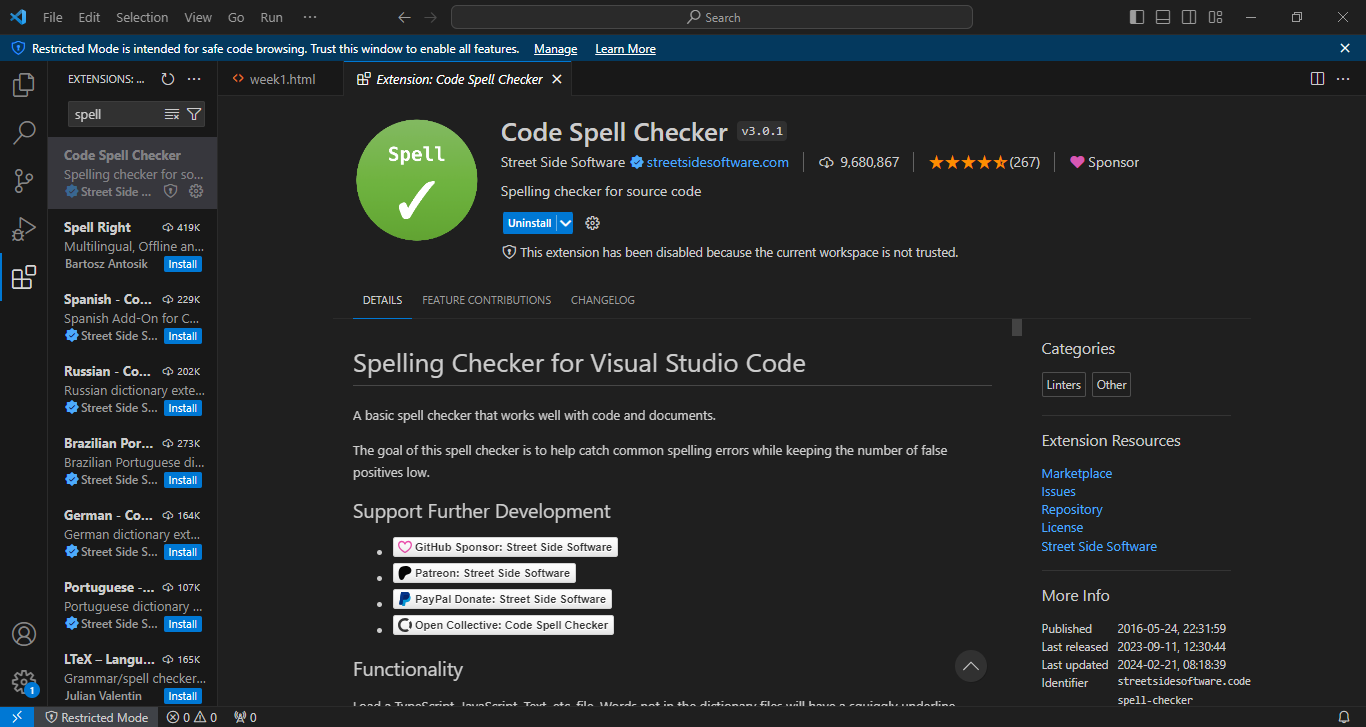
In Visual Studio Code (VSC), you can easily add a spell checker extension to help you catch spelling mistakes in your code and comments. Here's how you can do it:
Open Visual Studio Code: Launch Visual Studio Code on your computer.
Open Extensions View: Press
Ctrl+Shift+Xor click on the Extensions icon in the Activity Bar on the side of the window.Search for Spell Checker Extensions: In the Extensions view, type "spell checker" into the search bar. You'll see a list of spell checker extensions available for Visual Studio Code.
Select and Install an Extension: Browse through the list of spell checker extensions and choose the one that best fits your needs. One popular option is "Code Spell Checker" by Street Side Software. Click on the extension to view more details, then click the Install button to install it.
Configure Spell Checker (Optional): After installation, you can configure the spell checker extension according to your preferences. You may want to specify dictionaries, ignore certain file types, or customize other settings.
Start Using the Spell Checker: Once installed and configured, the spell checker will automatically highlight misspelled words in your code and comments as you type. You can right-click on a highlighted word to see suggested corrections or add the word to your dictionary if it's a valid term.
By adding a spell checker extension to Visual Studio Code, you can improve the readability and professionalism of your code by catching spelling errors and typos early in the development process.
Regarding the final project, I'm thinking to make an Exoskeleton For Rehabilitation, let's look here to figure out more about my idea!