Molding and Casting
Group Assignment
The group assignment involved reviewing safety data sheets for various molding and casting materials, conducting test casts, and comparing the process of printing versus milling molds.
Material 1: Gypsum
- Safety precautions: Wear eye protection and gloves, avoid inhaling dust.
- Mixing ratio: 2 parts water to 3 parts gypsum.
- Work time: About 10 minutes, depending on factors like temperature.
- Cure time: Typically 30-60 minutes.
- Result: Versatile material with relatively short curing times, but requires careful handling to avoid air bubbles.
Material 2: Mold Max 60
- Safety precautions: Wear appropriate PPE, ensure ventilation.
- Mixing ratio: 100A to 3B by weight.
- Work time: 45 minutes.
- Cure time: 24 hours.
- Result: Flexible silicone mold rubber suitable for various applications, with minimal shrinkage.
Material 3: Smooth-Cast 305
- Safety precautions: Wear appropriate PPE, ensure ventilation.
- Mixing ratio: 1:1 by volume.
- Work time: 2.5 minutes.
- Cure time: 10 minutes.
- Result: Quick-setting resin ideal for rapid prototyping, requiring careful mixing and handling due to its fast curing process.
Printing vs Milling Molds
- Printing: Takes approximately 2 hours, with high accuracy and resolution suitable for intricate designs.
- Milling: Takes about 30 minutes, offering excellent precision and accuracy for functional prototypes.
Overall, each material and technique have their advantages and considerations, making them suitable for different applications and preferences.
Individual Assignment
Real Madrid Logo Casting Project
In celebration of Real Madrid's victories in the Champions League against Manchester City and Barcelona, I embarked on a project to create the iconic Real Madrid logo using molding and casting techniques. This documentation outlines the detailed steps involved in designing, printing, molding, and casting the logo.
Design
Step 1: Obtain and Prepare the 3D Model
- I obtained a high-quality 3D model of the Real Madrid logo.
- Used Fusion 360 to ensure the model was appropriately scaled and detailed for printing.
Design File:
- The 3D model file has many hight and cn not be done by laser because of the details.
Printing 1: FDM 3D Printing
Step 1: Slicing the Model
- Sliced the model using Cura software.
- Chose the following settings:
- Layer height: 0.2 mm
- Infill density: 30%
- Print speed: 75 mm/s
Step 2: Printing the Model
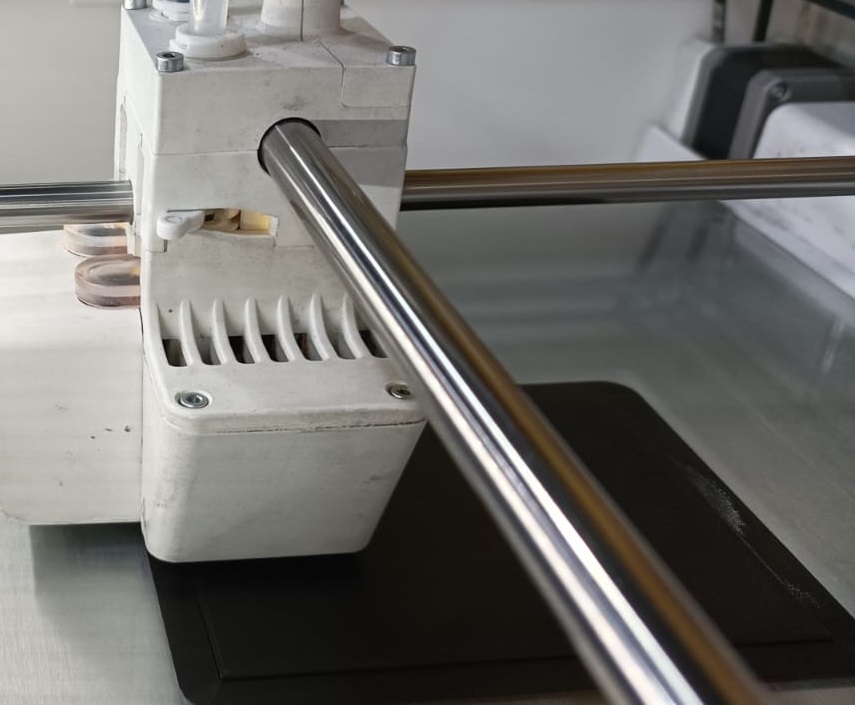
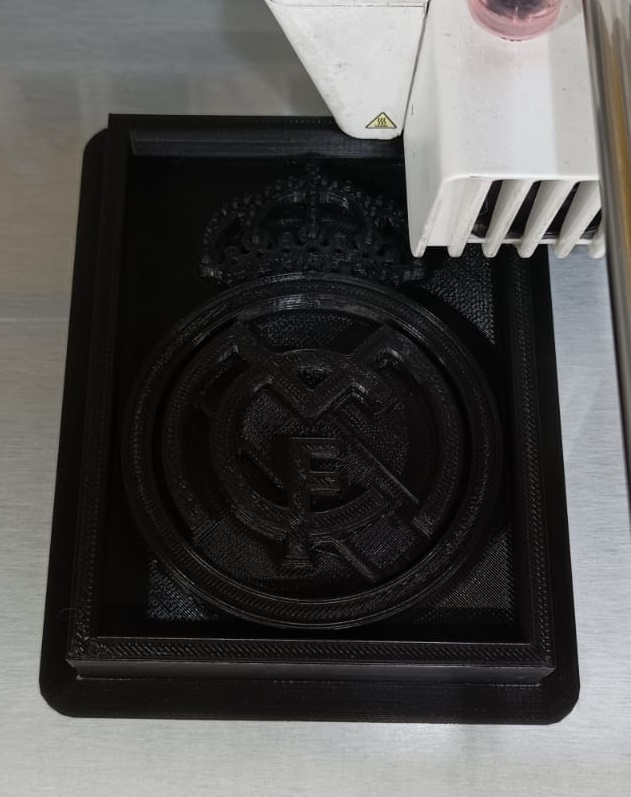
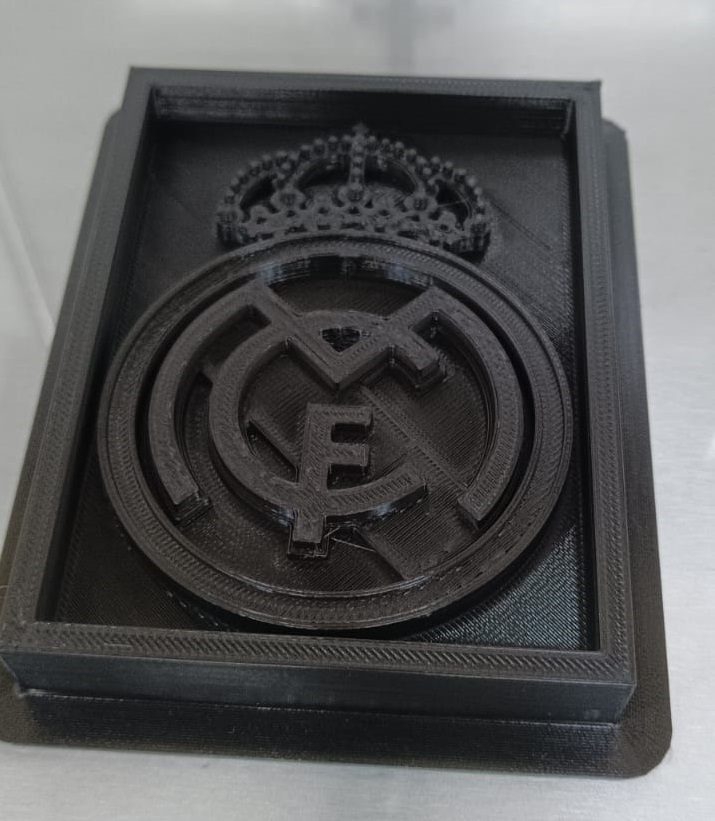
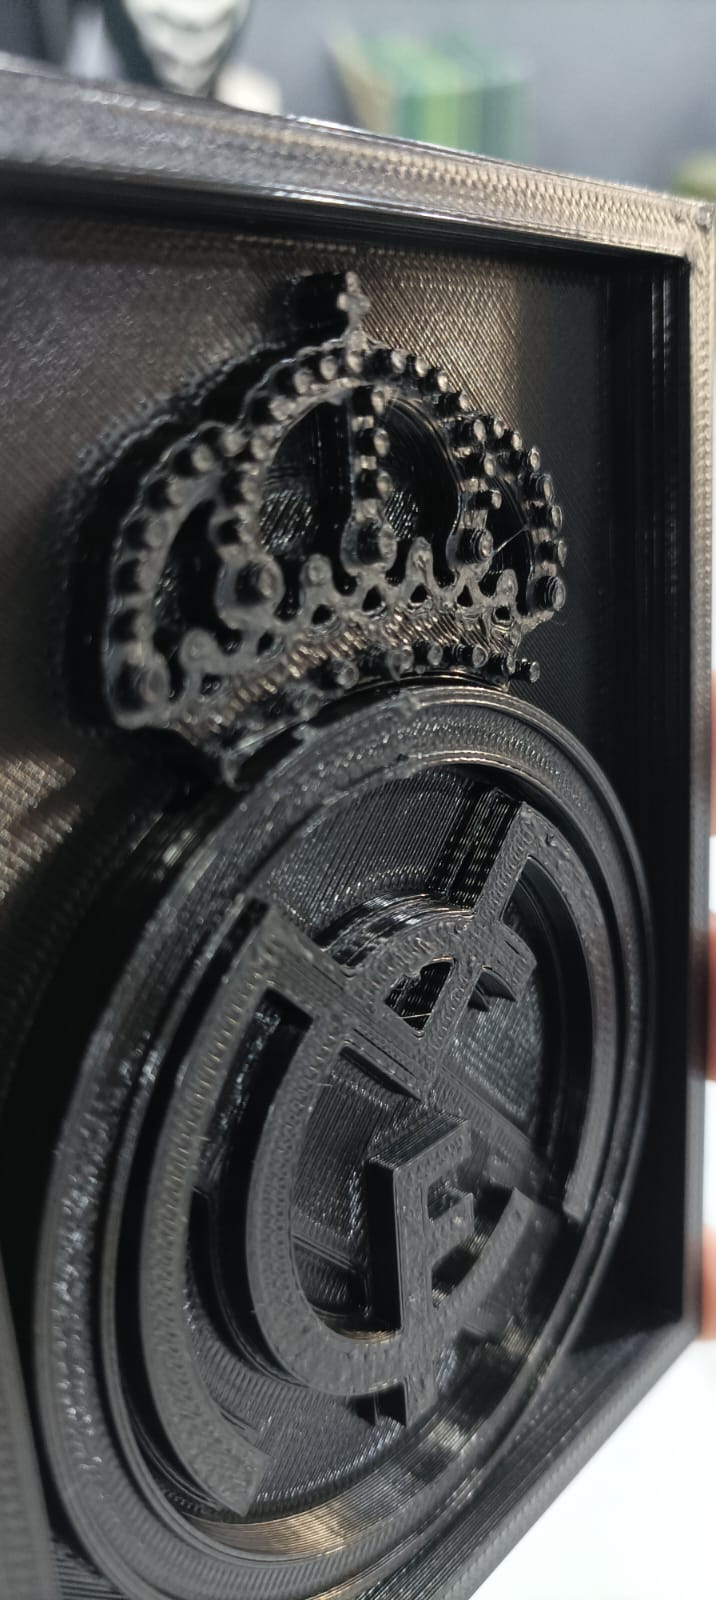
- Used Ultimaker S5 printer to print the logo.
- Print time: Approximately 1 hour and thirty minutes.
- Material: PLA.
Result:
- The printed logo had not a smooth surface finish and less accuracy.
Printing 2: SLA 3D Printing
Step 1: Slicing the Model
- Used an SLA slicer to prepare the model for printing.
- Chose the following settings:
- Layer height: 0.01 mm
- Infill density: 100%
- Print speed: Standard SLA speed.
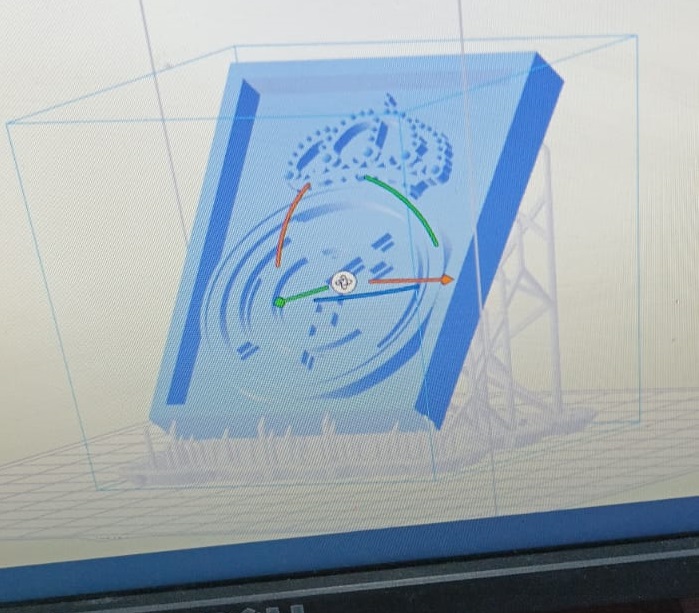
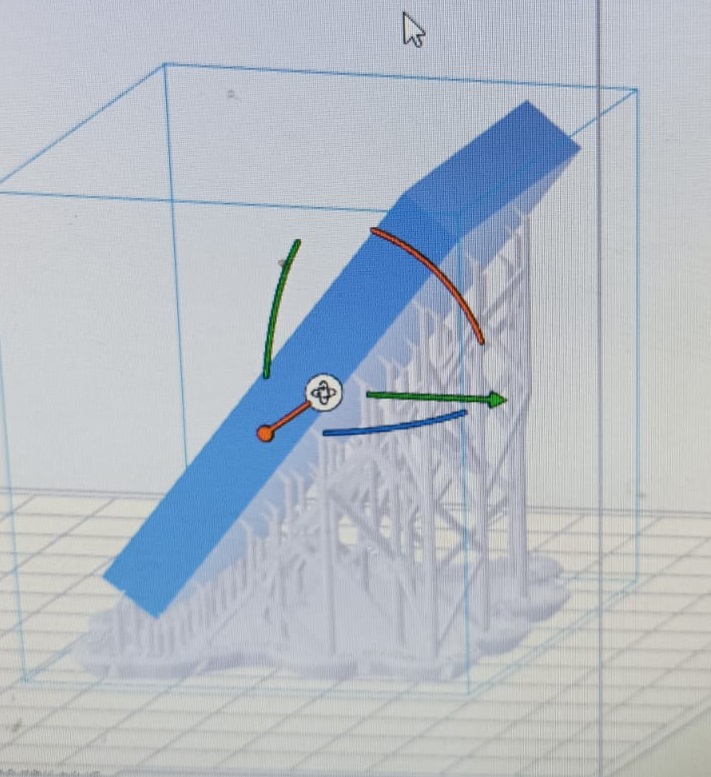
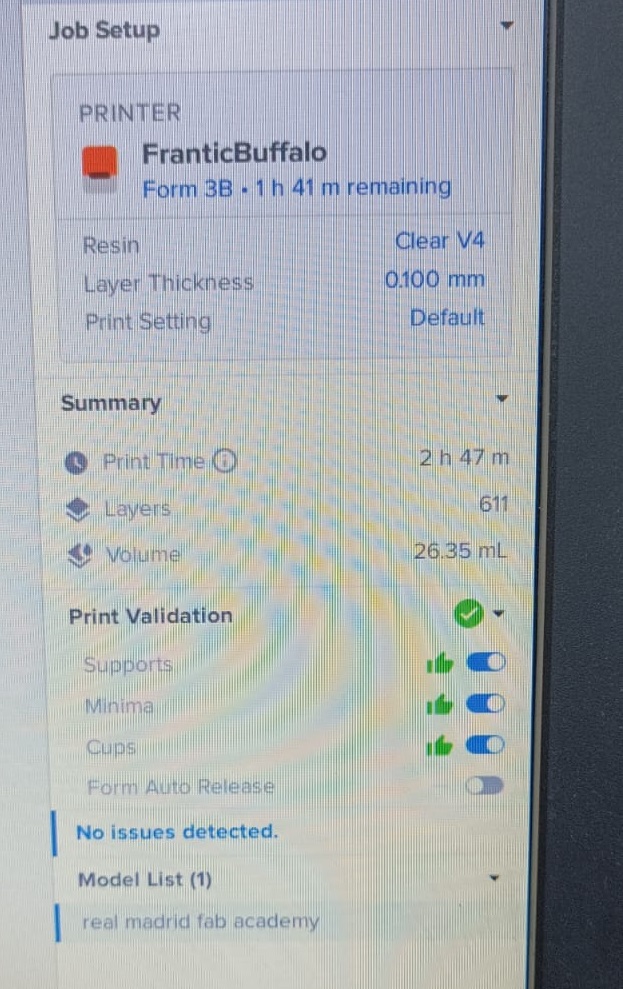
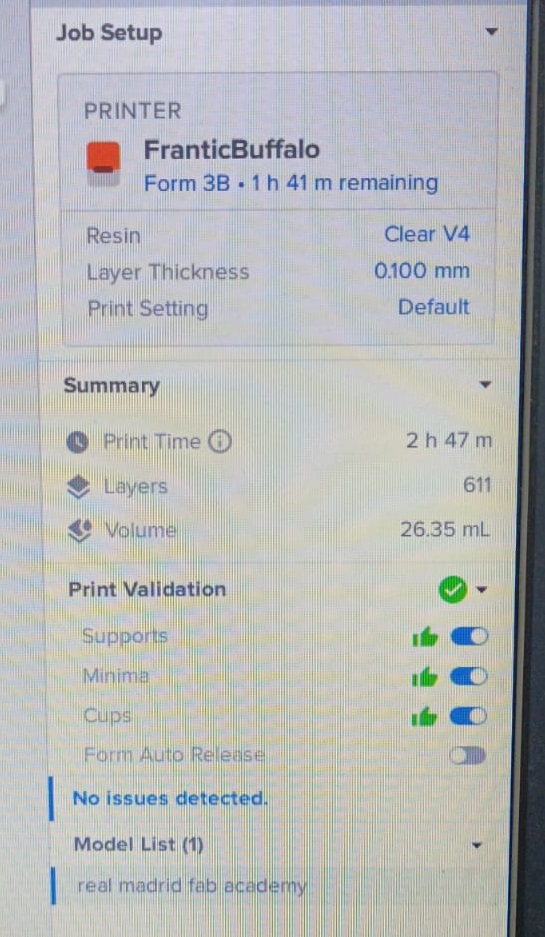
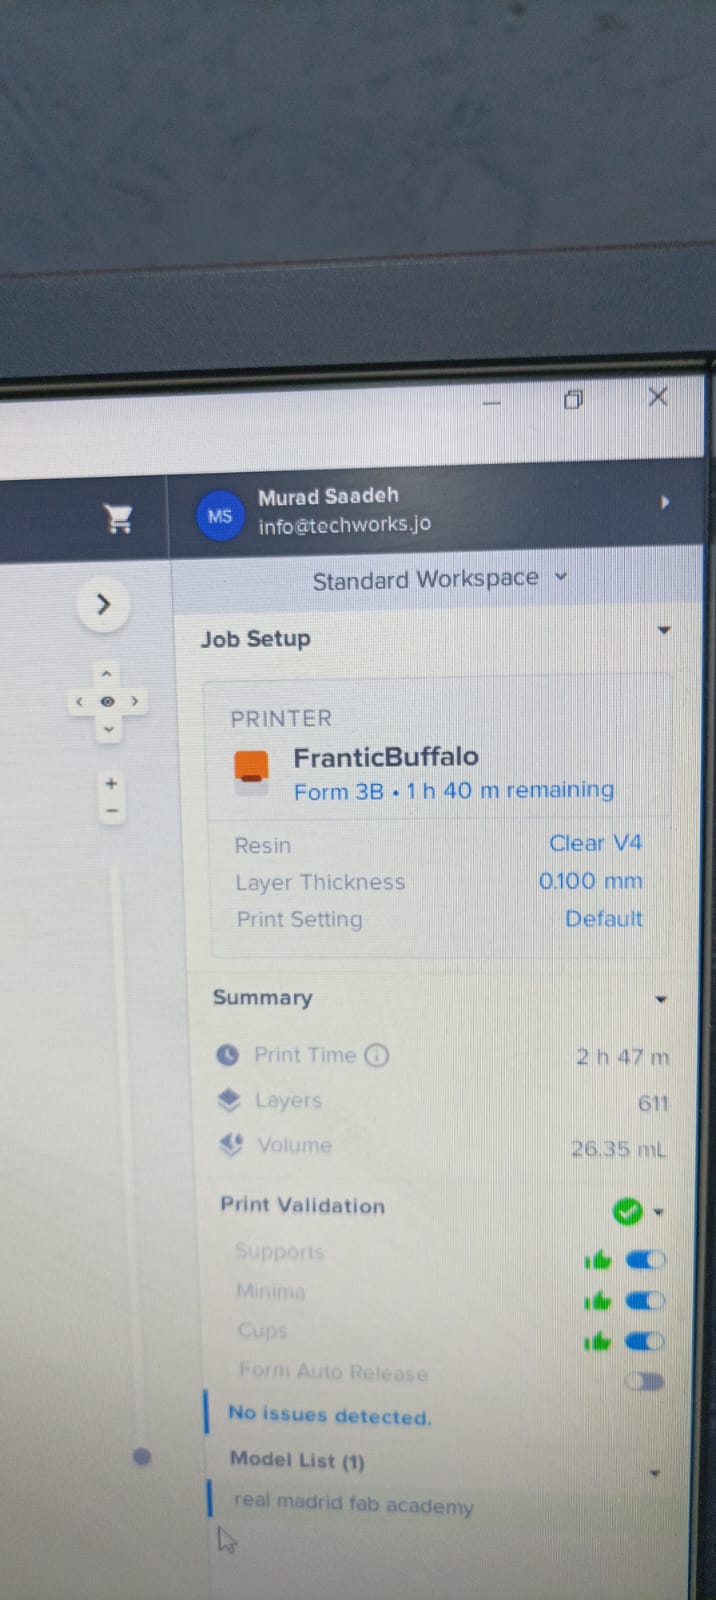
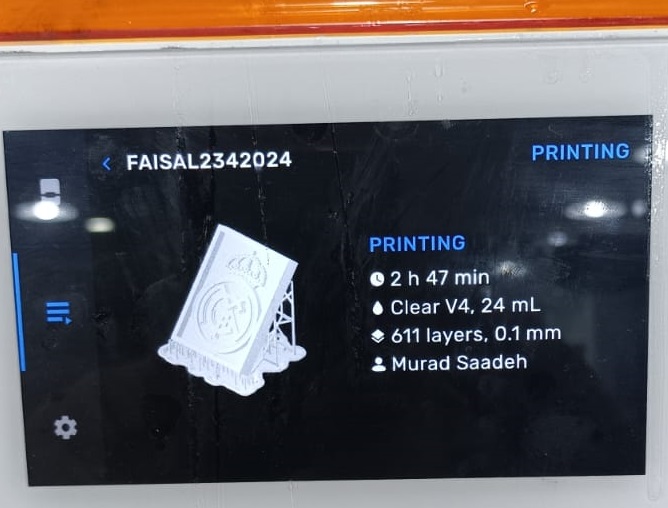
Step 2: Printing the Model
- Used a Formlabs to print the logo.
- Print time: Approximately 3 hours.
- Material: Clear Resin.
Result:
- The printed logo had an even smoother surface finish and higher resolution compared to the FDM print.
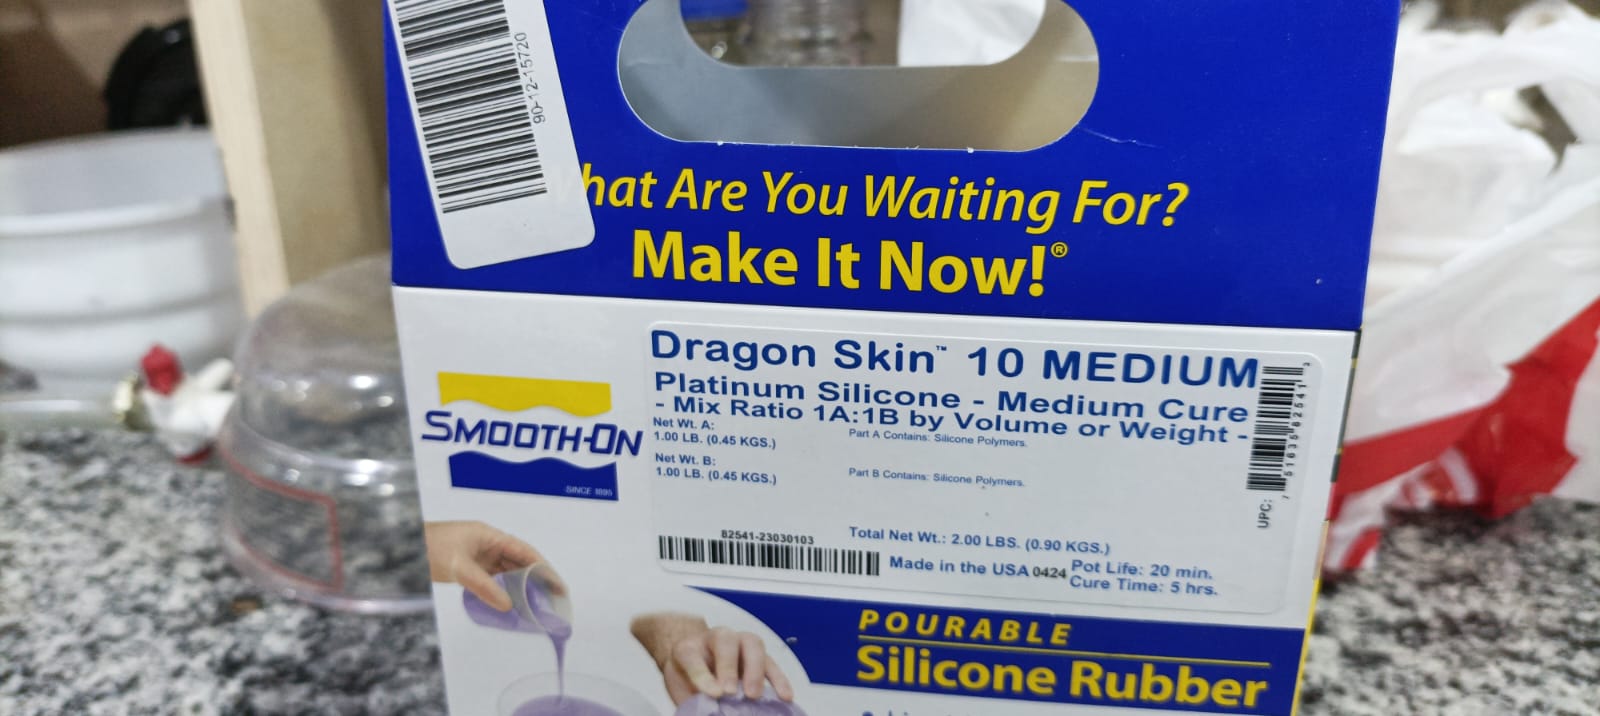
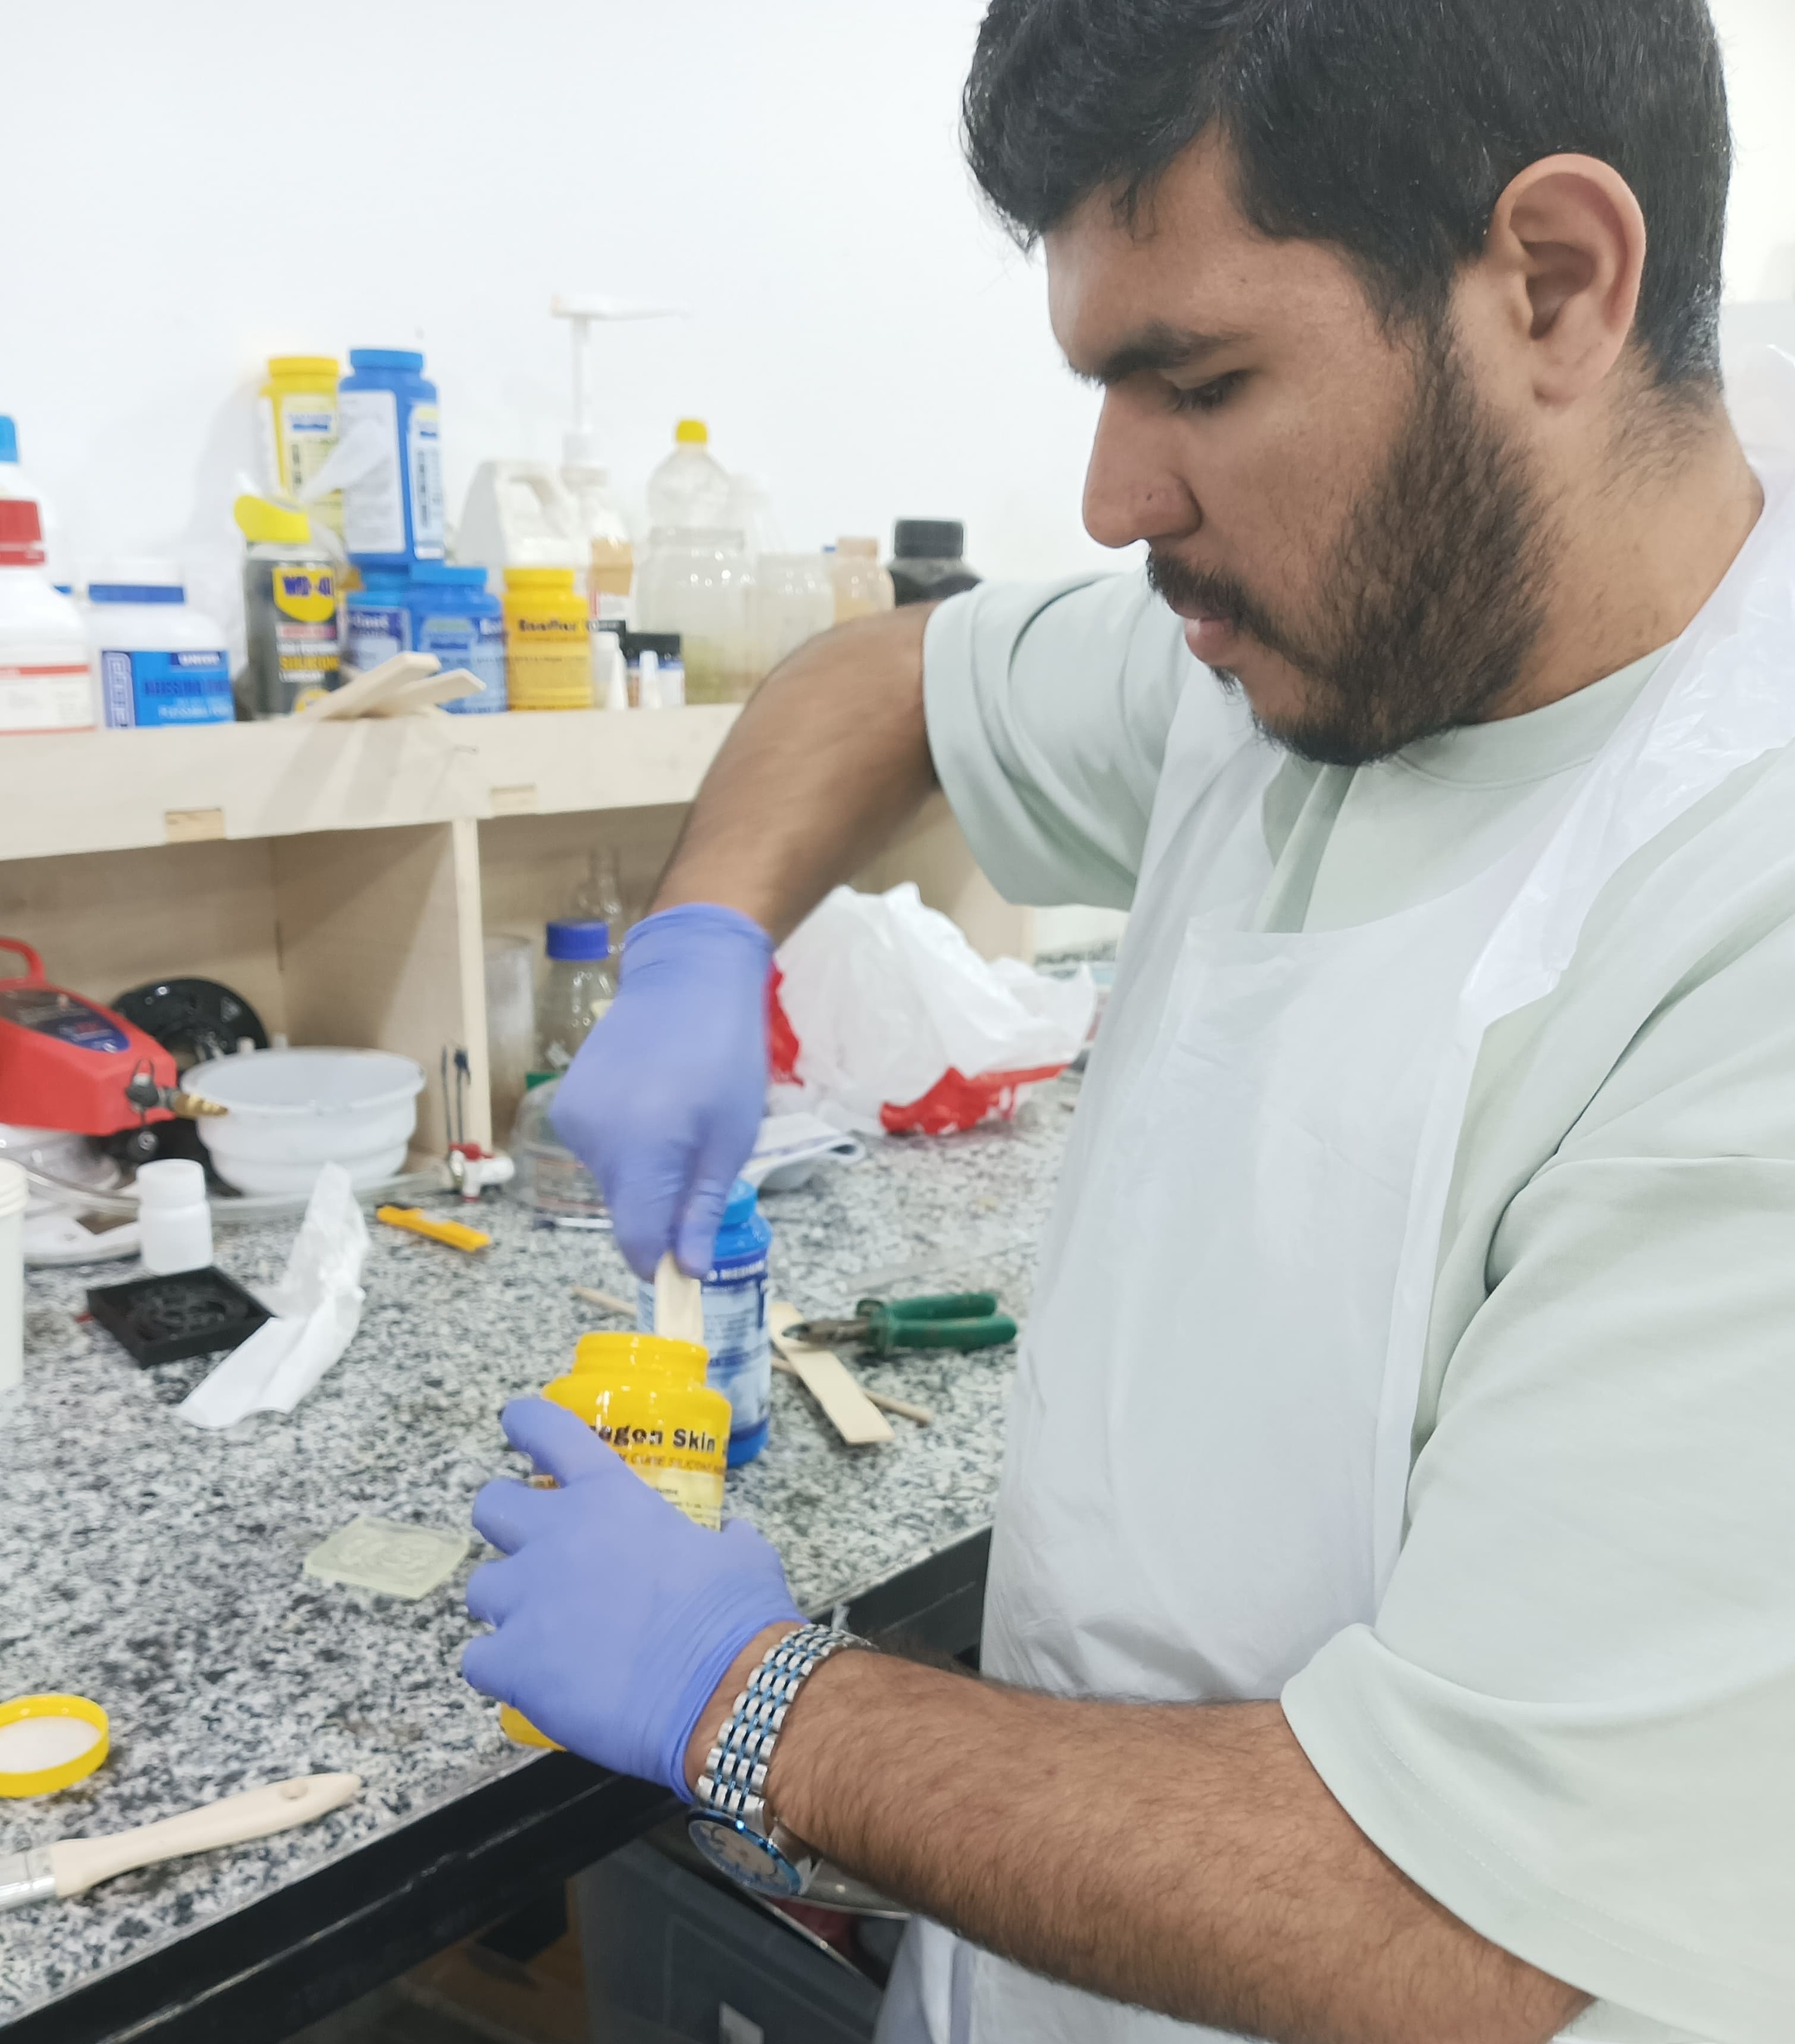
Mold Making with Dragon Skin 10 Medium
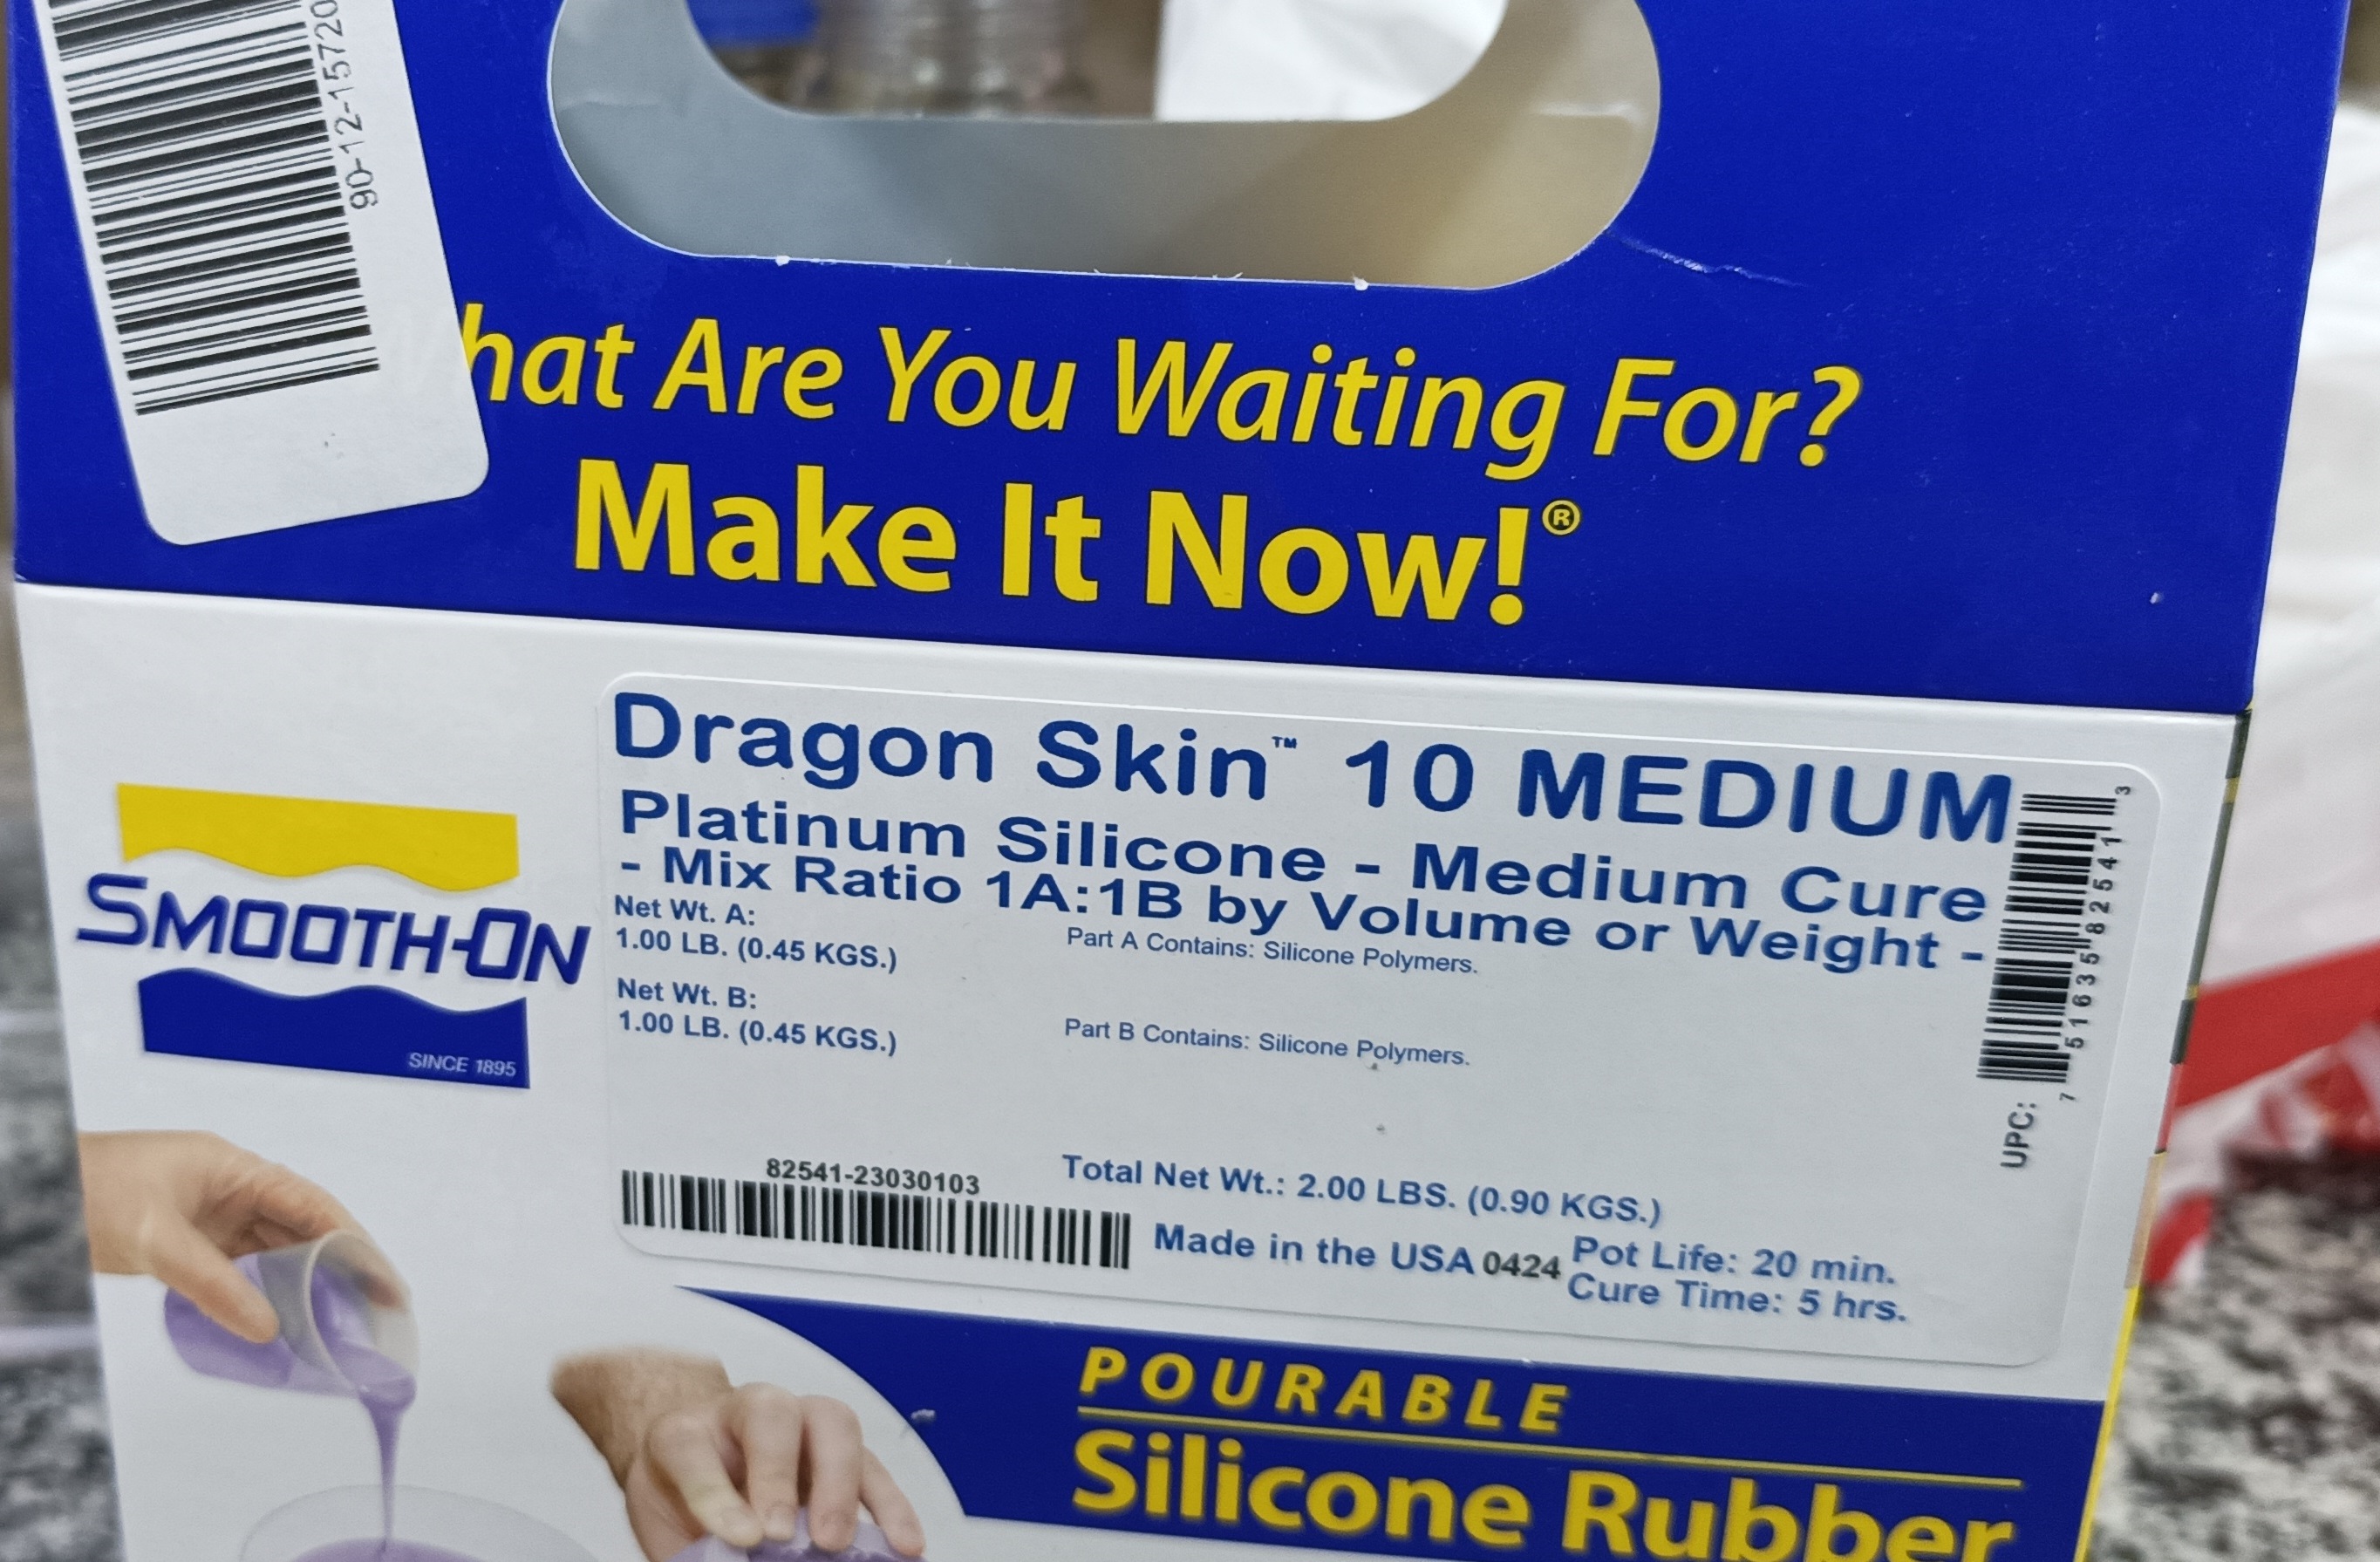
Step 1: Preparing the Mold
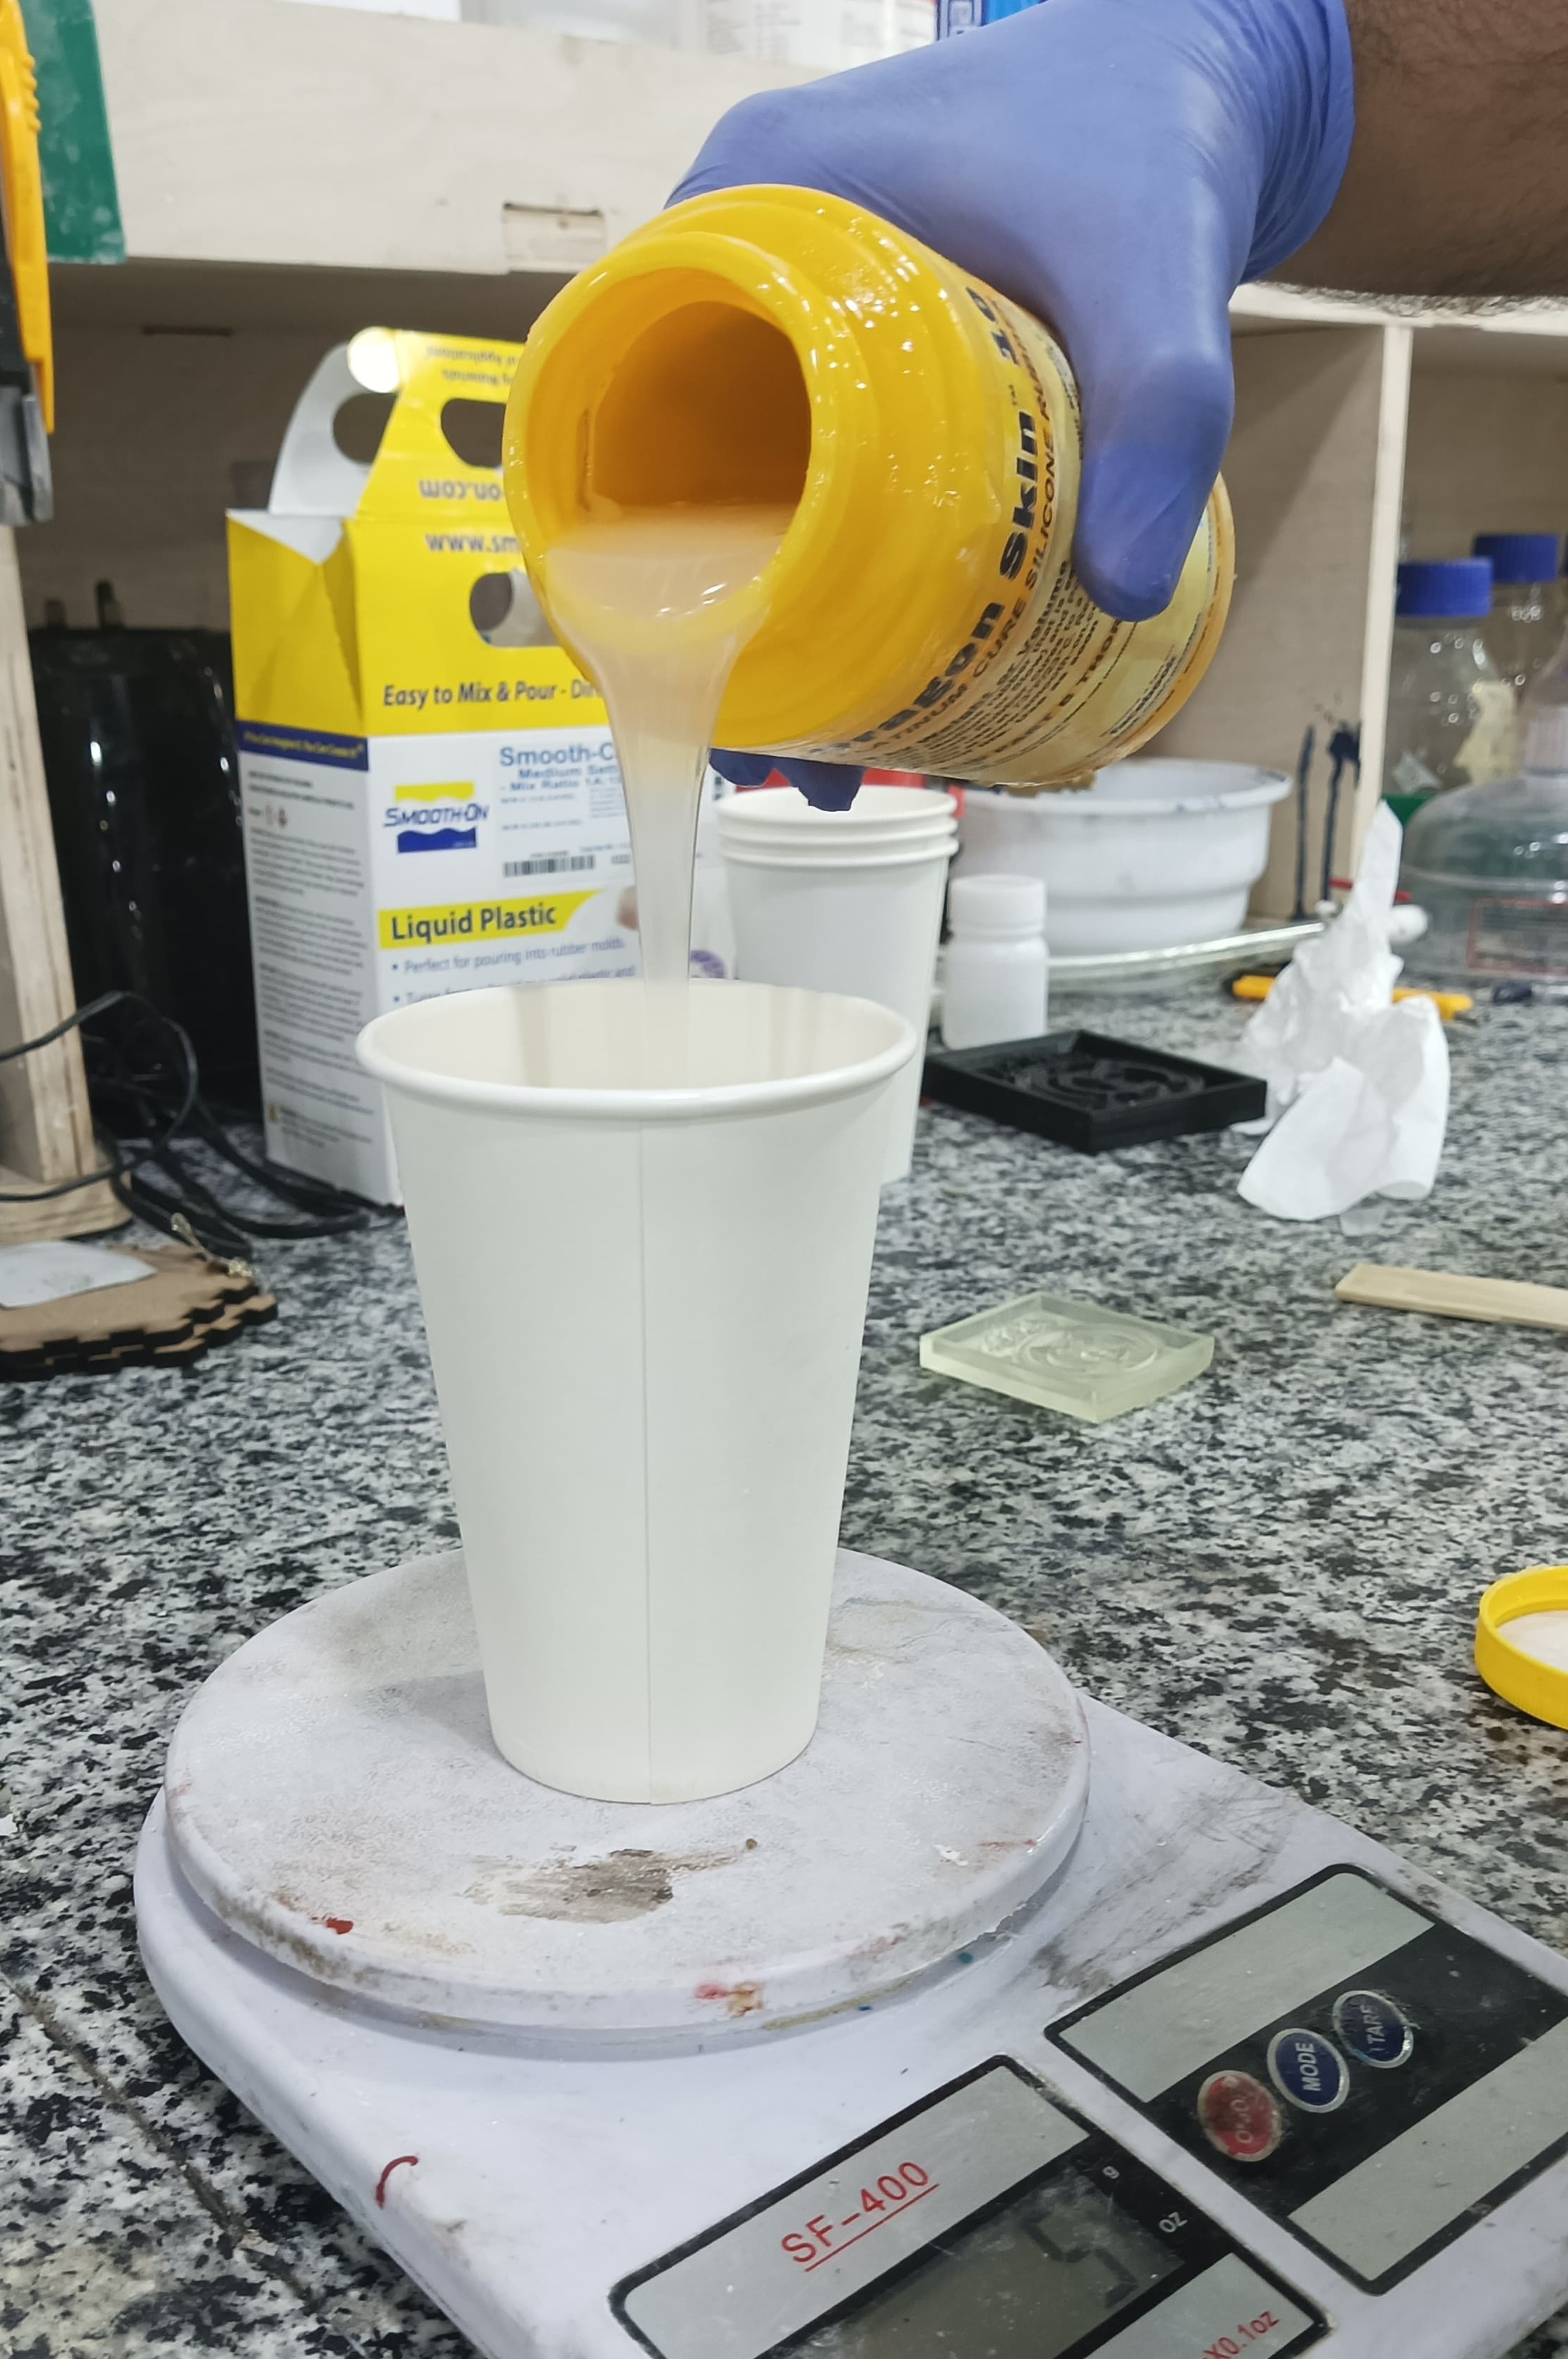
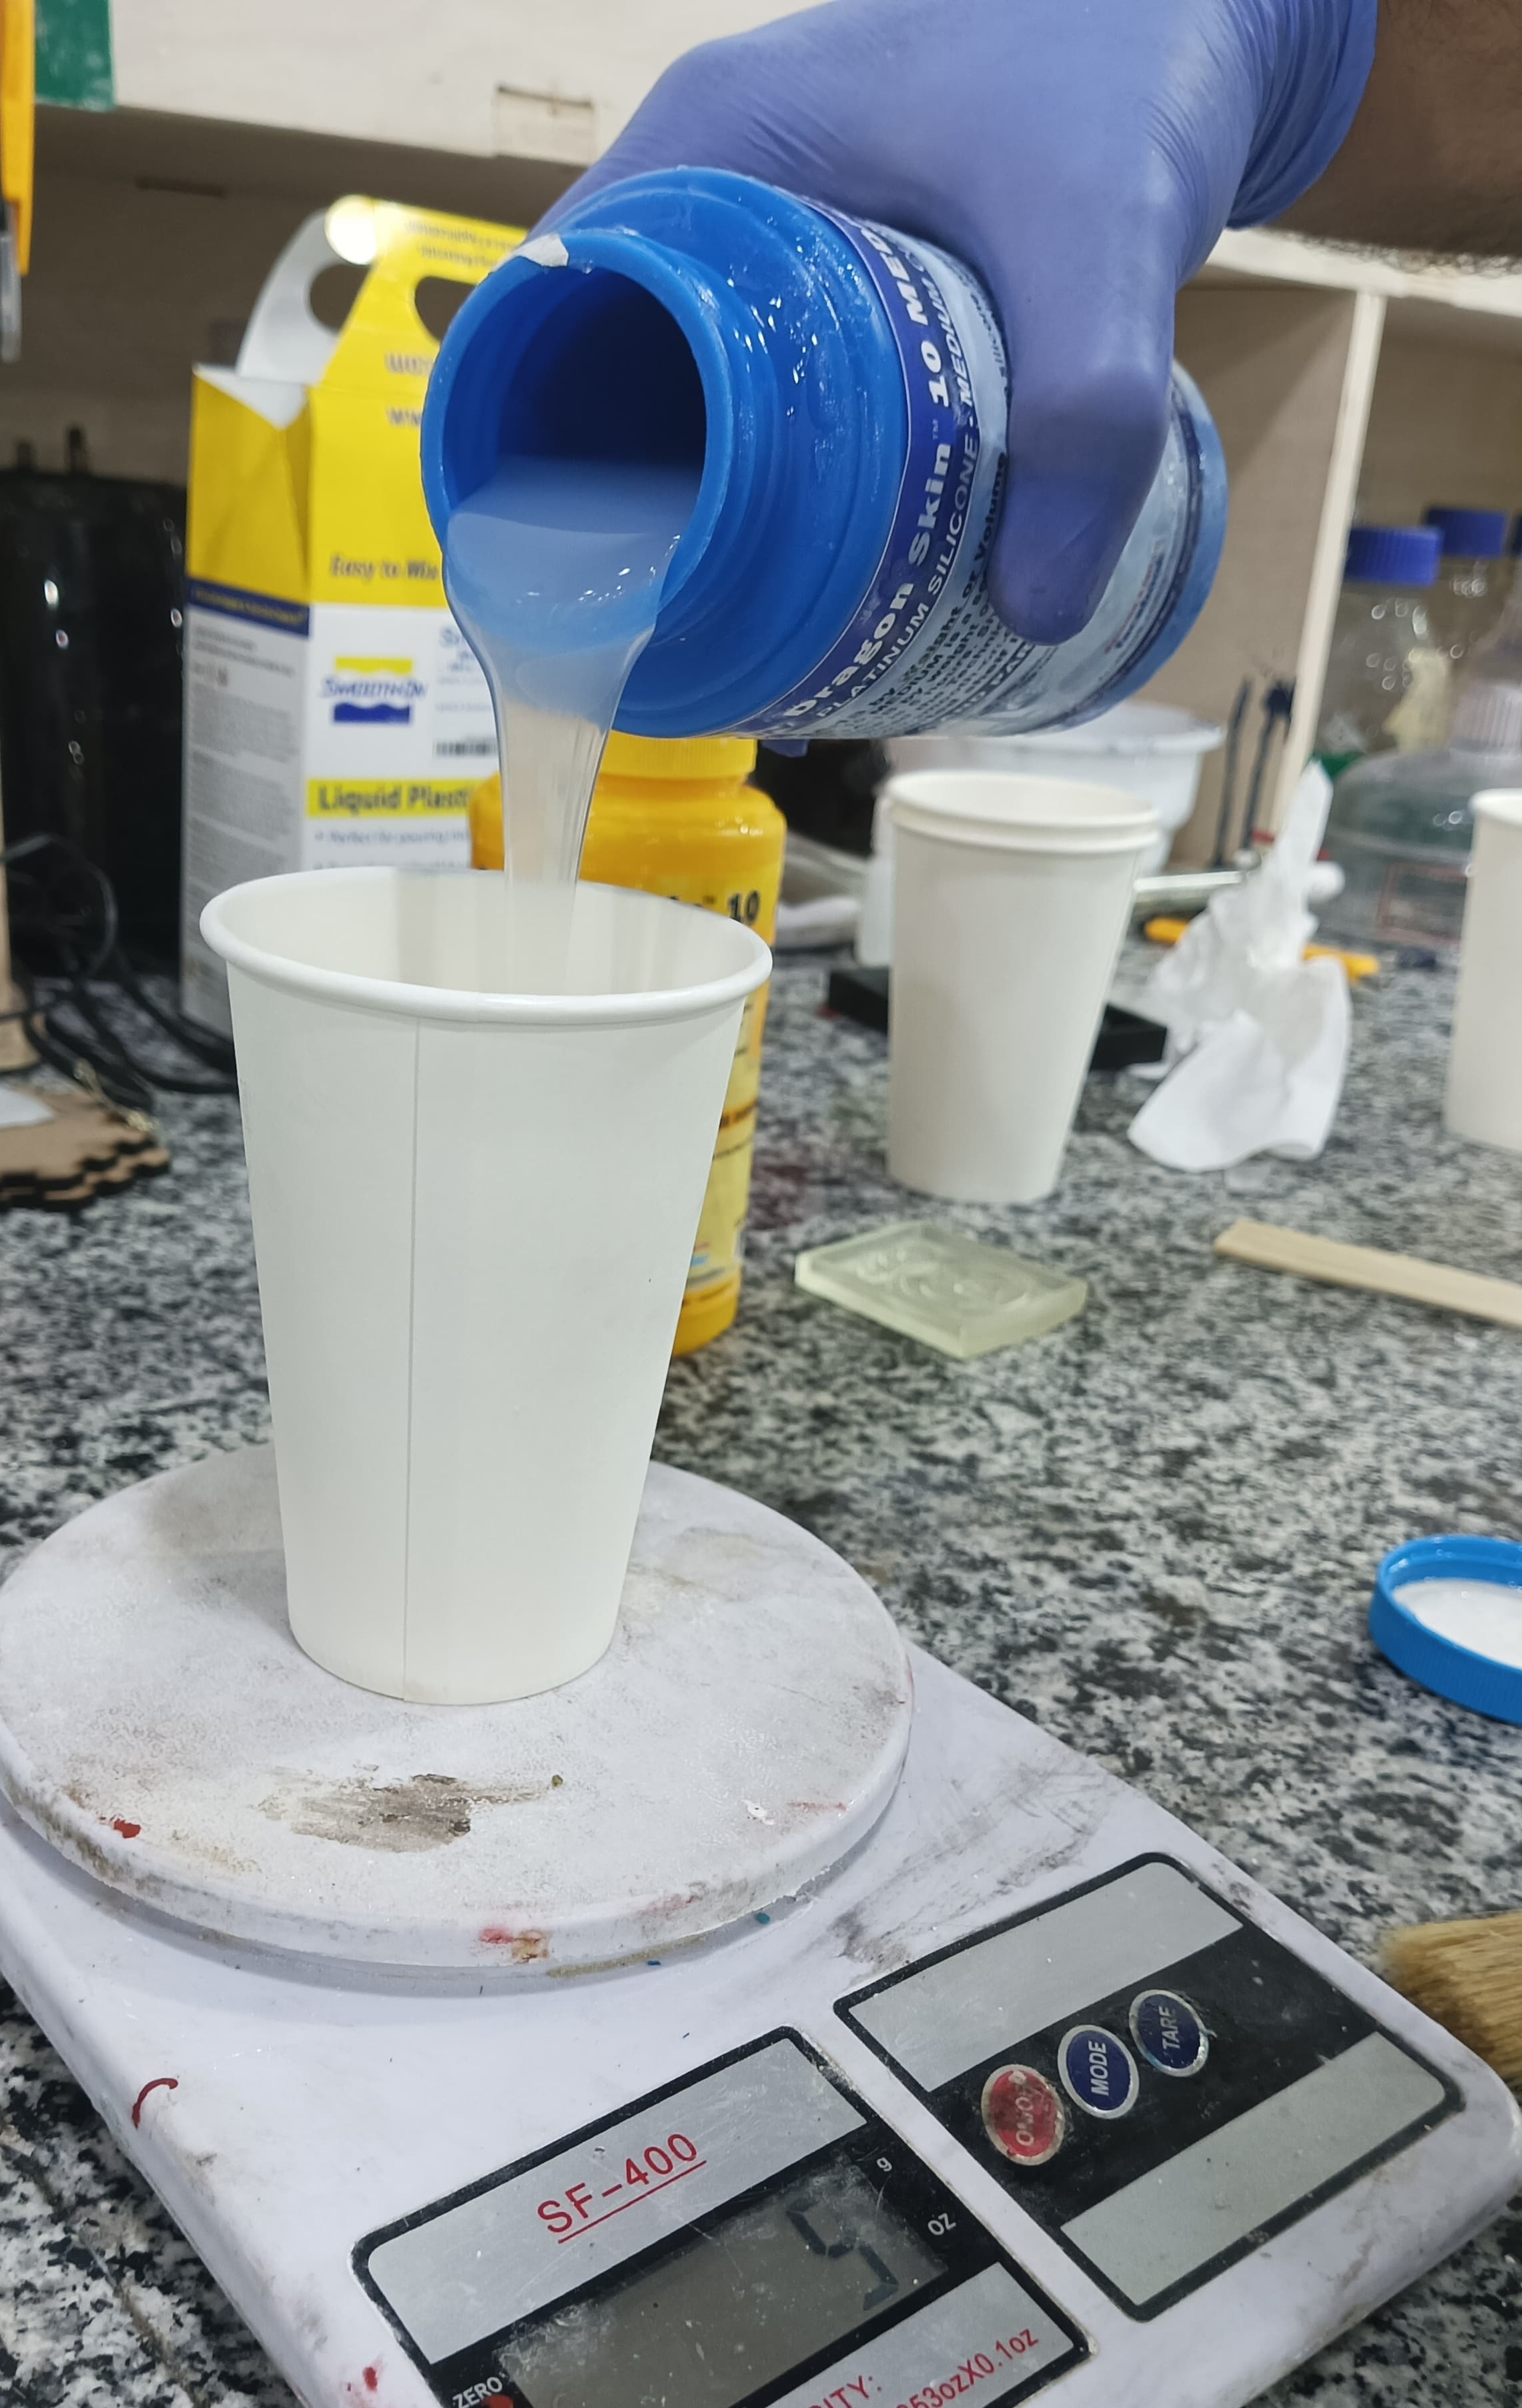
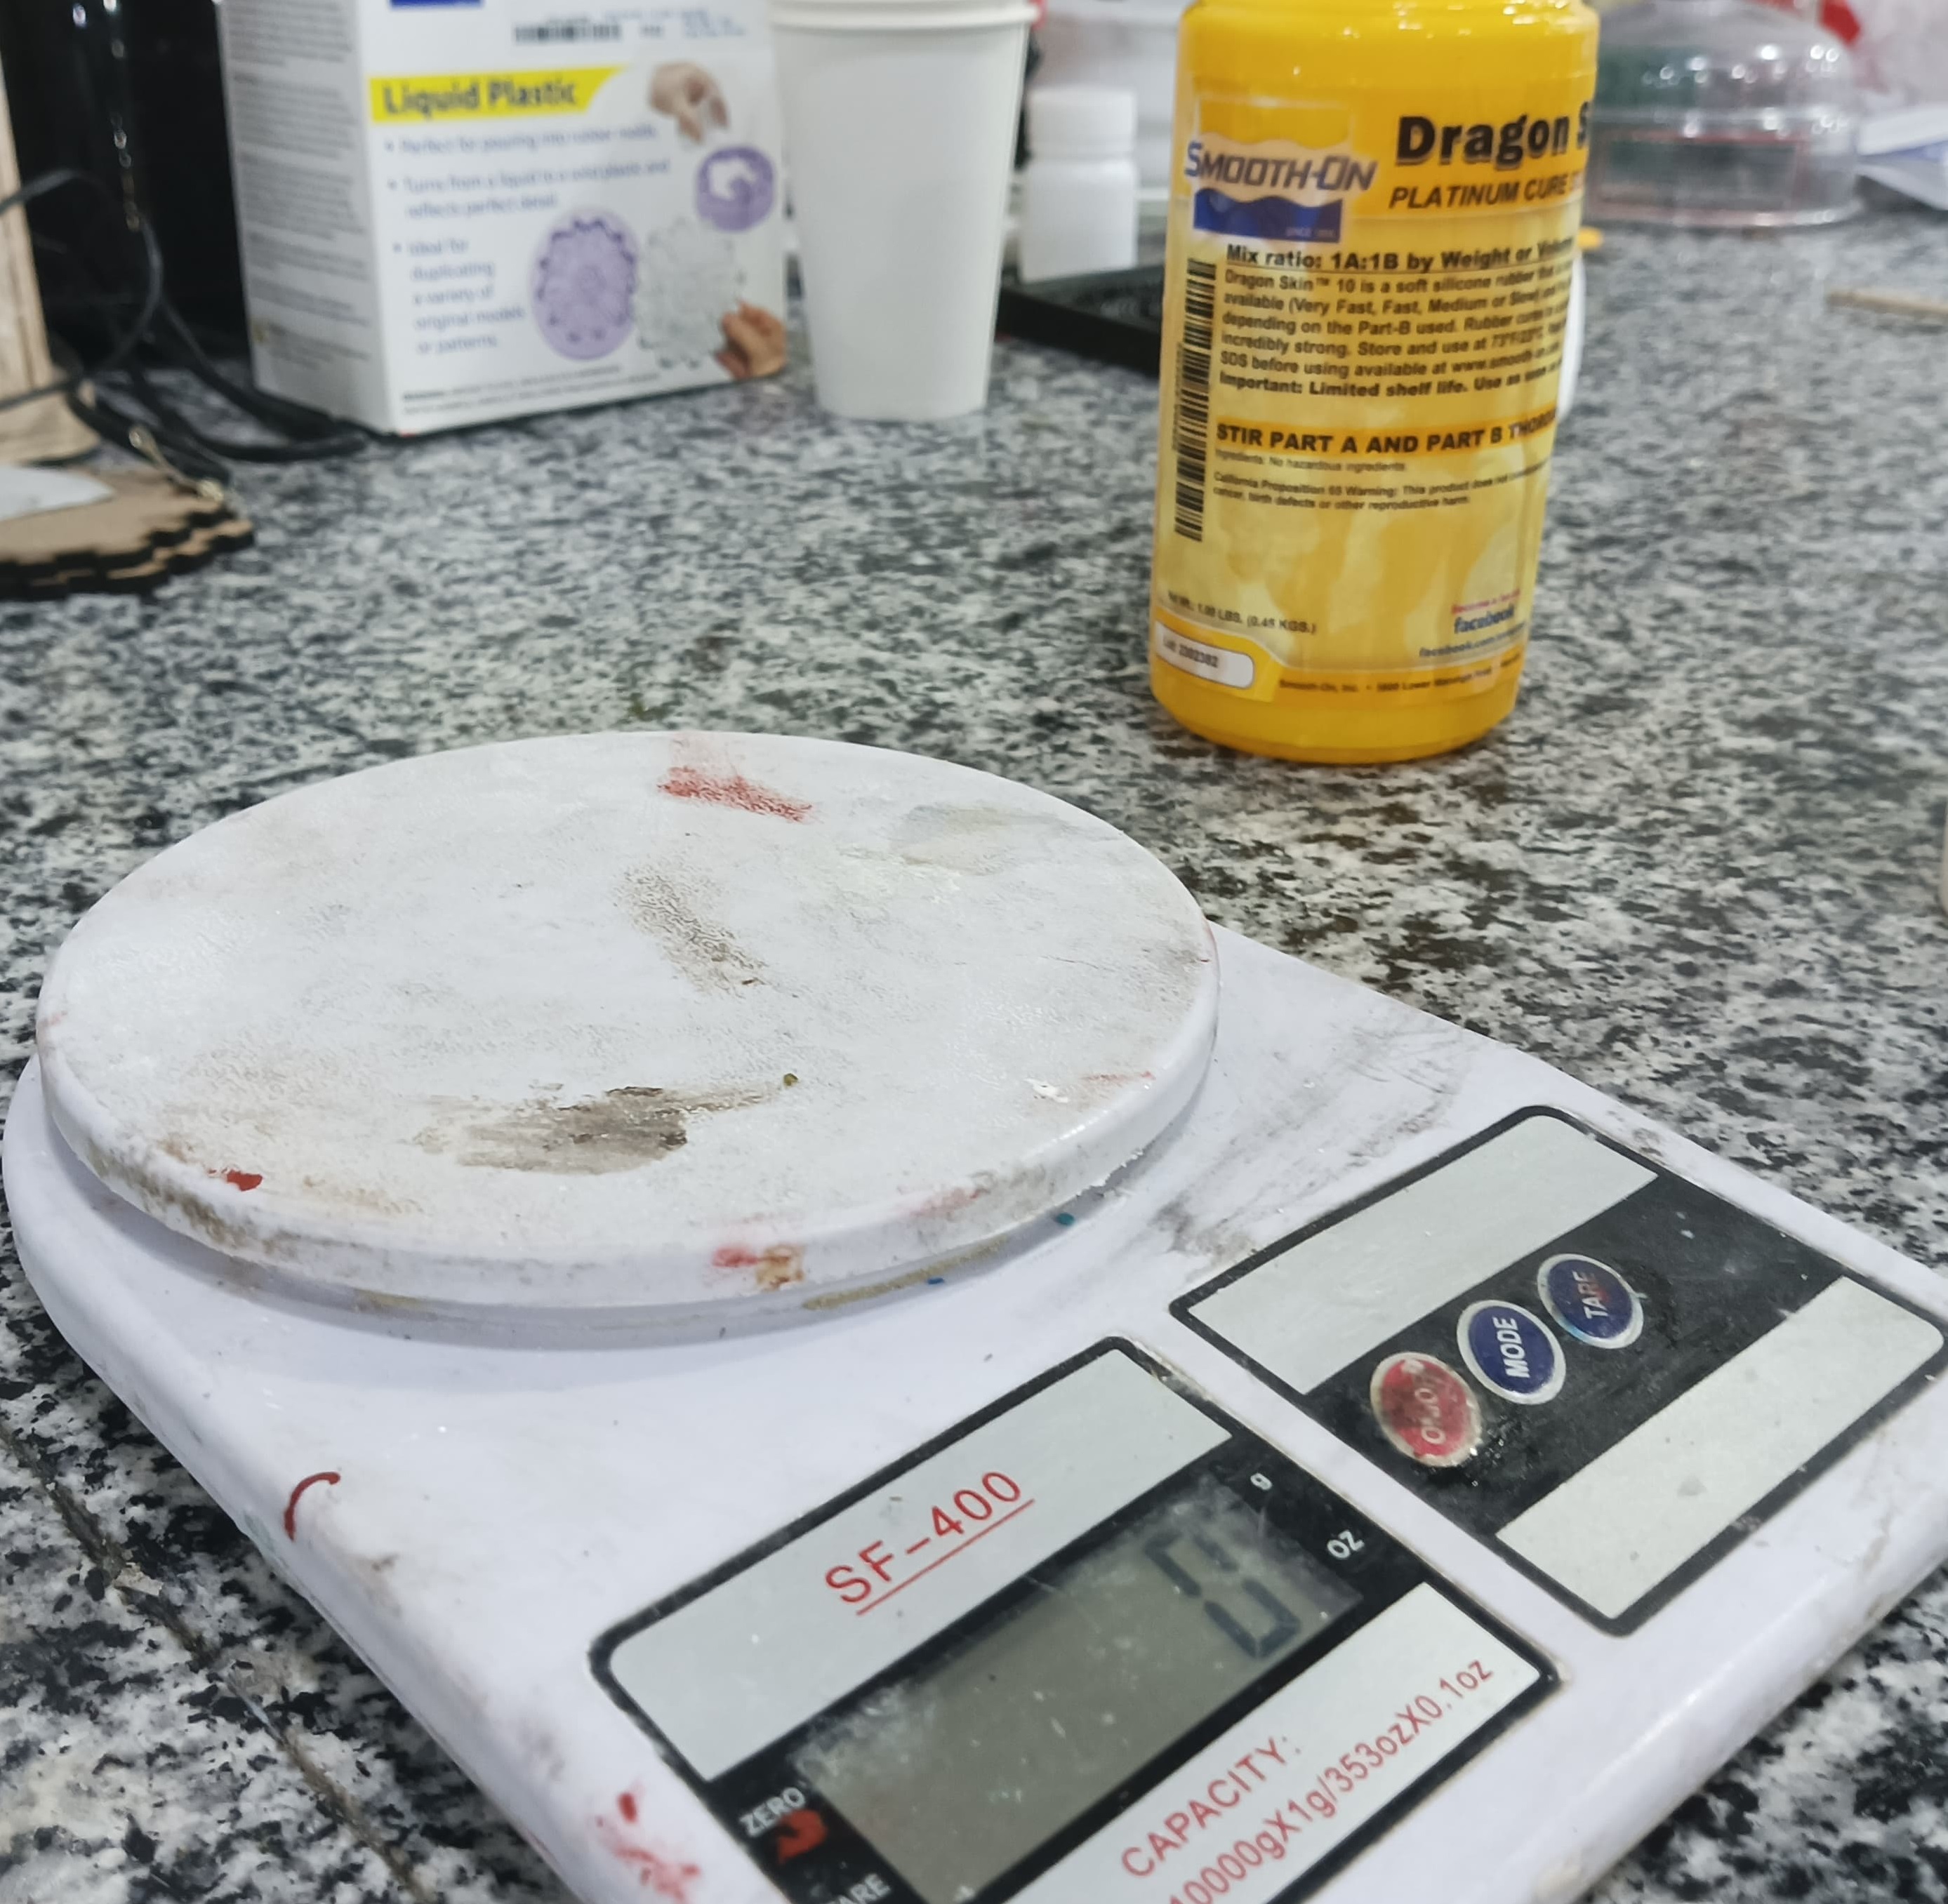
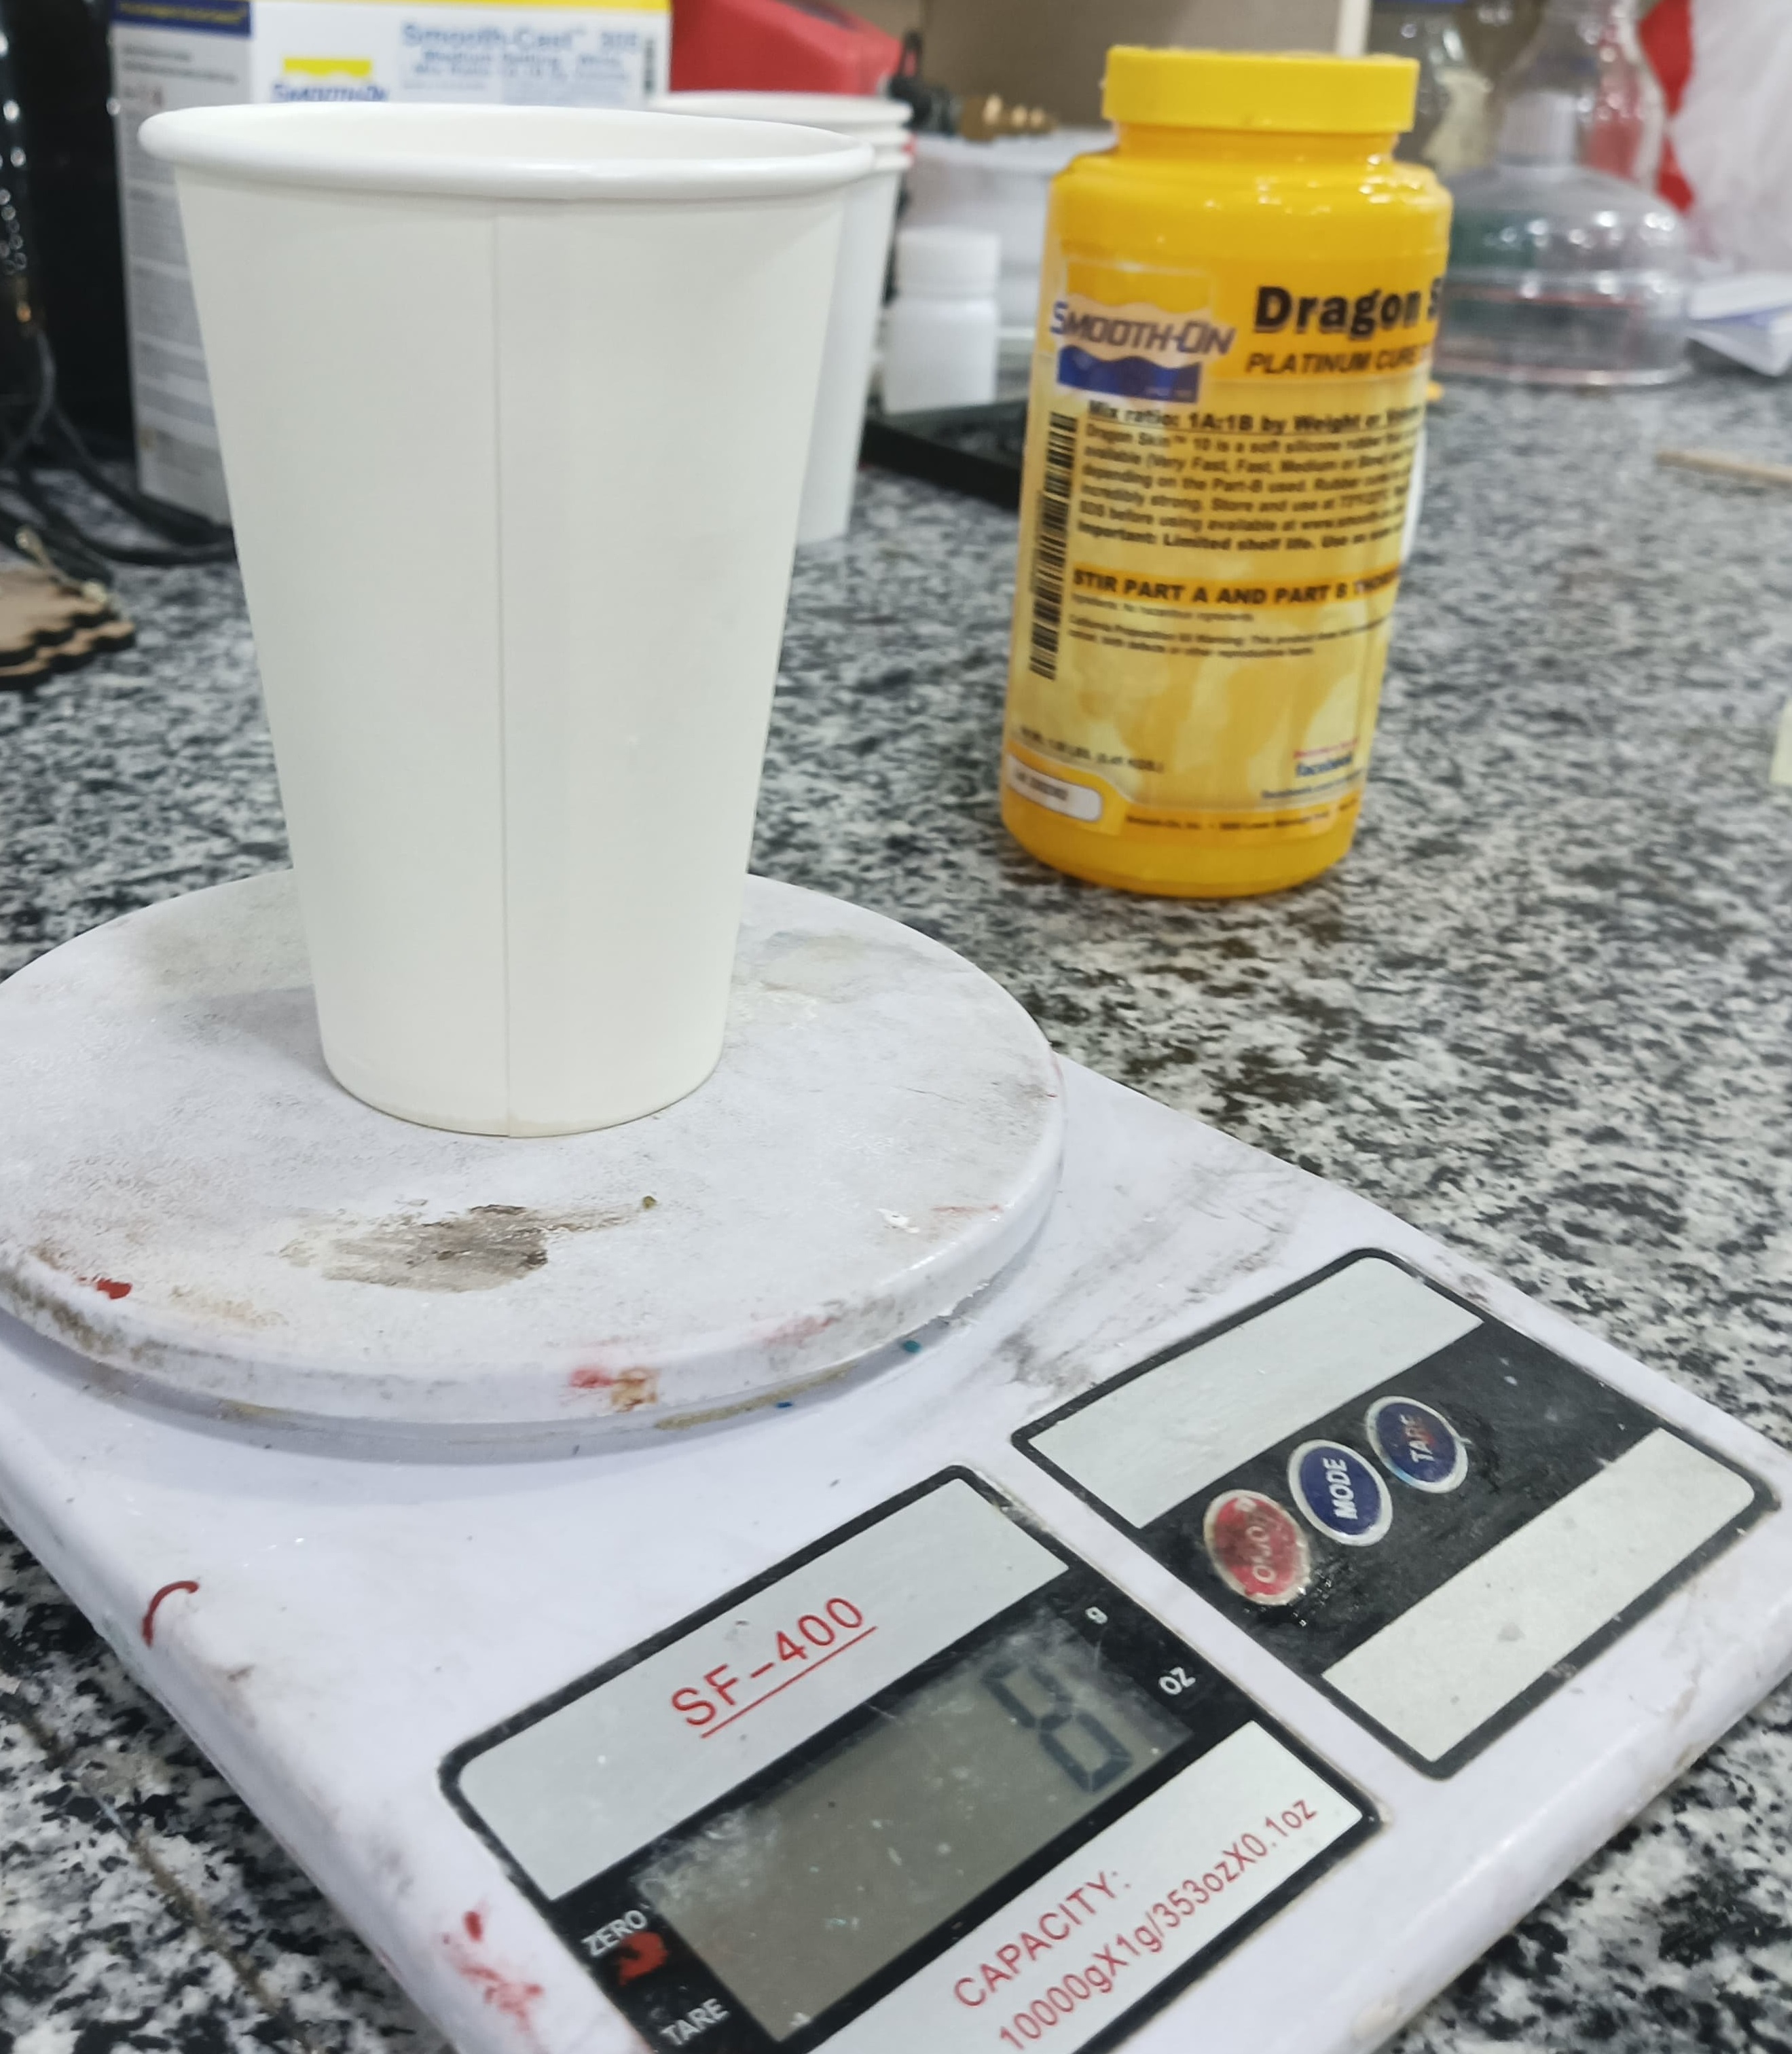
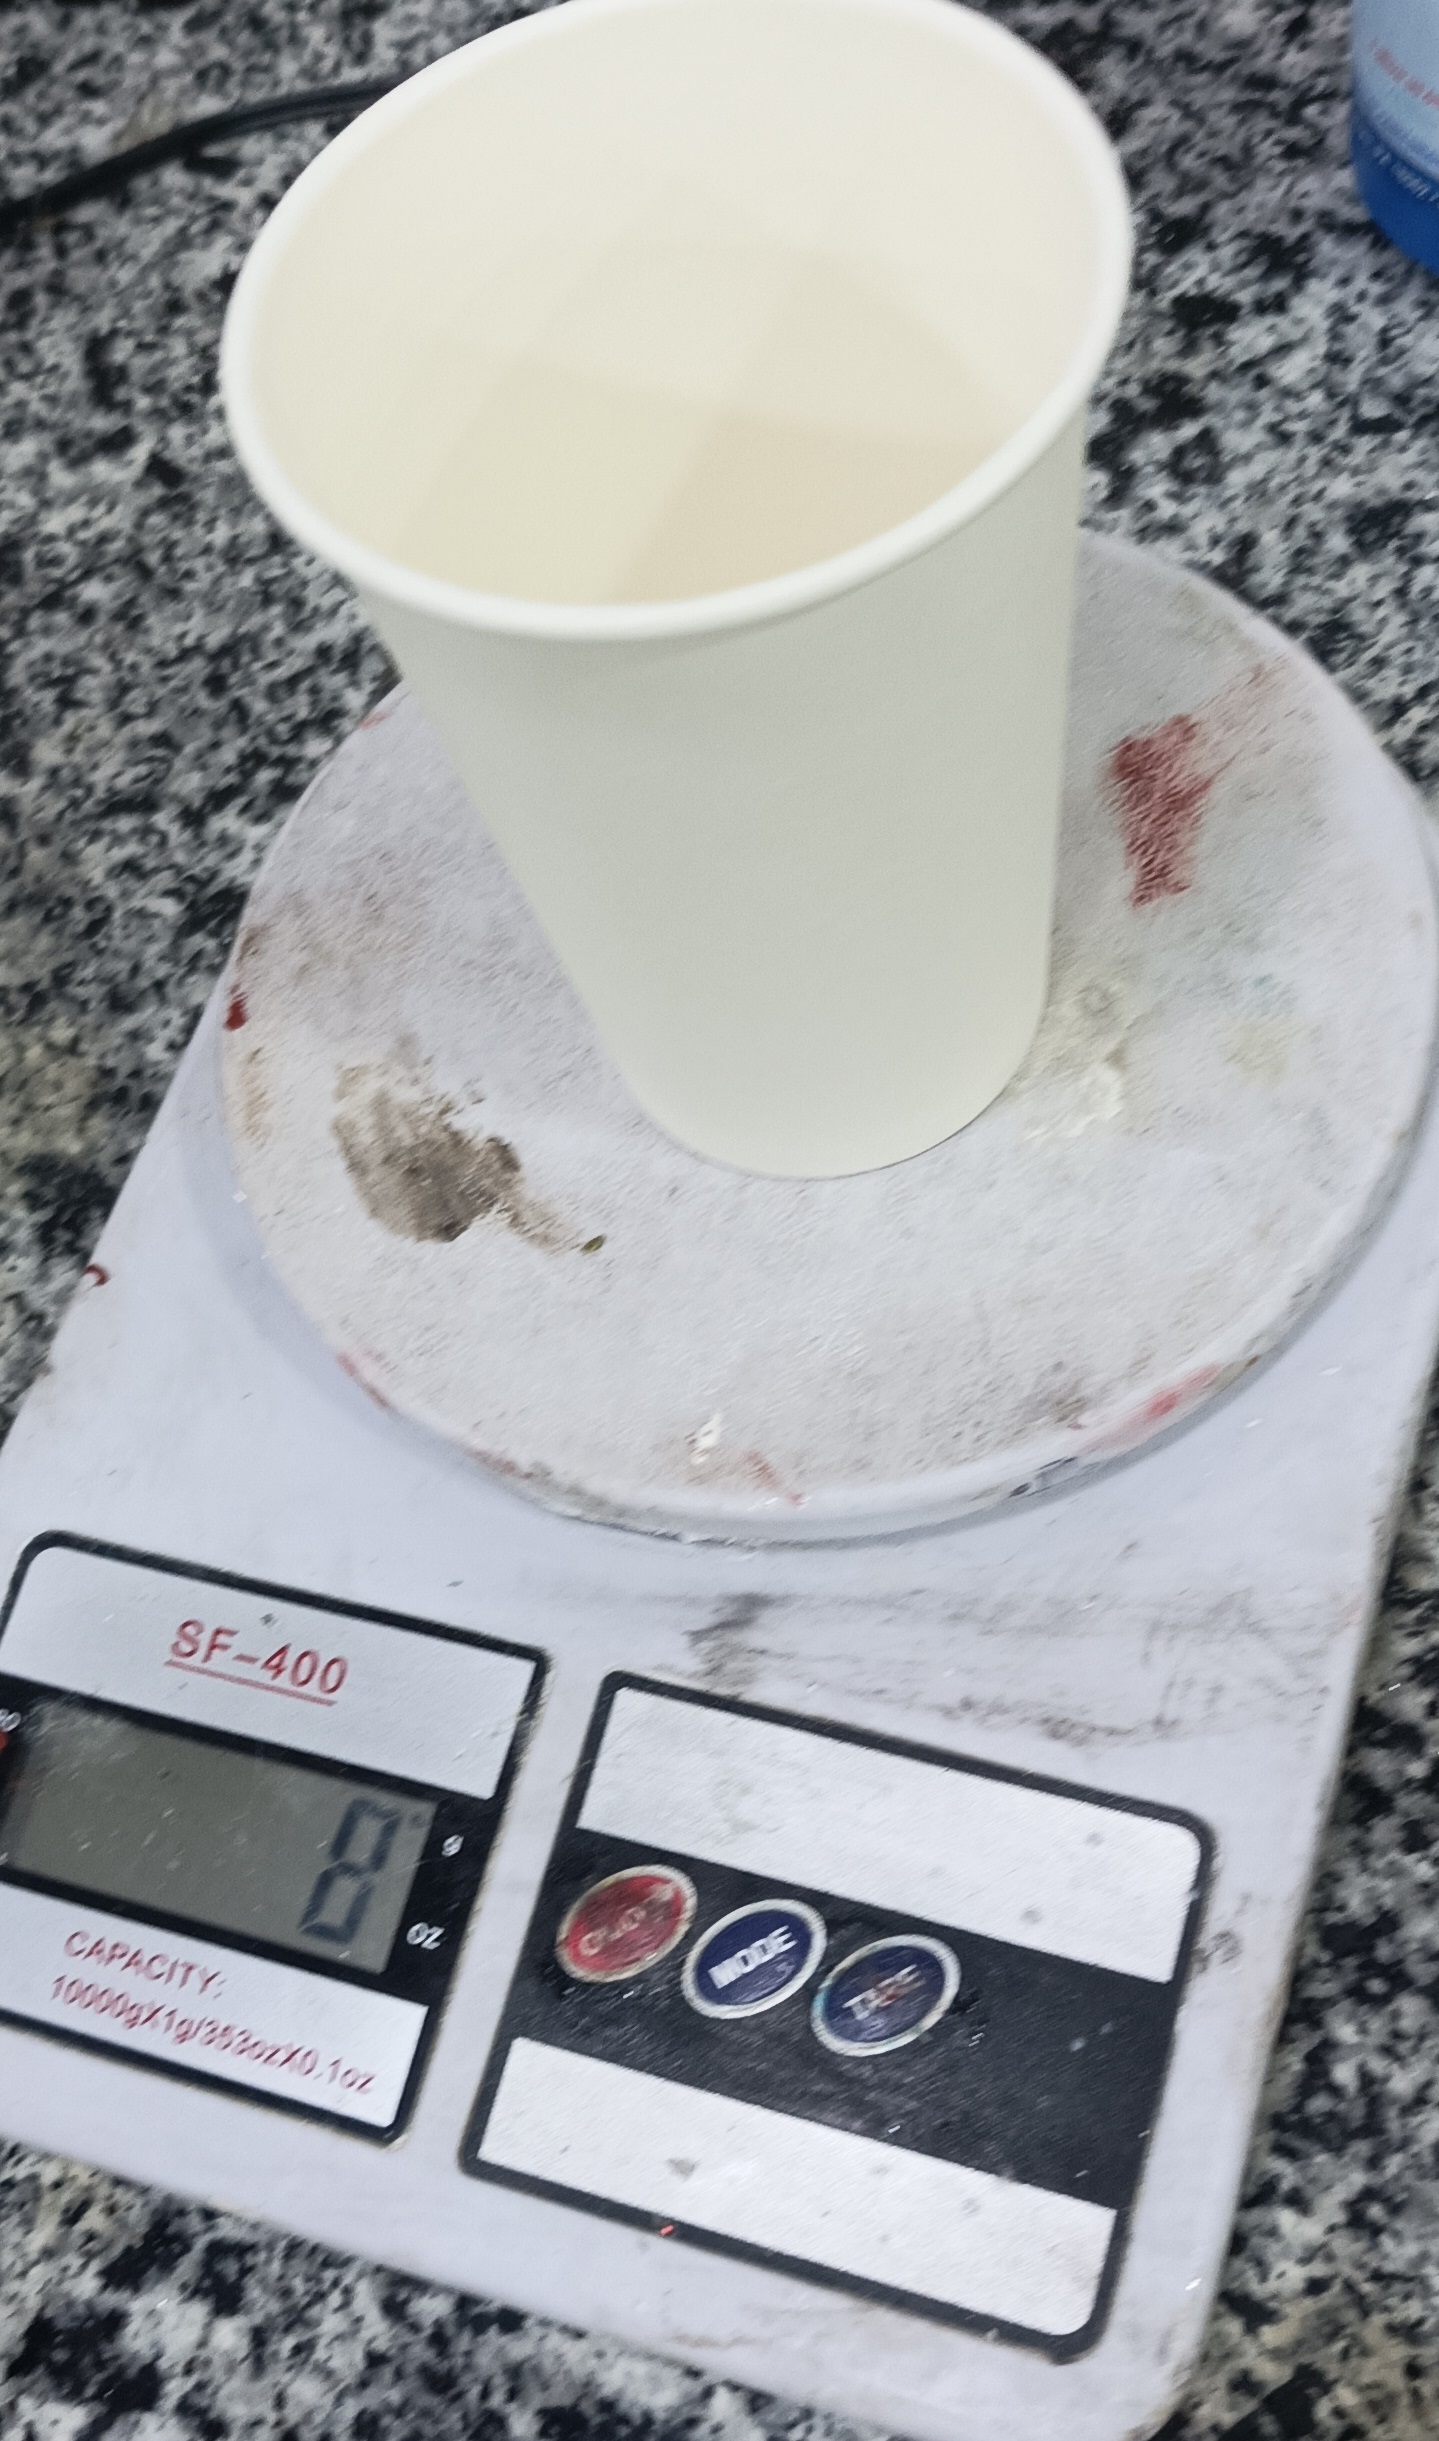
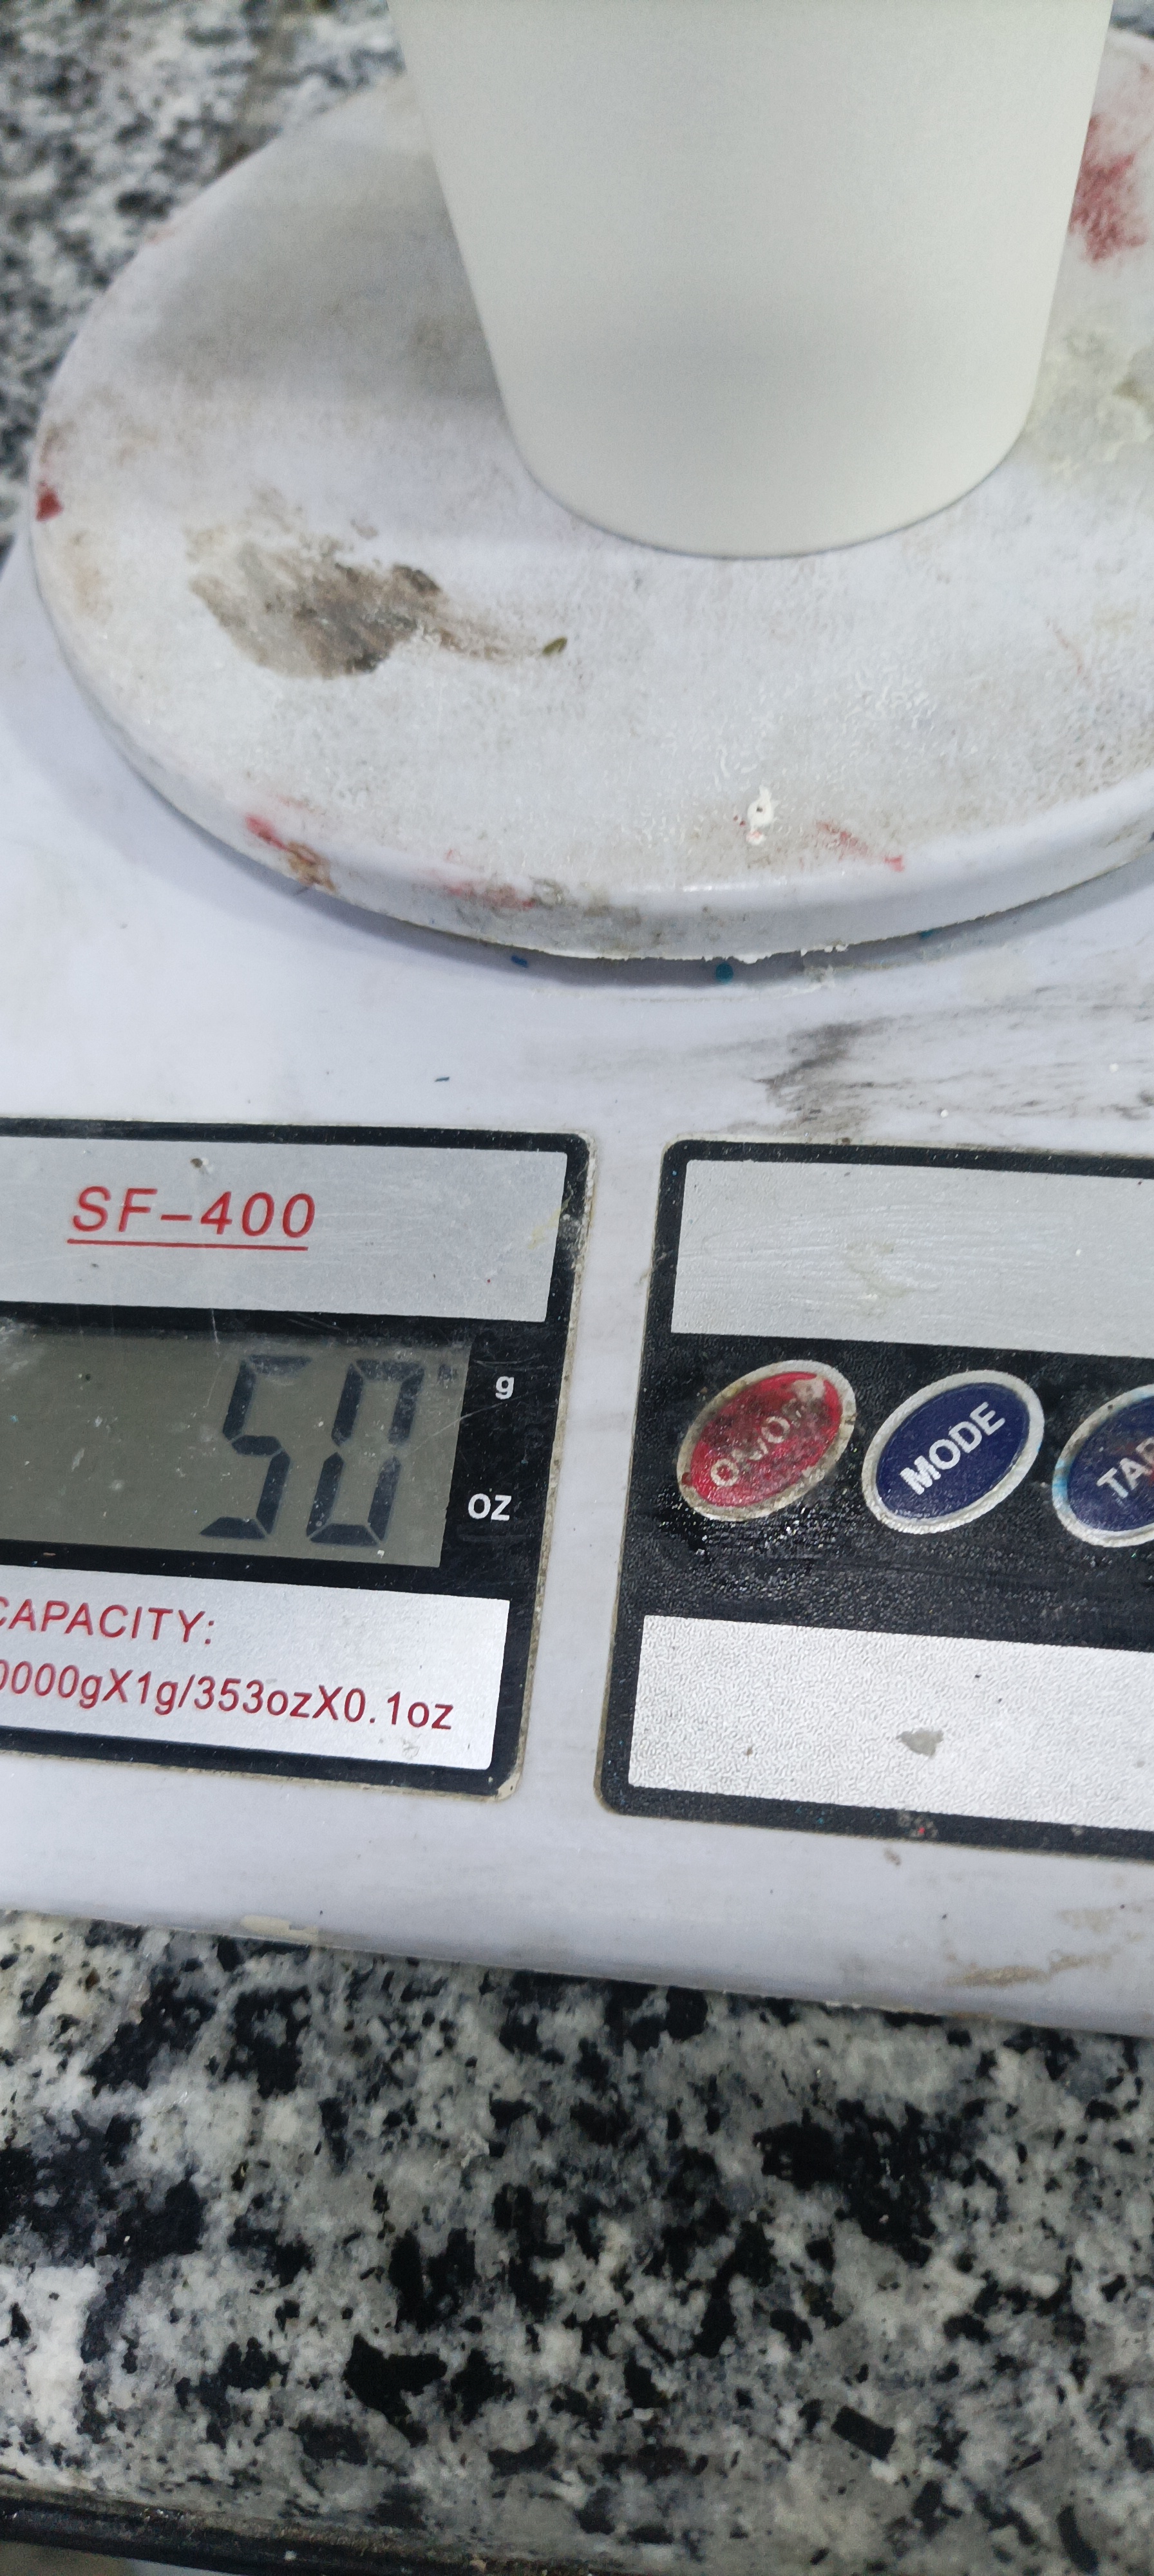
- Wighted the material at 50grams.
- Ensured that I have ensure to take the wieght of the cup.
Step 2: Mixing and Pouring the Silicone
- Weighed and mixed Dragon Skin 10 Medium components (1A:1B by weight or volume).
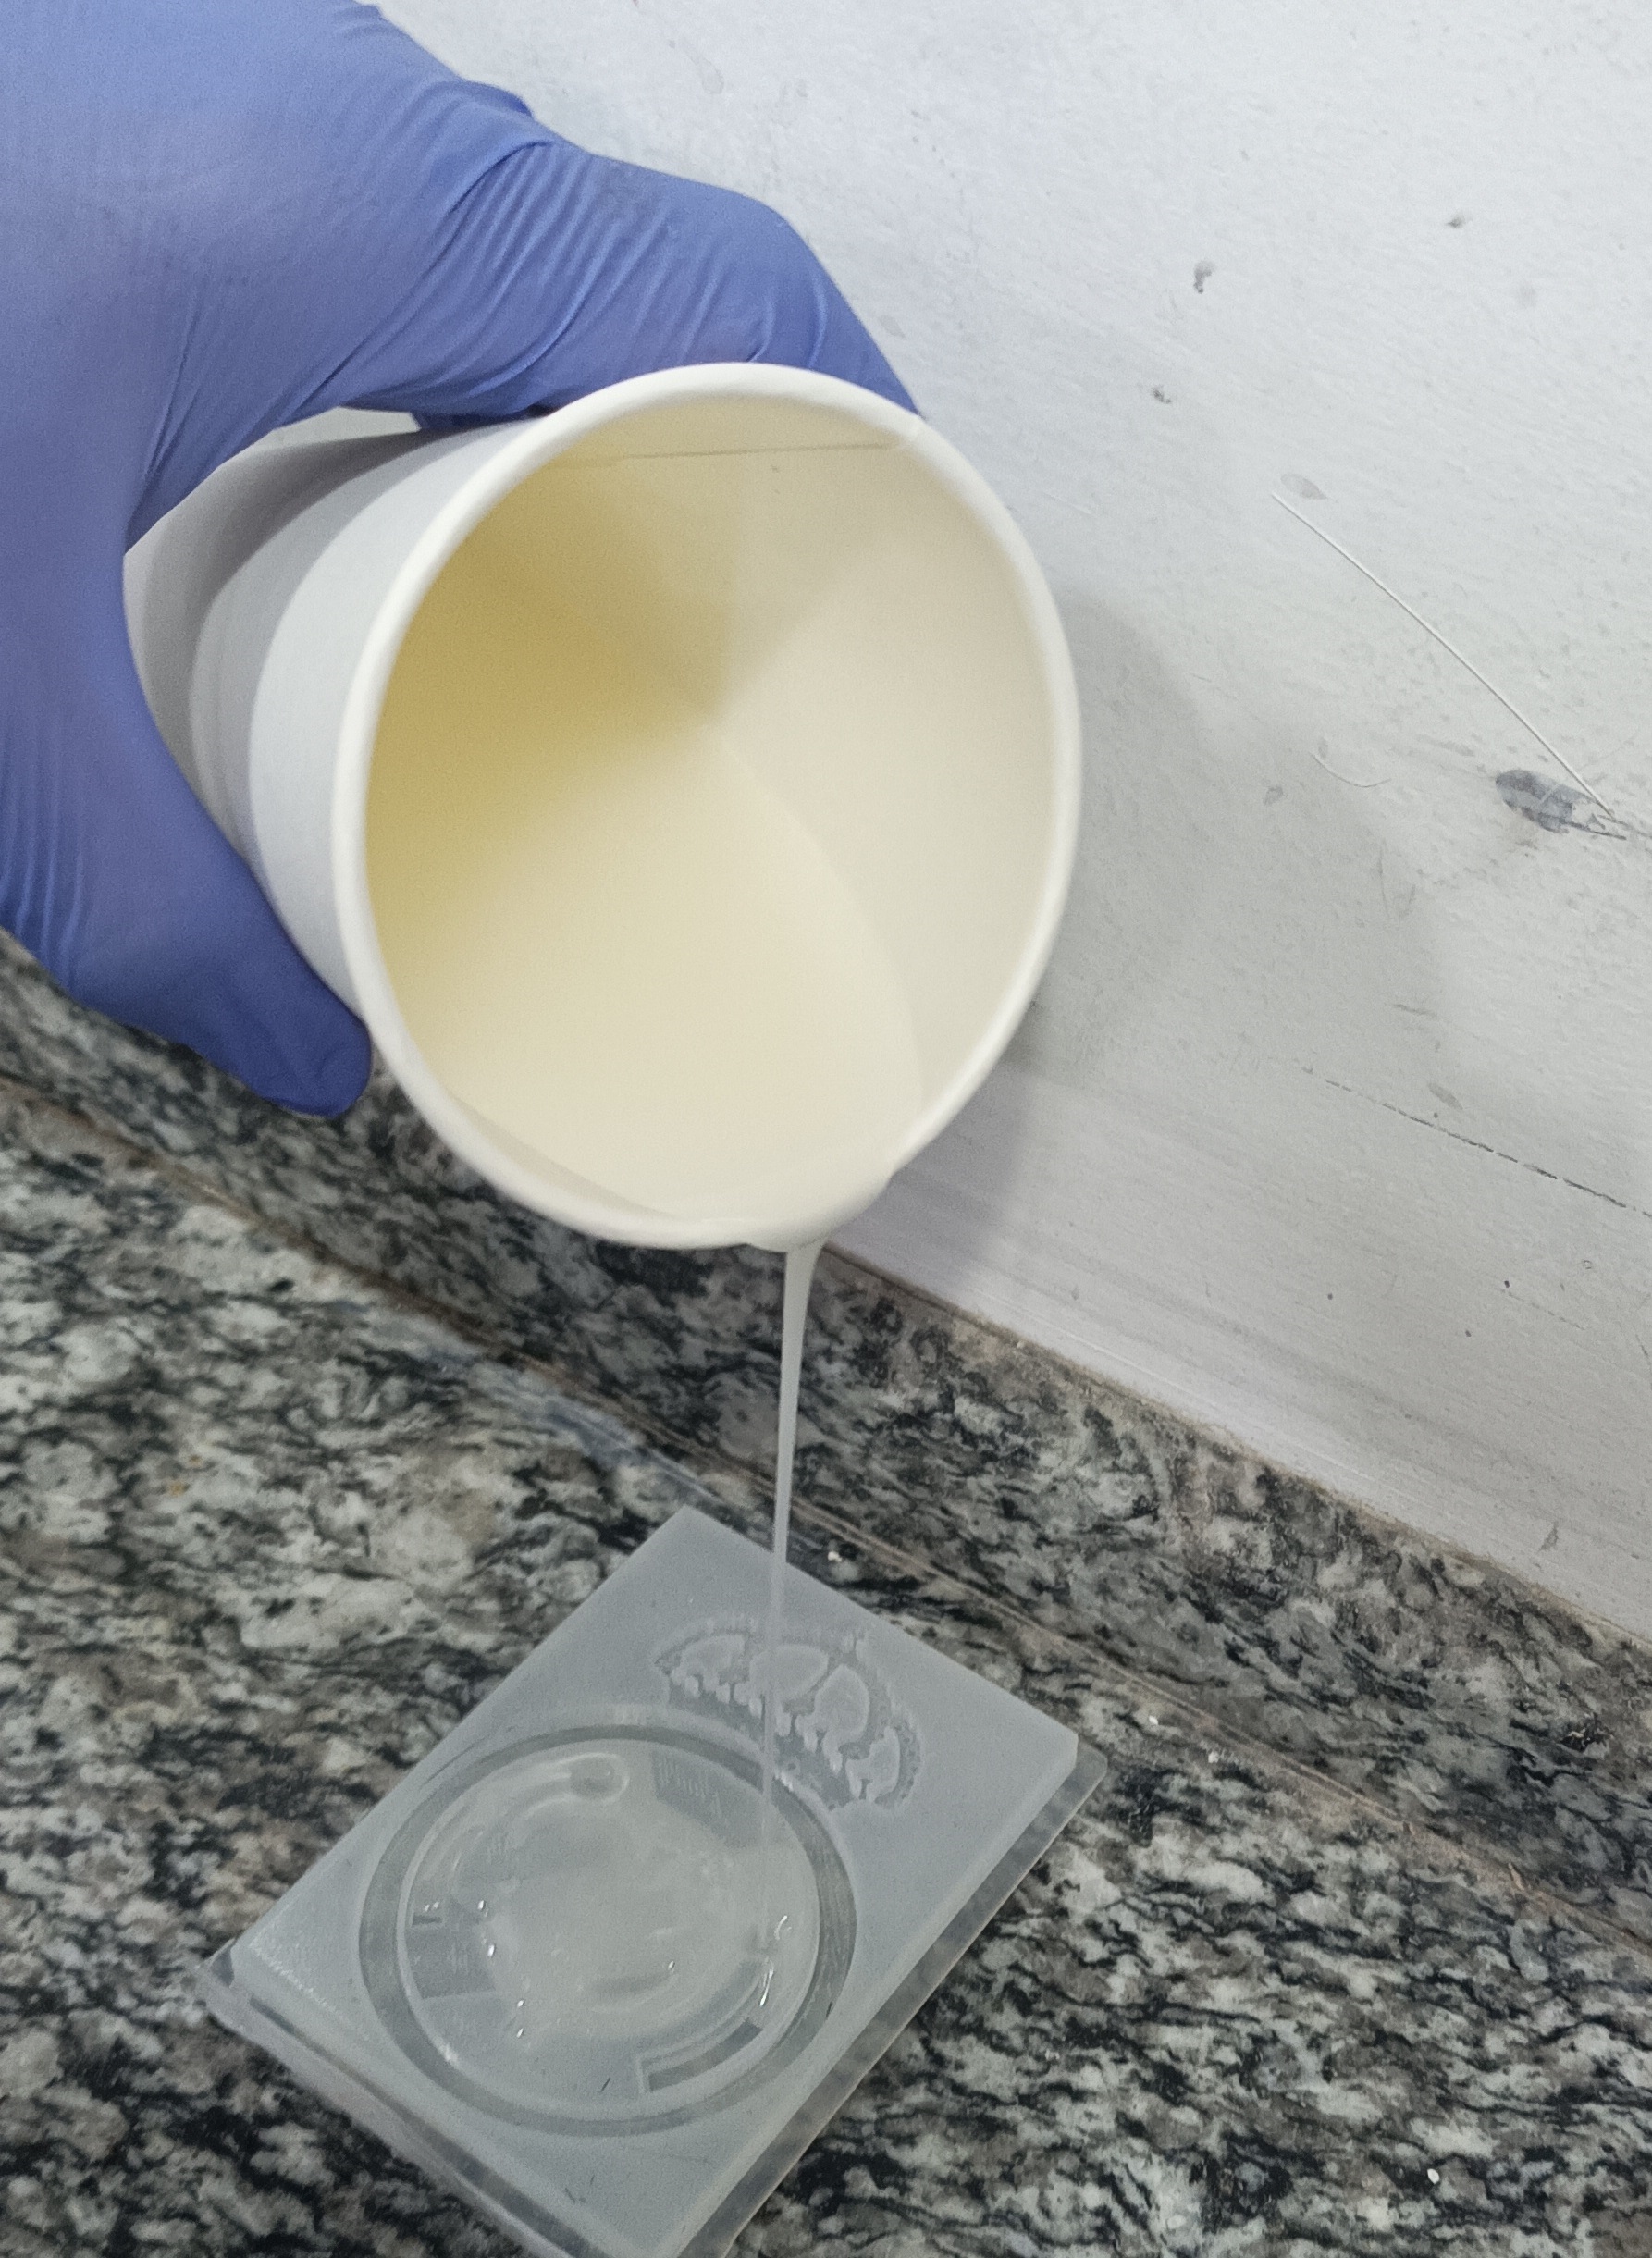
- Poured the silicone mixture over the 3D printed logo, ensuring complete coverage.
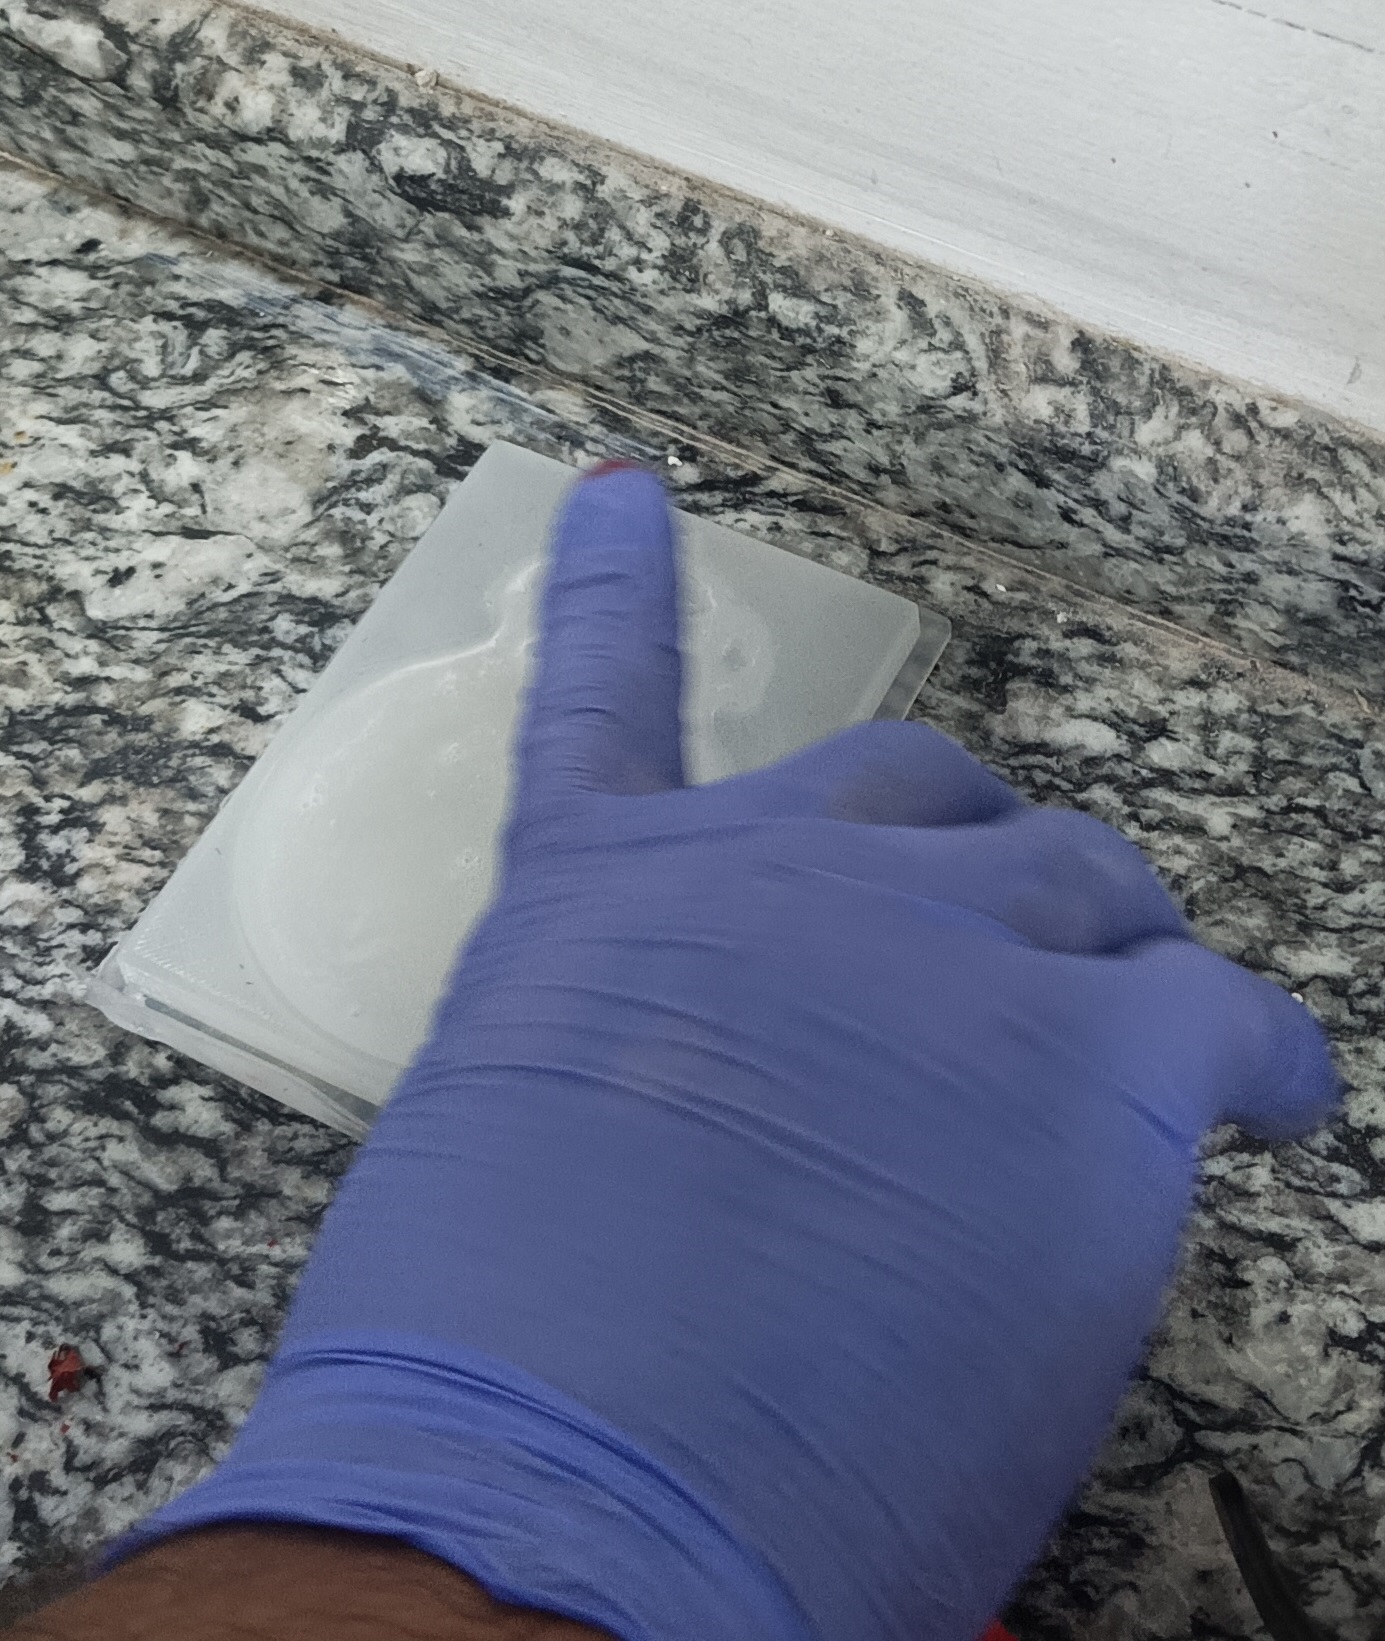
- Allowed it to cure for 5 hours.
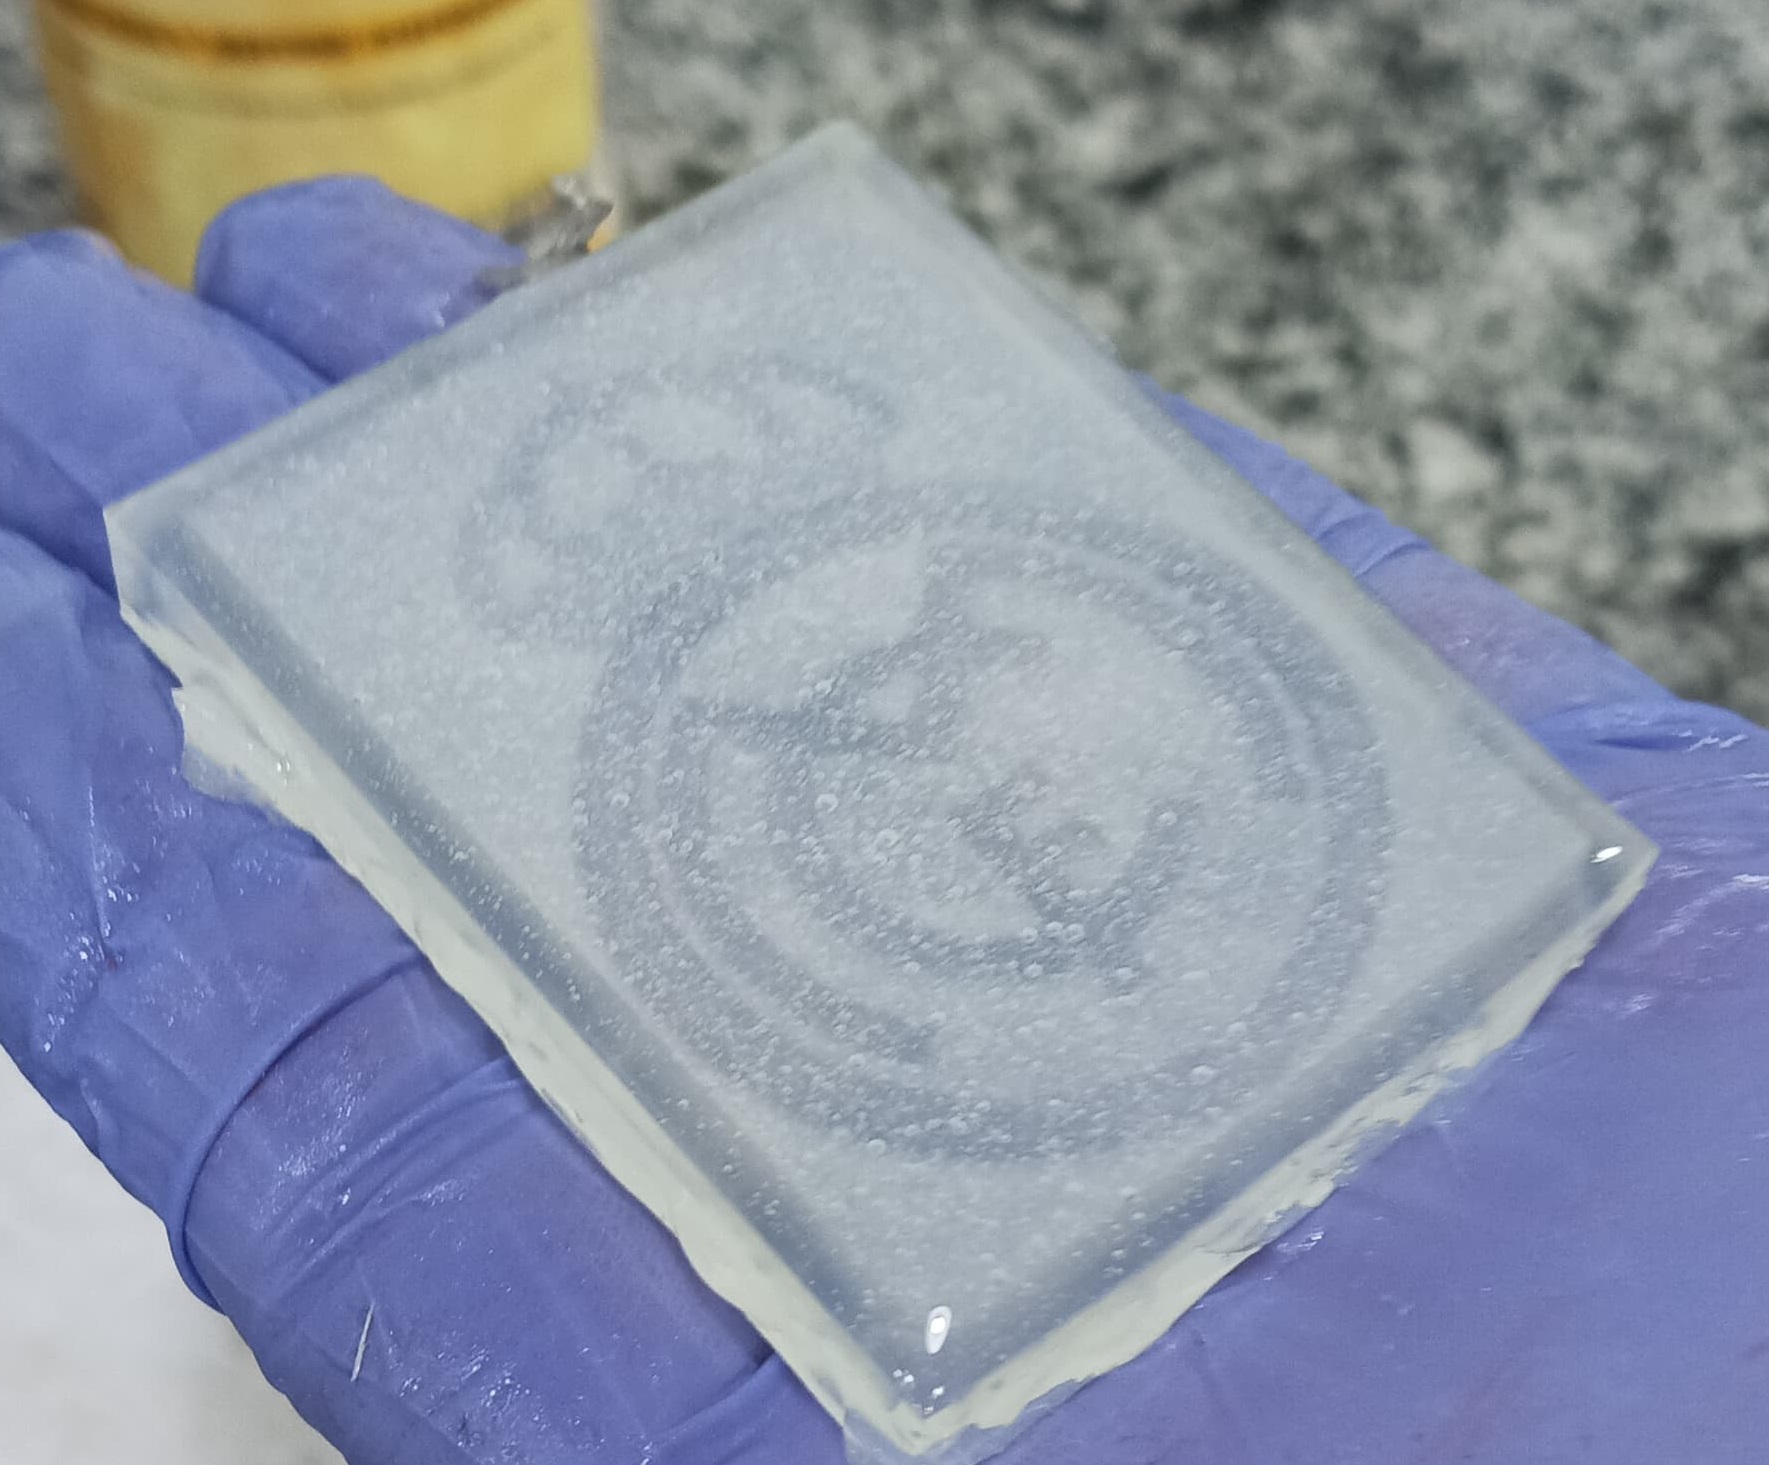
I first put it in the one that I made from clear rezin
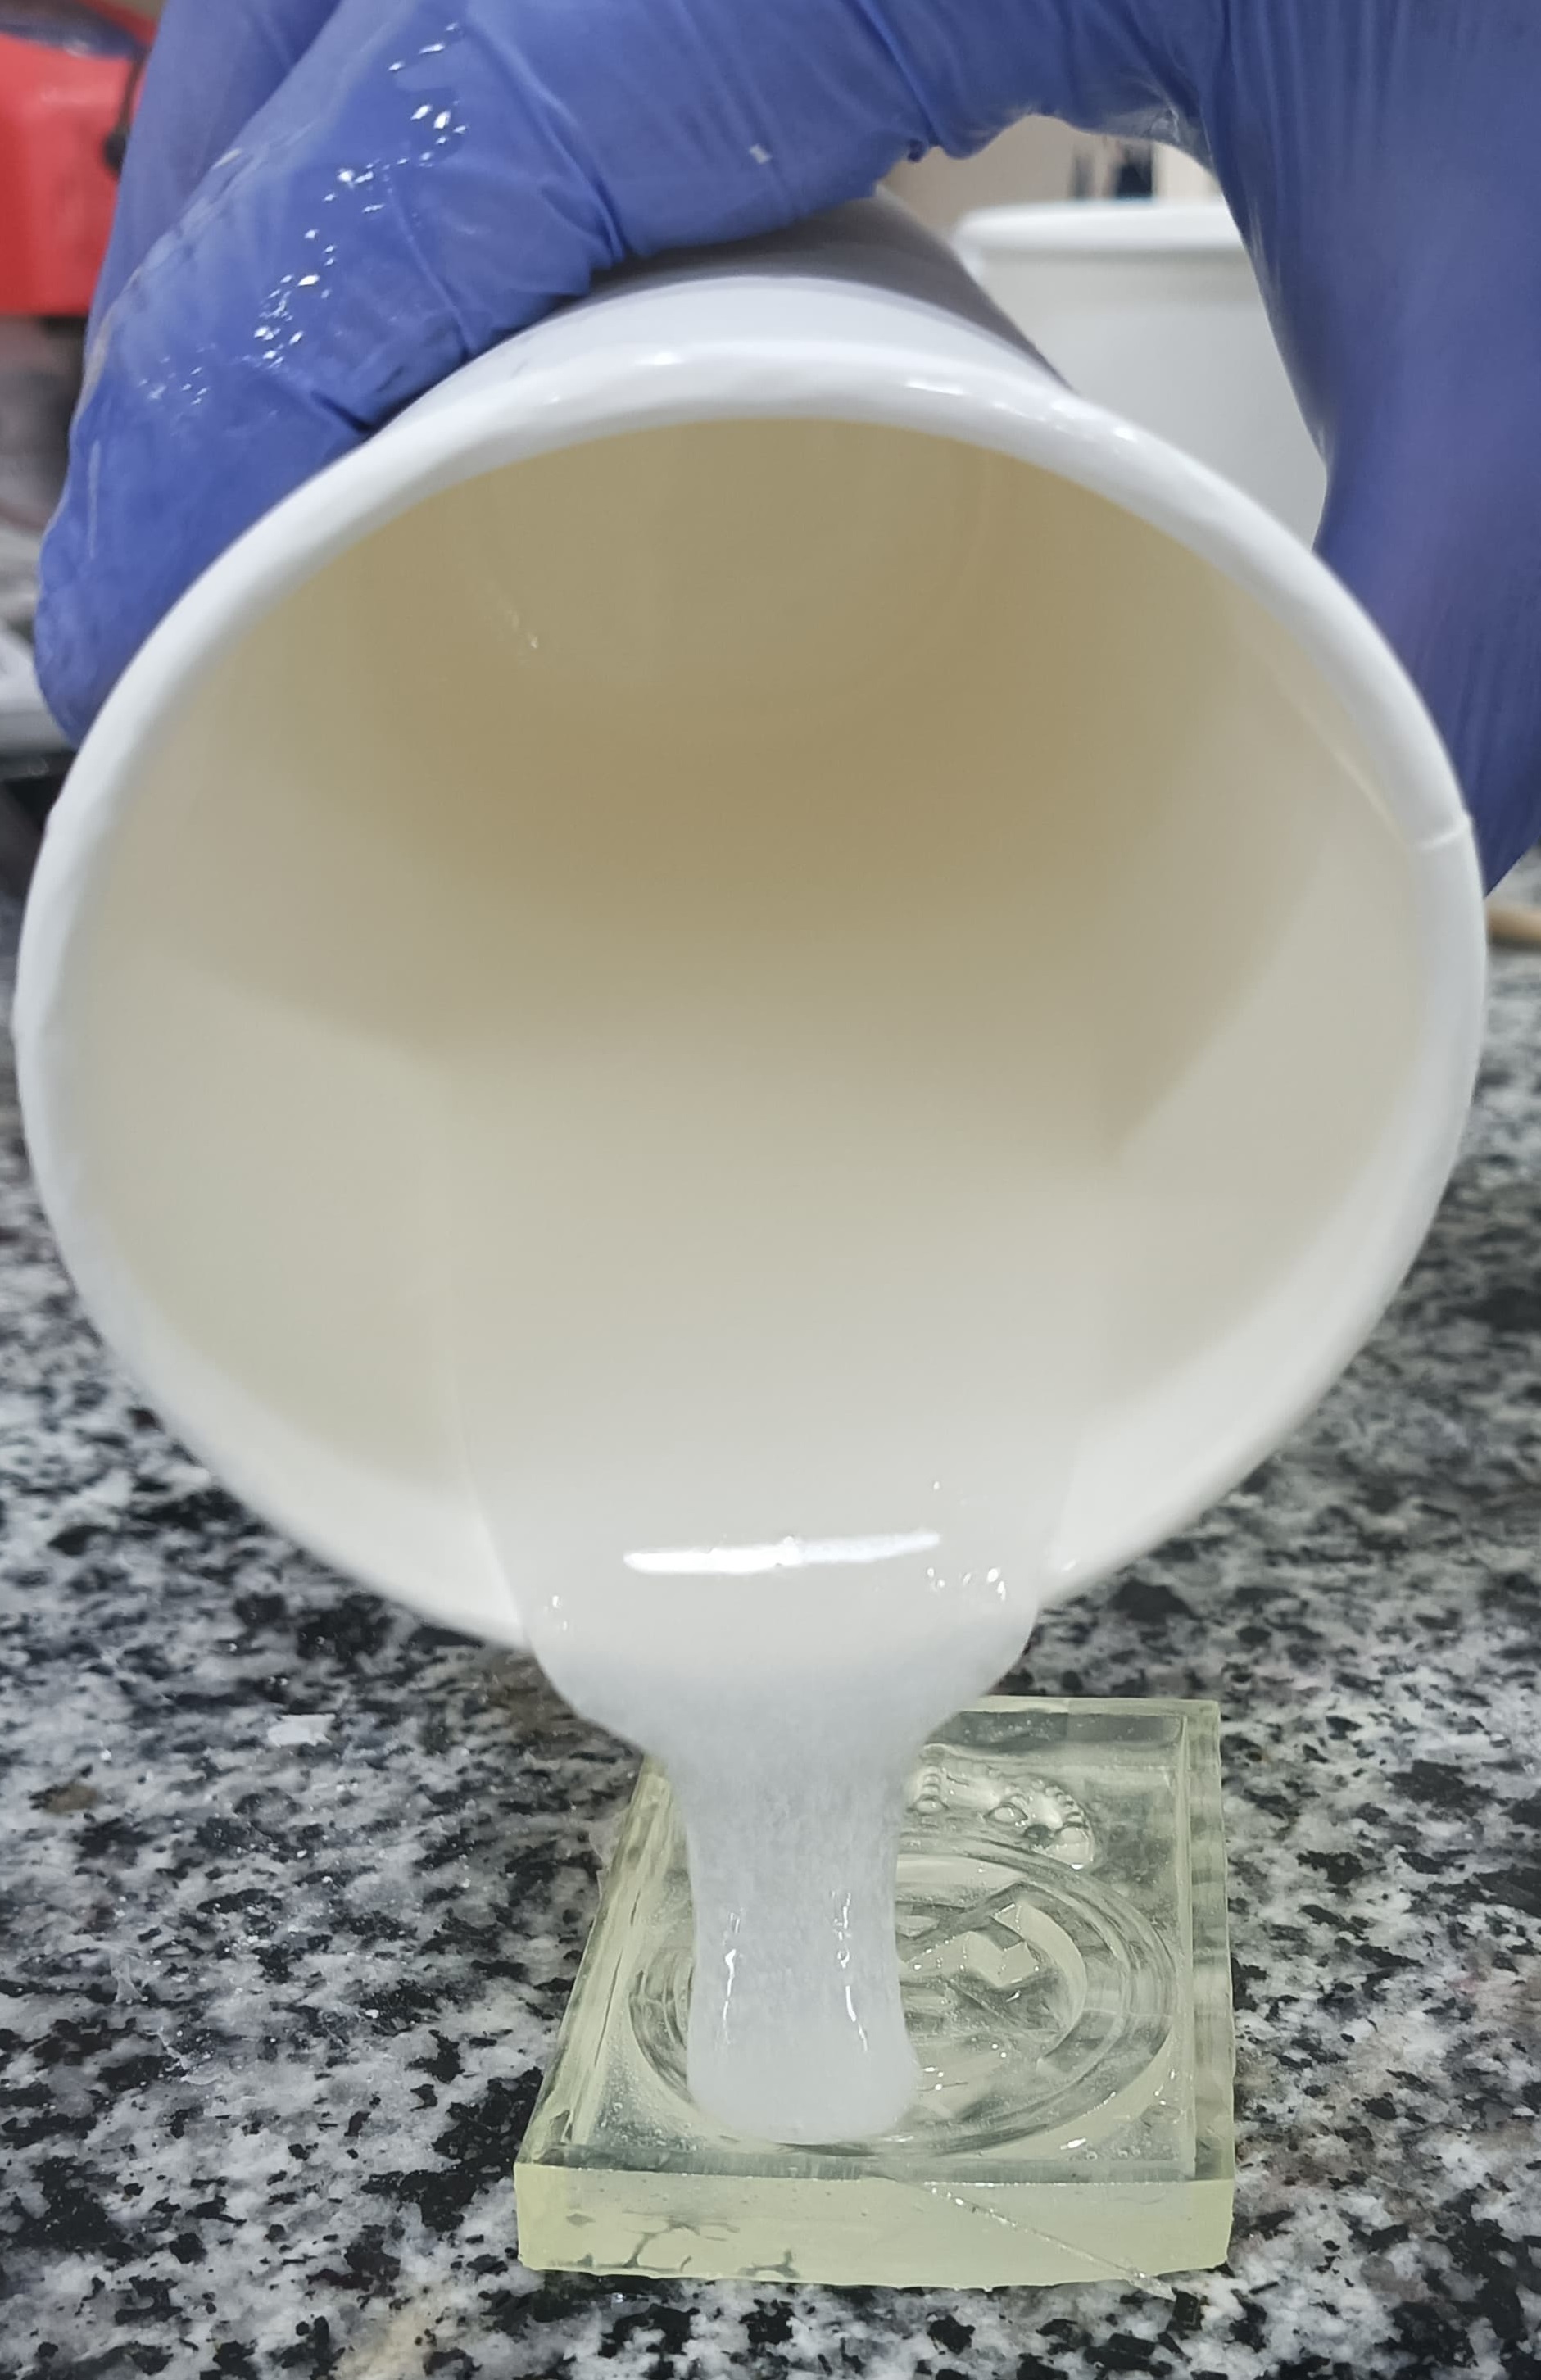
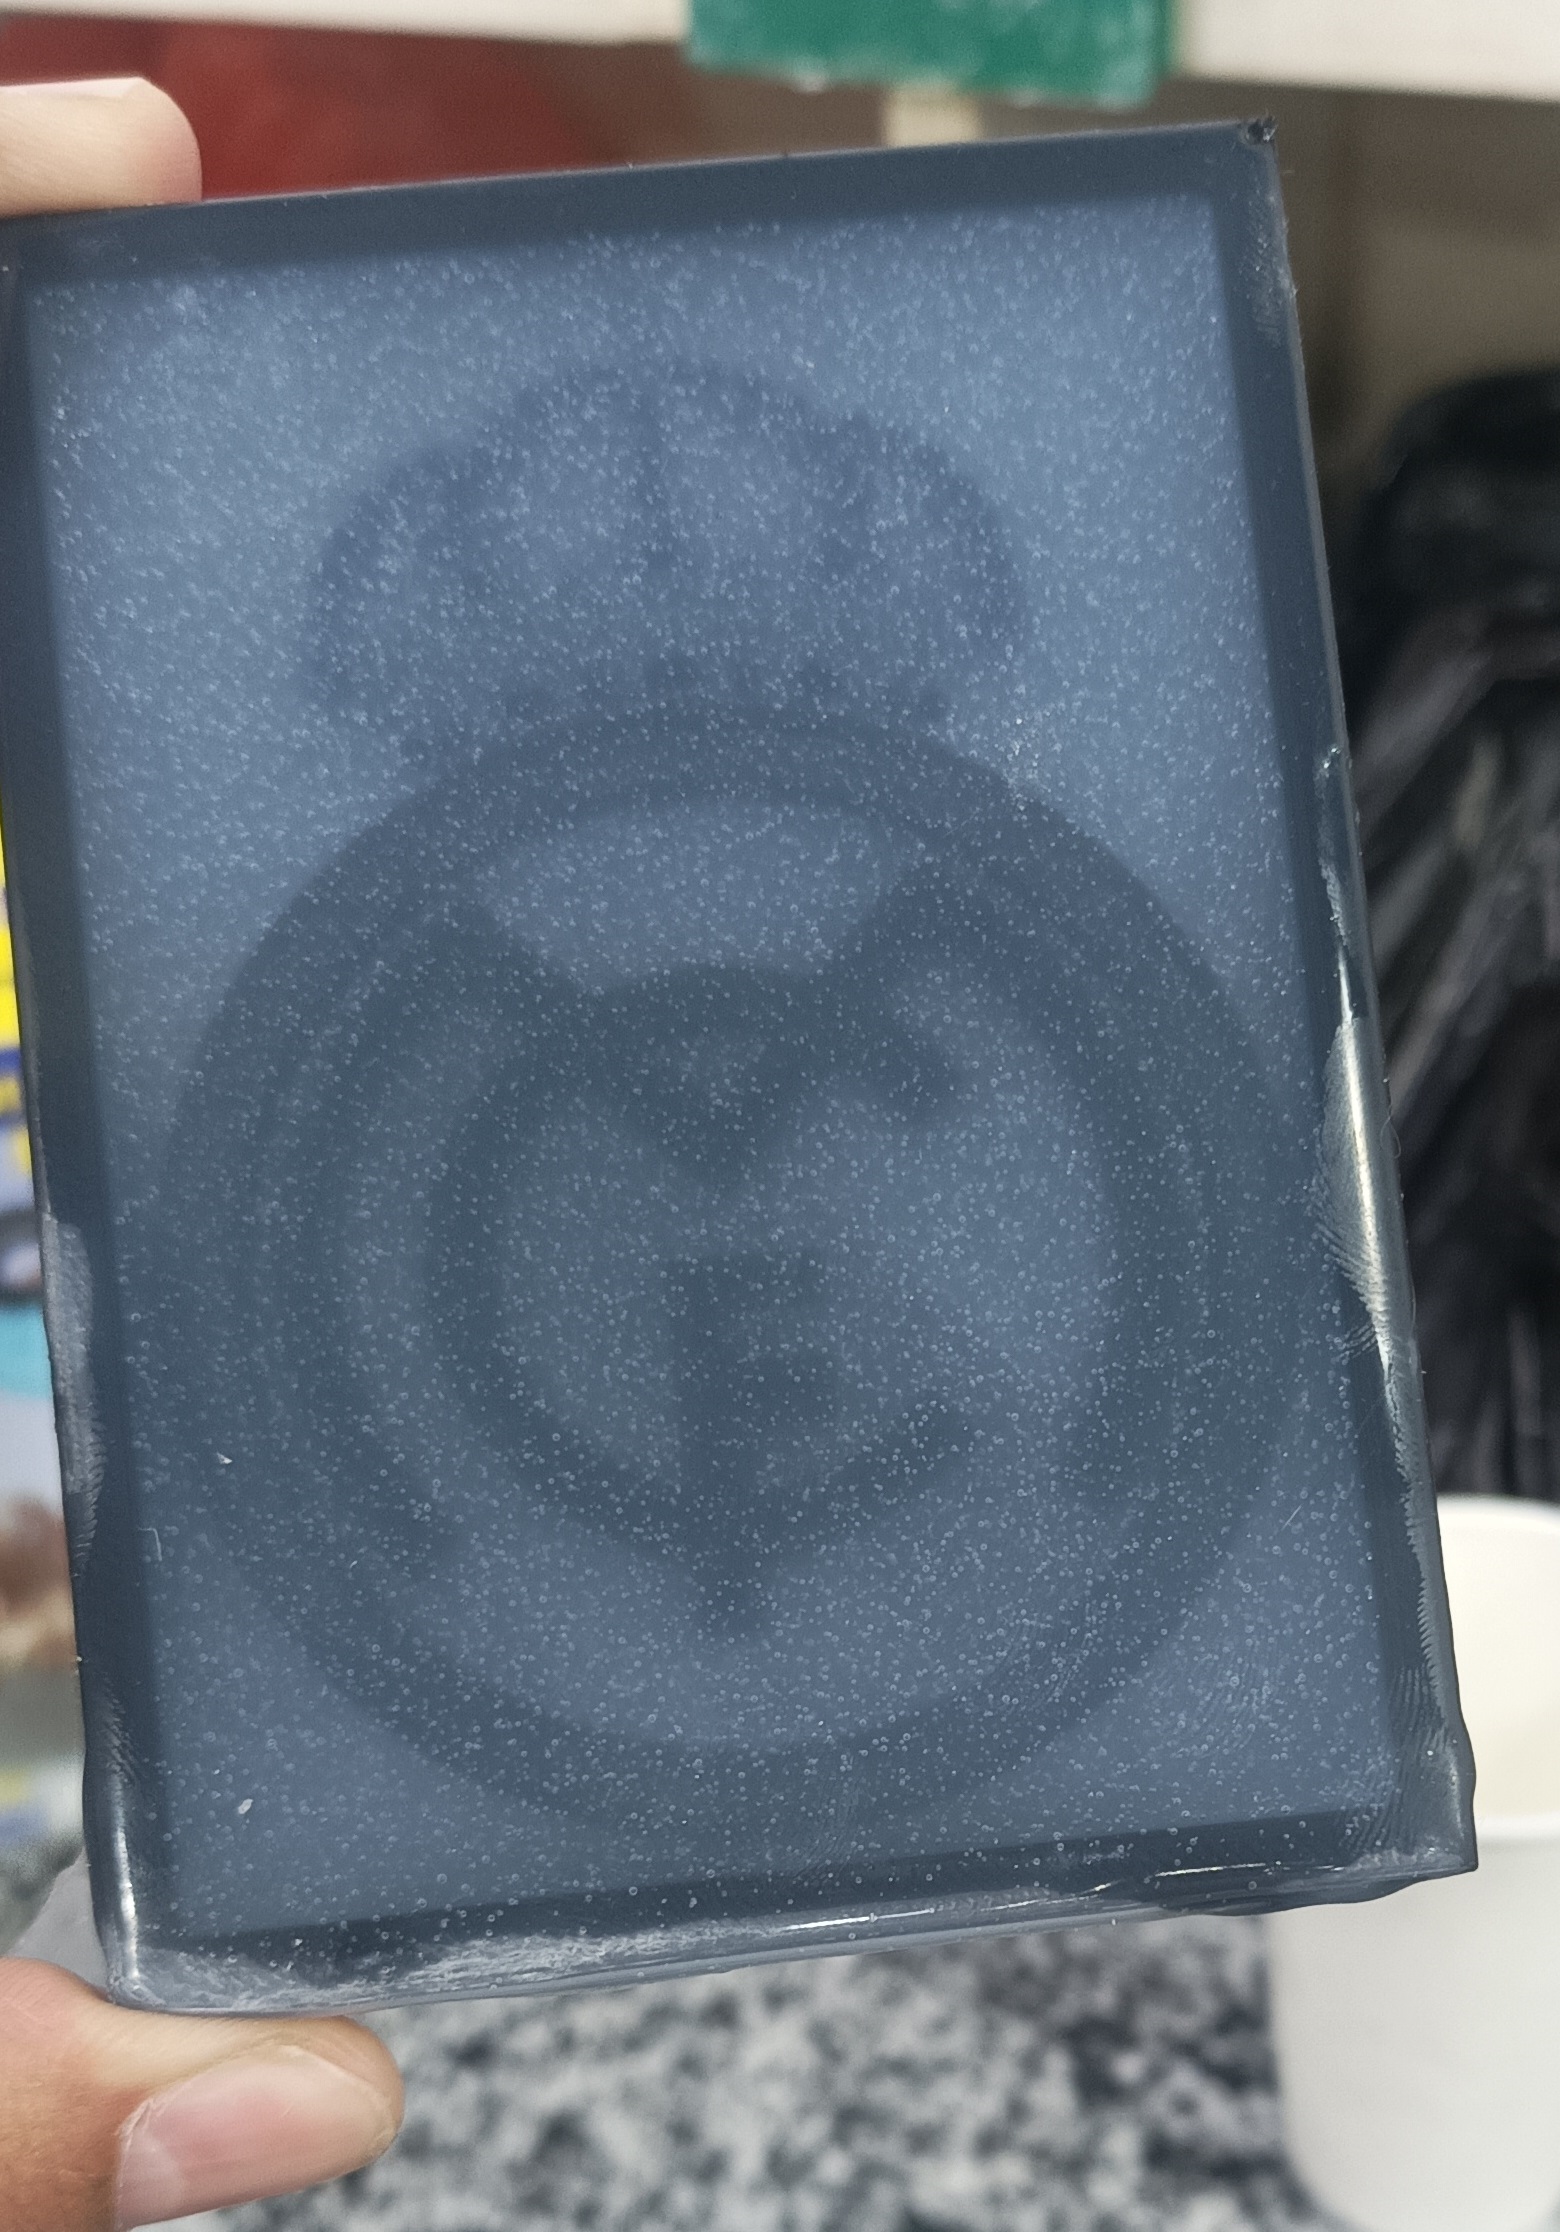
Then I tried to put it in the FDM model
Result:
- A detailed silicone mold capturing all the intricate details of the logo.
For the clear rezin
For the FDM design
Casting with Smooth-Cast 305
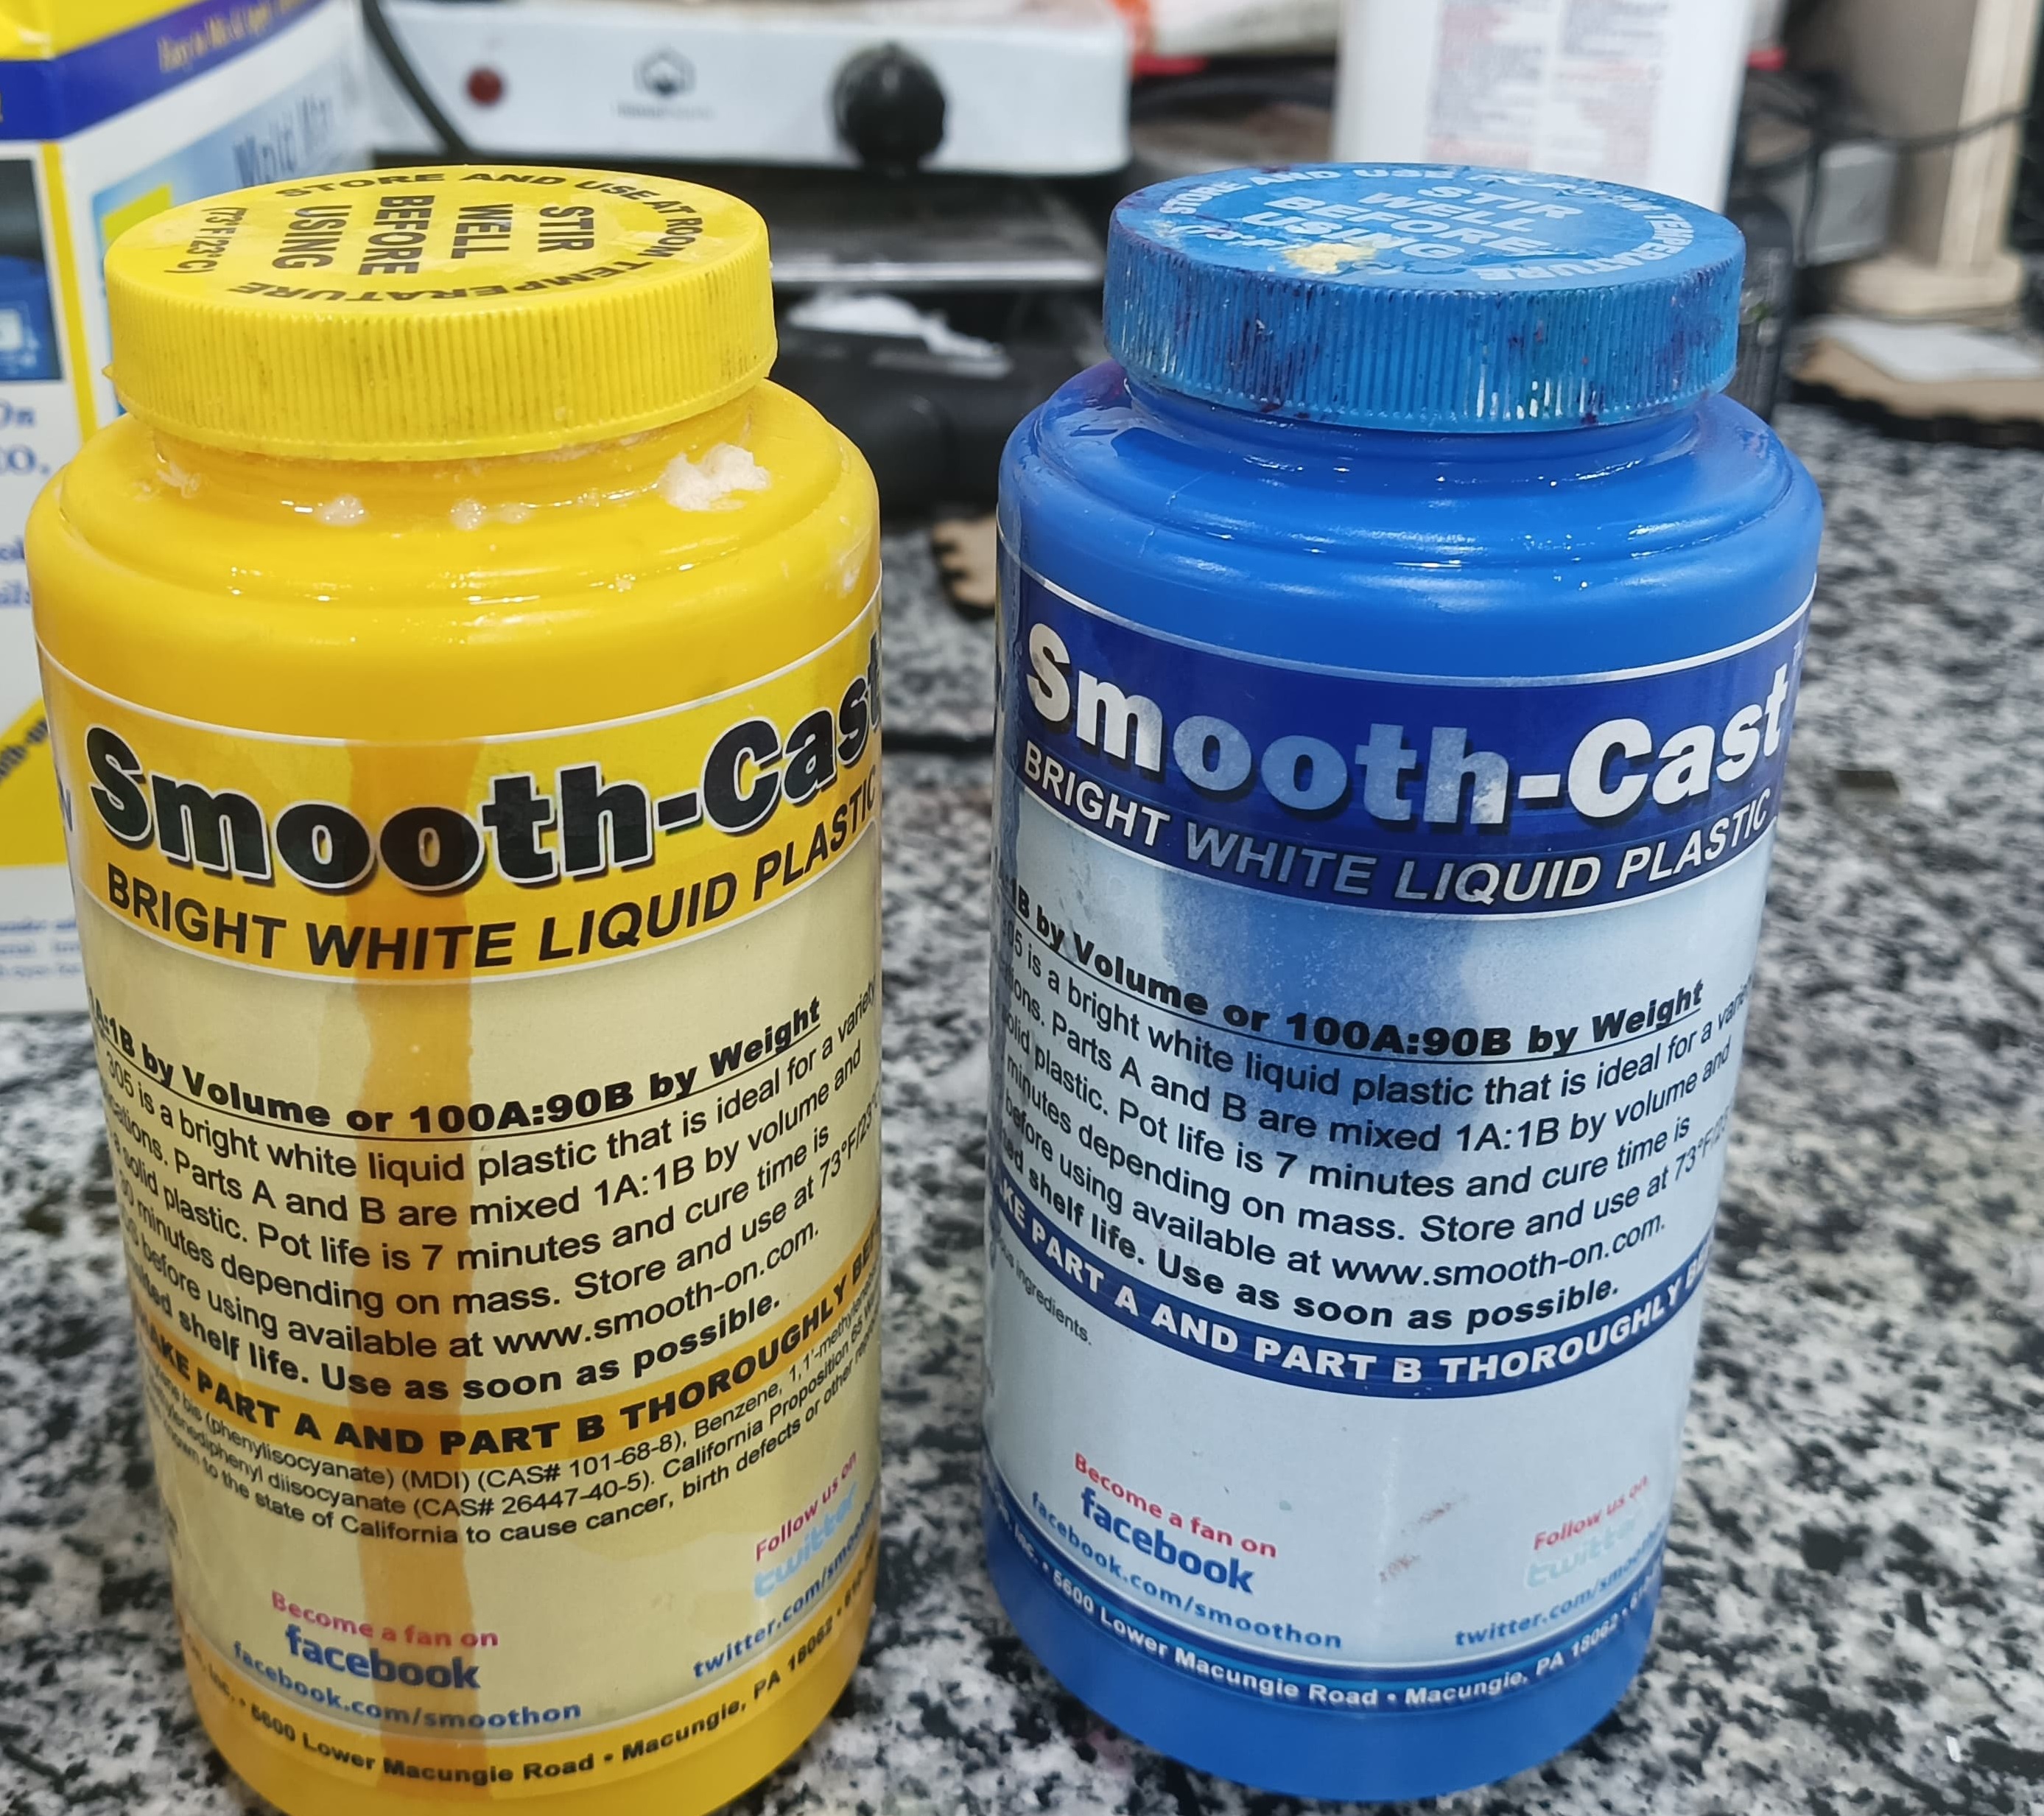
Step 1: Mixing the Resin
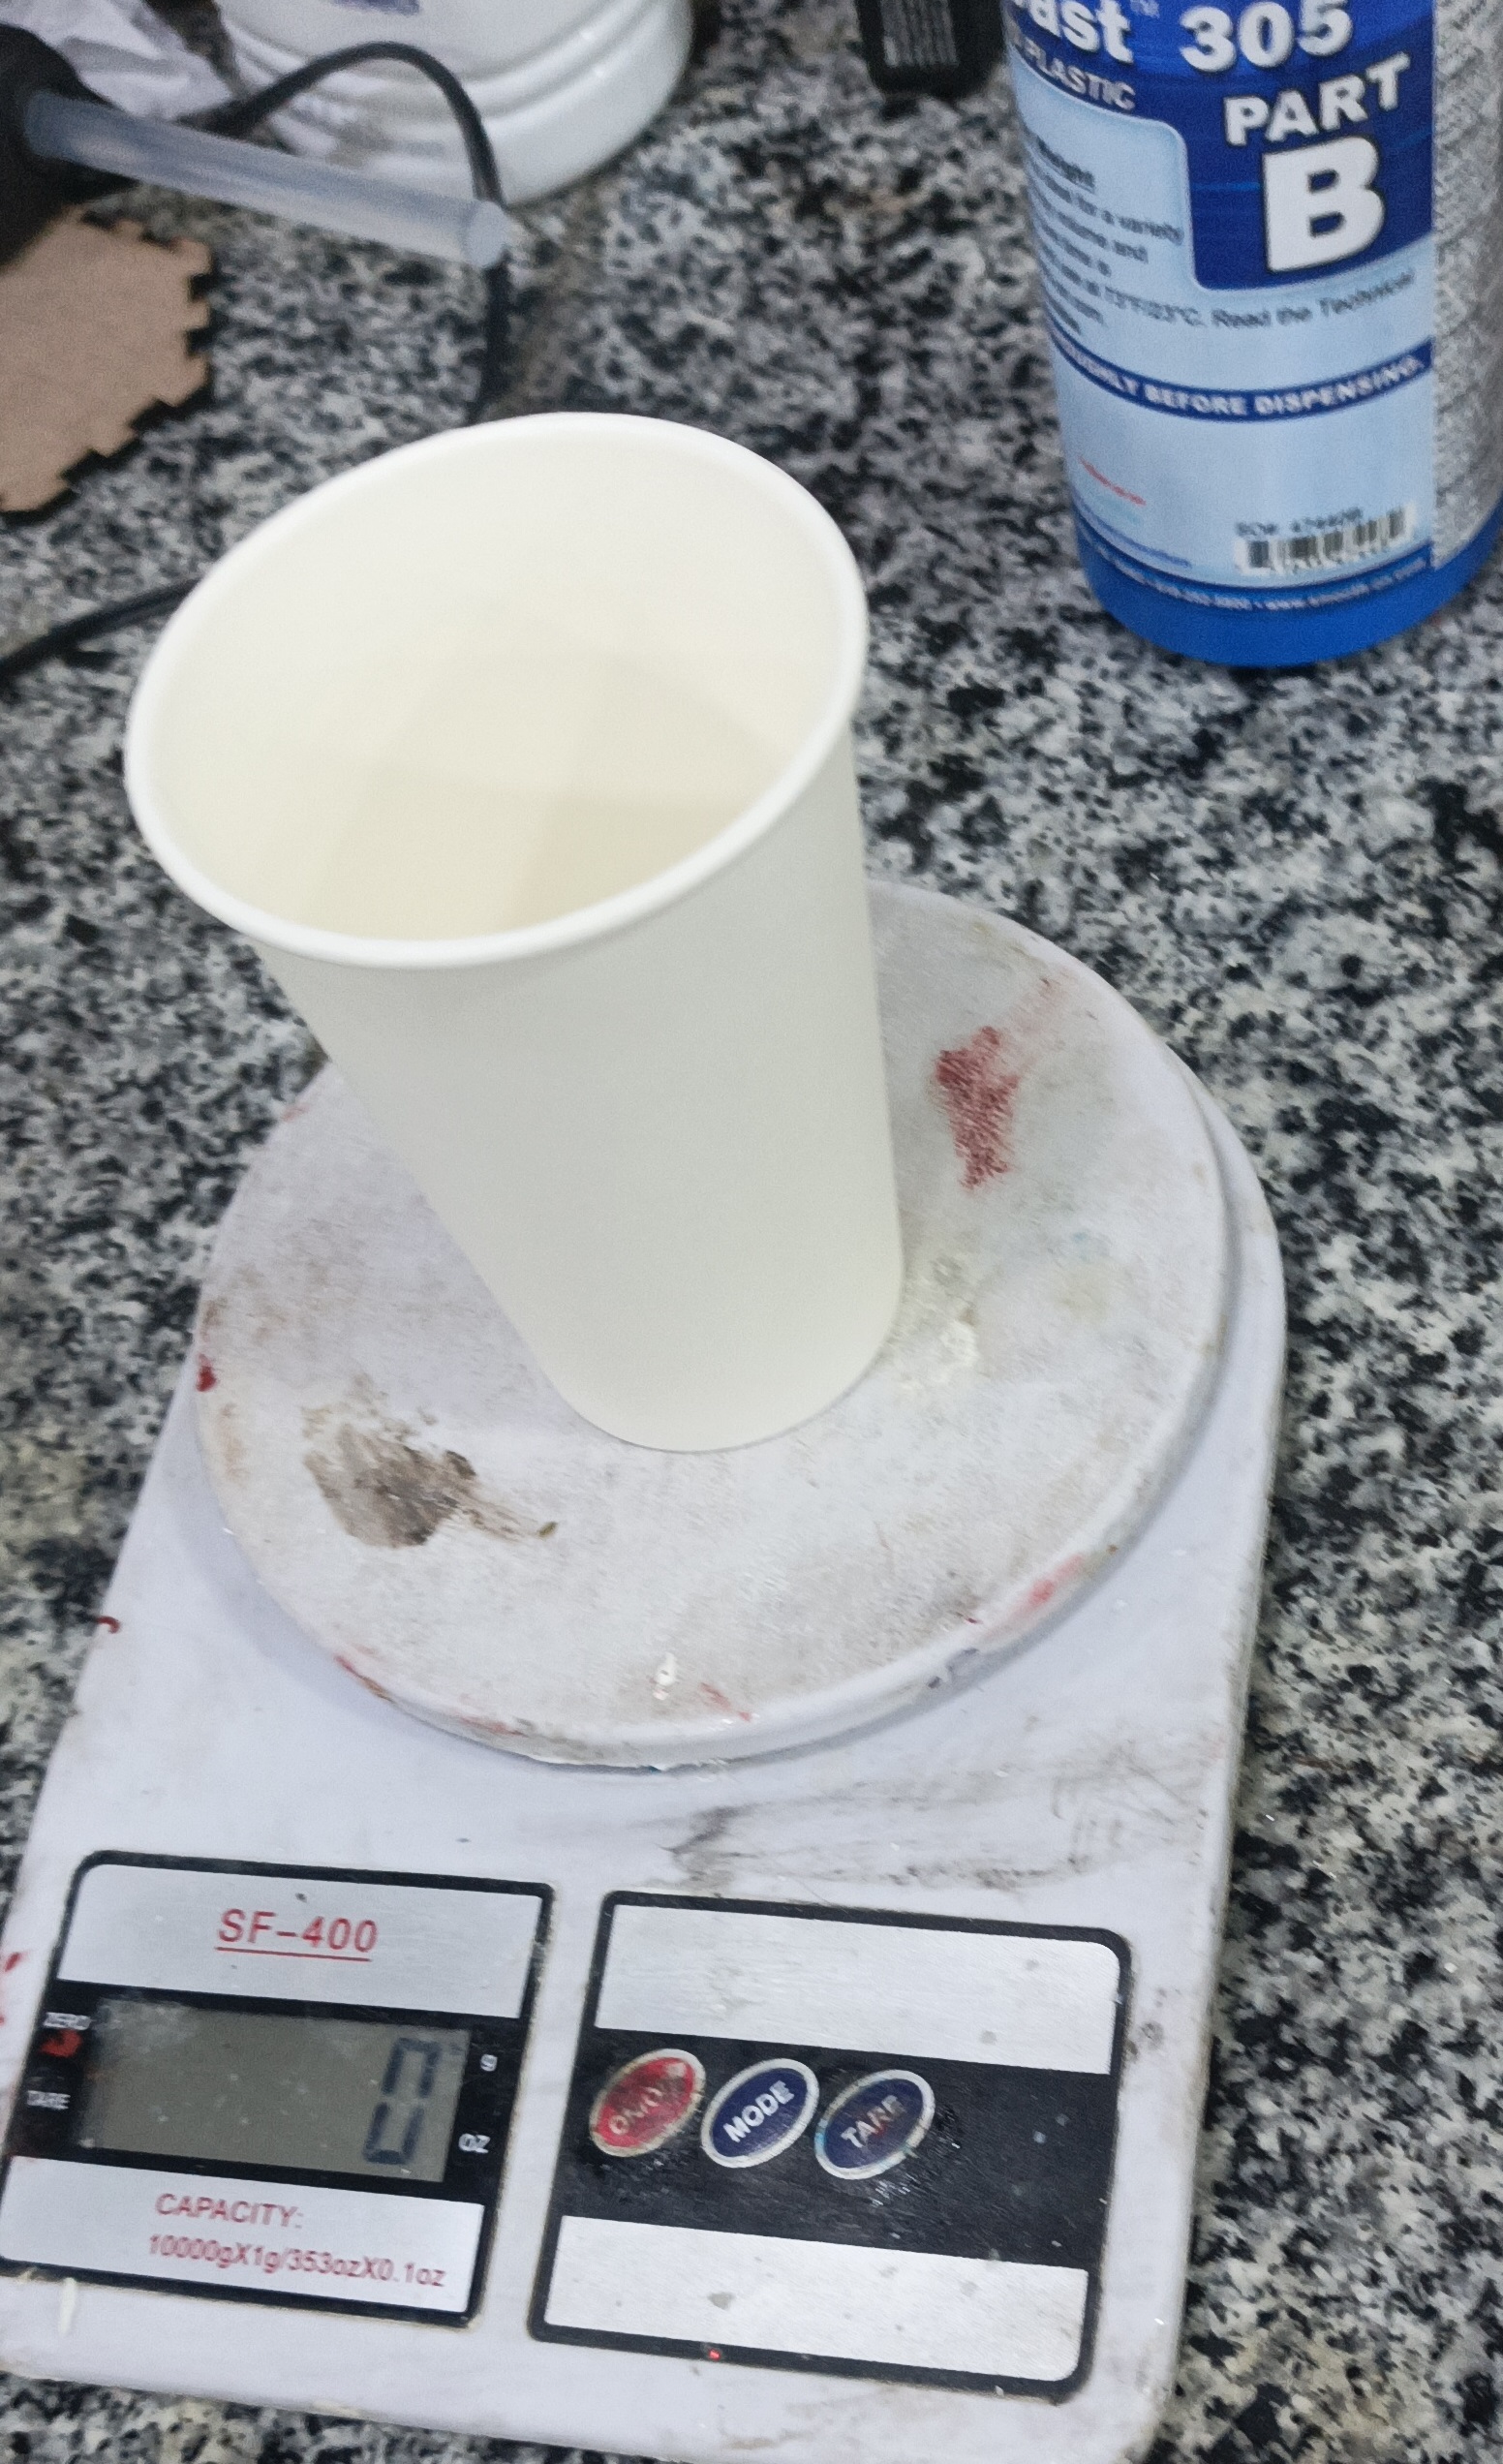
- Measured equal parts of Smooth-Cast 305 resin and hardener.
- Mixed vigorously for 30 seconds.
Step 2: Pouring the Resin
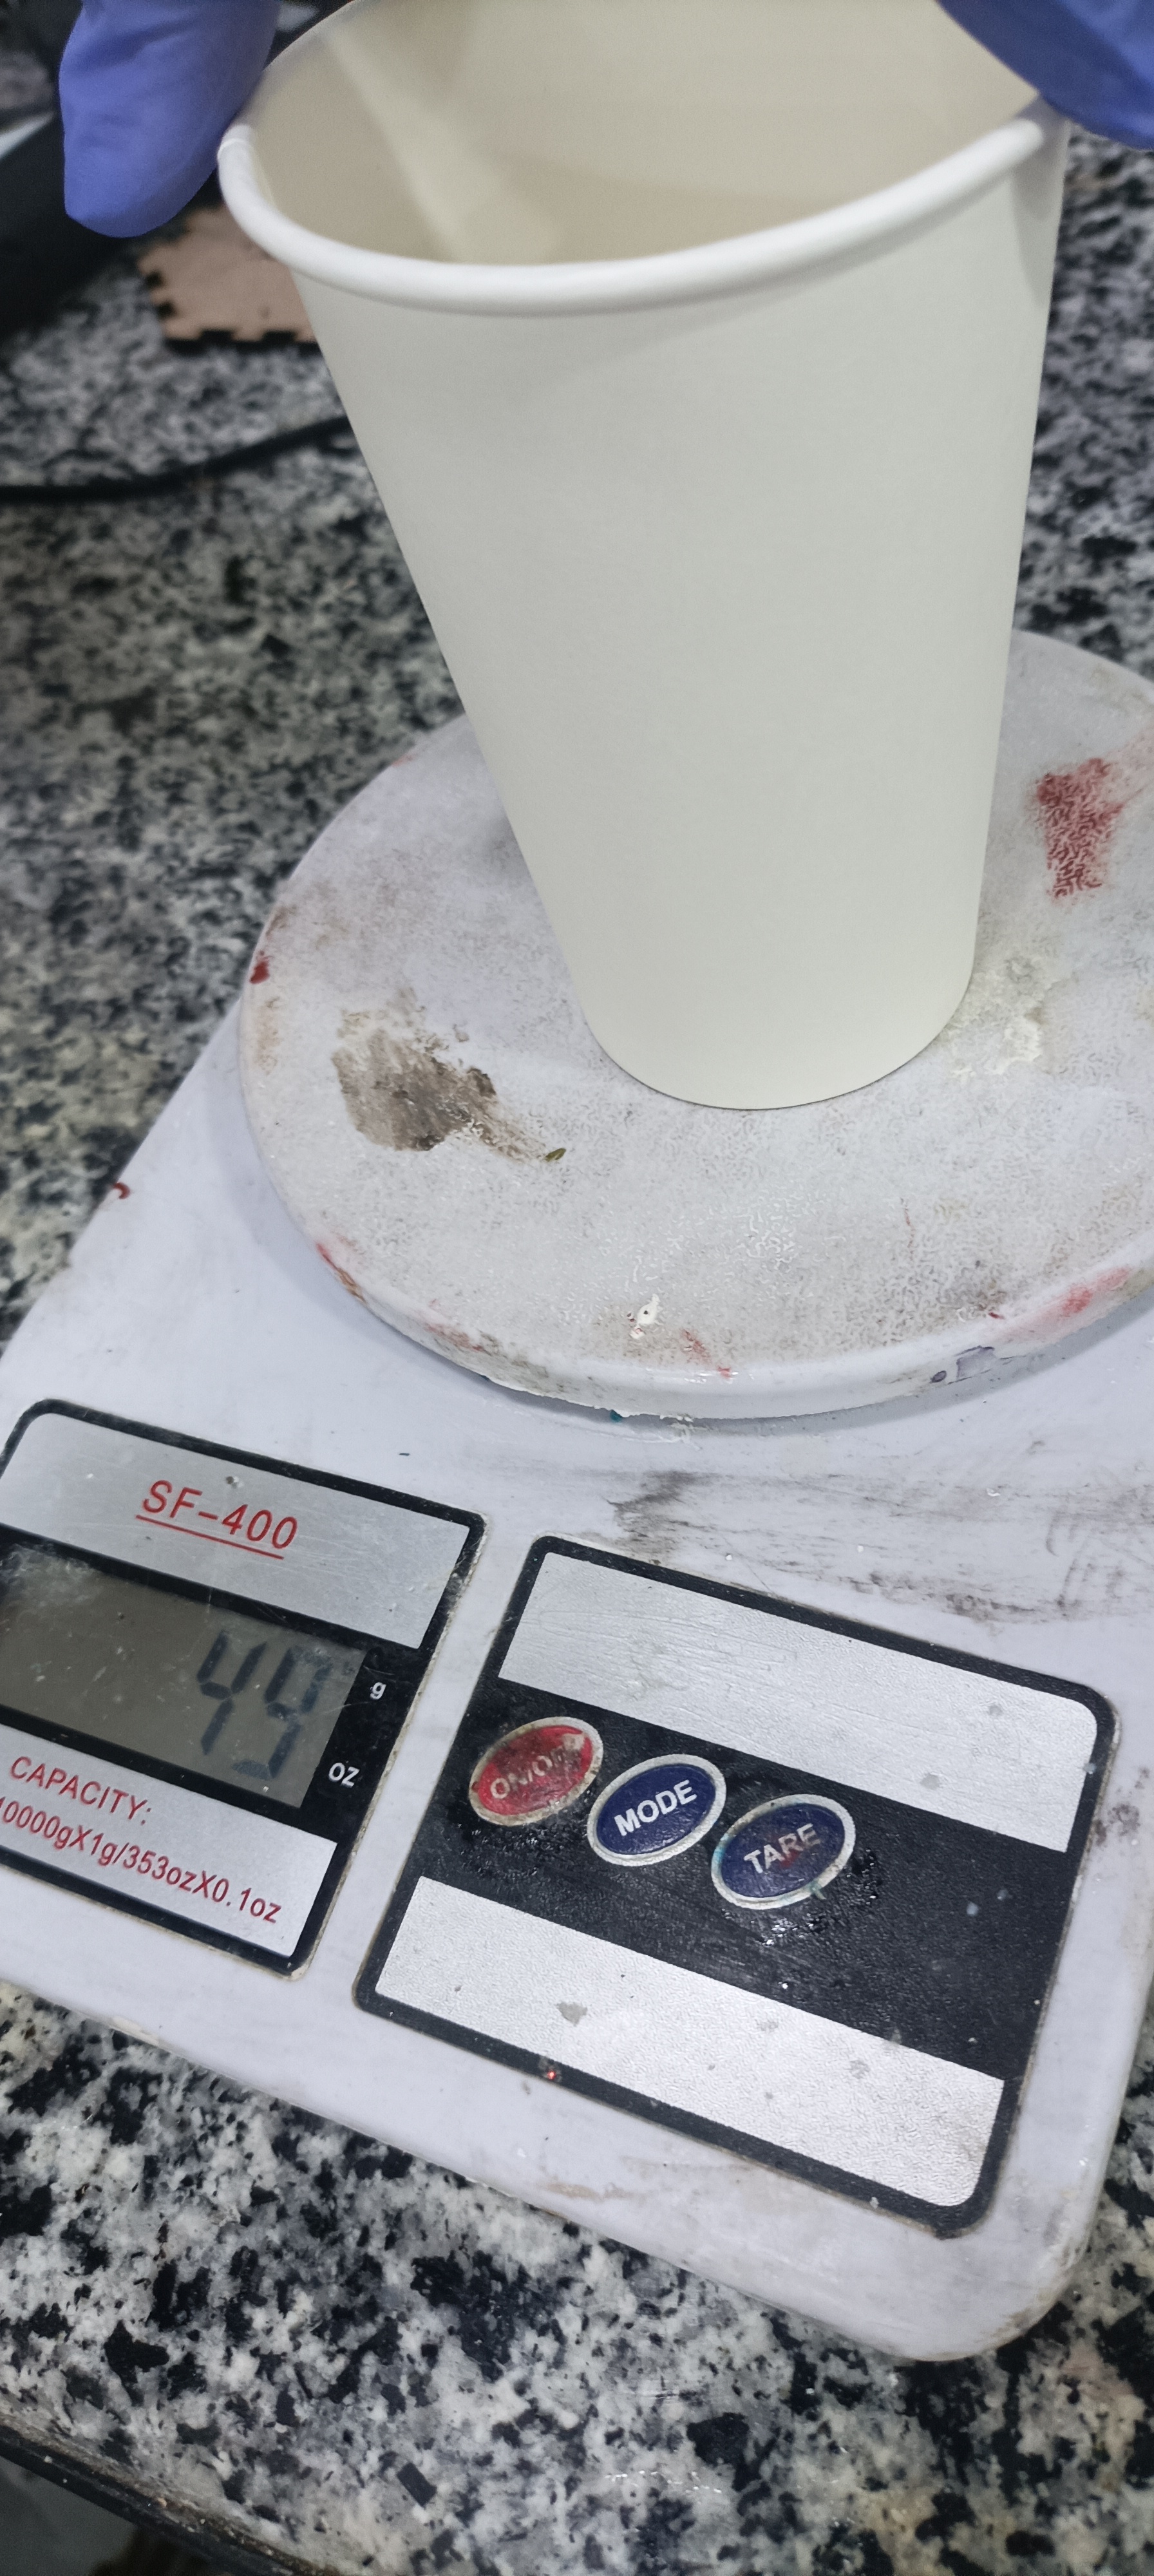
- Weighed and mixed Smooth-Cast 305 (100A:90B by weight)
- Poured the mixed resin into the silicone mold.
- Allowed it to cure for 10 minutes.
Result:
- A solid, white replica of the Real Madrid logo, capturing all the intricate details.
Final Result
Comparison of FDM and SLA Prints:
- The SLA print had a smoother surface finish and higher resolution, which resulted in a more detailed final cast.
Final result of the clear rezin
Final result of the FDM
Conclusion
This project showcased the versatility of 3D printing, silicone molding, and polyurethane casting techniques. By combining these methods, I was able to create accurate replicas of the Real Madrid logo, celebrating the team's victories in the Champions League. The process highlights the importance of choosing the right printing method for the best results in molding and casting projects.