Mechanical Design, Machine Design
The CNC machine project aims to create a user-friendly and affordable solution for artists, hobbyists, and educators interested in producing intricate textured art, particularly pointillism artwork. The machine will automate the process of applying individual dots of acrylic paint or silicone caulking, allowing users to create detailed artworks with ease.
Key features of the project include:
Artistic Vision: Enabling users to produce pointillism artworks characterized by intricate patterns, textures, and depth.
Materials: Compatibility with acrylic paint or silicone caulking, providing flexibility for artists to choose their preferred medium.
Texture and Detail: Capable of achieving fine detail and texture resolution to accurately reproduce intricate patterns.
User Experience: Emphasis on user-friendliness with an intuitive interface, straightforward operation, and safety features.
Budget and Timeline: The project is constrained by a budget of 300 JOD and a timeline of two weeks for design, fabrication, and testing.
The two-week plan outlines the following tasks:
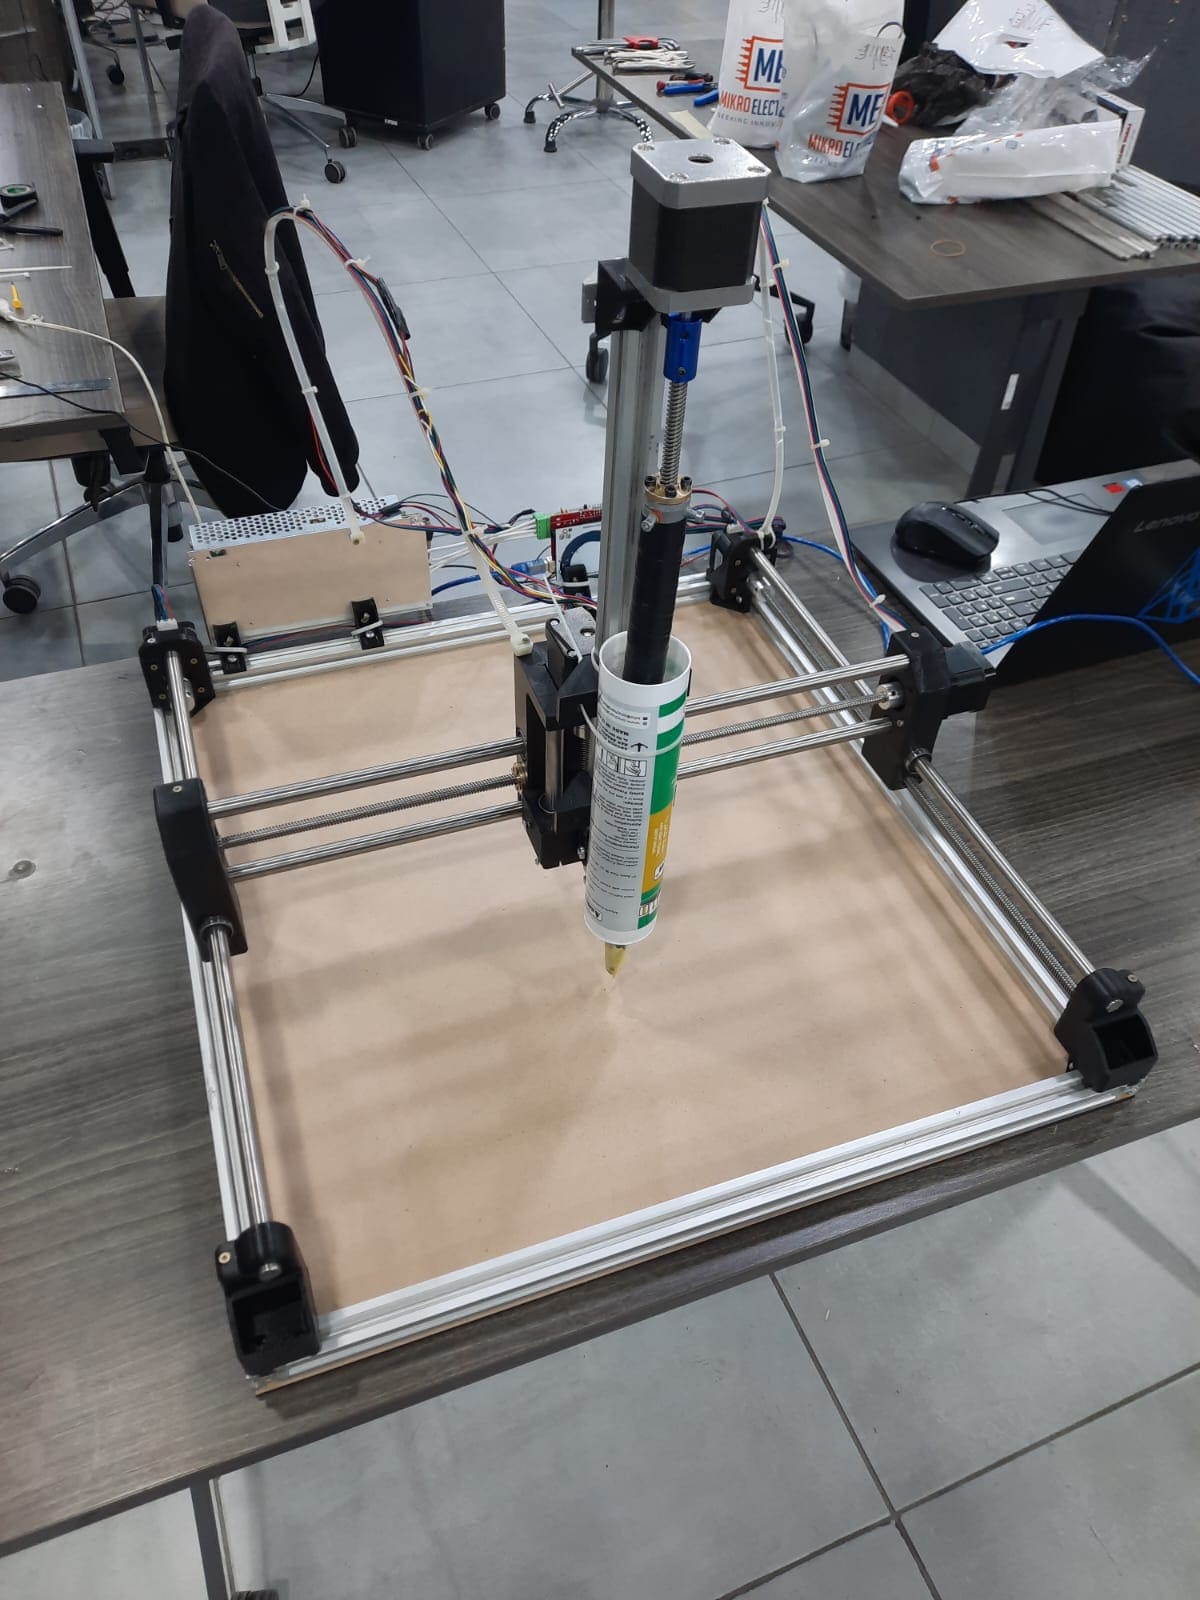
- Designing and prototyping the CNC machine structure and extruder mechanism.
- 3D printing components and assembling the mechanical structure.
- Setting up the electronic components, including Arduino Mega, CNC shield, stepper motors, and power supply.
- Designing and assembling the extruder mechanism for paint or caulking application.
- Programming the CNC machine for motion control and extrusion processes.
- Conducting thorough testing, troubleshooting, and documentation of the fabrication process.
The Bill of Materials (BOM) includes essential components such as Arduino Mega, CNC shield, stepper motors, power supply, aluminum profiles, lead screws, linear bearings, and fasteners.
Overall, the project aims to deliver an accessible and efficient tool for exploring the intersection of CNC technology and art, catering to users with varying skill levels and creative aspirations.
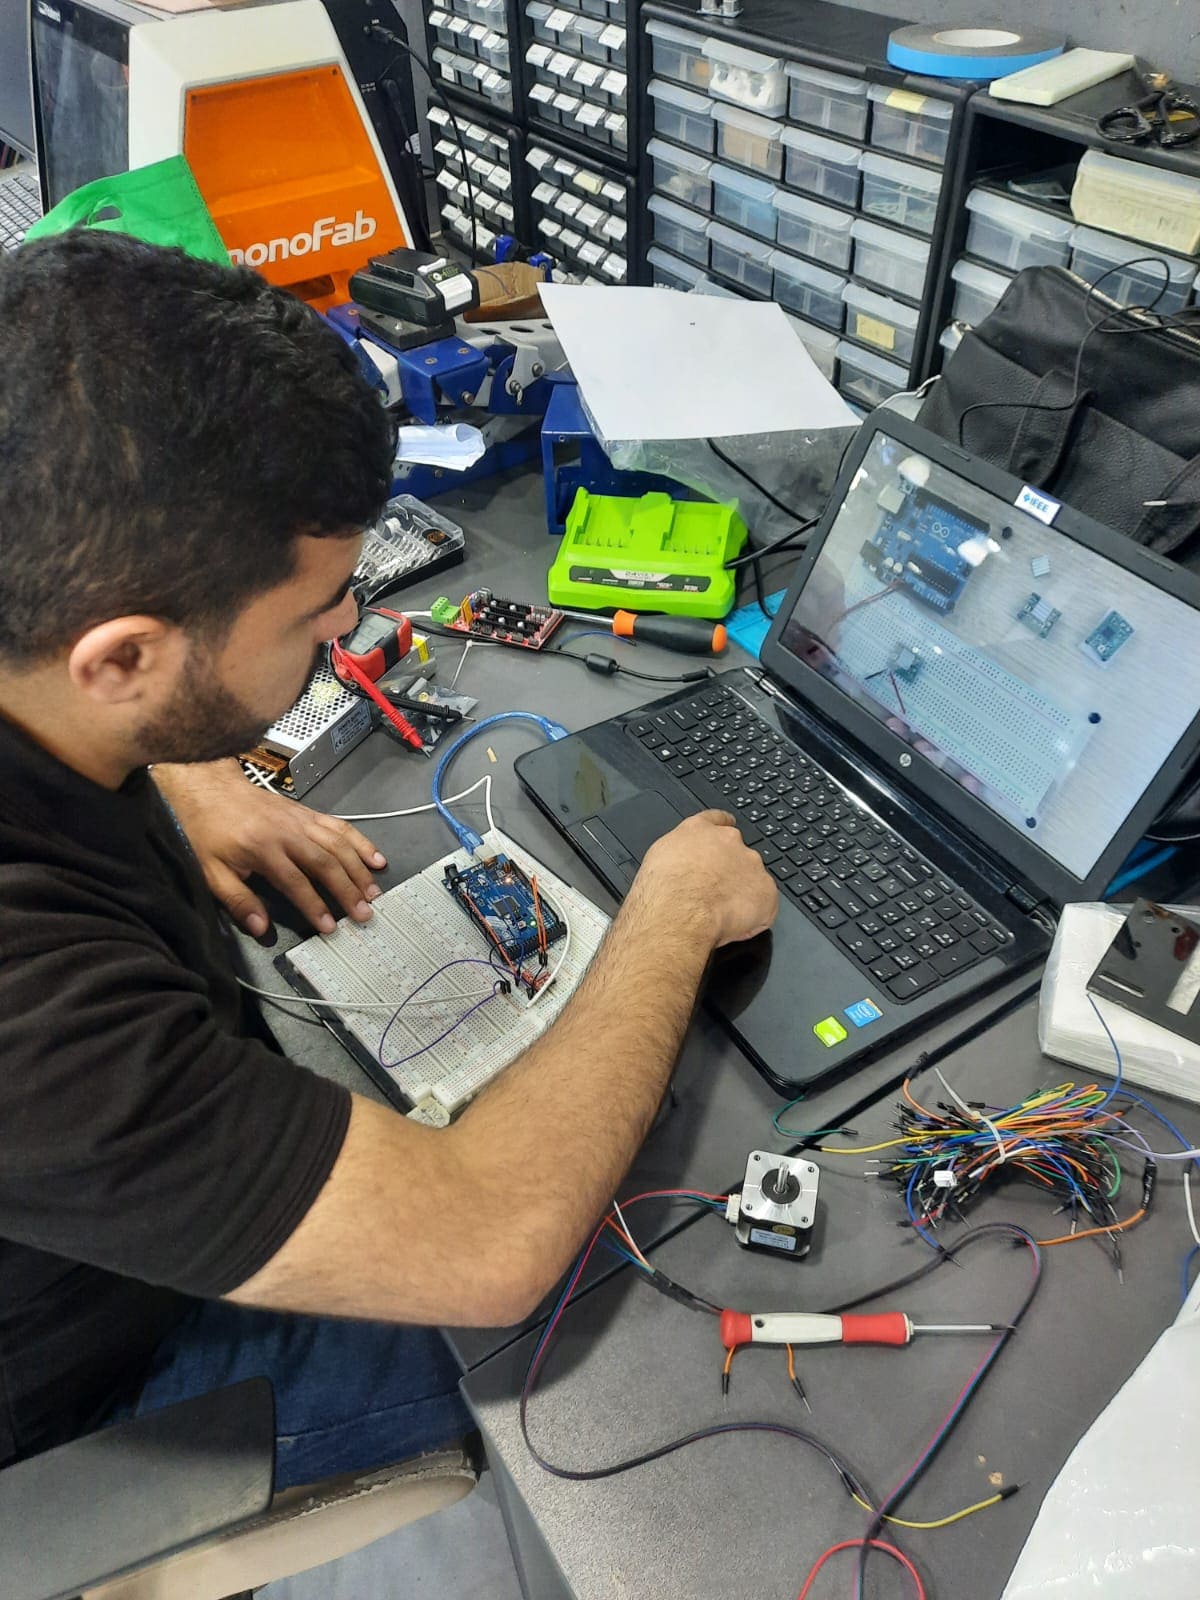
Certainly! Here's a combined explanation of how I set up the electronics and utilized 3D printing for our 3D Textured Art CNC Machine:
To create our 3D Textured Art CNC Machine, I undertook two main tasks: setting up the electronics and utilizing 3D printing for essential components.
Electronics Setup:
Components Used:
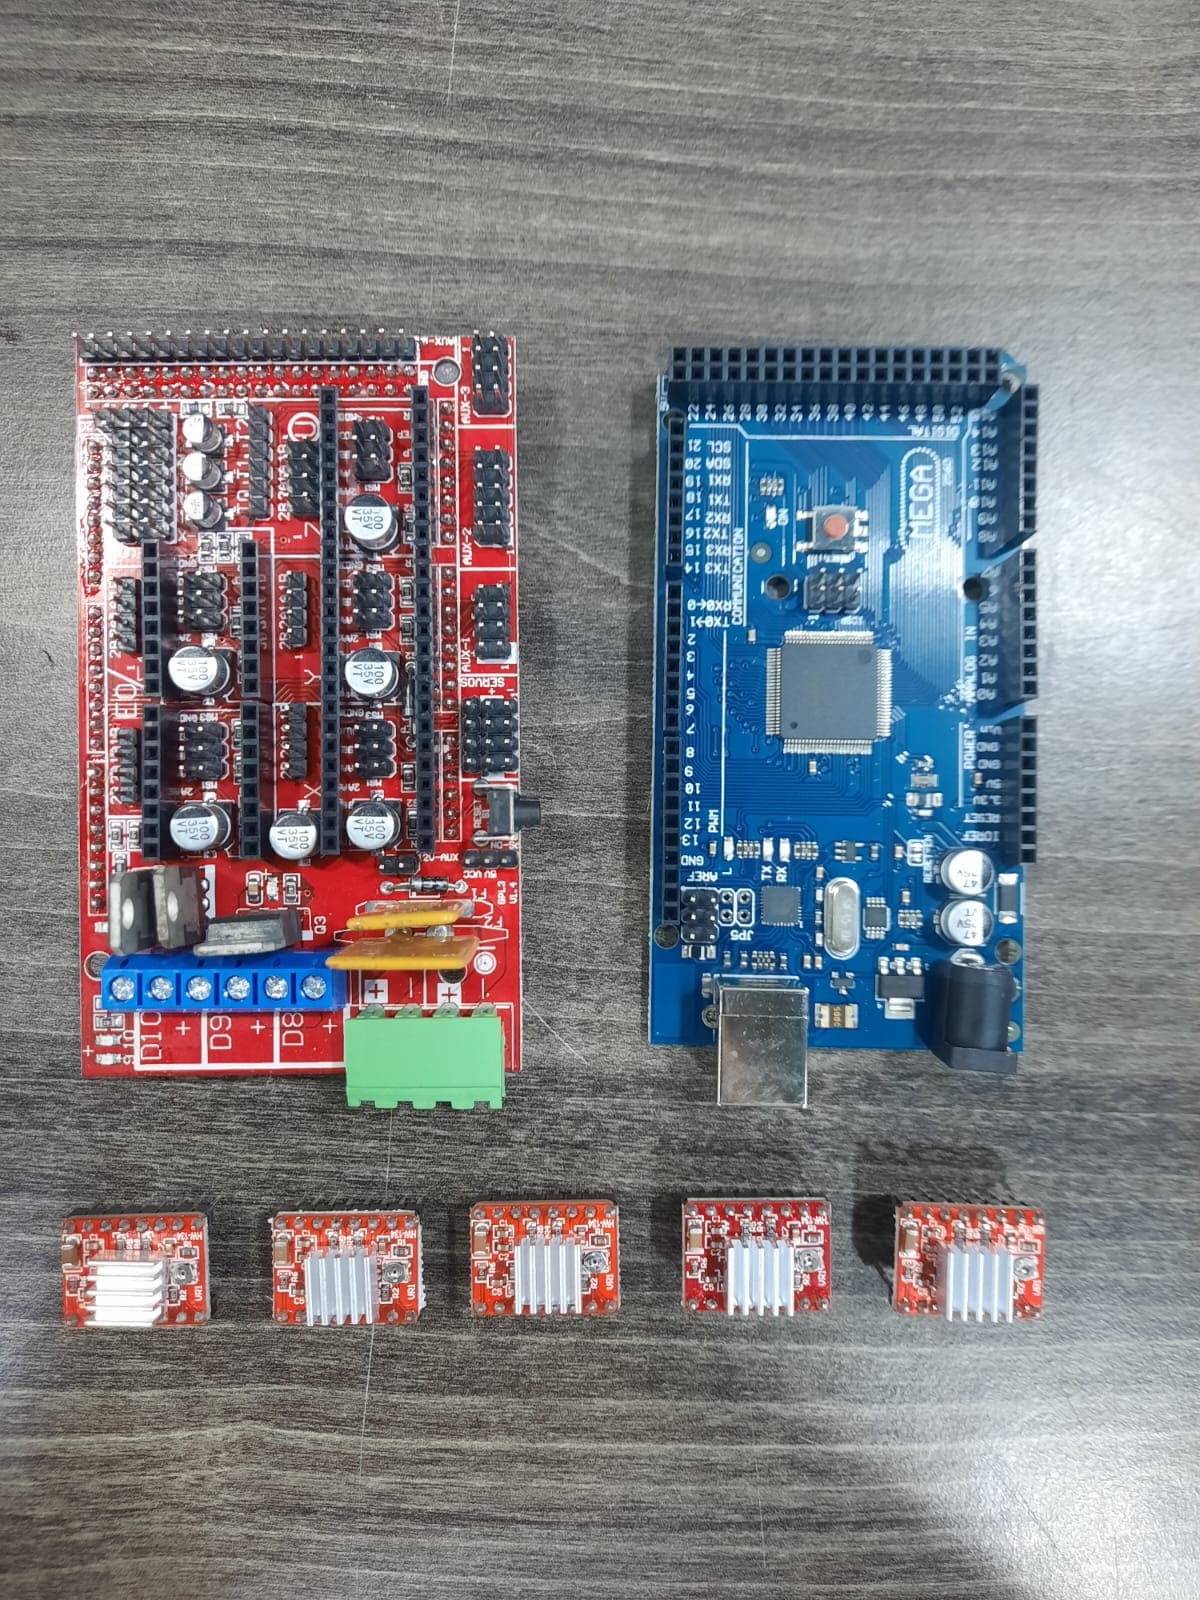
- I started with an Arduino Mega 2560 and a CNC Shield (RAMPS 1.4 RepRap ARDUINO Mega shield).
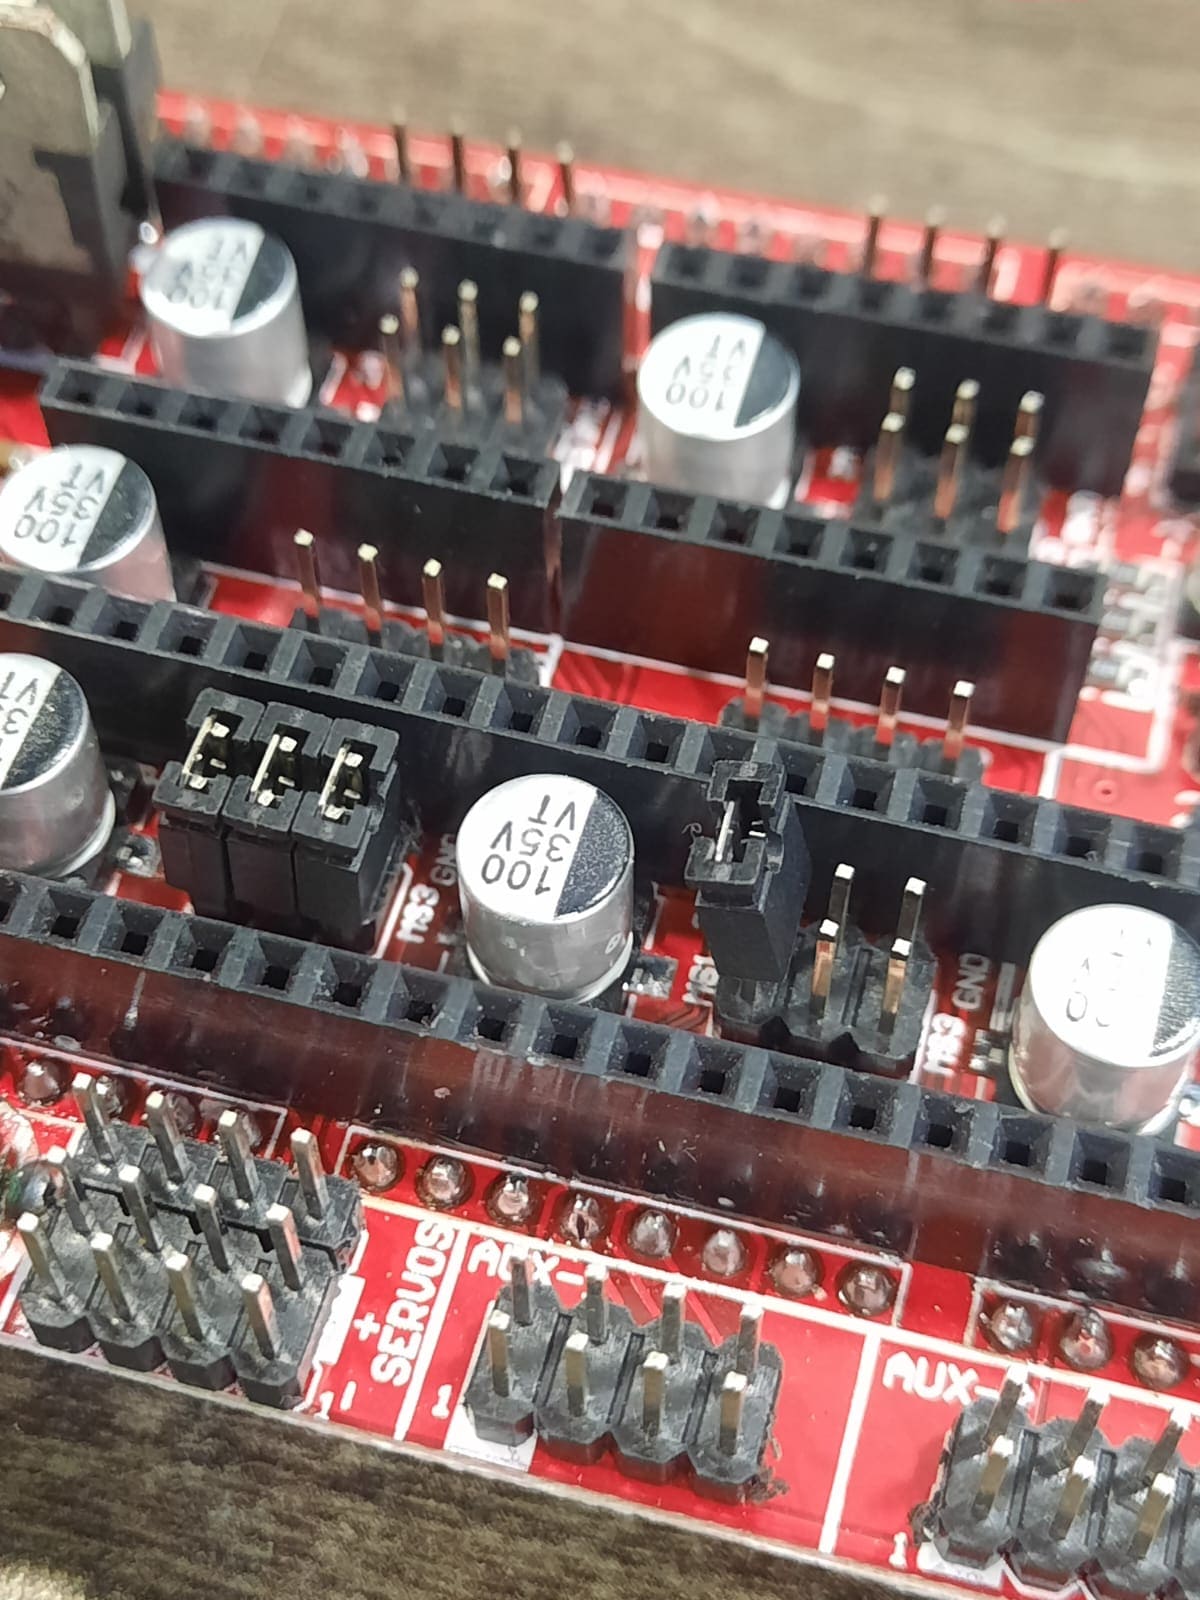
- Five A4988 stepper motor drivers were connected to the CNC Shield, each paired with a Nema 17 stepper motor (42x42x40mm, 1.8-degree step angle).
- A suitable power supply unit was also integrated to ensure adequate power for the entire system.
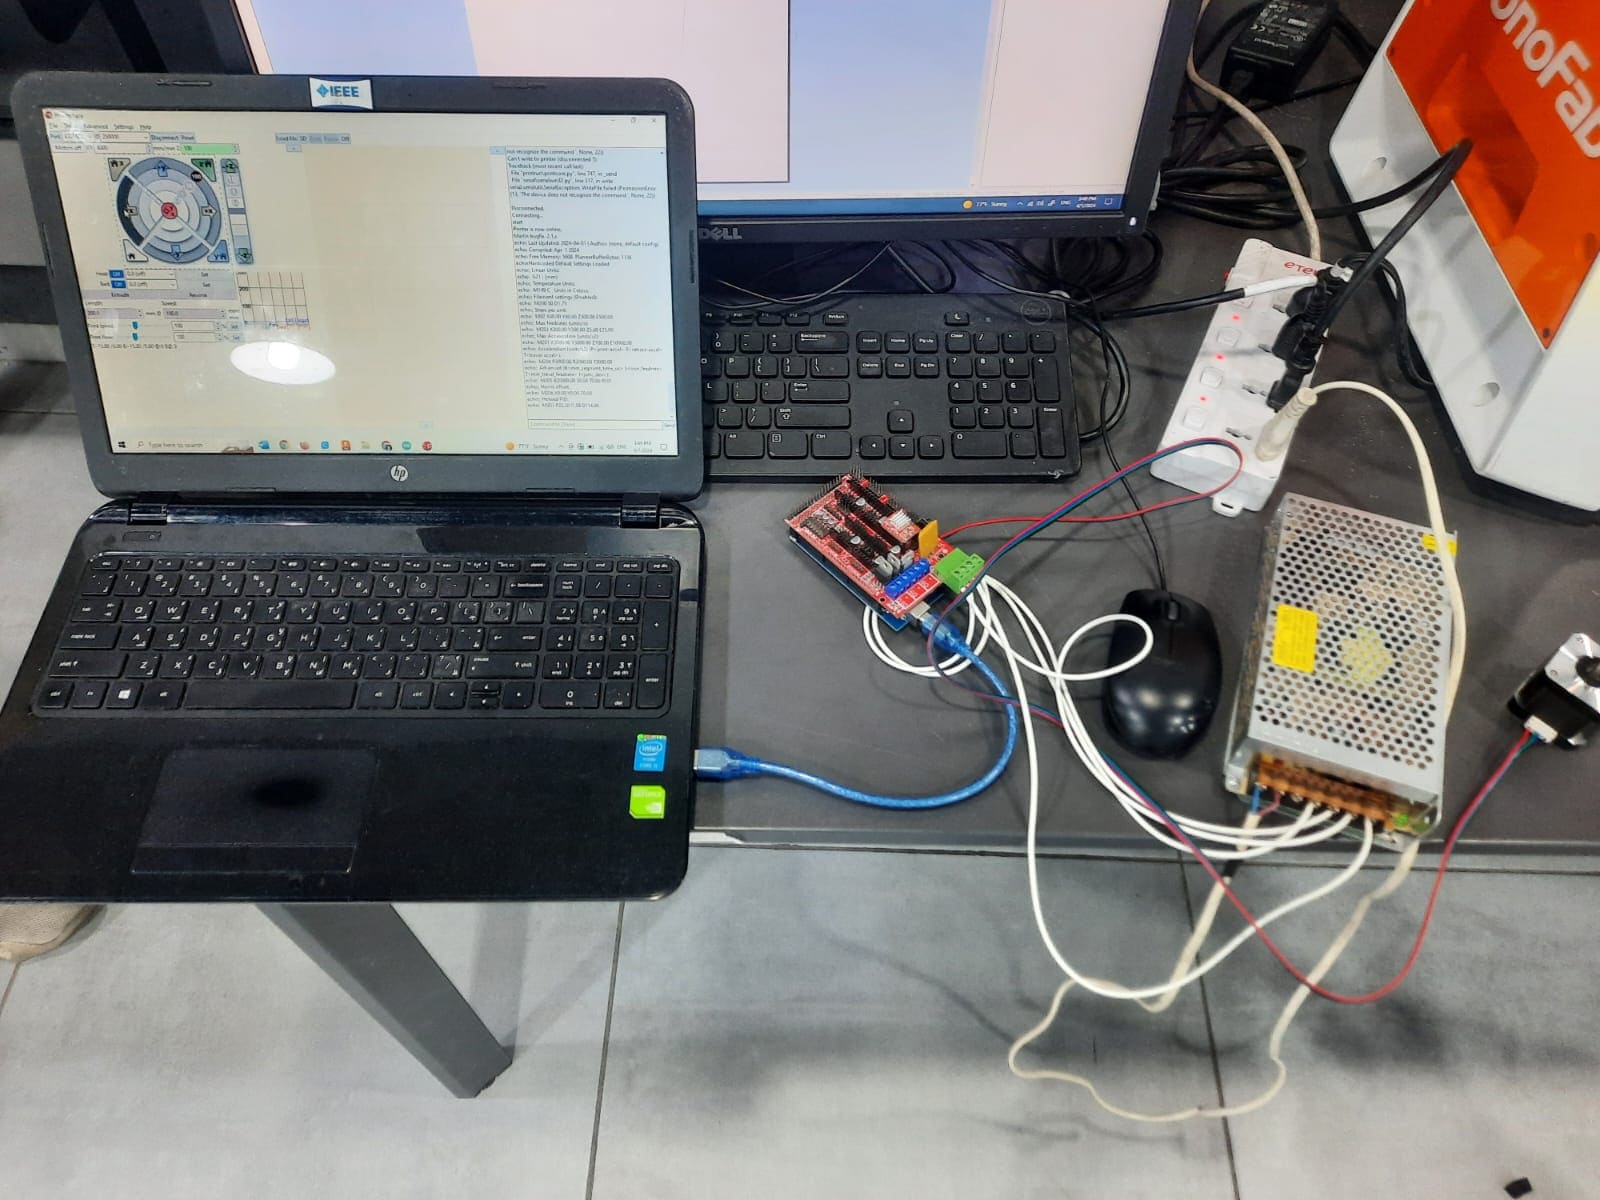
Firmware Configuration (Marlin):
- I downloaded the Marlin firmware and configured it using the Arduino IDE.
- Settings in
Configuration.handConfiguration_adv.hwere adjusted to match our CNC setup, including motor steps per unit and motherboard type (BOARD_RAMPS_14_EFB). - After configuration, I uploaded the firmware to the Arduino Mega, ensuring precise control over motor movements and overall machine operation.
Testing and Calibration:
- Using CNC control software, I manually tested each stepper motor to verify correct movement and responsiveness.
- Calibration of
DEFAULT_AXIS_STEPS_PER_UNITand adjustment of motor current settings (VREF) were crucial for achieving accurate and reliable performance.
Utilizing 3D Printing:
Design and Printing Process:
- I designed custom parts required for the CNC machine using CAD software.
- These designs were sliced into printable layers using Cura slicer, with settings optimized for strength and print quality.
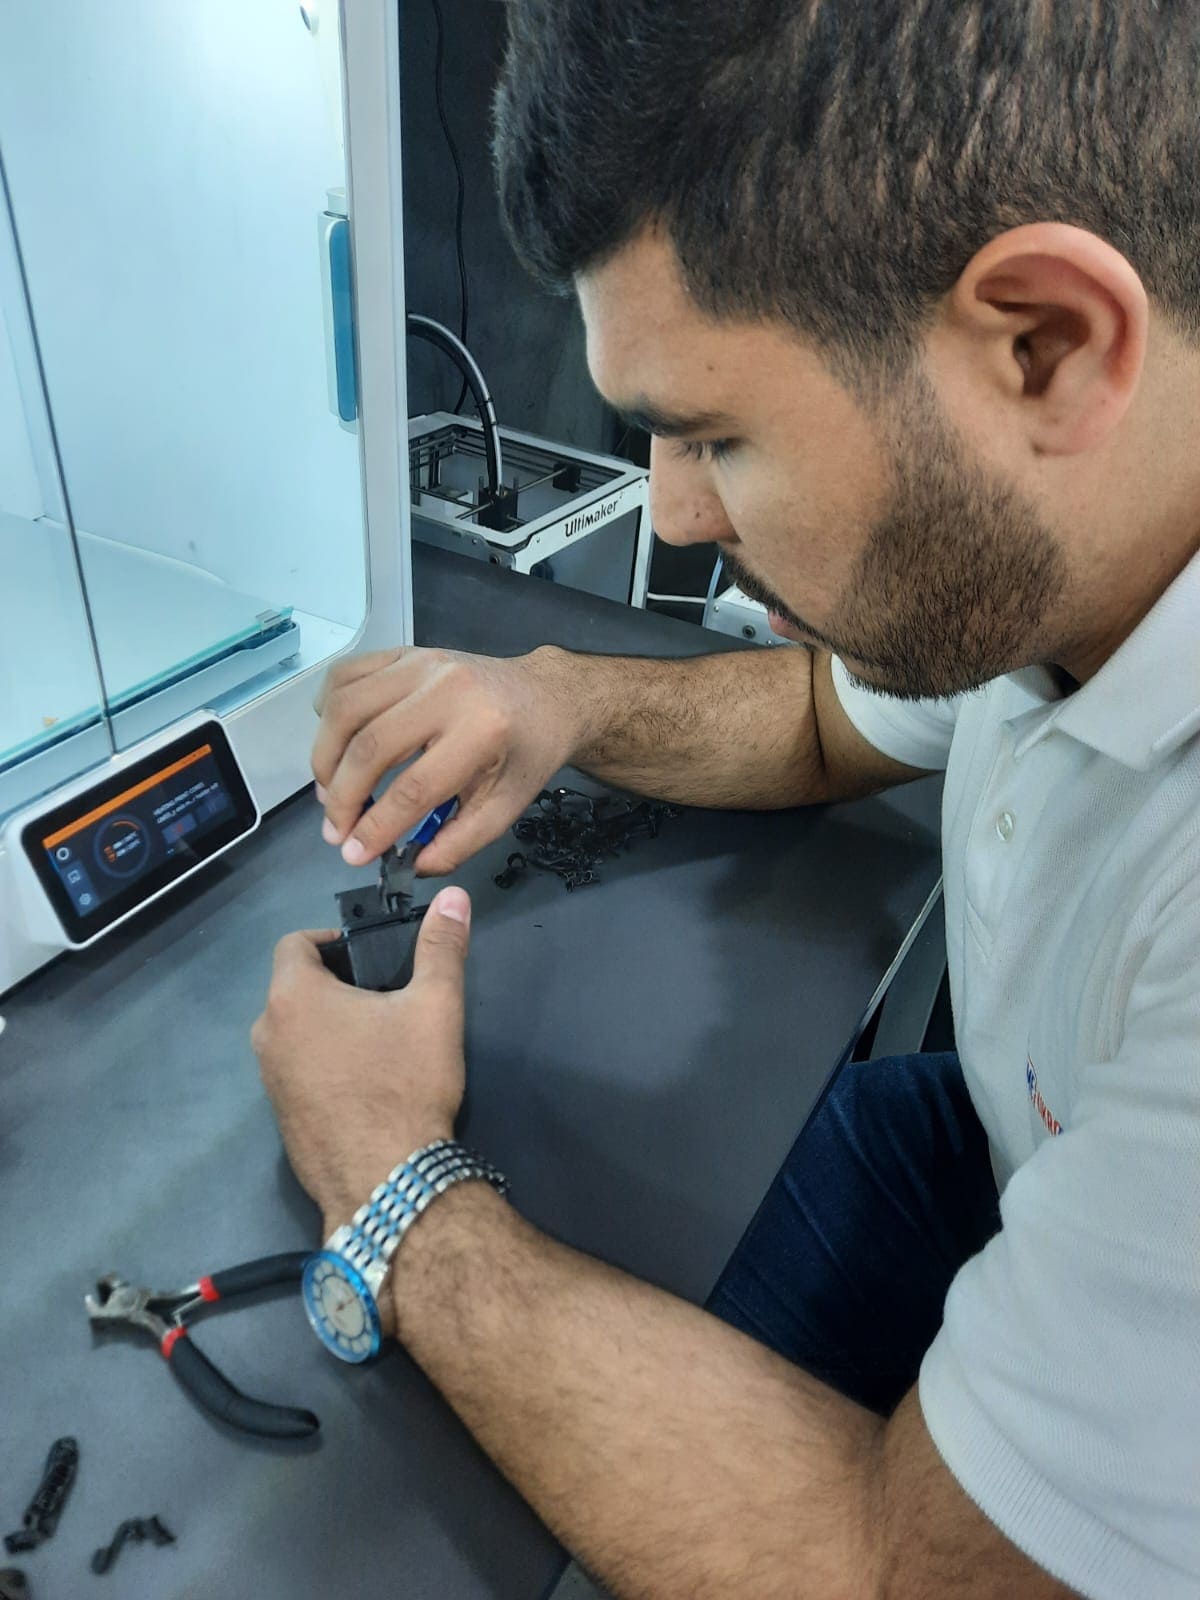
- Ultimaker S5 3D printers were used to produce these components, ensuring precise reproduction according to design specifications.
Integration with Electronics:
- After printing, I seamlessly integrated these 3D printed parts into the CNC machine assembly.
- Components such as mounting brackets, housing for electronics, and custom fixtures were incorporated to support and enhance the functionality of the machine.
Benefits and Conclusion:
By combining advanced electronics setup with precision 3D printed components, I established a robust foundation for our 3D Textured Art CNC Machine. This approach not only ensured technical compatibility and reliability but also provided flexibility in design and assembly. Utilizing 3D printing allowed for customization, rapid prototyping, and cost efficiency, essential for meeting our project goals effectively.
This integrated approach underscores our commitment to innovation and quality in developing a machine capable of automating intricate pointillism artworks with precision and ease.