10. Mechanical Design, Machine Design
Assignments Overview
Here is the list of individual assignments given by the instructors. As for the Group Assignment, please see the Machine Building Project JPN page on the FabLab Kannai website:
  On your final project site post a system diagram for your project,
  > List the tasks to be completed,
  > Make a schedule for doing them, and
  > Meet with your local instructor to review these and your weekly assignments.
Review of the Final Project
I have revised the earlier description of my final project and added information required for the individual assignments of the week on My Project.
My Role in the Group Assignment
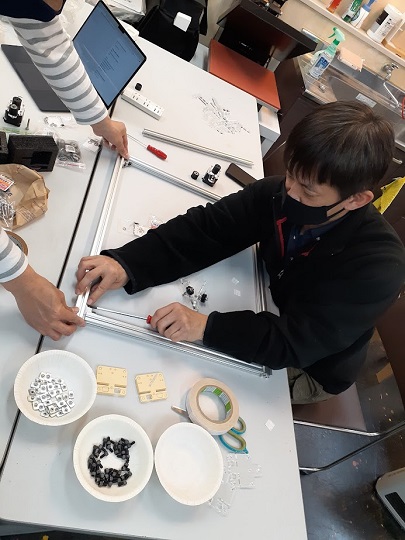
We spent four days for mechanical design and machine design at FabLab Kannai. Our instructors kindly stayed with us throughout the whole process.
Day 1: Building of the CoreXY Module
We sent the whole day for making the CoreXY module. Since there were already a few key components ready, including aluminum flaming rails, delta sockets, T-slots, screws, wheels and washers, we could spend most of our time for the preparation for the customized components. We agreed on the division of labor between the two students. While Ito-san worked on the 3D-printed components, I worked on the parts design for lasercutting.
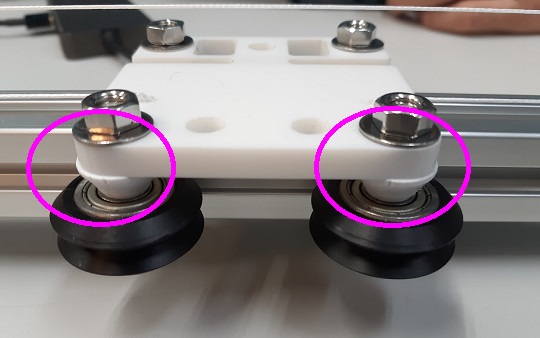
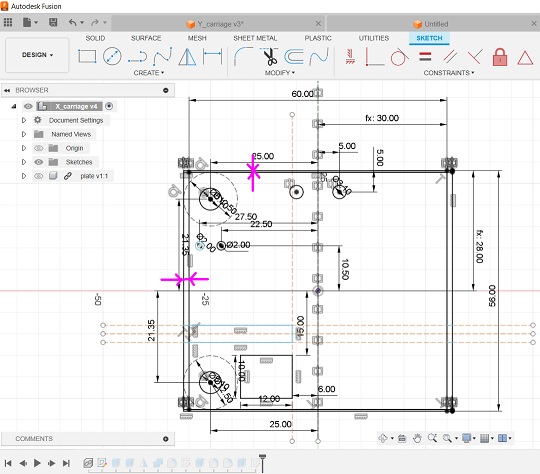
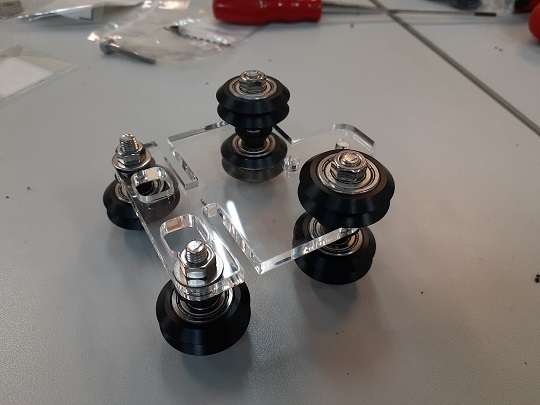
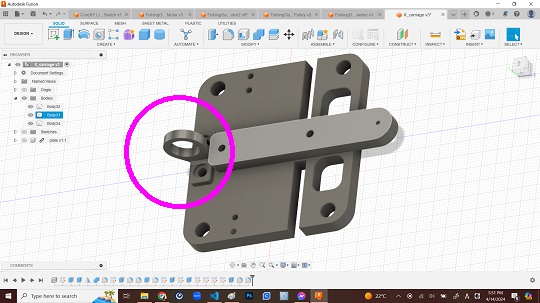
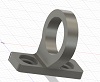
One major challenge was the redesign of the X- and Y-Carriage. Since we found that the existing stud design was slightly bigger than the carriages, it looked a bit ugly. In order to address this issue, I decided to redesign the carriages, not the stud. (I spent time for redesigning of the X-Carriage and our instructor gave a helping hand to me by redesigning the Y-Carriage.)
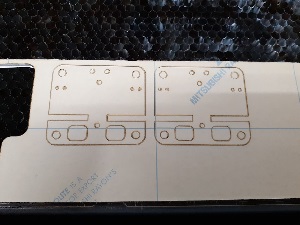
After making all the acrylic components cutout, I joined forces to the assembly of the CoreXY module, where Ito-san had already proceeded to the assembly of the flaming rails, Y-Carriages, motor and pulley mounts. SInce I was a bit slow in completing lasercutting the X-Carriage, I did the X-Carriage assembly.
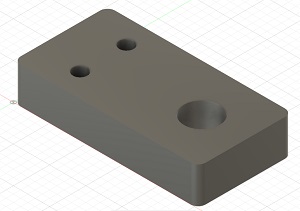
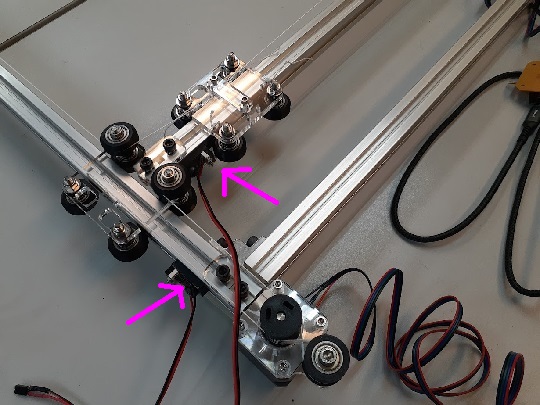
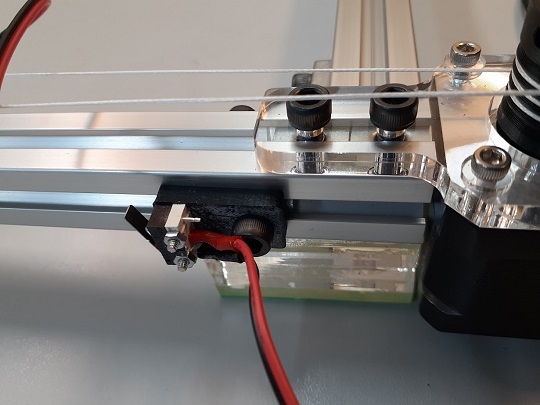
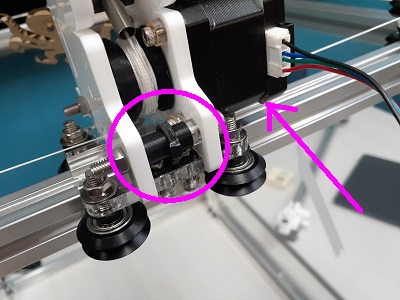
After the assembly of the basic framework of the module, we found that we should design a small component to mount the limit switch. So I took a measurement and designed it for 3D printing.
Day 2: Ideation & Re-Design
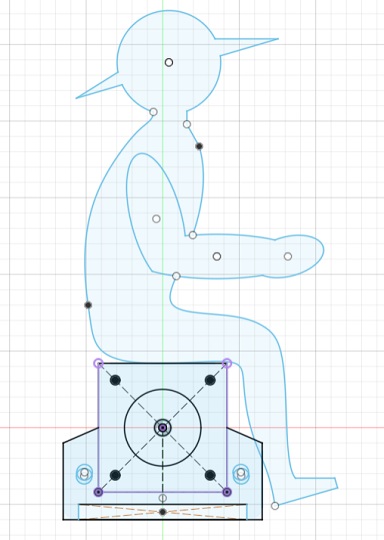
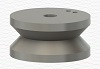
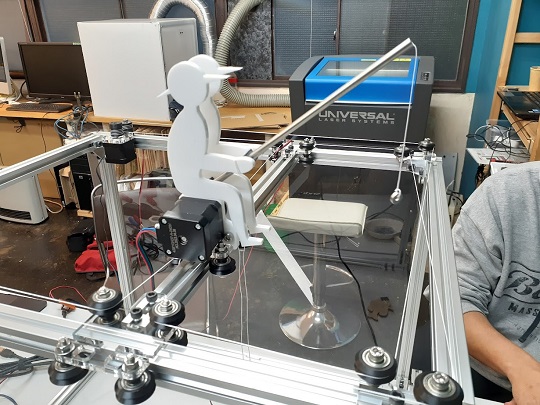
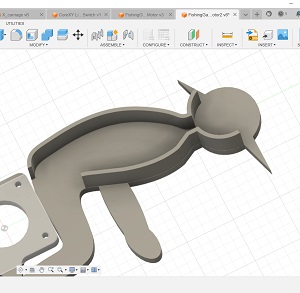
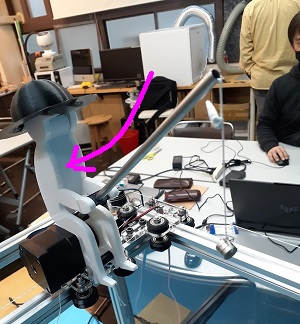
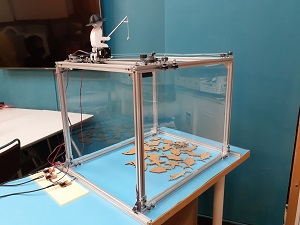
Ito-san was absent and I took the whole responsibility for ideation on what to make on the CoreXY module. After the discussion with our instructors, I have decided to make a fishing game. While the instructors had been working on the assembly of the aquarium, I spent time for designing the fisherman’s shape and a pulley to reel up/down the fishing line.
After finishing the day’s work, I took two days for documentation.
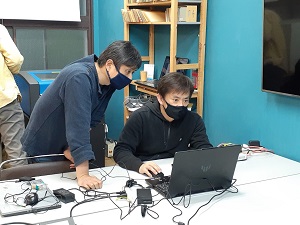
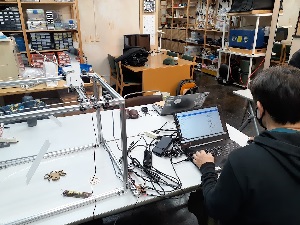
Day 3: Finishing of the Machine and Programming
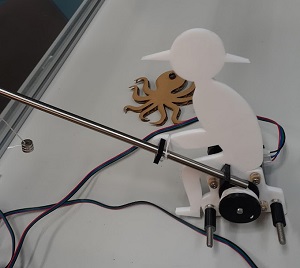
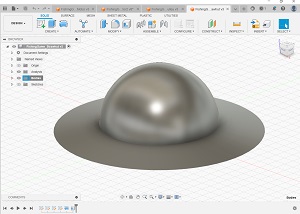
Ito-san was back. I had prepared the design data of the strawhat for 3D printing immediately after the commencement of the session.
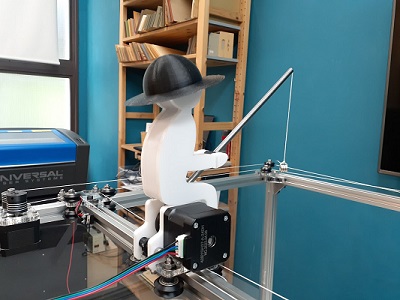
Also, I worked for the design of the cover boards to connect the two acrylic fisherman’s boards. Using the white PLA filament, I 3D-printed the two covers.
At this point of time, the fisherman’s module was just placed on the X-Carriage and the stability fot the module still remained a big issue. Therefore, after consulting with the instructor, I further designed one attachment to hold the X-Carriage as well as the screw that connects two acrylic boards of the fisherman’s shape. I did redesign twice to settle down on the final design.
Day 4. Video-Shooting
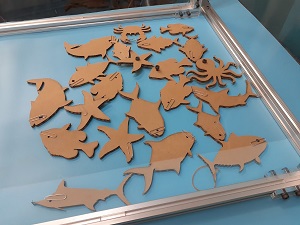
On Day 3 and Day 4, while Ito-san had been woking on programming and debugging, I prepared cardboard fishes with the lasercutter.
As the time was running out, we decided to take a few videos for the presentation at the Global Session.
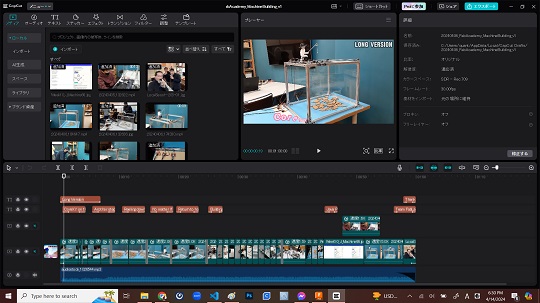
Day After
Ito-san and I agreed on the division of labor on how to prepare for the presentation. While Ito-san added a few paragraphs on his programming and debugging experience on our documentation site as well as prepared for a one-page slide on our work, I took the responsibility to edit the two video clips with CapCut app: one for 30 seconds and the other for 60 seconds.