14. Interface and application programming
Group assignment:
- Compare as many tool options as possible
To see our group assignment click here
Individual assignment:
- Write an application that interfaces a user with input and/or output device(s) on a board that you made.
hi guys, welcome. this week we’re going to build an application to control our robot, but first we’re going to use the application to control a few things
MIT APP INVENTOR
MIT App Inventor is a visual programming environment that allows users to create mobile apps for Android devices. It’s designed to be simple and accessible, particularly for those who may not have a background in traditional programming languages. With App Inventor, you can drag and drop components to create the user interface and then define the app’s behavior using blocks, similar to puzzle pieces, which represent programming concepts.

Design the application’s user interface, organizing components both on and off screen.
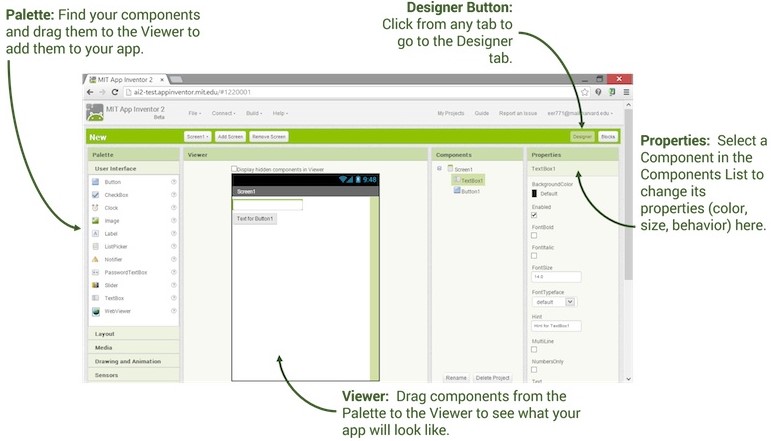
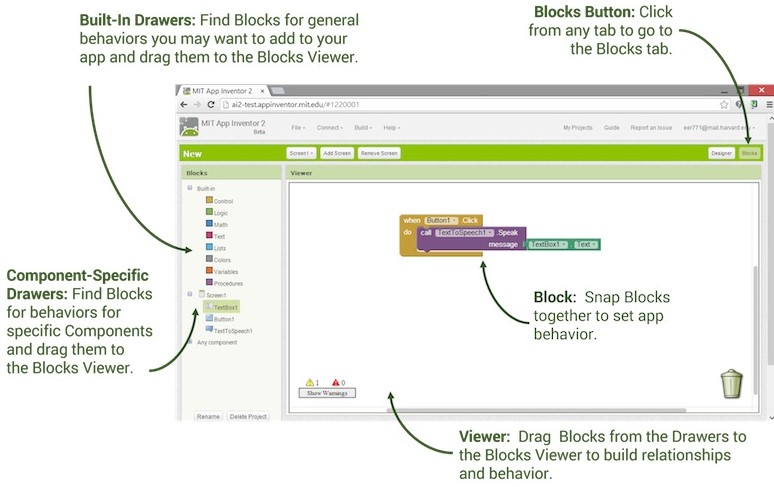
Program the application’s behavior by assembling blocks.
Creating the robot application
Interface creation
- Create a new project : Log in to MIT App Inventor with your Google account, then create a new project.
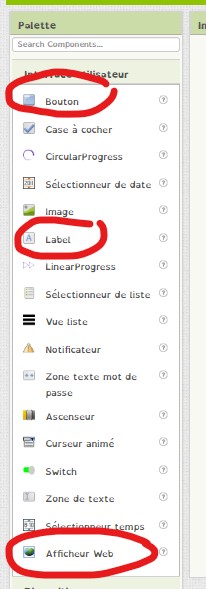
- Designing the user interface : Use the drag-and-drop interface to design your application's user interface. You can add buttons, labels, text fields, images, etc., and organize them according to your needs.
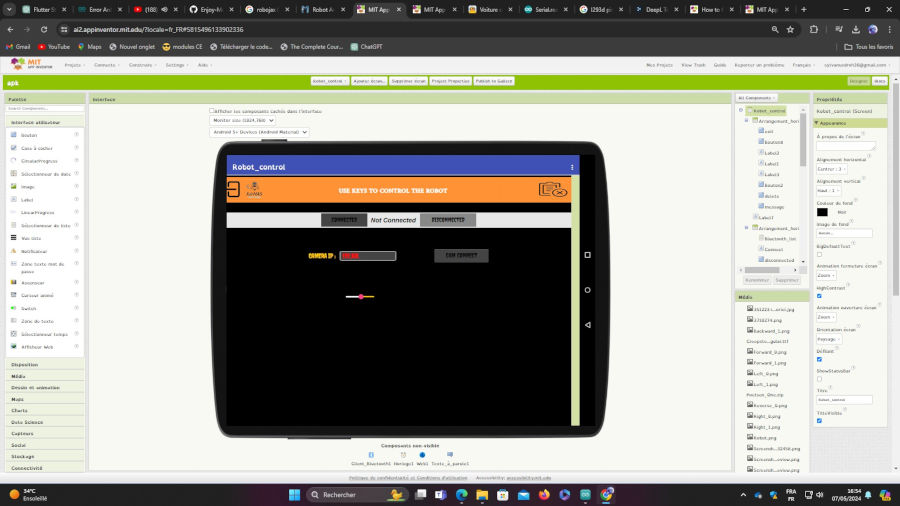
After arranging the elements, we obtain the following interface👇👇👇
Block coding
- Programming functions
Use the block editor to program the behavior of your application. Blocks are blocks of graphical code that you can assemble to create functionality. You can define events such as button clicks, and define what happens when that event occurs.
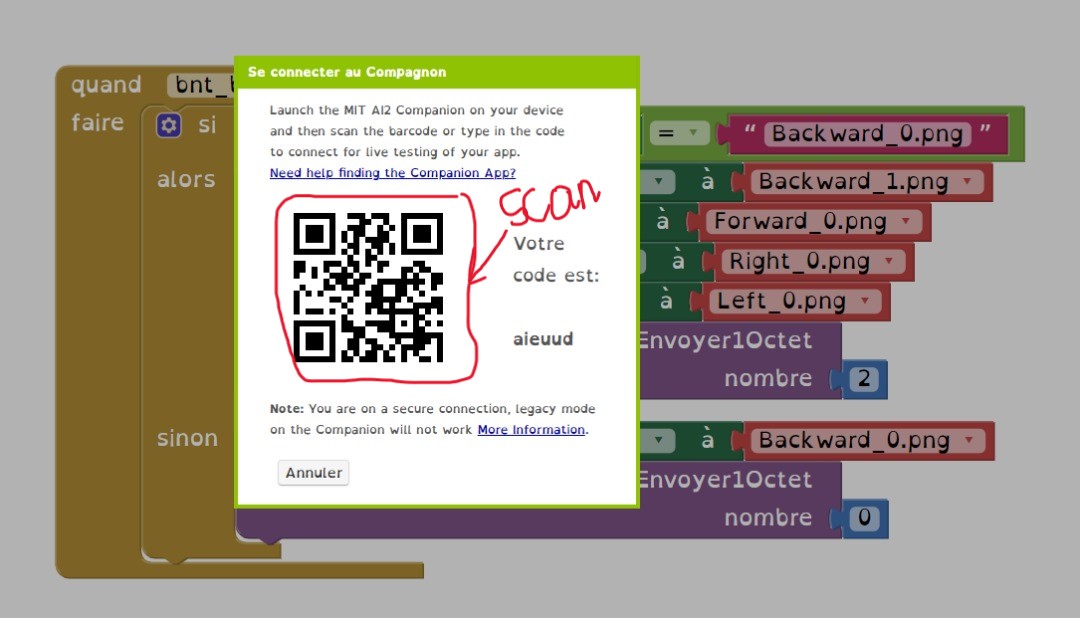
For example, in the image below, we’ve created a button, the robot’s upper direction button. We’ve used a button image downloaded from the Internet. According to the code, the button has a default image; when you click on it, another image appears. each time you click on the button, we send a request corresponding to 1. We do the same for each button.

- Ok, use your smartphone to scan the QR code to view and test your application.
The application
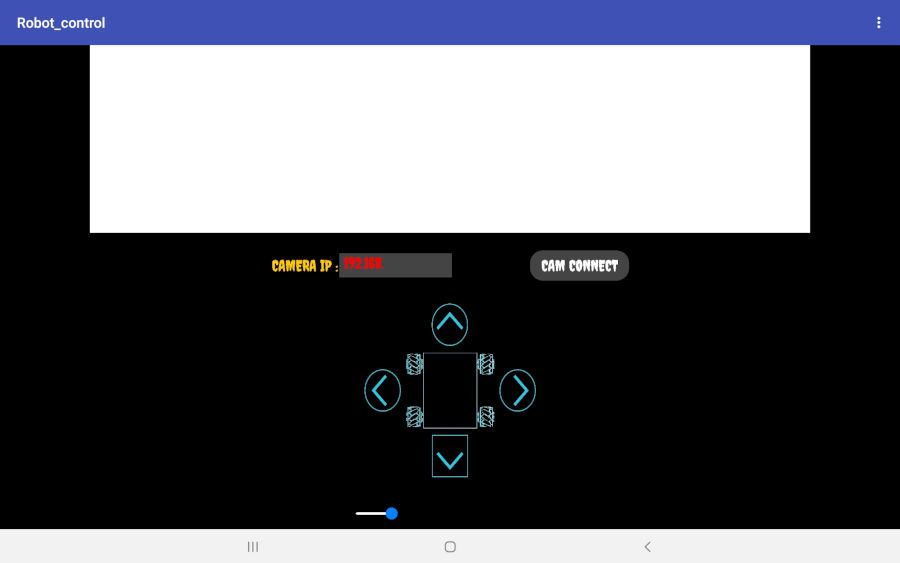
here’s the interface for our application
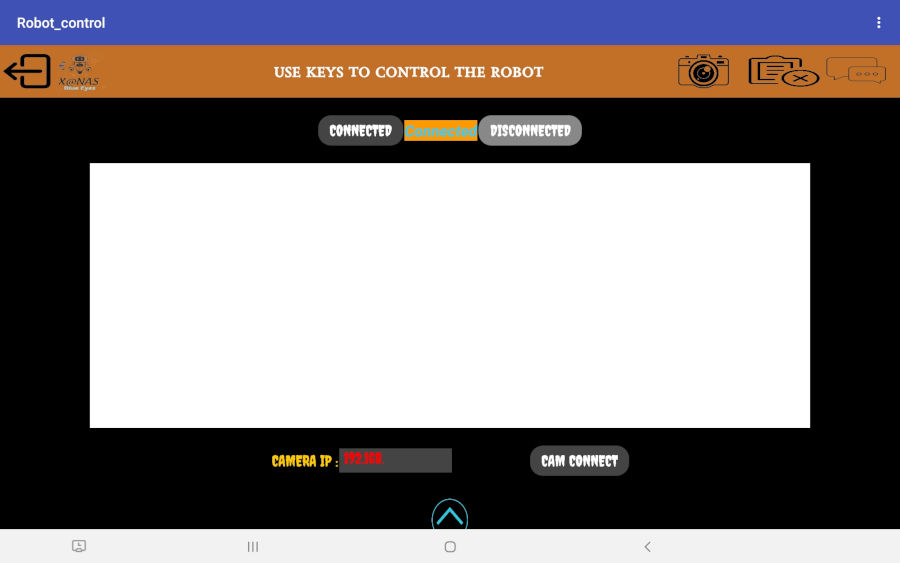
Ok! we’ve created an app, but there’s no proof that it works, is there? To remedy this, we’re going to remotely control a motor, since our robot is based on motor coordination. To keep things simple, we’re going to use an ESP32 and connect to its Bluetooth.
Code Test
#include "BluetoothSerial.h"
BluetoothSerial serialBT;

int in1 = 13;
int in2 = 12;
// enA = 14;
char cmd;
void setup() {
  // put your setup code here, to run once:
  Serial.begin(115200);
  serialBT.begin("ESp32_Test");
  pinMode(in1,OUTPUT);
  pinMode(in2,OUTPUT);
  //pinMode(enA,OUTPUT);
  //pinMode(2,OUTPUT);
}

void loop() {
  // put your main code here, to run repeatedly:
  if(serialBT.available()) {
      cmd = serialBT.read();
    }


        if(cmd == 1)
            {
              Serial.println("moteur avance");
              digitalWrite(in1, HIGH);
              digitalWrite(in2, LOW);
              delay(200);
              digitalWrite(in1, LOW);
              digitalWrite(in2, LOW);
            }

        else if(cmd == 2)
            {
              Serial.println("moteur recule");
              digitalWrite(in1, LOW);
              digitalWrite(in2, HIGH);
              delay(200);
              digitalWrite(in1, LOW);
              digitalWrite(in2, LOW);
            }
}
Video test1
for test 01, we used a simple esp32 card as you can see in the video
Video test 2
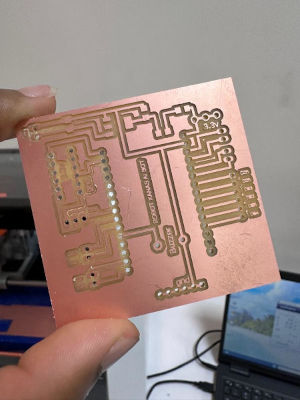
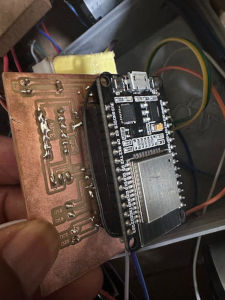
the second video shows the control of the robot’s wheels with the board we designed
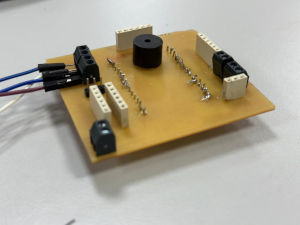
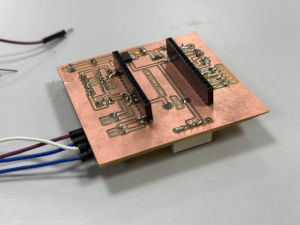
Some images of the map
In our final project, we have made some changes to this week that will certainly help you. click on link to final project
Files source
Links
-
https://howtomechatronics.com/projects/arduino-mecanum-wheels-robot/
-
https://fabacademy.org/2022/labs/techworks/students/karam-khrais/assets/assignments/week15.html
END