5. 3D Scanning and printing
Group assignment:
- Test the design rules for your 3D printer(s)
To see our group assignment click here
Individual assignment:
-
Design and 3D print an object (small, few cm3, limited by printer time) that could not be made subtractively
-
3D scan an object (and optionally print it)
3D printing
To accomplish this week’s tasks, we opted to use the Original Prusa i3 MK3S+ 3D printer, which is available in our Fab Lab.

The 3D Original Prusa i3 MK3S+ is a 3D printer model designed and manufactured by Prusa Research. It is based on the design of the popular Prusa i3 series, known for its reliability and print quality. The MK3S+ model is an enhanced version that incorporates features such as filament detection, automatic heating bed calibration and a reinforced structure for increased stability during printing. This printer is often used by hobbyists, professionals and businesses to create a wide variety of three-dimensional objects from digital files.
3D Design
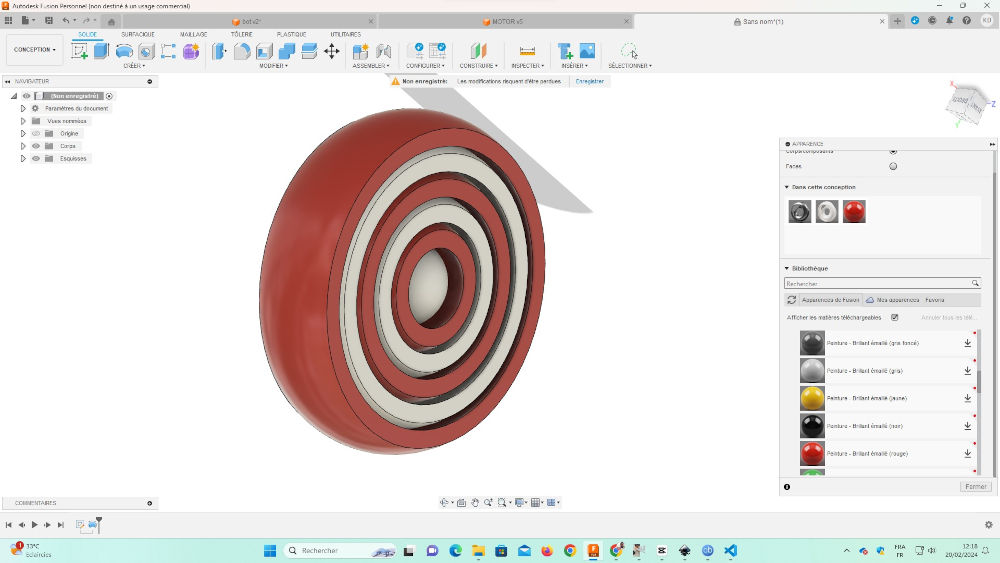
Using Fusion 360 software, we’re going to design a gyroscope. the part includes a spacer, so it’s not possible to make it subtractively.
For the creation of our gyroscope, the various stages are as follows.
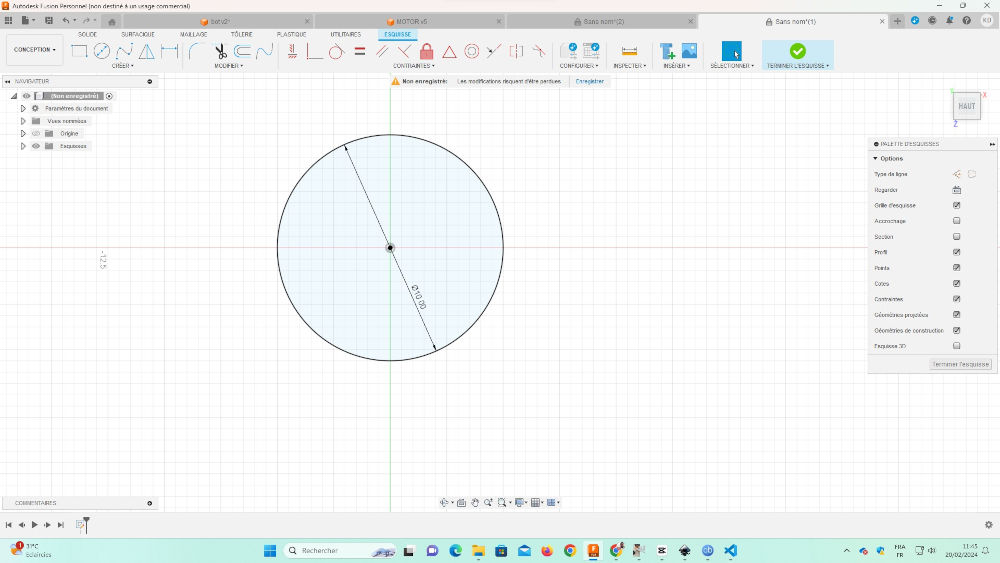
- Open Fusion 360, click on create a new sketch

- Use the circle tool to place a circle with a diameter of 10 mm.
- Draw two construction lines from the center of the circle

- Use the circle tool again to place new circles with a diameter of 20 mm.
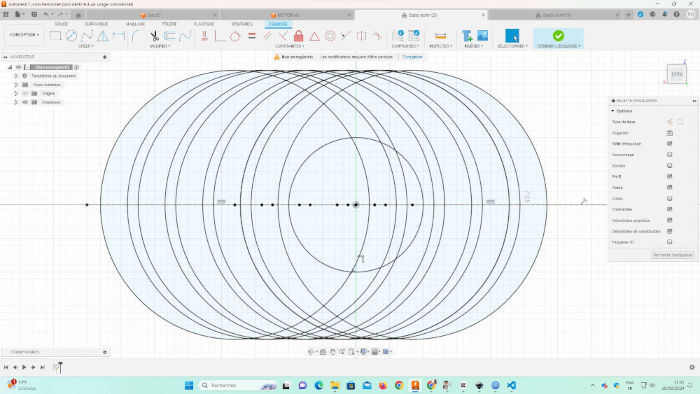
- Still using the line tool, draw lines as shown in the image below.

- When you’re finished, click Finish sketch.

- Select the faces as shown in the image below
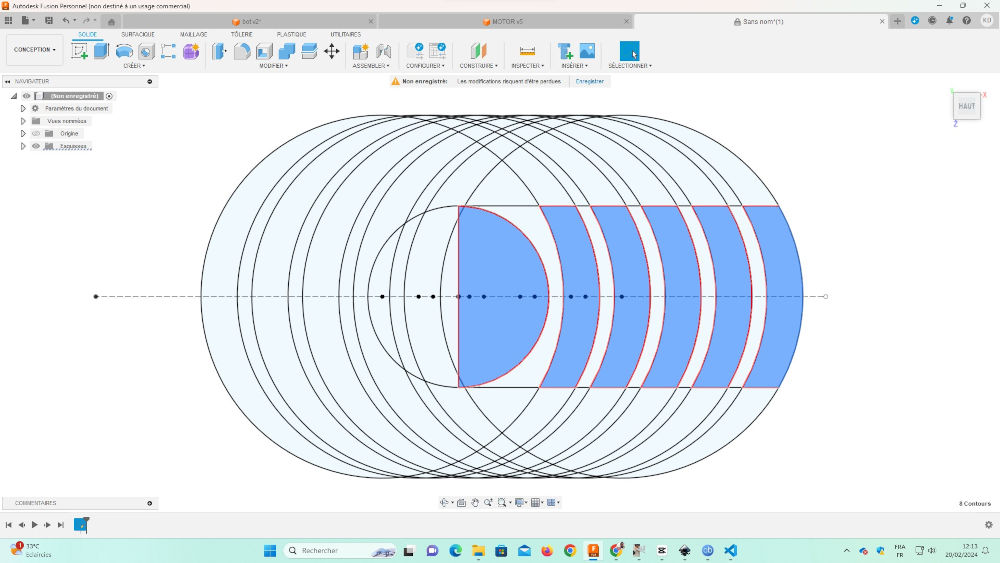
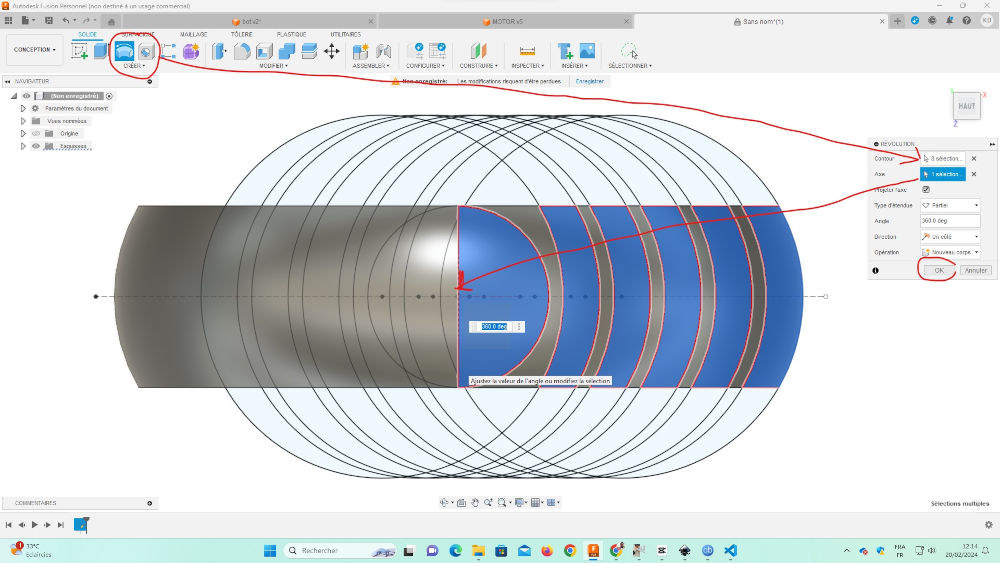
- Use the tool Revolution and choose your Axis
- Use the appearance tool or simply click on the A key on your keyboard
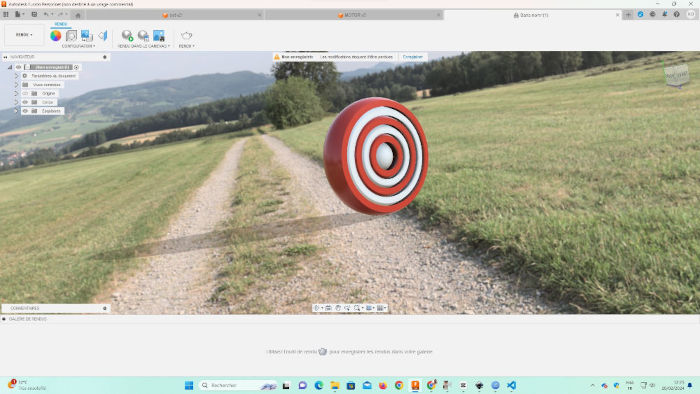
- You can render your gyroscope by moving the Design list and choosing your environment.
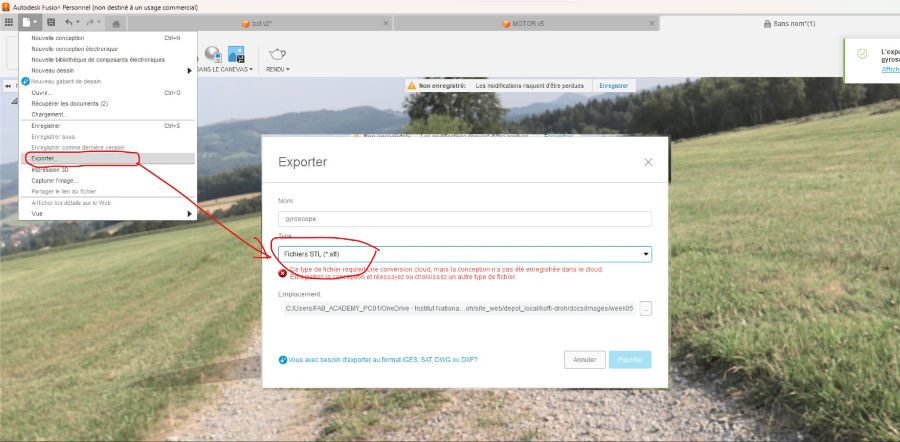
- Please select Export, choose the file format STL files (*.stl), then press the Export button to confirm your choice.
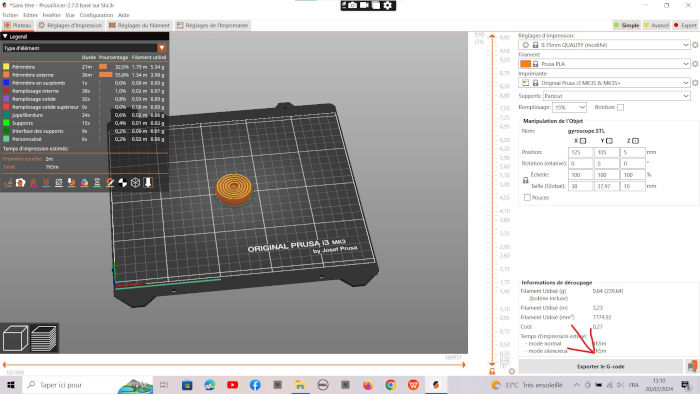
Generate 3D print file (G-code)
PrusaSlicer software
PrusaSlicer is slicing software used to prepare 3D models for printing on a 3D printer. It has been developed by Prusa Research and is specifically designed to work with the Prusa series of 3D printers, although it can also be used with other 3D printer models. PrusaSlicer allows users to configure various print parameters, such as resolution, fill density and media, to optimize print quality and precision. Once the settings have been made, the software generates a G-code file, which is a programming language used by 3D printers to determine the movement and actions required to create the three-dimensional object.
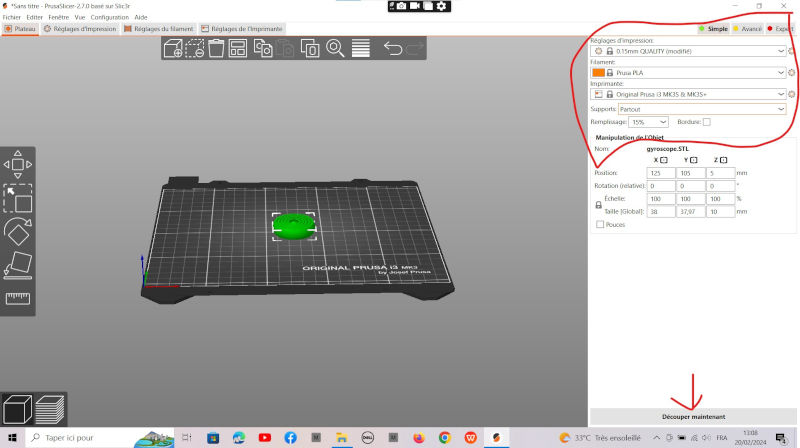
open the software and import your stl file
here are the various print parameters
-
Print settings : 0.20mm QUALITY
-
Filament : Prusa PLA
-
Printer : Original Prusa i3 MK3S & MK3S+
-
Supports : None
-
Infill : 15%
and click on Slice
- Generate the G-code
3D print
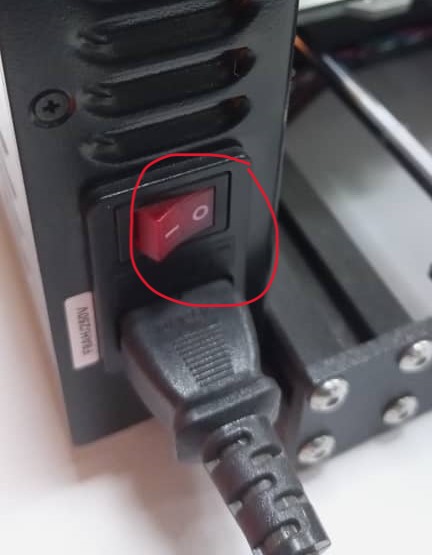
- Switch on the 3D printer and insert your SD card
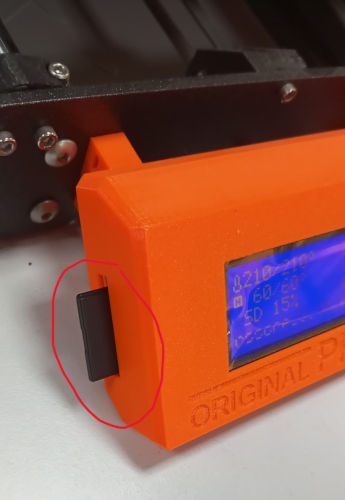
- Select your G-code file by rotating the potentiometer (1). Press the Button to validate your file (2). (3) warns you that the extruder is heating up. print time is displayed on the printer screen.


Wonderfull isn’t it!!! 🤩🤩🤩🤩

Scanning printing
For the three-dimensional scanning process (3D scanning), we chose to use the KIRI Engine application because of its advanced modeling features and compatibility with a wide range of scanning devices, including iOS devices such as iPhone and iPad, as well as Android devices.
The 3D scanning process was as follows:
- download and open the appaction on your phone. Click on the button in the middle (+)

- Click on Picture capture > Take pictures.
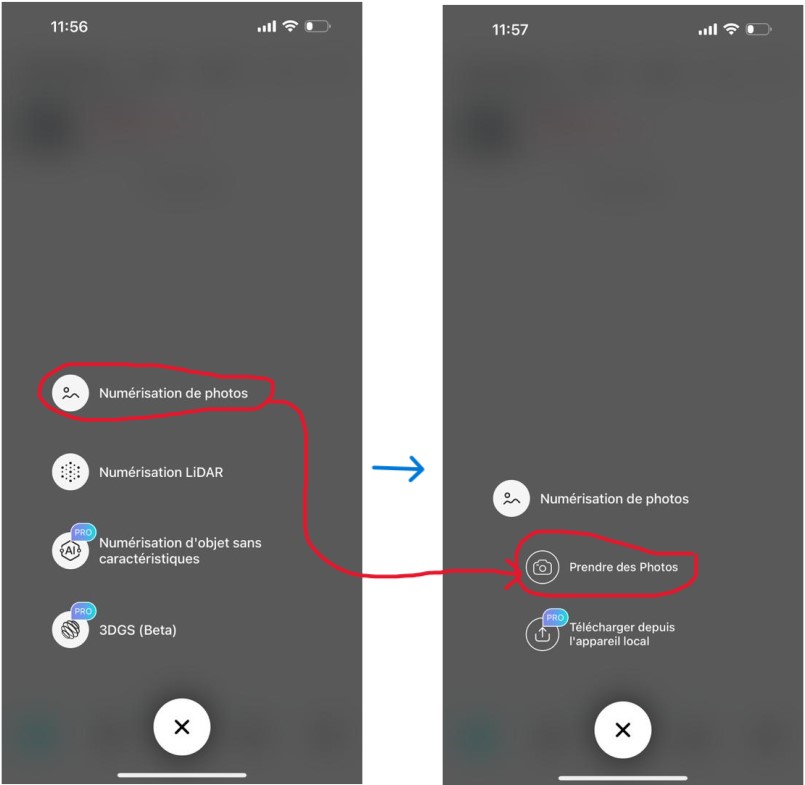
- As illustrated in the image below, the application offers two photo-taking modes for 3D scanning: (1)
keep the object stationary and take photos all around it, or (2)turn the object over and take photos.
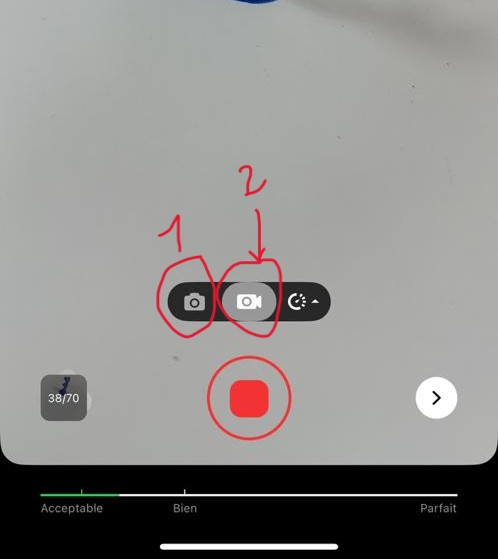
- Take as many photos as you can from different angles, then click on the arrow circled in Red.
![]()
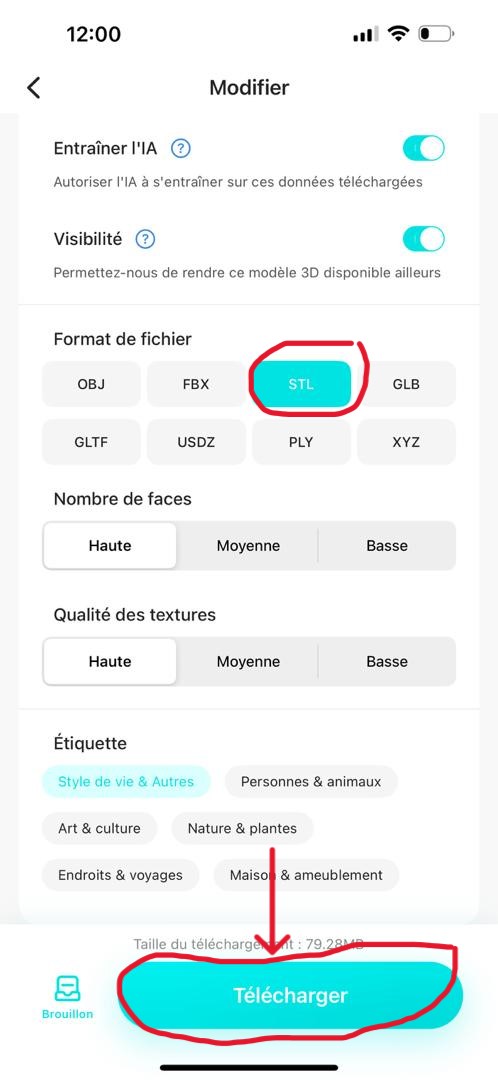
- Click on SLT then on Download as shown in the image below
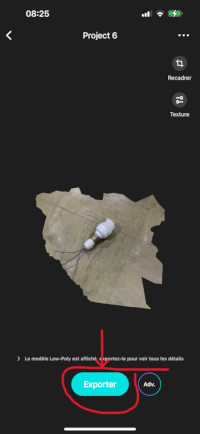
- You’ll see that your model is downloading, as shown in the image below.

you’ll see the result of our scan in the image below. Click on Export
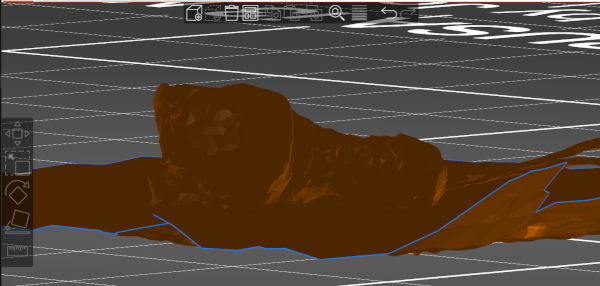
after opening the scan file in Prusa slicer, you get a really weird reslutat 😓😓😓, judge for yourself
After trying to scan with the Kiri Engine for a long time and failing, we decided to do things differently.
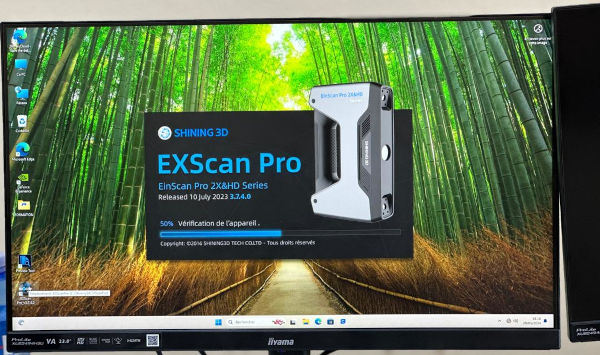
we decided to use the Einscan Pro HP

It’s quite simple to use, although from my point of view, of course
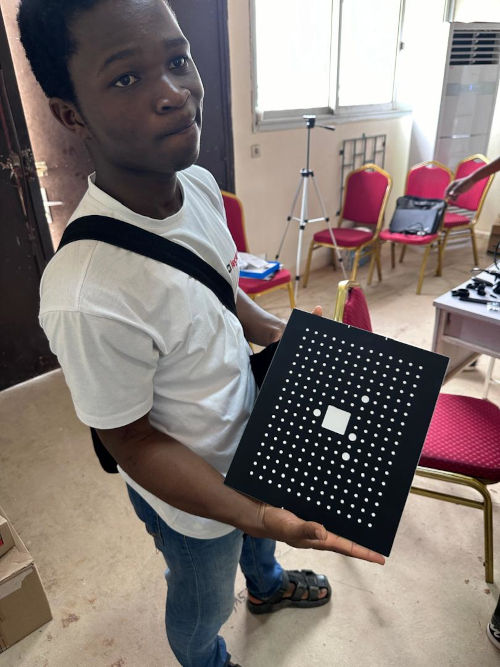
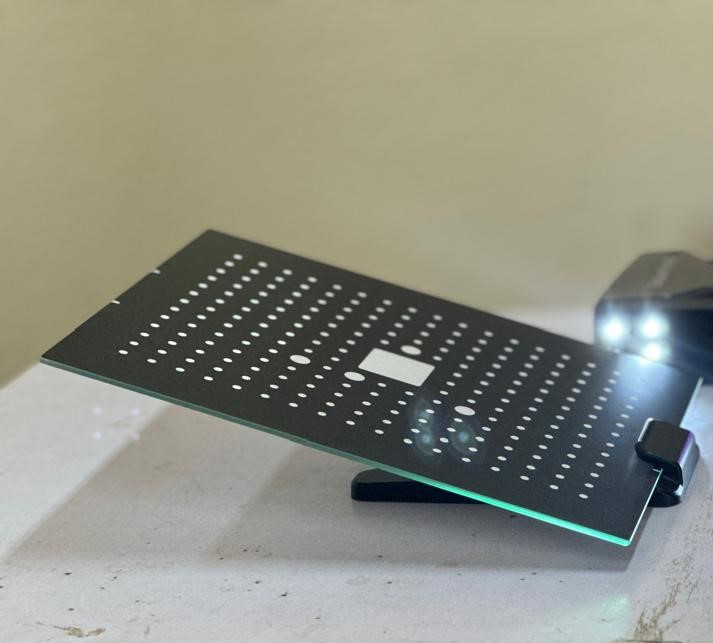
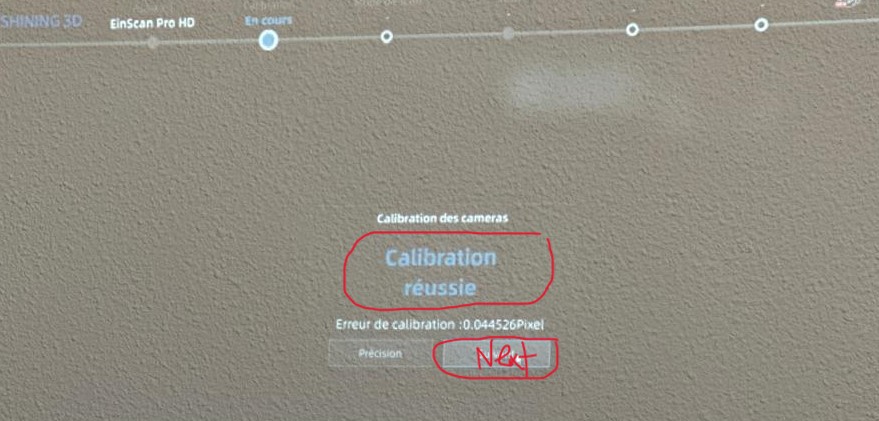
- Start by calibrating using the scanner and a calibration range
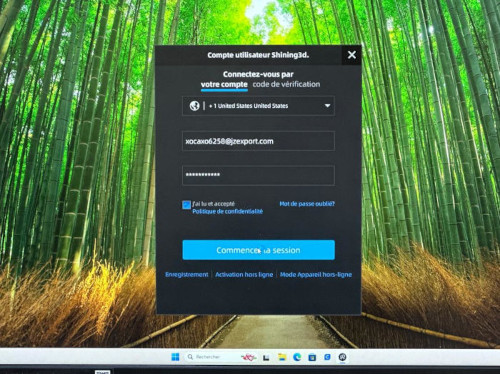
- First, you open the Exscan Pro software and create your account.
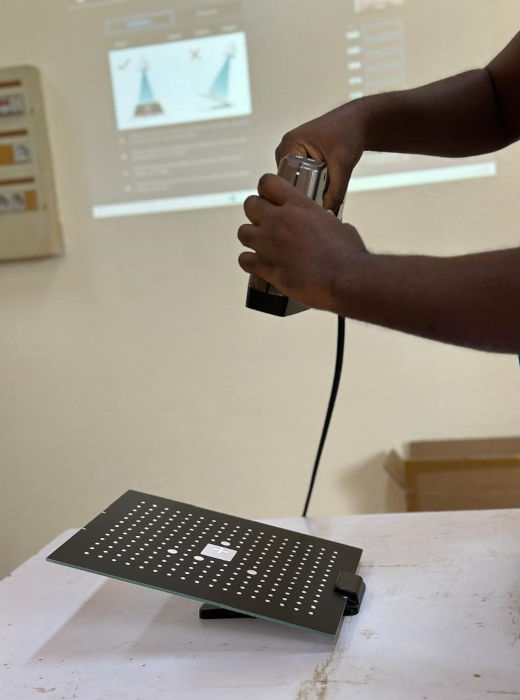
- Take your scanner
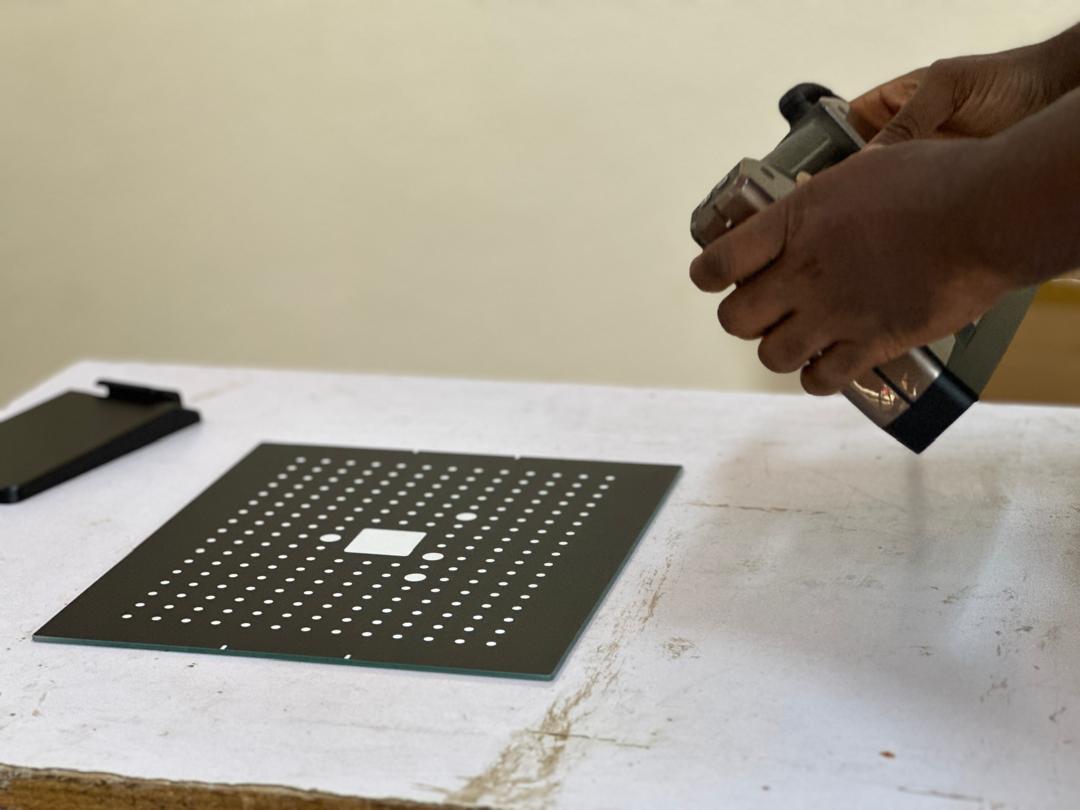
- Place it at a certain distance from the plate and read the progress on the software. Point the scanner’s center on the centered square of the plate

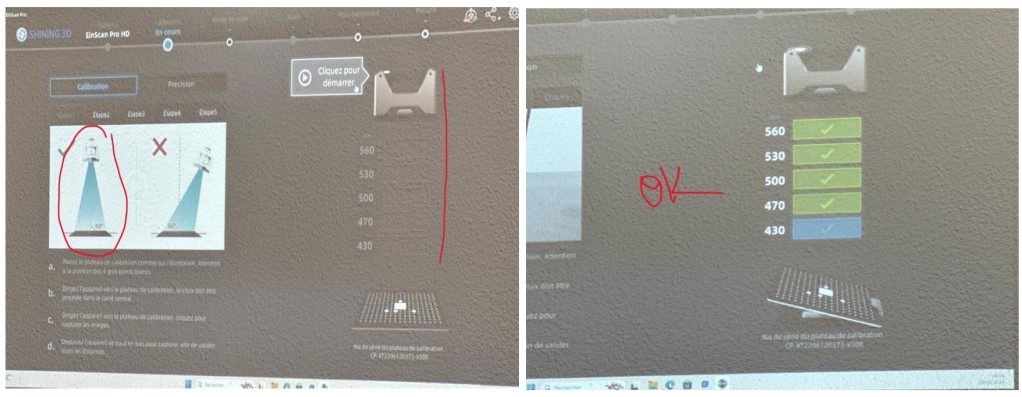
Repeat this process several times, the first time with the tray parallel to the floor. Then tilt it by 45 degrees and rotate it several times.
If calibration is successful, the software will send you: calibration successful
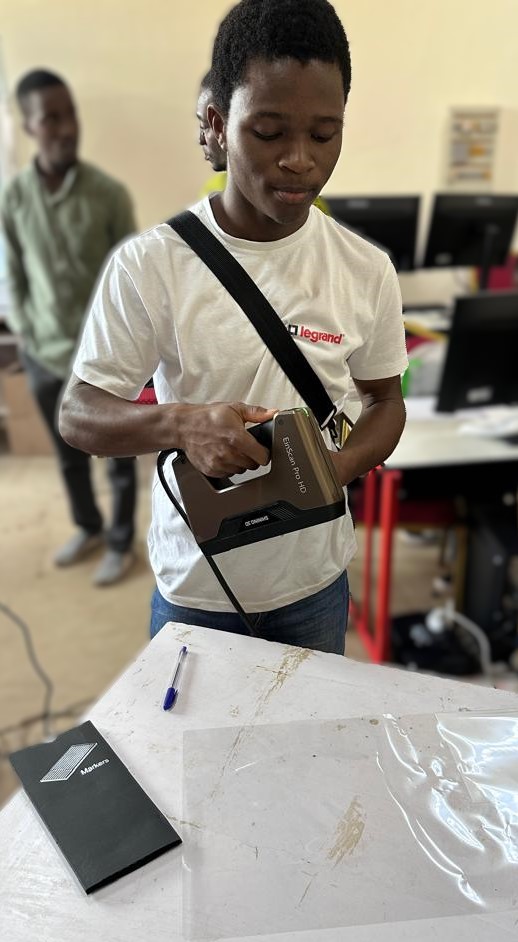
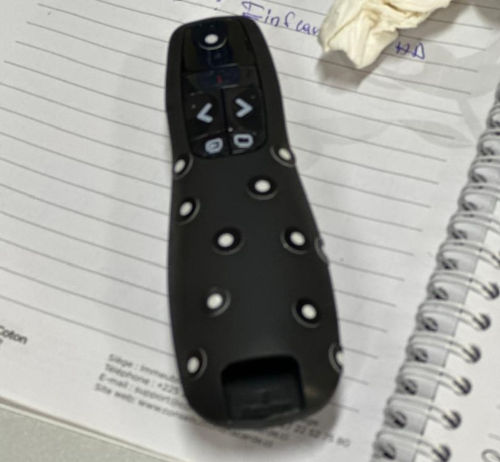
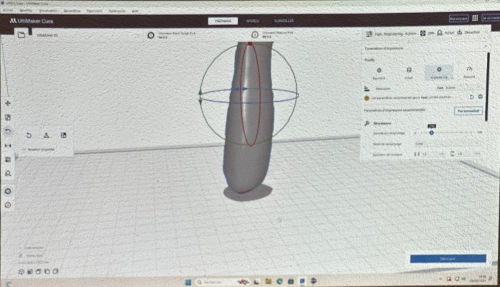
- We’re going to scan a pointer
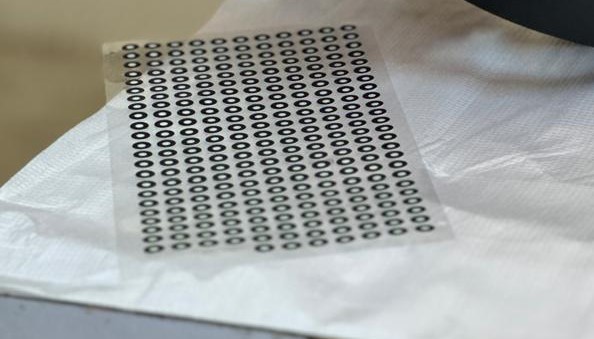
But first, we’re going to use some markers that we’ll attach to our pointer.
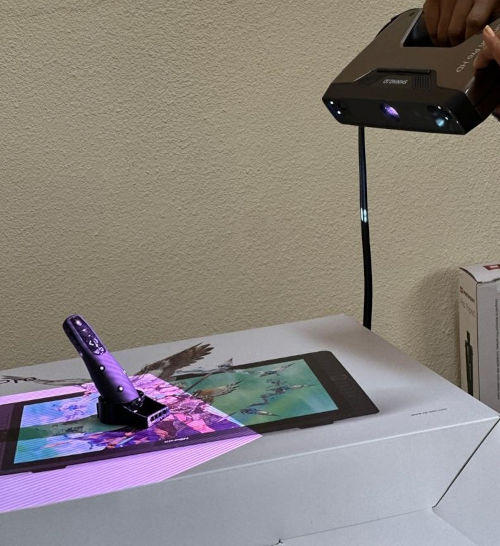
if you have scanned the object correctly, you should obtain the following

Export stl file and open cura to start printing
for further documentation –>
-
https://www.aniwaa.com/fr/test/scanners-3d/prise-en-main-et-test-du-nouveau-shining-3d-einscan-pro/
-
https://www.erm-fabtest.com/industrie/451-einscan-pro-hd-shining-3d-6970163082493.html
Fun
After I finished, my Fab Academy partner scanned my head. 🤩🤩🤩🤩
I put the stl file of the scan on Sketchfab as I was advised. The link is below.
End