5. 3D Scanning and printing
Hero Shot
Assignment :
Group assignment:
- test the design rules for your 3D printer(s)
Individual assignment:
- design and 3D print an object (small, few cm3, limited by printer time) that could not be made subtractively
- 3D scan an object (and optionally print it)
Group Work
You can find our group page here and this week group assignement here
We decided to test our lab printer with benchmarks we found on thingiverse. I also wanted to try cleareance.
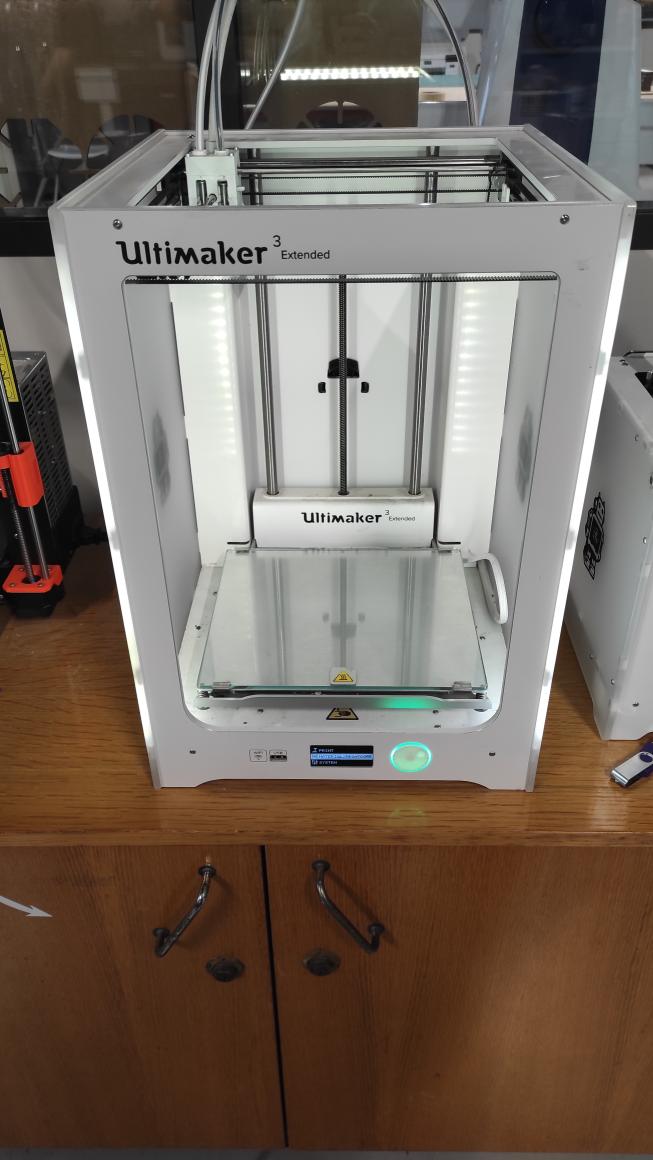
Ultimaker 3 Extended tests
For my prints I chose the Ultimaker 3 Extended as I wanted to experiment dual-extrusion and PVA filament.
Dual extrusion permits to print with 2 filaments on the same piece without having to pause the printing and change the filament.
PVA filament is a water soluble materials, it allows to make parts that can be removed by just washing the print under a tap. It’s really useful for support elements to be removed easyly.
Clearance test
As I wanted to try intricated pieces prints, I decided to do clearance test to evaluate the offset/mobility ratio.
First I recreated the model showed by Neil during the lecture on Fusion 360. I add +0.1mm offset inside each square to measure the tolerance.

I chose a PLA filament and I chose to test PVA as support and build plate.
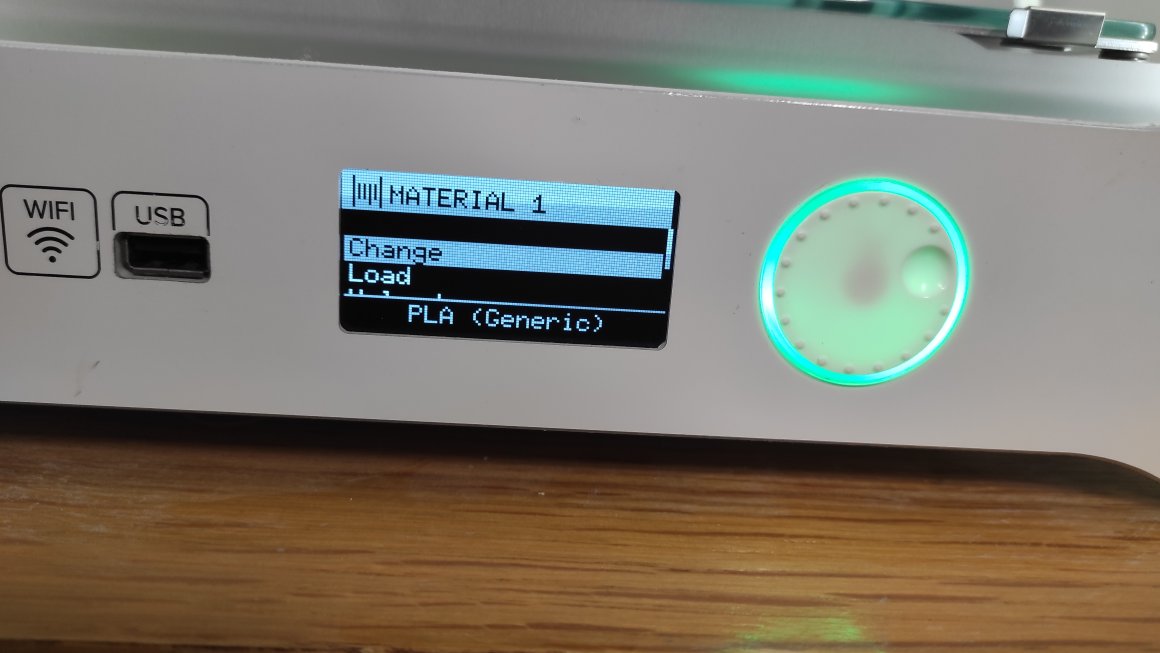
First, I charged the PLA filament. Through the menu, I chose Material/Printcore > Material 1> Change

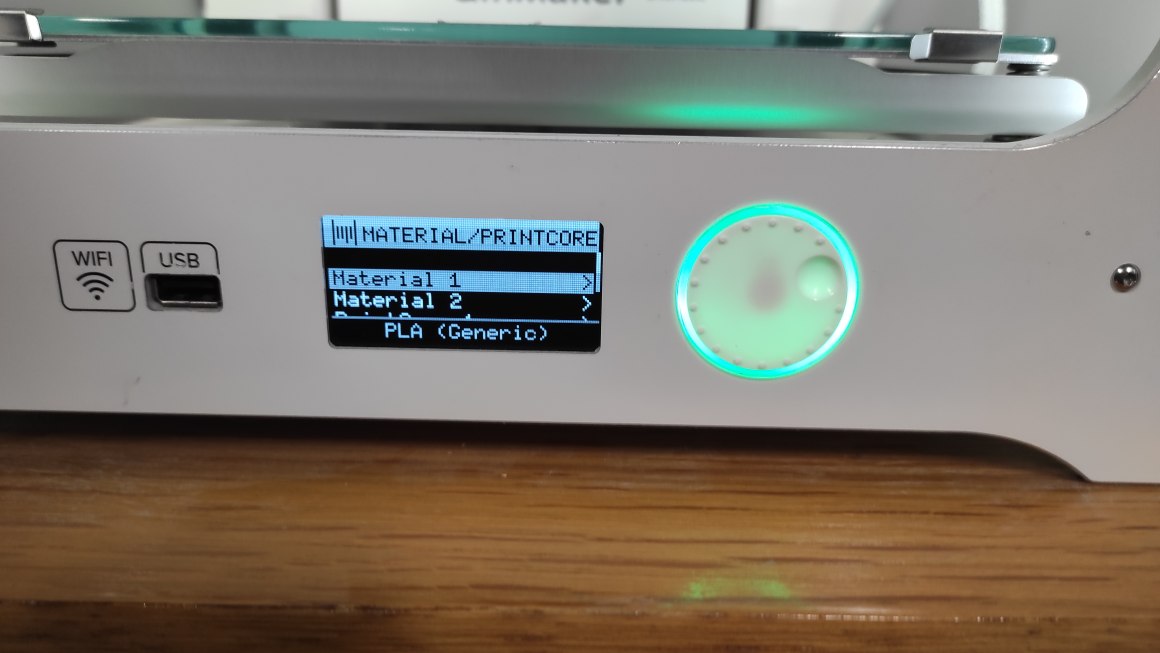
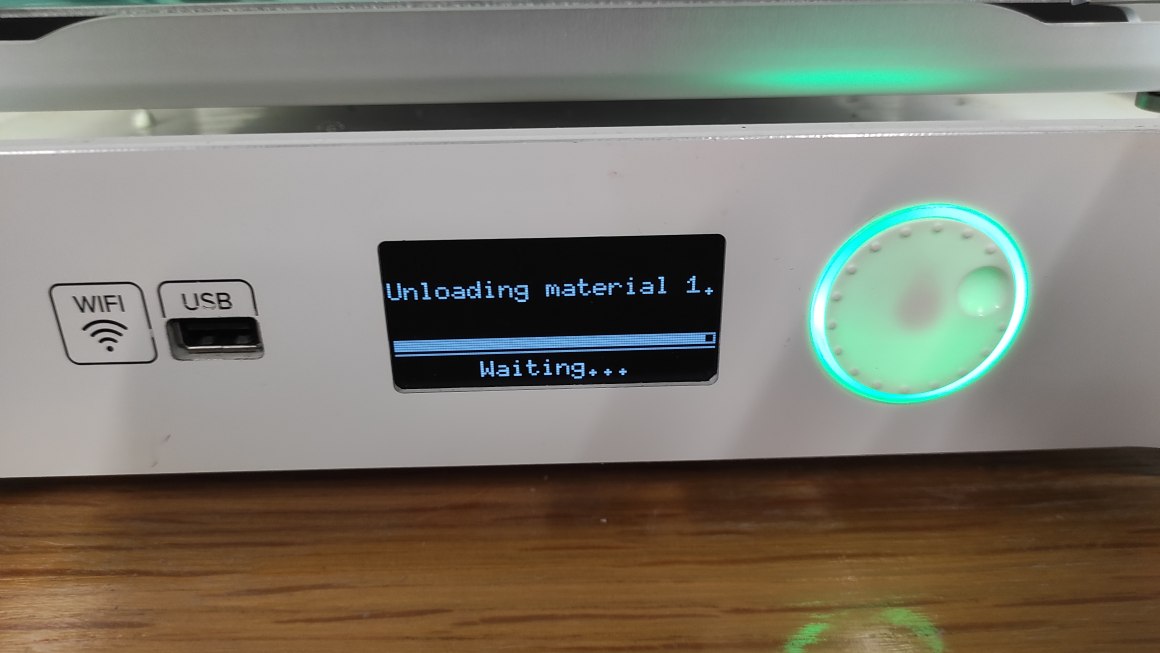
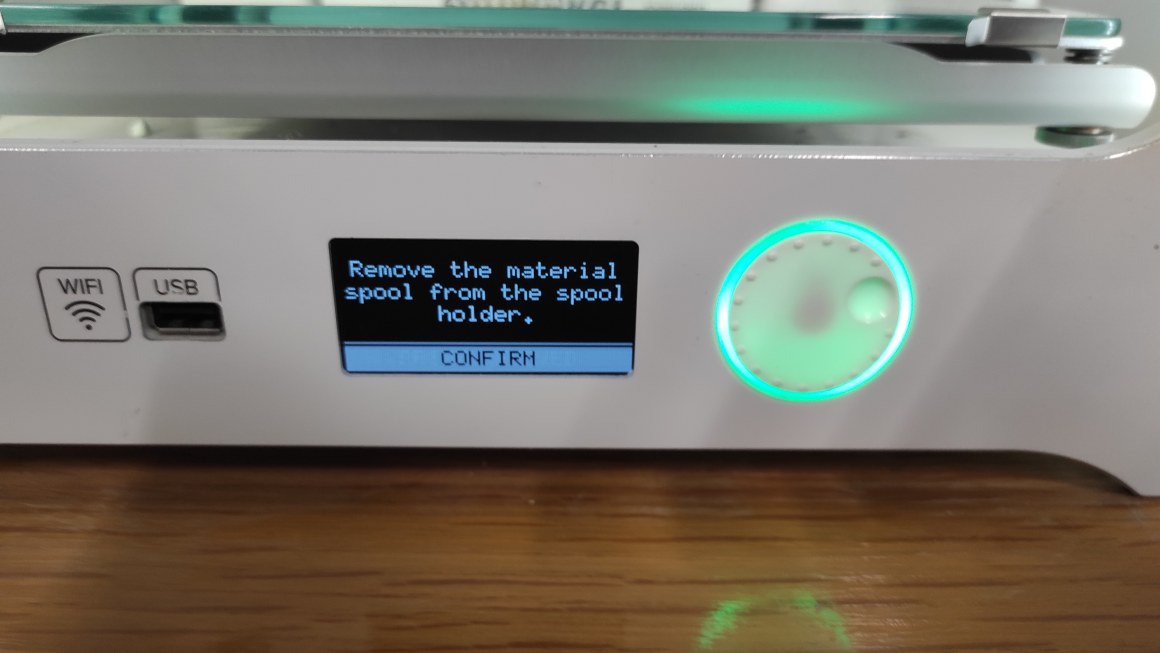
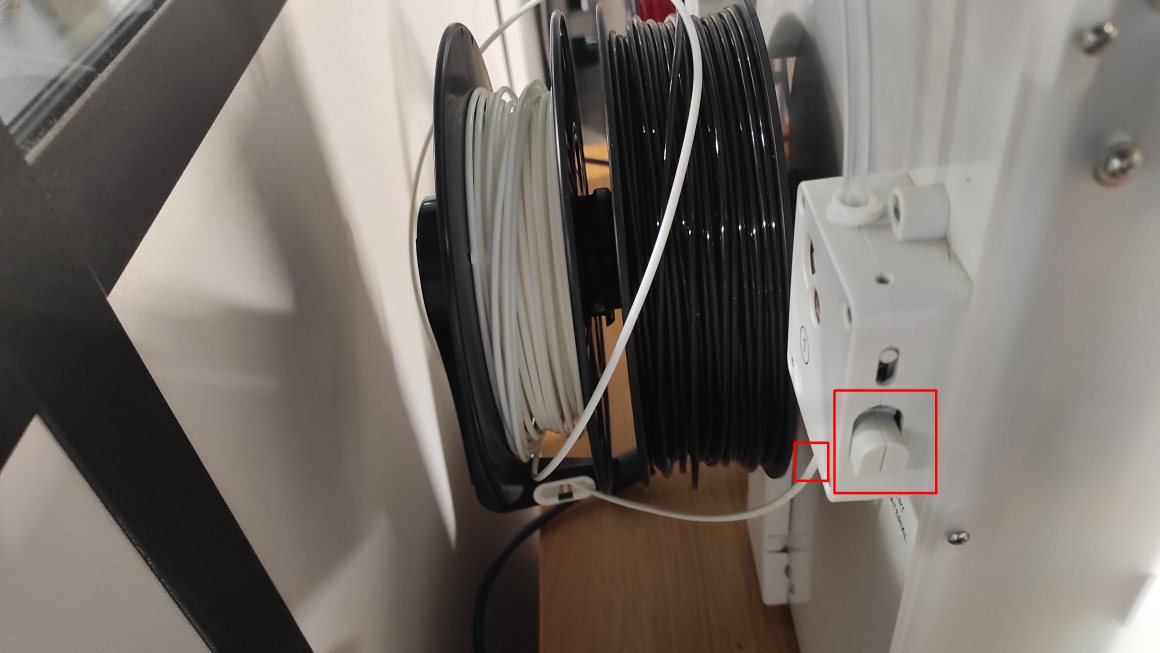
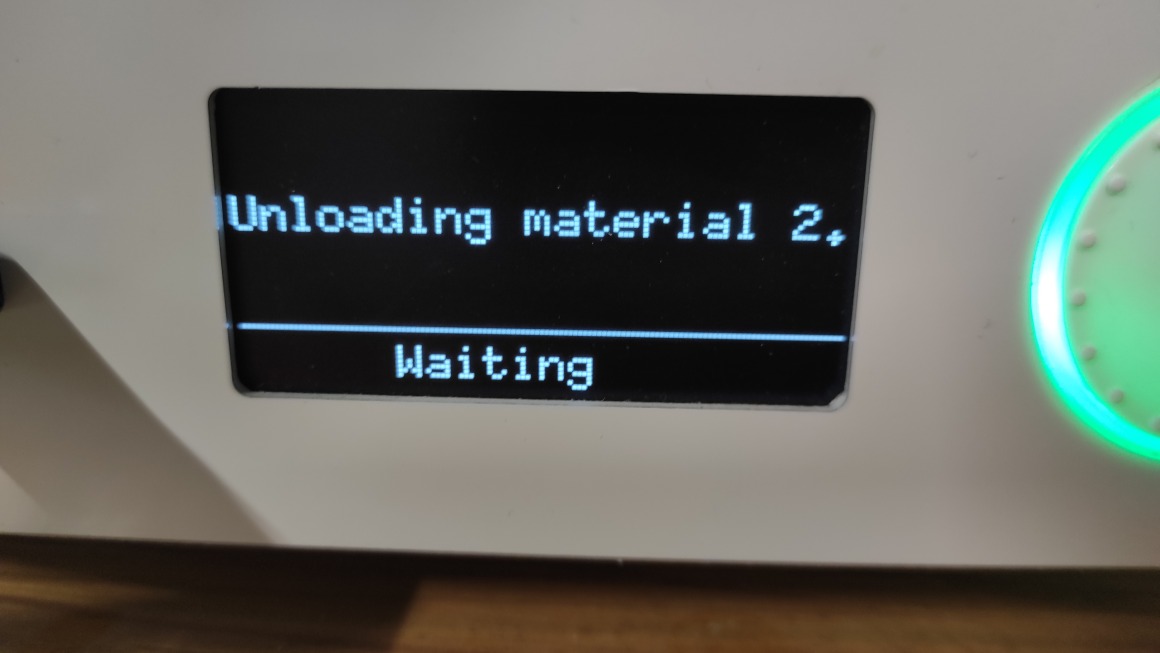
The printer will heat the PLA, unload it, then authorized you to remove the spool which is located behind the printer. To completely unload the filament, you had to press the spring button as you extract the filament.

Repeat the same process to unload the second spool. I should have choose the “Unload” option instead of “Change” because I had some step to complete before loading new materials.
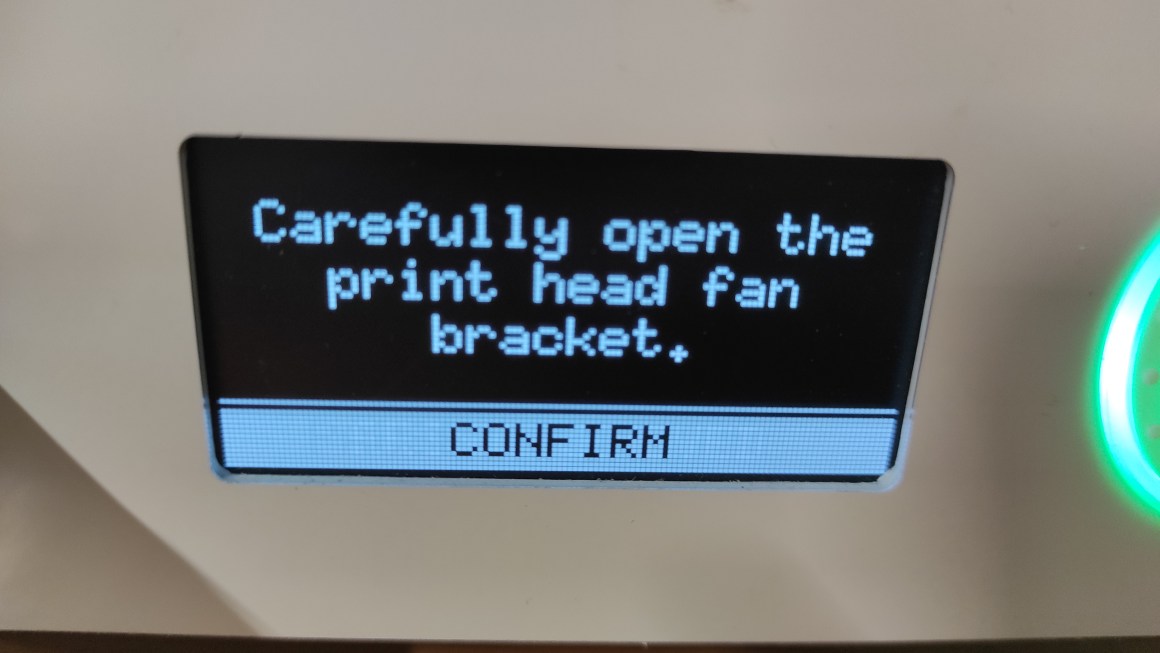
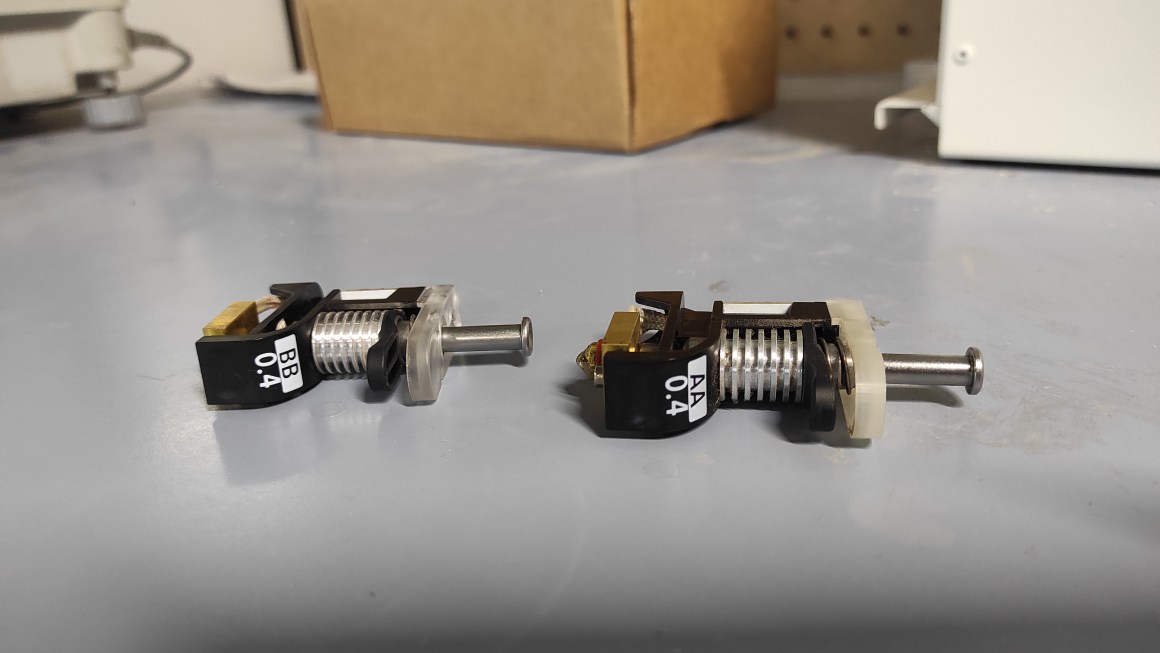
As i wanted to try PVA filament, I had to change the nozzle on the printer as PVA needs to use a specific one, the BB 0.4. In the printer menu, you have to chose Material/Printcore > Printcore 2 > Change. The printer will unload the material even if it’s already done, then ask you to open the print head fan bracket then the nozzle.
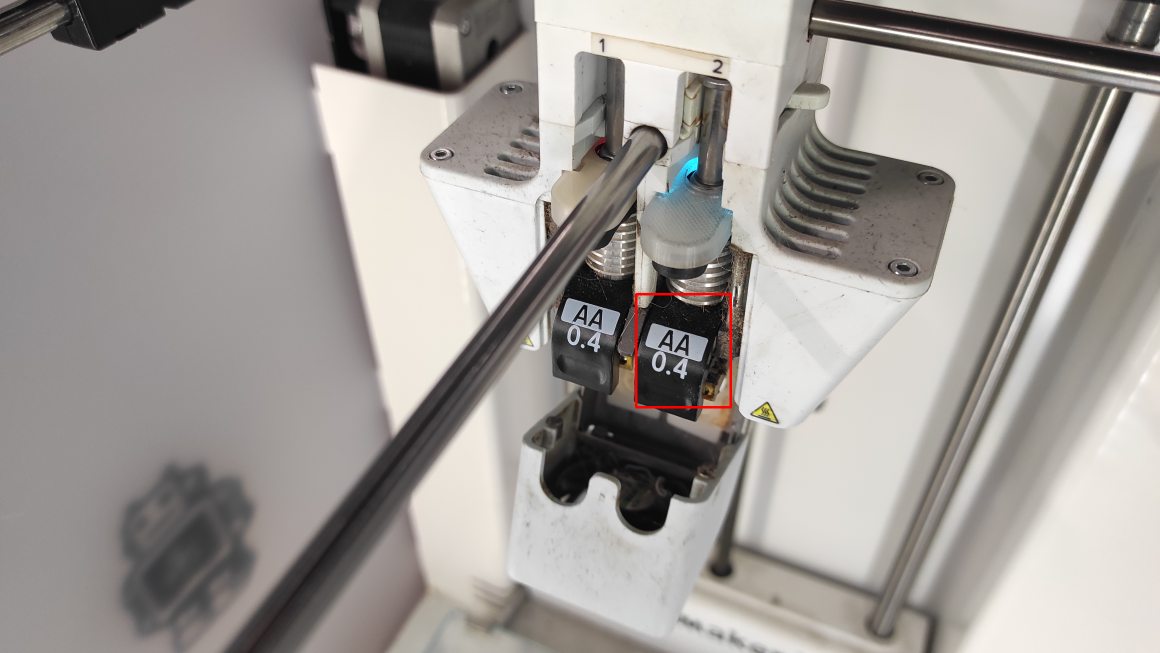
You need to pinch the spring then slip the printcore forward.
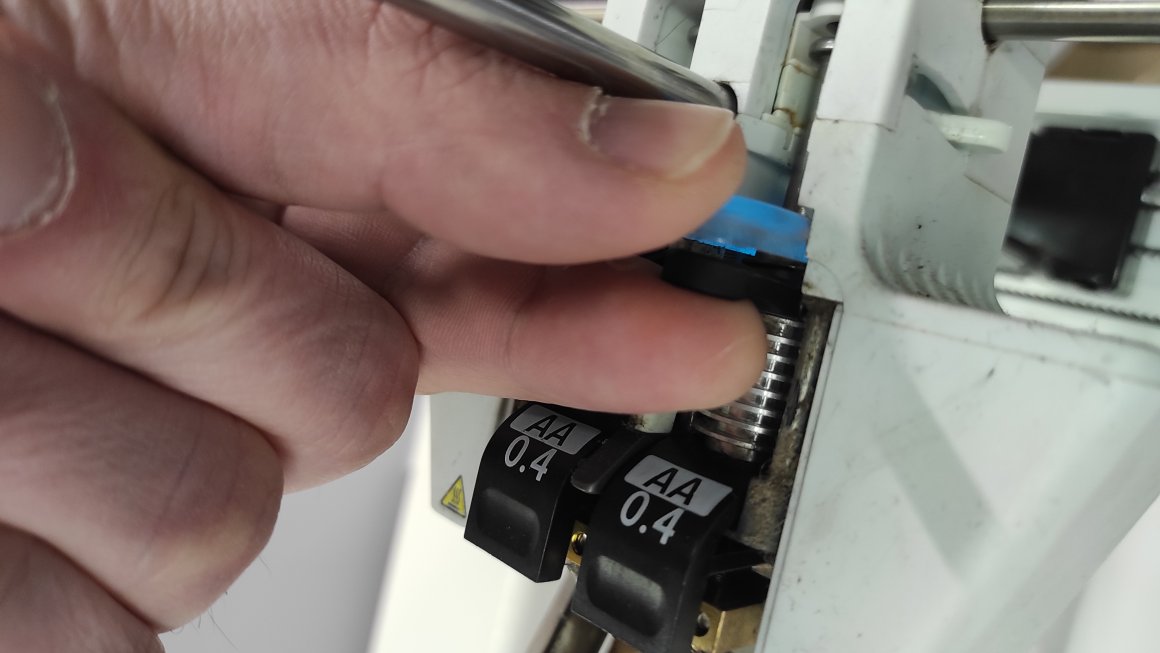
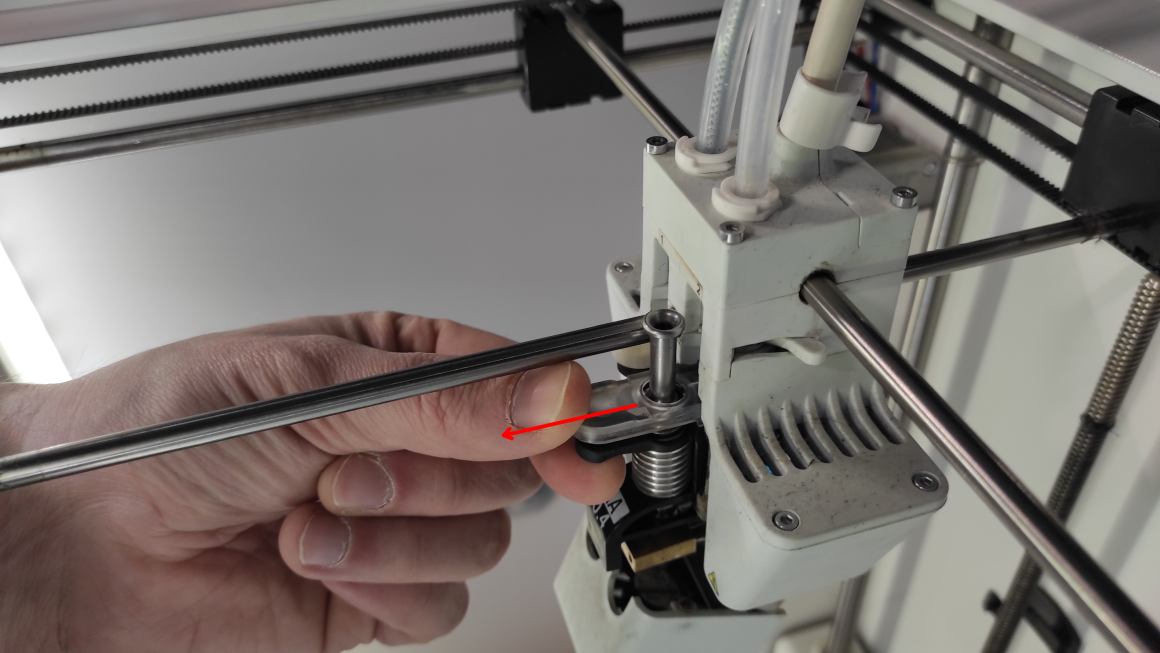
You can now replace the printcore for the BB 0.4 one, close the head fan and confirm the process on the printer. It will detect the printcore and warned you about compatibilities.

You can now load the the PVA in the second extruder and a PLA in the first one. It will extrude some materials then you can confirm the loading.

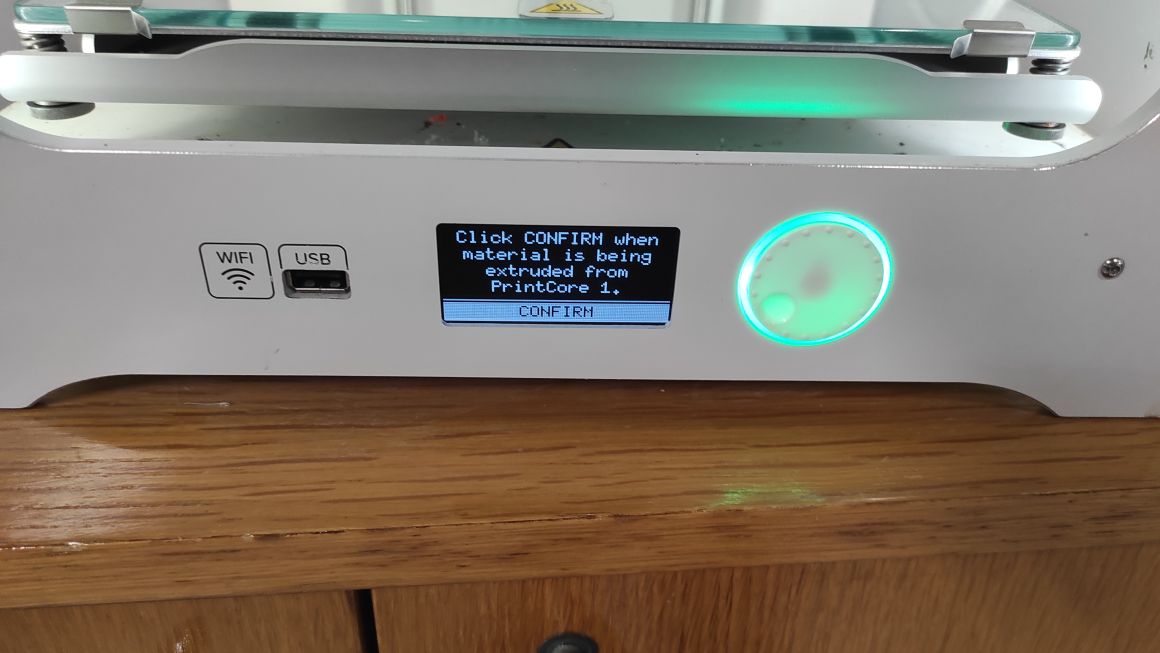
Printer is ready !
The 3D file need to be sliced for the printer to know what movement it has to do.
I used Ultimaker Cura software to do it.
I added all the Agrilab machine to my software parameters in the top men and chose the Ultimaker 3 Extended for this print. Then I selected materials with the right printcore.
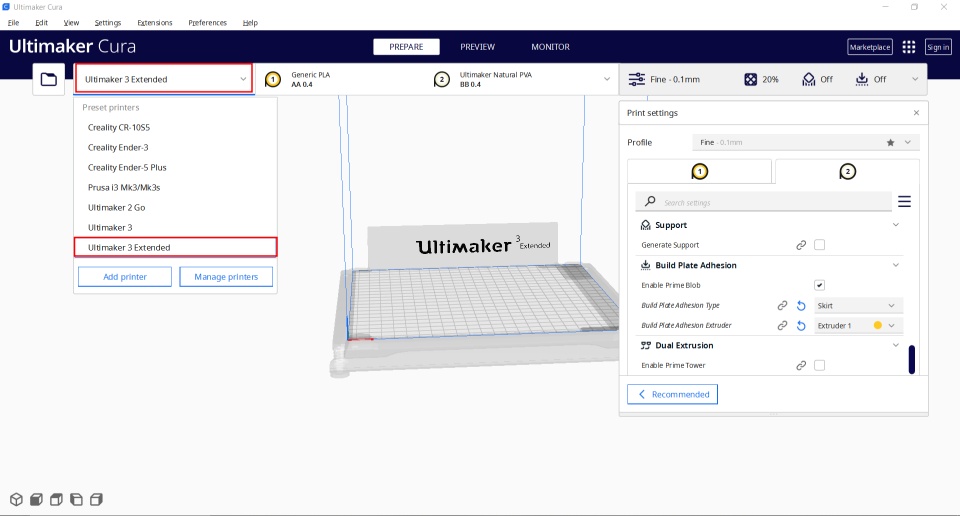

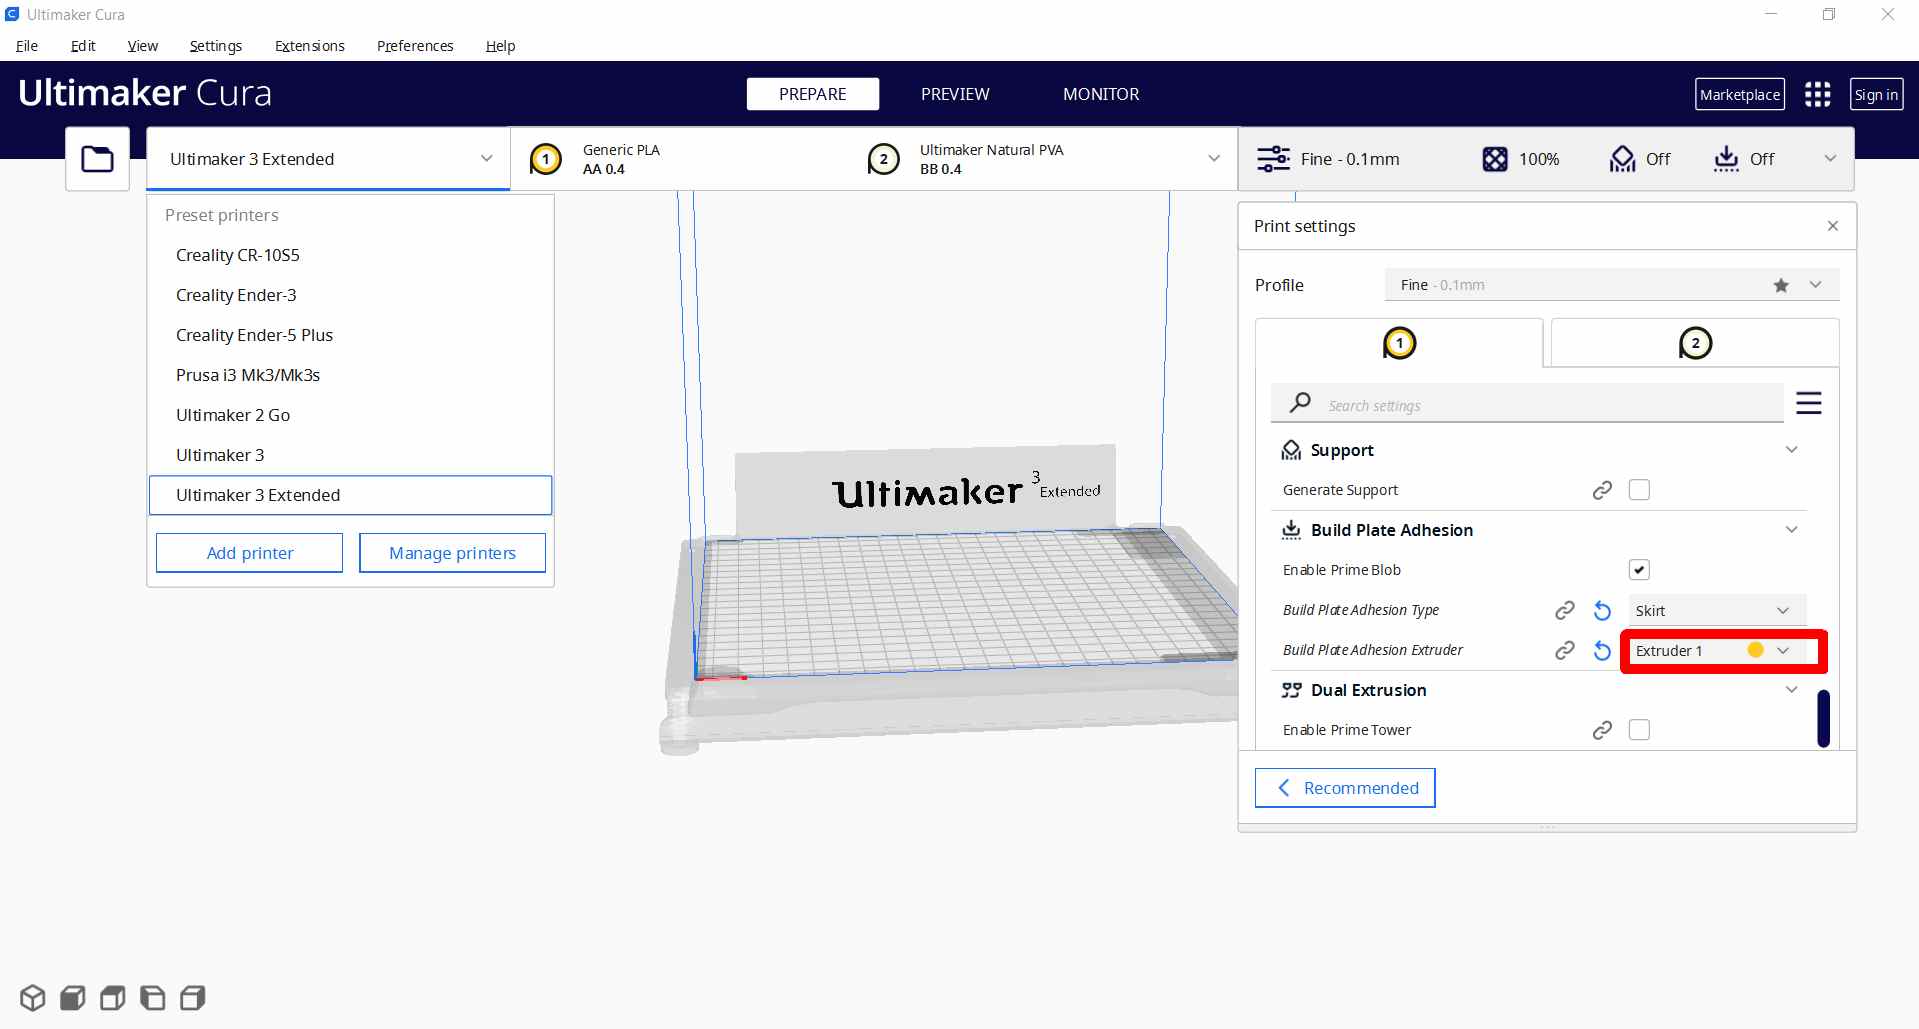
To chose the PVA filament to be used for support and build plate, I allowed all settings, and change the extruder in the support and the brim settings to fit the one charge with PVA.
Finally , I imported the 3d file. I didn’t change other parameters which are 200°C for printing temperature, 60°C for build plate and 70 mm/s for print speed For the PLA. For the PVA, printing temperature is at 215°C and the print speed is slowed at 35 mm/s I clicked the slice button. You can see a preview of the printing and save the Gcode created on the local disk or on a removal disk.

I can now use my USB drive to load the file on the printer. Just chose print in the printer menu and it propose me the most recent file.
The print now started.
But I had to stop it cause the PVA sticked sometimes on the Nozzle making a cluster on the right. I think maybe the PVA was improperly stored ans didn’t react as it should be.
video speed up x20

I tried again with the same PLA filament support and it worked fine.
The result shows that I had separate elements at 0.2 offset but with a lot of friction. I started to be fine for movement at 0.3 mm offset.
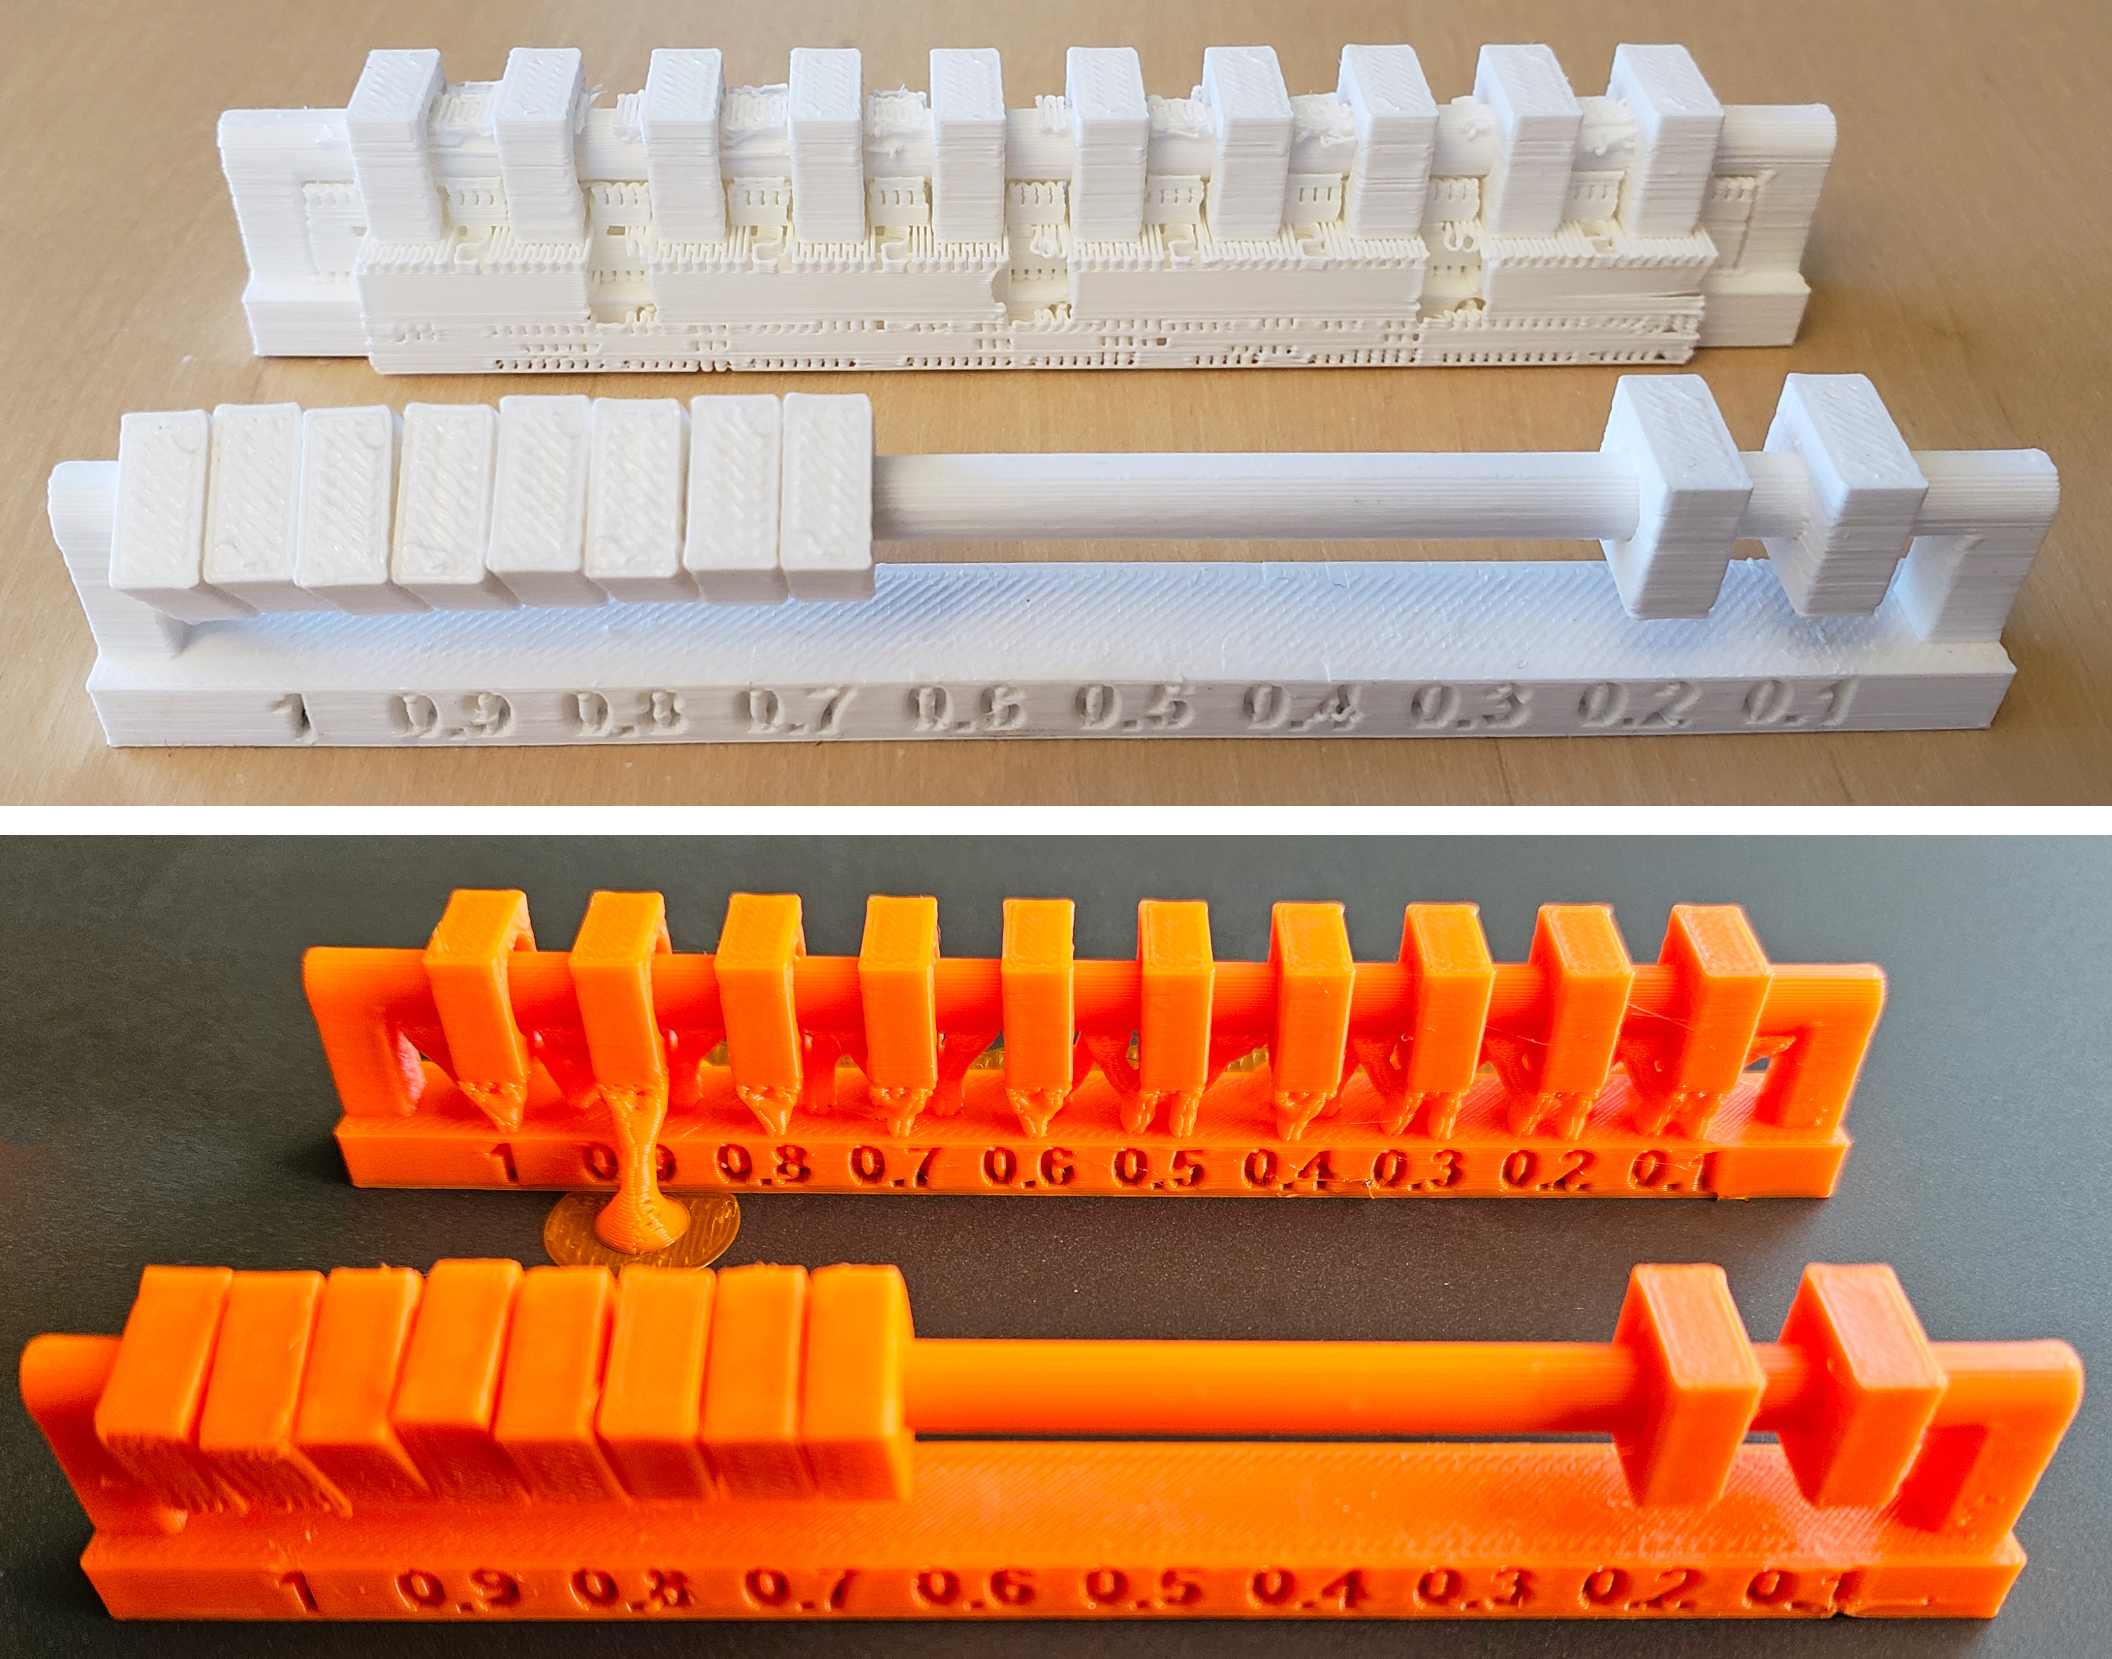
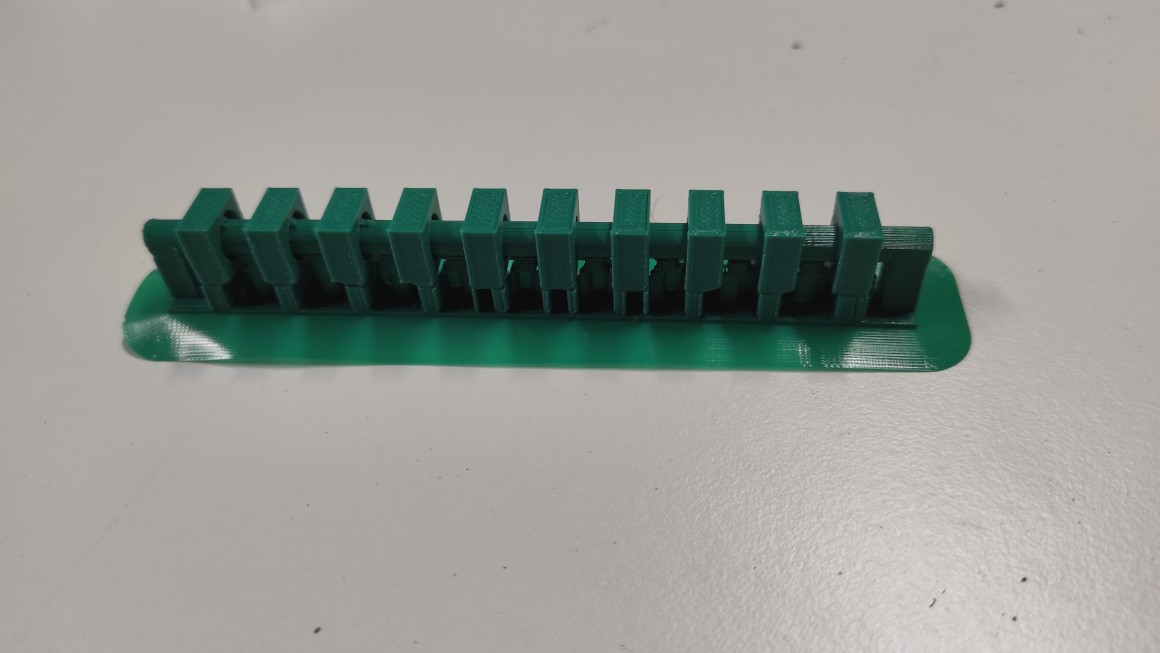
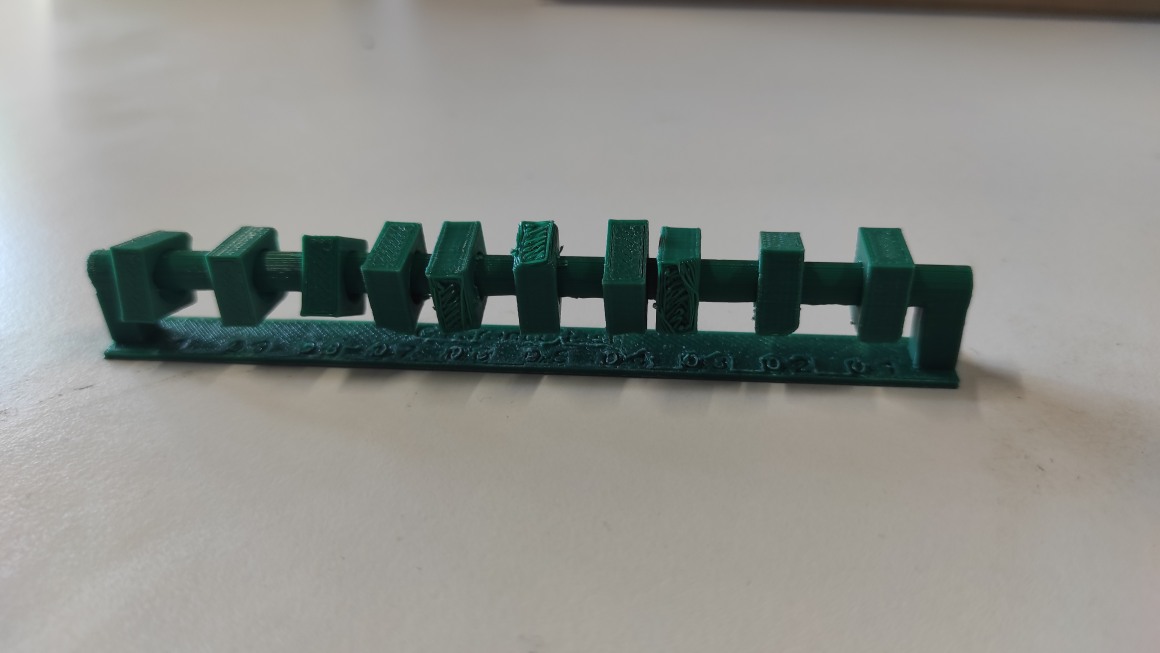
I also designed a test to check size and tolerance of horizontal layers. I printed it on the ultimaker 3 extended and also on the prusa but it made a cluster at the end of the print. Somehow, it was still useful.

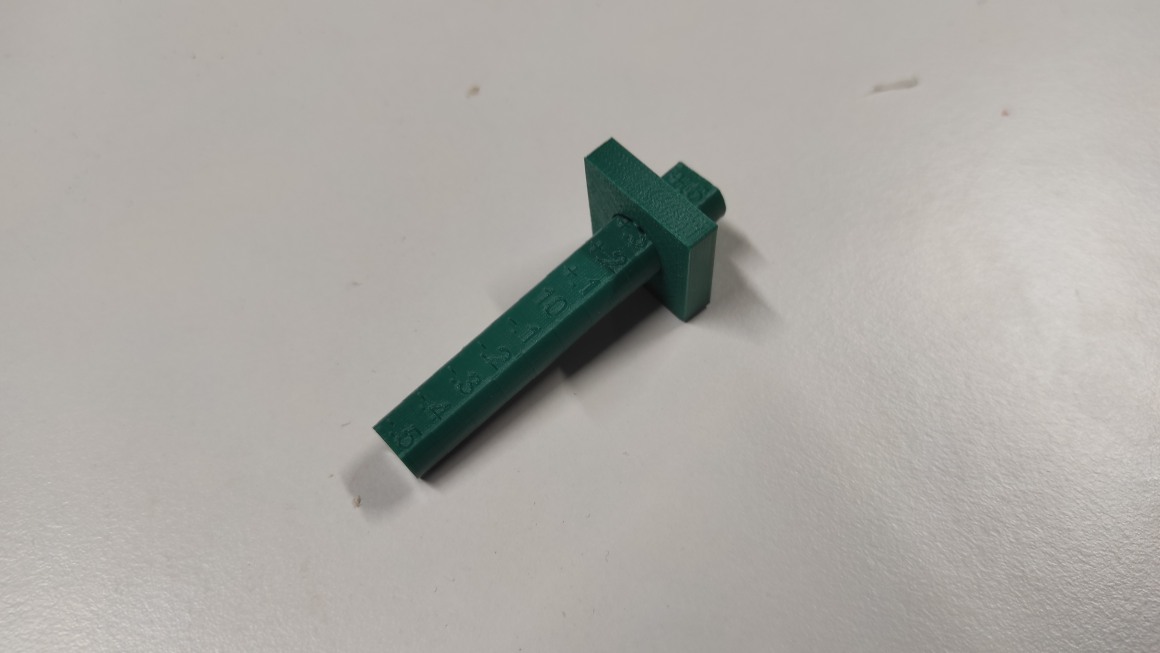

From those test, I can see on the Ultimaker (the green one), that the inner part need +0.4 mm to be stuck in the square. On the Prusa, only 0.1 mm above is needed. A better test would have to test the same filament on different printer as the difference can also be caused by material properties.
Benchmark
As my co-student I also printed FDM printer benchmark by Notebookcheck on the Ultimaker 3 Extended. I used Silver PLA at 0.15 mm layer height, 200°C for printing temperature, 60°C for build plate and 70 mm/s for print speed
Overhang : Fine til 45°. At 50°, It starts to lakc adherence Bridge : Fine til 15 mm, filament drops a little if longer. Wall : under 0.8 thickness, we can really see the start point being thicker than the wall. The rest of the wall is alright, even at 0.4 mm. Size : The square size is precisely at 12 mm but the round shape is at 11.9mm The print-in-place works fine after forcing it a bit. There are stringing an small columns maybe caused by lack of retractation We see som droplets at ends of layers.


Formlabs 2 Stereolithography printer
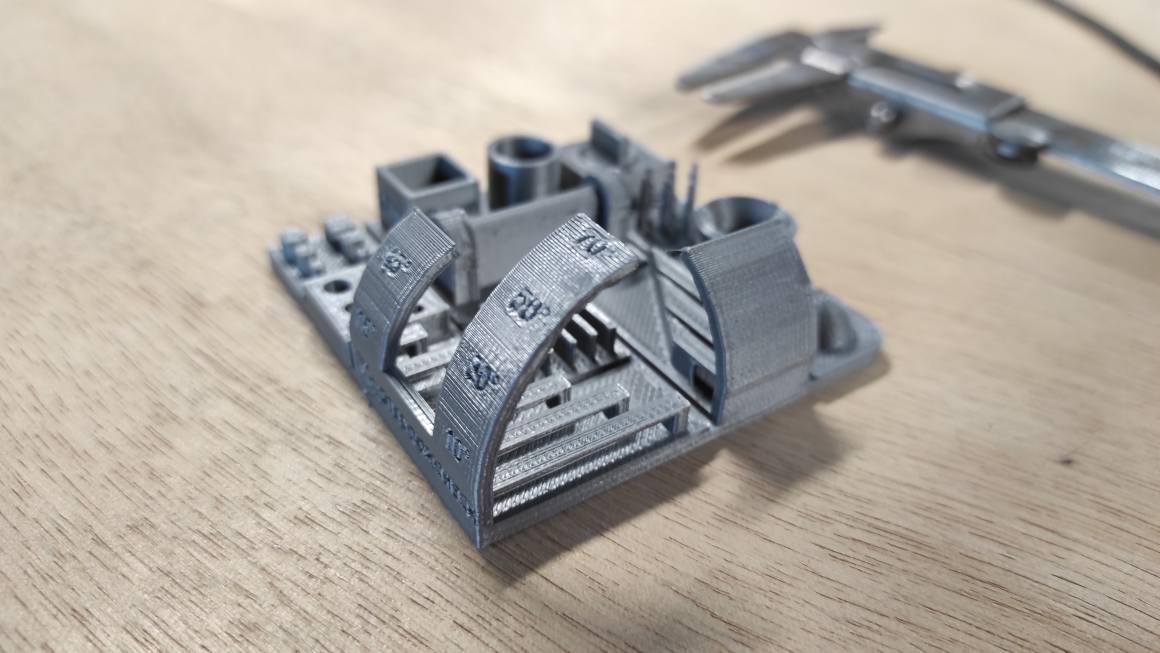
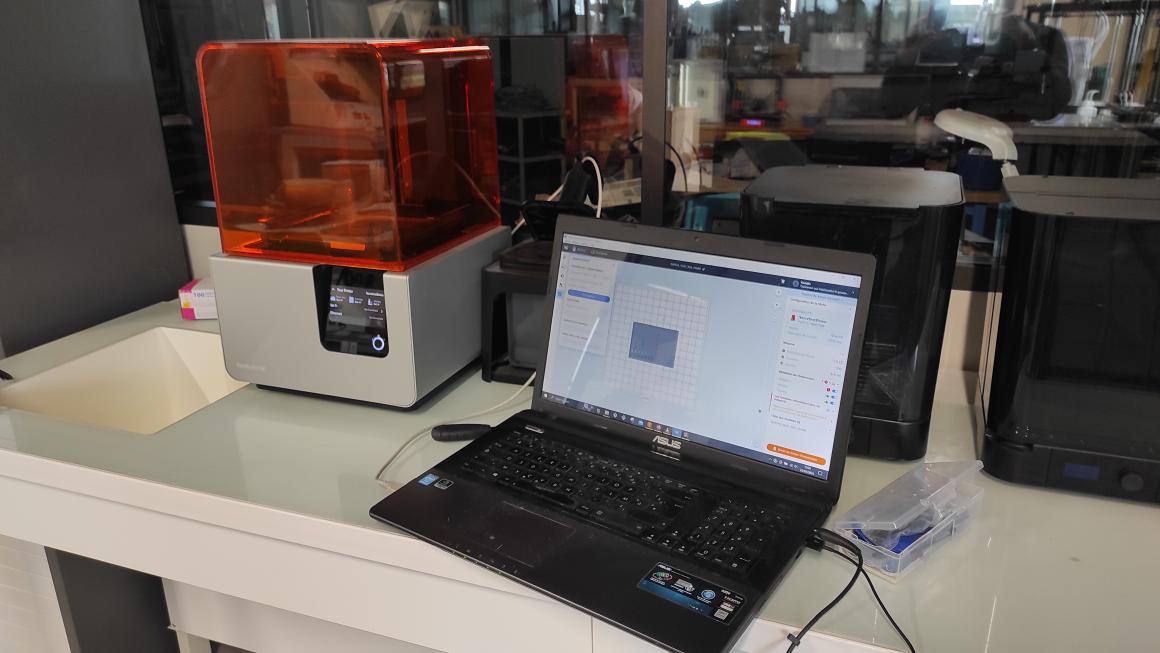
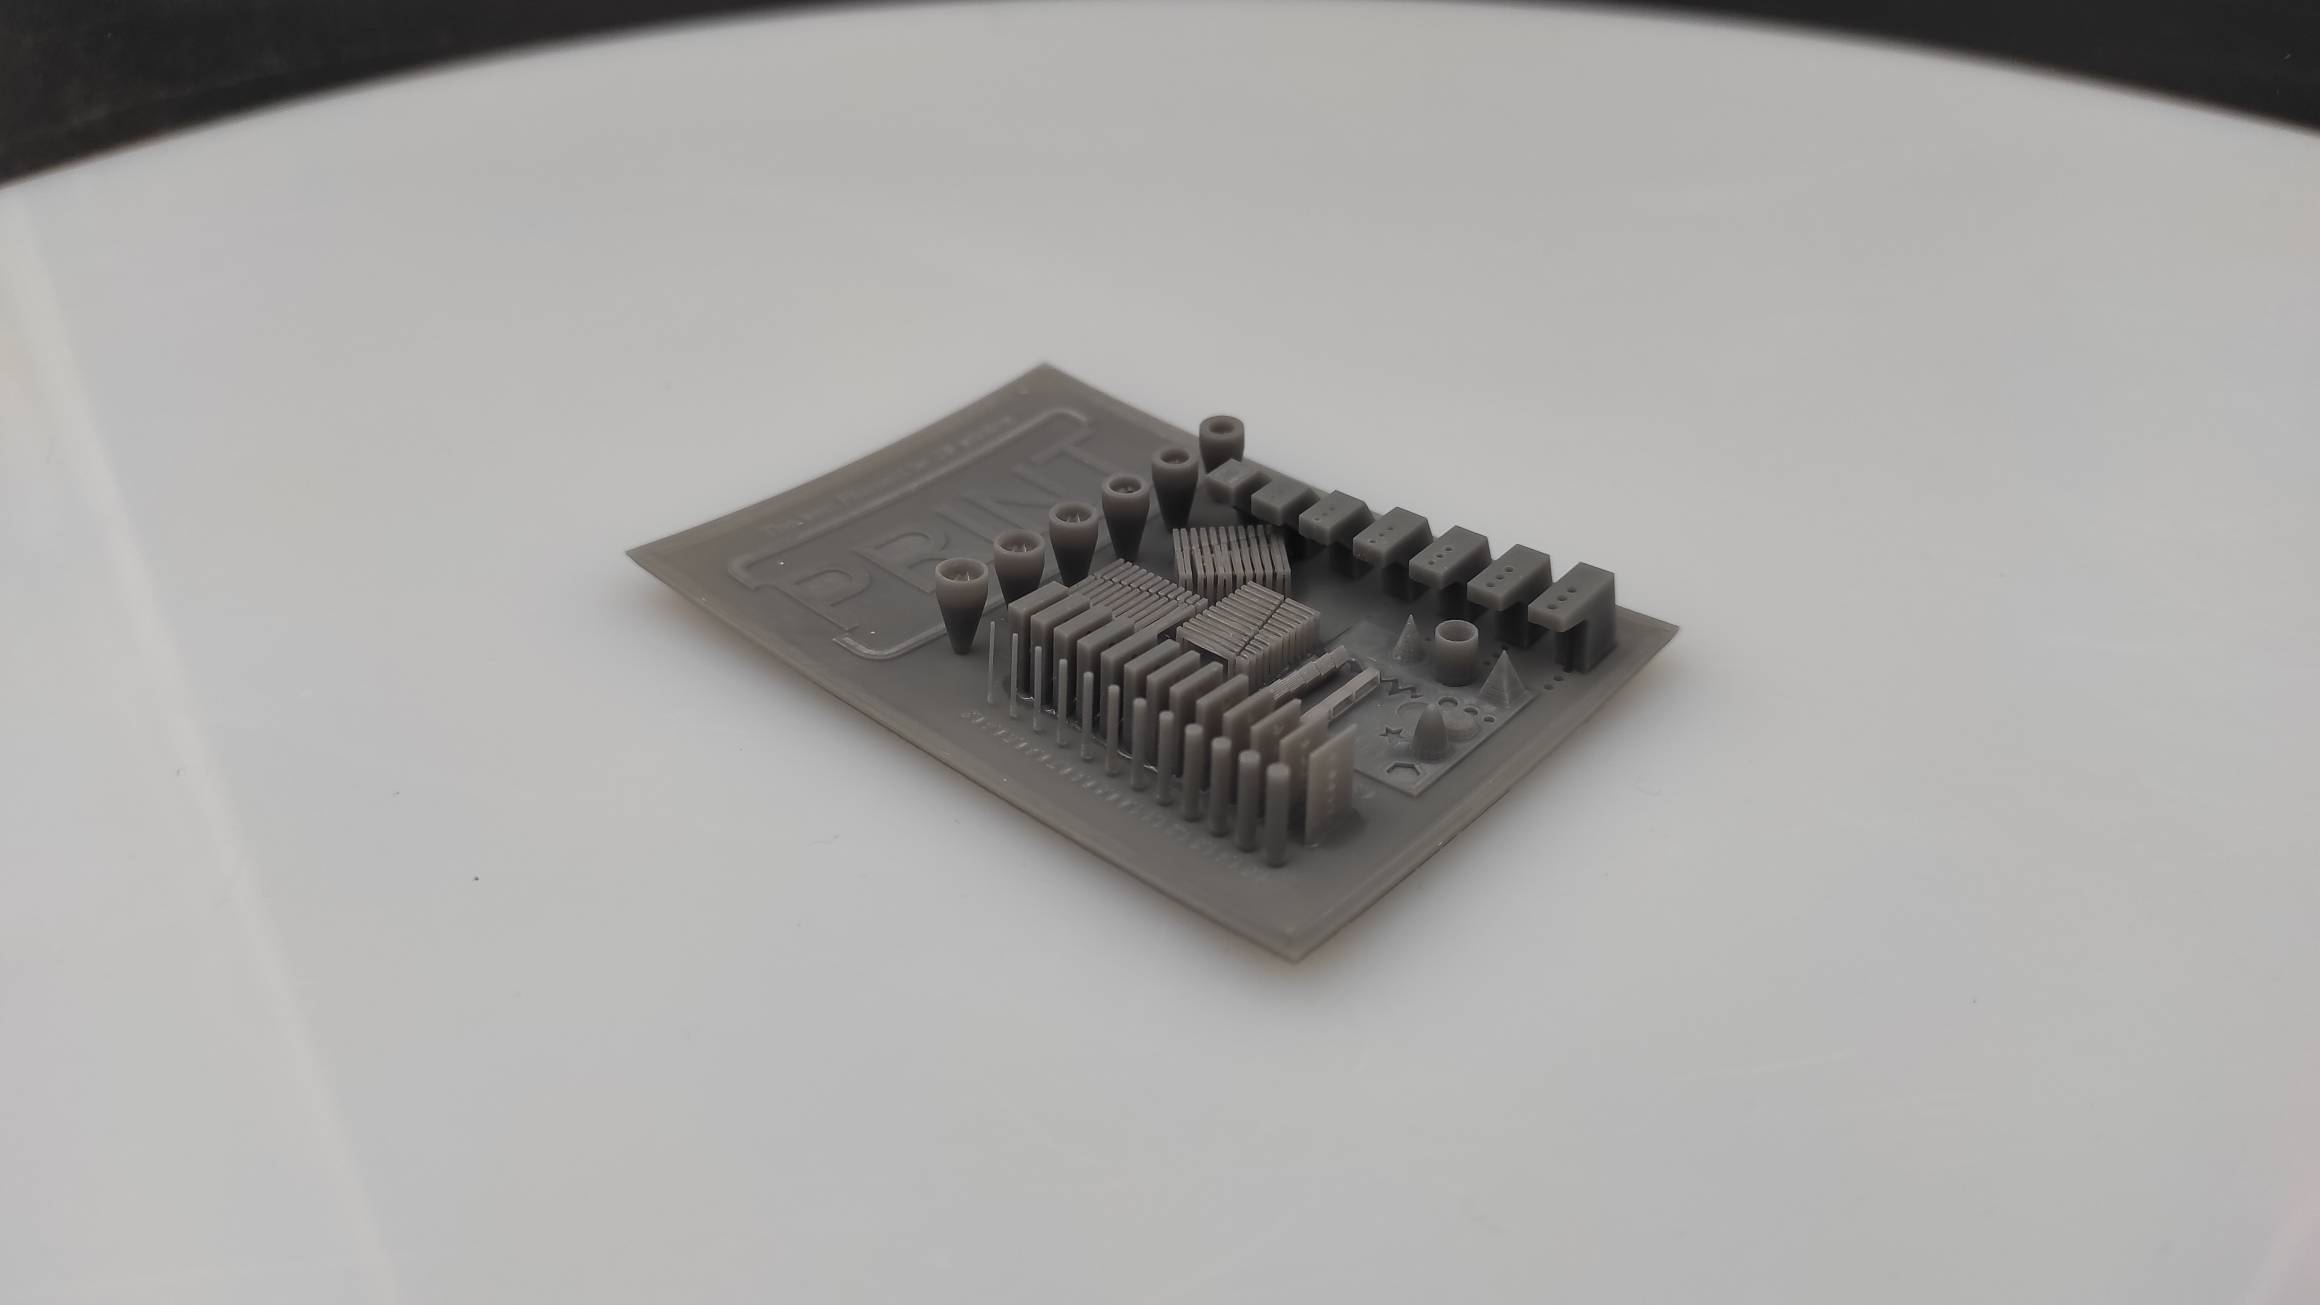
I found a specific benchmark on thingiverse and followed the Agrilab process(in French) for the Form2 printer and used the Formlabs Grey Resin
I had to download Preform the dedicated slicer. Ths one is interesting cause it provides solutions if parts are misprinted.
Preform when the computer is connected to the printer, preform automaticaly detect the printer and the resin cartridge.
I opened the STL File. I misunderstood Preform informing me that supports were no longer needed despite what I’ve been told. I decided to let it as it is and make a try. When I forced the software to be in english for my documentation, I finally understand that Preform ttold me that on the contrary, supports were required.
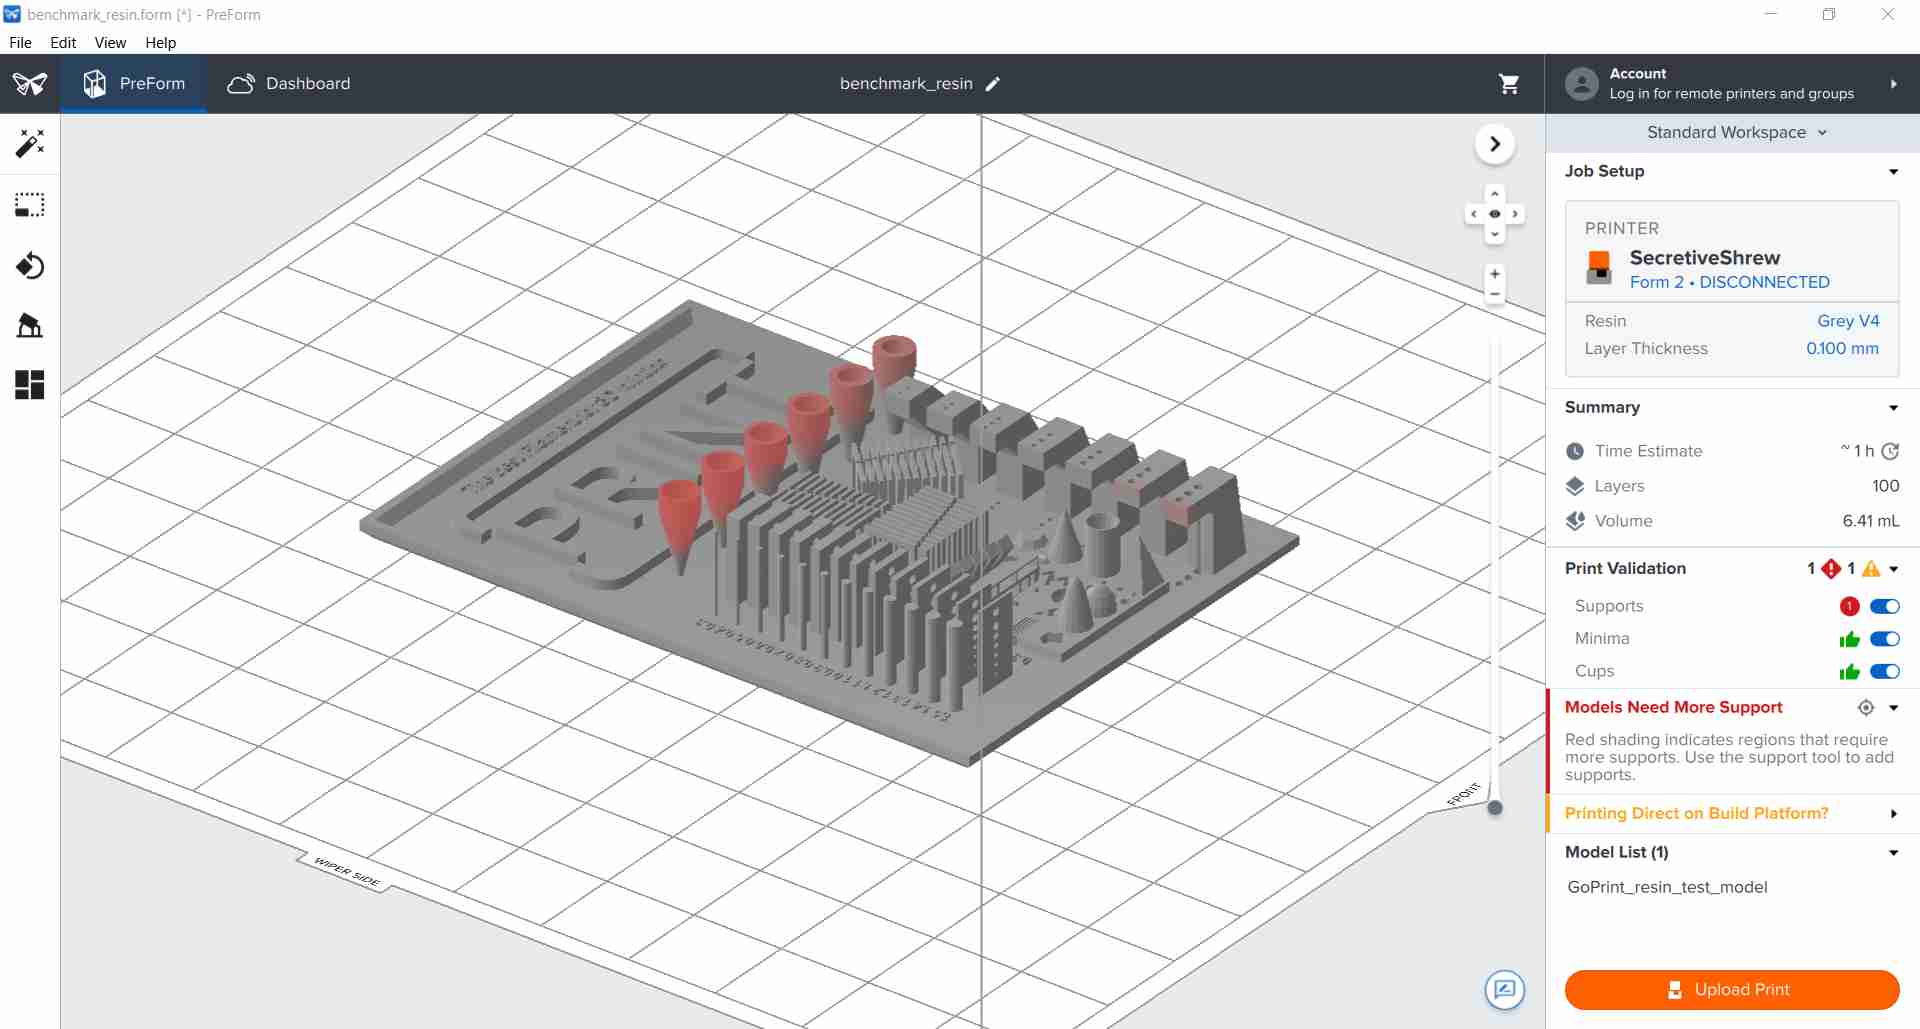

Pushing the “Upload Print” button will transfer the sliced files to the machine and after opening the cartridge you can start the printing.

You’ll need glove to take out the printing and then put it in the FormWash and finally in the FormCure. The FormWash machine clean the printing of excedent resin using IPA (Iso Propylic Alcohol). The FormCure machine treated the printing with UV to complete the polymerisation.
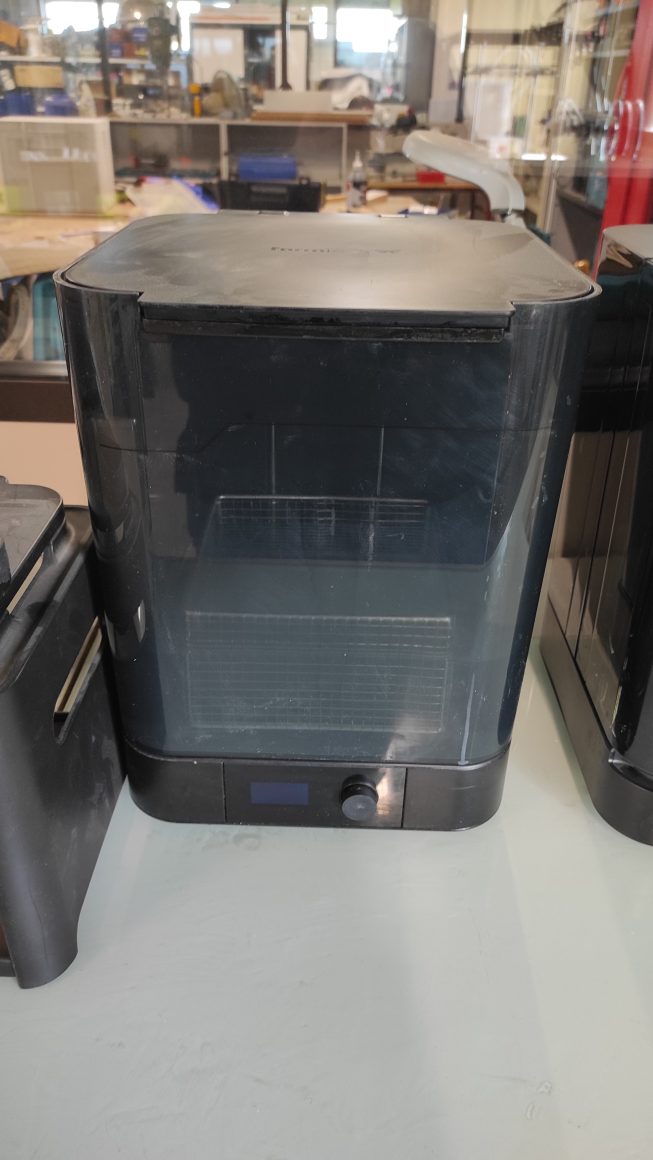
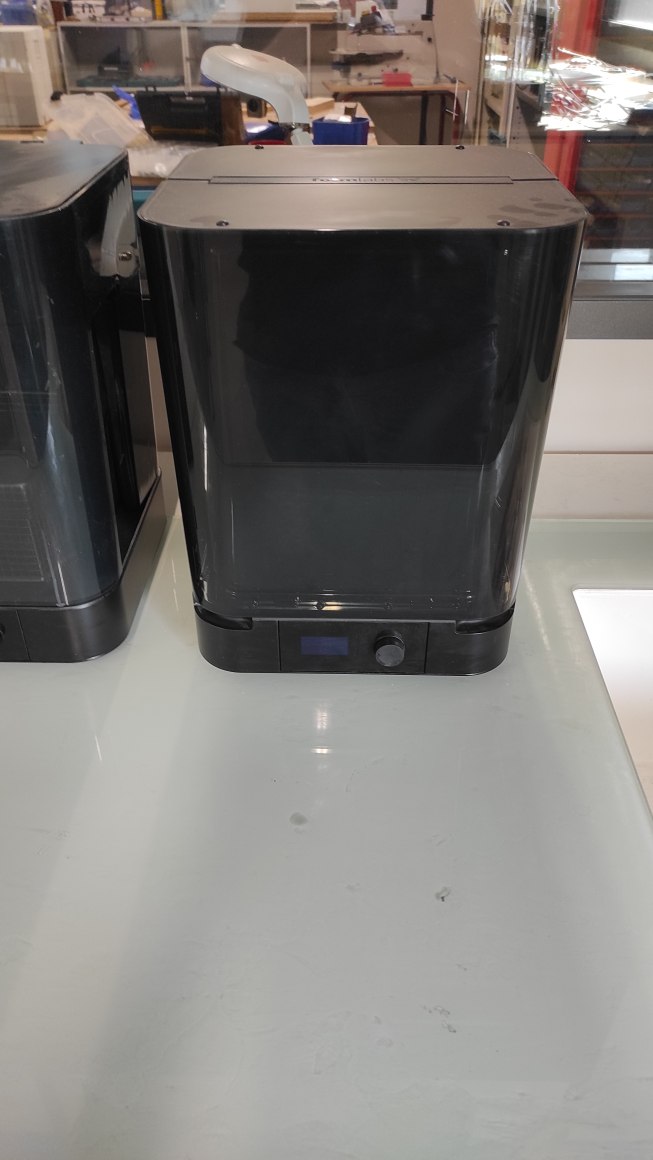
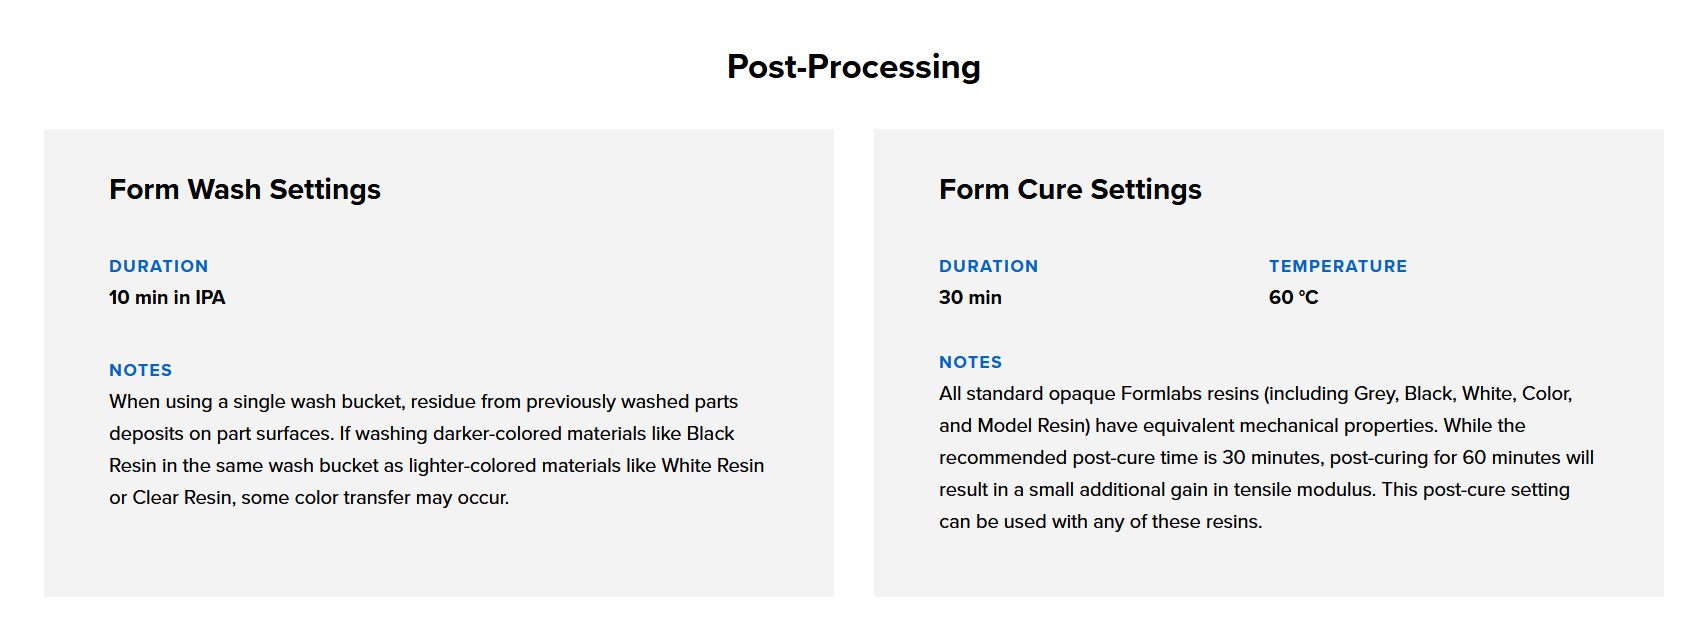
Each type of resin has it’s own paremeters for Wash and Cure. They can be found on the Formlabs website in the materials description


The final result was satisfactory with the finest parts nicely printed, despite a bit of warping probably due to lack of supports.
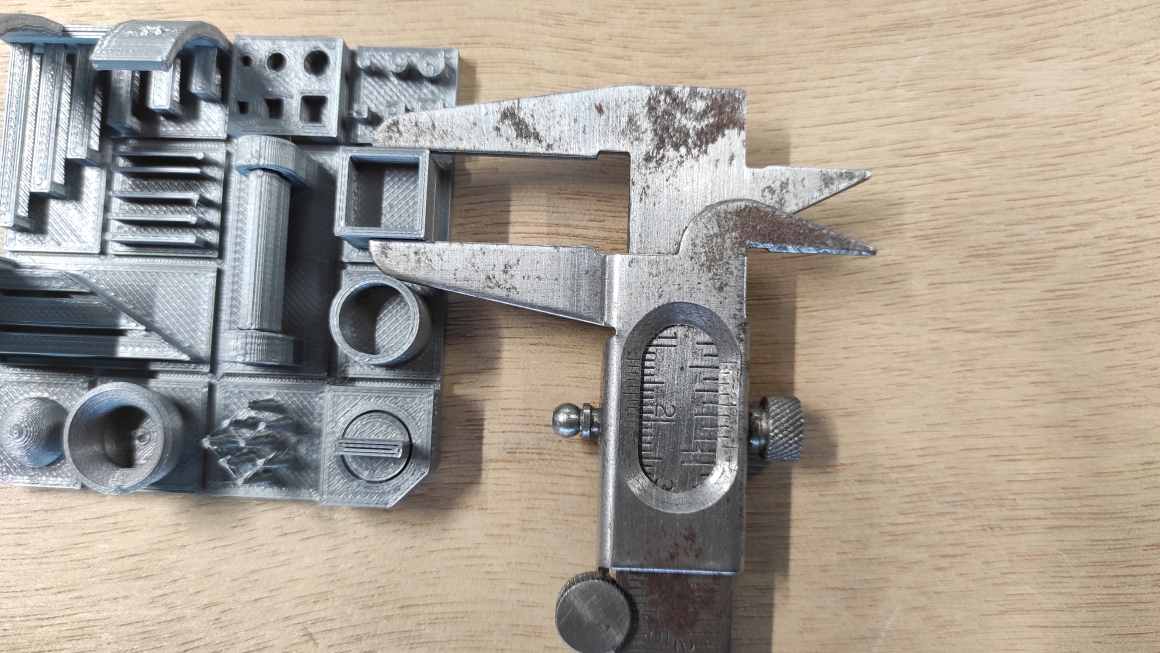
Columns and walls stay straight from 1.5 mm to 0.3 and properly formed. I measured the largest column with a calliper at 1.5 mm as it is meant to be.
All the vertical faced holes have been properly made and round. The documentation explains that it means the lift speed is alright.
The vase shaped measures film adhesion and seems alright.
Central bridges are bonding which could mean there is a cleaning problem.
Small form are nicely made but the small lettering could be improve. The documentation suggests that it would mean that resin as good precision but it could need more time of exposure.
Individual Assignment
For my individual assignement, I wanted to try simple mechanism and I make 2 objects.
Counter for boardgame
For the first one, I wanted to make a counter to track evolution of informations in boardgames or TTRPG. I designed the model in Fusion 360 as a gear wheel with a spring to add a light blockage.
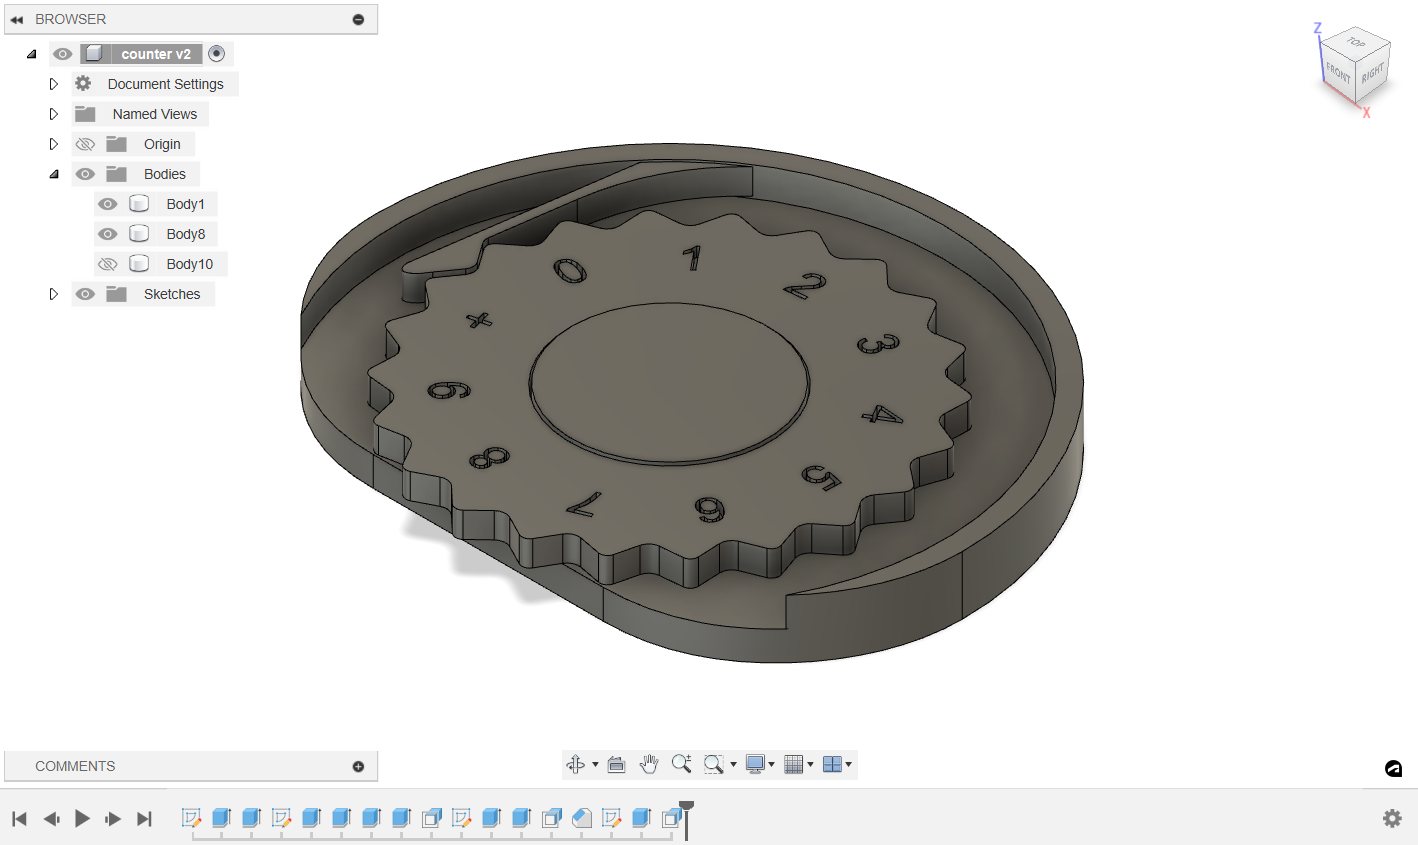
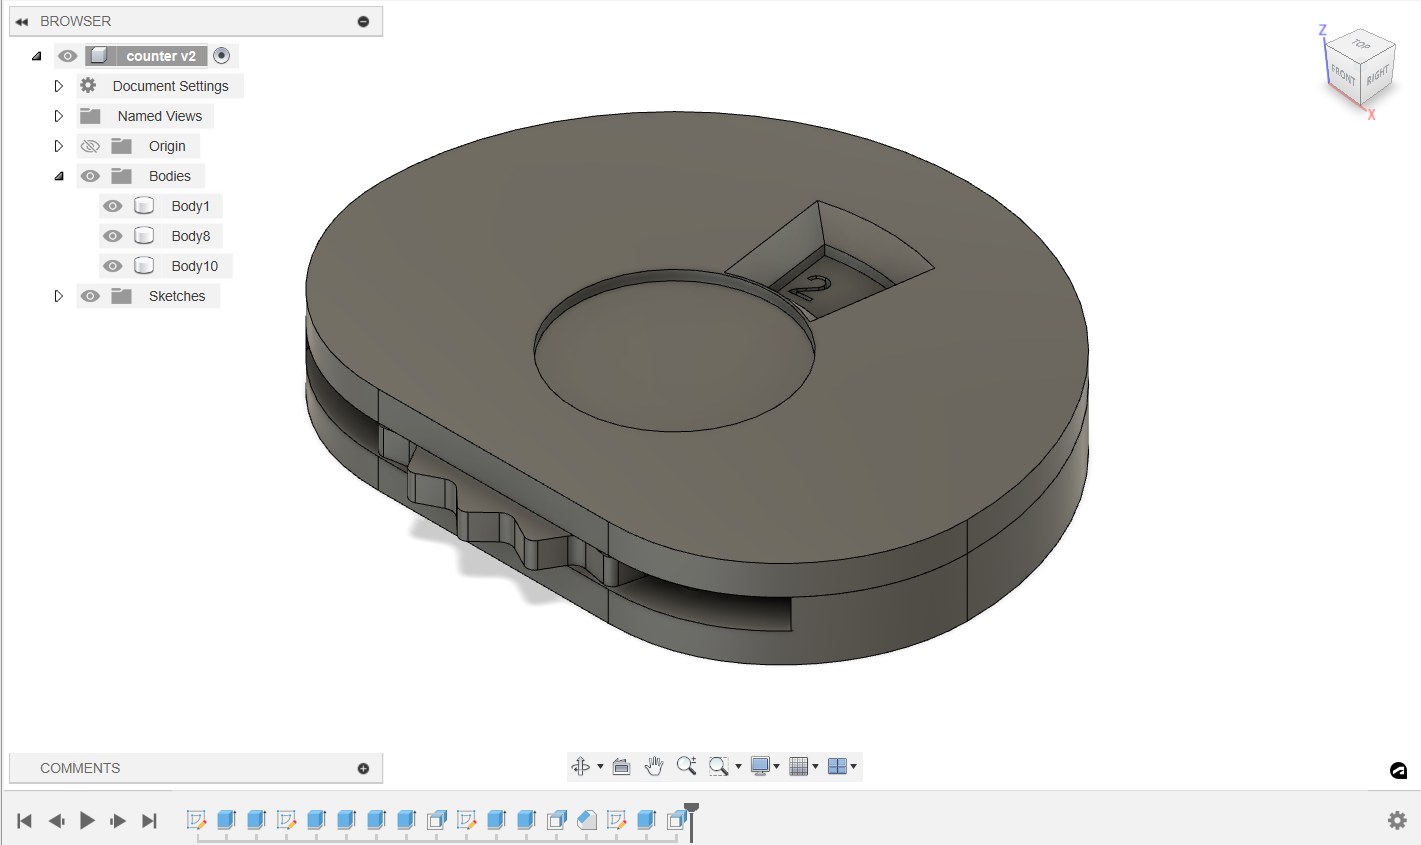
I decided to use PVA for the support printing, imagining using water to remove them from the inside easily. For picturing the mechanic, I also decide to remove the upper part for the first print. Sadly, the PVA didn’t spread well and made the bottom part of the wheel quite ugly but the printing was able to continue until the end.
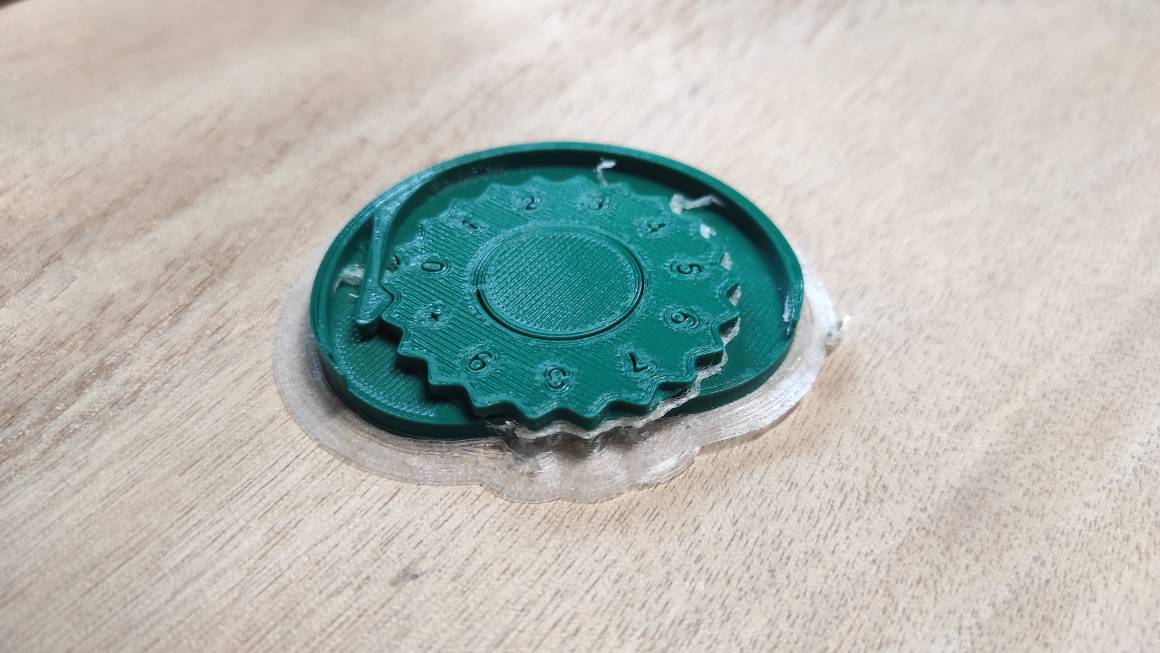
Using water, I tried to remove the support under the wheel and the spring but it didn’t work very well. Also, I had connexions between the wheel and the central axis I had to remove with a cutter knife.
I separated the two parts and washed the PVA but it took lots of time. I also let it soak several hours and had to scratch wash again as it gets slimy. I think it confirmed the PVA is not usable anymore.
The system is functionning but an all-in printing doesn’t seem to be doable as the PVA didn’t dissolve very well.
If I had time, I would have change the design to place the spring in the axis to reduce the overall size and to make the wheel edge smoother.
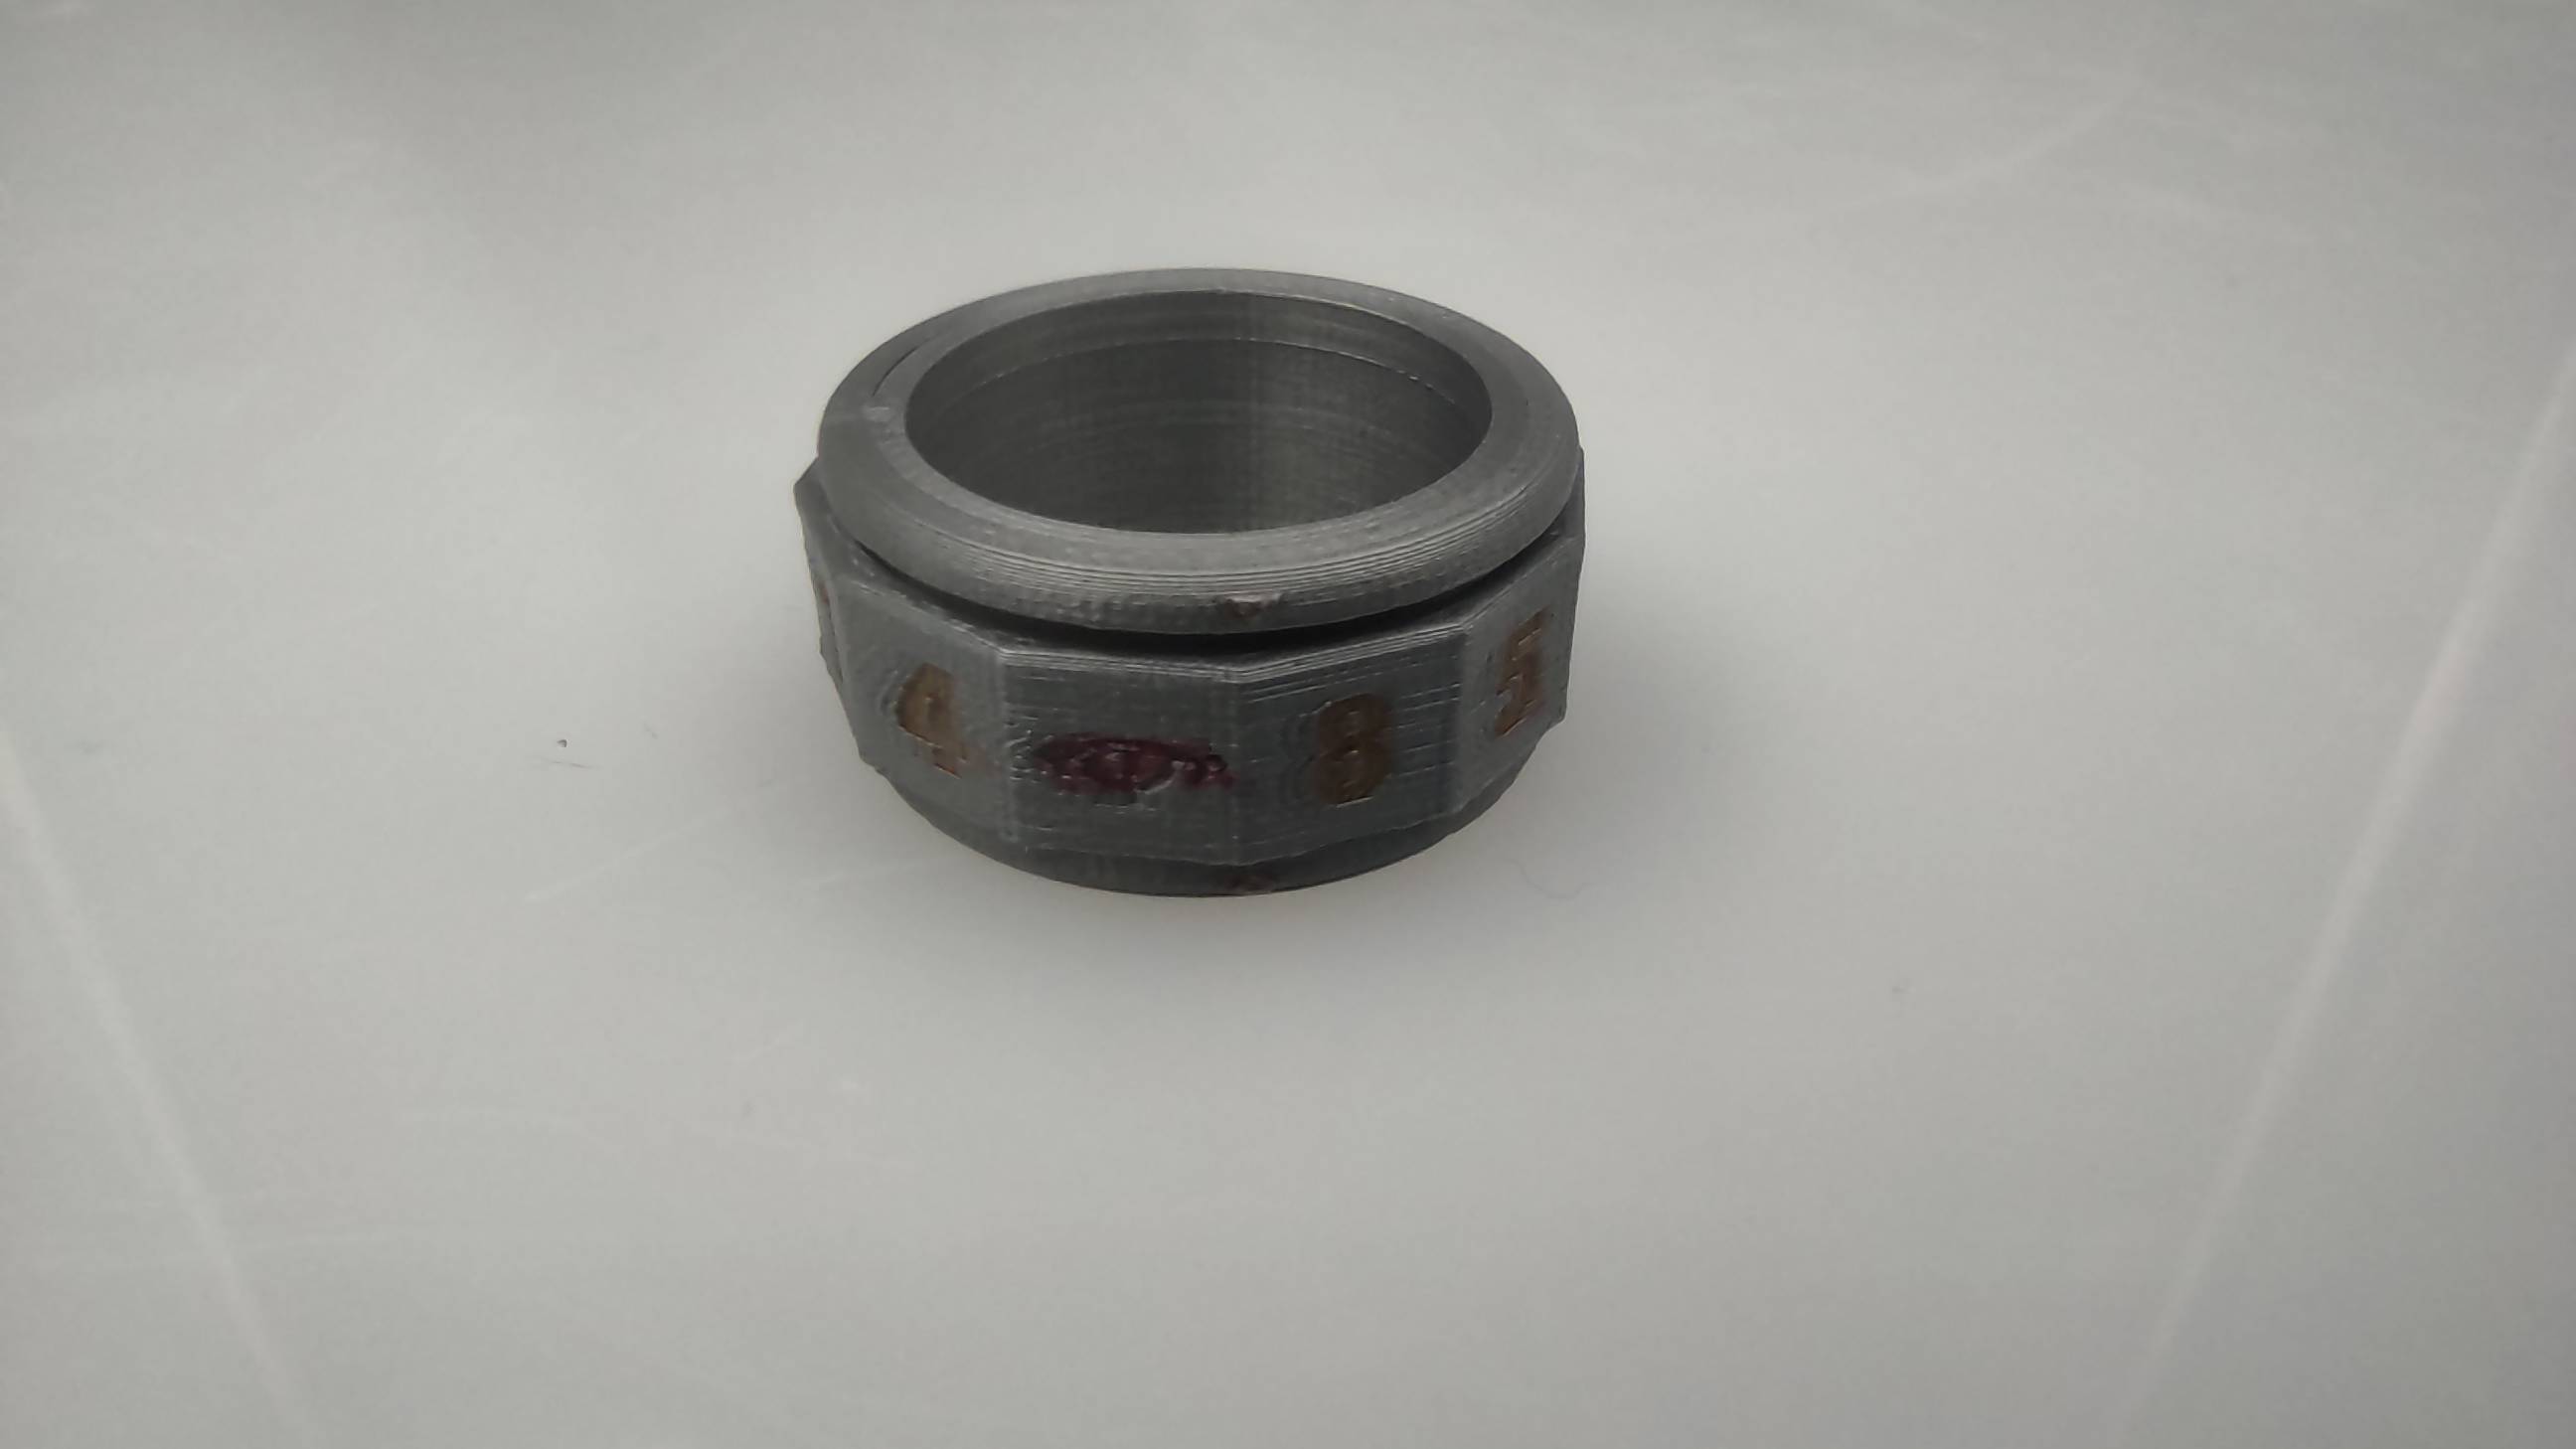
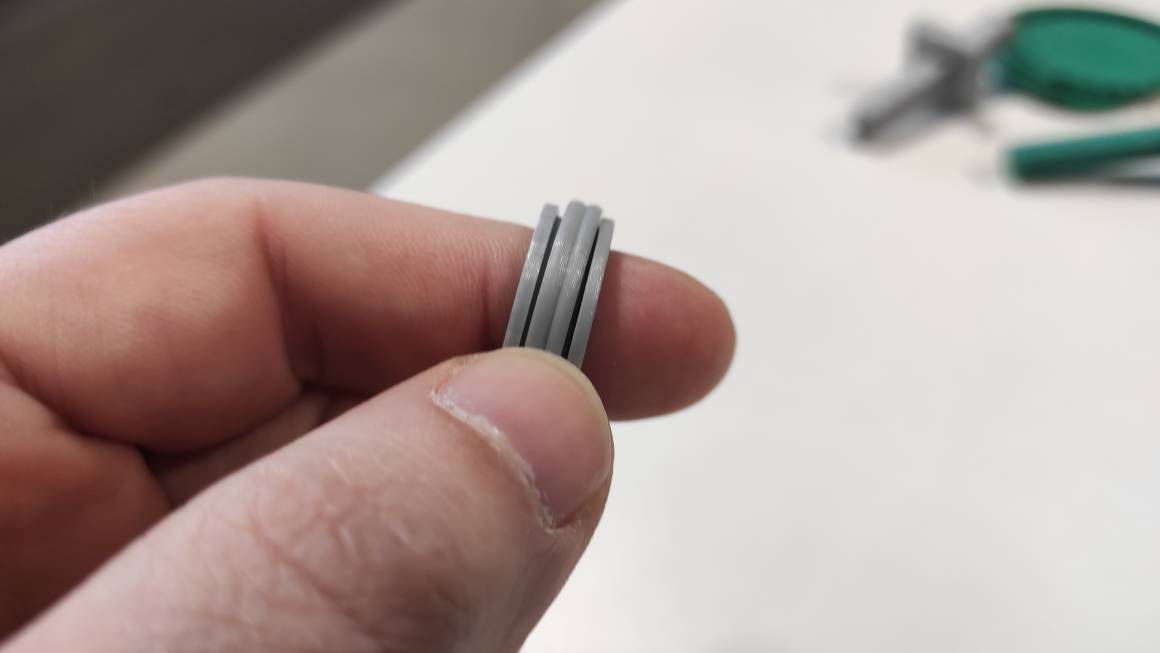
Dice-ring
To complete the assignement, I decided to make dice ring inpired by Critsuccess. I often use a ring fidget I printed, but it’s a 3 parts print.

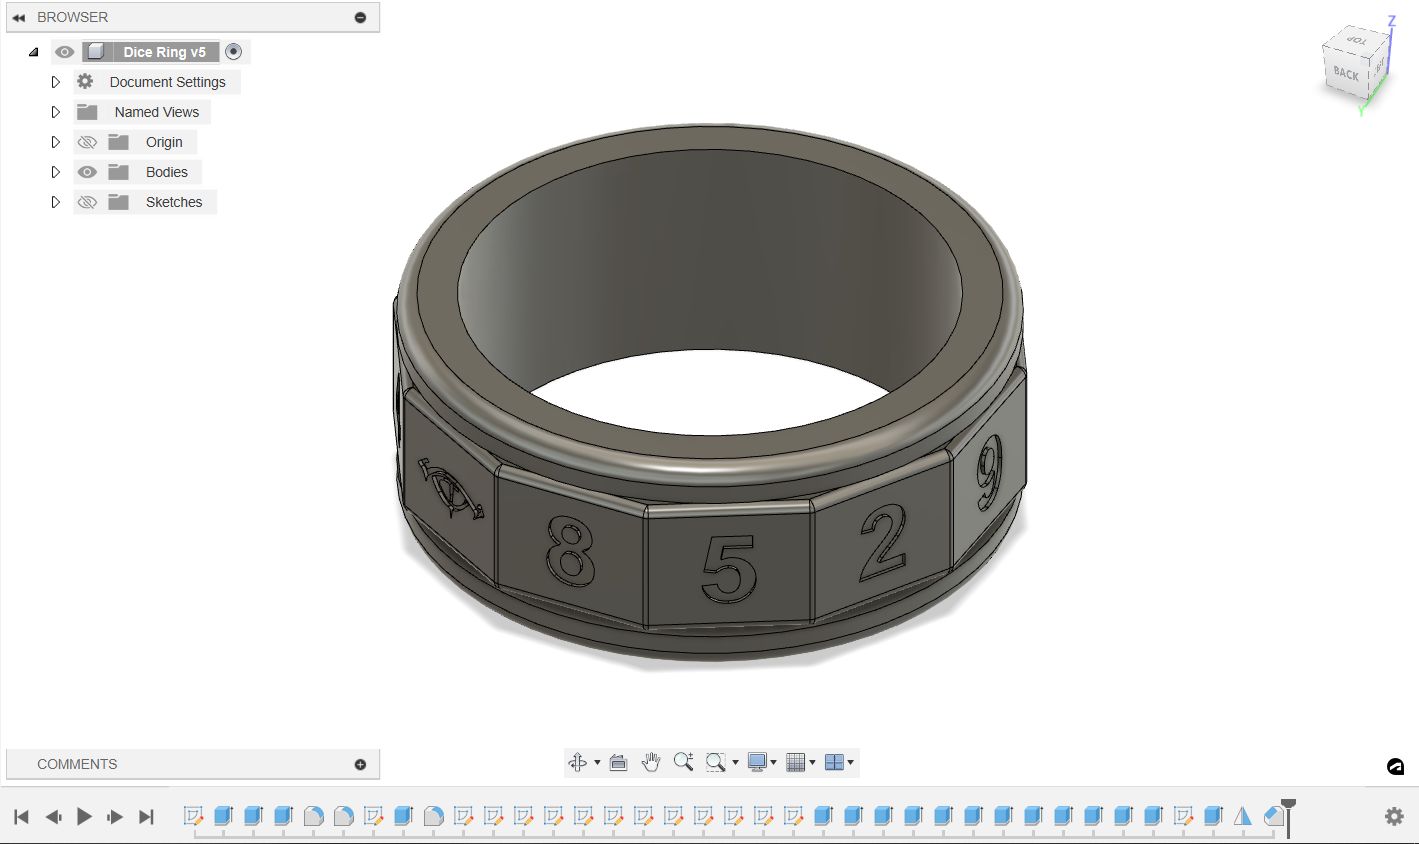
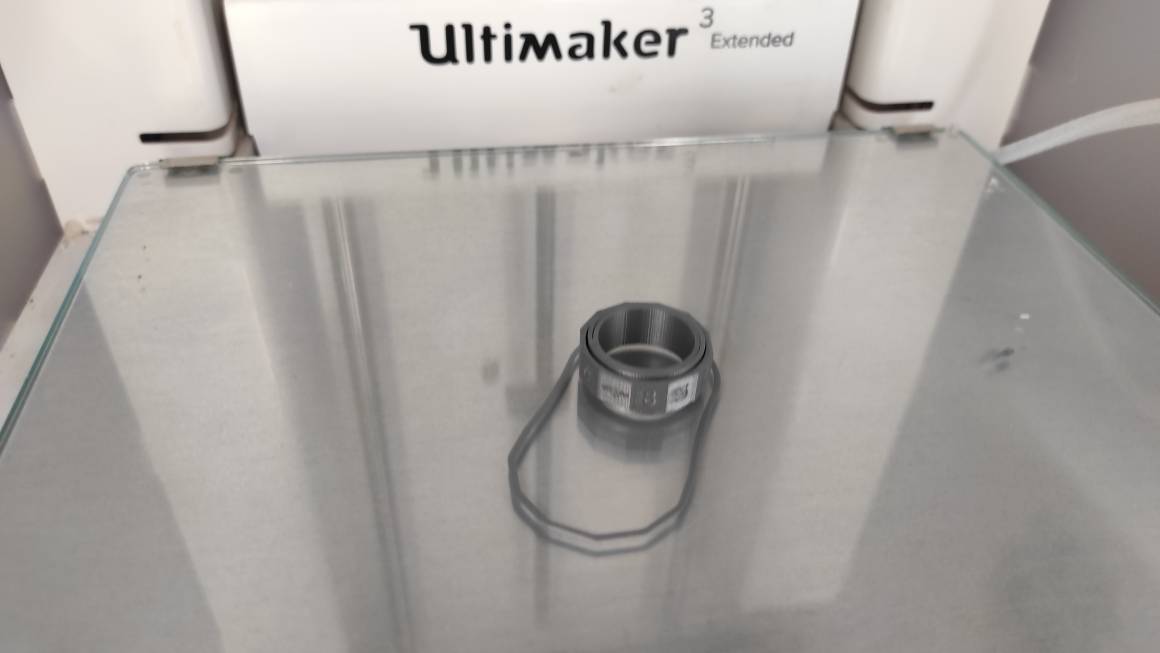
 As a player of the One Ring, a “Lord of the Rings” related TTRPG, I decided to make a dice ring to replace 12 sided dice used in the game. I designed it in Fusion 360 using parameters to adapt it to the finger size. I place the number quite randomly.
The number 11 and 12, are replaced by the Eye of Sauron and the Gandalf Rune. I imported them in Fusion after vectorizing them from a PNG.
As a player of the One Ring, a “Lord of the Rings” related TTRPG, I decided to make a dice ring to replace 12 sided dice used in the game. I designed it in Fusion 360 using parameters to adapt it to the finger size. I place the number quite randomly.
The number 11 and 12, are replaced by the Eye of Sauron and the Gandalf Rune. I imported them in Fusion after vectorizing them from a PNG.
I added an offset of 0.3mm to avoid connexions others than supports during the printing to allowed the ring rotation. This offset was determined by my tolerance test on the machine. I didn’t use PVA as my experience with it wasn’t very good.
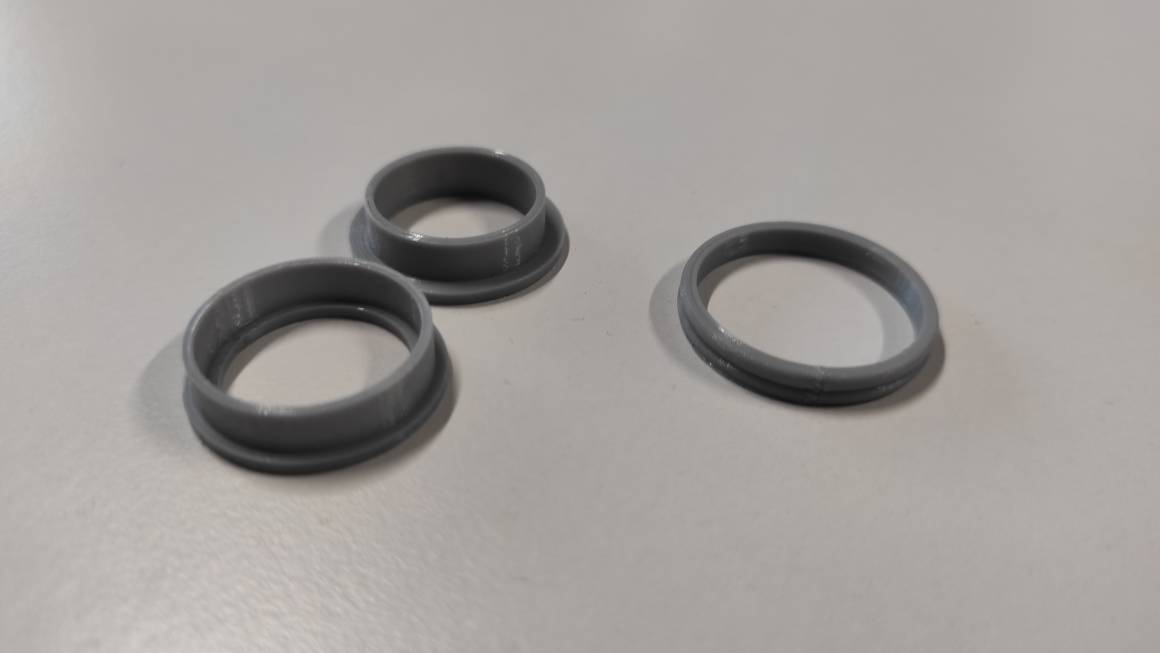
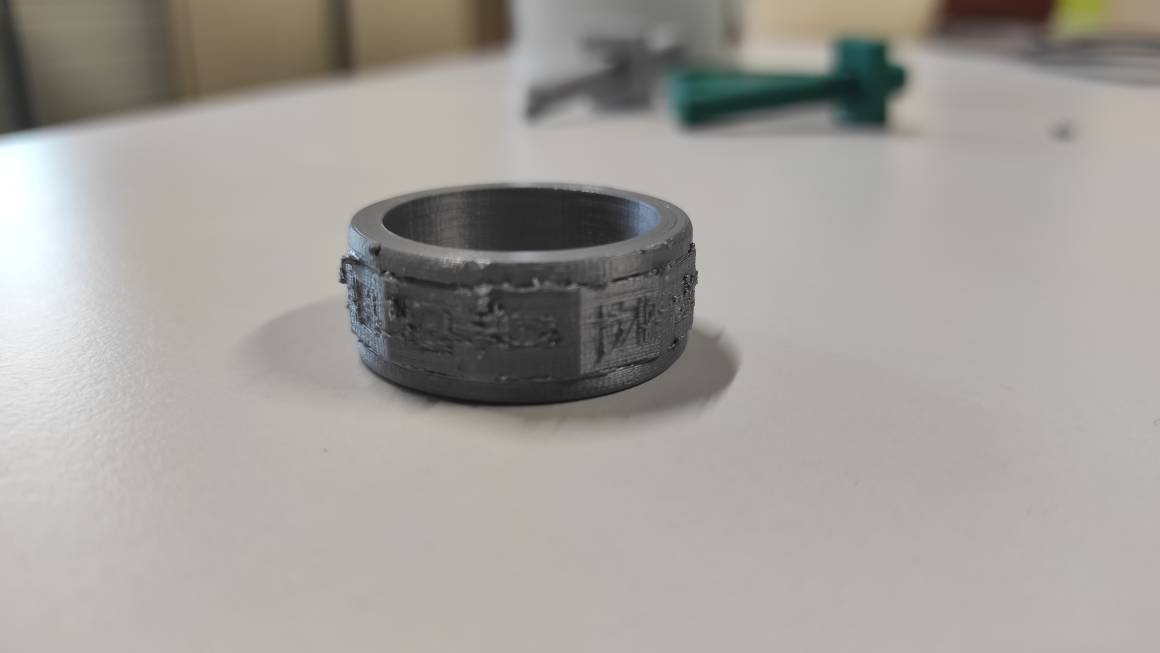
The first one used regular support and I printed at 0.15mm layer height. The results was visually satisfactory but I took time to make it move. I had difficulties to remove all the supporte with a knife cutter. I spend lot of time squeezing it to broke, i think, connexions in the inner part. It move at last but there’s a lot of friction.
I tried a second one using tree supports and 0.1 mm layers but the results was not good. The visual aspect is ugly and the ring don’t move, I should have take time to post-process it with sand paper cutter knife but I prefered trying another way of doing it.

For the third try, I decided the pause at height extension in the cura slicer. For this, I separated the two part of my design in to STL files. I also change the diameters of the ring to better fit my fingers. I imported the two STL in Cura, removed all supports and slice them. Trough the preview, I identified a layer where I can insert the moving part around the base part. I choose the layer 98, just before the base enlarge to avoid this part to stick on the other.

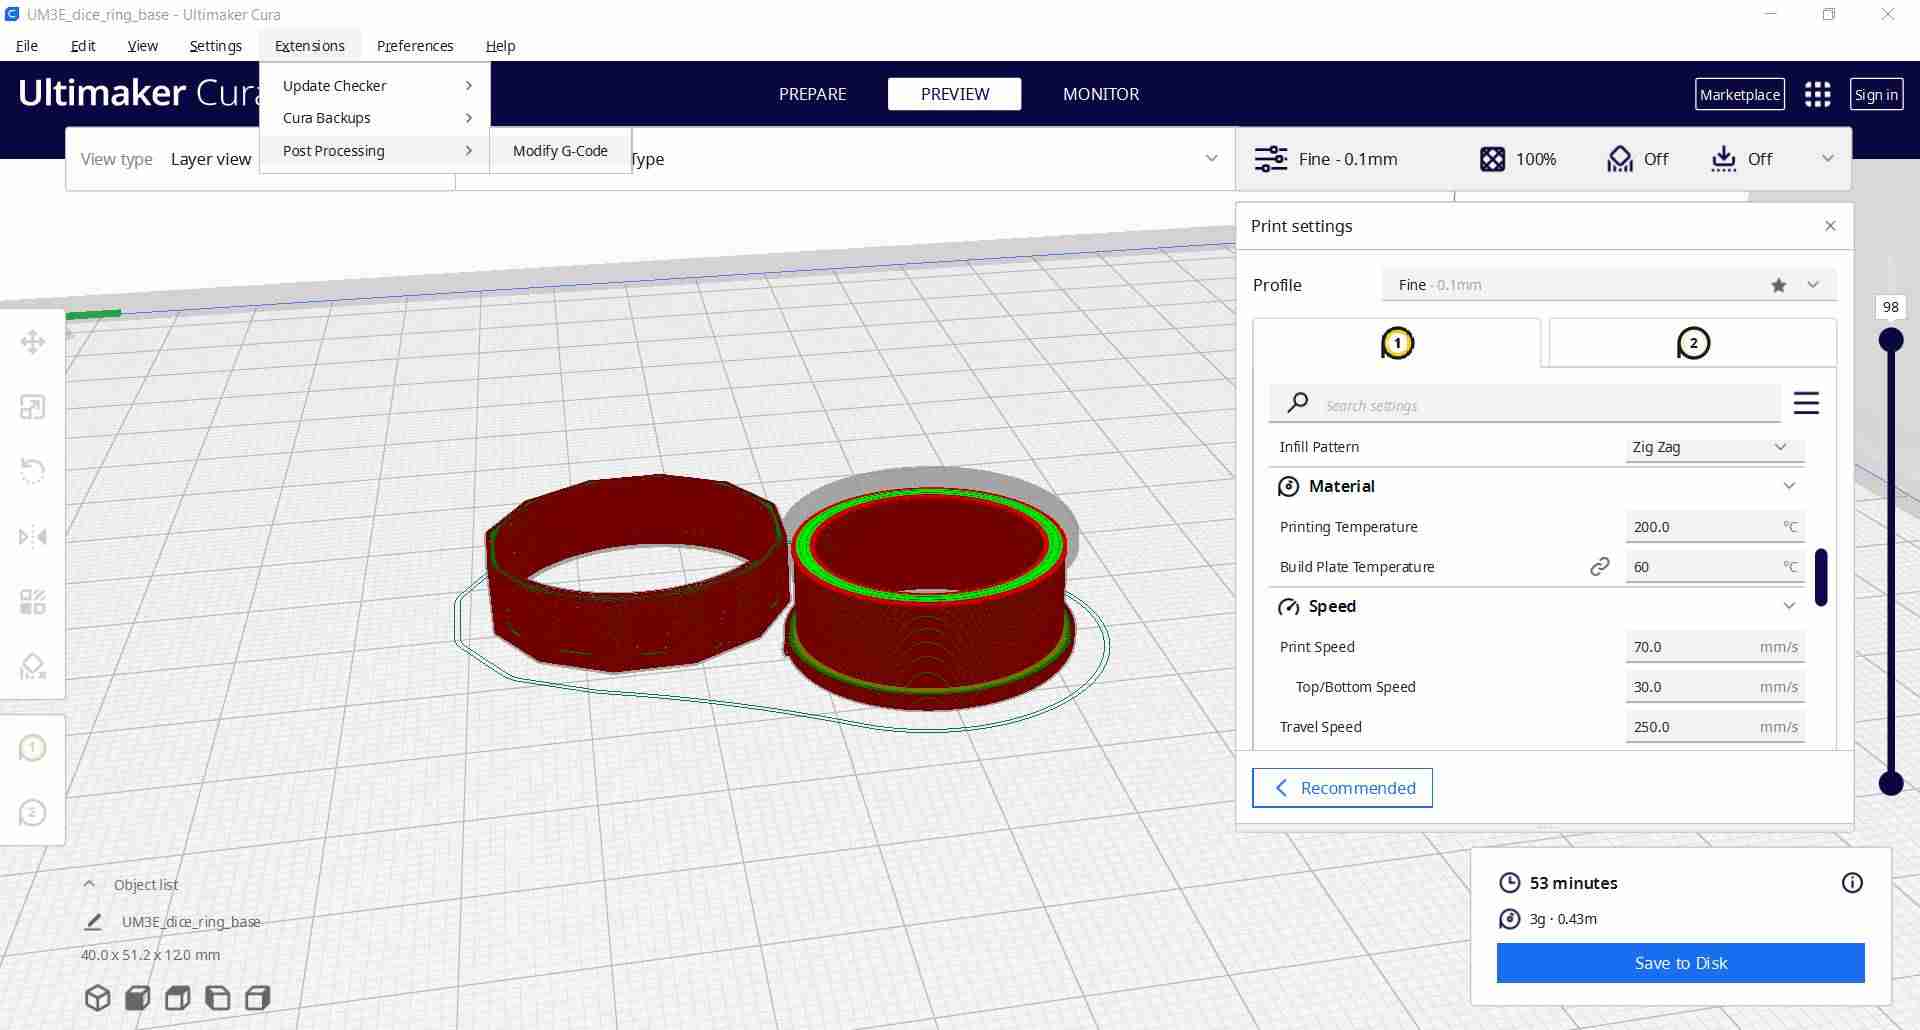
To add a pause in the print, open Extensions > Post Processing > Modify Gcode

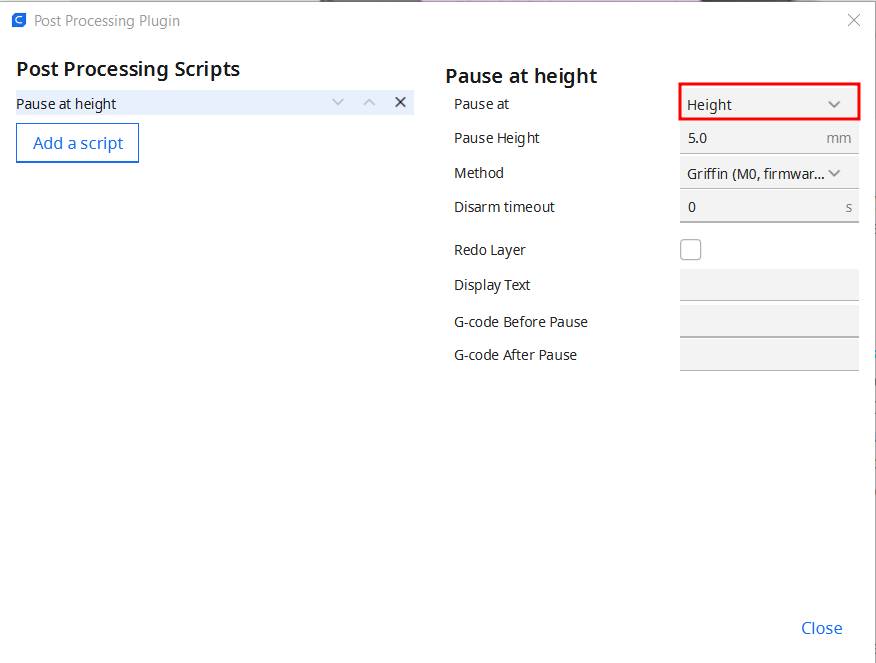
In the new windows, click on “Add a script” then select “Pause at height”


Change the “Pause at : Height” setting for “Pause at : Layer Number” and enter the right layer (98 for my model)

The script will be added to the Slice/Save button
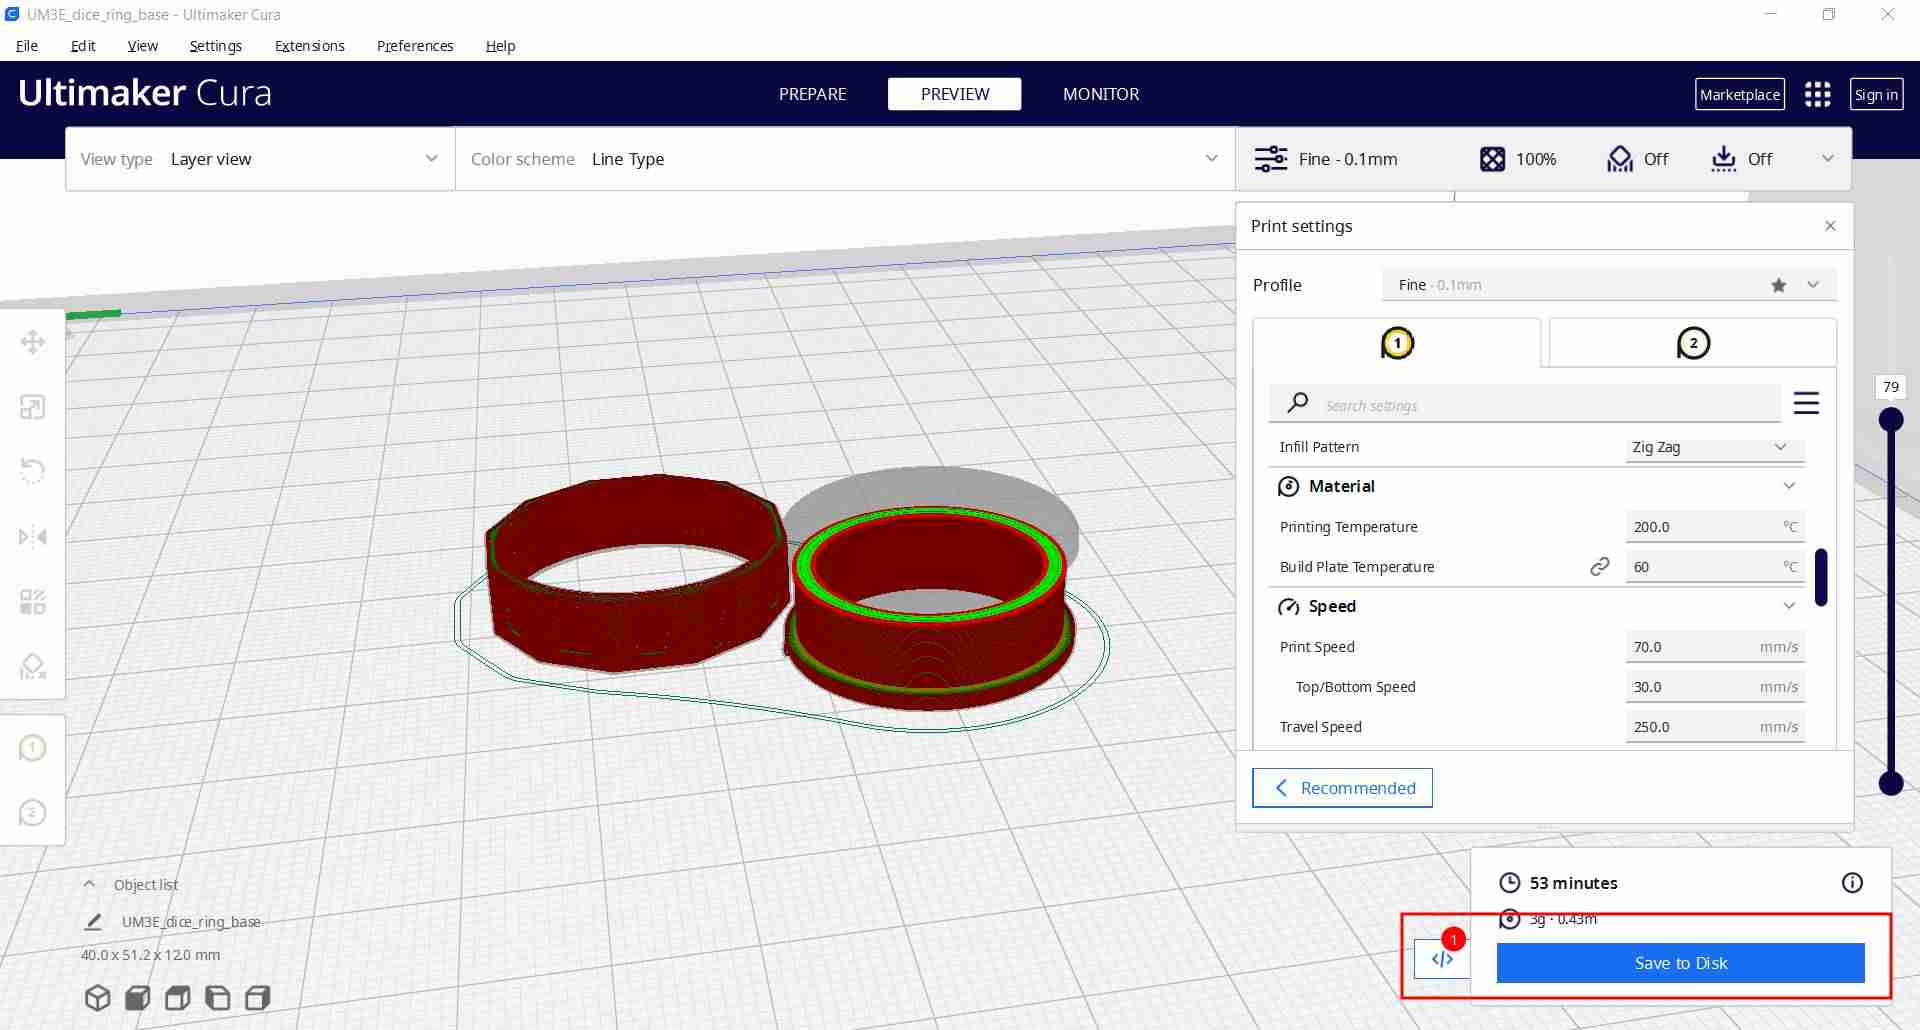
You can now start printing and it will automatically stop at the defined layer and wait input to start again. I used this pause to place the rotating part (that is finished printing) around the base part taking care to not detache it.
After replacing the ring, you can resume printing.

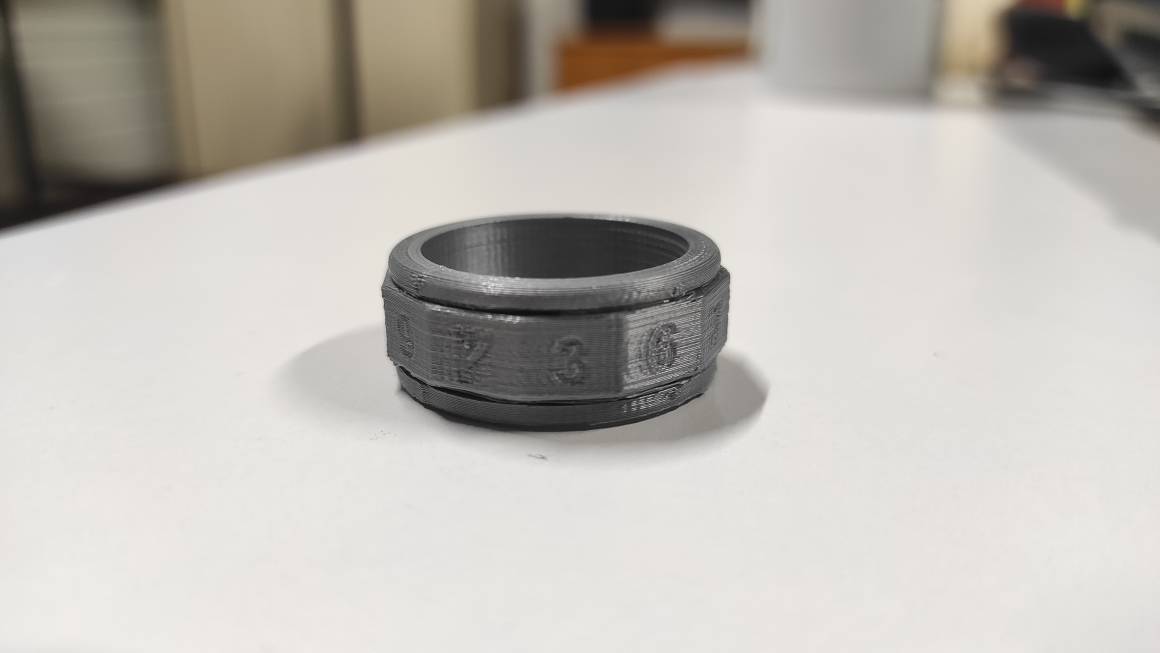
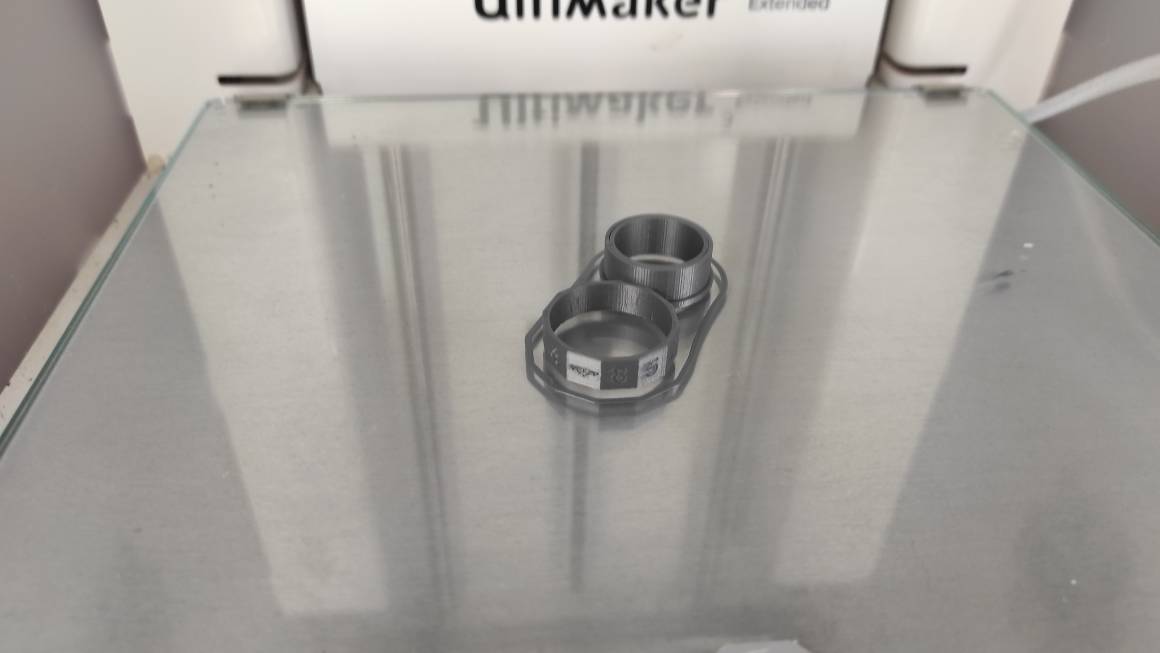
The final is result is way more satisfactory. The friction between the 2 parts is nothing comparable to the other. There is bit of post-processing as the first enlarge layer has a litlle tendency to fall without support. Maybe modifying a bit the model with chamfer could help to avoid that. For lesser friction, I could also use sandpaper before replacing the ring.
For more lisibility, I added some colors to the lettering using alcohol based marker.
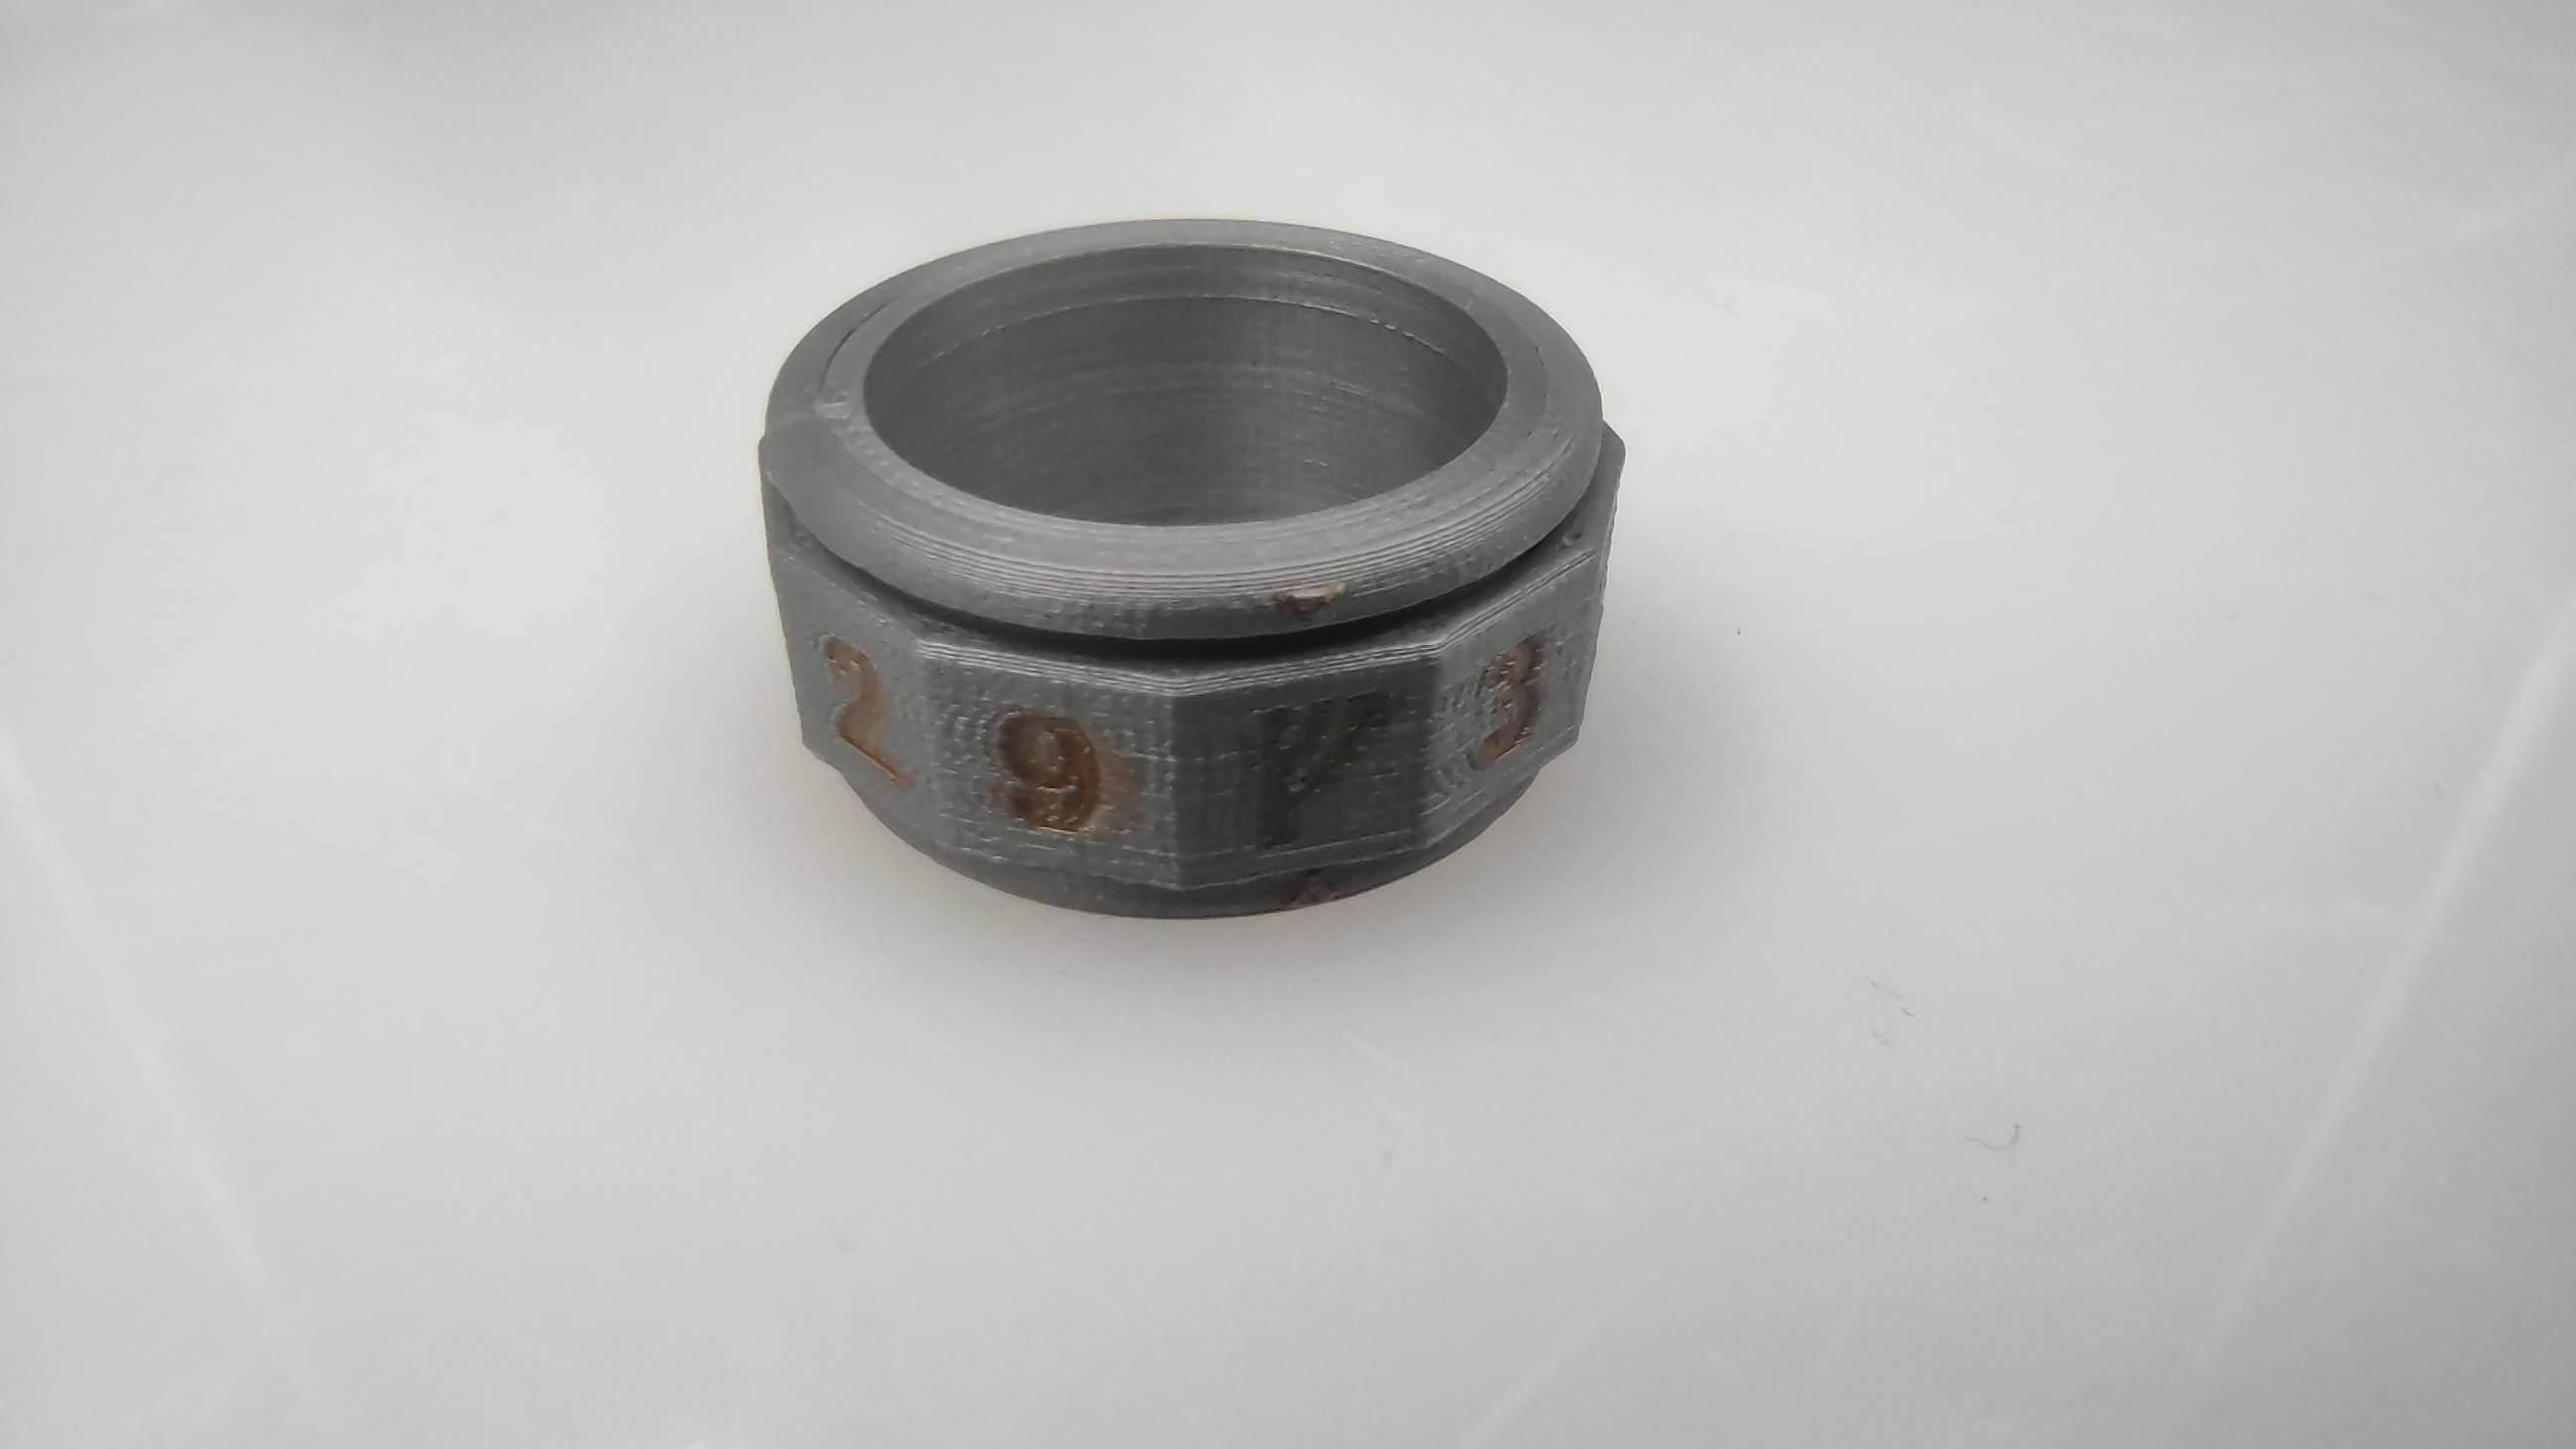
Here is a comparison video of the 3 rings :
Scanning
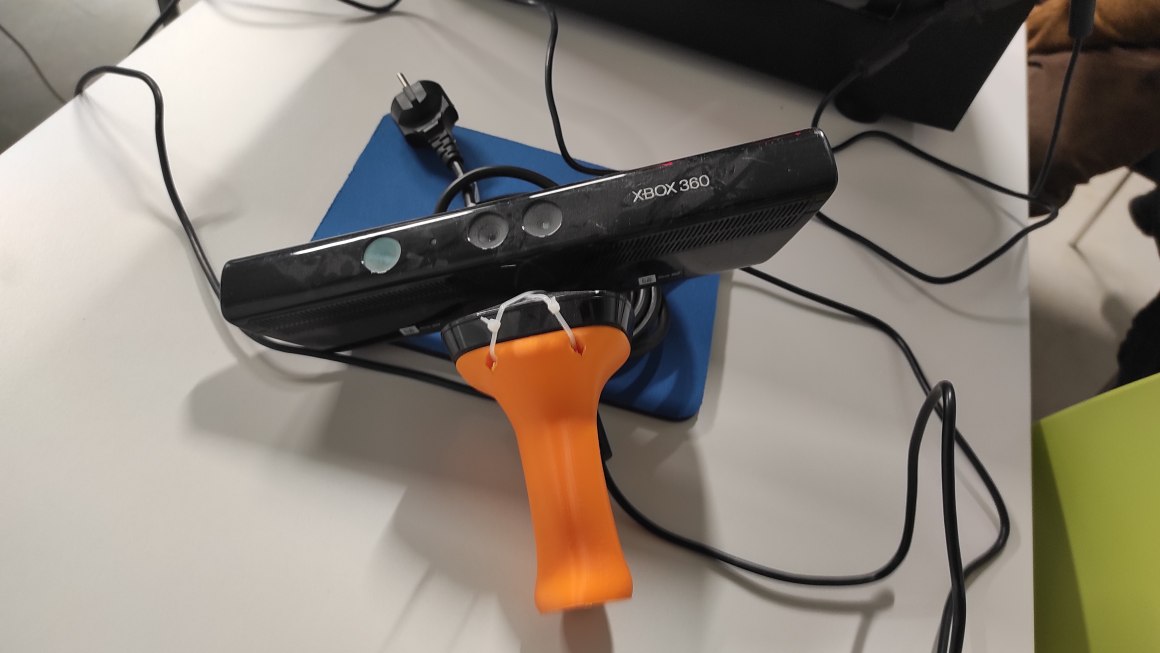
After a Workshop about 3D Scanning by Nicolas, an Agrilab Fabmanager, I decided to scan my co-student Jean-Côme. Agrilab possesses 2 scanners : an Einscan-Pro Shining 3D and a Xbox 360 Kinect
The Einscan pro use structured light to detect shape of scanned object. It can be used fixed with a turntable or handheld. During the workshop, the results with the turntable was quite right on mat object but not with shiny one, even with talcum powder. Handheld usage really struggle to keep track of the object and we couldn’t manage to scan anything.

That’s why for my scanning, I prefered using a Kinect with the Skanect software
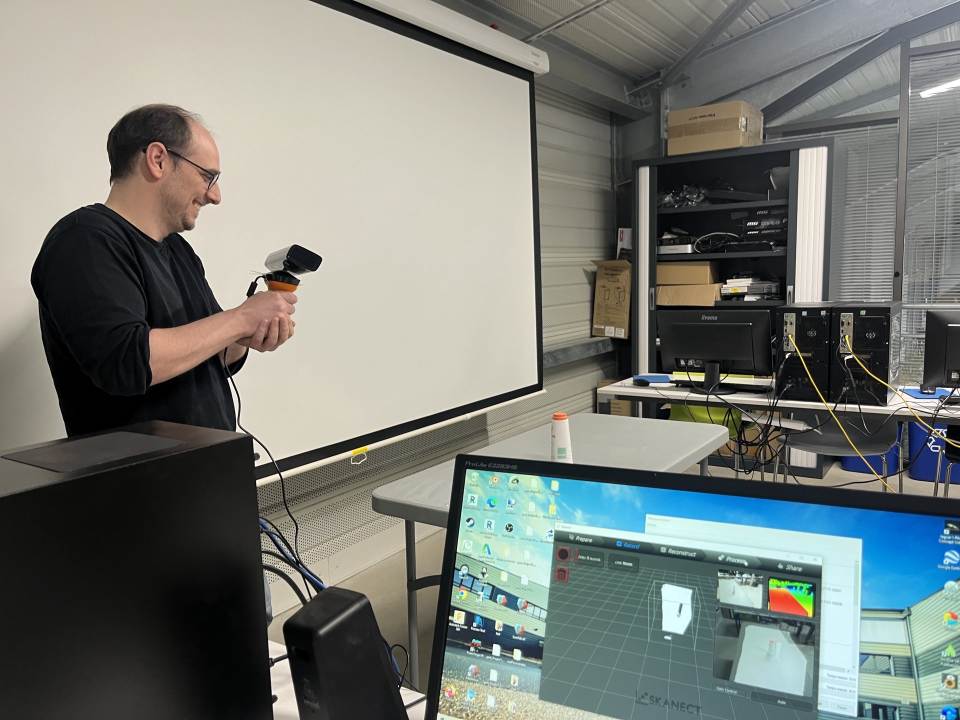
Before opening the software you need to connect the kinect to the computer.
Create a new project, choose the type of scanning (body for this scan), and the size. Then y ou can click “Start”

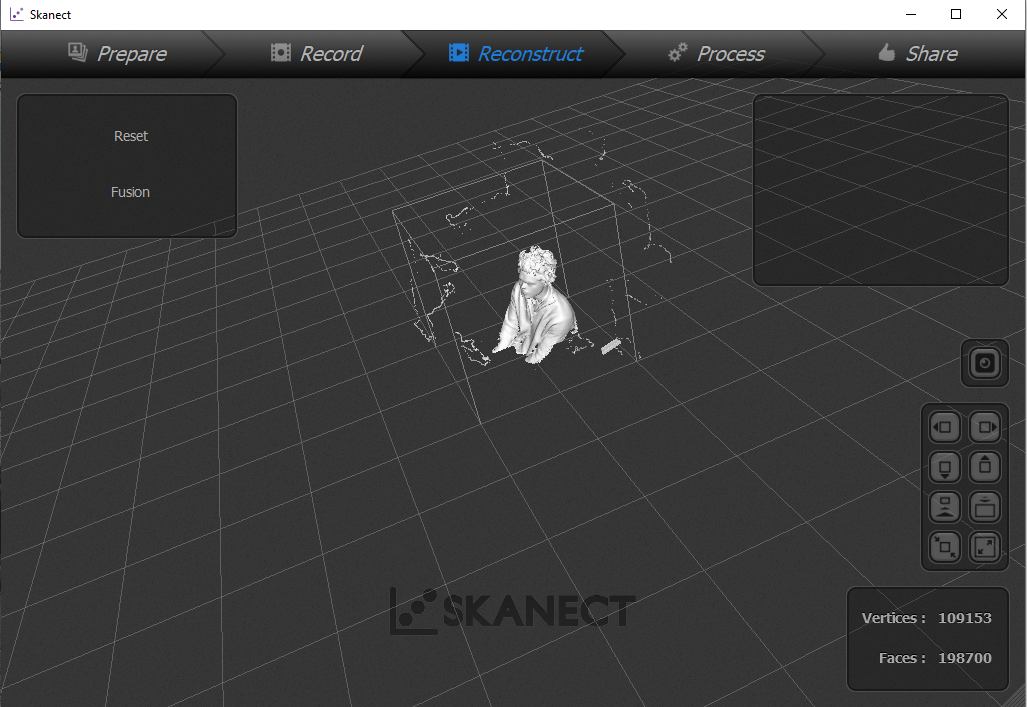
In the record, the 3 camera and the results are displayed as the scanning is running. You need to point the cameras towards the subjects at about 0.5 - 1 meter.


The reconstruct tab show the result and permit to reset or merge scans. I didn’t use it for this scan
In the post process, you can add some modification. I used watertight to make a smooth mesh and fill holes to close the mesh.
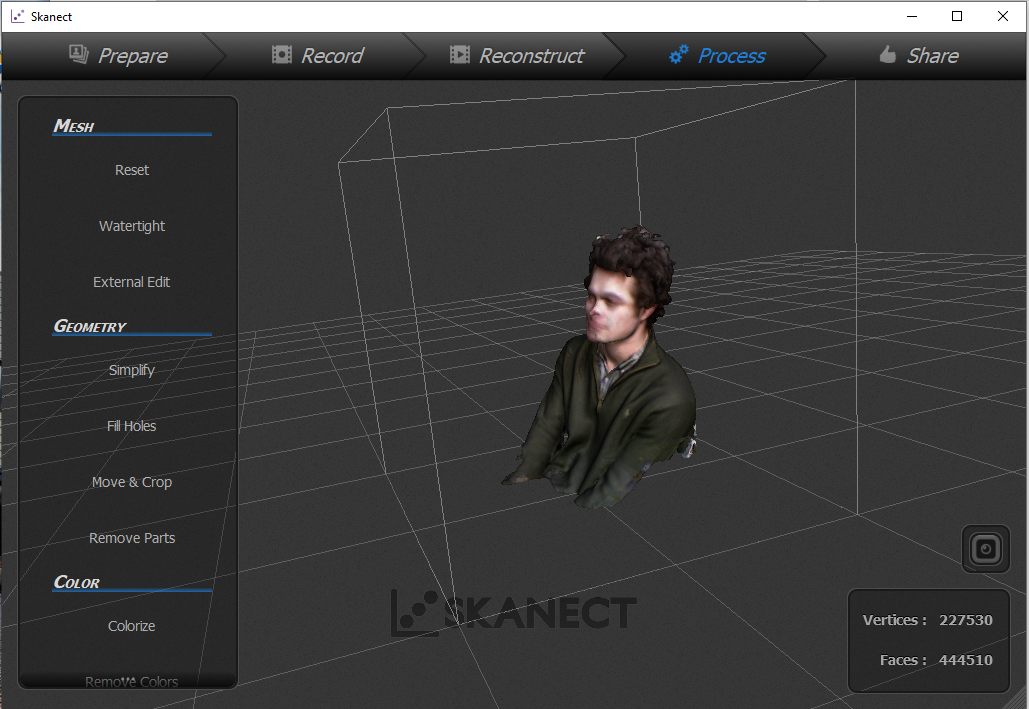
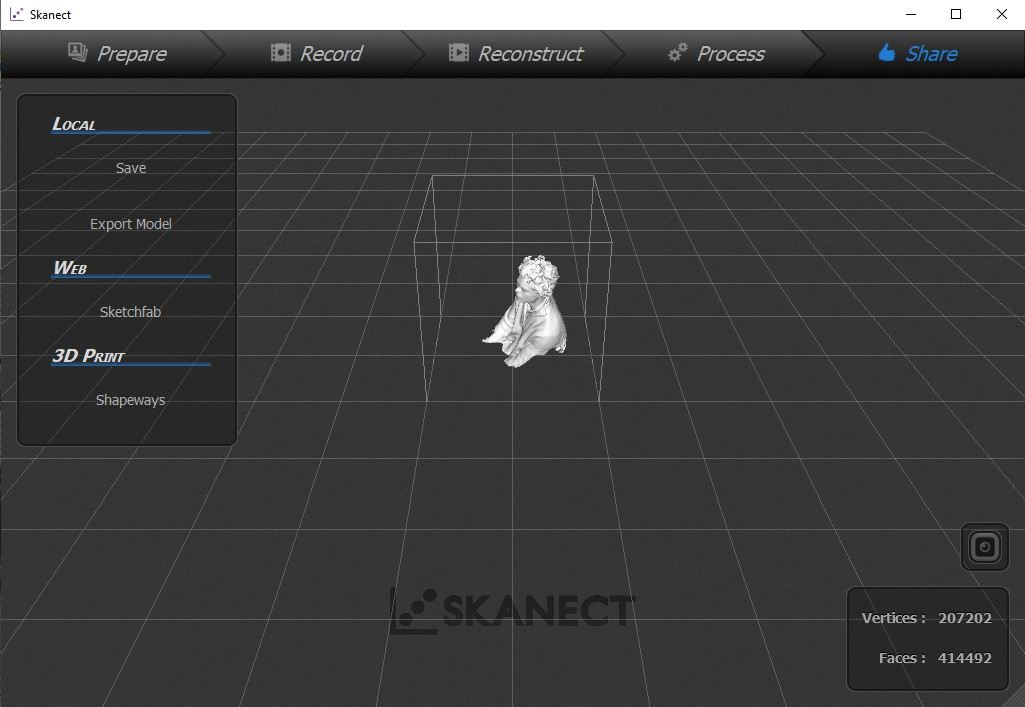
You can also export your file. I chose STL and OBJ for future treatment.
Class Archives
- clearance test design
- tolerance test stl
- vertical clearance test design
- vertical tolerance test STL Male part, Female Part
- counter design
- counter slice
- Dice ring design
- Dice ring STL
- Dice ring base part
- Dice ring D12 part
Impressions of the week
Having already experimenting a bit on my own 3D printer (a Creality Ender 3 v2), I wanted to try different machine. Dual-extruder seems very interesting especially with PVA but my experience with this material has not been very good, probably because of the bad storage of the PVA. The Resin Printing have really nice results but, for the resin I used, very fragile. Later, I should take time to len more about other resins. I learned how to properly use a benchmark and I also learned more about Cura and the possibility it offers, and again, I will later explore thoses possibilities further.