12. Molding and casting
Hero Shot
Assignment :
group assignment:
- review the safety data sheets for each of your molding and casting materials, then make and compare test casts with each of them
- compare printing vs machining molds
individual assignment:
- design a mold around the process you’ll be using, produce it with a smooth surface finish, and use it to cast parts
- extra credit: use more then two mold parts
Group assignment
You can find our group page here and this week group assignement here
Stereolithograpy vs Milling
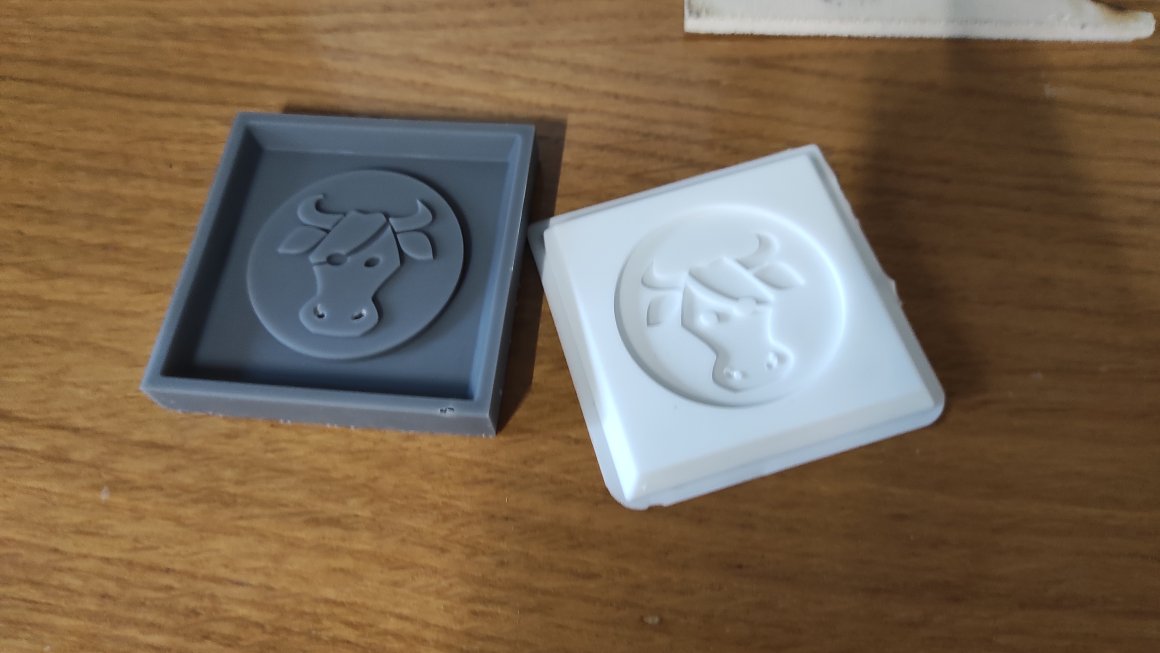
For our group assignment, I decided to model a simple 2.5D coin design with the cow mascot on it. I used the Cow design svg from our instructor fabacademy page.
I could rapidly send the model to the preform software and start printing it with 0.025 mm layer height.

After a night (around 7 hours) of printing, we could start to pour silicon in it. We used food-grade silicon even if we kow we won’t use it for that purpose due to the resin in the process of fabrication. Jean-Come had already tested materials and the vaccum chamber and helped me with it.


The result was quite good but it seemed that air got stuck in the cow nostrils so the silicone didn’t completely go in.
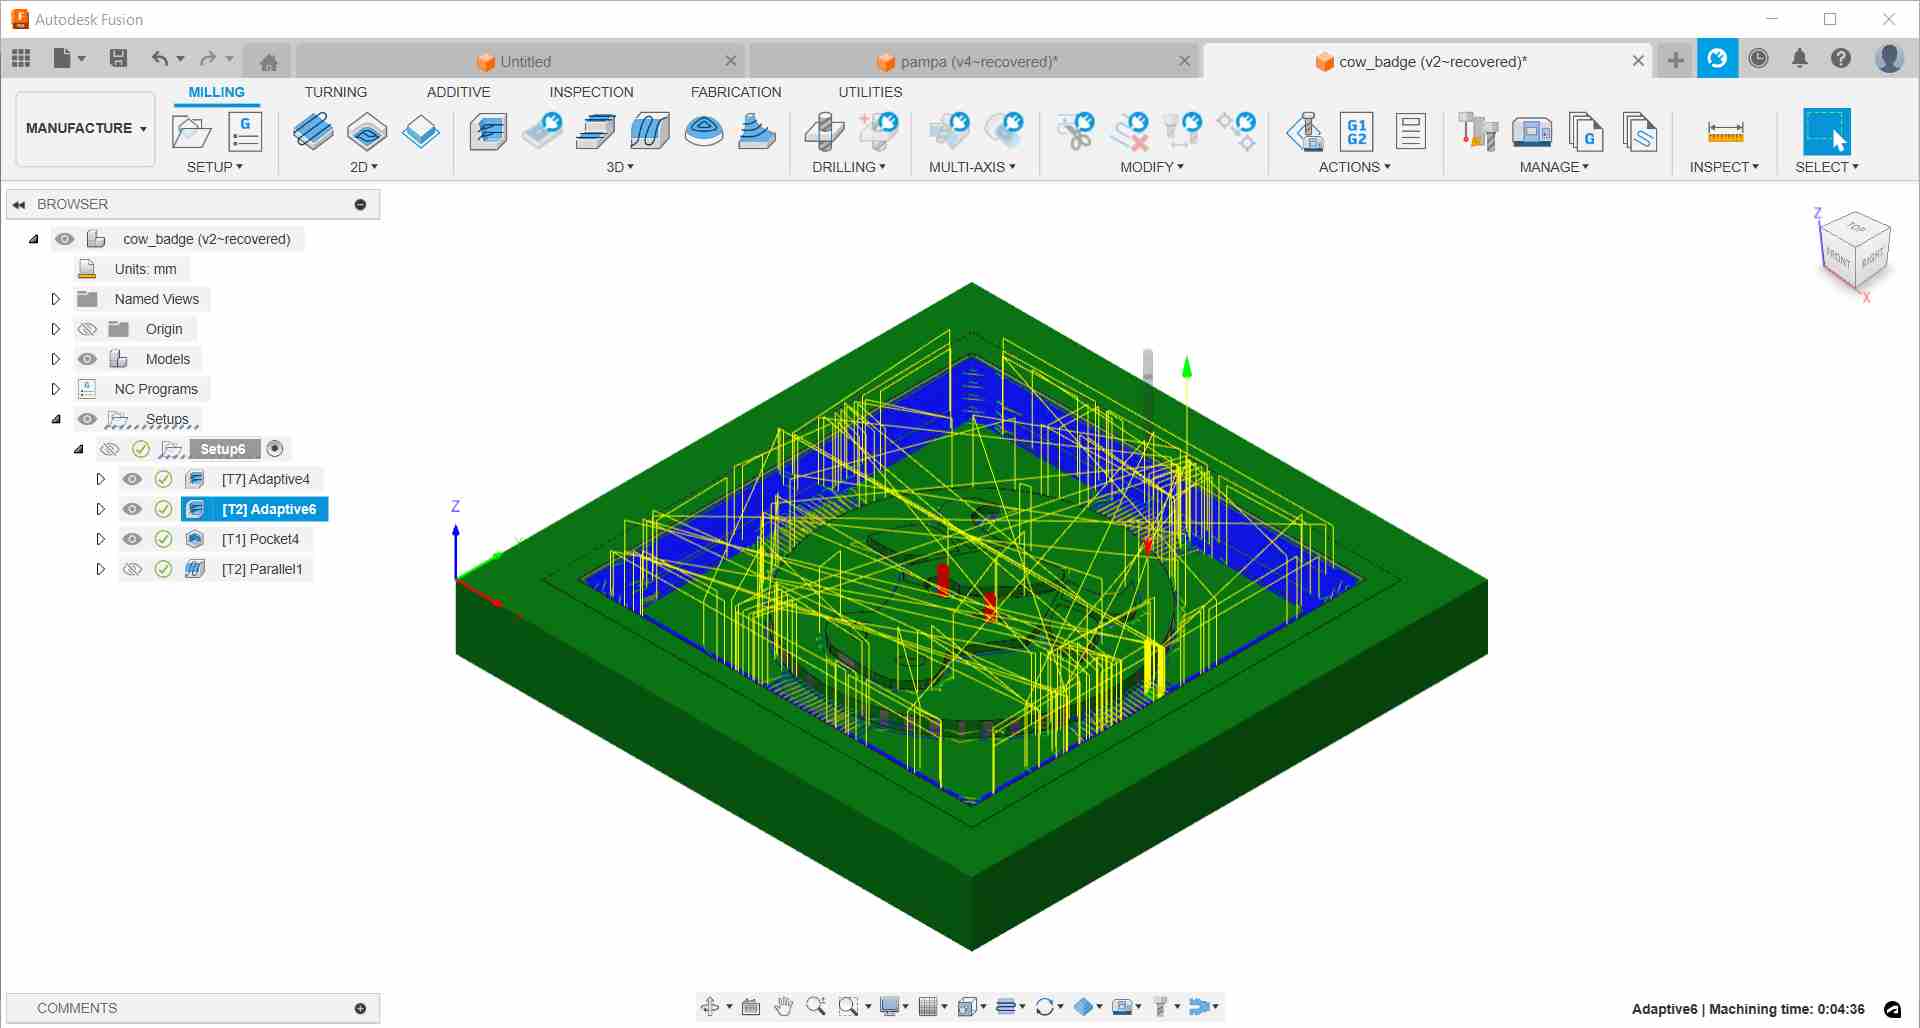
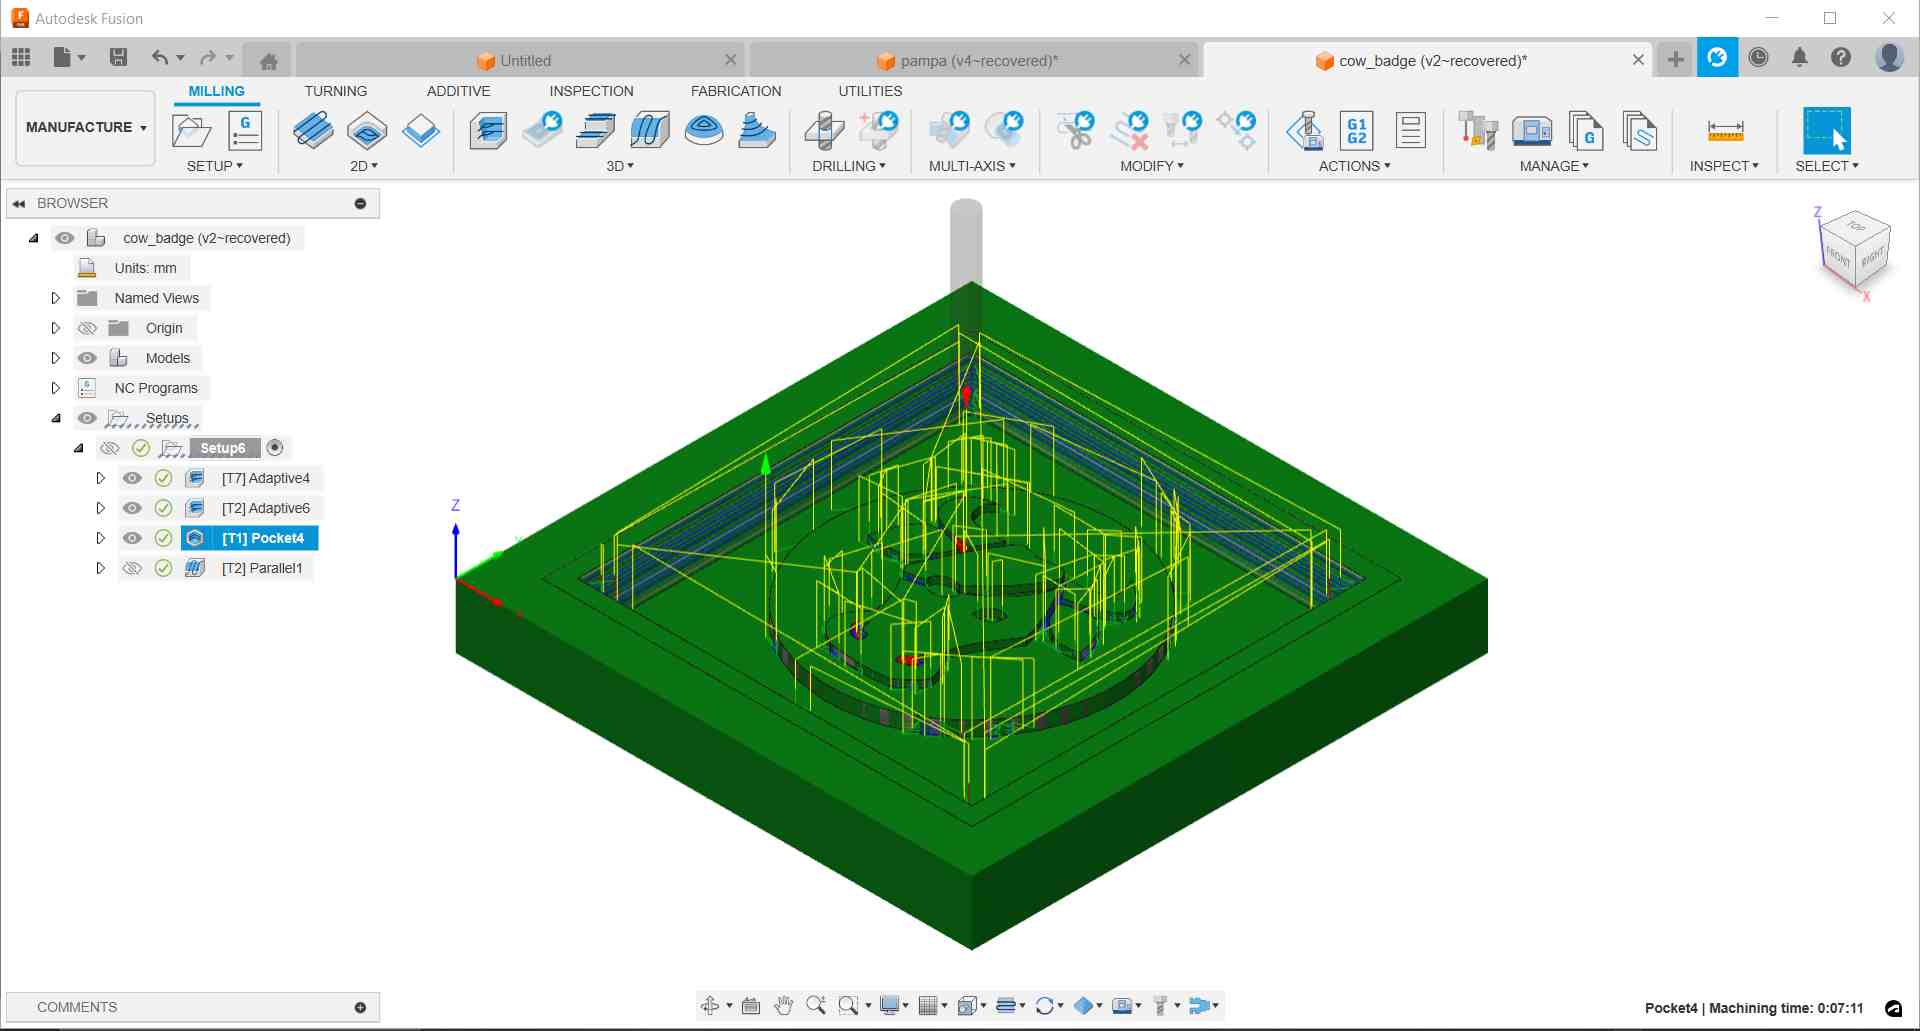
I found that milling the cast was more complicated, as I was not familiar with 3D milling. I spend time to apprehend the fusion processing options.
At first, I expected to have to use a single endmill double-flute ALU 1mm but soon i found that it can’t go in small details like the nostrils and around the ears. I used the bounding box geometry to facilitate the selection of parts to mill. I needed to add a process with an endmill single flute 0.4 mm for small parts machining. I decided after that I should use a bigger mill to remove stock faster, so i added a first process wwith the 6mm flatmill.
I ended up with to Adaptative Clearing (6 and 1 mm) and a Pocket Clearing (0.4mm).

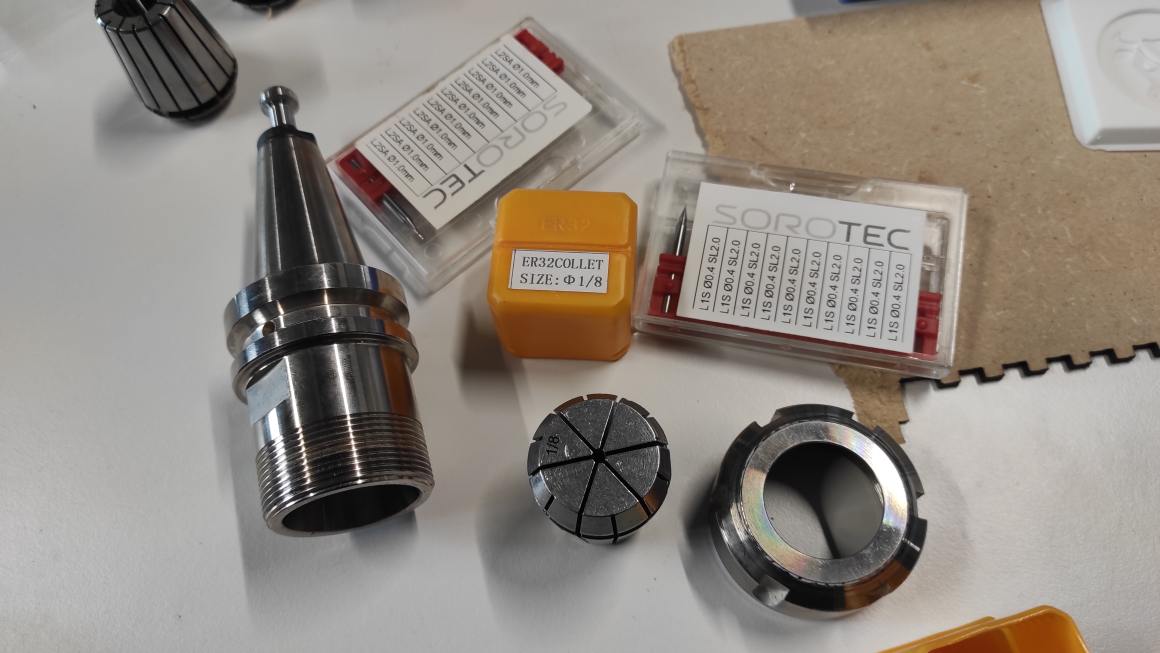
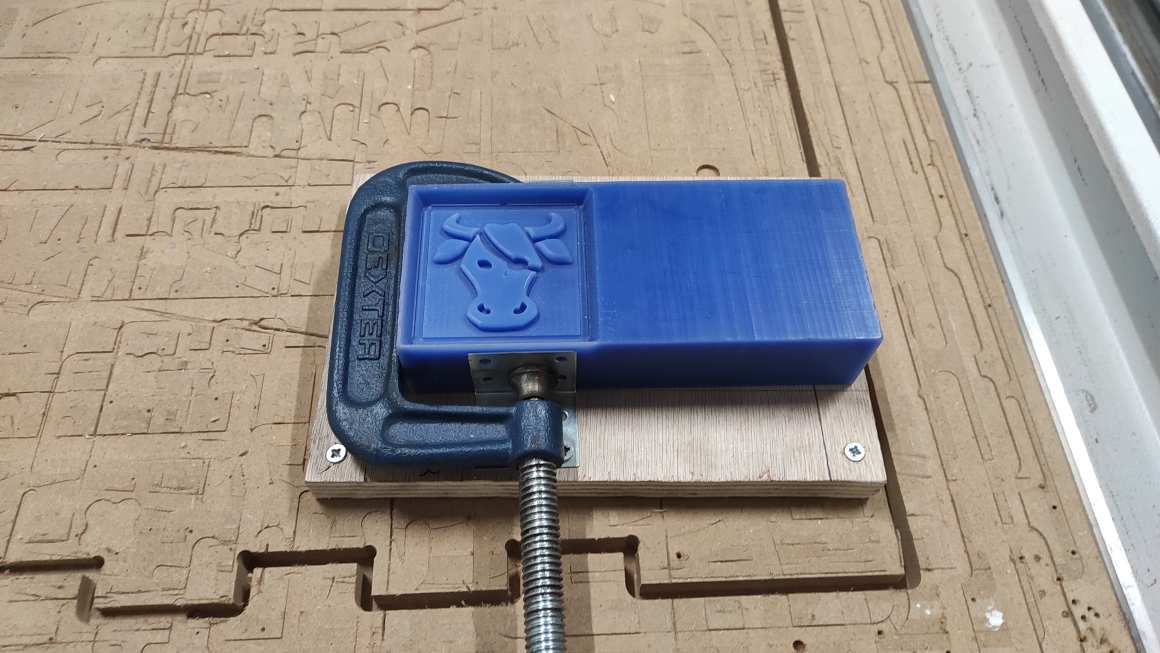
I had to change the collet for the 0.4 and the 1 mm milling cutter and I used previous year adaptation to fix the stock.
I broke two milling cutter 0.4 mm before finding the good cutting parameters (0.02 mm feed per tooth, and 150 mm/min plunge and ramp feed rate) and the results was not very smooth.


I thought the smoothing options under the passes tab was for a smooth finition but it was not. so before removing the stock, I generated a new process with the parallel finition and added perpendicular passes for more finitions.
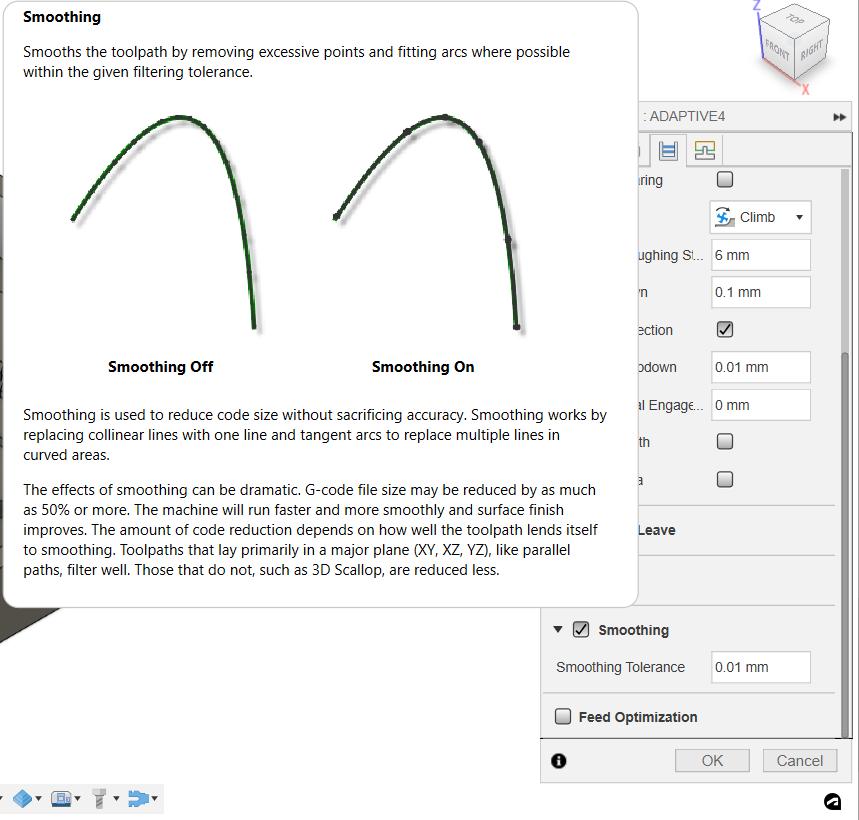
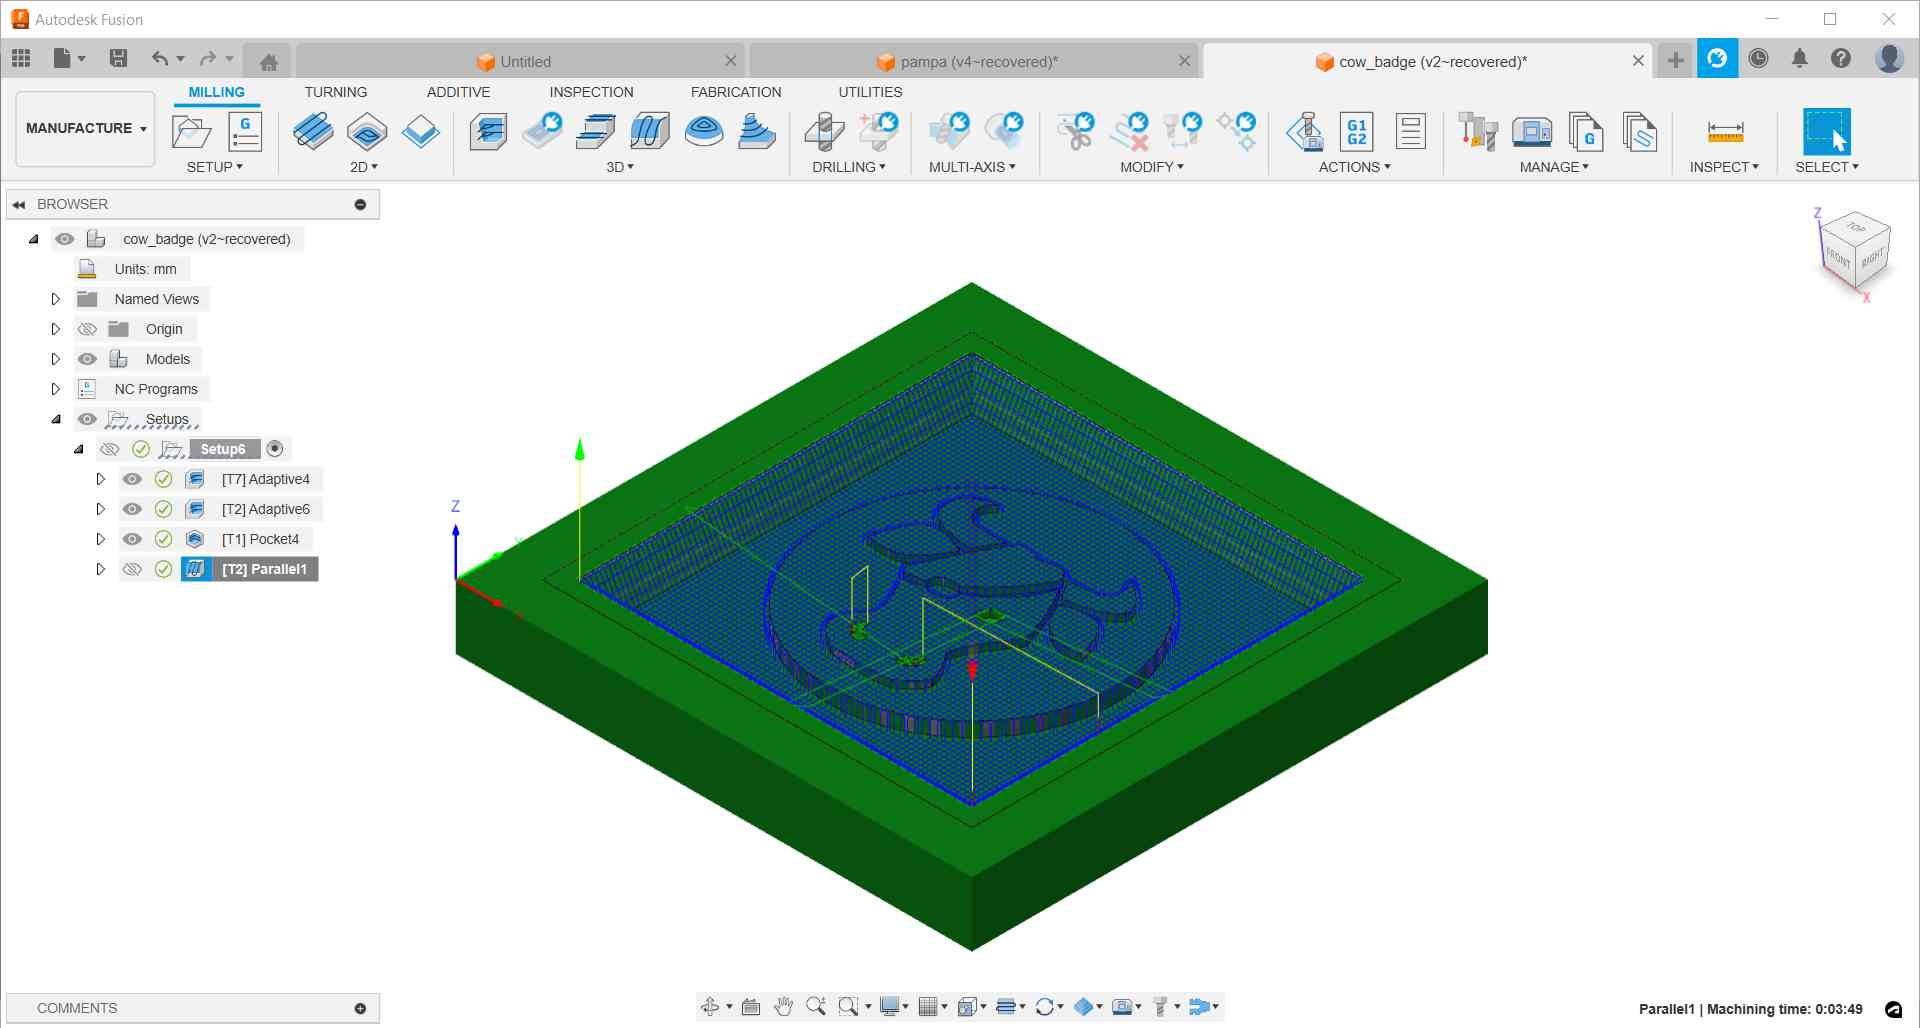
The results was far better but not completely satisfactory. Rather than adding vertical passe, I should have reduced the stepover here defined at 0.65 mm.

I could’nt make much better from this milling because I didn’t defined stock to leave in the previous process. Every new processes should remove more materials.
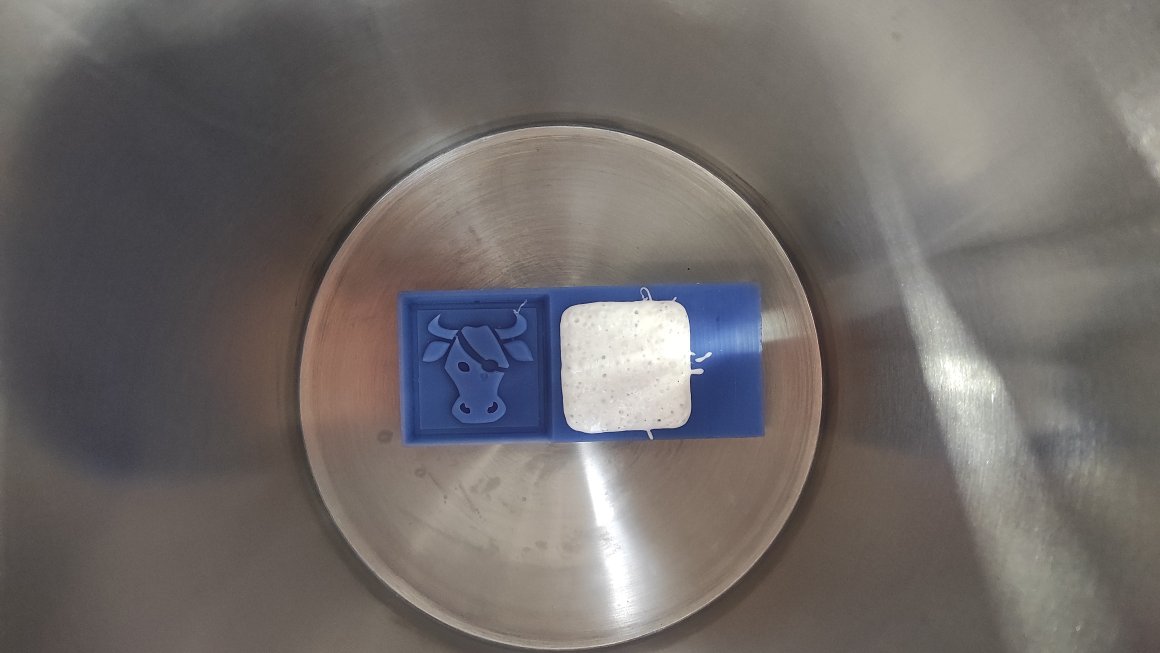
I used the same process with the food-grade silicon and the vaccum chamber and the result was good without any bubble. But we can see the traces from the bad milling configuration.

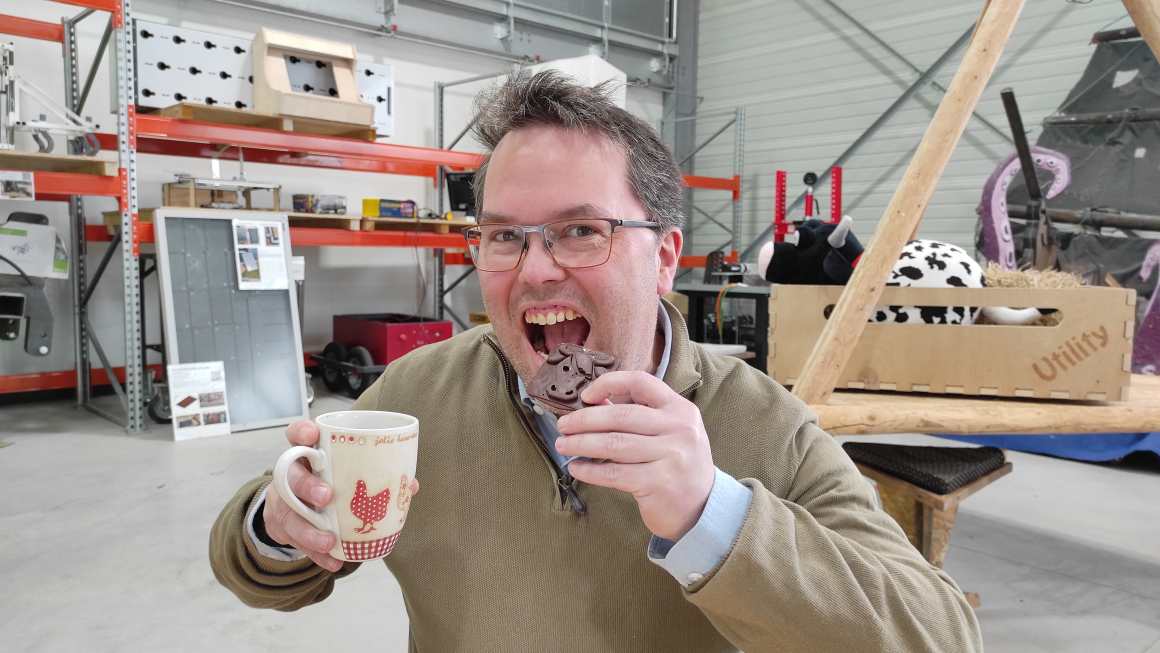
I tried a fast test with chocolate but I didn’t really pay attention on how to melt it correctly using a bit of water and the microwave oven. I put them in the fridge and later in a freezer.


The result after unmolding is quite okay as we see the details but the chocolate broke and melt rapidly. I also added letters on the cast for the one created with stereolithography to avoid eating it.
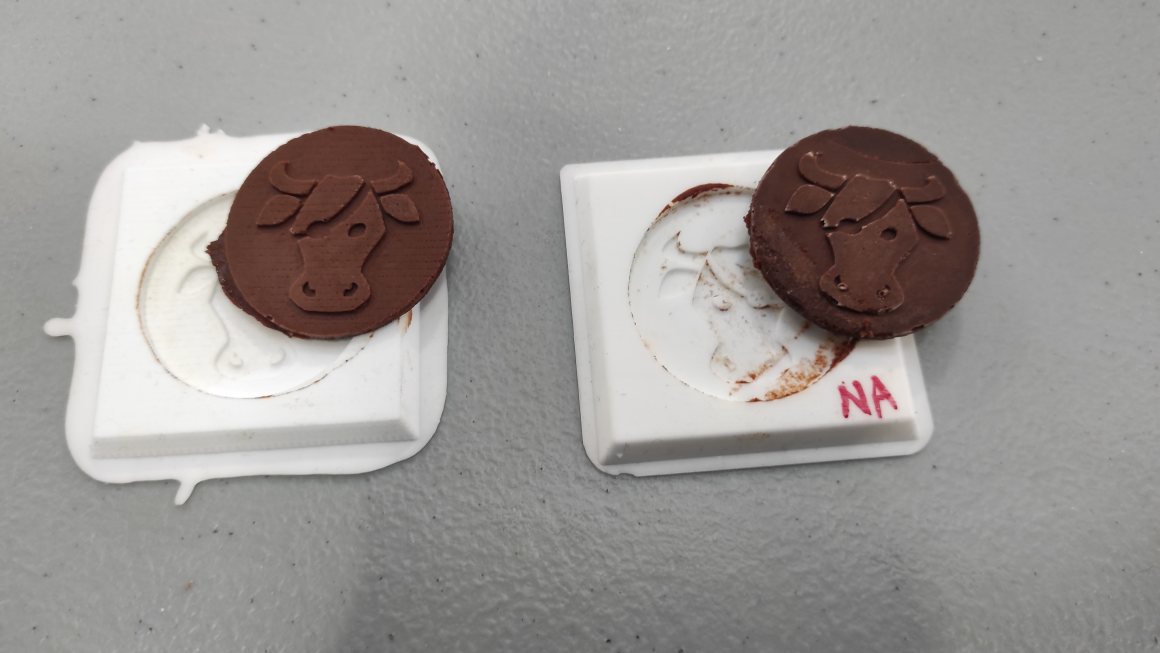
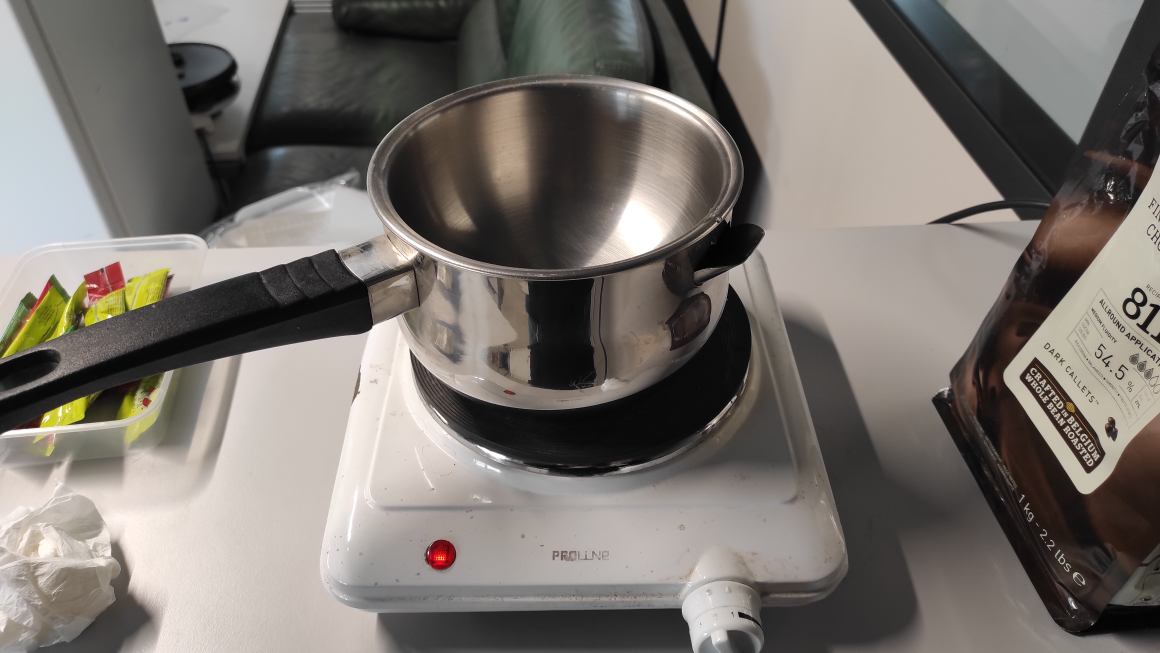
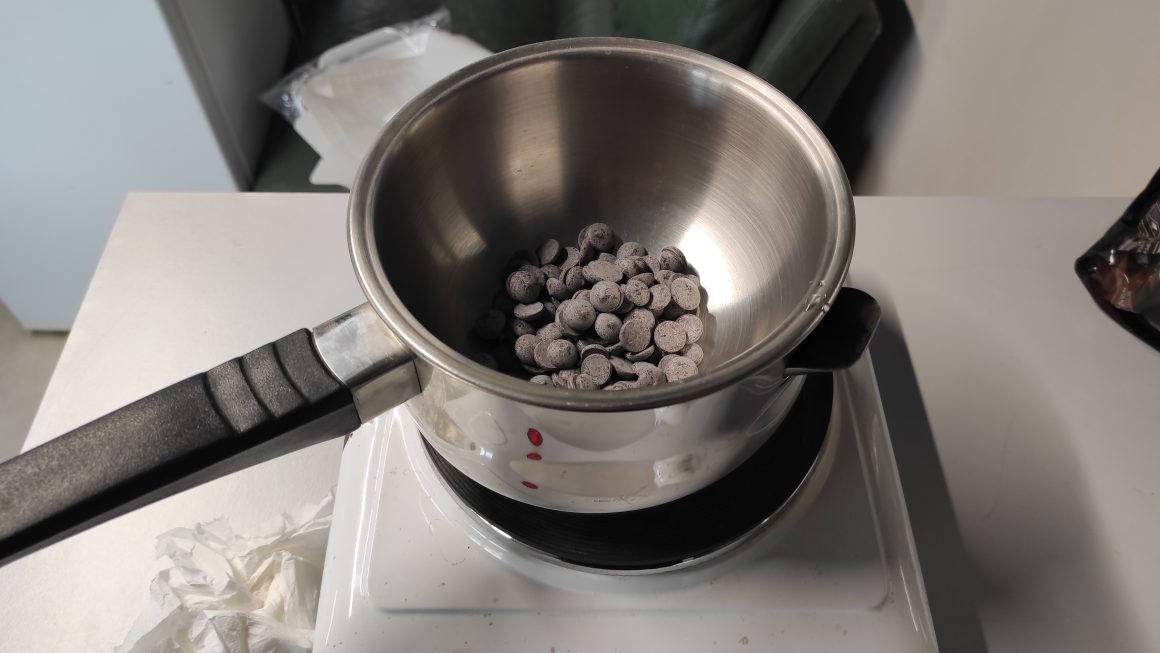
I decided to make a better test and read the chocolate datasheet ! We didn’t have the precise equipment for a water bath, so I used a saucepan and a programmable kettle.
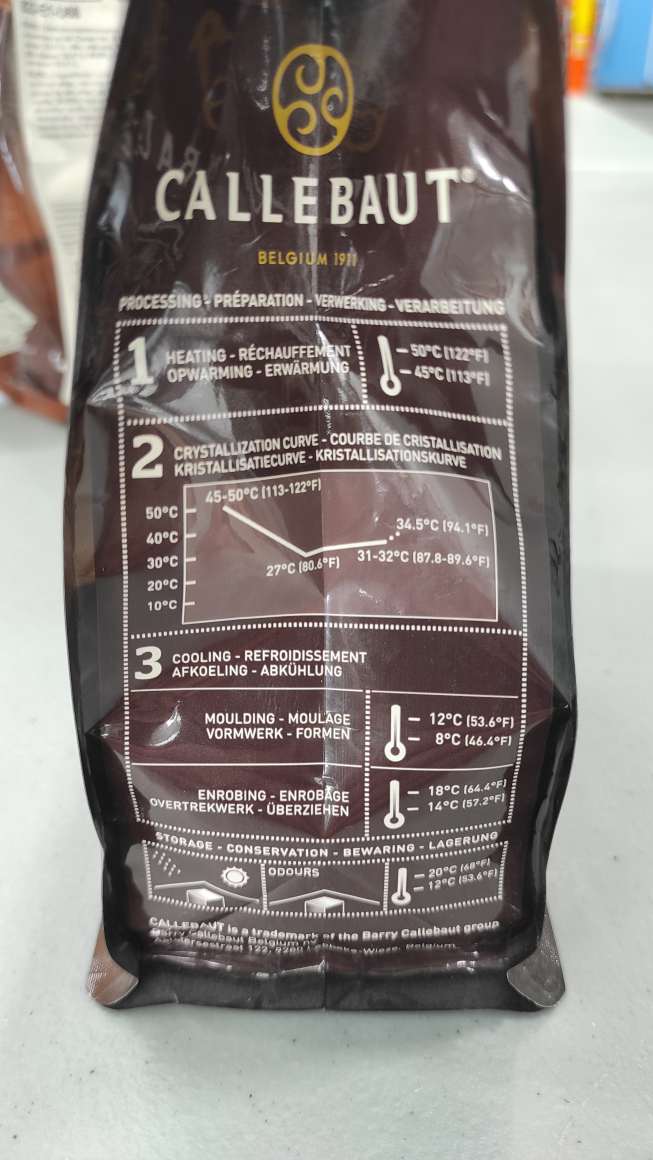
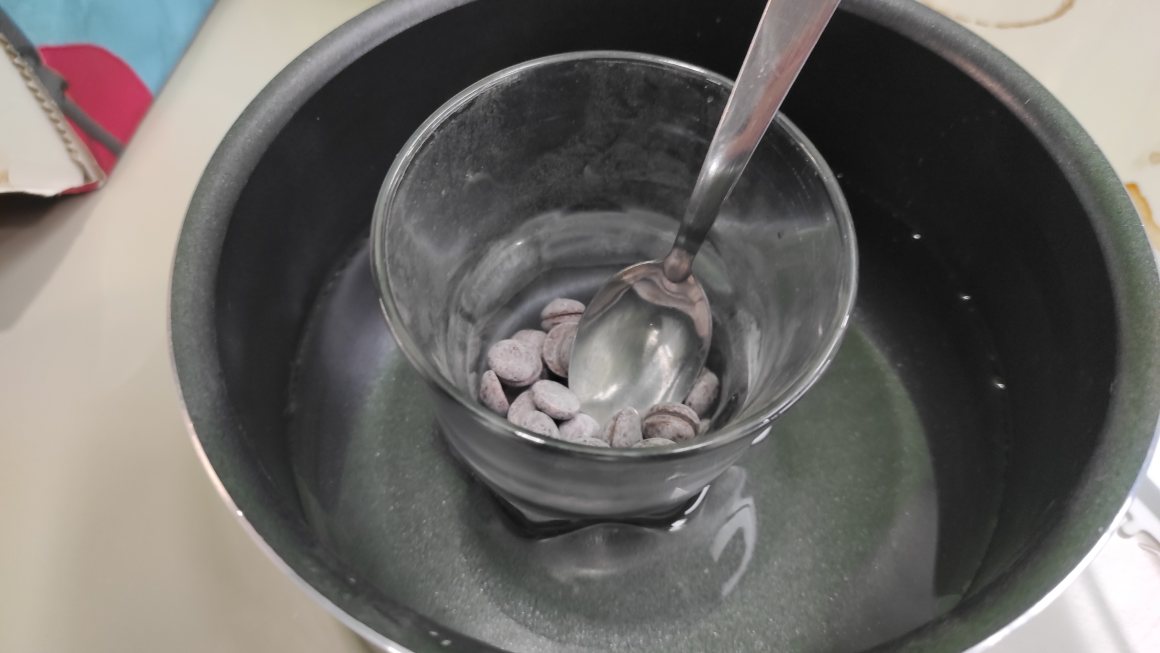
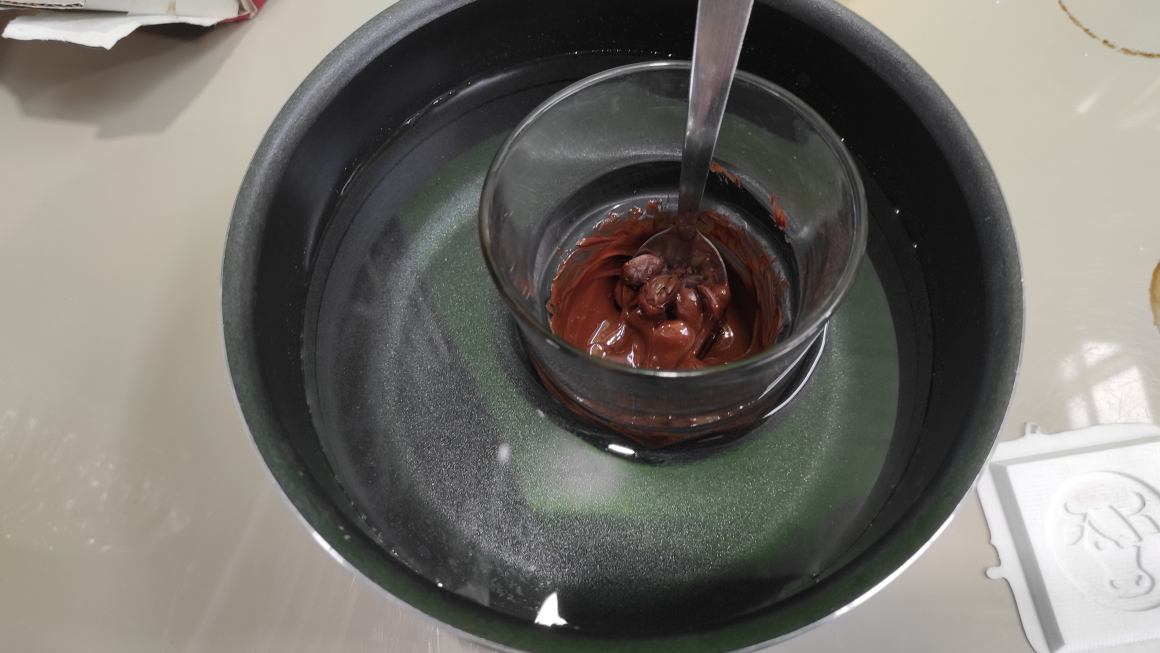
I misread the datasheet for moulding, reaging -12°C to -8°C instead of 12°C to 8°C. I reacted during documenting theme but they were already really cold.
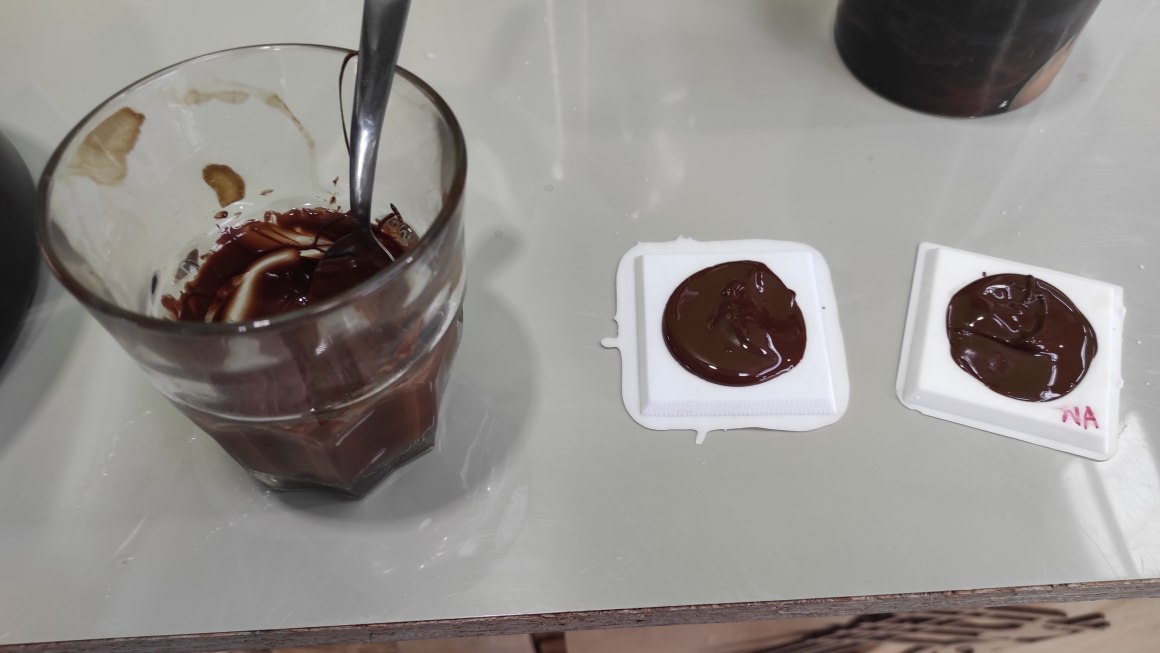
The result was quite good and the chocolate didn’t melt as soon as unmolded.

To conclude, I think Stereolithography is much easier to apprehend as you just need to export an STL and print it, even in very small details and probably deep one. Plus, preform software is very easy to use with the magic tool. For cons, you can’t have food-grade cast at the end and you’re limited by the size of the buid plate. For the milling process, I think it’s quite hard to understand at first but the process can be quite satisfying and faster than printing if you know how to process. Milling is about 1 hour compared to 7 hours printing, but milling need more time to prepare milling strategies and Gcode.
Individual assignment
For my individual assignment, I wanted to mill a cast for a handshaped scanned mesh but due to the time spent for the group assignment and having to share the milling machine with co-student, I prefered to work on a more simple model. I also thought about making a knob for the rotary encoder of my final project but it would have been mor a 2.5D shape.
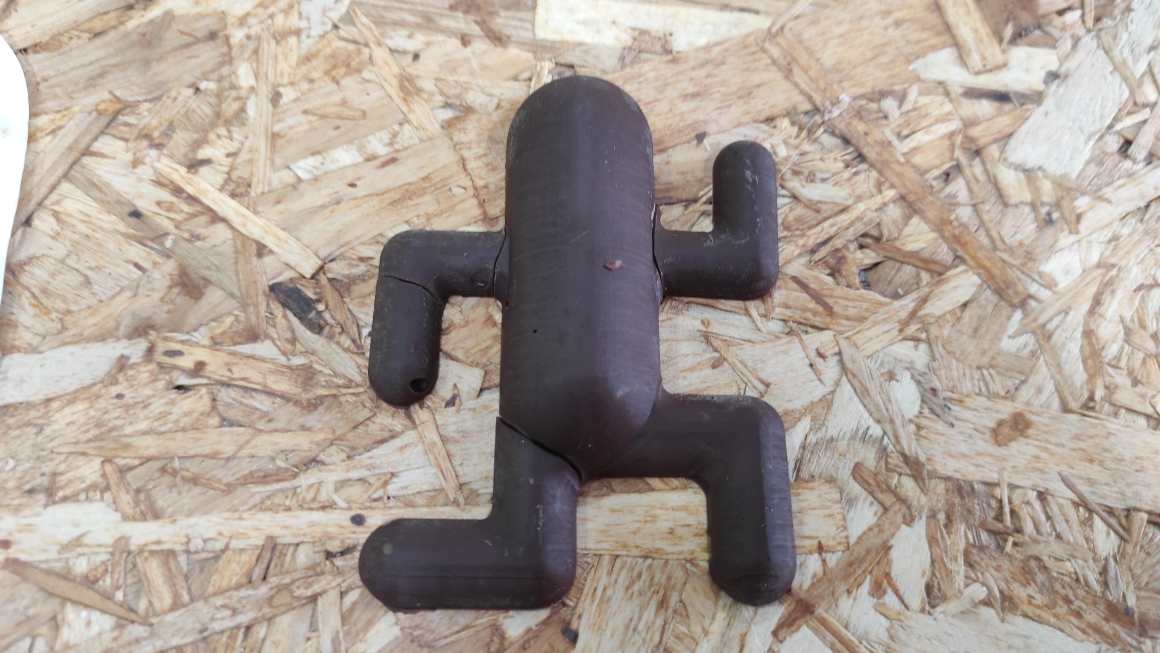
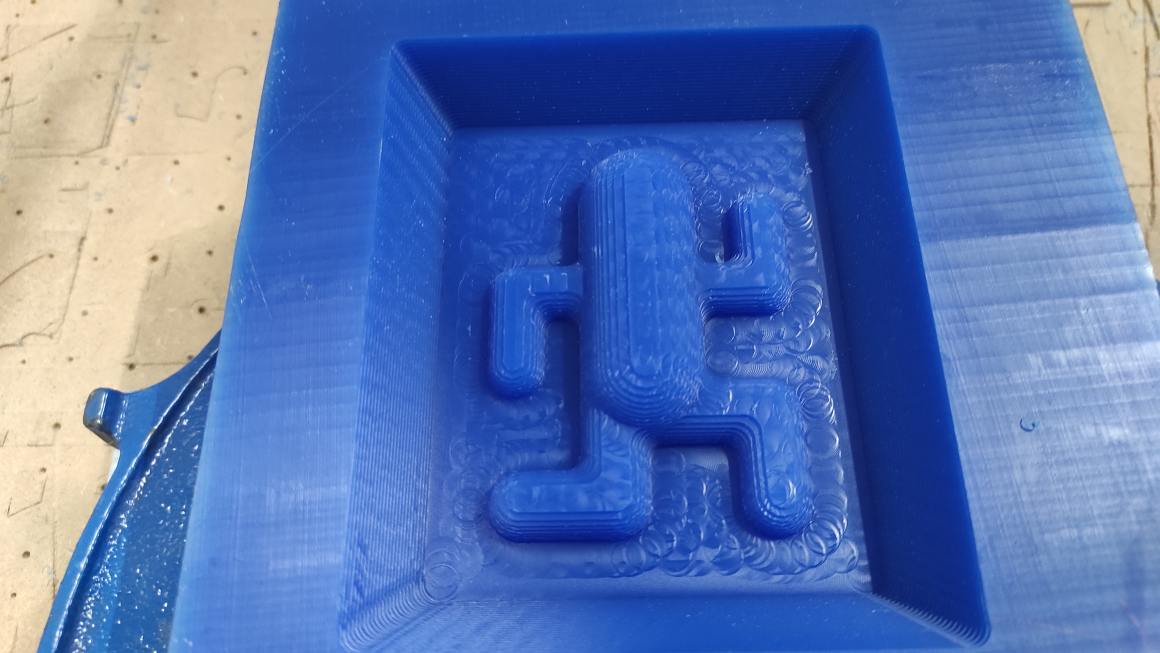
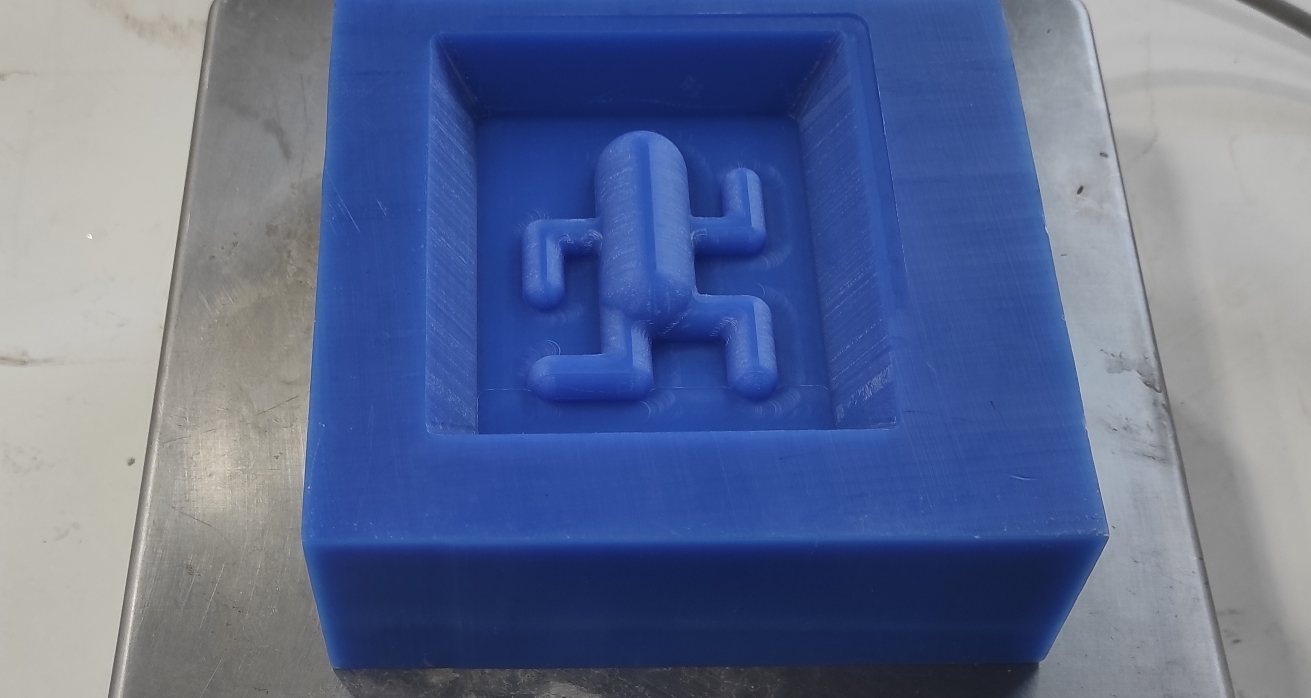
Inspired by videogame franchise Final Fantasy, I designed a Cactuar shape. From my experience from the group assignement, I designed it to be easy milled with 6mm endmill. Some of the tight angles need a more precised mill. I could have make more detailed model but it would have add too much time.

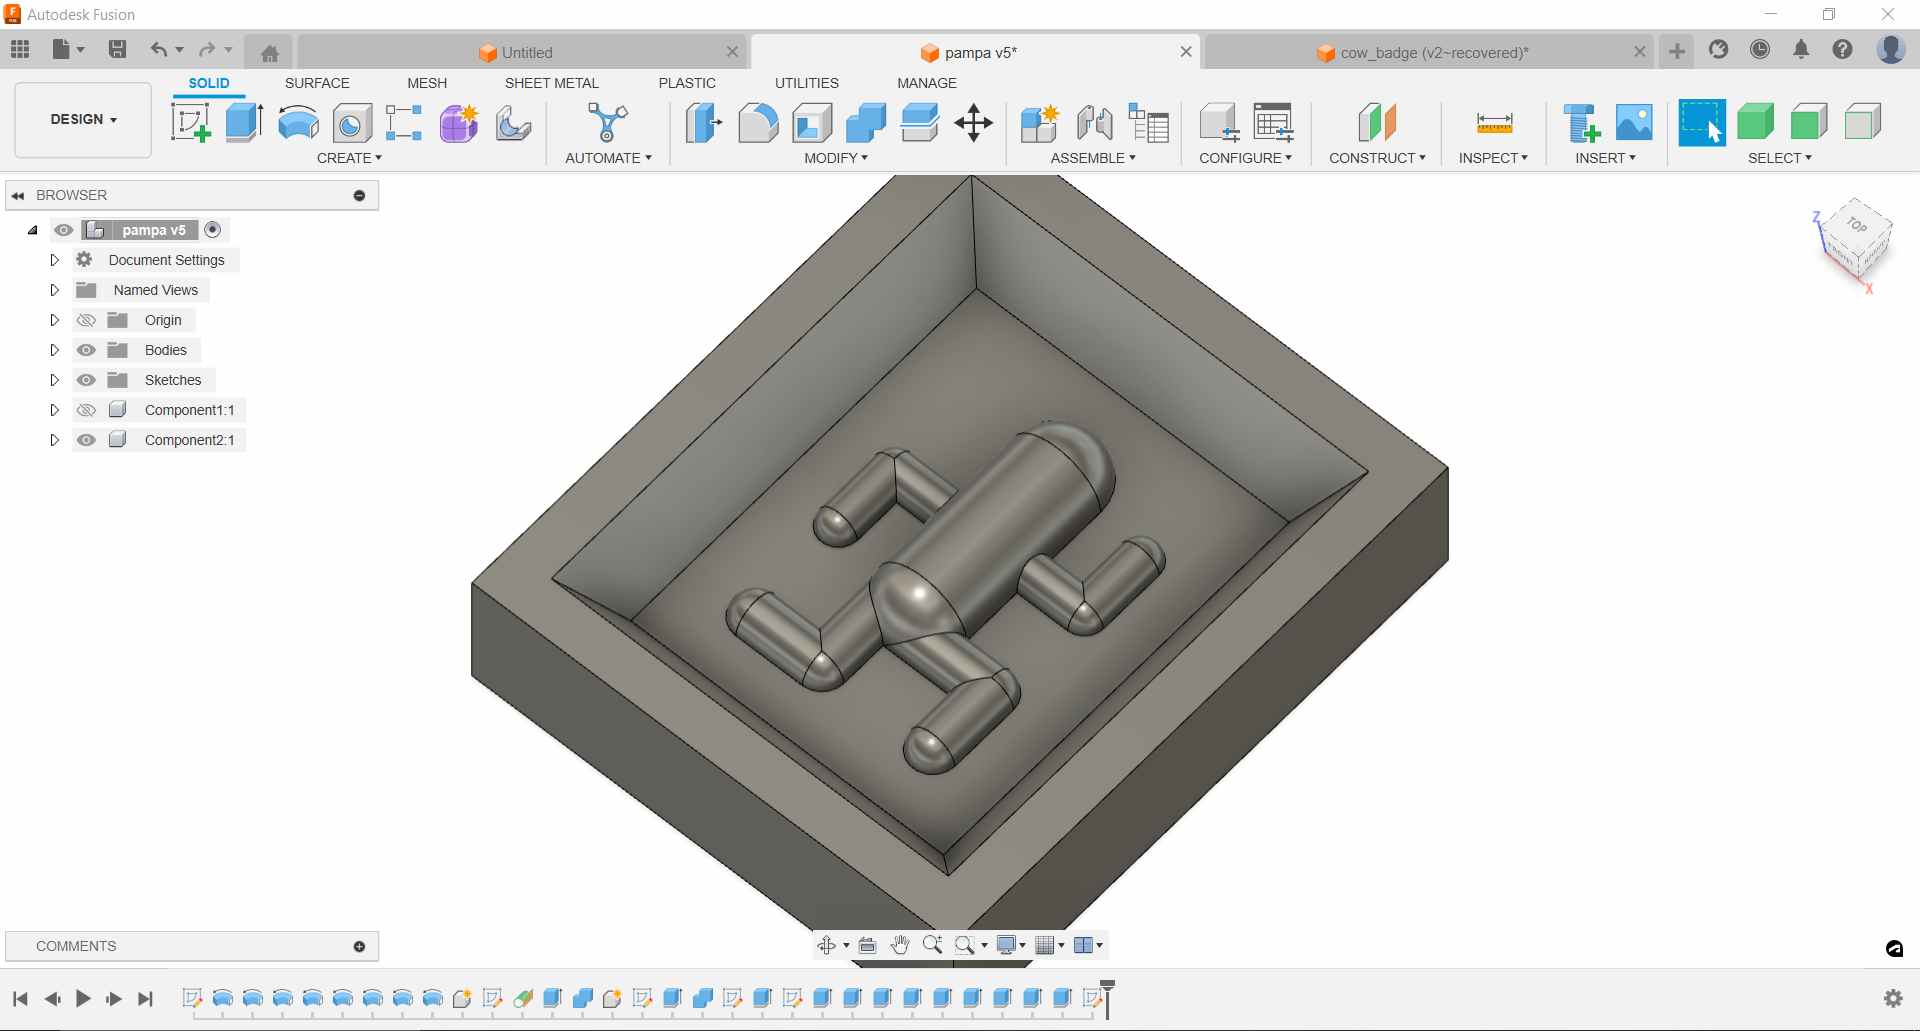
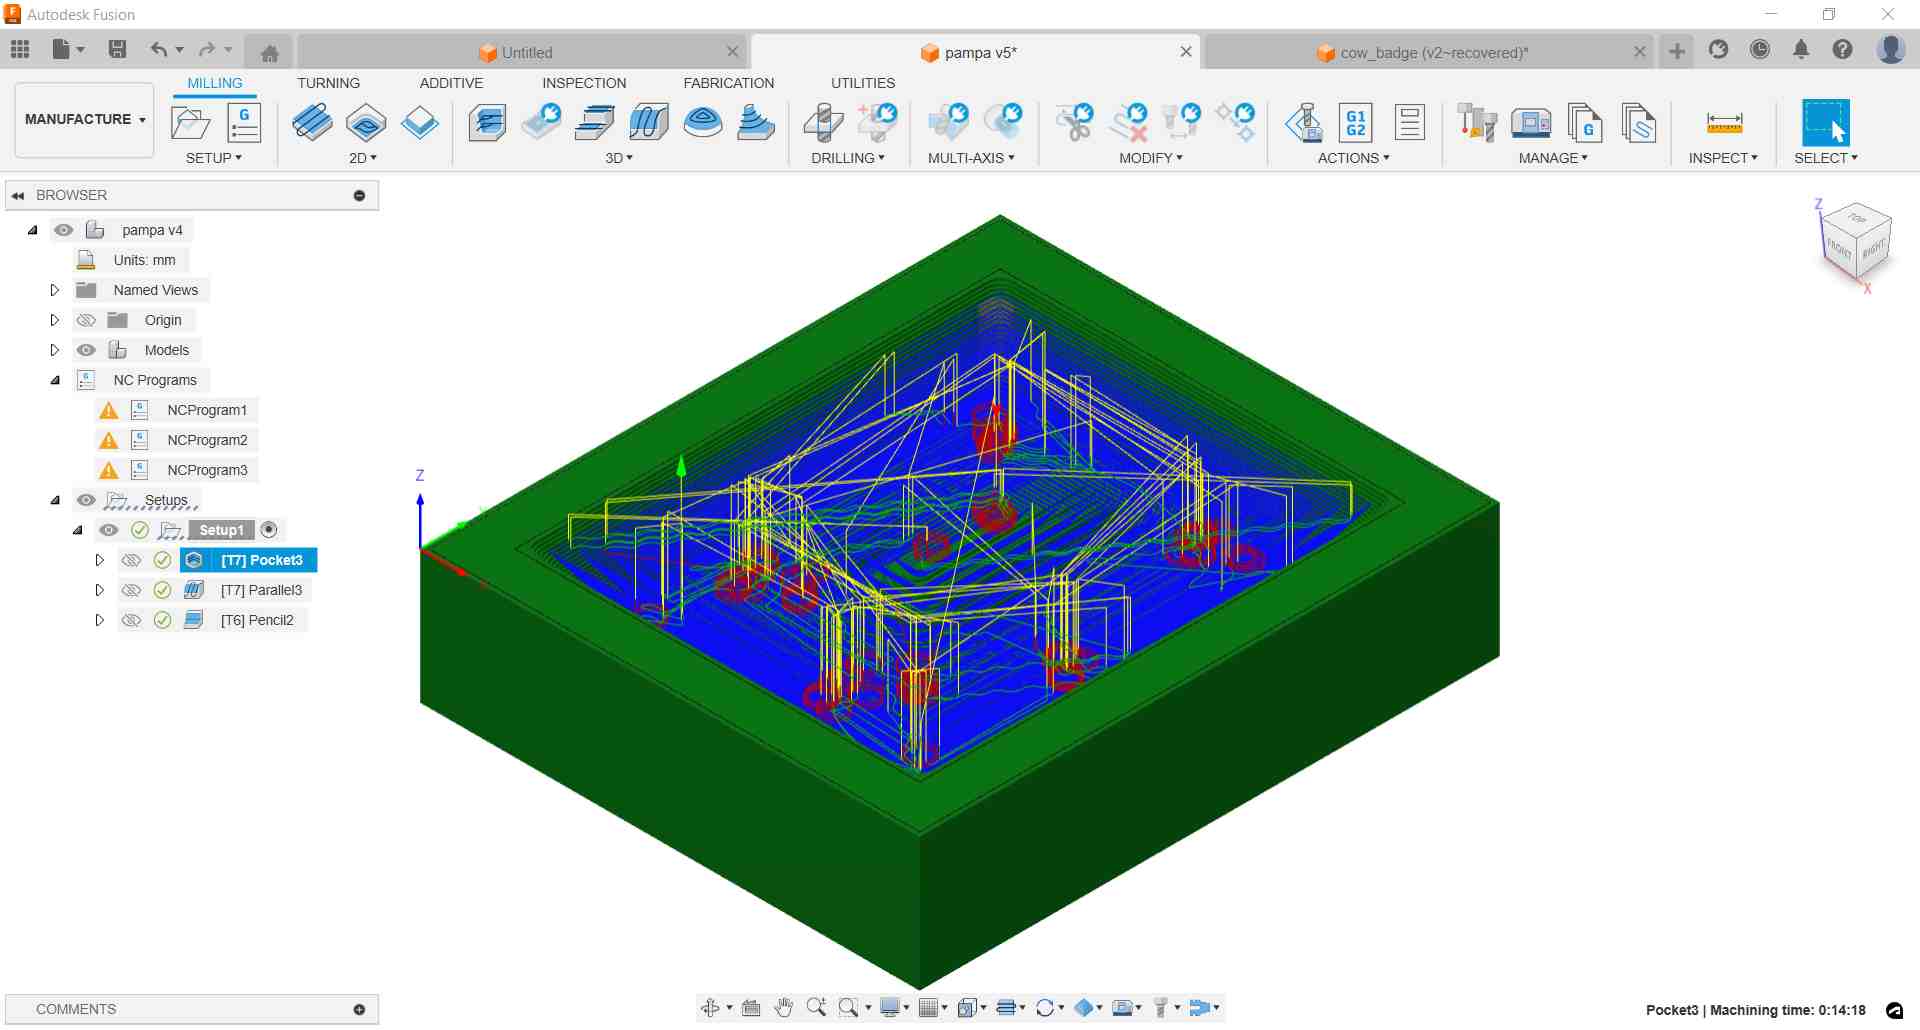
In Fusion 360 Manufacture, I tried first programmed a 3D pocket milling to remove as much material as possible. I set 0.5 mm stock to leave to avoid to much material to be removed during finition.
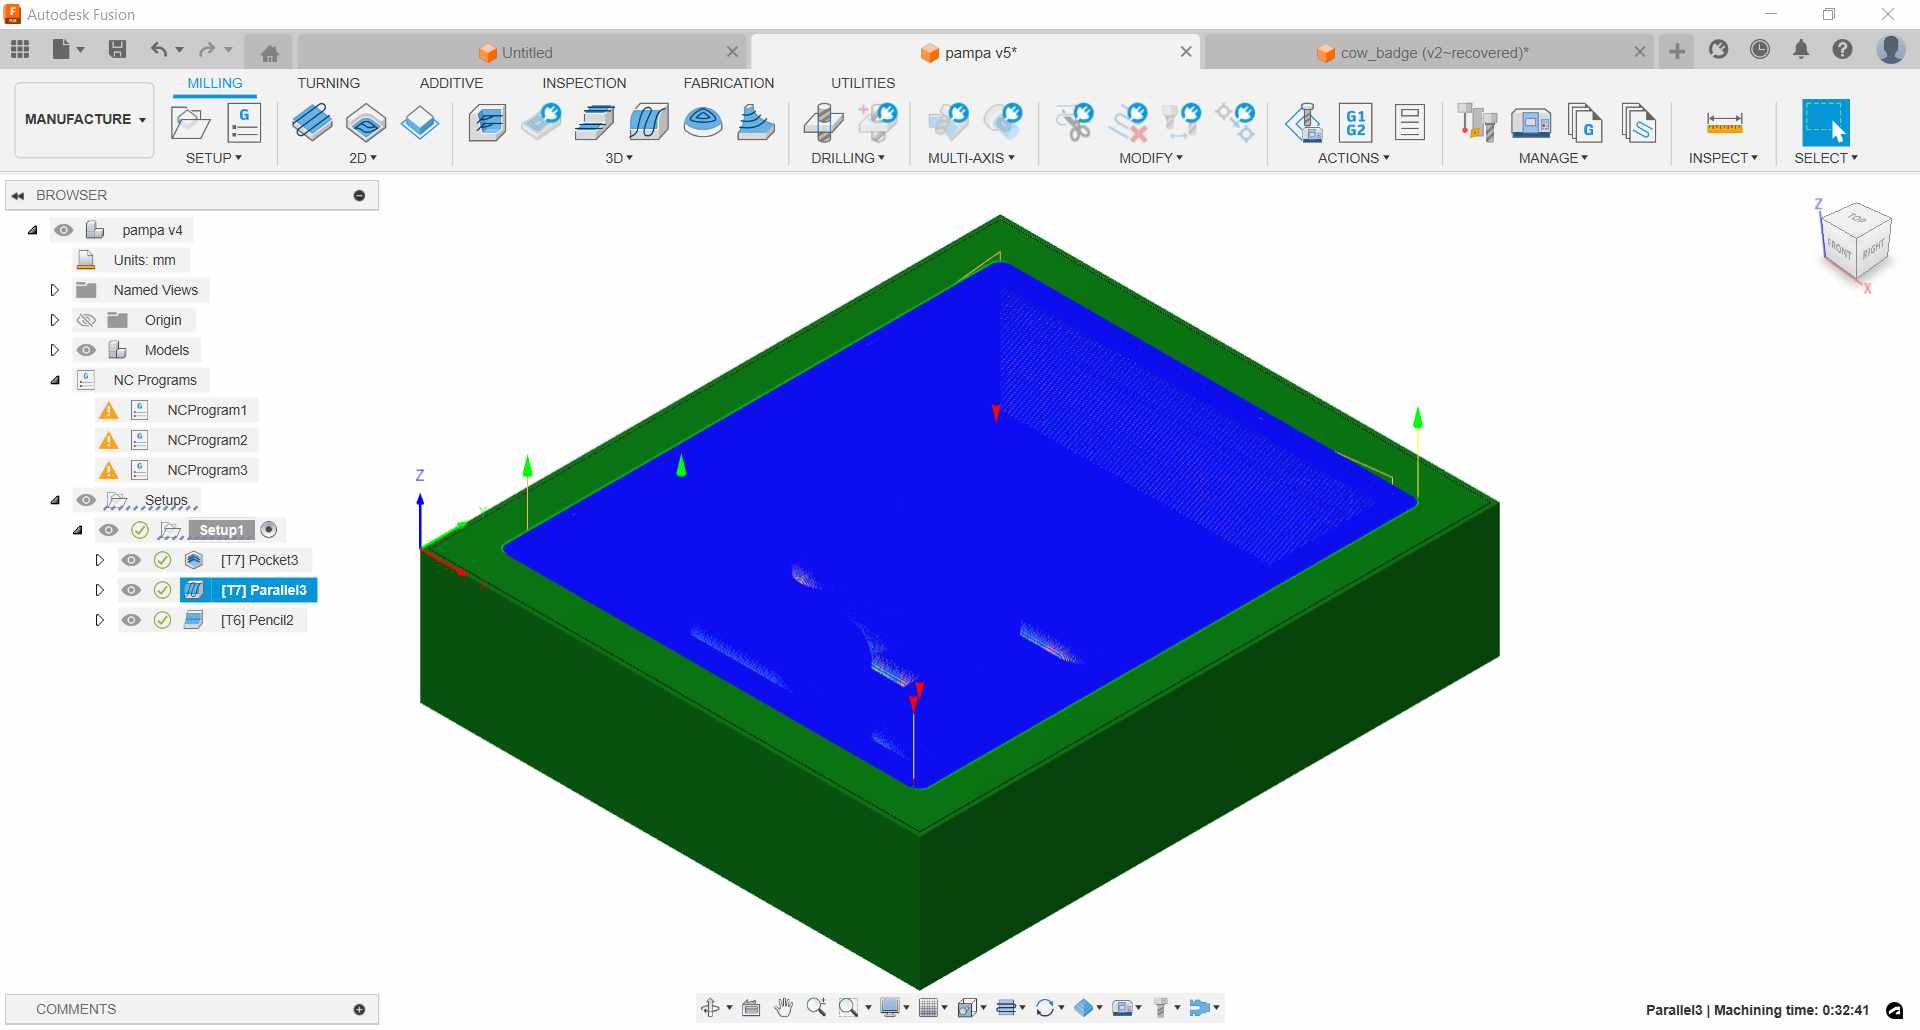
I tried and simulate many operations in Fusion to make a good finition, and I finally choose to make parallels with a 0.1mm stepover. I didn’t chose to add vertical paths, as I learned from group assignment that it don’t add much quality compared to a good stepover configuration.
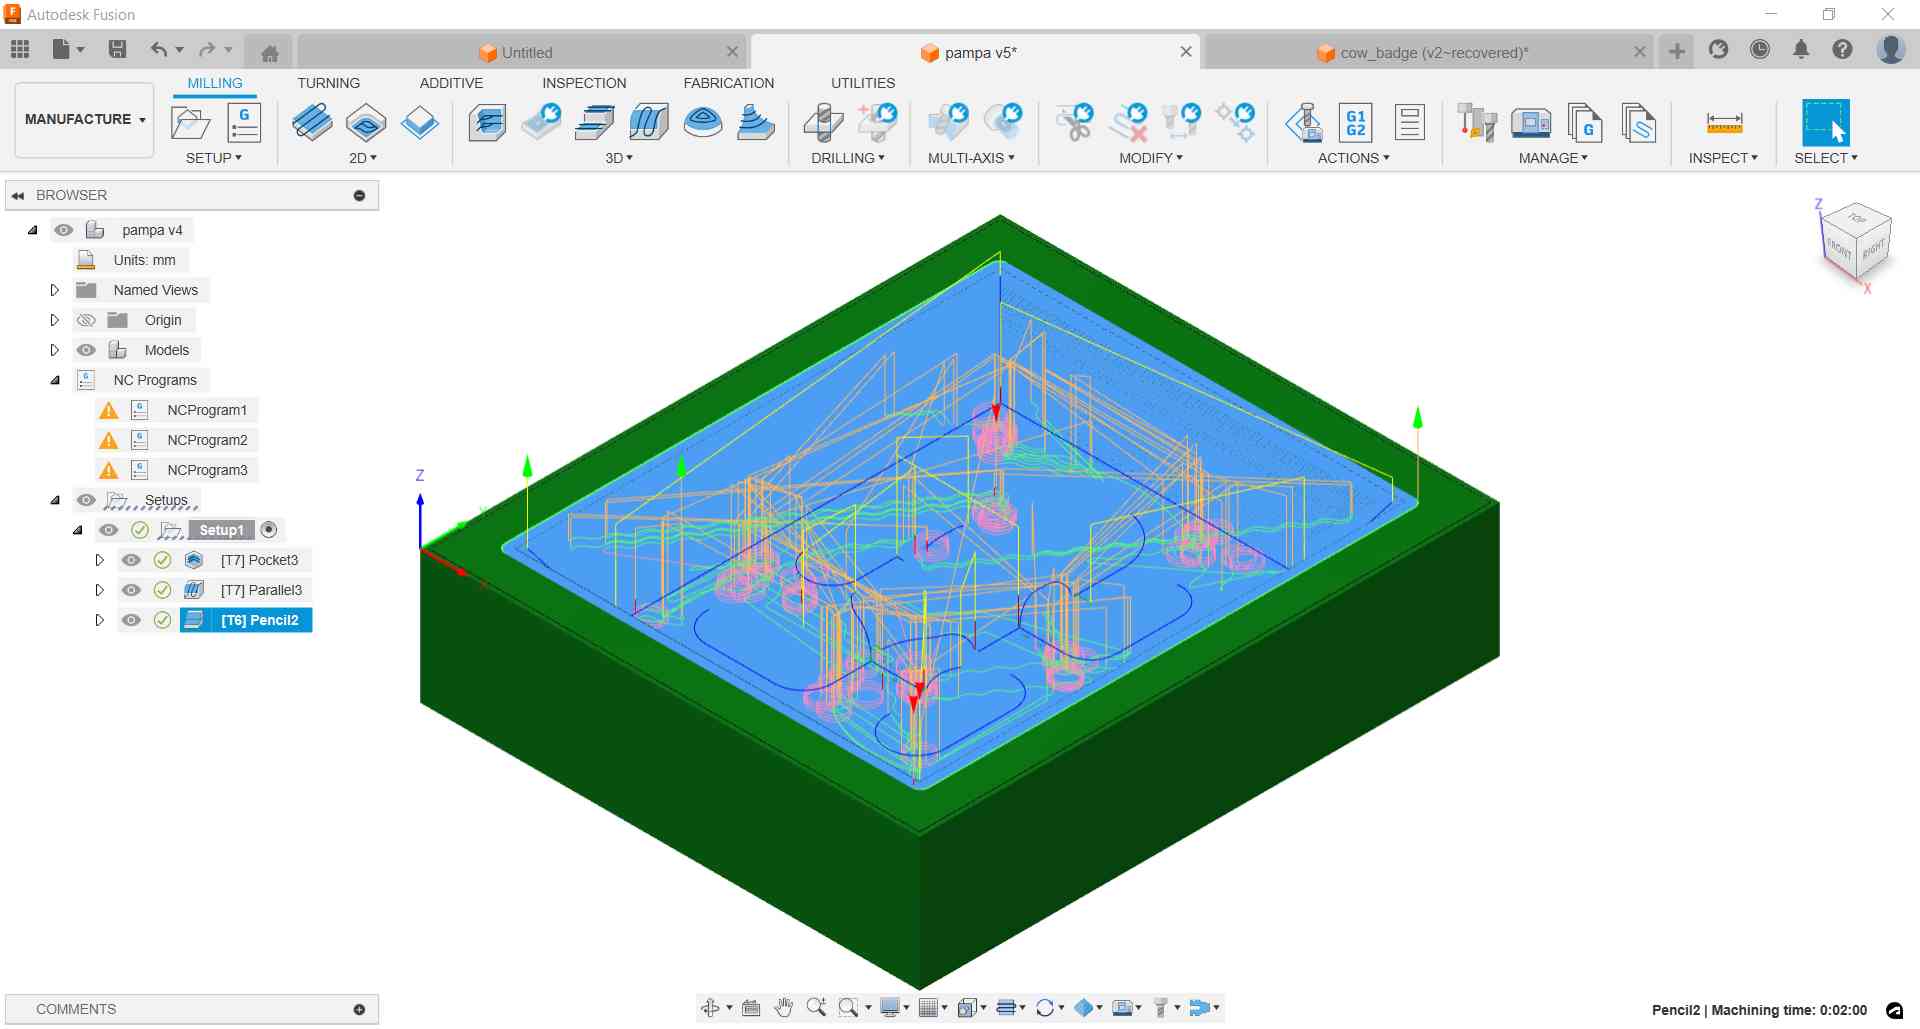
I wanted to add a 1 mm pencil operation to remove the remaining materials in tight angle but the simulation showed me collision with the milling cutter neck. I had to resort to the 3 mm mill, which has a longer cutting edge and a shank diameter about the mill one.
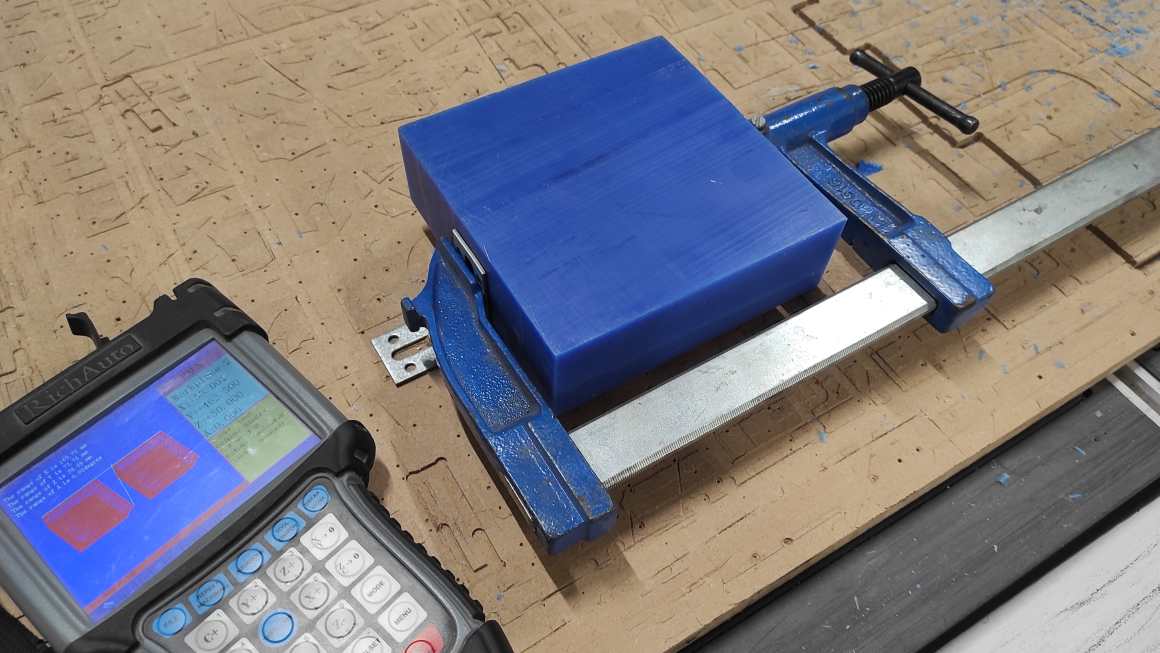
I used Pol-Emile fixtures for my own milling but I prefered using a clamp instead of screws. Having made all the mistakes during the group assignment milling, I had no big trouble during this one.


Here’s the result after each processes (pocket -> parallels -> pencil)

I used again the food-grade silicon as my co-student used a lot of the other products, plus I liked to have the option of making chocolate or candy with it.
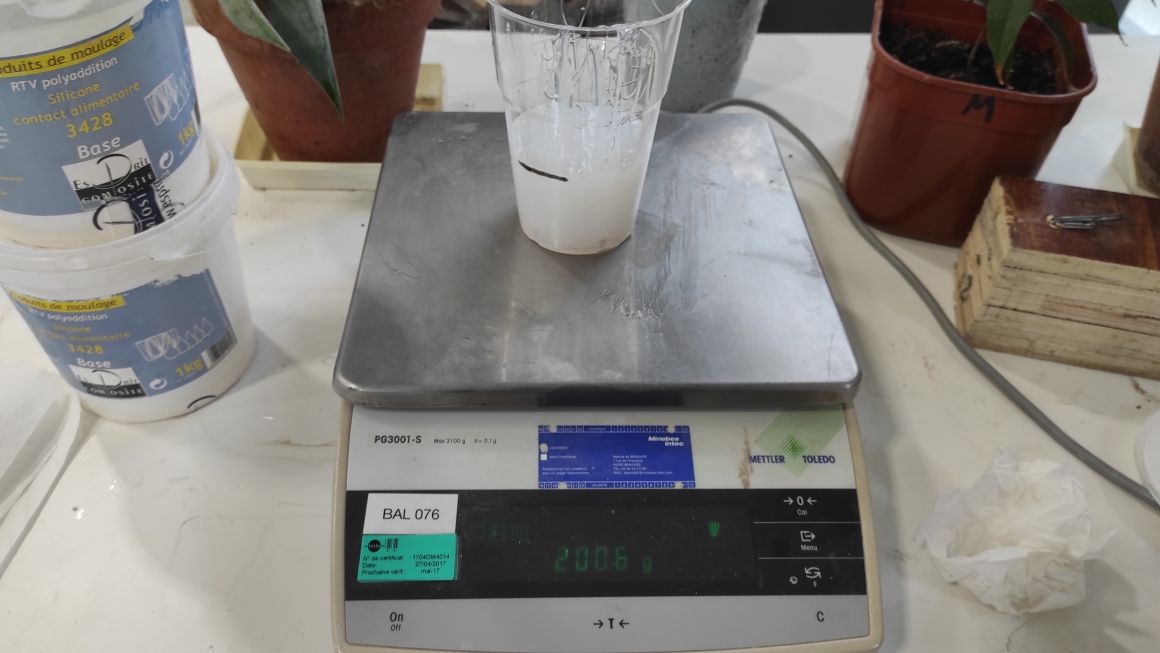
I used water to define the volume of silicone I needed for the casting. I pour the same volume in a transparent plastic cup and made a mark for the volume.
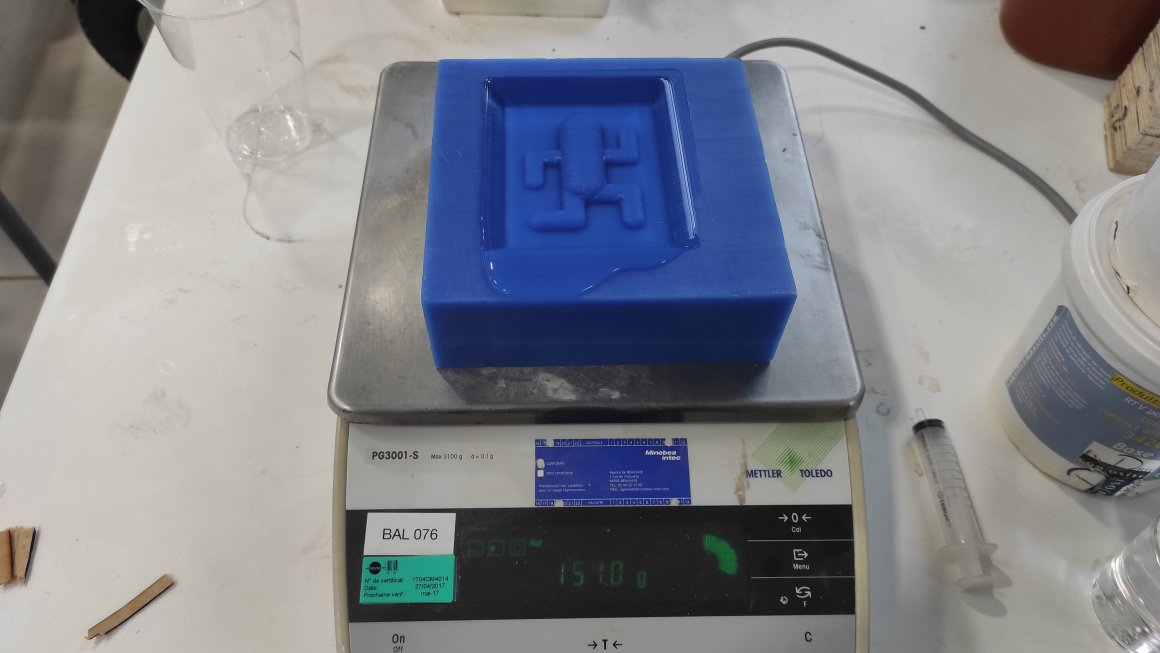
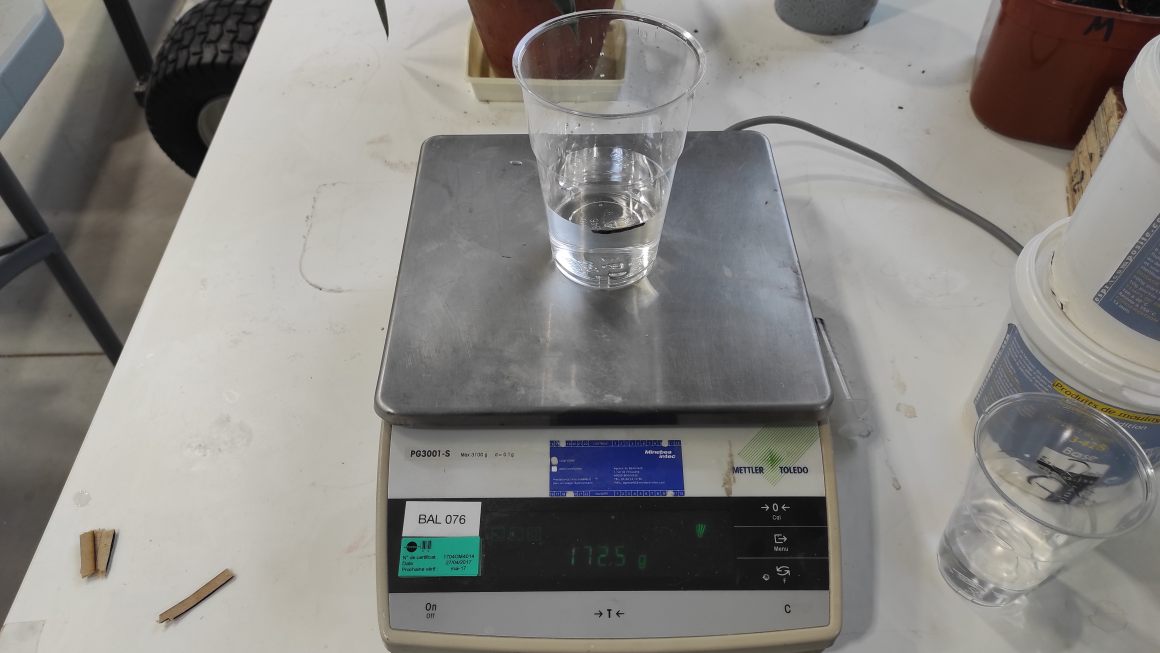
I pour part A of the silicon in the cup and added extra volume just in case and added 10% of the weight of part B.
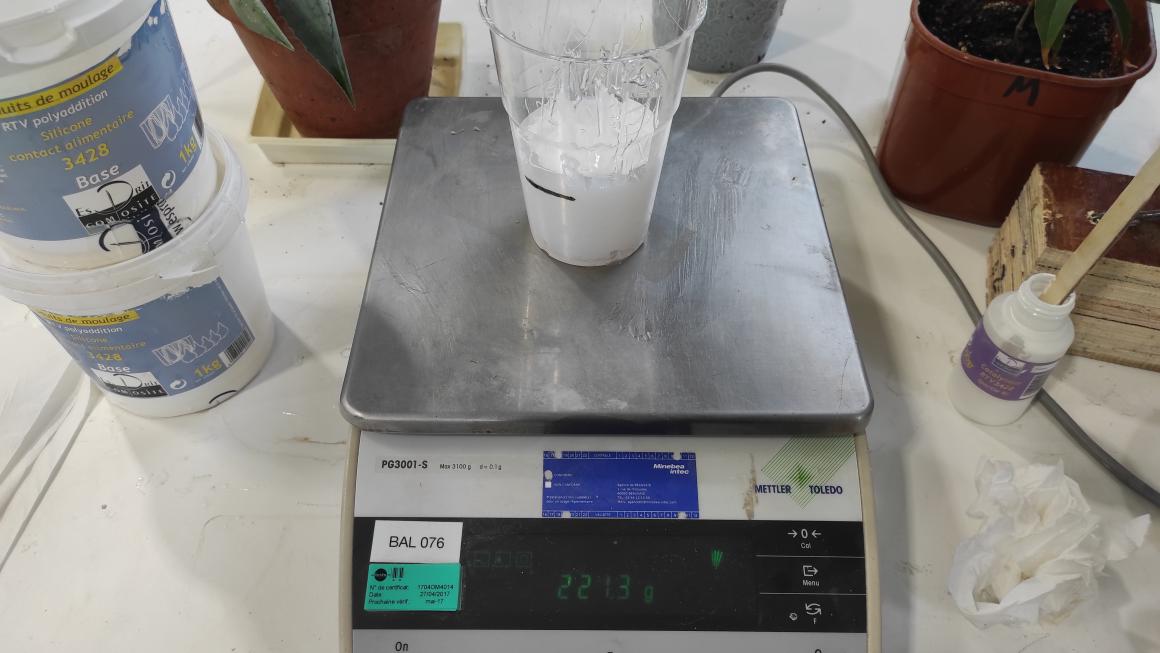
I mixed it gently and put it in the vaccuum chamber to extract air from it. I poured it in the cast and put it agin in the vaccuum chamber. I depressurized it multiple times to have as less air as possible in it.
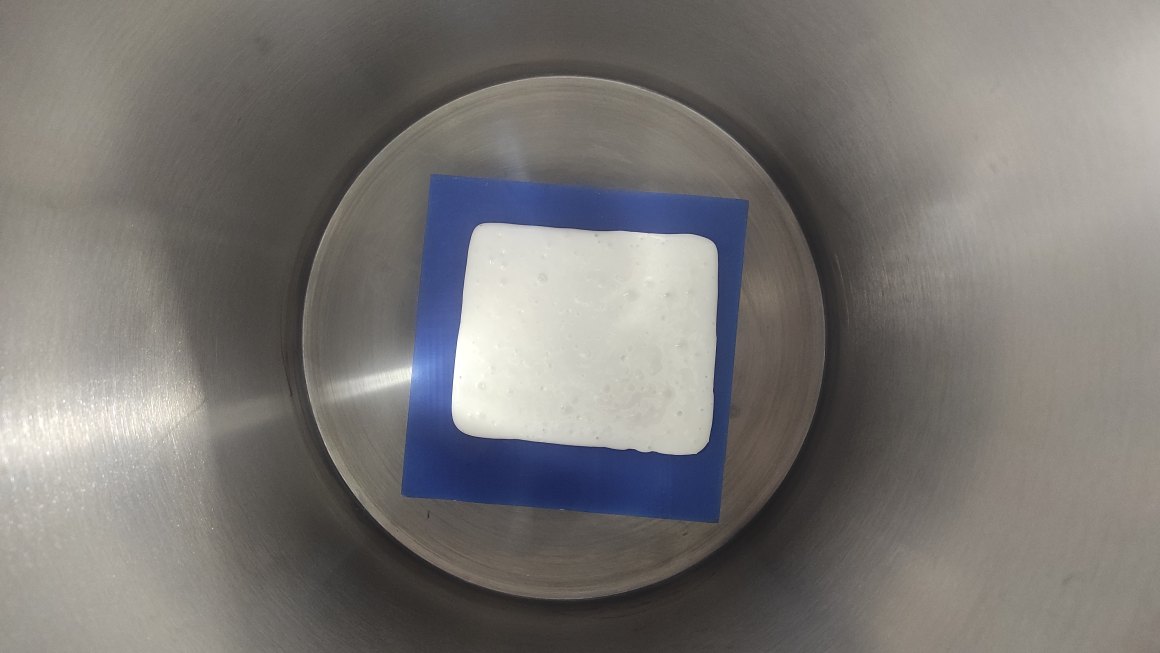
I let it polymerized a night long and the result was very good.
 ]
] 
I get access to a waterbath saucepan and a cooking thermometer so I tried a better chocolate.

Unfortunately, there were some loose connections in the thermometer and I couldn’t have the temperature right and I probably heated it too much. I let it cool down for a bit and then poured it in the cast. I removed the excess chocolate with a spatula. I had more chocolate than needed so I poured it in other food-grade cast I made earlier.

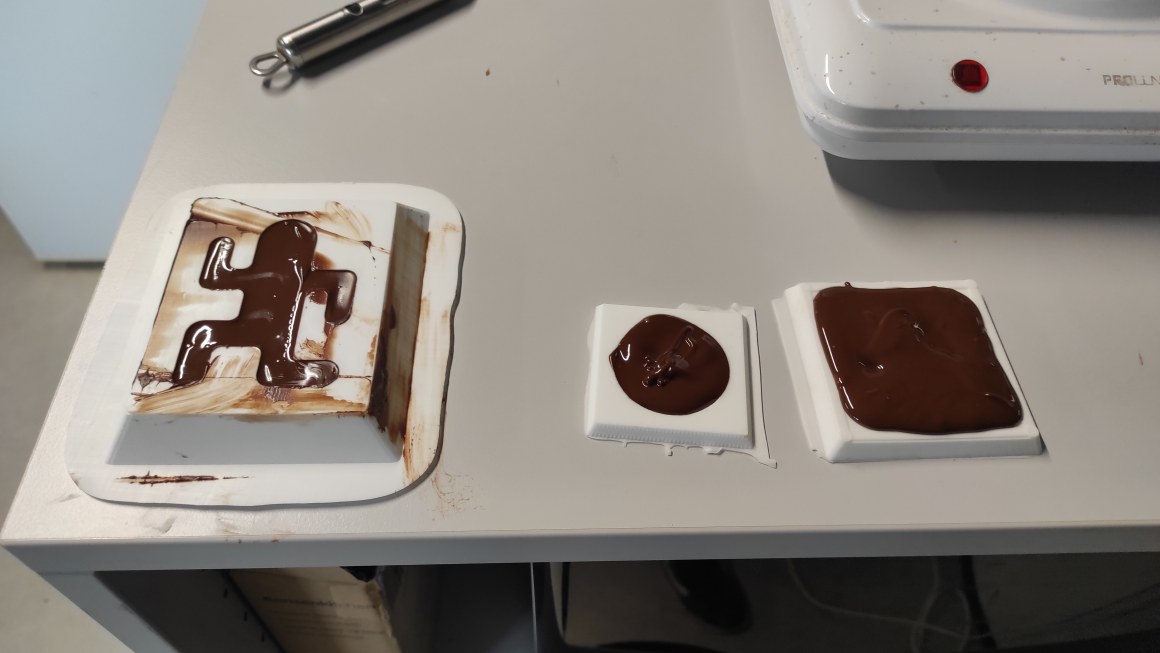
Time running out, I decided to put them in the freezer for faster cooling even if it’s not the right process. My previous mistake did some good result.
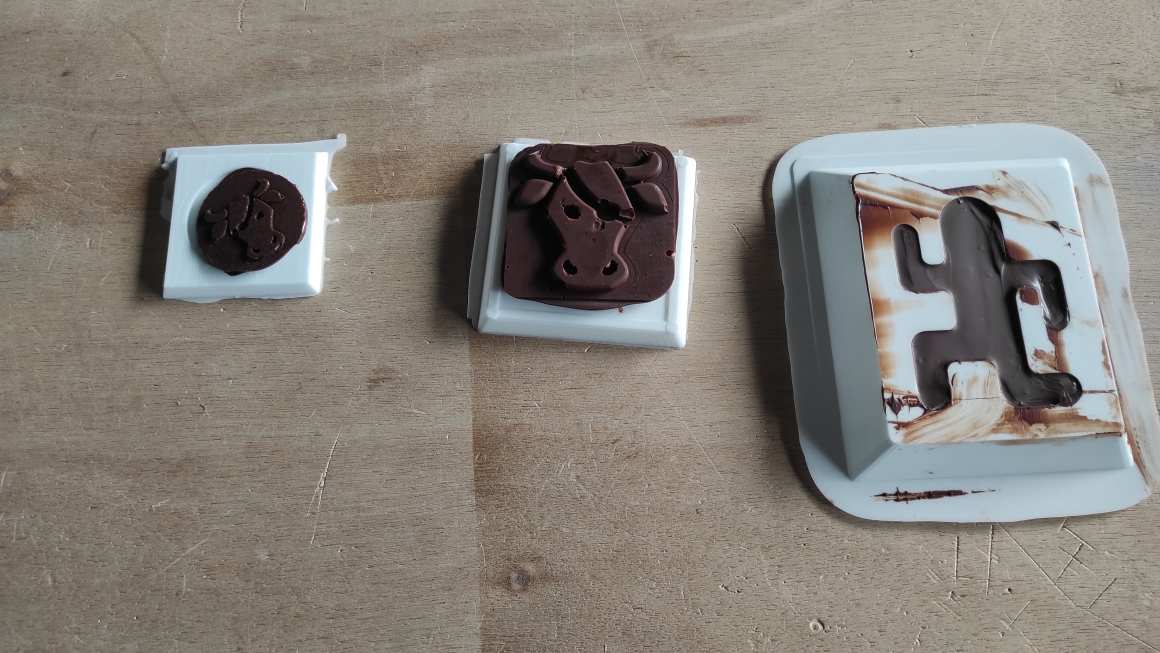
During the unmolding, the chocolate broke on thiner parts. It could be caused by many things in the process : bad melting process, too fast cool down, not enough mold preparation (wiping it with cotton is recommended).

The other casts was ok even being badly poured.
Class Archive
Impressions of the week
This week was very entertaining, and I learned a lot especially for 3D milling. Timing is still a big difficulty, with printing or milling time, curing time, heating and cool down. I should experiment more materials casting for later applications and take more time to use them properly.

