2. Computer Aided Design
Assignement :
- model (raster, vector, 2D, 3D, render, animate, simulate, …) a possible final project
- compress your images and videos
- build a personal site in the class archive describing you and your final project
Testing 2D Softwares
GIMP
GIMP is a free and opensource image editor. GIMP can be found here I already had GIMP on my PC for basic image editing but had never really took the time to explore it. It is more raster oriented but it can do vectors too.
Online user manuals in multiple languages are available here more or less complete. I used it for basics learning.
I tried to modify a capture of the software window to explain basic functions.
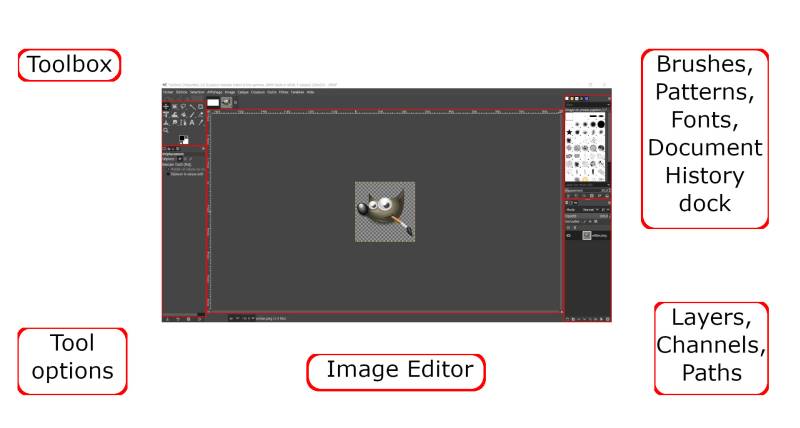
I create a new image and import a capture in it. The red frames on the capture was made with the capture software (Flameshot)
I used the resize tool to reduce the import and to have space around it.
I add the Text tool to add description. Each textbox create a new layer.
For aligning the textboxes, the alignement tool could be found by right-clicking the selection tool. You have to select a layer with a textbox, to align the others with it using the right arrow in the tool options.
For framing the texts, I used the selection tool and framed a textbox. I then went to the Edit Menu and select Stroke Selection after choosing color and rounded corner in the tool options. Finally, I selected a 6px line width and clicked Stroke button. I repeated the action for all the text boxes.
I would like to add arrows but I couldn’t make it and I didn’t undertsand why. Selecting the brush or the pen, I could trace lines on a new image but not in this one. I couldn’t find an explanation during the time I dedicated for this Software.
Krita
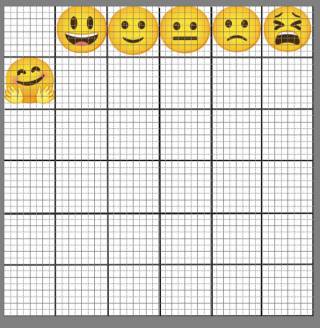
I used Krita during the first week for rapidly add frames on images. Krita is a free opensource raster painting program which can be found here This week I tried editing images for my final project. Importing image from Emoji Kitchen, I cropped them and added them on a personal image to figure my mood/interaction tolerance table.
 For faciltating comprehension, I made a table in krita. I enabled the grid and the grid magnet to help me having consistent measures as I didn’t find an option with coordinates. The grid option can be found in the “View” Menu > “Show Grid”, then “Snap to” > “Grid” for grid magnet.
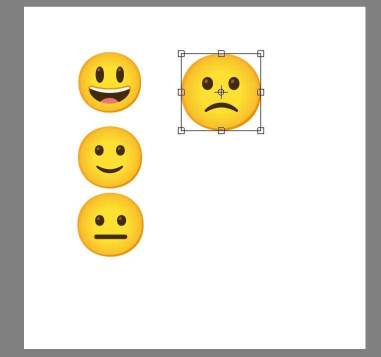
Krita is way more accessible in my point of view, as much common tools are directly accessible in the UI.
Inkscape
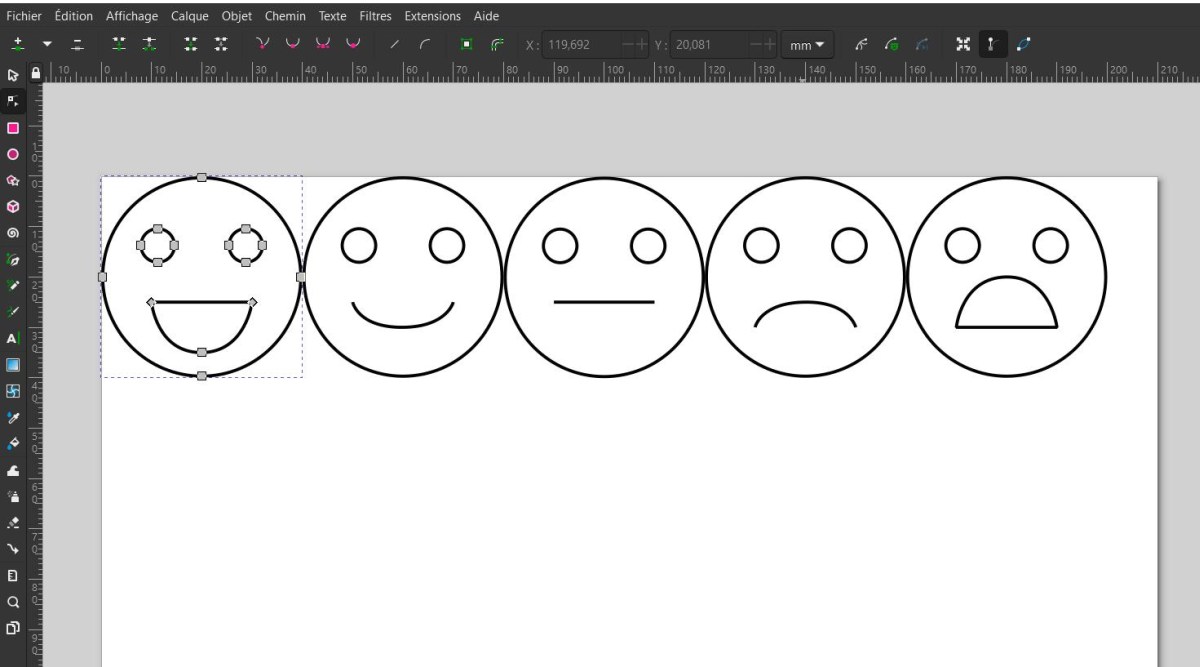
Inkscape is a free opensource vector design program. You’ll find it here. I used Inkscape to design smileys that could be integrated to my final project.
To begin, I created circles to figure the face and the eyes. I used absolute coordinates to place them.
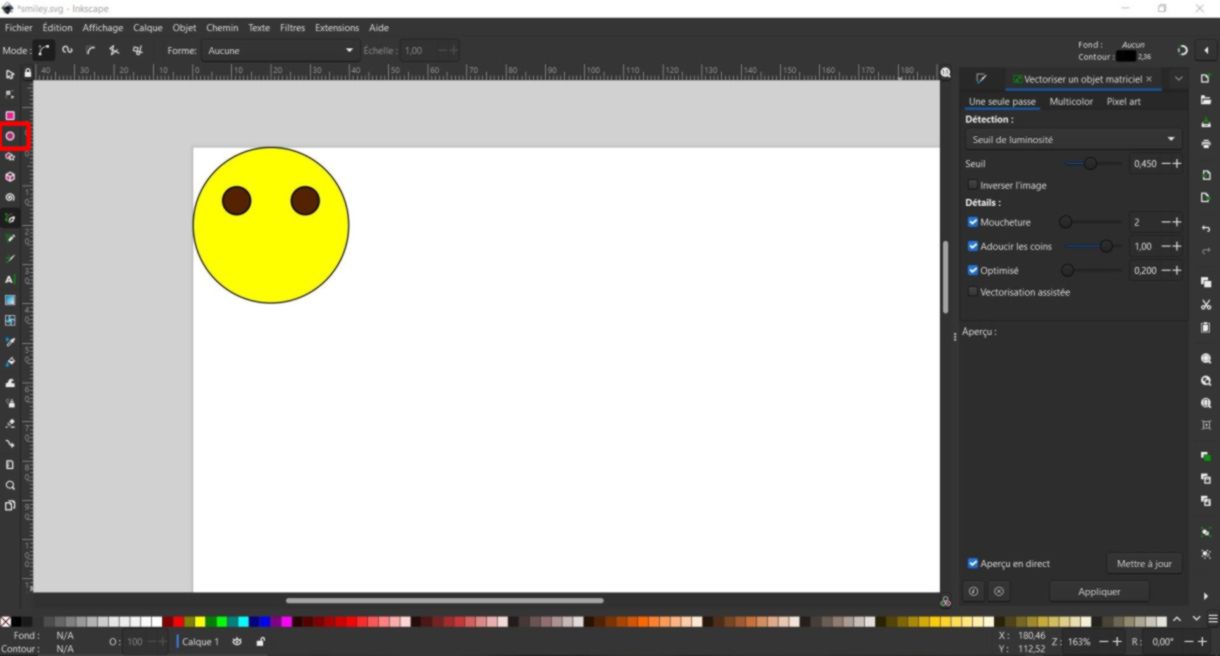
Then, I add the mouth, with the “trace Bezier curves and straight lines”. I also used the coordinates to place the knot properly with the Edit Knots tool.
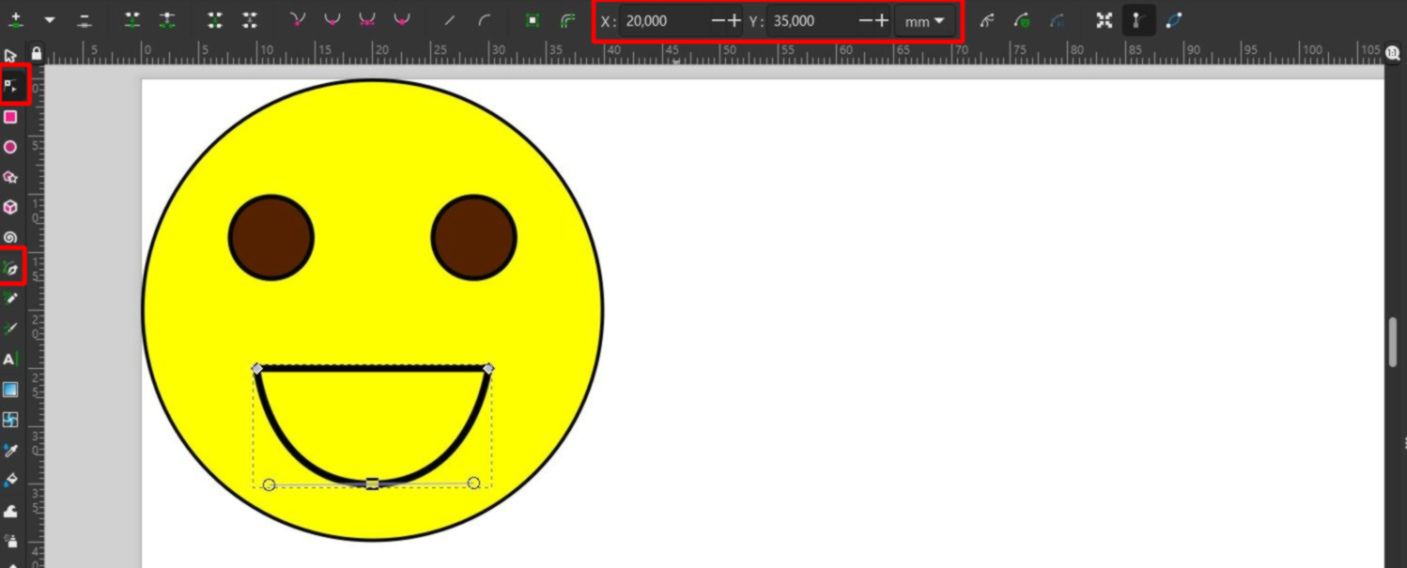
After that, I selected all the elements, duplicate them (Edit>Duplicate or Ctrl+D), and place them with the coordinates.

For each smileys, I decided to modify the mouth. For that, I change the Y coordinates of the knots and eventually cut part of the path. Ad to finish, I combined the path of each smiley when I was satisfied of the result.

Testing 3D Software
Fusion 360
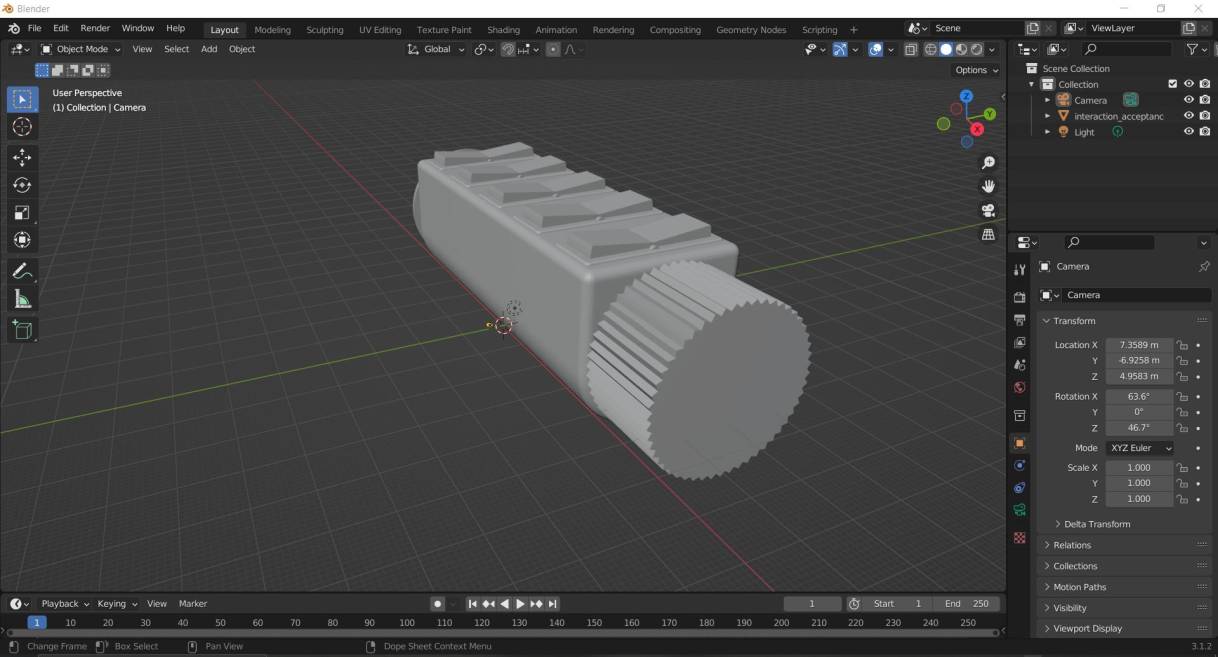
I decided to make a first design for my final project on Fusion 360. Fusion 360 is a commercial CAD Software who also can do animation and render. A free personal use version is proposed with limited options.
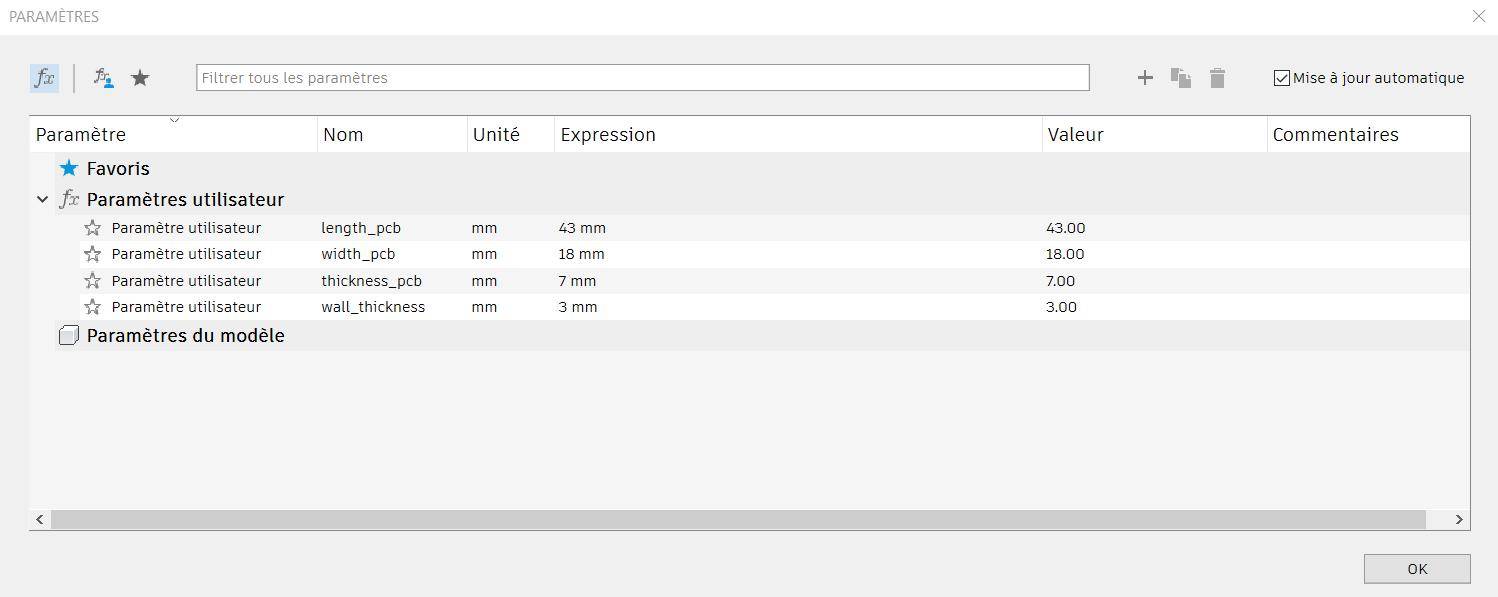
At first, I entered parameters for a pcb emplacement and wall thickness through the “Modify” menu.
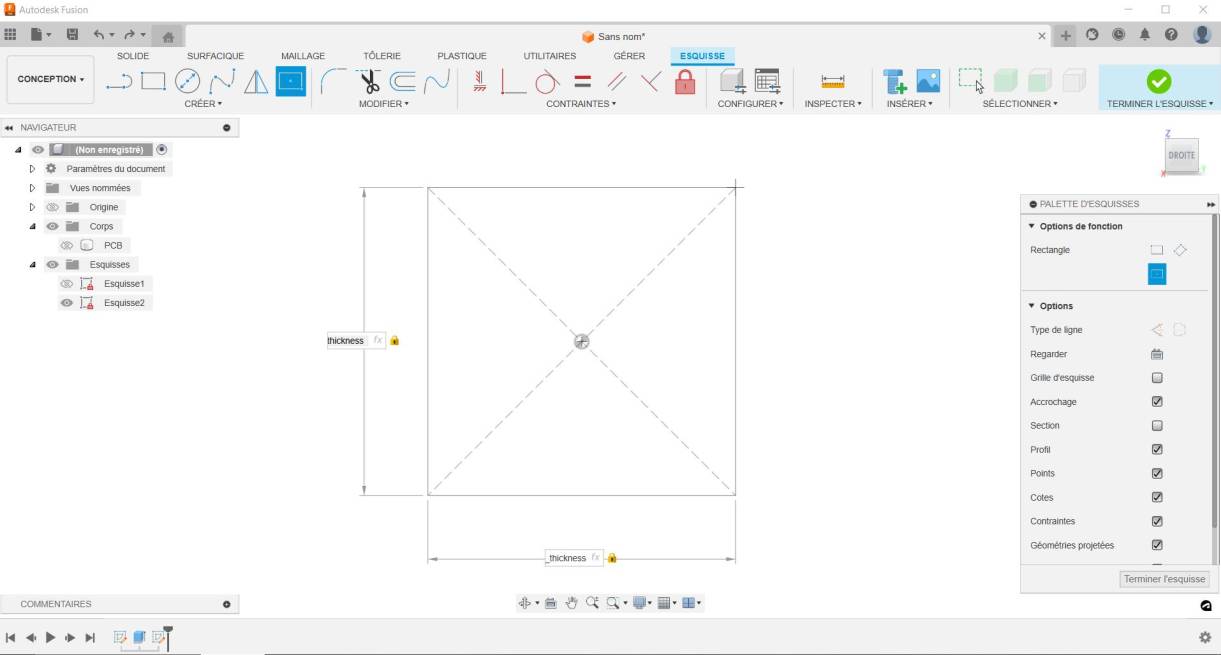
First, I sketched the pcb then extruded it in mirror to conserve origin centered.

I then created the device from a square sketch, size fitting the pcb + the wall thickness. I forgot it must be twice the wall thickness. Later I had to change size for the switches.
I used the “combine” modify tool to shape the inside around the PCB templates.

I designed a potentiometer from a circle tangent to the main body and add some grip with a circular pattern.
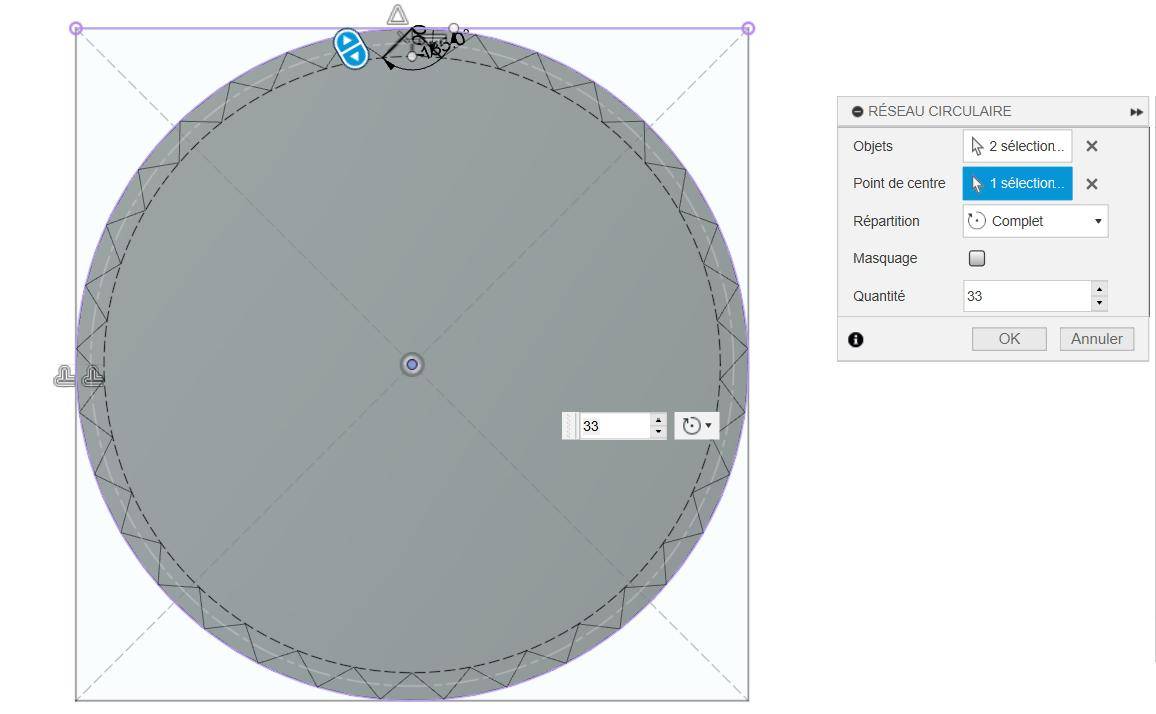
To create the hole where the potentiometer insert, I used “combine” again but bhut checked the “conserve tools” checkbox.
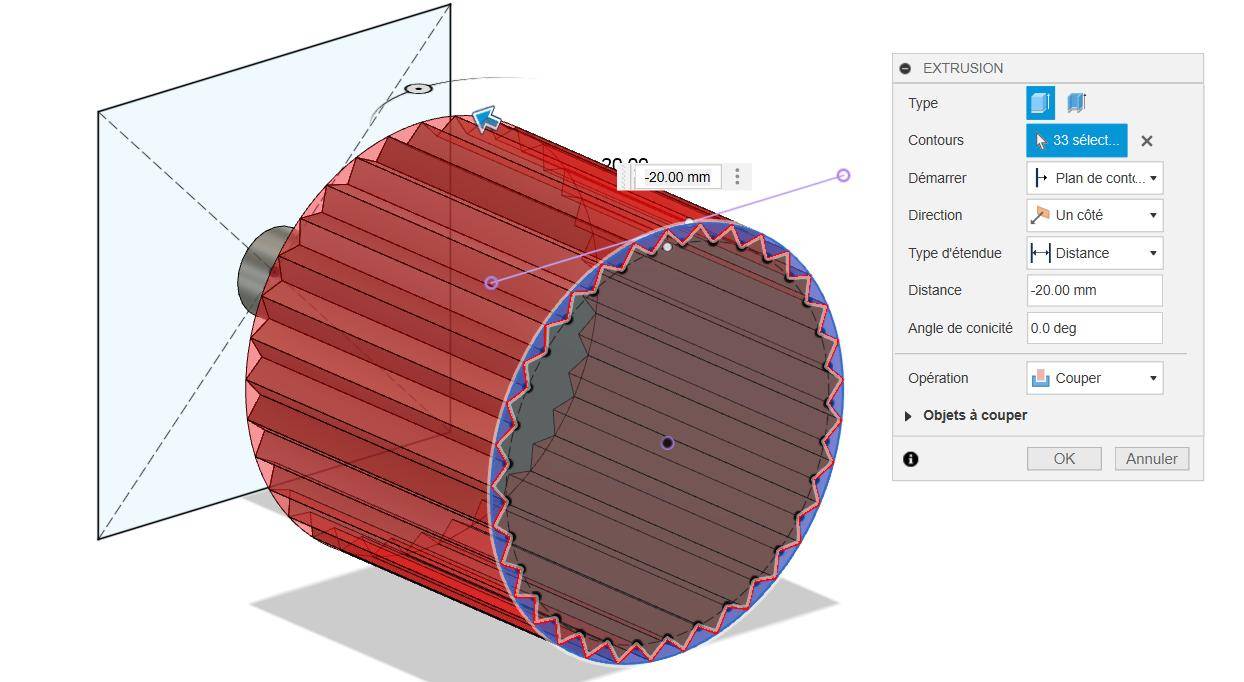
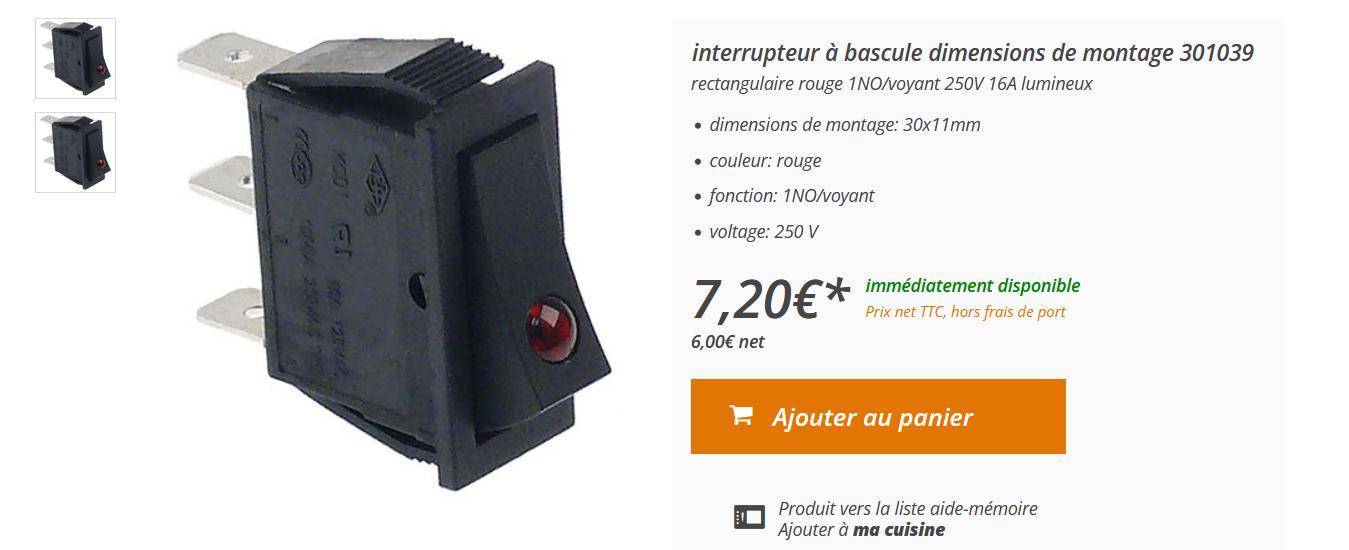
I also designed a switch using a commercial measurement.

Then, I duplicated them with the rectangular pattern tool.
I added connexion between the part. Starting by adding each body in a new componant and create connexion between theme. The mobile part needs to be determined first, then on the second tab you have to choose the type of mmovement. I first thought I coud make the switch work around a construction axe, but I had to add a physical axe on it.
For the rendering, I used a video tutorial to help me getting an environment more fitting to my project. I downloaded a High Dynamic Range Image (HDRI) on Polyhaven, a public 3D asset library. I had a lot of trouble doing the render. Fusion crashed several time when I imported the HDRI. I had to use another PC to do it. Then it wouldn’t start the render on canvas. The First HDRI I used was too large to be used on my actual PC. Using another PC, i manage to do some render and change the HDRI for lighter ones.

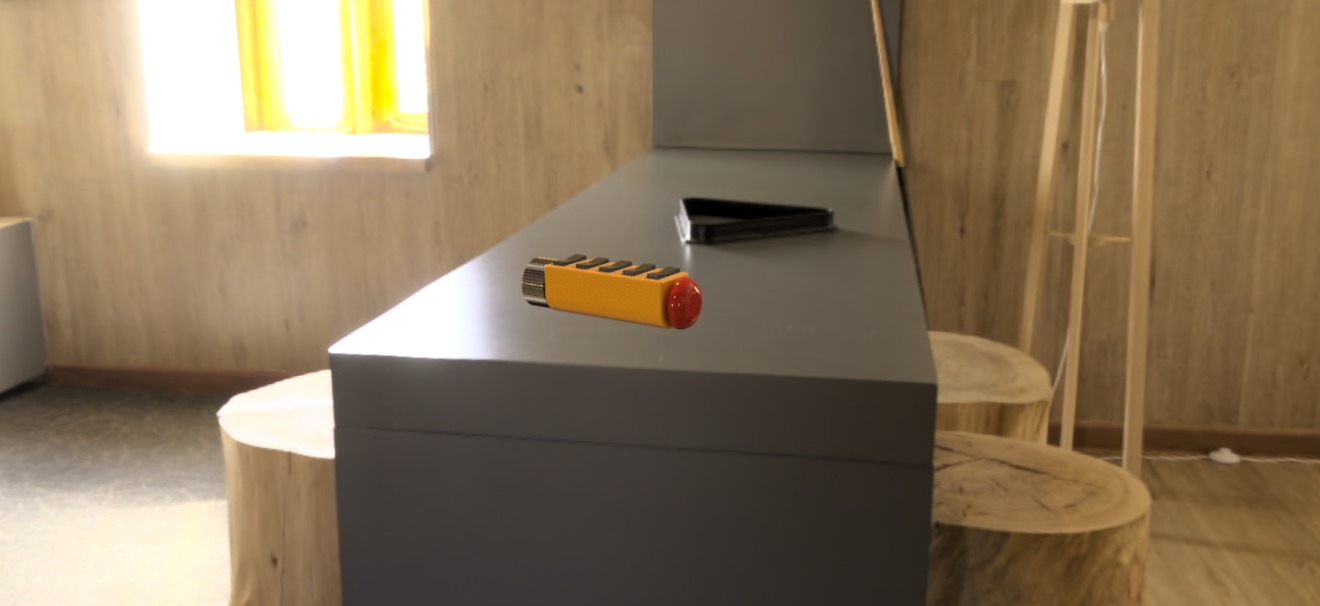 Finally, I made the animation in the same software. The UI is quite intuitive and I didn’t really struggle with it. The only mistake I made was creating a new scenario and not really paying attention to it. When I pushed my video, it compiled the two of them, and it took me quite some times to understand why.
My F3D file is too heavy to be push on the repository, maybe due to my HDRI mistake. So I used the fusion features that allowed to share own realisation through url link. You need to right click on your project in the side panel then choose to share the link.
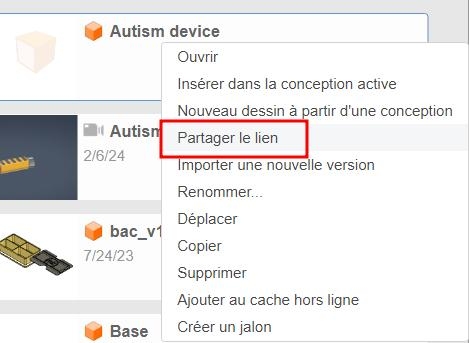
Link to my fusion model : Interaction Acceptance Device
To conclude, I really enjoy working on fusion, and the animation tool was instinctive to use.
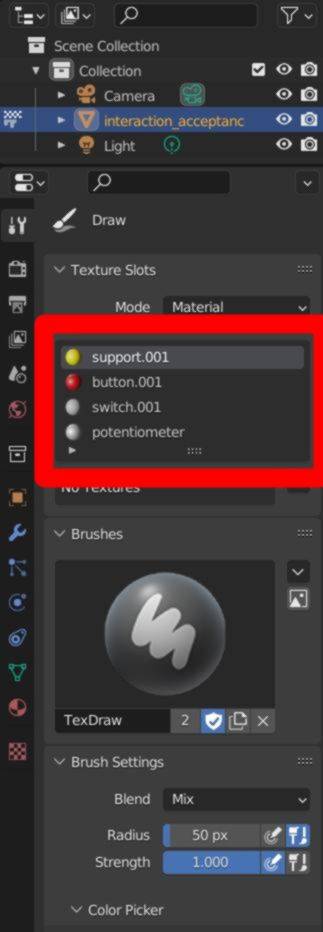
Blender
To try Blender, I imported my stl File from my Fusion design.
After resizing the stl, I followed this tutorial to add color on it. Infortunately, the UV mapping couldn’t recreate a full texture and the software didn’t allowed paint on the model.
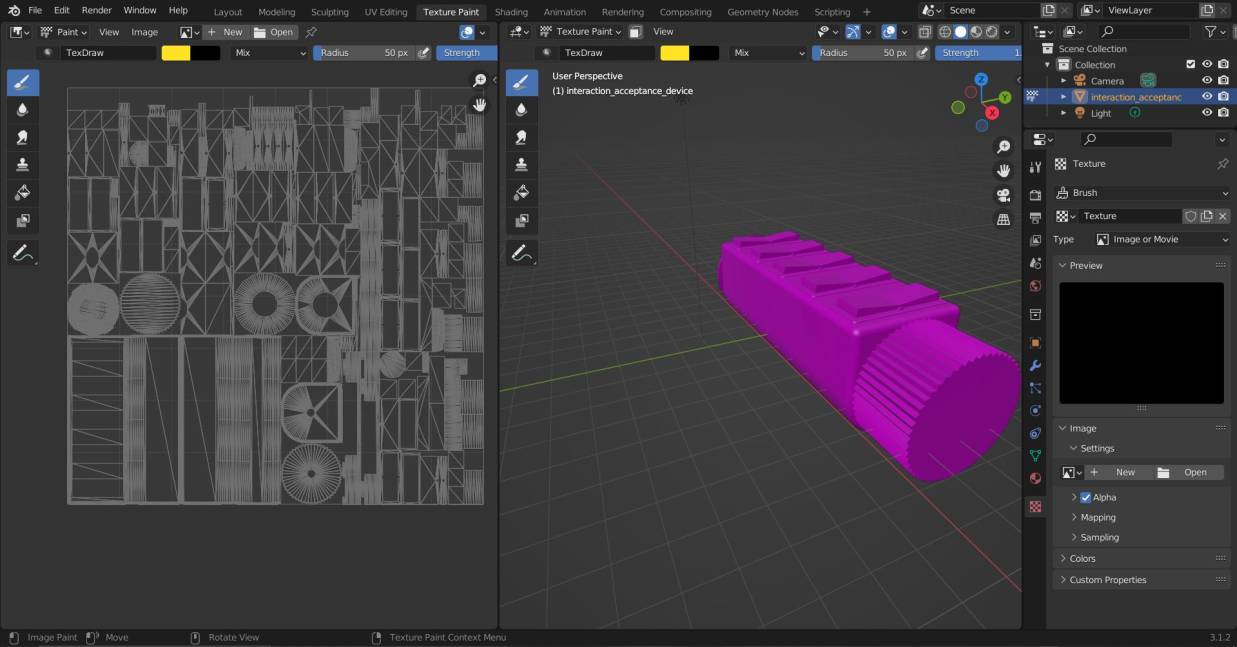
I had create four material with four color, and adding a metallic appearance to one

I didn’t have the time to explore the possibilities any further.
Capture and Compression Softwares
Capture
At first I used, the Windows snipping tool, as I can use it for on the fly editing.
Rapidly, I thought I need a software that allowed me auto-naming to gain time. For that purpose, I get Flameshot who can name snapshots, by date and hour in the folder I choose. It allows me to change the folder each week for a better files organisation.
Compression
For images, I used IrfanView as suggested by my instructor, because it’s fast and I can choose the weight of the file.
For video, I tried FFmpeg and choose to download a pre-build version at this page.
I use the code provided on the lecture’s documentation with no audio.
ffmpeg -i input_video -vcodec libx264 -b:v 1000k -vf scale=-2:1080 -an output_video.mp4

I also try the trim code to cut my mistaken scenario, but finally I recompiled the video.
ffmpeg -i input_video -vcodec libx264 -b:v 1000k -an -ss 00:00:10 -t 00:00:10 output_video.mp4
Class Archives
Here are the realisation of the week :
Gimp study : Capture modified
Krita study : mood-interaction acceptance table
Inkscape design : Smiley design
Fusion link : Interaction Acceptance Device
Fusion stl file : Interaction Acceptance Device
Blender file : Blender test
Impression of the week
 For this week, I wanted to try more softwares to understandtheir particularities but I ran out of time. I think I spent too much time trying to figure out Gimp functionalities so I had to rush ding my final projects design. Krita and Fusion had my entire attention and when I thought my designs were okay, I tried Blender and Inkscape. I regret I didn’t found the time to test freeCAD and OpenSCAD. For next weeks, I think I need to avoid the many rabbit holes every tasks offers to respect my schedule.