Week :Wild card (composite material)
Group assignment
For our group assignment, we will be using Smooth-Cast™ 305 liquid plastic to conduct tests with fabric. we will use two different types of fabric to compare and see the differences between them. Additionally, we will perform tests on each fabric to observe the effects of varying the number of layers.
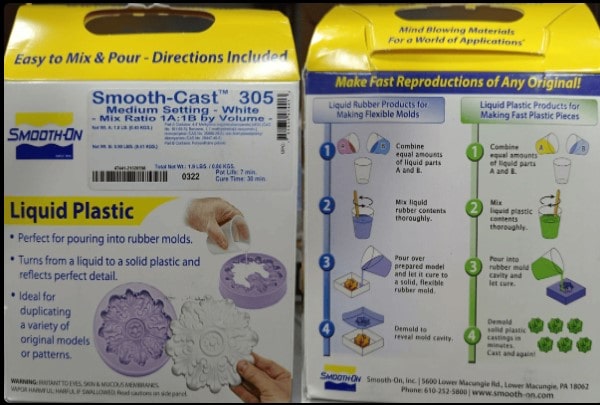
I will prepare the mix by measuring the ingredients based on volume.
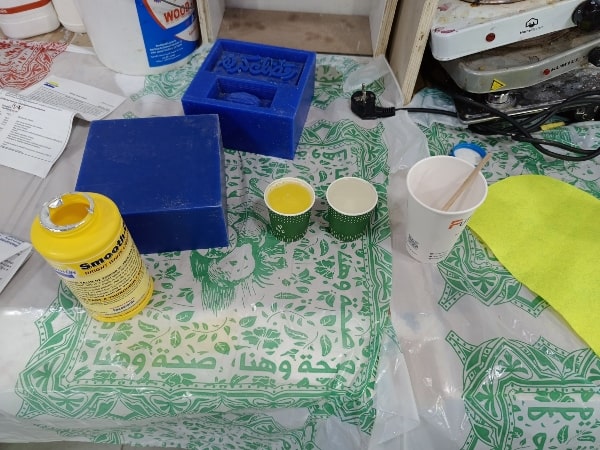
The first fabric we will use is linen. we will create two samples, one with 3 layers of linen fabric and the other with 5 layers as well.
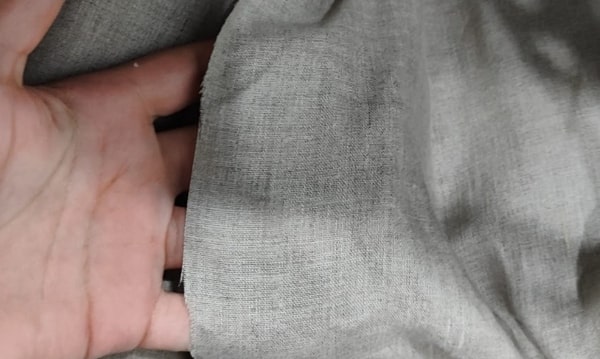
The second fabric I will use is burlap. I will create two samples using burlap: one with 2 layers and the other with 4 layers. This will allow us to compare the effects of layer thickness on the performance and characteristics of the burlap fabric in combination with the resin.
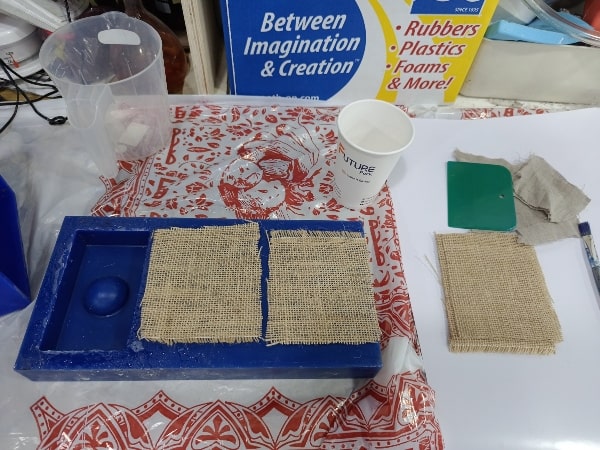
After preparing the mixture, we will apply it onto the fabric and use a brush to push and spread it evenly.

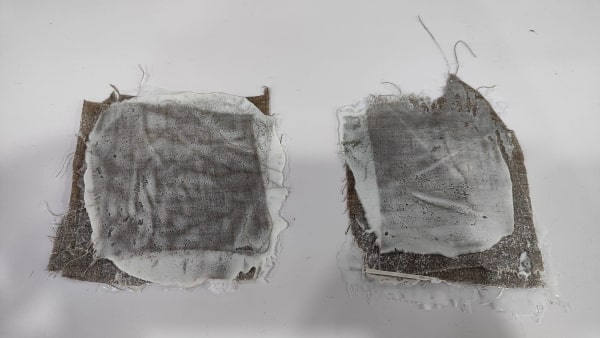
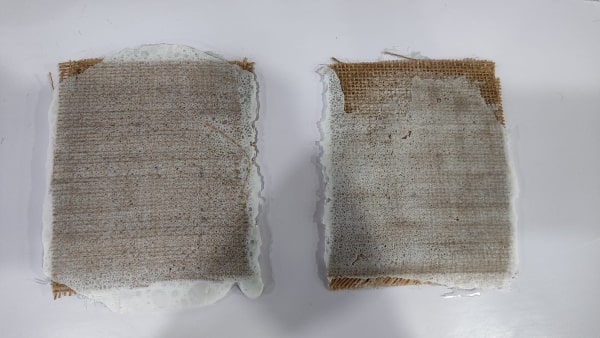
In conclusion, if we want to strengthen the model, we can add more layers of fabric.
Additionally, the type of fabric used makes a difference. Between linen and burlap, linen fabric tends to be stronger than burlap. Linen is known for its superior strength, durability, and resistance to stretching compared to burlap.
Individual Assignments:
Composite Material
Composite materials are engineered materials made by combining two or more different constituent materials, each with its own unique properties, to create a new material with enhanced characteristics. The purpose of using composite materials is to take advantage of the best properties of each component material while minimizing their individual limitations.
When mixing composite materials with other substances like resin, the process typically involves impregnating a reinforcing material, such as fibers or particles, with the resin. The resin acts as a matrix that holds the reinforcement together and transfers loads between the reinforcement elements.
The most common type of composite material is fiber-reinforced composites, where fibers, such as carbon, glass, or aramid fibers, are embedded within a resin matrix. The fibers provide strength, stiffness, and other mechanical properties, while the resin matrix protects the fibers and provides durability and binding between the fibers.
The process of combining composite materials with resin involves several steps. First, the reinforcing fibers are prepared by aligning or weaving them into a specific pattern to optimize their performance. Then, the fibers are impregnated with the resin, typically through processes like hand lay-up, vacuum infusion, or resin transfer molding. The resin is allowed to cure or harden, resulting in a solid composite material with improved properties.
The resulting composite material exhibits a combination of the desirable properties of both the reinforcing fibers and the resin matrix. For example, the fibers provide high strength and stiffness, while the resin matrix contributes toughness, chemical resistance, and dimensional stability.
By carefully selecting the type and arrangement of the reinforcing fibers and choosing the appropriate resin, composite materials can be tailored to specific applications. The addition of resin enhances the overall performance and processability of the composite material, making it more versatile and suitable for various industries such as aerospace, automotive, construction, and sports equipment manufacturing.
There are number of method to make composite material with resin as follow :
Hand Lay-up:
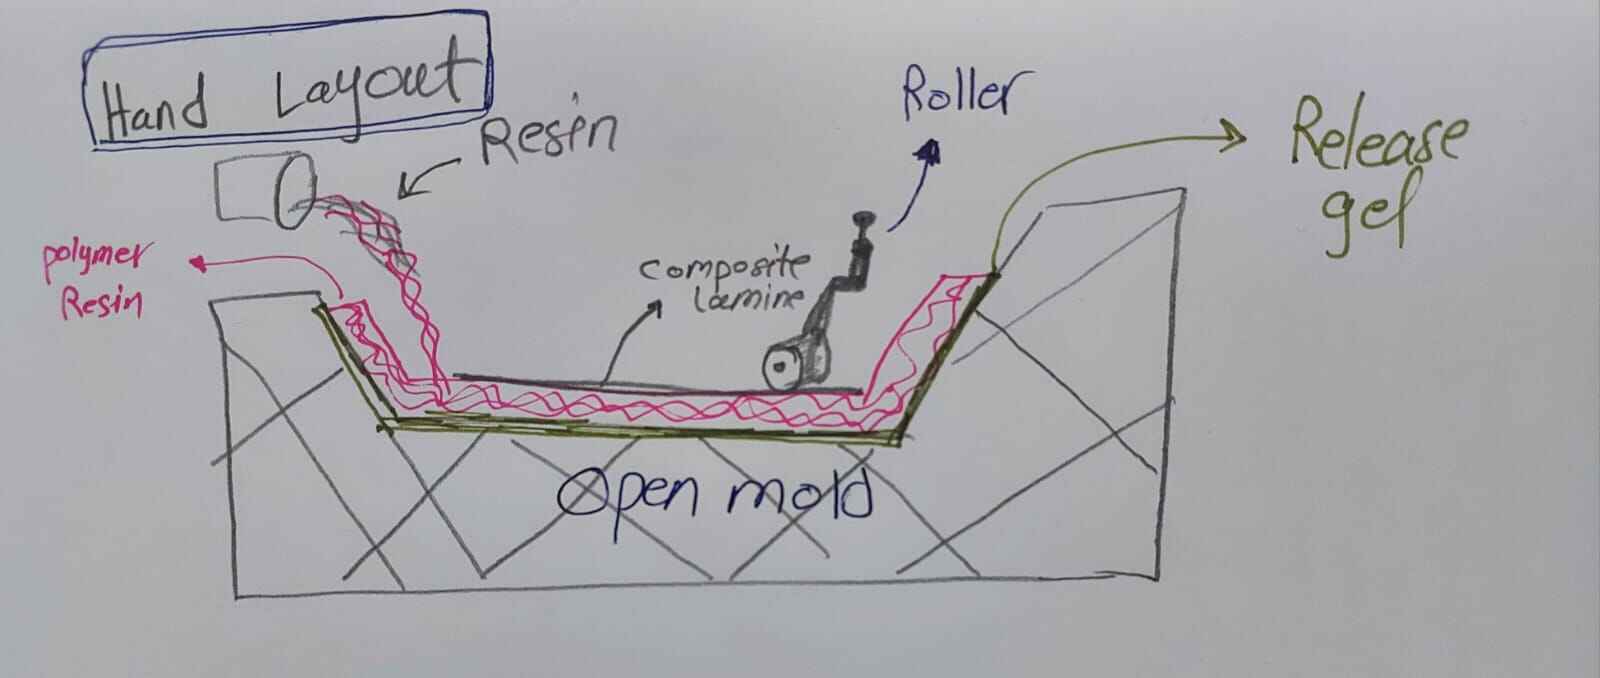
Hand lay-up is a manual process where layers of reinforcing fibers, such as fiberglass or carbon fiber, are laid onto a mold or tooling surface. The fibers are typically pre-cut or pre-impregnated with resin. In this method, the resin is manually applied onto the fiber layers, either by brushing or rolling, to impregnate them fully. The layers are carefully built up until the desired thickness and fiber orientation are achieved. After the resin cures, the part is removed from the mold, trimmed, and finished as needed. Hand lay-up is a common and versatile method used for producing composite parts of various sizes and complexities.
Vacuum Infusion:
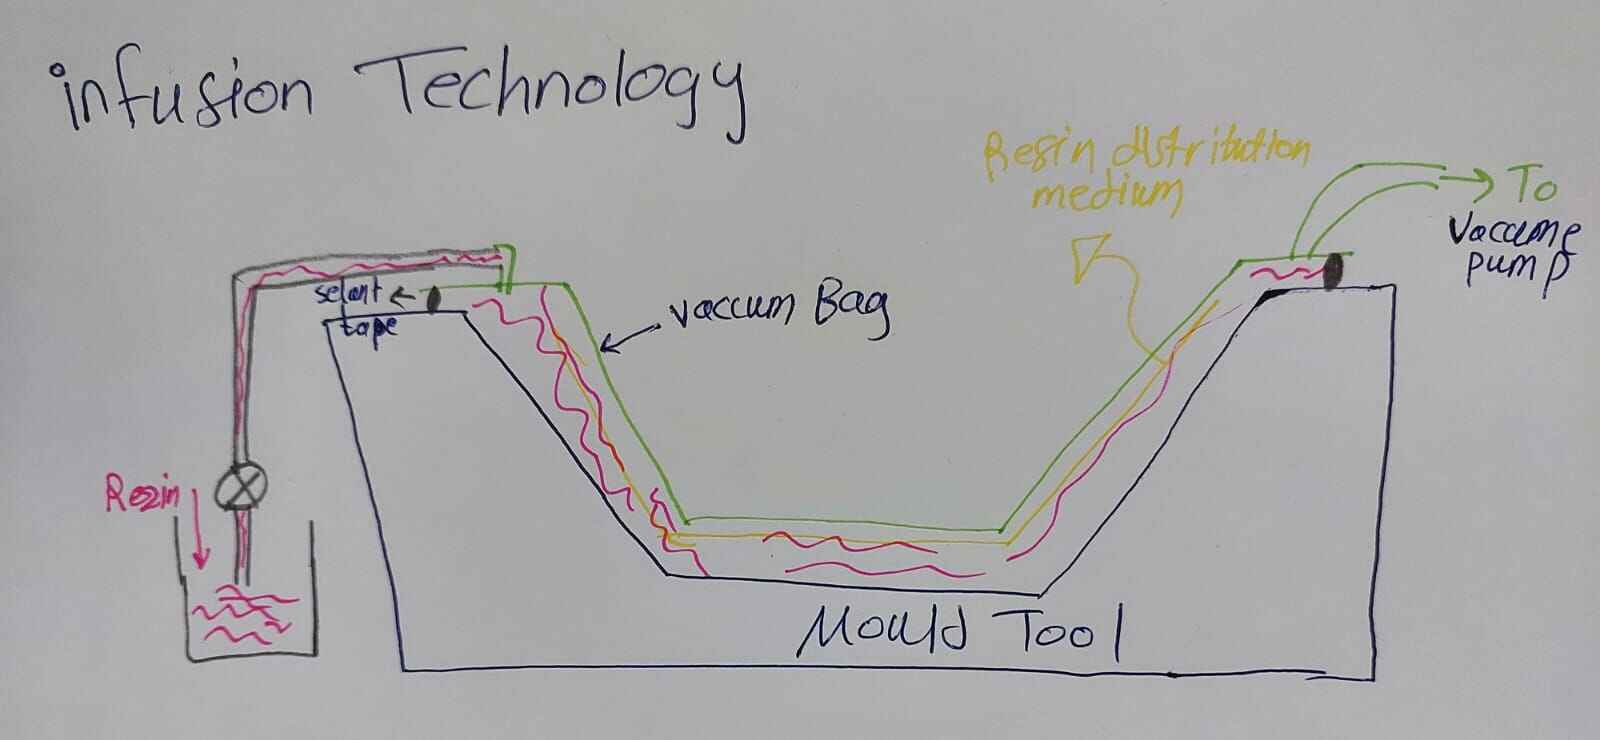
Vacuum infusion, also known as resin infusion, is a closed-mold process used to produce composite parts with a high fiber-to-resin ratio. In this method, dry reinforcing fibers, often in the form of a fiber preform or dry fabric, are placed onto a mold or tooling surface. A vacuum bag is then sealed over the mold to create an airtight enclosure. A vacuum is applied to remove air from the mold and the fiber stack, creating a pressure differential. Resin is introduced into the mold through strategically placed inlet ports, and the vacuum pressure draws the resin through the fibers, fully impregnating them. The part is left to cure, and once hardened, it can be demolded and finished as required.
Resin Transfer Molding (RTM):
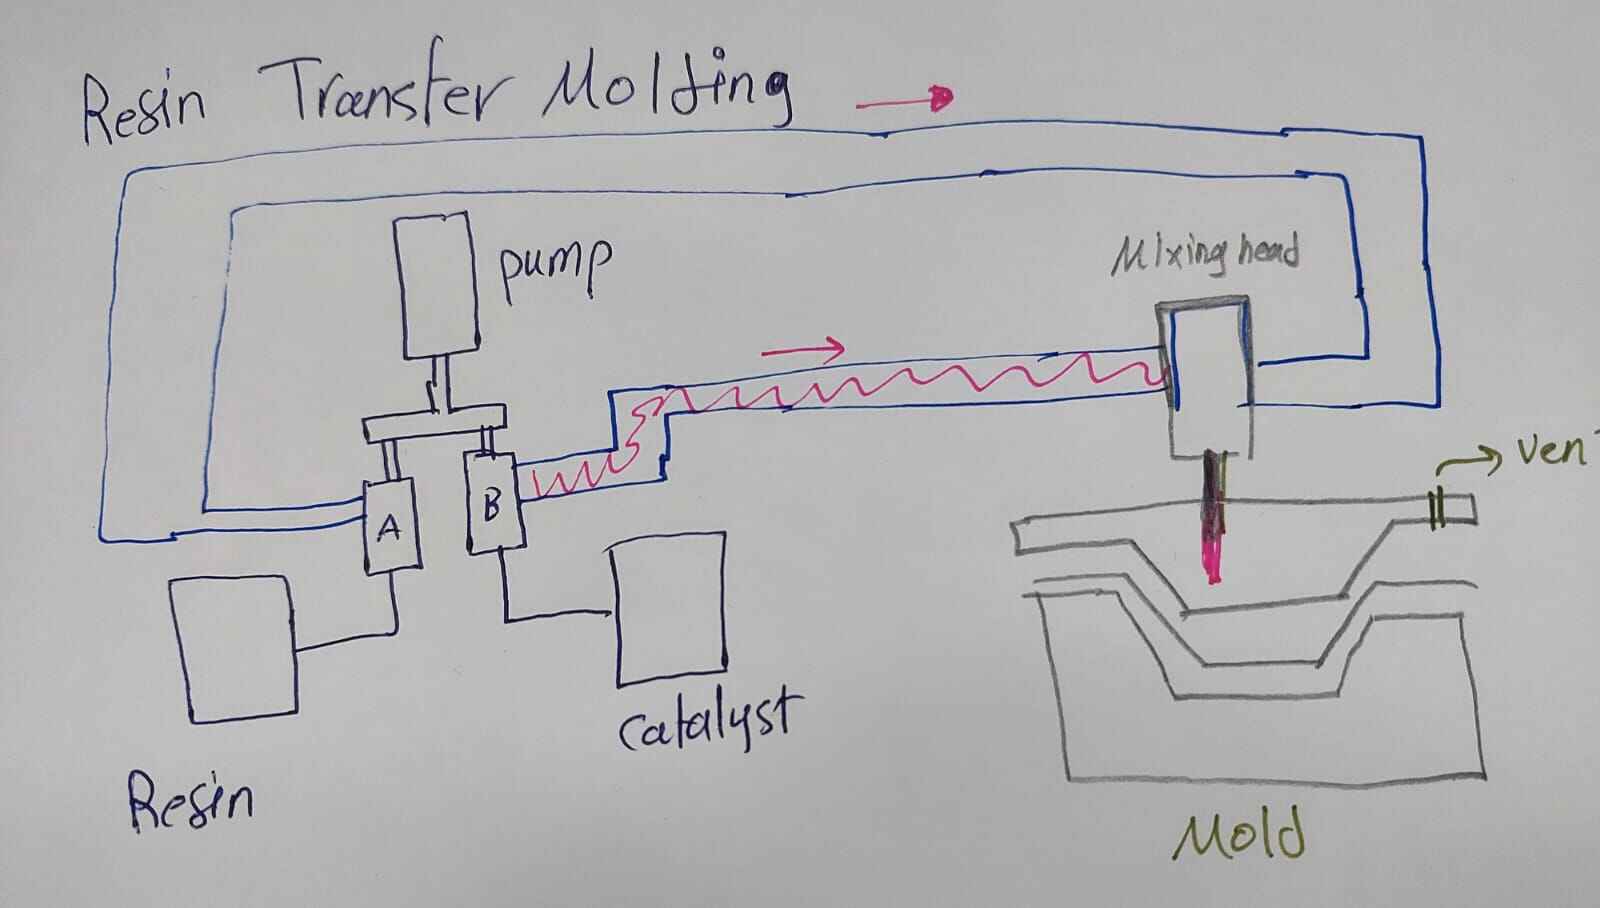
Resin transfer molding is a closed-mold, low-pressure process used for producing composite parts with complex shapes and high surface finish. In RTM, two halves of a mold are used, typically made of metal or composite materials. Dry reinforcing fibers are placed into one half of the mold, and then the mold is closed. A resin injection system, including a resin supply, pump, and injection ports, is connected to the mold. The mold is then filled with resin under controlled pressure, displacing air and fully saturating the fibers. The resin cures within the mold, and once solidified, the mold is opened, and the part is removed. RTM allows for precise control over fiber volume fraction and offers good surface finish and dimensional accuracy.
Hand layout
INFUSION TECHNOLOGY
RTM
Idea Inspiration
Chess is an amazing game that challenges your thinking and has been played for a long time. I love chess because it makes you consider every move carefully. After learning about composite materials and their strength and durability, I got an idea. I thought about making a chess board using these materials to make it strong and long-lasting. I wanted to combine the history of chess with the toughness of composite materials.
In this project, I will create a chess board that can withstand the test of time by using composite materials. These materials are light but very strong, and they are used in many things that need to be tough and lightweight. I want to make a chess board that not only looks great but also lasts a long time, so chess lovers can enjoy playing for years to come.
as I learn about composite materials ,In this week I will use a method called hand layup to create the chess board.
so firstly I make the mold that I will shape my board with so I design it using fusion then export it to cut it using laser cutter
Material
- Burlap fabric: Burlap will provide strength to the layers of the chess board.
- Soft fabric: The soft fabric will aid in absorbing and distributing the resin material effectively.
- Resin: Resin will be used to bond the layers together, creating a strong and durable chess board.
- Wax: Wax will act as a release agent, preventing the first layer from sticking to the mold.
- Acrylic sheet: An acrylic sheet will be used to create a square mold with dimensions of 320mm x 320mm.
Tools:
- Laser cutter: The laser cutter will be used to precisely cut the acrylic sheet into the desired mold shape.
- Scissors: Scissors will be needed to cut the burlap and soft fabric to the appropriate sizes for layering.
- Mixing container and stirrer: These tools will be required to mix the resin properly before application.
- Brush: A brush will be used to apply the resin onto the layers evenly.
- Gloves: Personal protective equipment should be worn while working with resin.
- Sandpaper: Sandpaper will be useful for smoothing the surface of the chess board during finishing.
- Clean cloth or sponge: These can be used to clean and prepare the mold before applying the wax.
Design
I used Fusion 360, a 3D modeling software, to design a square box for the chess board mold. The box has special interlocking fingers that connect the walls with the base. These fingers are slightly longer to make it easier to secure the fabric layer edges.
The mold's dimensions were carefully set to match the desired chess board size: a square shape measuring 320mm x 320mm.
lets see the design
I used a Trotec laser cutter to cut a 3mm thick acrylic sheet for the chess board mold.
After carefully measuring and marking the dimensions (320mm x 320mm),
I positioned the acrylic sheet in the laser cutter and set the parameters for optimal cutting.
I assemble the acrylic part and make the mold I use some super glue at its edges to make connection stronger
.jpg)
Composite Layup:
1. Prepare the base layer:
- Cut a white square fabric from a t-shirt to serve as the base.
- Cut a black square measuring 40mm x 40mm to assemble on top of the white fabric.
- Use a laser cutter to ensure precise cuts on the fabric pieces.
- Attach the black square to the white fabric using glue, creating a stable bond.
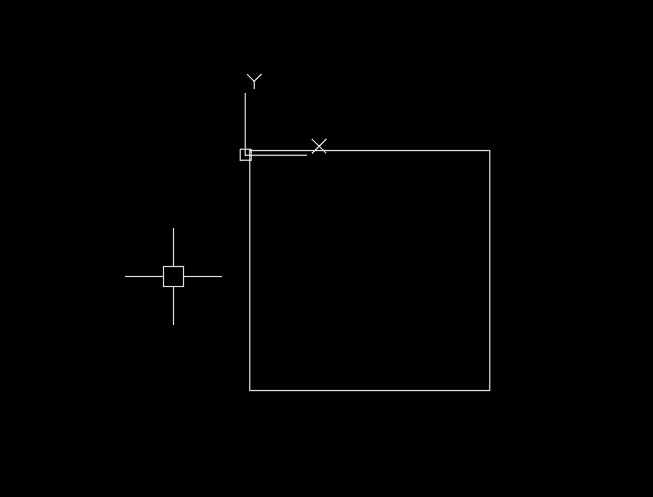
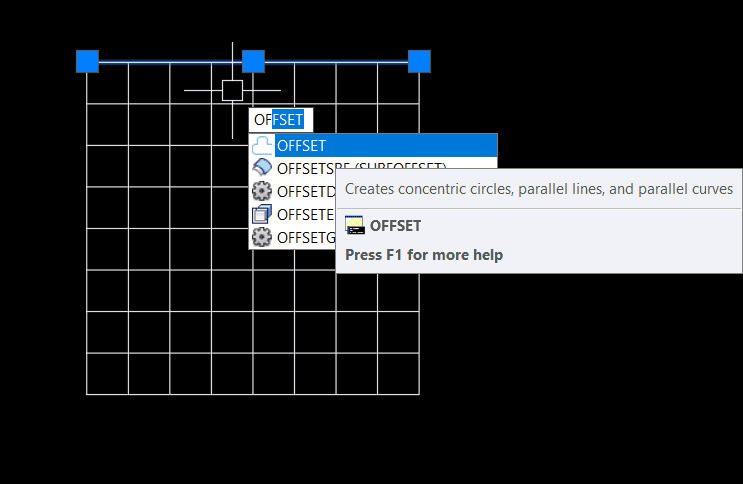
so, I prepare a design in 2D to cut black square and a big white square fabric using laser cutter , so I design it using Autocade then cut it using laser cutter
so here I draw a square with size 32cmx32cm using autocade
here I make a grid of square with size 4cmx4cm to make the black square
I use this nice T-shirt to make my white square
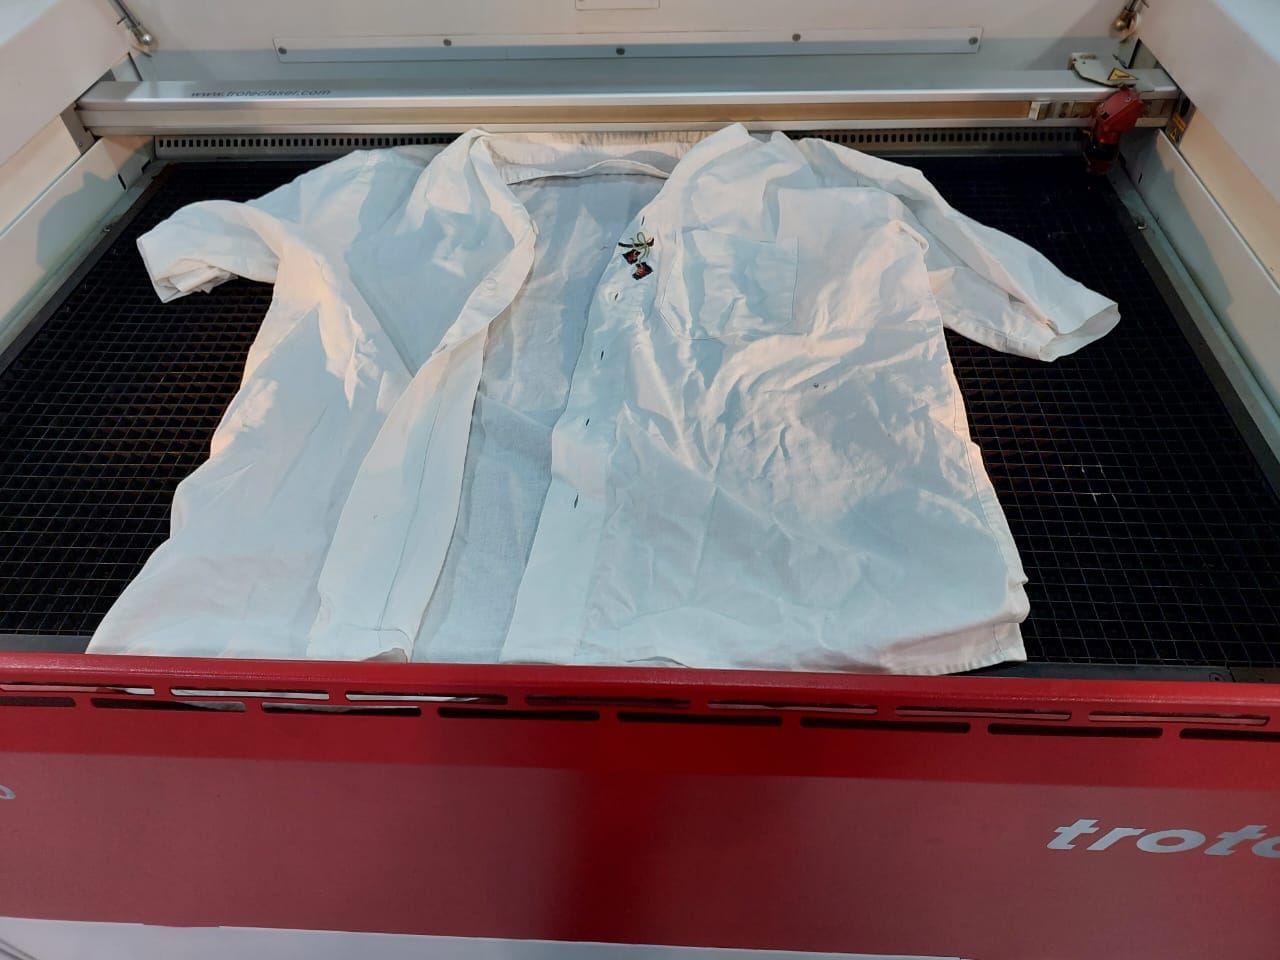
white square
Black square
gluing and attachment process

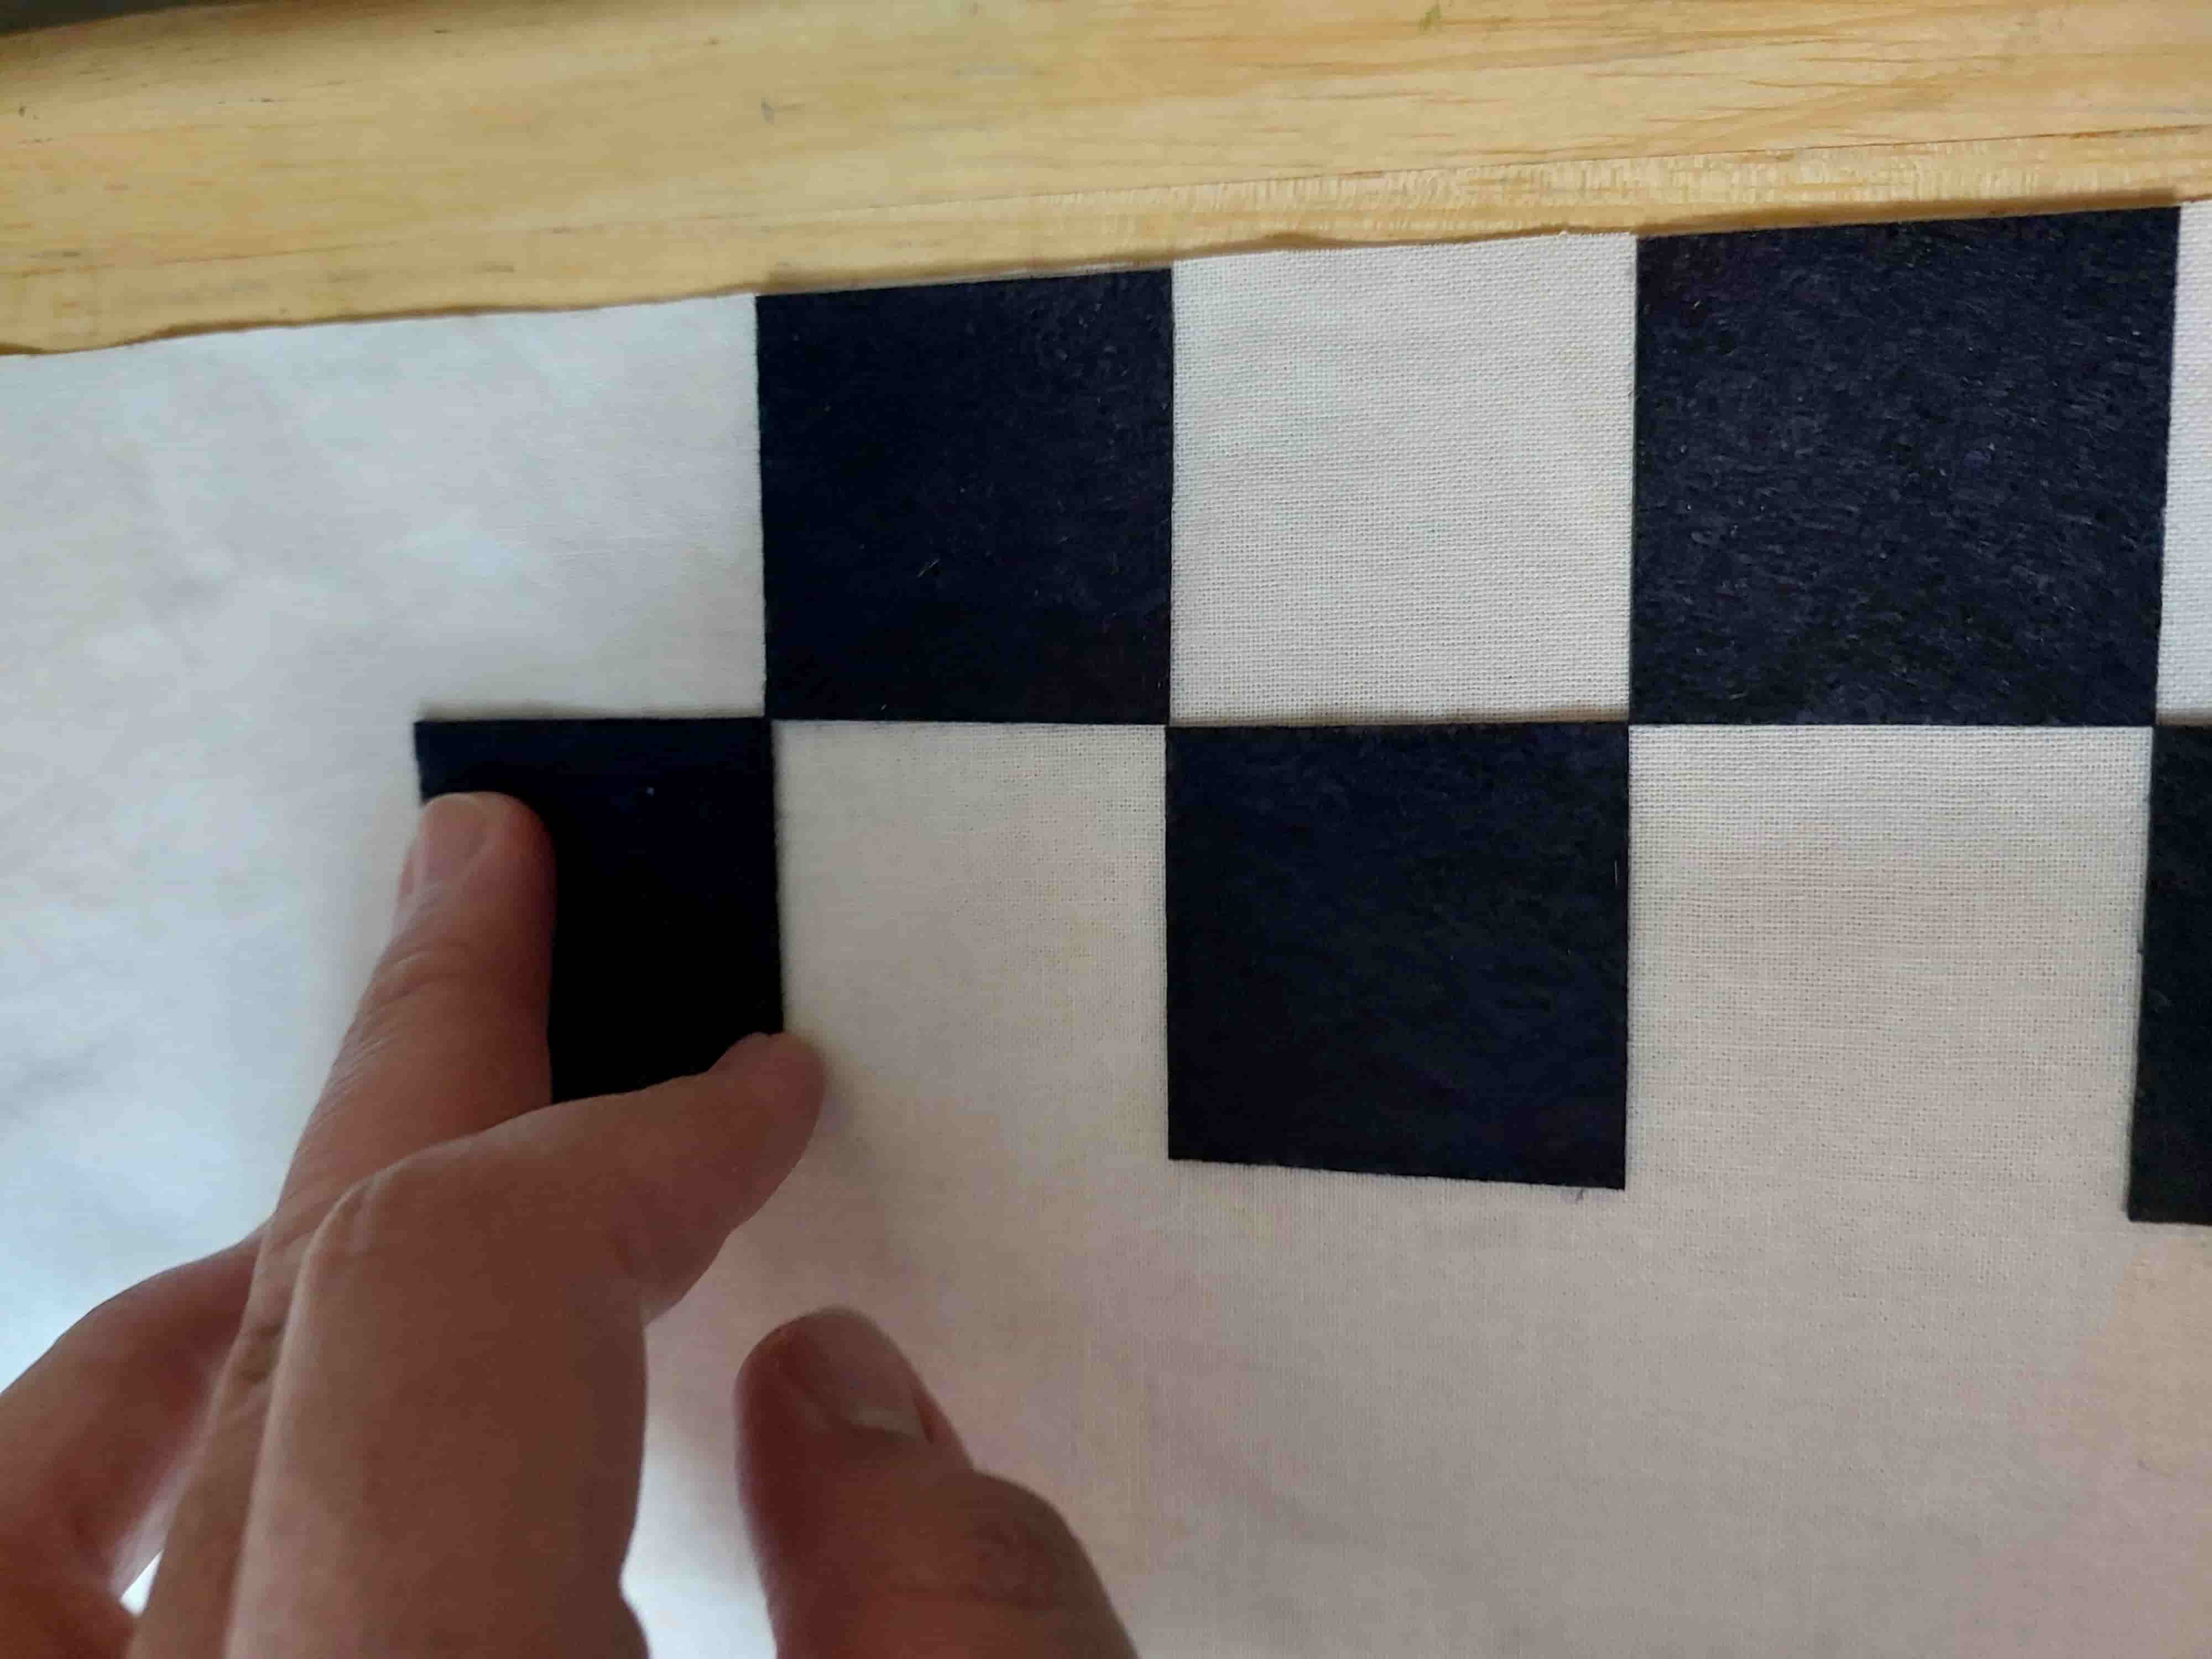
Final look
.jpg)
2. Prepare the mold:
- Apply a thin layer of wax to the mold surface as a release agent,I use this brand you can use any wax surly it will work.

3. Begin the composite layup process:
- Start by applying a coat of resin using a brush, saturating the black and white fabric layers.
- Add a layer of burlap, focusing on immersing it with resin, especially along the mold walls.
- Add a layer of soft fabric and immerse it with resin to ensure even absorption.
- Continue with another layer of burlap, followed by the final layer of soft fabric, immersing each layer with resin.
- Place a piece of acrylic on top of the layers to distribute pressure evenly and consolidate the structure.
4. Curing process:
- Leave the composite board with the acrylic piece in place to cure overnight.
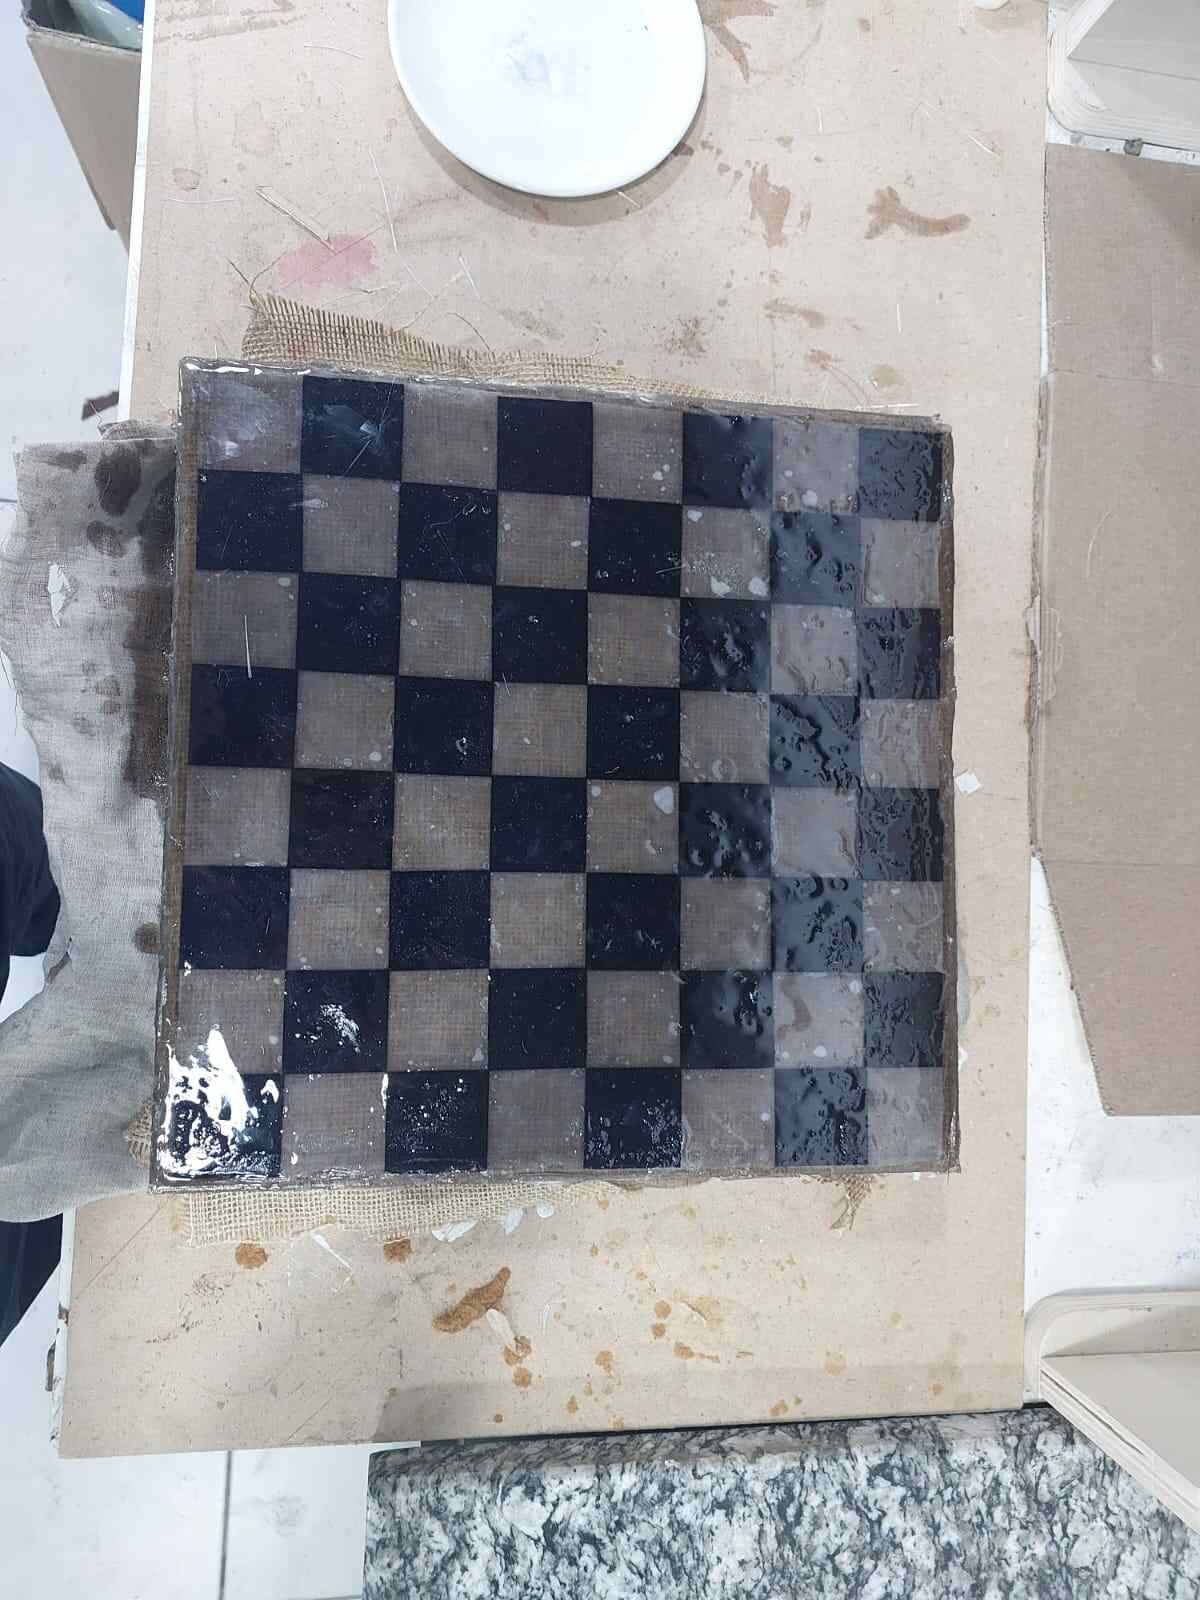
then after curing I remove the acrylic mold ,I use an air pump and a sharp edge tool to help me in removing the mold
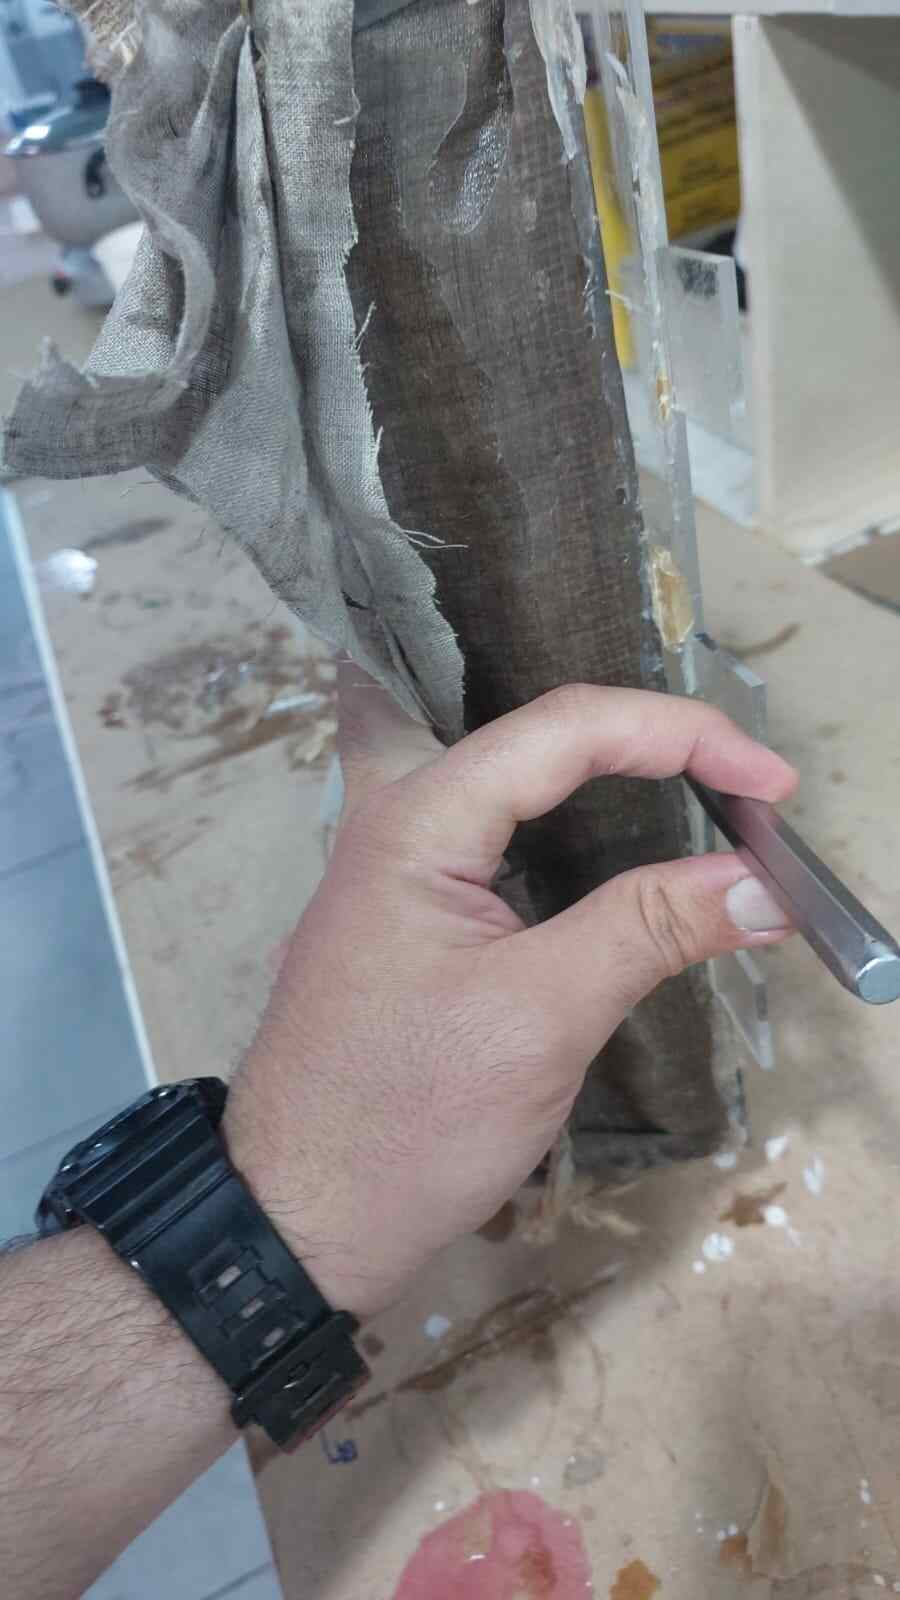
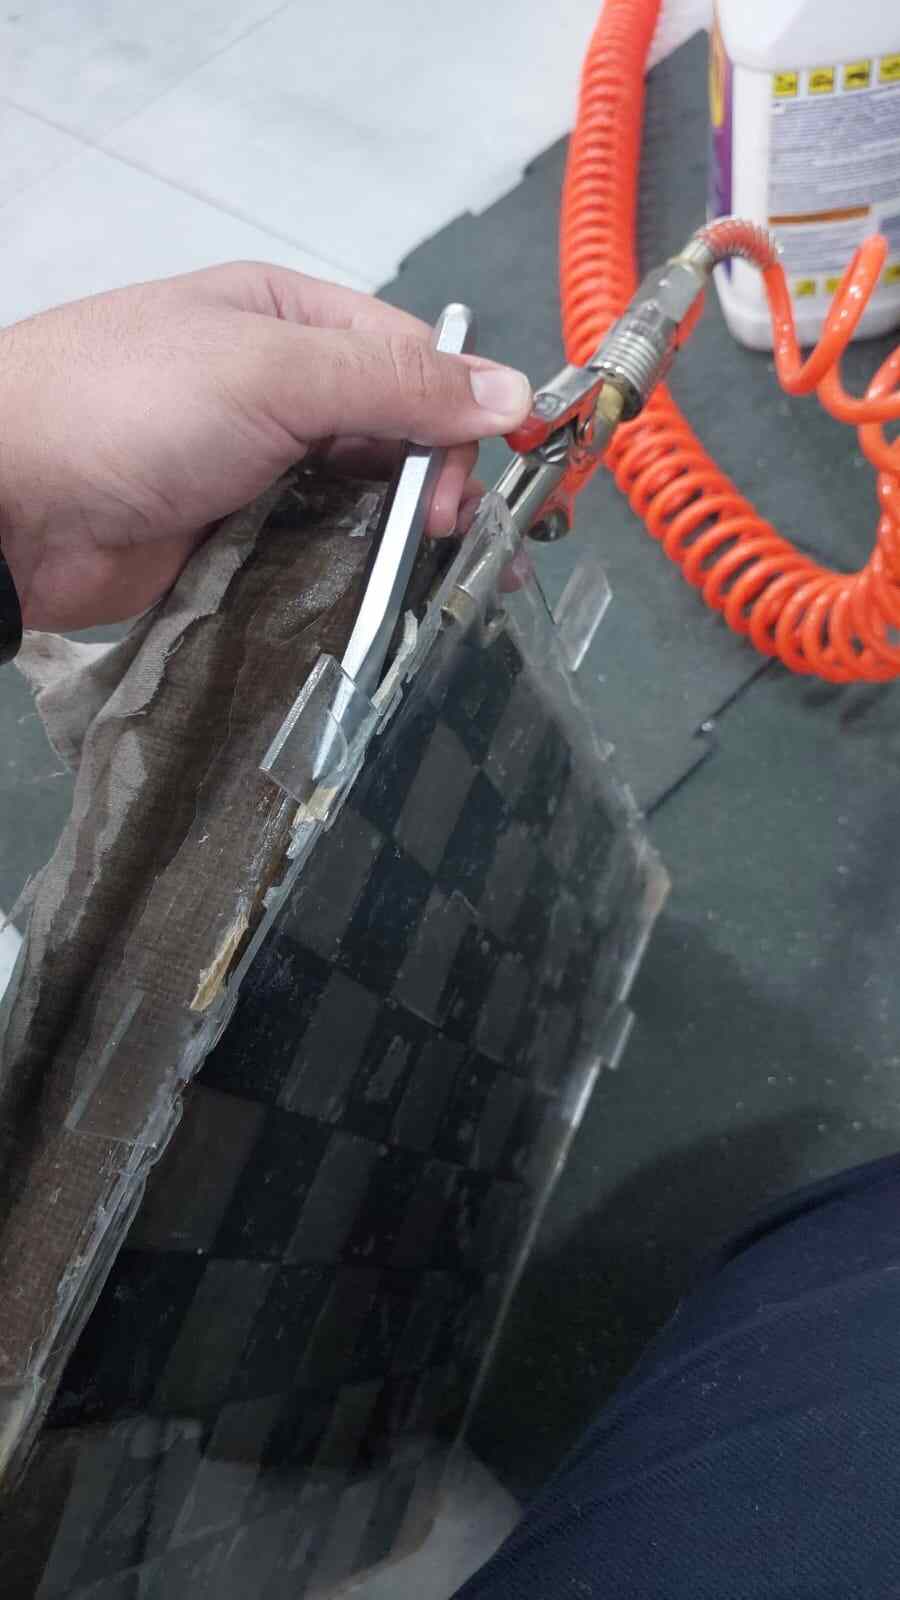
and that is the result I happy with it as a first time for me
Finishing and Post-processing:
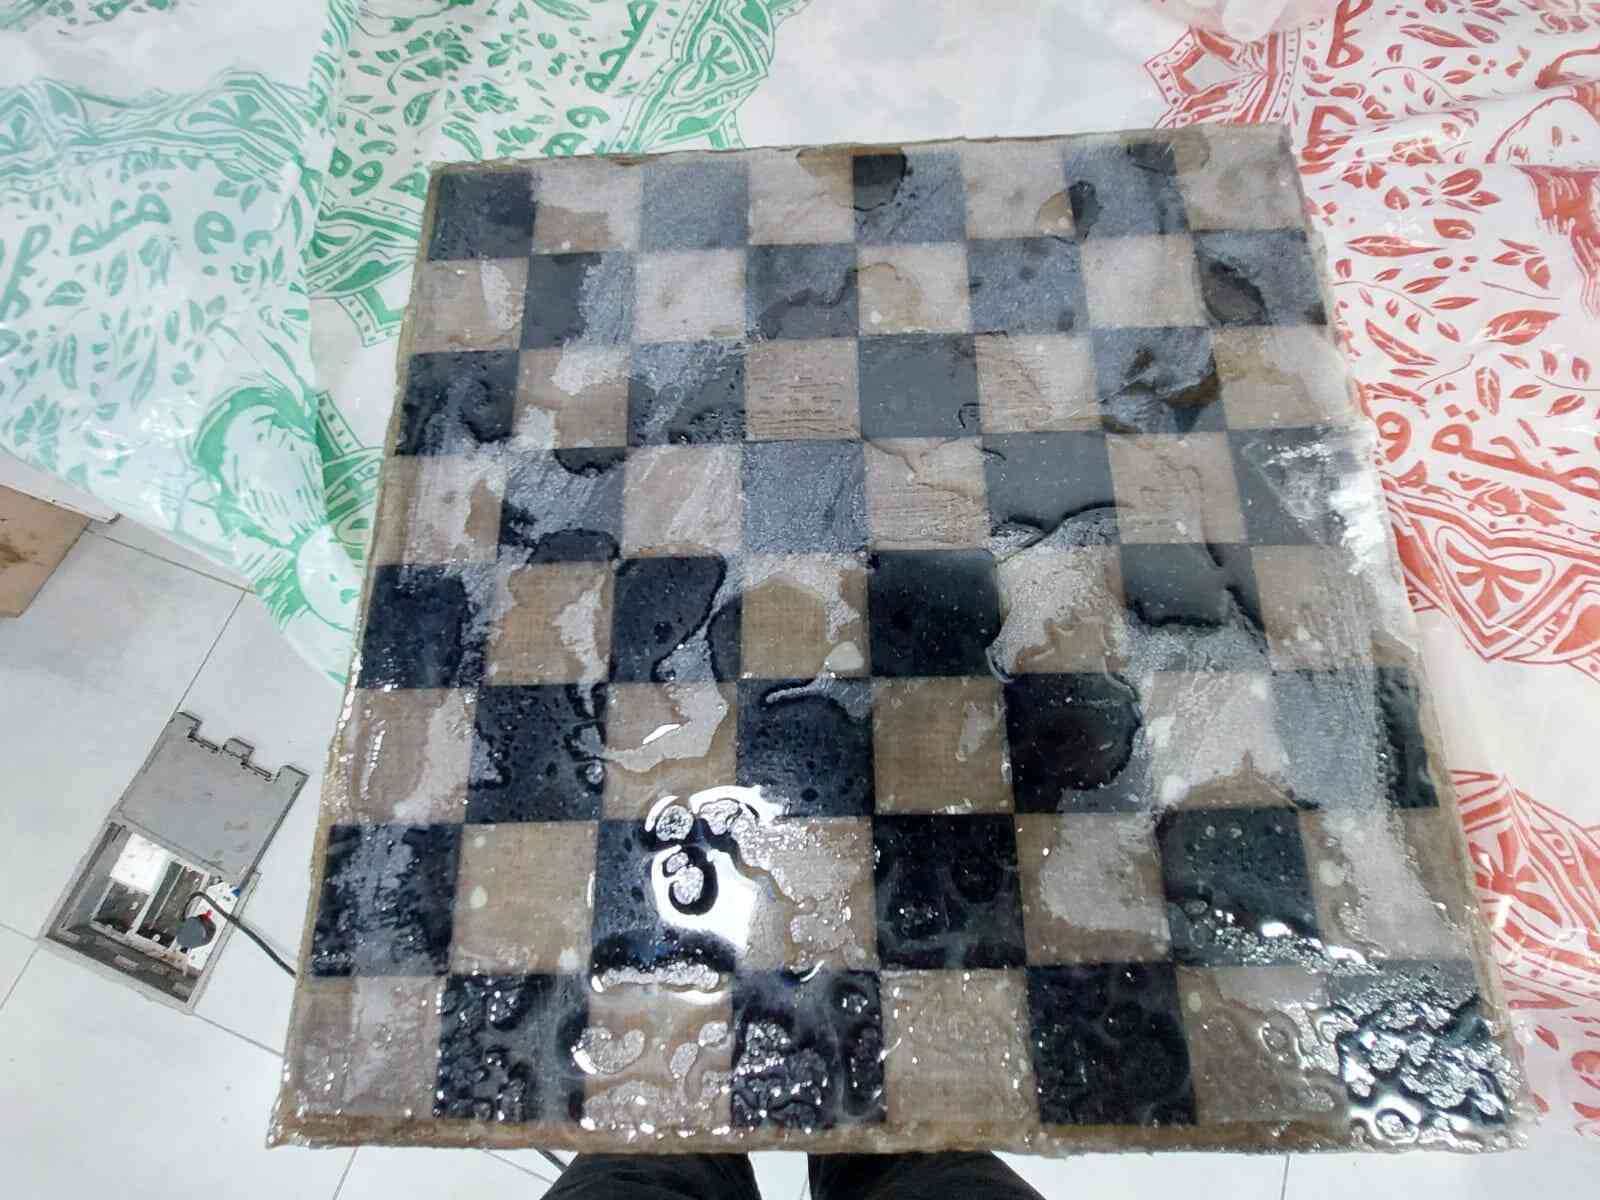
After removing the mold, I add an extra layer of resin to the composite chess board. This step helps enhance the board's surface finish and adds an additional protective layer. To achieve a smooth and polished appearance, I will use sandpaper with a roughness of 90, gradually increasing it up to 110. This process will ensure any rough edges or imperfections are smoothed out, resulting in a visually appealing final product.

Lessons Learned and Improvements for Future Projects
While working on the project this week, I encountered a few issues that affected the final outcome. These issues included the bottom acrylic piece getting stuck and the presence of holes or bubbles on the top layer. Here's a closer look at what went wrong and how to avoid such problems in the future:
- Bottom Acrylic Piece Getting Stuck: One mistake I made was not applying a proper release agent, such as a wax layer, between the composite material and the bottom acrylic piece. As a result, the composite material bonded with the acrylic, making it difficult to separate the two without causing damage. To avoid this issue in the future, it's essential to use a suitable release agent that prevents adhesion between the composite material and any underlying surfaces.
- Holes/Bubbles on the Top Layer: Another issue I faced was the presence of holes or air bubbles on the top layer of the chess board. This occurred because the first layer of the composite material was not adequately pressed or compacted with resin, which allowed air to get trapped within the material. To prevent this problem, it's important to ensure proper resin saturation and use appropriate techniques, such as vacuum bagging or applying pressure, to eliminate air bubbles and achieve uniform resin distribution throughout the composite layers.
To improve the overall outcome of future projects involving composite materials and resin, I will take the following steps:
- Thoroughly clean and prepare the surfaces before applying any composite material.
- Apply a suitable release agent, such as a wax layer, between different layers or materials to prevent adhesion.
- Ensure proper resin saturation by applying sufficient pressure or using techniques like vacuum bagging to eliminate air bubbles.
- Follow best practices and guidelines for composite material handling and curing processes.
- Regularly inspect the work during each step of the project to identify any potential issues and make necessary adjustments or corrections.
By learning from these mistakes and implementing these preventive measures, I aim to achieve better results in future composite material projects and avoid similar challenges.
Conclusion:
In conclusion, working with composite materials has allowed me to create a lightweight and durable chess board. By combining different layers, such as fabric, resin, burlap, and soft fabric, I have achieved a strong and long-lasting structure.
An important consideration when working with composites is to apply a layer of wax to the mold or any external parts. This prevents the composite material and resin from sticking, allowing for easy removal and preserving the integrity of the finished product.
By leveraging the advantages of composite materials, including their strength, lightweight nature, and durability, I have successfully merged the historical significance of chess with the strength of modern composites
I am happy with the result and I think its a good start for me.
.svg)

