Design week
My 3d model will be a ring that you can wear it on your head and help you to have a good sleep also help you to wake up easily, so I will use fusion 360 for the design and I will show you the steps that I follow to do my design first of all to start any 3d design model you will need to start with the 2d sketch then you will go and extrude your design for the 3rd dimension
So, you will need to have a good background about the basic of 2d drawing so I will use Autocade to make a simple 2d design and then I will go to fusion 360 to make 3d model
2D design (vector & raster image )
Vector graphics are also known as scalable vector graphics (SVG).
These graphics
consist of anchored dots and are connected by lines and curves, similar to the connect-the-dot
activities you may have done as a kid.
Because these graphics are not based on pixels, they are known as resolution independent ,
which makes them infinitely scalable. Their lines are sharp, without any loss in
quality or detail, no matter what their size. These graphics are also device-independent,
which means their quality doesn't depend on the number of dots available on a printer or the number of pixels on a screen. Because they
consist of lines and anchor points, its file size is relatively small .
Raster images are made of pixels or tiny dots that use color and tone to produce
the image. Pixels appear like little squares on graph paper when the image is zoomed
in or enlarged. These images are created by digital cameras, by scanning images into a computer or with raster-based software ().
Each image can only contain a fixed number of pixels; the amount of pixels determines the quality of the image . This is known as resolution. More pixels result in better quality at the same or larger sizes as the original,
but this also increases the size of the file and the amount of space it takes to store the file.The lower the number of pixels, the lower the resolution. Resolution limits the size the image can be scaled up without being able to see pixels.
However, a high resolution image printed at a small size will cause the pixels to "cram" together and will make the image look as unprofessional as not having enough pixels in a large image.
Note: I get those useful definition from here
2D Vector image
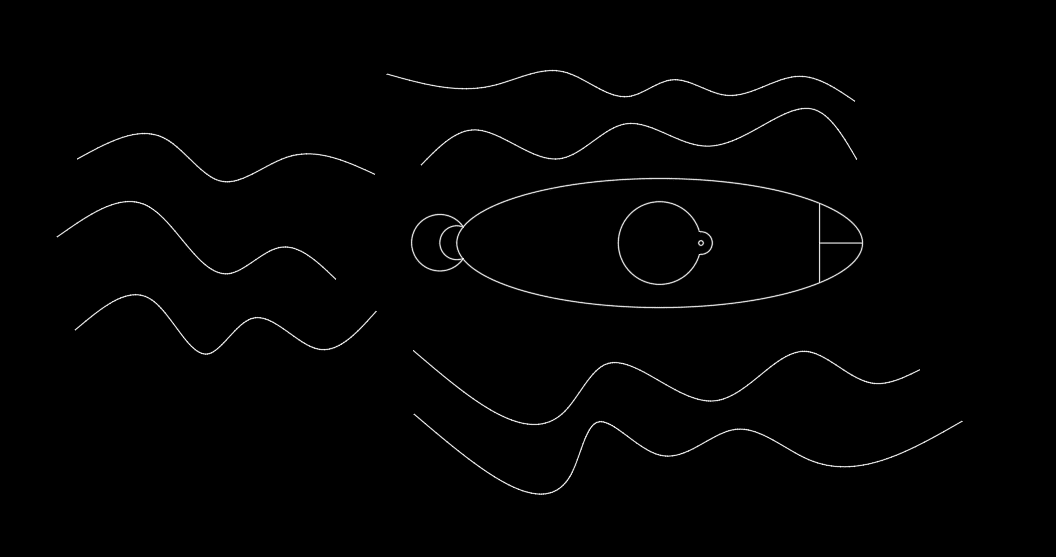
So, now I will use a software that give me a vector image and another software for raster image ,there is number of software for vector image like Autocade ,Illustrator and InkScape ,So, for me I will use Autocade and I will draw a top view of a submarine , first of all I open autocade then start by drawing an ellipse and you will specify the dimension in x and y as shown in pic


Then I draw a circle , all you need to specify is the center location and the radius value


And then I use the trim tool to delete the intersect line you should to select the model then enter then start to choose the lines that you need to delete


Then I draw a circle in the middle and use the straight line to draw the other part

Then I use the spline to draw a line with curve all you need is to choose the spline tool and specify the path you want to have


2D Raster image
raster image can be deal with it using number of software like photoshop and gimp software ,
for me I will use gimp to deal with raster images ,
first of all I download the gimp software using microsoft app store from
here
I see the interface for it a little pet tricky but I handel that by watching this
tutorial
so I take a screen shot from autocade and save it as png picture then I open it using gimp
and download number of picture from internet to combine those images and create new one
I think this tool will be useful for me in the future by helping
me editing my screenshot
so my general steps go as follow
- open picture as layer
- using free selection tool to select specific element inside picture and try to add to another layer
- using copy and paste commands to repeat shapes
- using pin tool to draw and add shapes
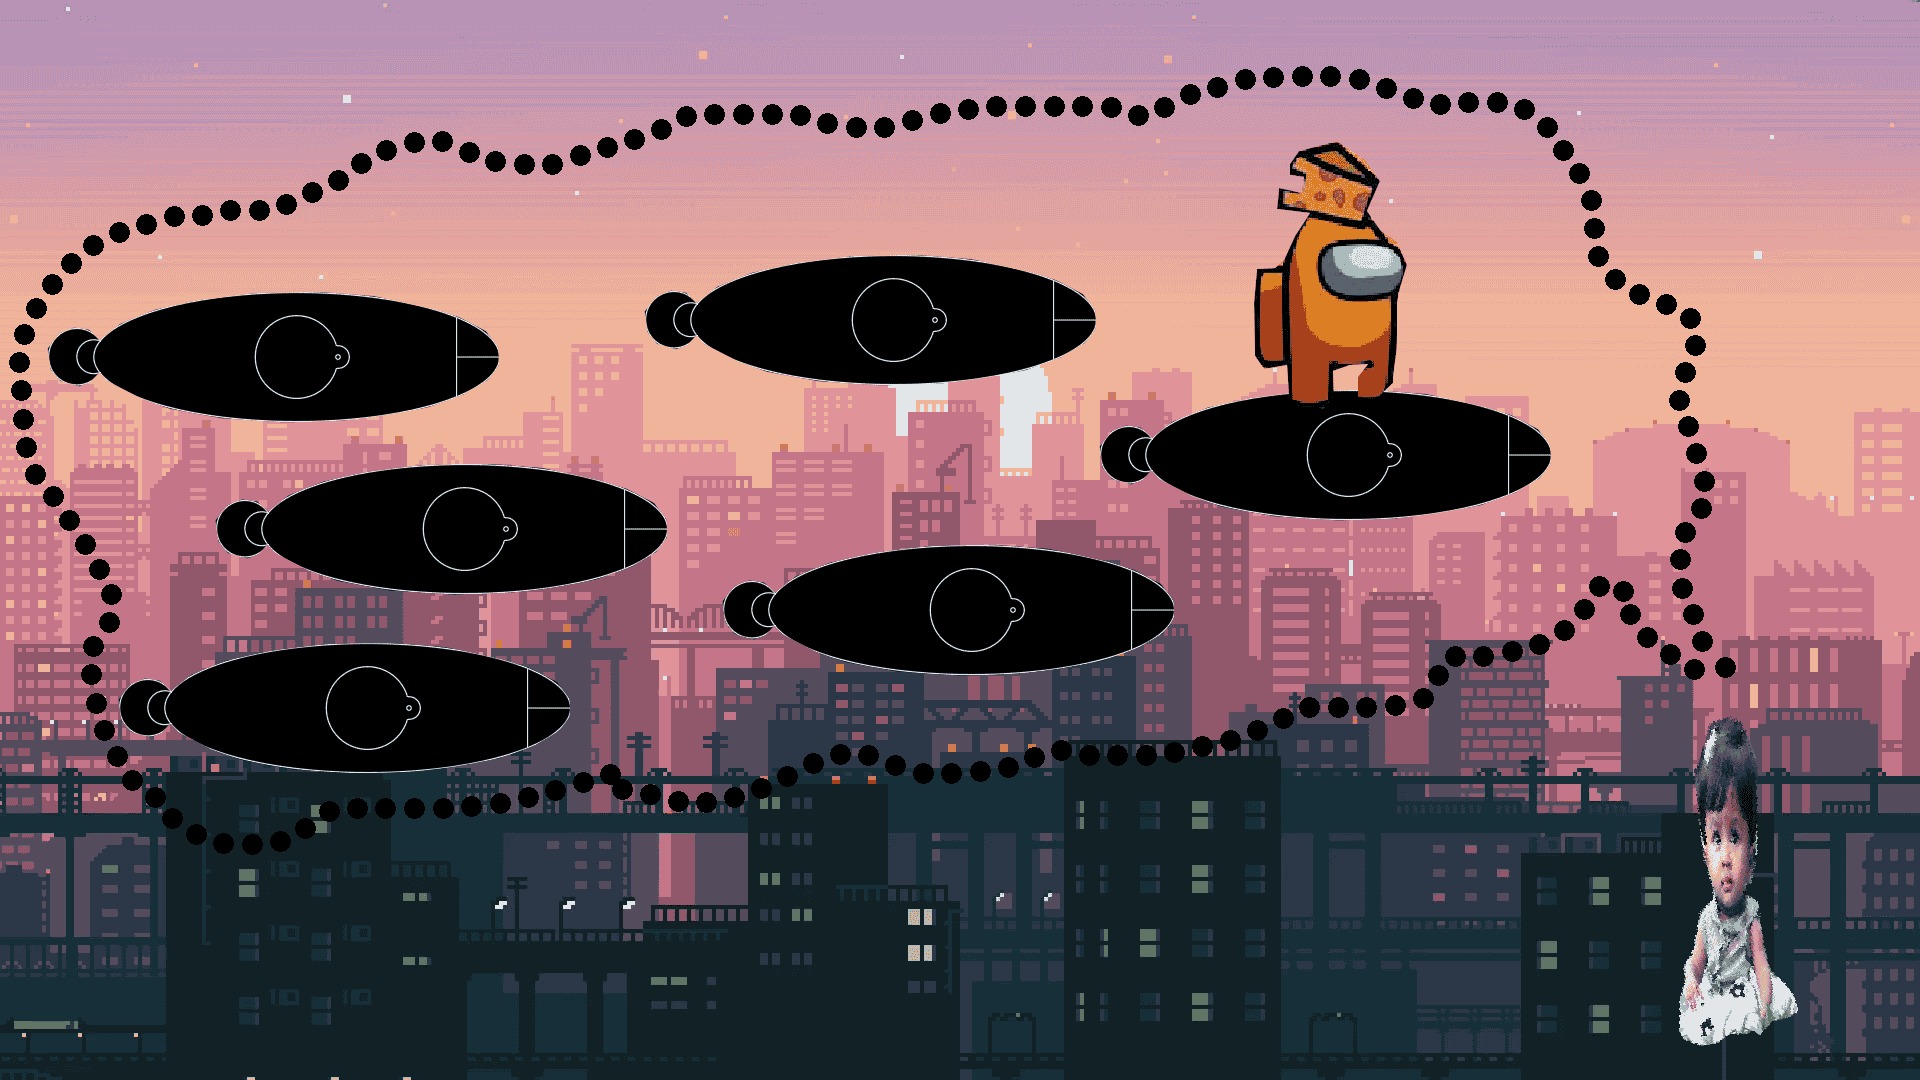
so, here I used those four images to combine them and create a new picture
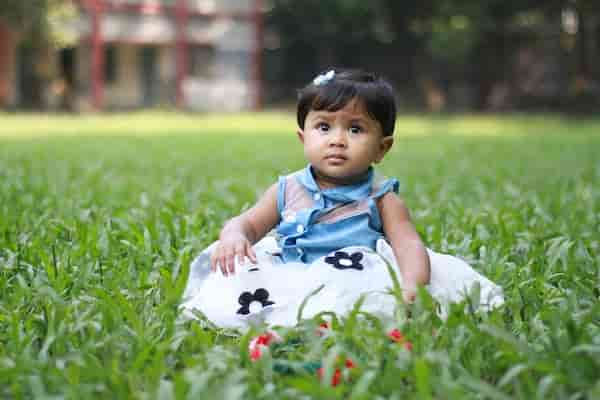

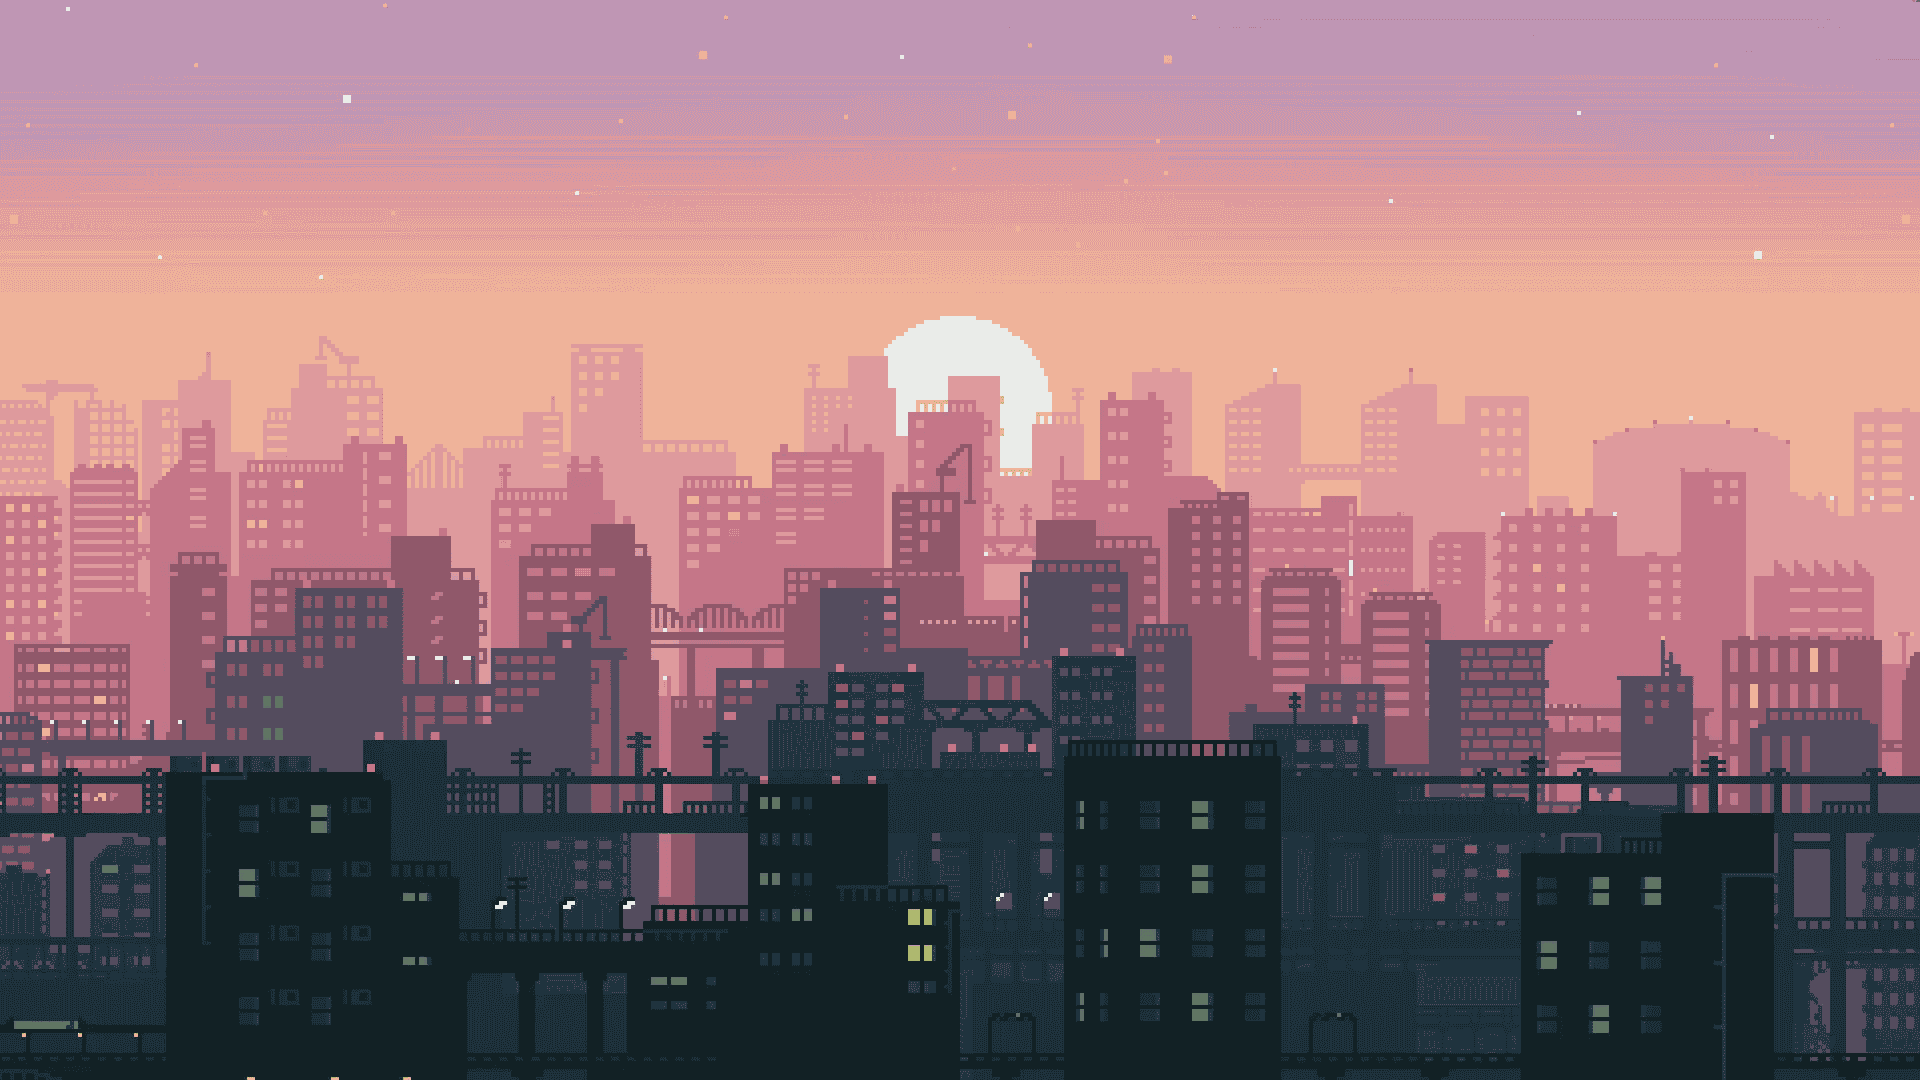
first steps open images as a layer

images layer will be at the right side of the window

free selection tool help you to chose the element you want from the image


copy and paste the selection and add it to a new layer

scale tool help you to resize your image to the size you want

Final picture look like this
3D modelling with fusion
My design is a 3D model of a band that can be worn on the head and has a function to wake you up early. The design consists of three main parts: a ring to be worn, a screen to display functions of the ring like any vital information of the person, and it can display any other function that the ring can do. The third part is the sensor and odor spray or water spray. It will be located inside a cylinder with a sphere end to spray those fluids when the user needs it.
To begin creating my 3D model, first, I clicked on the Sketch button and specified the plane that I needed. For example, I chose the top plane. Next, I started drawing my sketch by creating a circle and making an offset from it. Once I was done with the sketch, I just clicked on Finish Sketch.
The second step was to convert the 2D drawing into a 3D model by clicking on the Extrude tool. This allowed me to extrude the 2D sketch in the third dimension, and I could adjust the dimensions and other properties of the extruded shape as needed.
I make this short video to show these steps in clear way .
To create the electronic screen for my band, I constructed a new plane at the outer surface of the ring where the screen would be located. Then, I used the line tool to create a reference line for the rectangular sketch of the screen. One of the benefits of using Fusion is that it provides a number of options to draw rectangles, such as rectangle with two points, rectangle with center point, and other options. I chose the appropriate option and drew the rectangle, then finished the sketch.
Finally, I extruded the sketch to give the screen its three-dimensional shape. The process of creating the screen was relatively simple, involving just three main steps: starting with sketching by choosing the plane, drawing the sketch itself, and then extruding it to create the final 3D shape.
After drawing the screen, I used the sphere tool in Fusion to create a sphere for the sensor and odor/water spray. Using the sphere tool was easy; I just chose the plane and determined the diameter of the sphere. To create another sphere on the opposite side of the ring, I used the mirror tool. This tool allows you to reflect a selected body along a mirror plane. All I needed to do was select the body I wanted to reflect and choose the appropriate mirror plane.
To complete the design, I used the circular pattern tool to copy the sphere and place it around the circular ring. Finally, I used the appearance tool in Fusion to add material properties to the body of the ring. With this tool, I was able to give the ring a unique appearance, adding a bit of flair to the design.
this short video will show you how to use the sphere tool, mirror tool, circular pattern tool, and appearance tool in Fusion.
for rendering the design
compress video
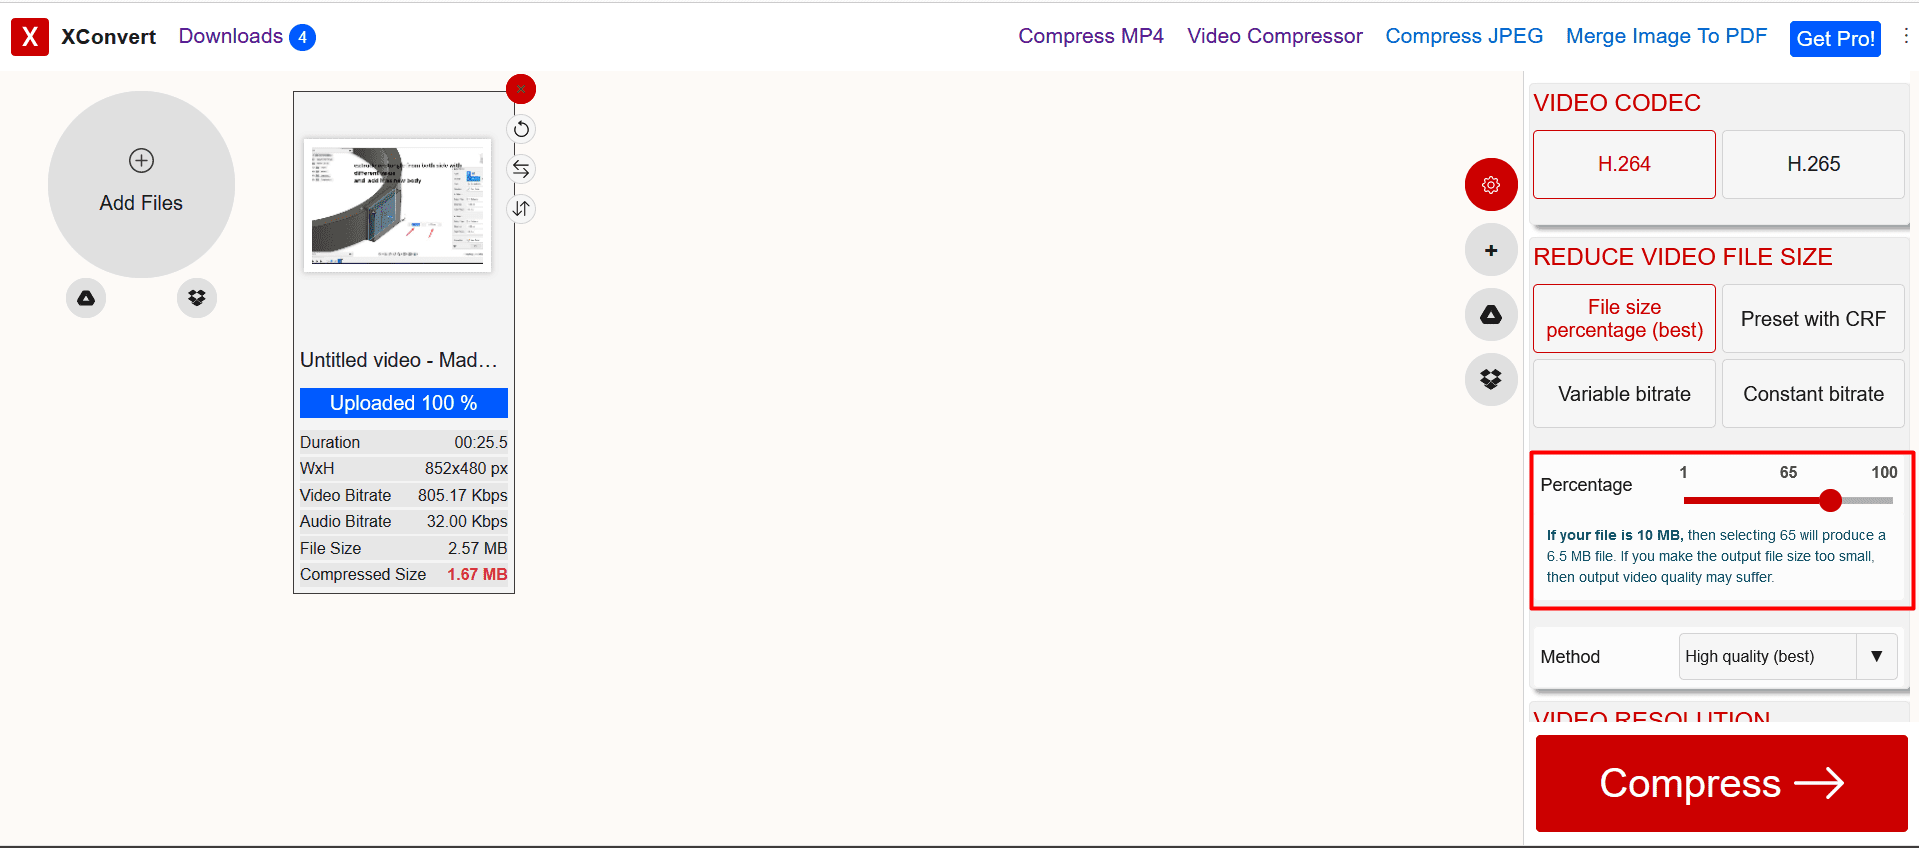
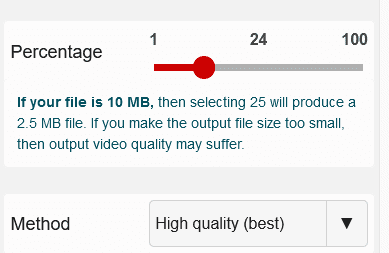
for the compressing video I use this site site all you need is it upload your video and just adjust the percent to be between (24-25) it will give you a compressed video with good quality
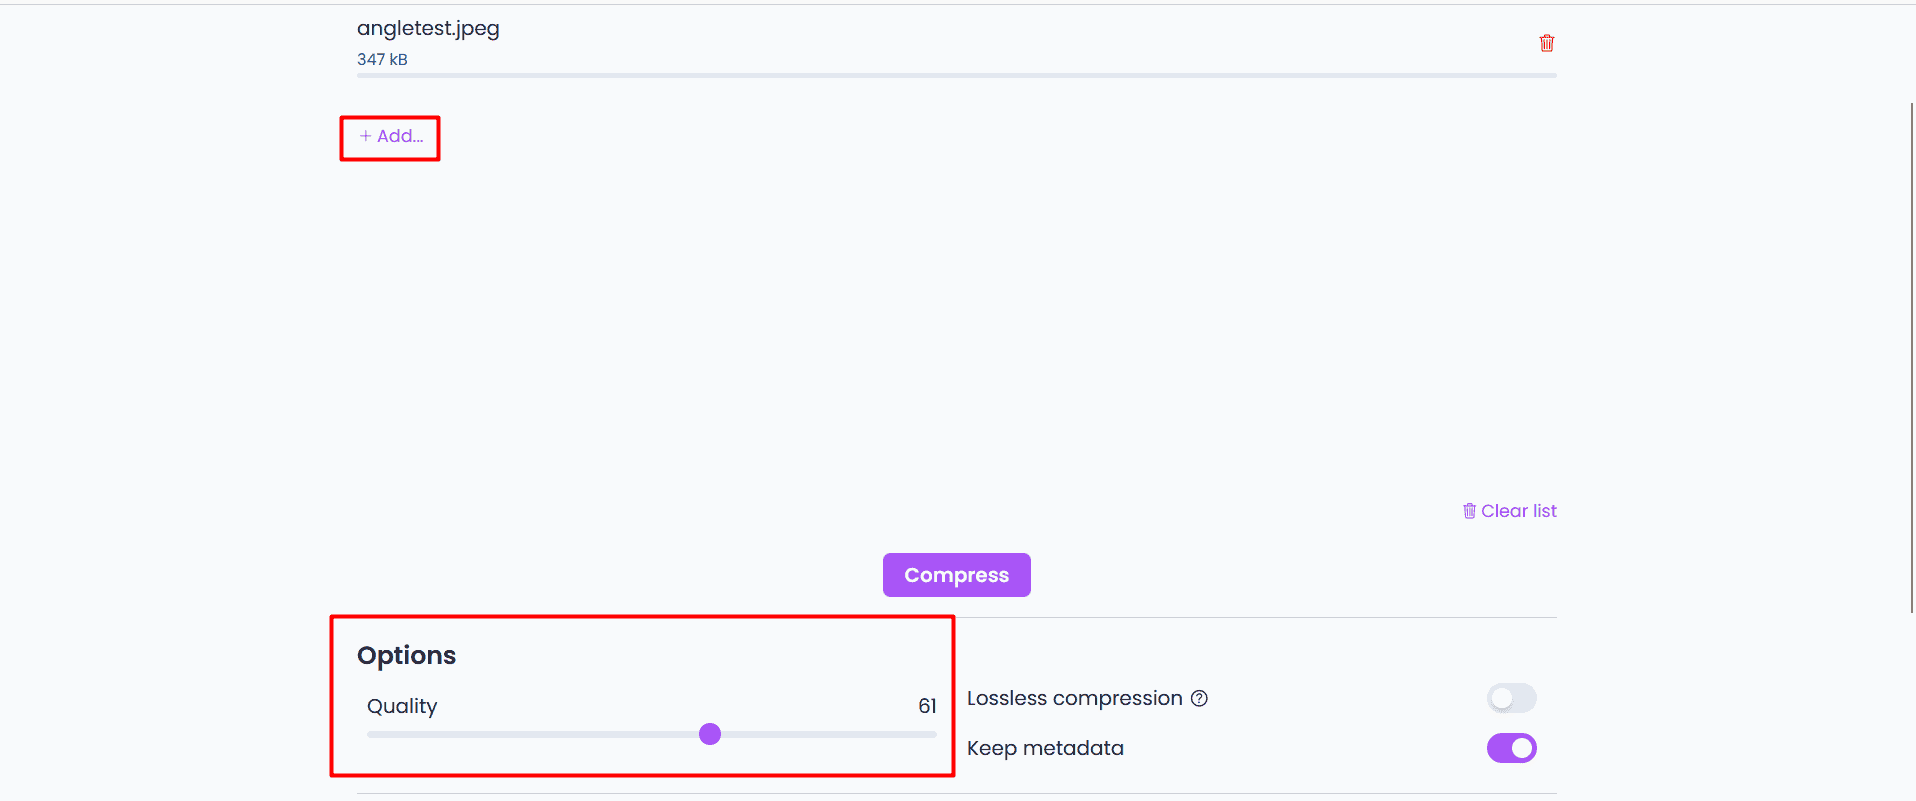
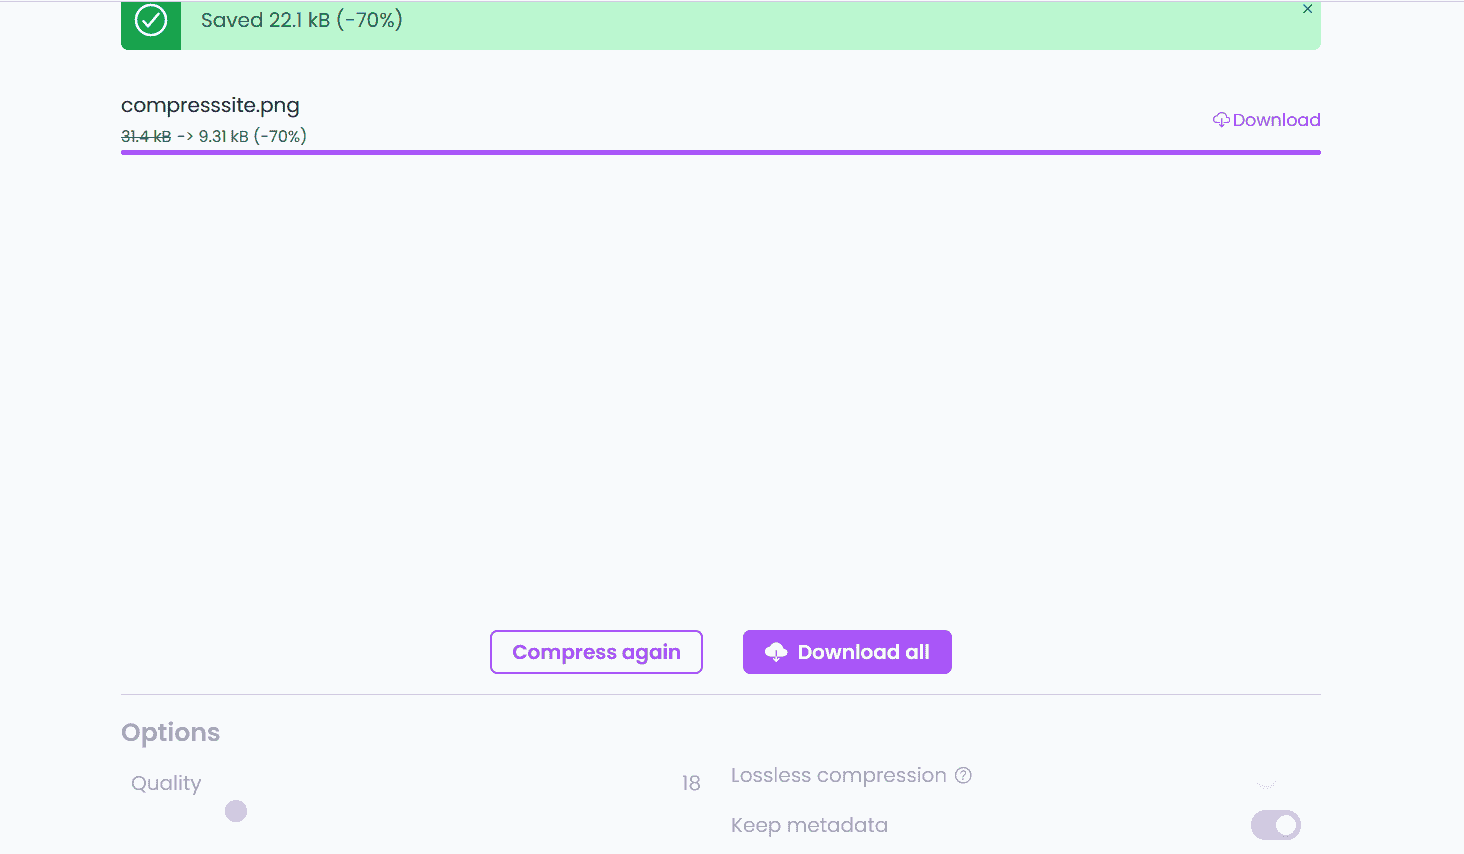
for image compressing I use caesium site it give you the ability to reduce image size by changing it's quality for me ( 20-30 %) of quality ,it give me a very good quality with high reducing of image size
.svg)

