15. Wild card week
This week I tried a couple of things. Most of the group wanted to do something with the metal laser we have, and so did I, so that was th first thing. Unfortunately, we were not able to calibrate the machine for the material I would have needed. I might still do something else with that, but I ran out of time and had to leave.
In the meantime, I was interested in the natural material recipes found from materiom. Especially the ones that use coffee grounds. At first I didn't think much of it but as it happens I had some dried and used coffee grounds laying around so I mixed a batch. And ultimatedly ended up turning this week into an experimentation.
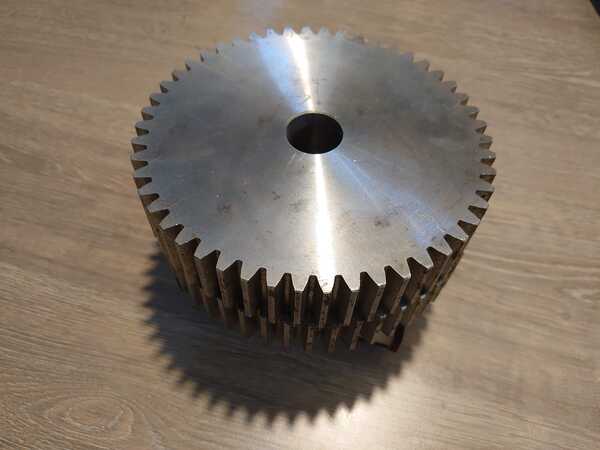
Metal laser
I just wanted to make a metallic ring for a project, but it would need to be magnetic. Most of the material available was austenitic stainless steel which is non-magnetic. There was carbon steel but that was different thickness and the machine was too hard to use for it to work...
So for now this will be left as is.
Experimental Coffee / Starch / Oil? material
I reviewed the material recipes in the materiom website. All of the coffee ground materials had multiple ingredients but the common thing was mixing starch and water to create a gel and add a filler, like coffee grounds in this case.
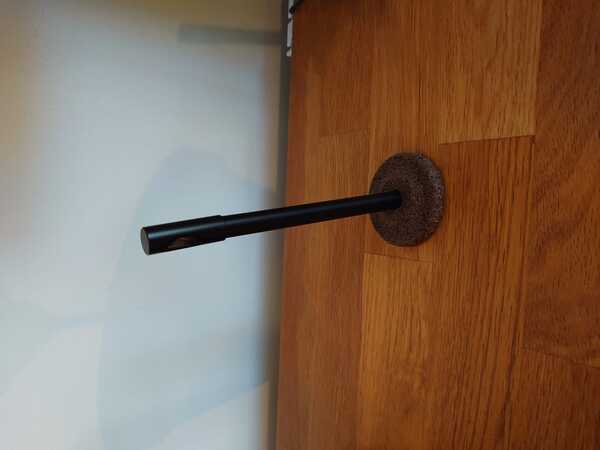
I wanted to try to make it as simple as possible. The purpose for this kind of material could be very low stress items (like penholder on a desk), prototyping or even just some decorative pieces. I am aiming for a material that can be CNC-milled (or additionally laser cut).
First test
So here I just went ahead with what I thought could have a chance of working.
Recipe
| Ingredient | Amount (g) |
|---|---|
| Dry coffee grounds (used) | 50 g |
| Potato starch (or corn) | 10 g |
| Water | 100 g |
| Boiled linseed oil (optional) | 5 g |
This should be started by collecting and drying the coffee grounds. Drying is only necessary for accurate measuring of the weight.
Corn starch is probably equivalent, I use potato starch in cooking so that's why I use it.
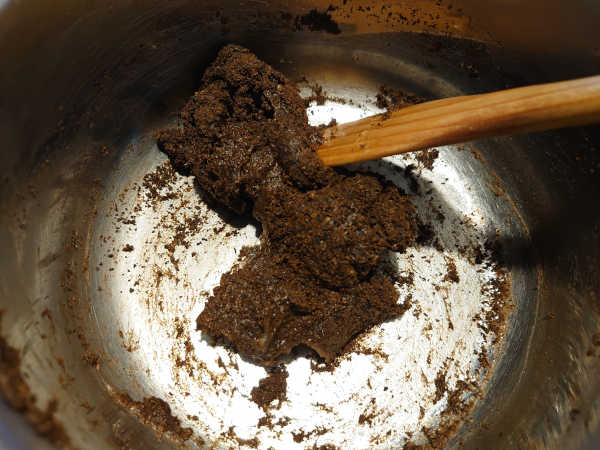
- Mix the potato starch with cold water in a pot
- Heat until thickens
- Add coffee grounds
- Mix thoroughly
- Pour into a mold
- Let dry for X amount of days / weeks
The oil is probably optional, I need to do more tests to see what effect it has to the end product. The material takes very long time to dry and I think the oil slows it even more. I had time to only make one test in which I used the oil. The reasoning is that it could help make the material more long lasting as the oil polymerizes. Maybe it could be better to apply oil once after it's completely dried.
Casting
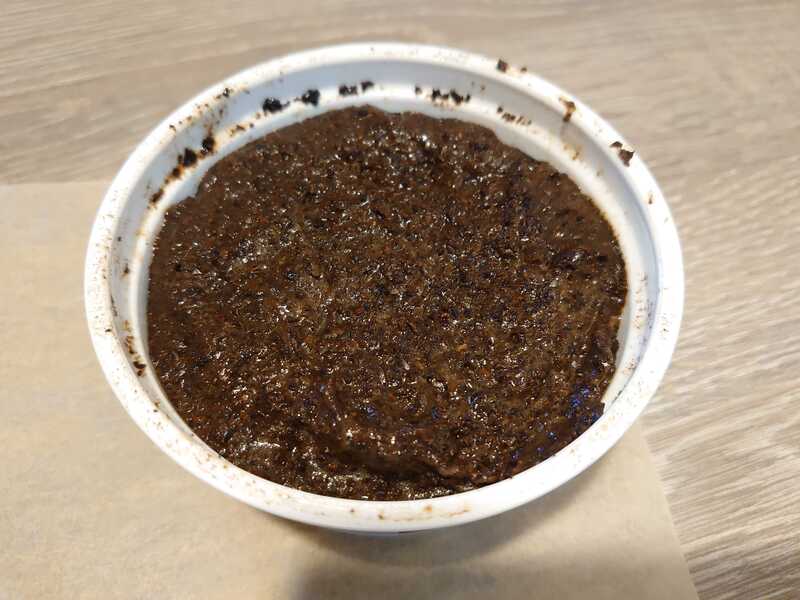
Here is the first batch I made poured into a plastic container.
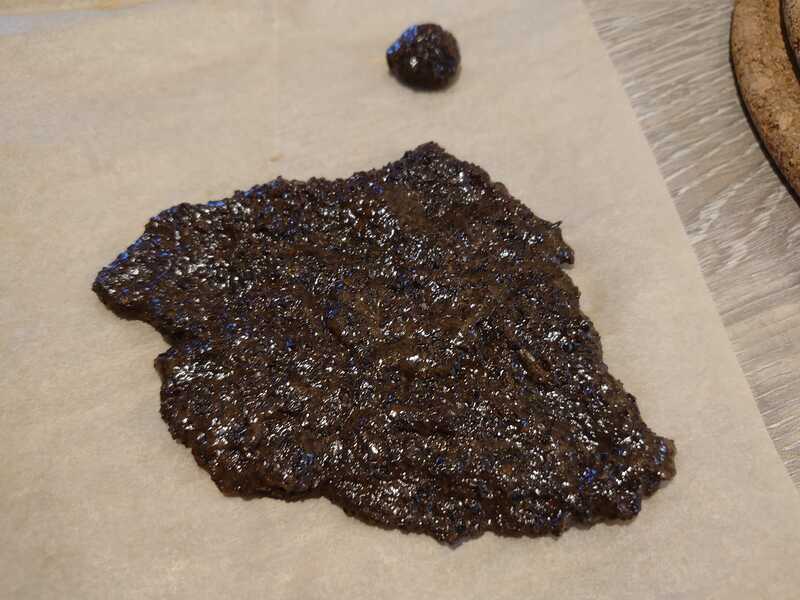
I spread the leftovers on a baking paper sheet.
I let it dry overnight before punching a hole in the bottom with a needle and blowing air to unmold.
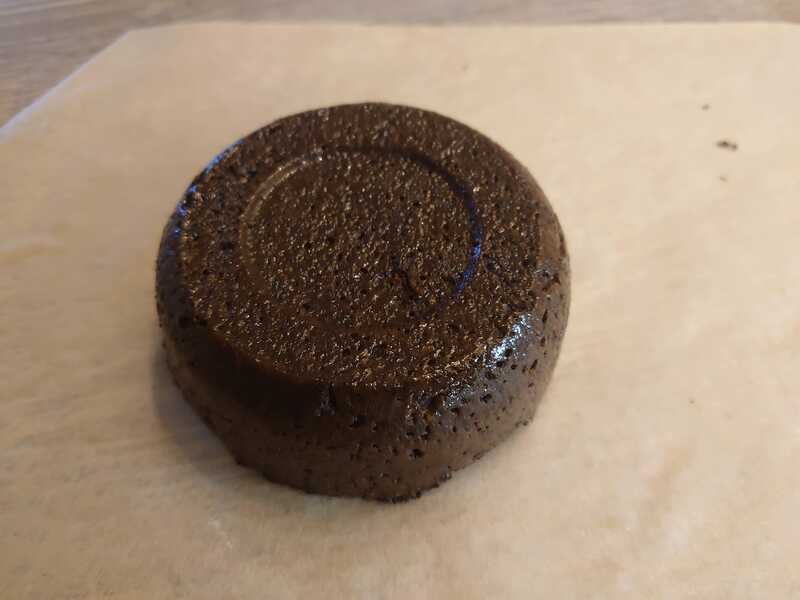
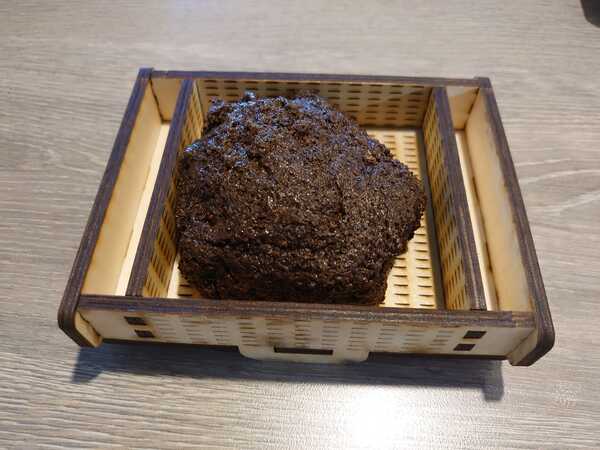
That I then left drying for about 5 days on a metal mesh.
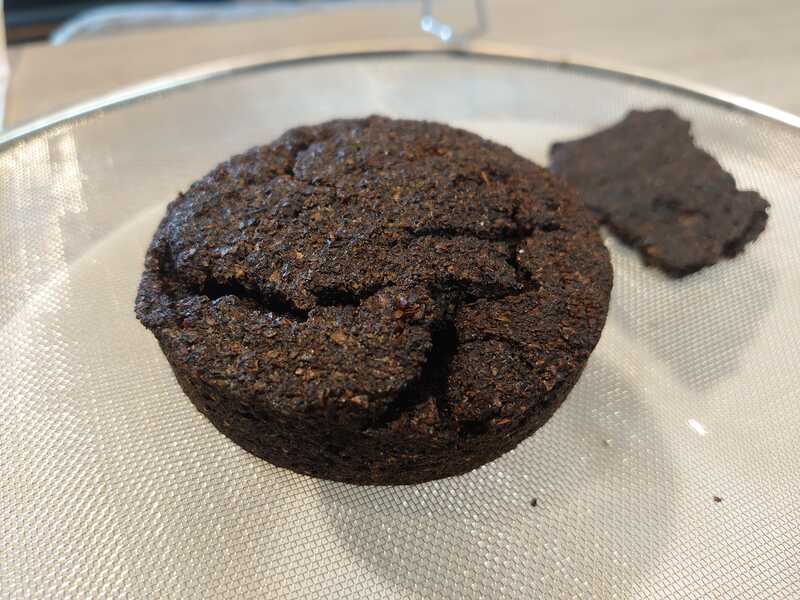
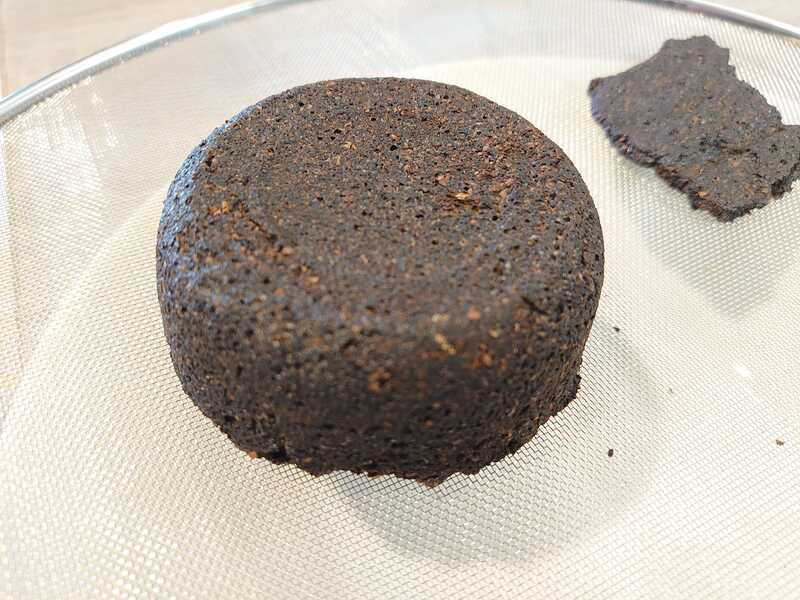
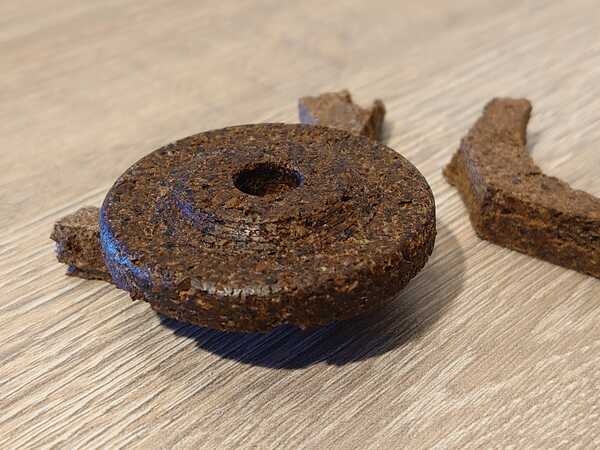
Although cracked, it seemed dry on the surface, but I had a feeling they have not dried completely. It didn't sound "dry" when knocking.
I cut a part off with a handsaw and you can see the different consistency and that was still soft inside.
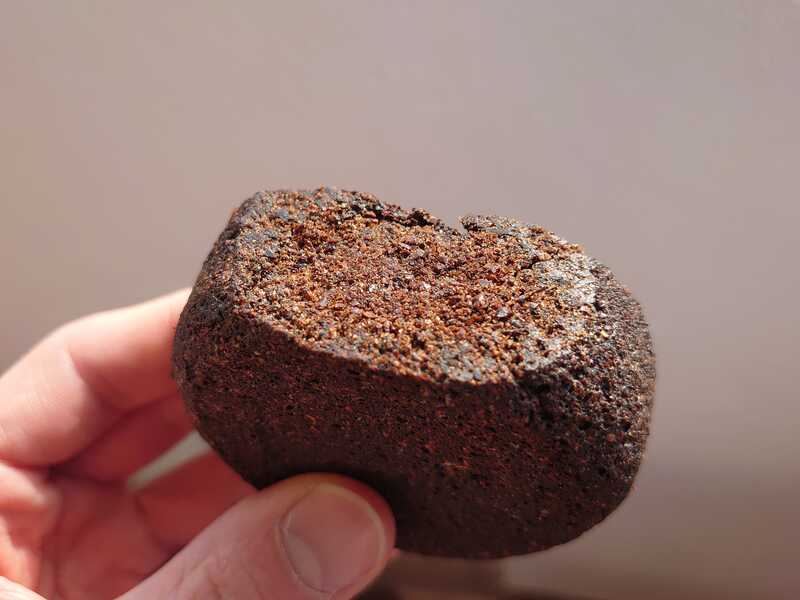
I don't have time to wait for it to dry completedly, but I think atleast the surface can be milled.
Milling
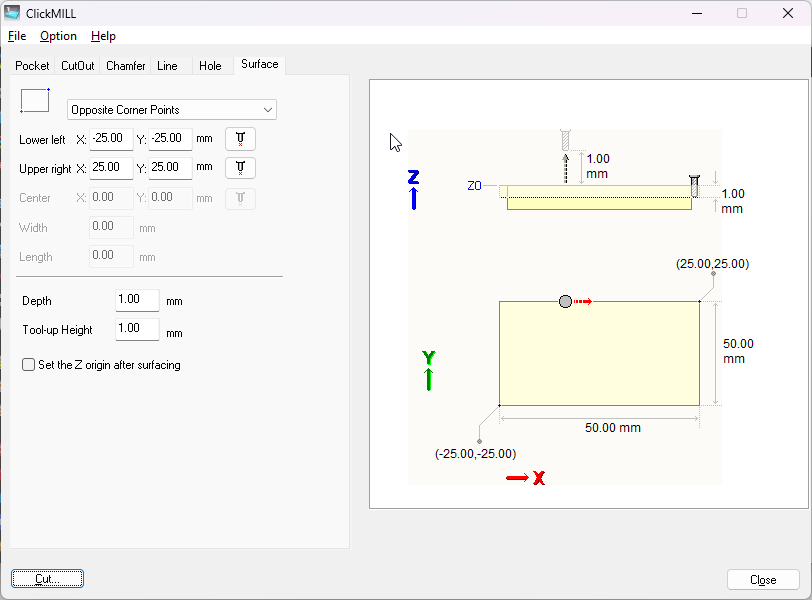
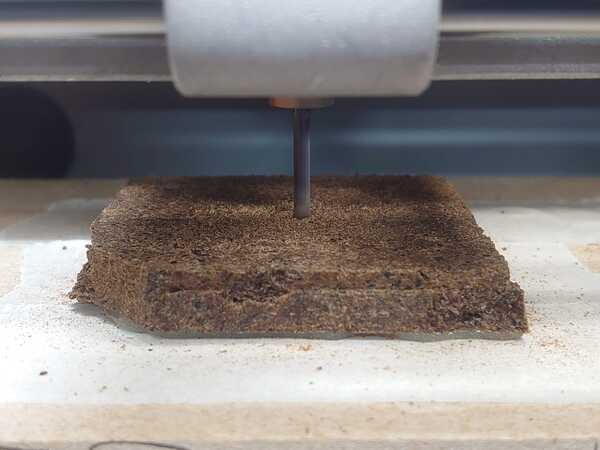
I used the same desktop milling machine as used in molding & casting. This time I used Clickmill which is a kind of manual nc software for the Roland. That alone makes this a different kind of process. The reason for this is I just needed to test milling the material instead of producing an actual part. For that this is usually faster.
Here I made a surfacing operation on the top of the piece.
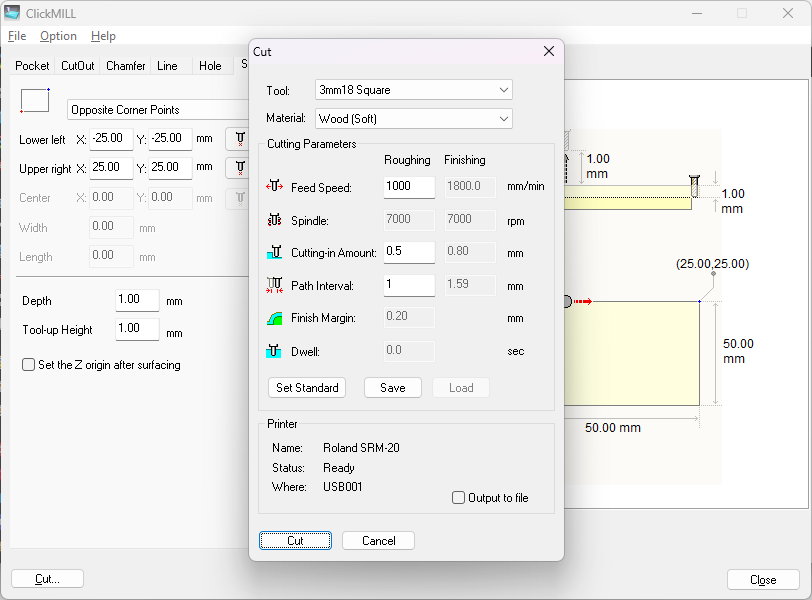
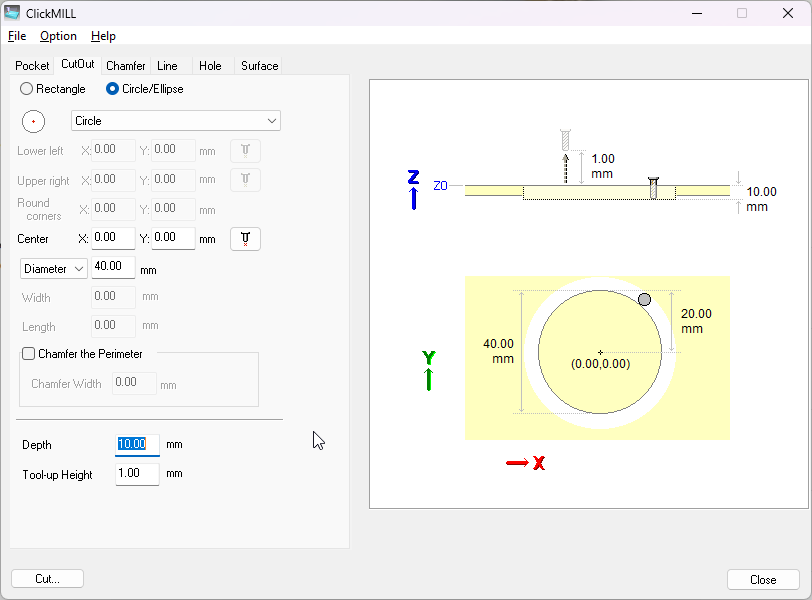
I used the following parameters for the milling.
And it produced this kind of surface.
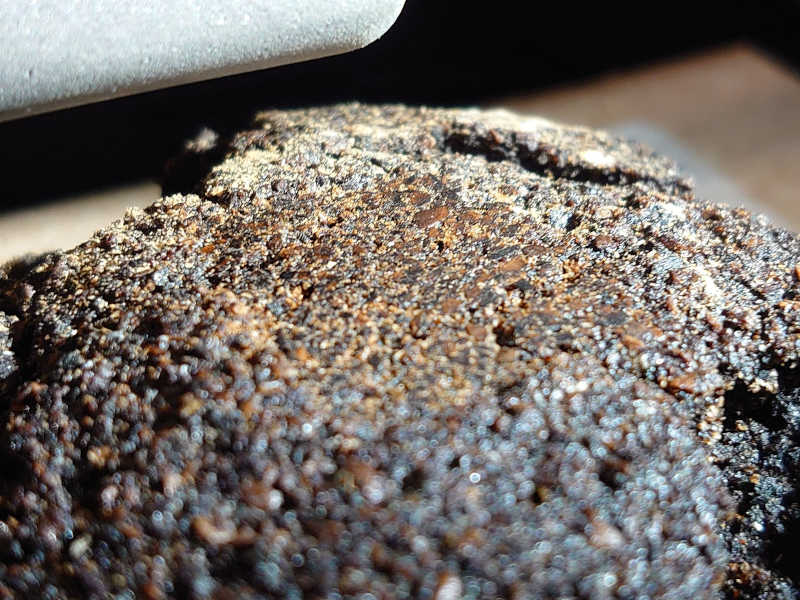
That reminds me of a bread we had in the army.
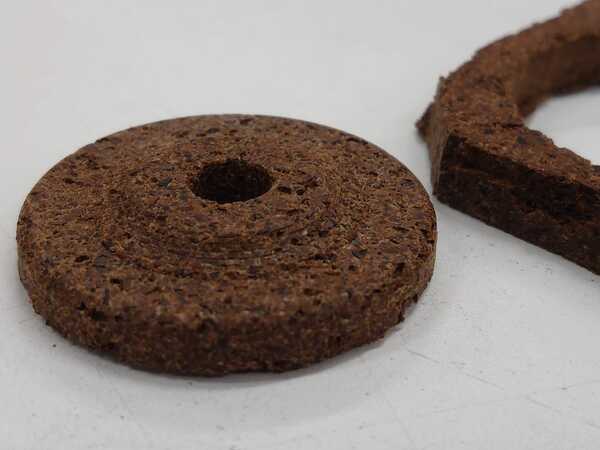
I think it shows some promise. The surface is partly very smooth but there are some gaps. This is discussed further when I get to improvements.
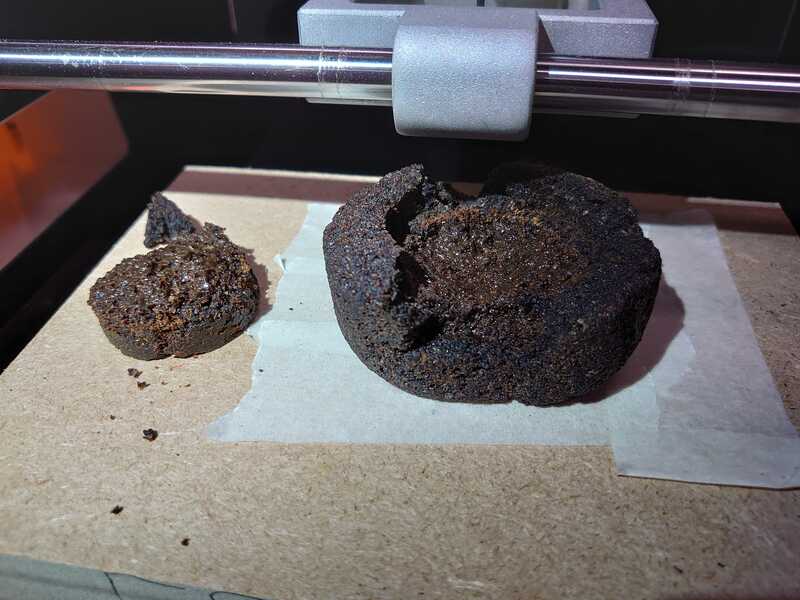
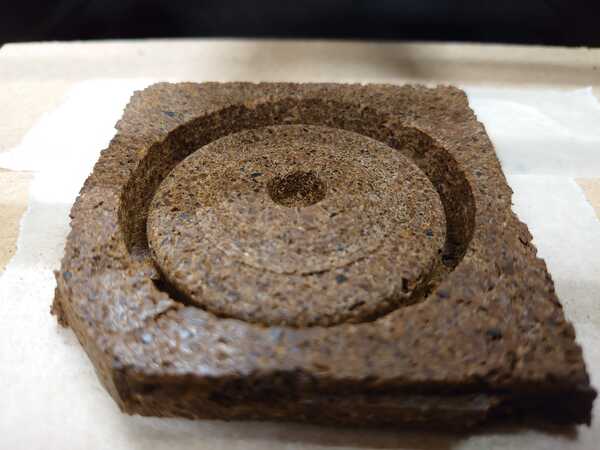
I then proceeded to cut a circle cut-out.
It mills like cork or something. You can see the stock is not so good as some pieces have cracked off. Again, that's discussed later.
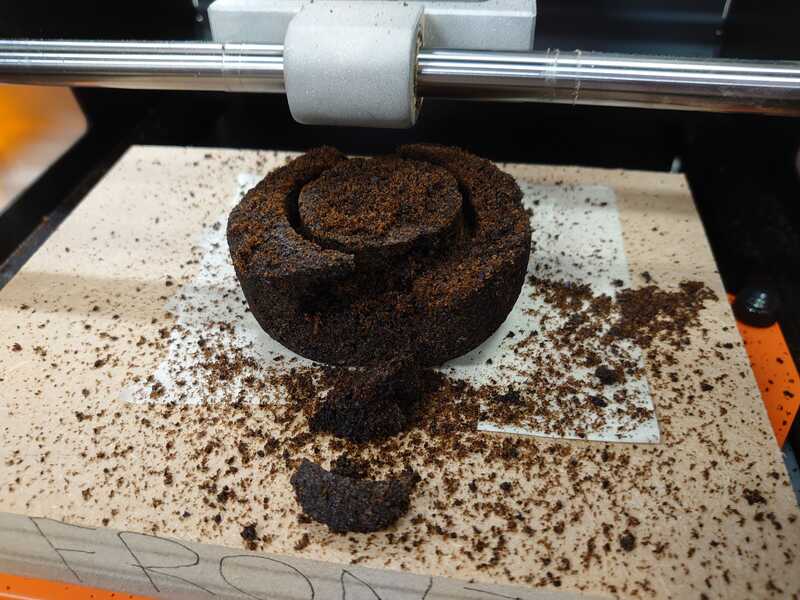
Although it's quite broken I think with some improvements and thoroughly dried material the surface finish could be really nice even.
It's good that I didn't put effort into drying to mill something more complex from this, as it's clear that the material needs to be improved.
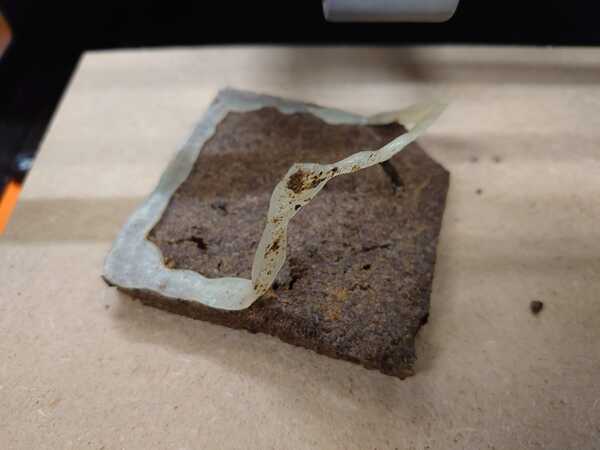
One concern I had is that if I can ever remove the hot glue without ripping the material into pieces.
But surprisingly it came straight off. This is likely due to the oil in the material.
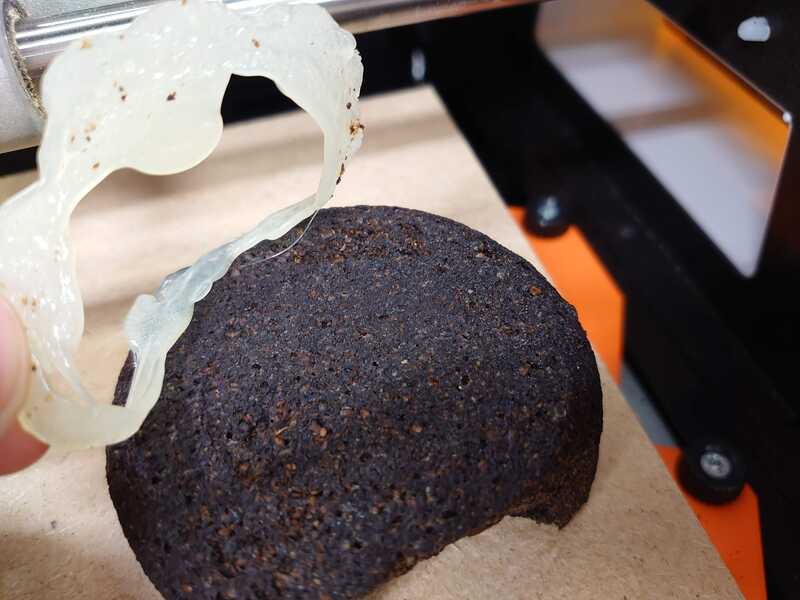
Have to take that into consideration too.
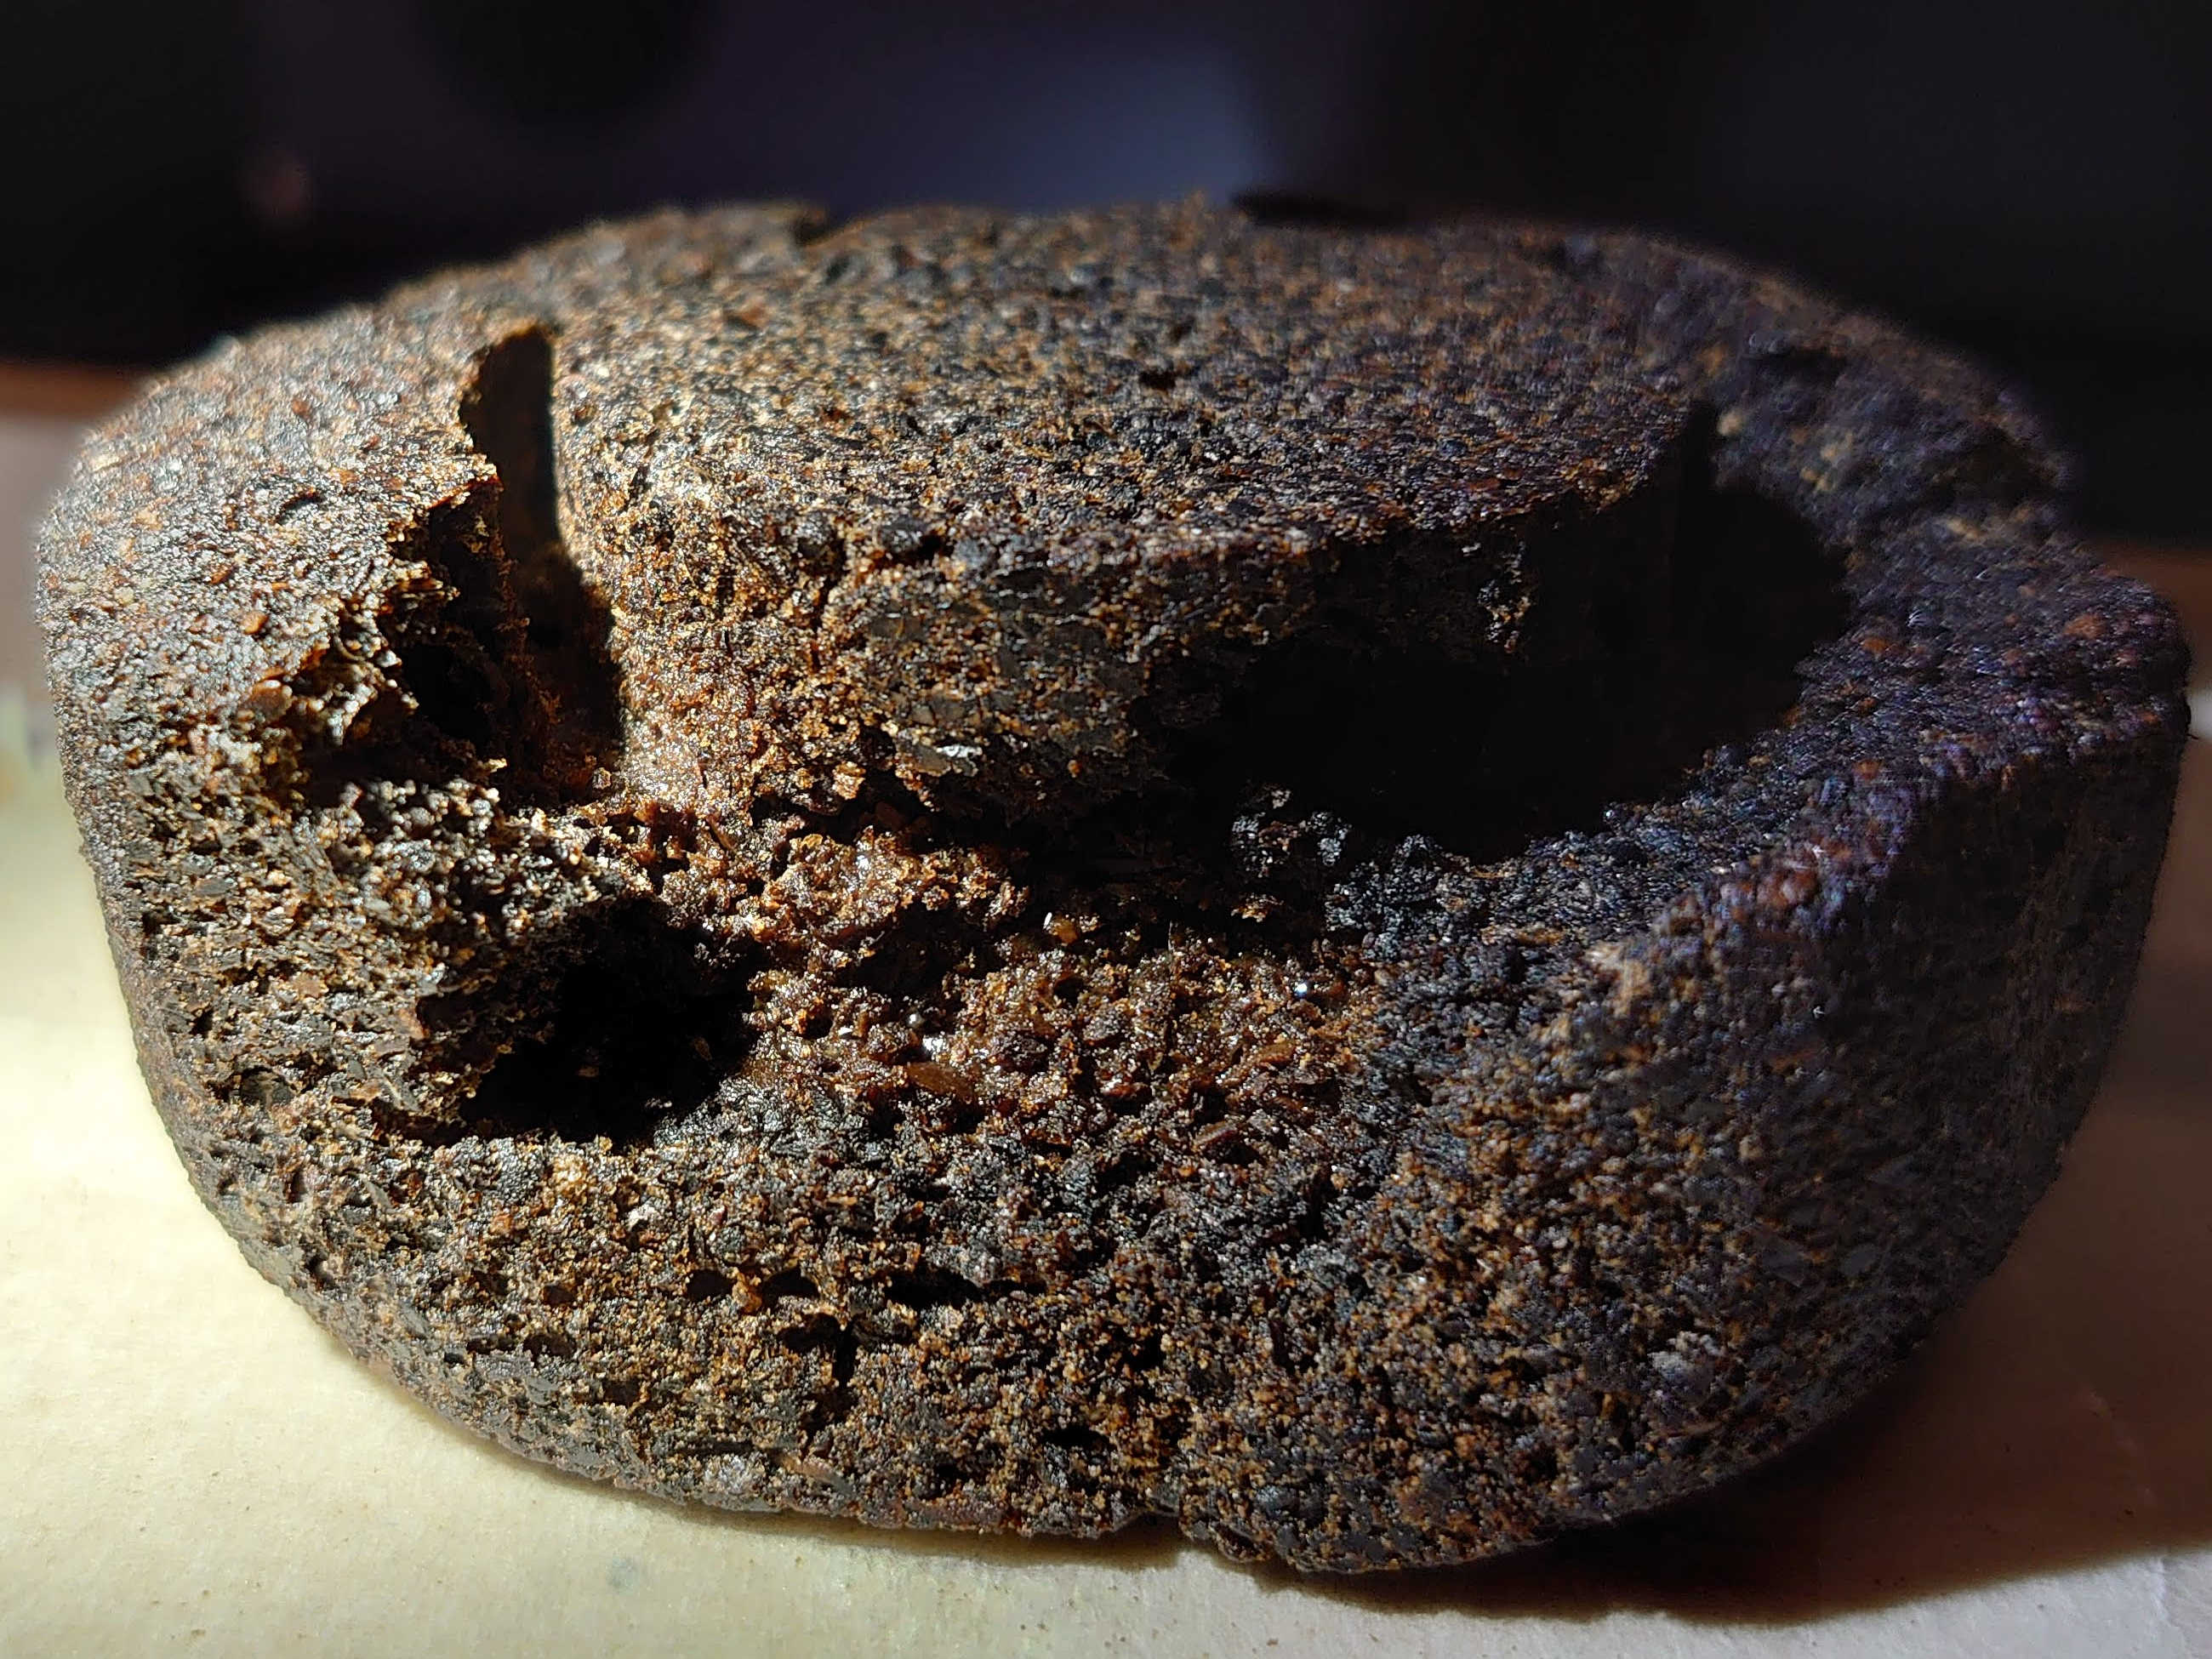
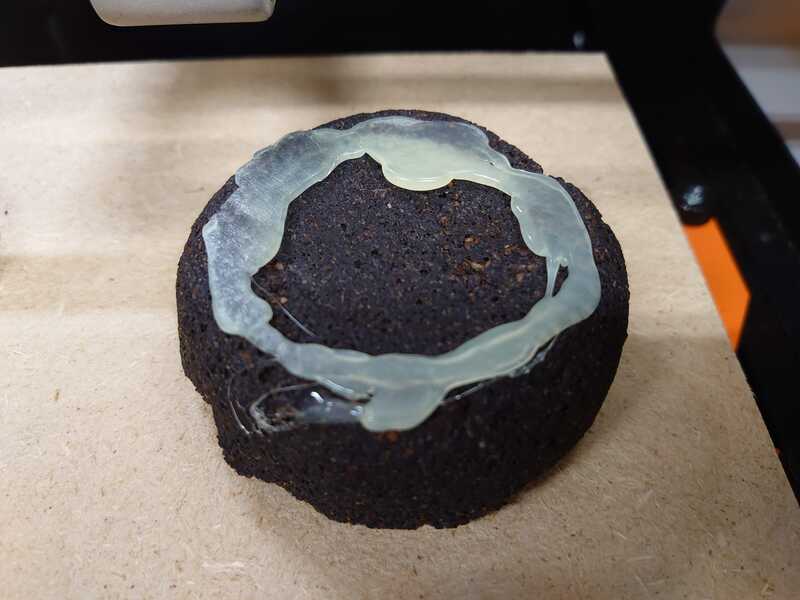
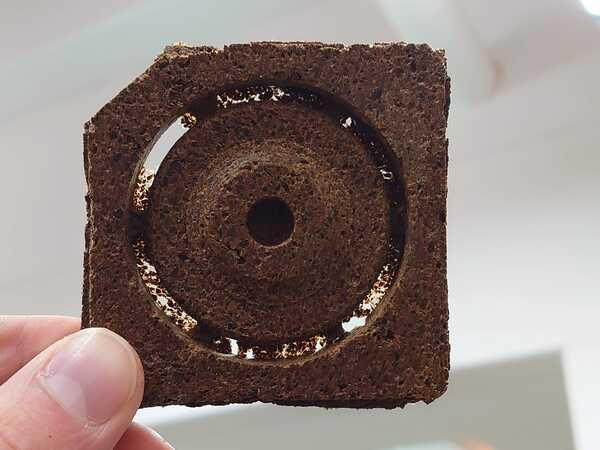
Here you can see I milled so deep that the hard surface ended. I could just pull the disc off from the middle.
Composite or compost ?
So clearly more tests are needed. For example I don't know if the oil is good to add or not.
The most important improvement I believe would be to make a mold that allows pressing down on the block while letting the water flow out. This would make it more dense and eliminate bubbles. Also it would need to be thinner and wider to allow drying.
After initial drying under pressure it could possibly be removed to allow drying thoroughly.
Here is a quick mold I designed but didn't yet make.
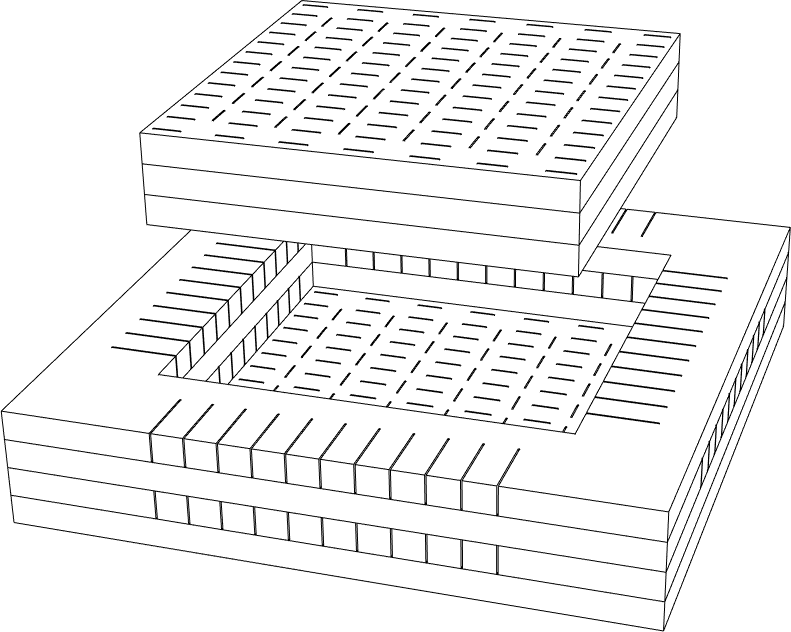
That would be laser cut from plywood but I think it needs to allow removing the walls more easily.
Second test
Enlightened of the results I went ahead and created a laser cut mold that would provide pressure while shaping the material and allowing it to dry. I also made some adjustments to the recipe.
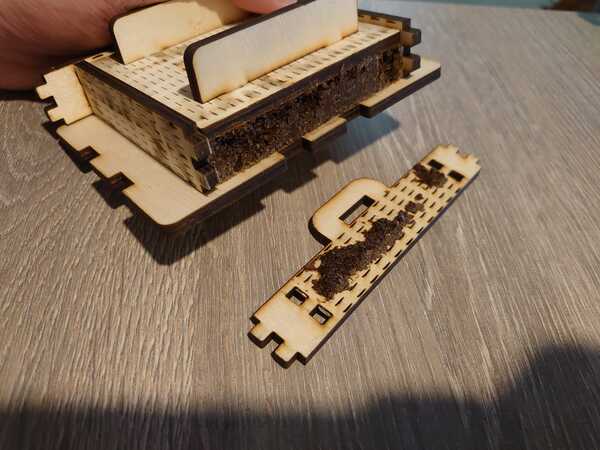
Pressure mold
Here is the 3D .step file of the mold I designed. As you will see it's similar to the first draft but easier to remove the walls and overall makes more sense.
First laser cutting the parts.

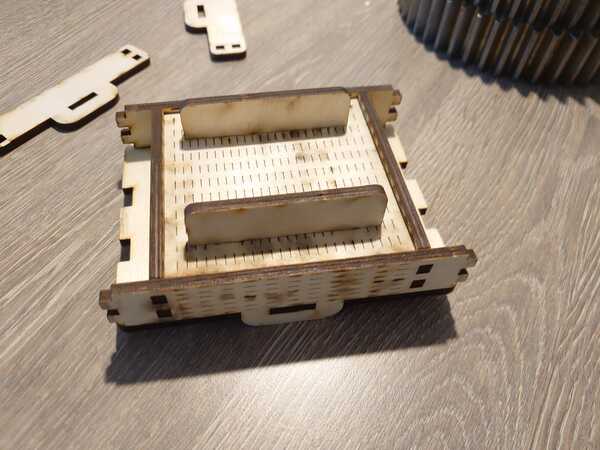
And assembling.
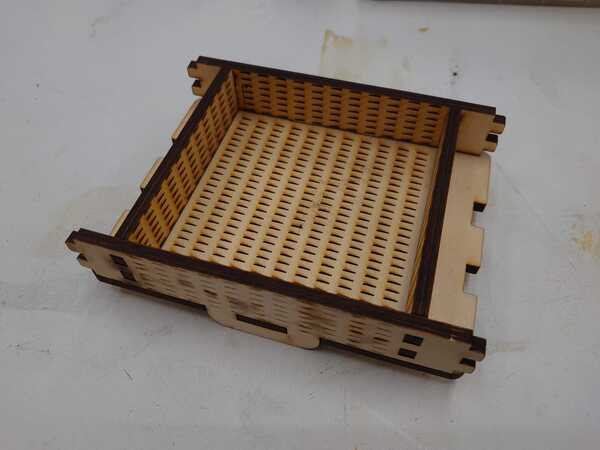
There are three sets of walls, each locking the previous one in, so that when pressing down the walls cannot come loose.
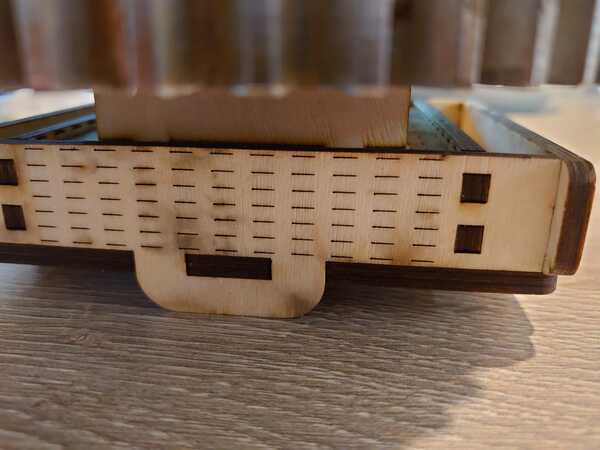
Here it's assembled and ready to use including the part which presses down.
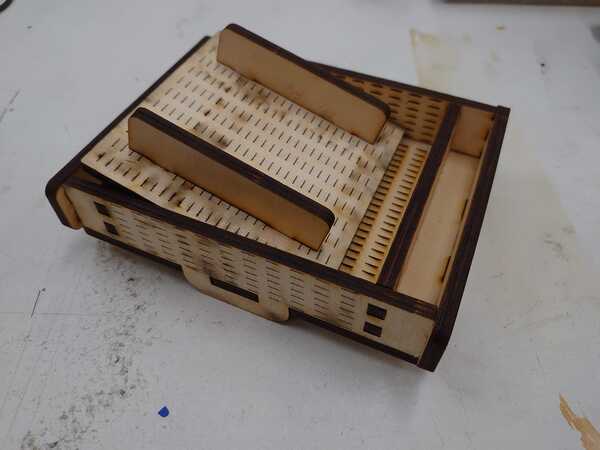
I used 4.4 mm plywood, which is rigid enough and will be able to handle the moisture, unlike MDF would. Additionally it might help to suck some of the moisture into itself, unlike any plastic would do. All in all it makes sense to use a natural material for the natural material.. you know.
It's a good idea to oil the mold before use, for example with (boiled) linseed oil.
Recipe
This time I used a lot less water and omitted the oil. Both in the sense to reduce drying time.
| Ingredient | Amount (g) |
|---|---|
| Dry coffee grounds (used) | 25-40 g |
| Potato starch (or corn) | 10 g |
| Water | 50 g |
The amount of coffee grounds can vary based on moisture and grounding size. I used coffee grounds from my hand grinder. While that gives a somewhat uneven grinding I think the texture is very desired in this context as there is this finer dust in the mix.
Again:
- Mix the starch to the cold water
- Heat until thickens (around +60°
C) - Add and mix the coffee gradually to the gel , to reach the desired consistency
- Mix until fully uniform
- Put and press in the mold
After one day:
- Take off the mold carefully
- Let dry for a week or two under some pressure
Optionally use an oven to dry quicker but beware of cracks if drying too fast and/or unevenly.
Images and more details below.
Mix and let dry
Starting by mixing the water and starch.
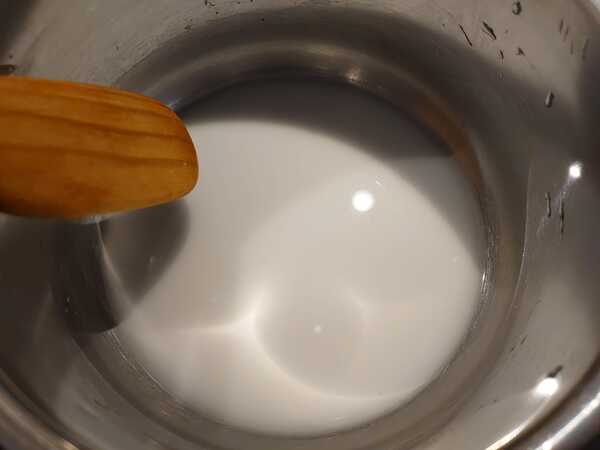
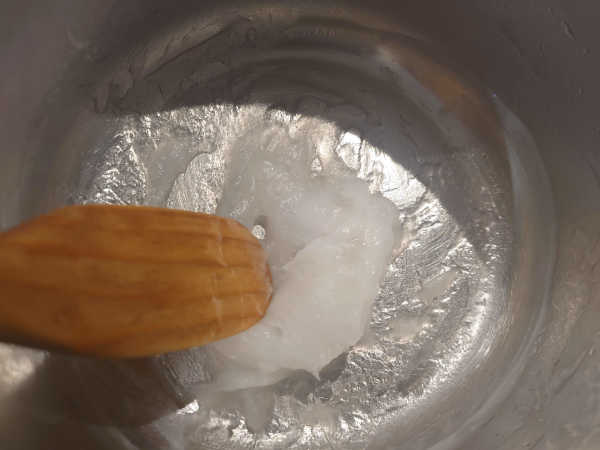
Starting to thicken.

Became very thick with this ratio.
Now it's time to add the coffee. First it seems hard to mix.
But after some mixing it will come together.

The mix is quite sticky and very thick.
But pressing it in the mold went nicey.
You could say the amount of material I mixed was optimal for this mold.
I then left it under some weights overnight.
These are the weights I used.
The next day I started to release the block from the mold.
It wasn't perfect and it stuck to the walls but that didn't matter much as I would be milling a smaller item anyway.
Here are all the walls removed.

As it was quite sticky I left the bottom and top for now to dry atleast a little better.

I could have possibly used a thin knife at this point to separate the block carefully but I just put it as is in the oven for a little faster drying
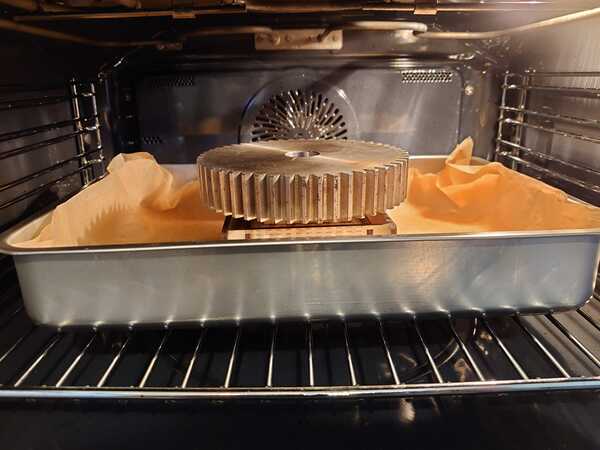
It was around 60°C for one or two hours.
After almost a full week I separated it with a knife and it was still a little damp from the center. So I put it in the oven again for atleast two hours without the mold.
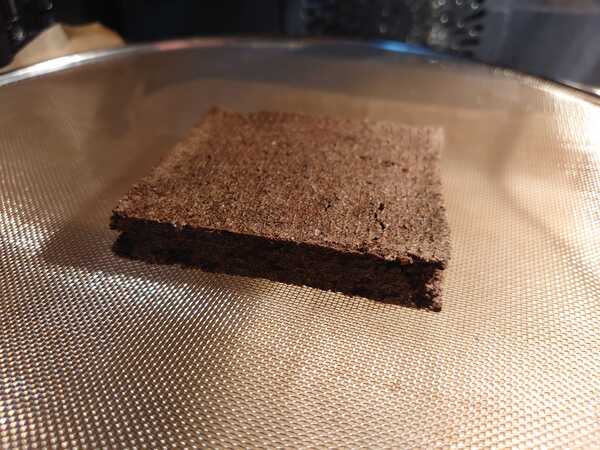
Then it finally felt and sounded dry. There was only minor cracks on the surface. This reminds me even more of the rye bread in the army.
Milling
Finally it's time to mill!
I used the same methods as described in the first test to surface and test milling of the edges.
The surfacing was actually really smooth and nice to touch!

That gave me enough confidence to try and mill a simple pen holder design I had prepared earlier.
It mills pretty easy and as long as you dont take too aggressive cuts the surface finish comes out nice.

I used the same settings as in the first test.
Here is the finished milling after vacuuming the dust off.
It was a little bit surprising that even though I did not add any oil the hotglue came of almost clean. I was worried that it would even rip the material but no.
Then it's just a matter of cutting the tabs and cleaning a little bit. I used a knife for this.
Results
The end result is promising. This time it was much stronger than "dry bread" and the material was consistent.
I really like this look and you can even oil it like wood as I have done here.
Now, it's still not "that strong" and can be broken by hand and doesn't hold up to water without oiling. It also takes weeks to dry properly.
For me it would be hard to see why to use this instead of wood. Even though it's practically made out of waste, the work needed adds cost and therefore I think any wood would outmatch it in almost every aspect.
Still it can be used and looks nice. The usecases could be similar to cork, major limitation being the thickness as it has to dry. But it doesn't have to be milled. It could also be shaped by hand for example around bicycle handlebars to make grips. Or with enough good oil (like boiled linseed oil) it could be usable as a floating keychain.
Anyway, this works!
End of week 15.