1. Project management
This week I worked on defining my final project idea and started to getting used to the documentation process.
The project ideas can be found from the Final Project page.
Version control
Git is a distributed version control system. It allows tracking of changes to files inside a repository. This is very useful in any kind of a software project where any kind of human readable text files are edited. Probably the most common usecase is software development but it's also very handy when for example building this documentation.
A key concept in Git is the branching (and merging) The idea is that you can branch your project when for example experimenting adding a new feature. You can change the branch at will and work on different branches. When you are satisfied with the progress you can merge the branch back to the main branch.
Extending the benefits of Git you can use a cloud service like Gitlab to keep track of edits both for personal and collaborative work. The Gitlab repository for this documentation is hosted in a separate instance of Gitlab.
To access these external cloud services some kind of authentication is needed. The two ways are HTTPS and SSH. With HTTPS you would provide your username and password. With SSH you need to generate an SSH key pair of private and public keys. These keys are then used to authenticate you. We were instructed to use the SSH method as it's not too hard to setup and is usually somewhat safer. You just need to keep your private key very private. The setting up will be covered in the next section
Using Git
Although graphical user interfaces exist, (in my opinion) the best way is to use Git directly from a command line. While that may seem complicated to a beginner it's actually easier to grasp the main concepts of Git when using it in this rather manual way.
I have used Git and Gitlab before so some things might look a little different. The following setup is based on the instructions given at the local lecture and the Git usage is based on my previous experience. A good tutorial I would refer to when needed is the official Git basics. It also has graphs illustrating the functional ideas of Git.
I use Windows Terminal which provides the customization. Otherwise it's the same as using powershell directly. Below is what I did to get the local repository going. Starting with generating the ssh key pair.

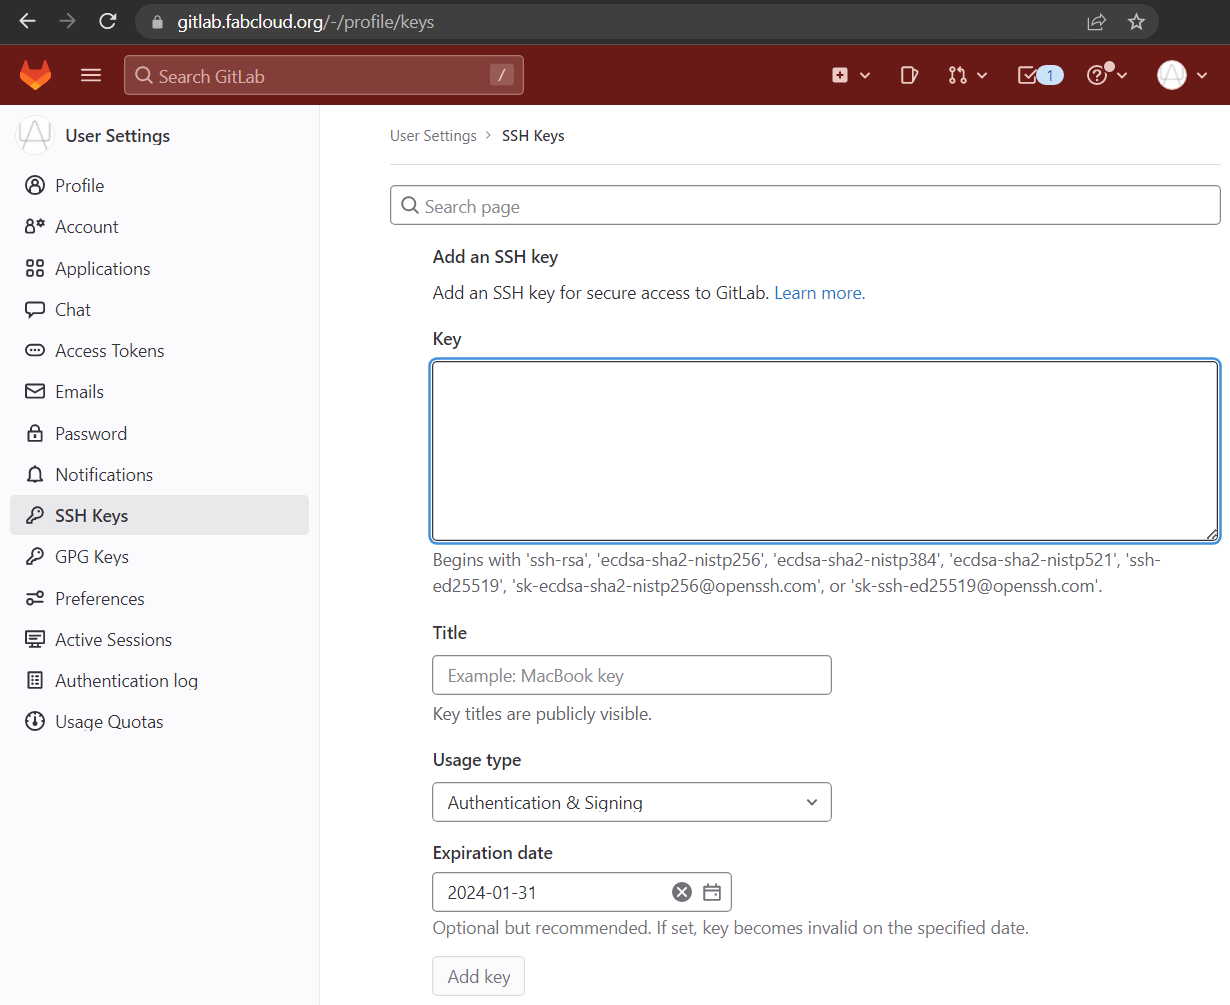
From there I copied and pasted the insides of that id_rsa.pub to the following box in Gitlab.
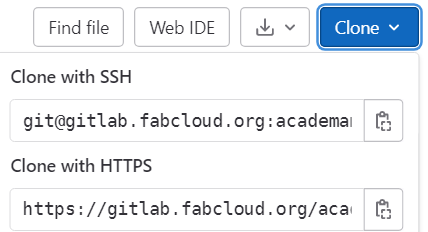
After that I could copy the "Clone with SSH" link from the personal repository.
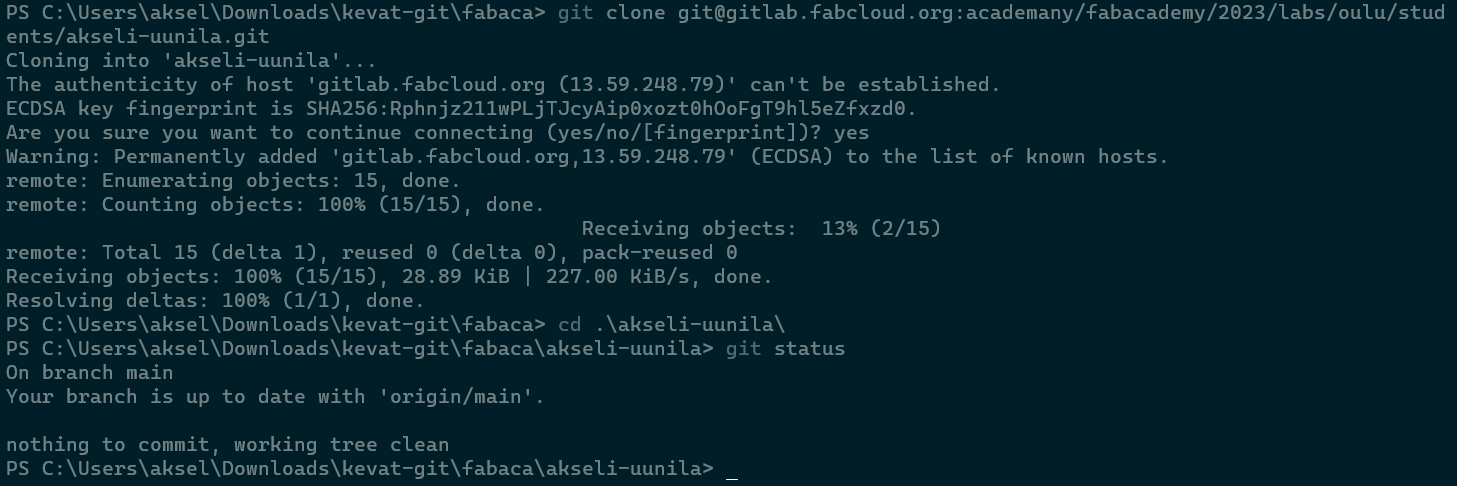
Which was pasted after git clone command.
Then I edited the README.md in the local repository. With the following commands this change was pushed to the remote repository.
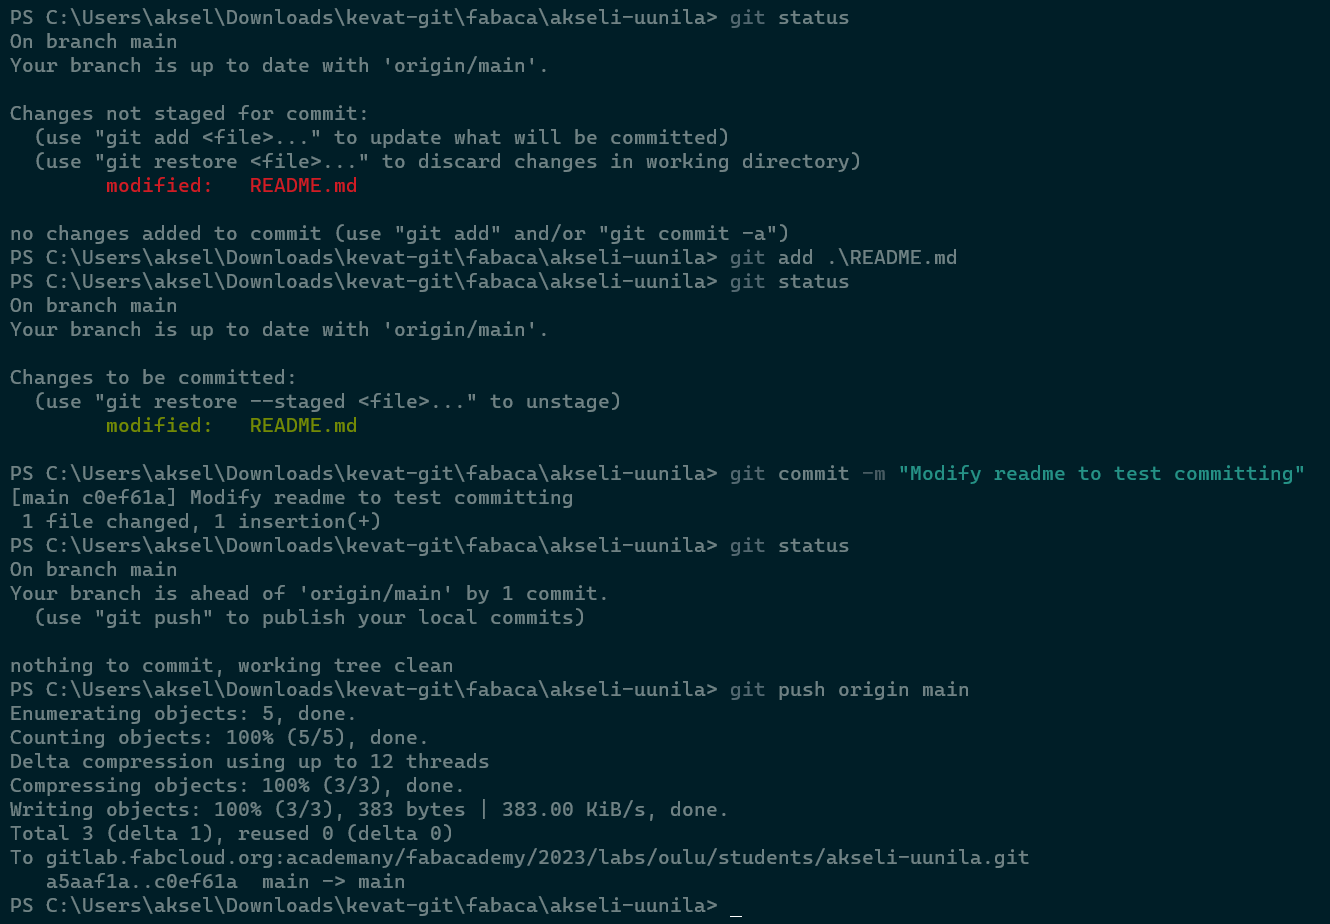
After this I should be able to keep making changes to the repository with the following workflow:
git pullgit status- edit files
git statusgit add *orgit add <filepath>git statusgit commit -m "Commit message"git statusgit push
Editing files with VS Code
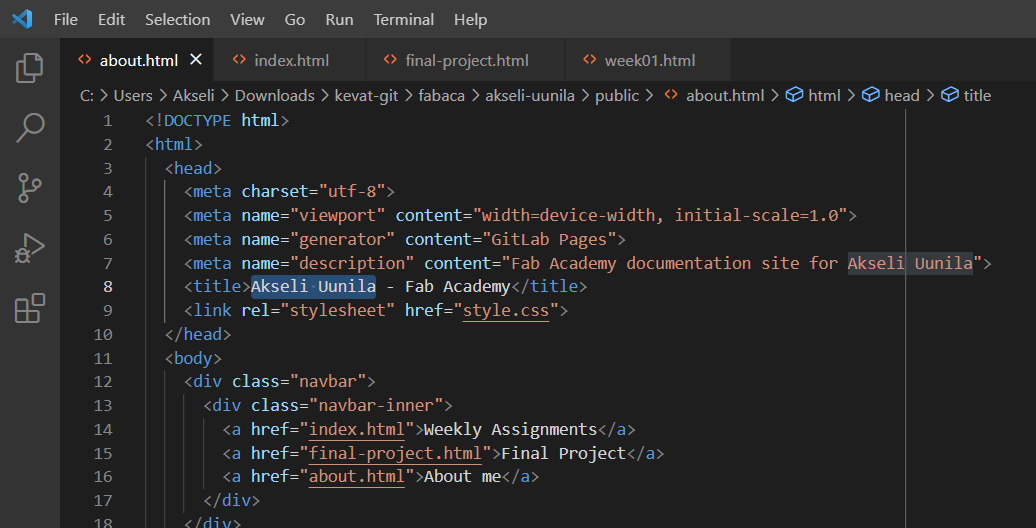
I am used to Visual Studio Code so that is what I will be editing files like HTML and markdown with. In the image below you can see for example where replaced the placeholder "Your name" with my name. I noticed that the title is what shows in the browser tab title.
Compressing images with GIMP
I use GIMP for editing images. It is a powerful tool but some simple things like adjusting contrast or brightness are easy. It also does the compressing part nicely. Below is how I exported the image of the final project paper sketch. The image itself was good so it didn't need much editing other than grayscaling
(Which can be found from Colors>Desaturate>Color to gray).
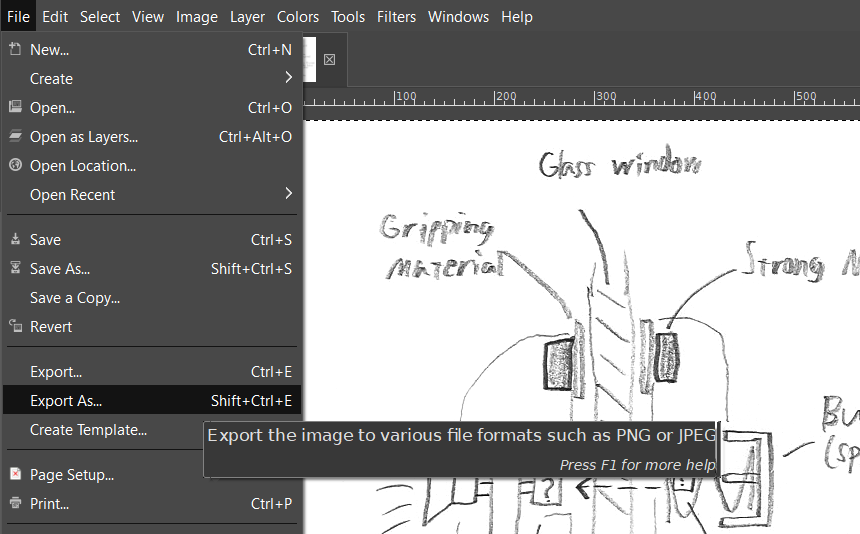
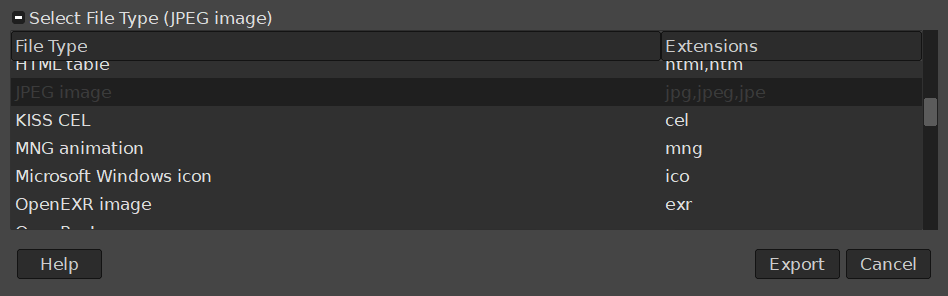
After selecting Export as you can select the file type.
For images such as the sketch .jpg is the best fitting but for most of the screenshots
that you can see in this page .png can actually result in smaller file size.
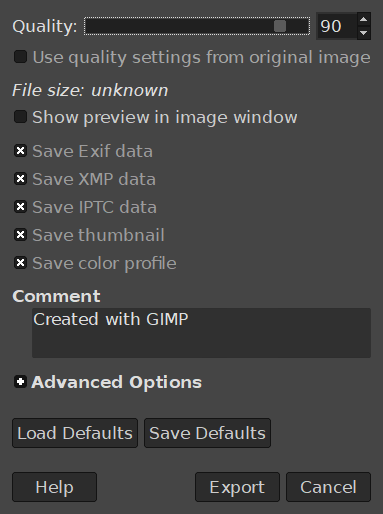
After selecting .jpg and clicking export one last window shows settings for the export. For me the only relevant one is the quality. If a .jpg file ends up too big I will go back and lower the "Quality" setting. This usually is enough to lower the file size under 200KB.
Post additions after week 1
I wanted to make the website with MkDocs but couldn't make it in time for the next global lecture. That is why I documented the first week directly with HTML. However, very soon after I migrated the HTML that I had already edited to markdown. It was little bit extra work compared to if I had just started with MkDocs first. But I think it didn't hurt to refresh my memory on HTML.
So if you are reading this then I managed to build the site with MkDocs. Even though writing raw HTML wouldn't be an issue I think markdown makes just so much more sense. Here I go through the changes I did and issues faced when setting up MkDocs. I don't expect this to be evaluated as part of week 1 but it might still be helpful for later.
Document structure
The file structure is similar to what would have been with plain HTML. When the website is built the markdown documents each form a page and the folders provide structure.
mkdocs.yml    # The configuration file.
docs/
    index.md  # Homepage and about me
    about_me.md
    final_project.md
    assignments/
        week_1.md
        week_N.md
        ...
    images/
        avatar_photo.jpg
        week_1/
            ...
        week_N/
        ...
    source_files/
        week_5/
            ...
The mkdocs.yml provides configuration for example
which extensions to include
and what theme to use.
The week_N.md files represent the documentation for each week and these are
accessed under the assignments menu which the mkdocs template forms.
Images in the web pages are created by linking a file from the
images/ folder in the markdown file.
For example, week_1.md could have the line with the relative link to the image.
Other files like 3D models and meshes would be located in the source_files/ folder.
Trying out MkDocs
I used the search feature on Fab Academy site, found and followed this tutorial
for getting MkDocs to run locally. I used pip to install MkDocs locally. The tutorial was pretty straight forward but I made some rookie mistakes as I was using Windows Powershell and the tutorial used Linux commands.
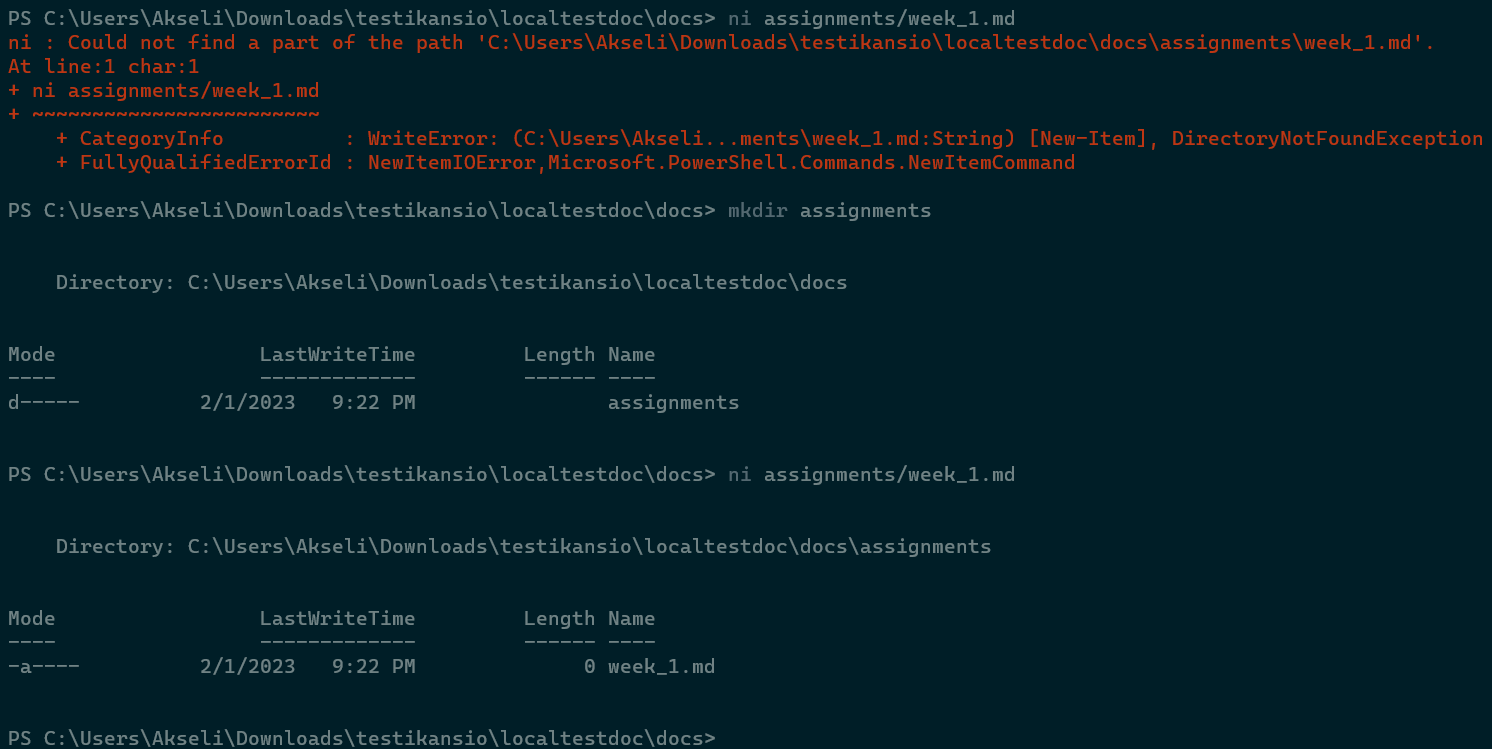
As you can see the Windows equivalent for touch is New-Item or ni for short. The command creates a new file.
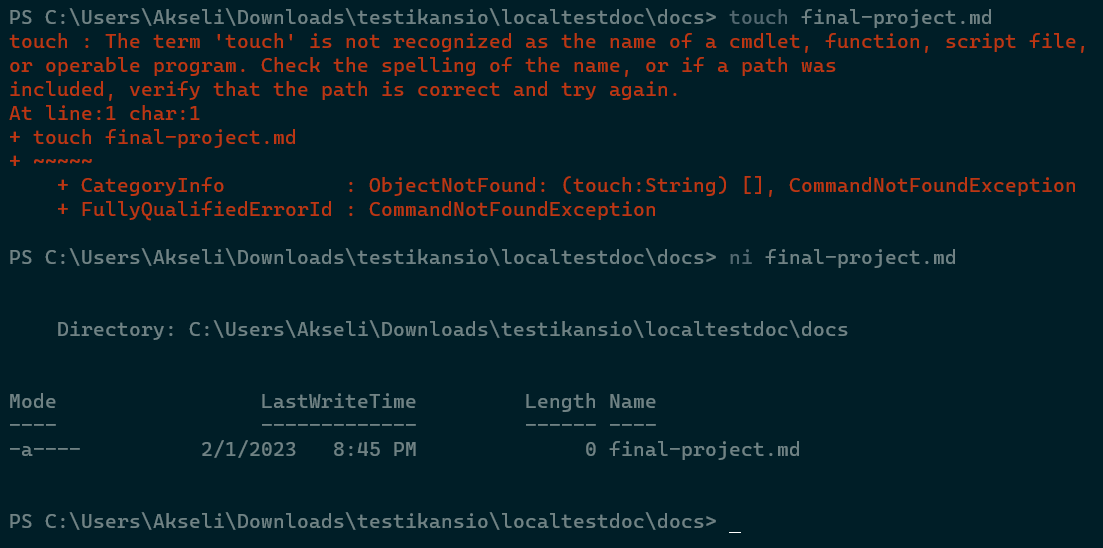
Also it behaves differently to touch as it cannot create a folder.
That had to be done separately with mkdir.
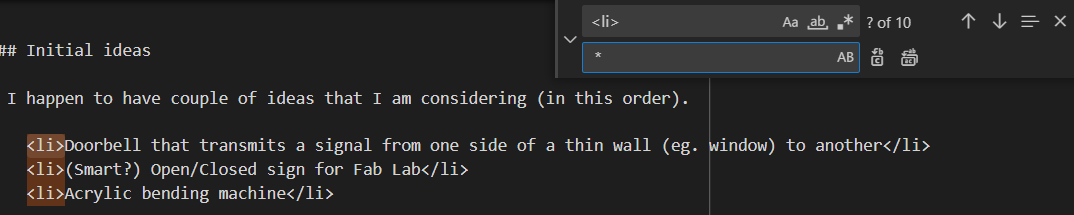
Quick mention that find&replace in VSCode was really helpful when migrating the first weeks documentation from HTML to markdown:
Below is both HTML and markdown formats for embedding an image. However I soon found out that if I want to resize images I have to put HTML directly in the markdown file.

After that bumpy road I learned how to use MkDocs locally. After installation and initializing the document with
mkdocs new docs
I could host the site locally using:
mkdocs serve
If you want to see what the created HTML looks like you can do:
mkdocs build
Getting MkDocs to work in gitlab
There are two configuration files in the repo:
.gitlab-ci.ymlThis determines which commands are executed when building the site automatically after each push.mkdocs.ymlThis determines customization like themes and extensions as explained in the section Document structure.
The next step was to get this same site working in the gitlab CI/CD. Here I only knew that I had to do something with the .yml files in the repo. I started with taking a look at the
Fab Lab Oulu 2023 site repo
and copied the .gitlab-ci.yml to my repo.
At this point my mkdocs.yml only had the site name. I pushed and it didn't work...
I could troubleshoot want didn't work by going to:
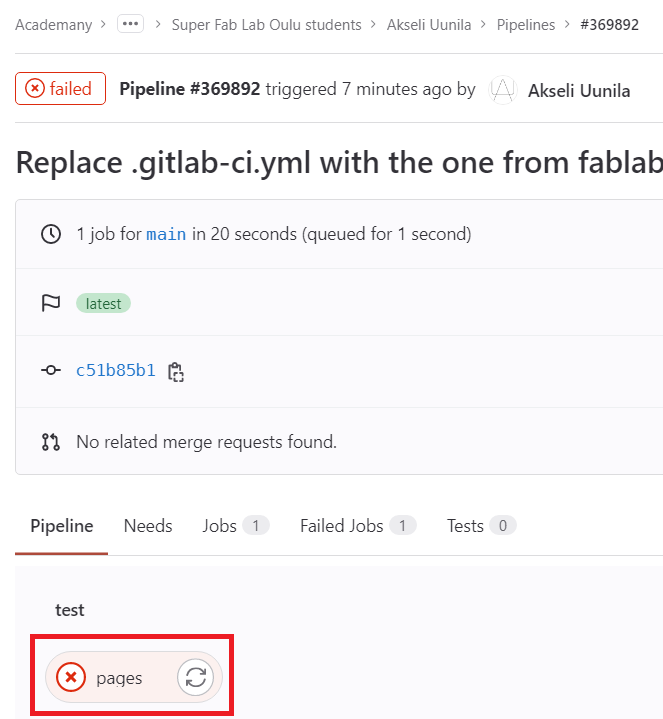
Where I found that the line mv _site public was causing issues.

I don't know why that is but by referencing Antti Rytilahti's Fab Academy site from 2021 I replaced that and the command before it with this single line:
- mkdocs build --site-dir public
in the .gitlab-ci.yml and after pushing that it worked, at last.
Adding theme (Material for MkDocs)
Of course I too wanted better looks than just the default MkDocs template. So I used Material for MkDocs. Which has great tutorial and documentation for getting started.
To get that working I again referenced those previous Fab Academy site repos. In short:
Added this in requirements.txt:
mkdocs
mkdocs-material #MkDocs theme
And set MkDocs to use the theme in mkdocs.yml, with some additional customisation like colors and fonts:
site_name: Akseli's Fab Academy

theme:
    name: material
    palette:
        primary: deep purple
        accent: teal
    font:
        text: Roboto
        code: Roboto Mono
    icon:
        logo: material/library
    features:
        - navigation.tabs
        - navigation.instant
Now this site looks much nicer and going forward it will be easier to document as I go.
Markdown example
Here is the markdown code
For example I can just write like this and then link to an image:


That produces:
For example I can just write like this and then link to an image: