Final project
Introduction
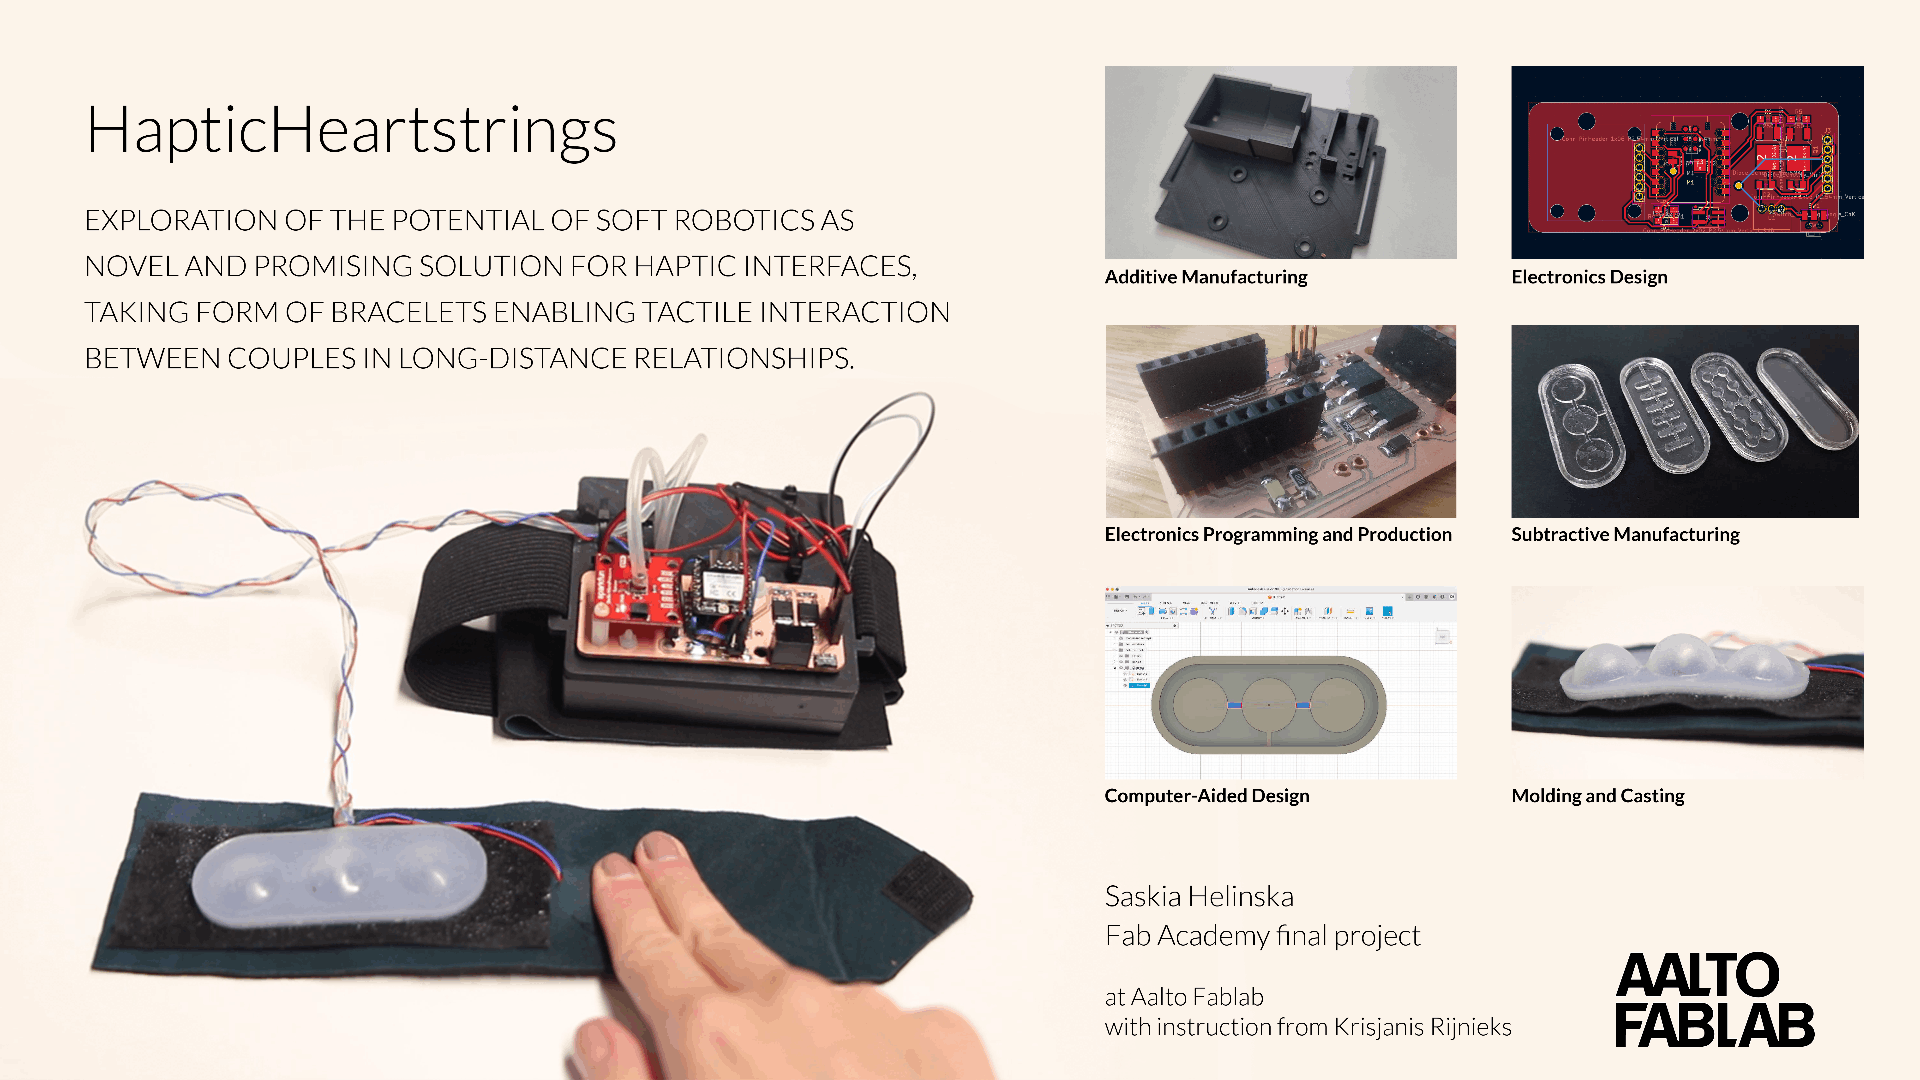
I have explored soft robotics fabrication techniques as well as design constraints and how certain geometries produce varied kinds of motion. At Fab Academy I will focus more on the electronics, incorporating various soft sensors and designing my own boards to drive air pumps or other available output devices
I would like to further work on the project that I have started at Fabricademy. You can read more here
Unflatables is a research project exploring the potential uses of soft robotics in wearables and e-textiles. It covers three different processes used to produce the actuators and investigates the design methods for predefined three-dimensional deformation, which may be used for both visual and haptic feedback
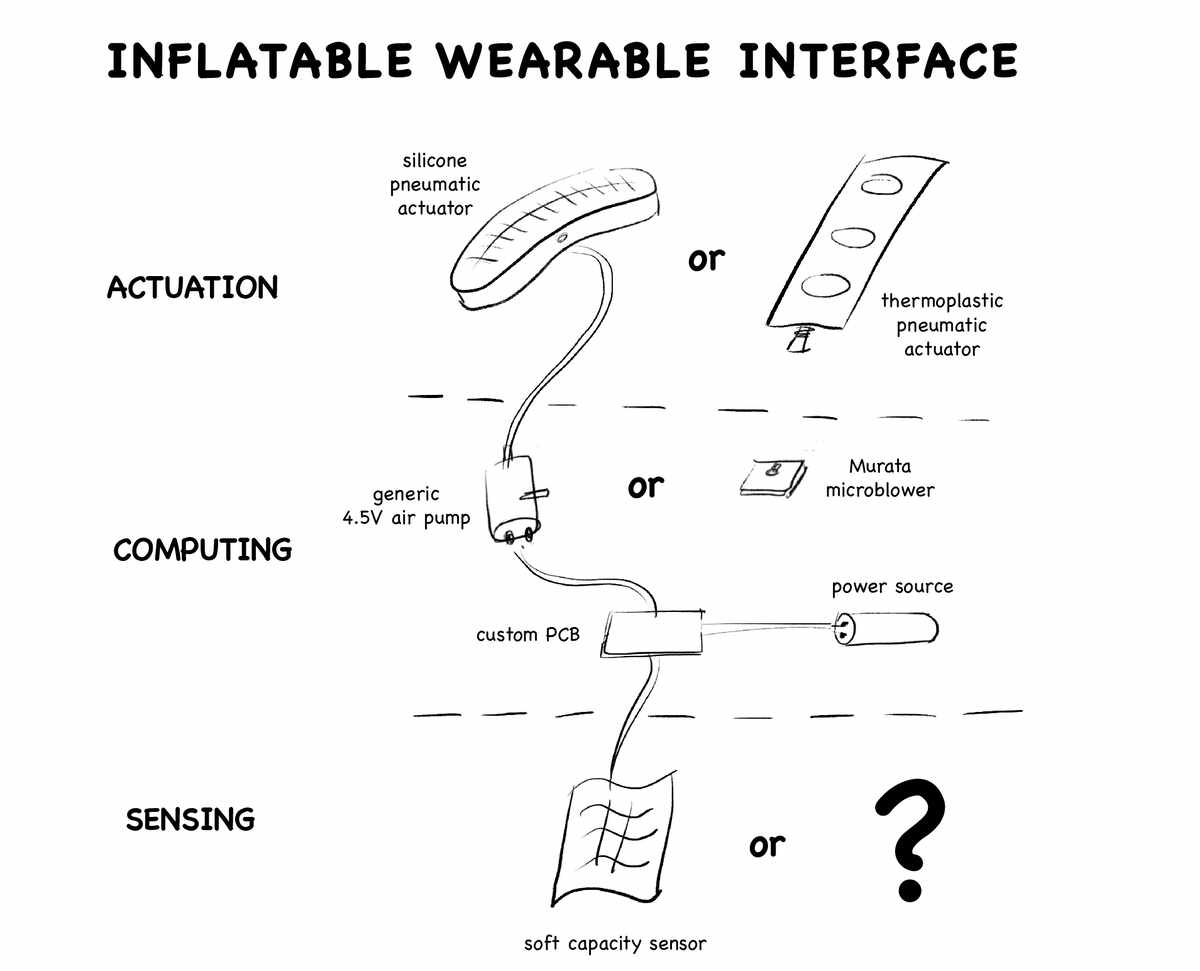
Actuators
This part of the interface I have already explored in my final project at Fabricademy and this time would rather focus on the remaining parts.
silicone pneumatic actuators
thermoplastic pneumatic actuators
Narrowing down the concept and possible application


Murata piezoelectric microblowers
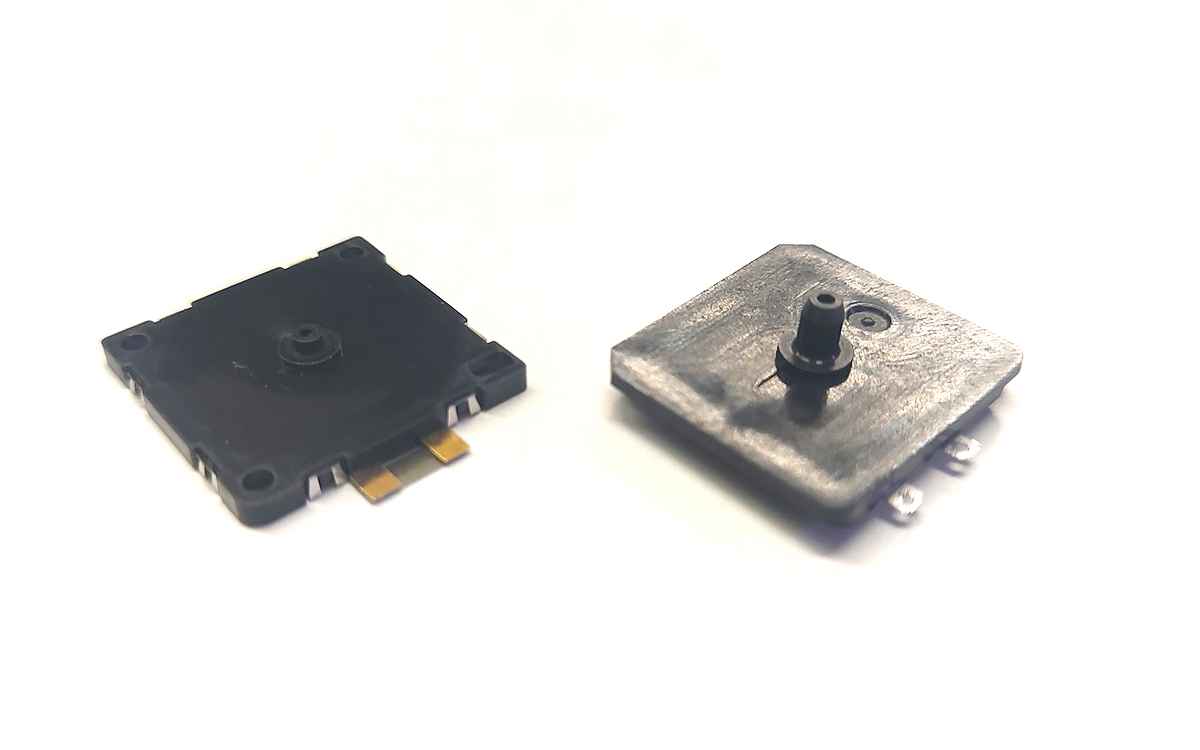
Murata microblowers: MZB1001T02 (left) and MZB3004T04 (right)
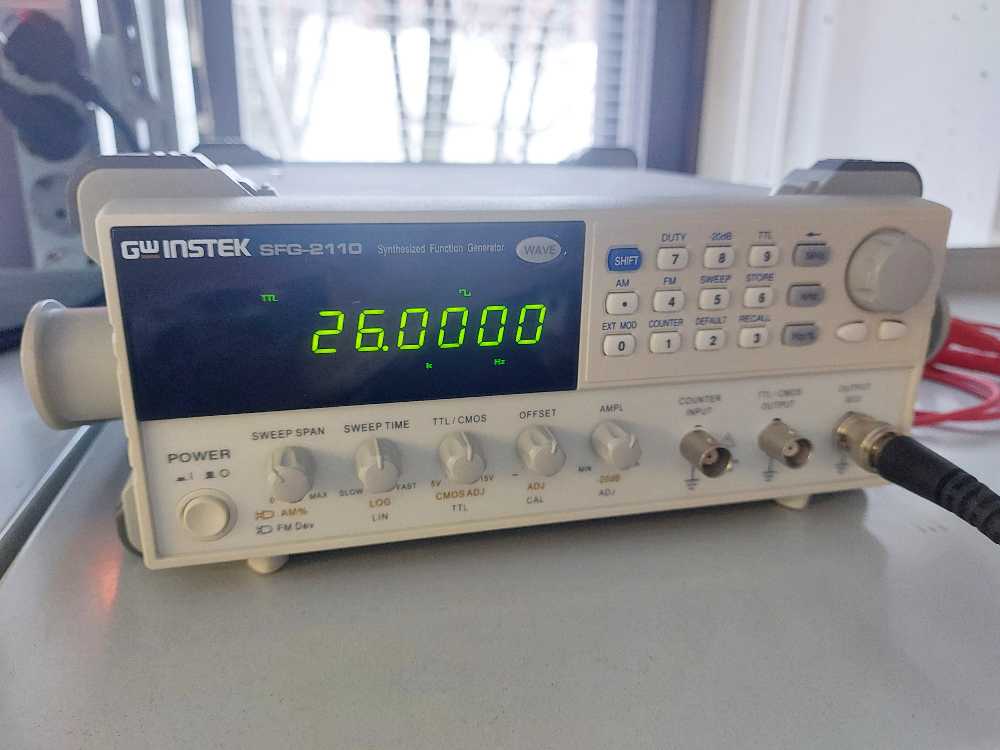
Oscillator settings
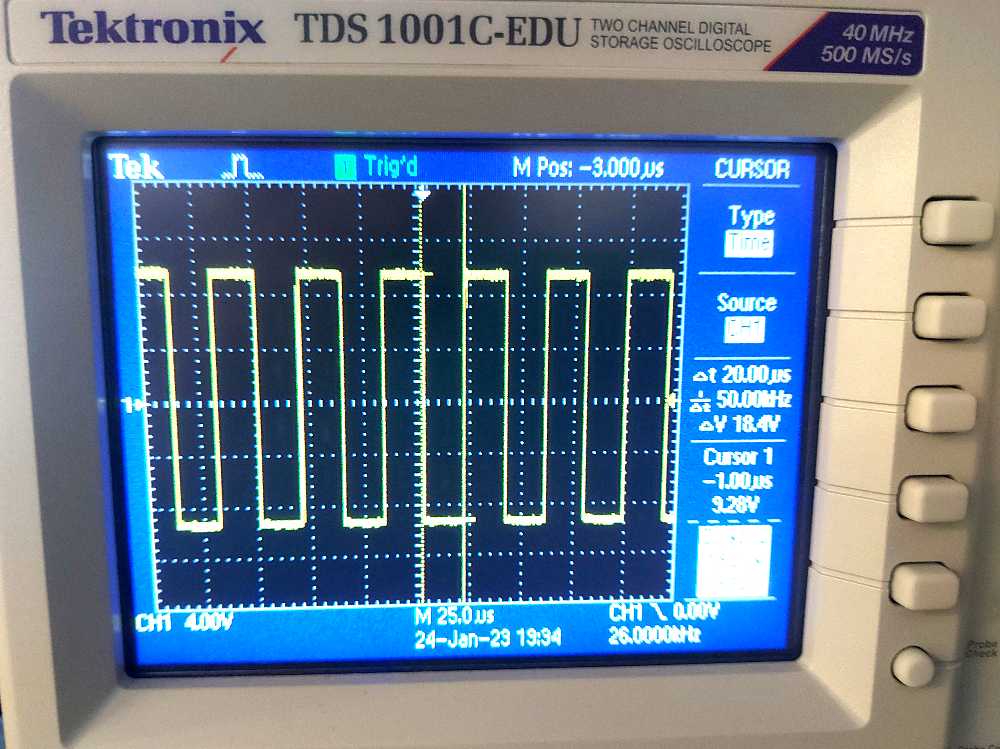
Oscilloscope settings
Microblower test with an oscillator and oscilloscope
Development progress
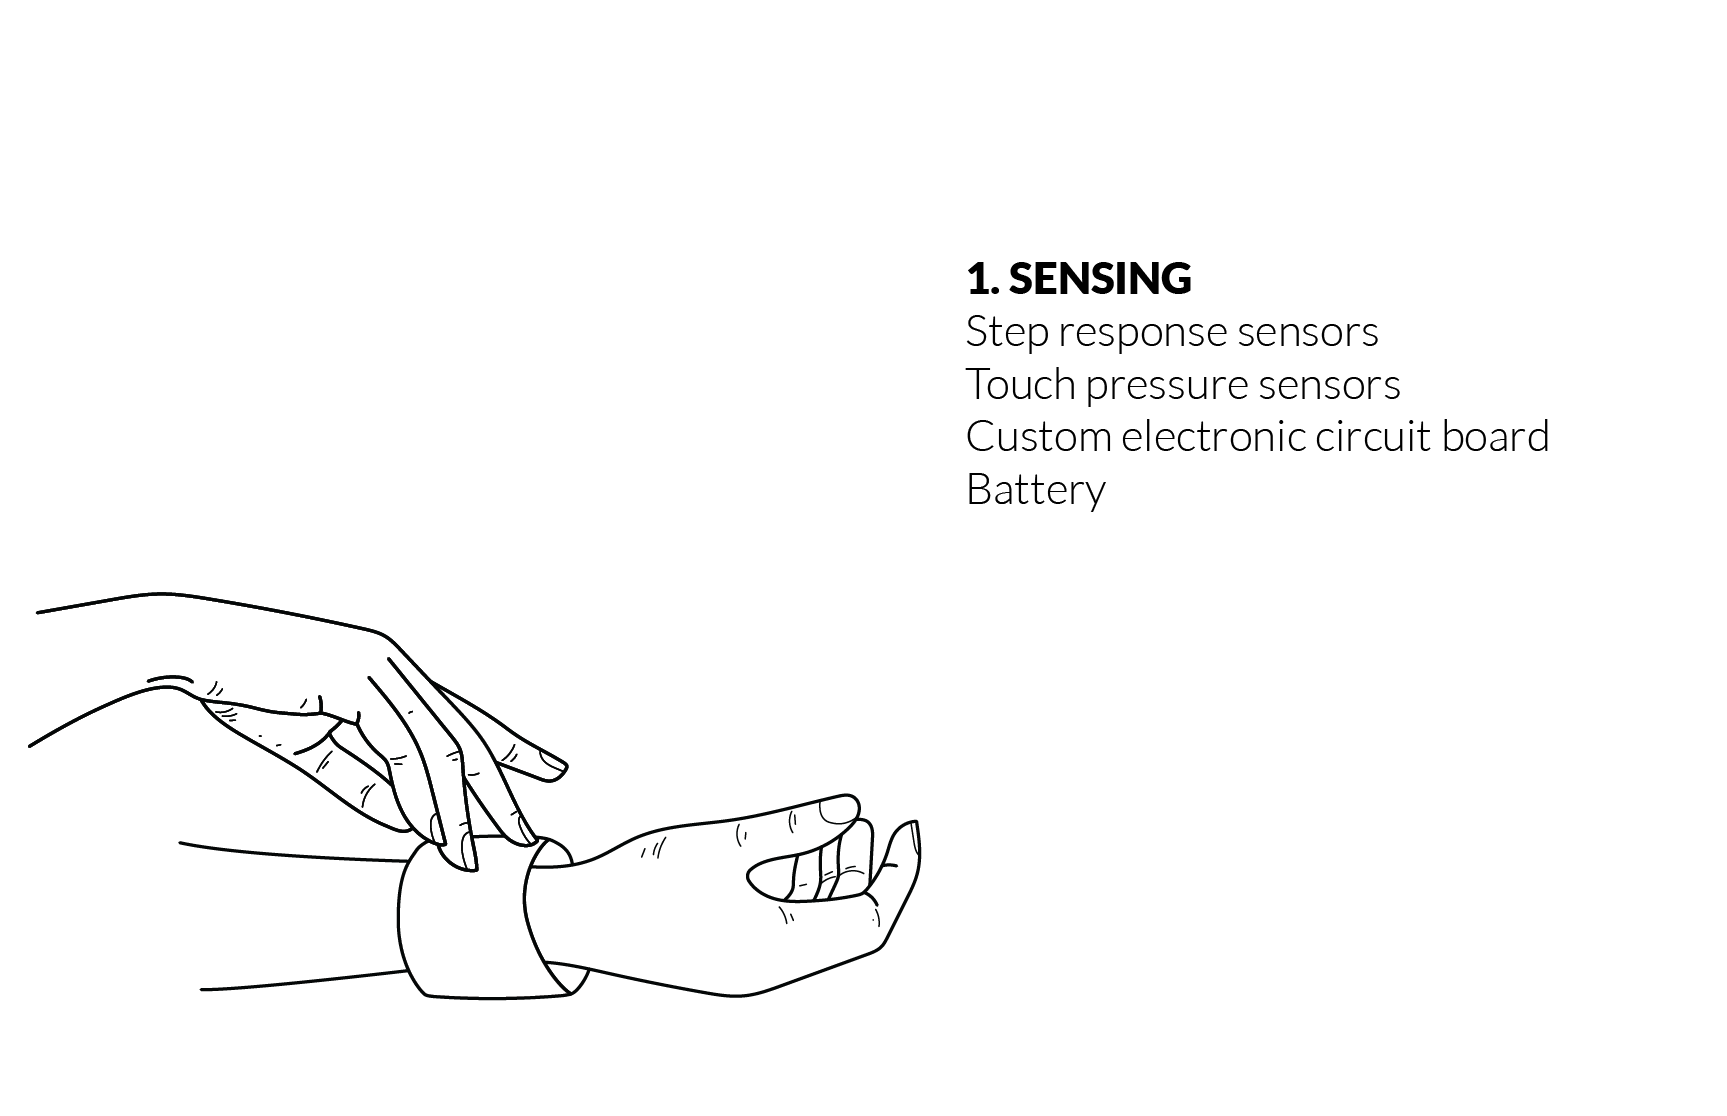
Sensor

Sensor networking - mapping values
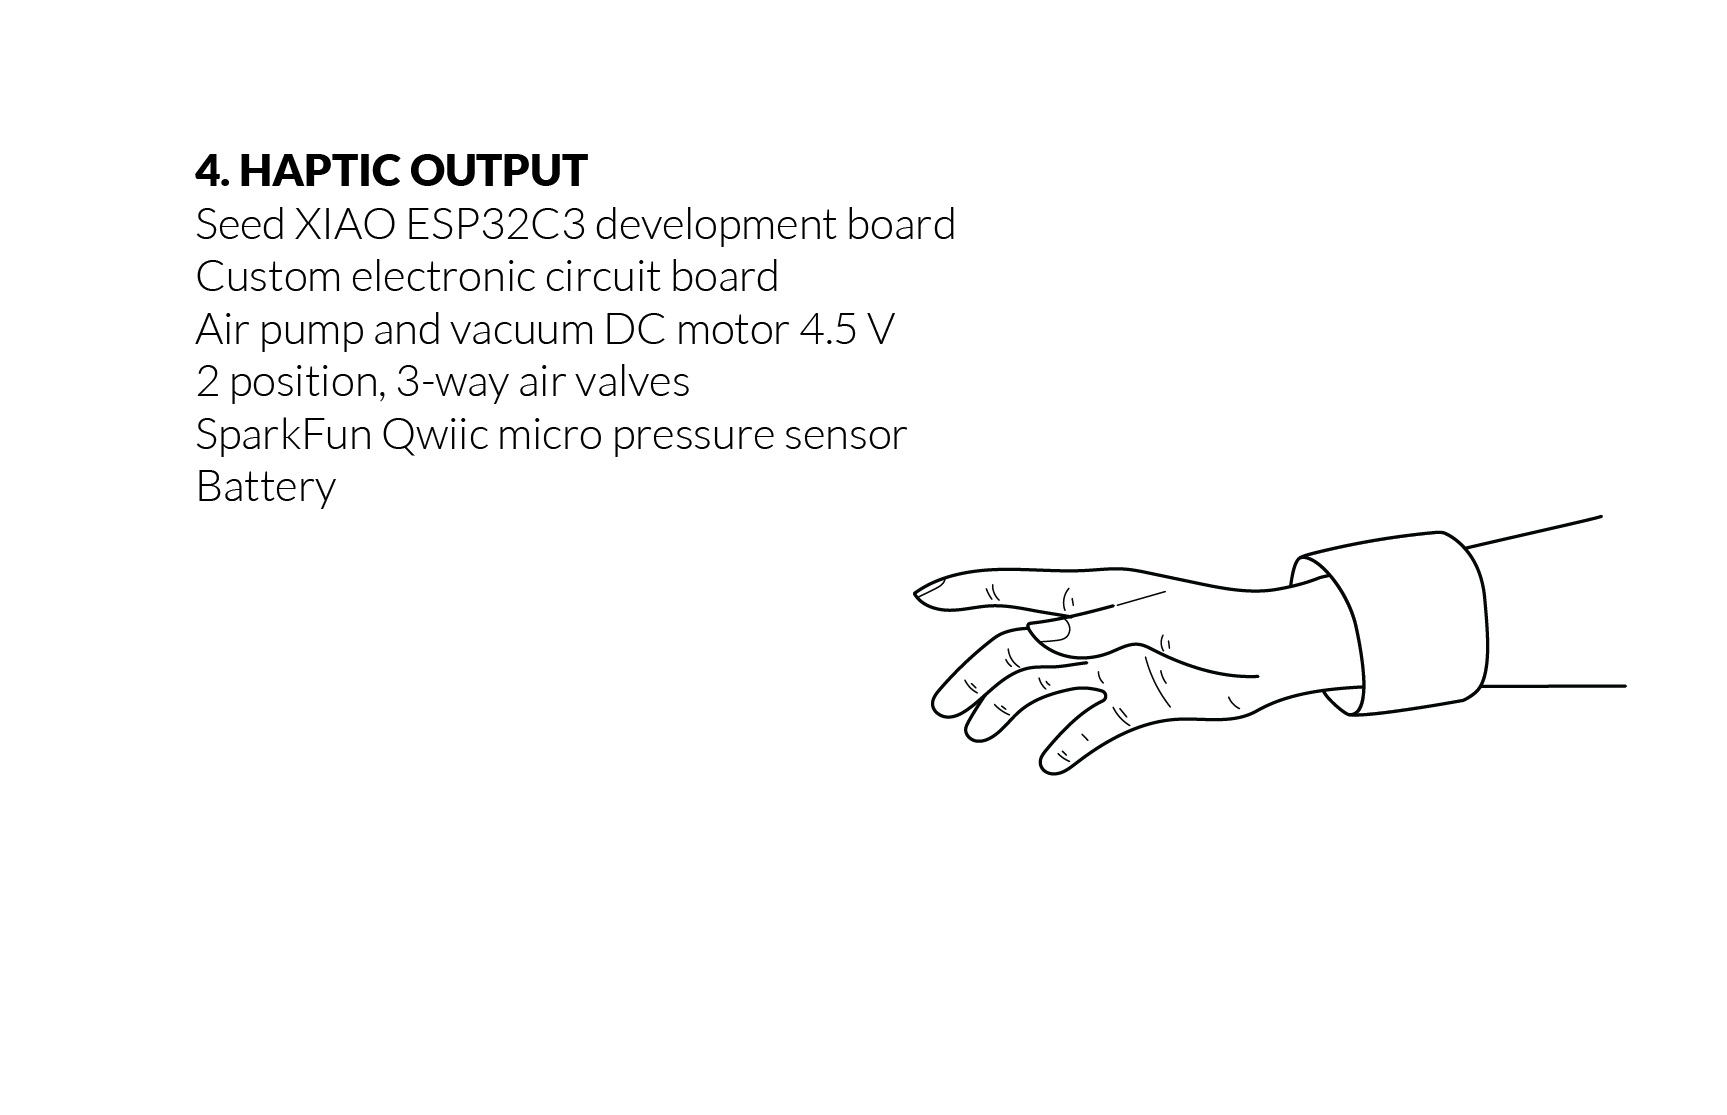
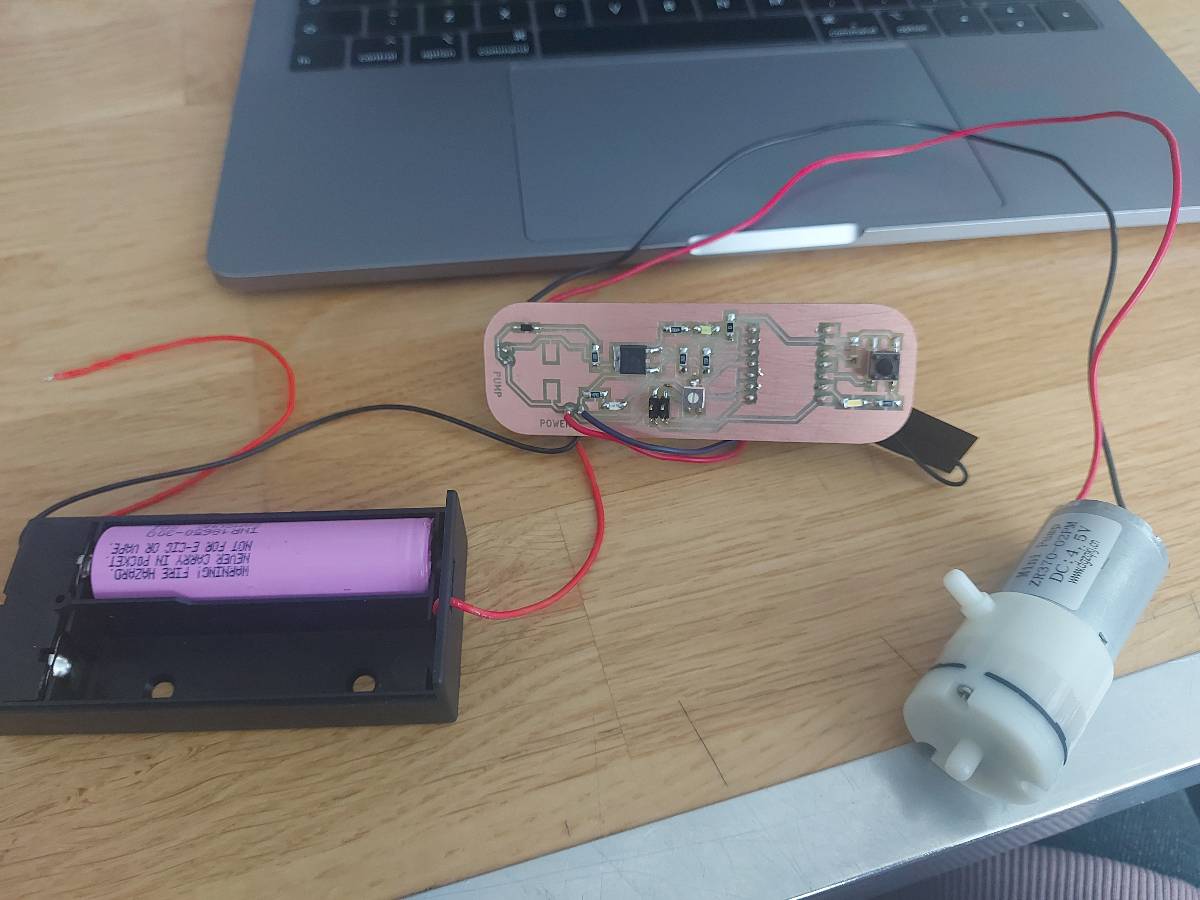
Pump + pump networking
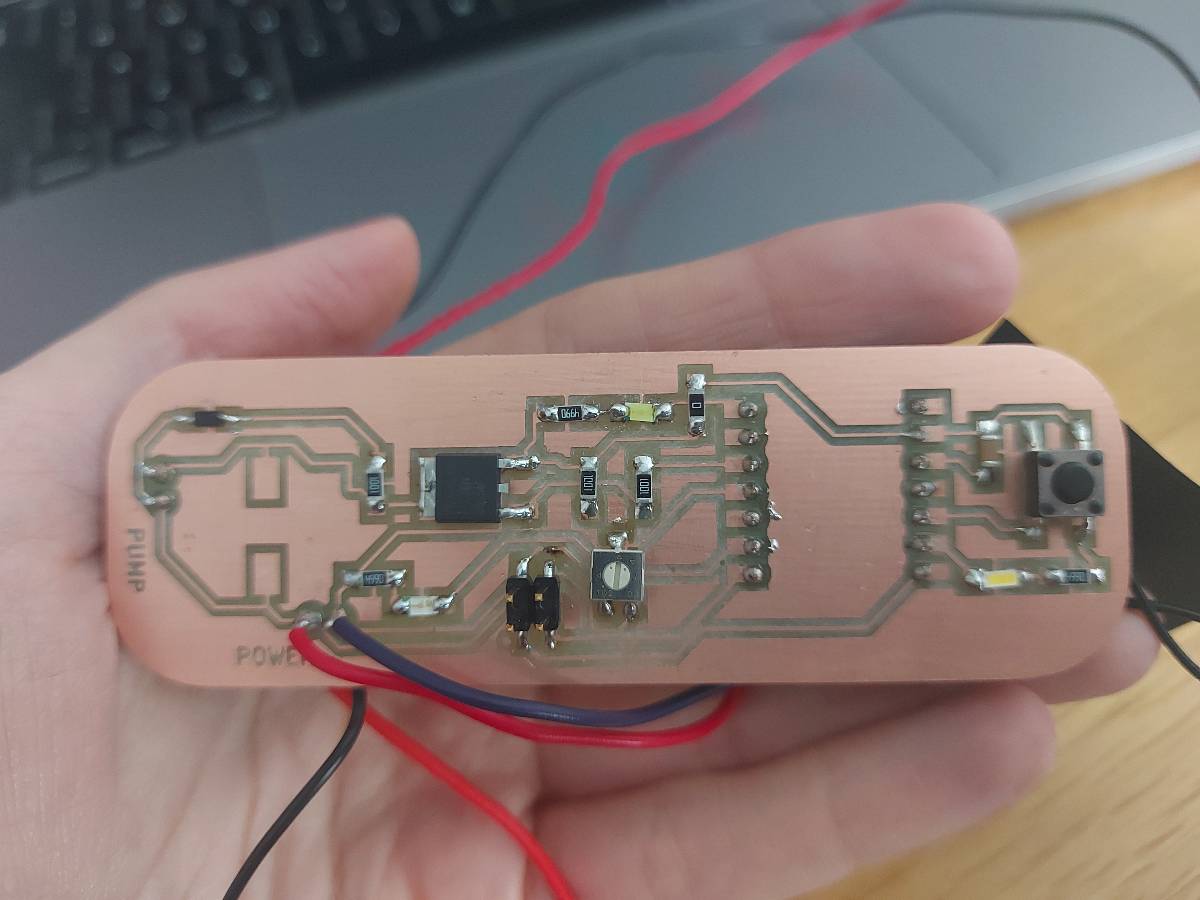
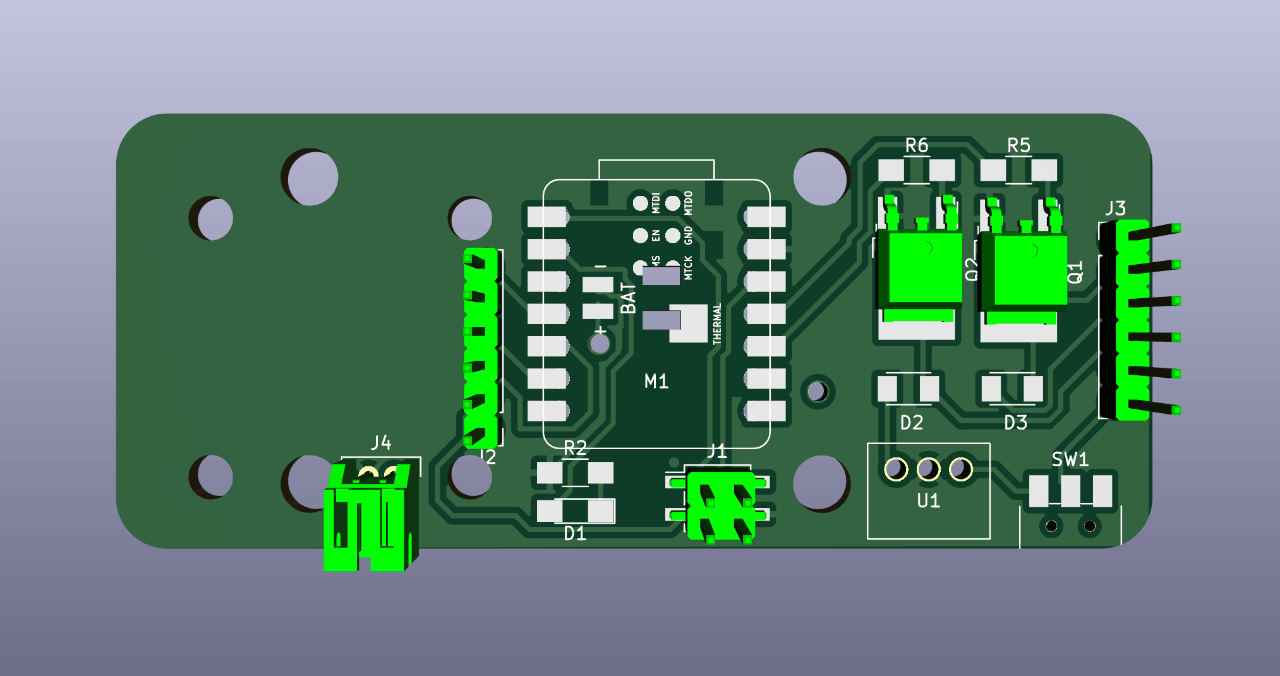
Board designs
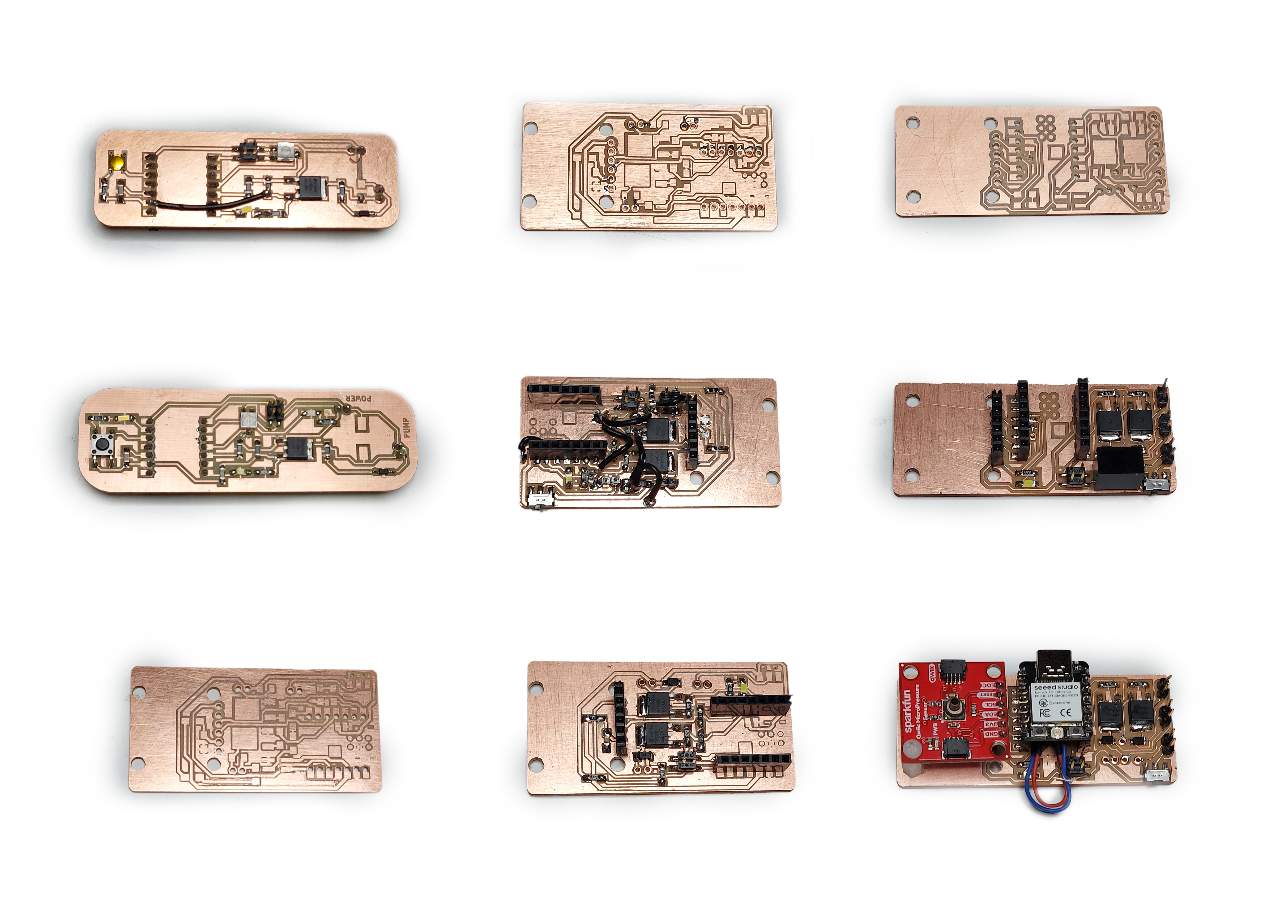
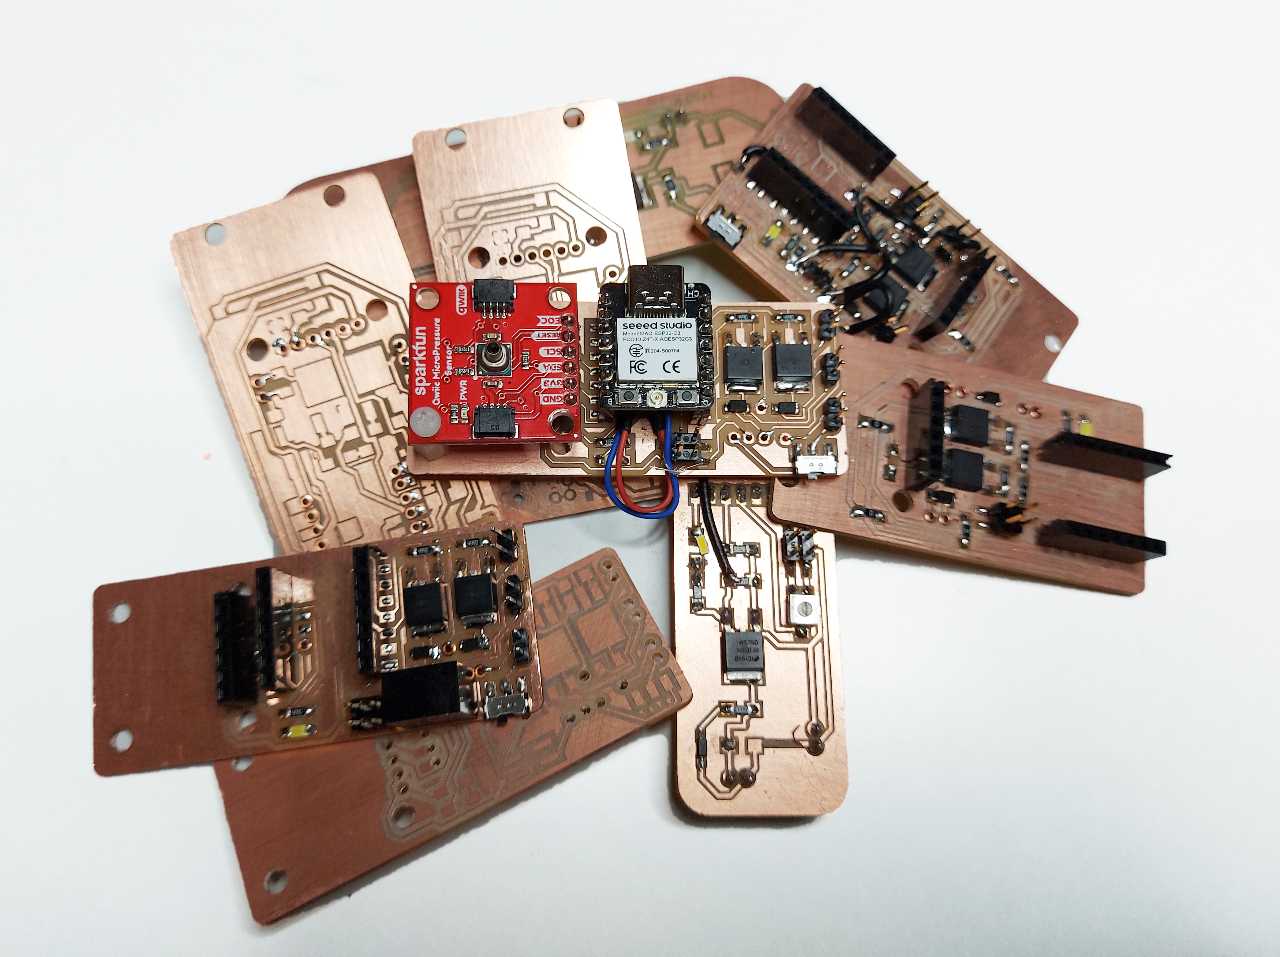
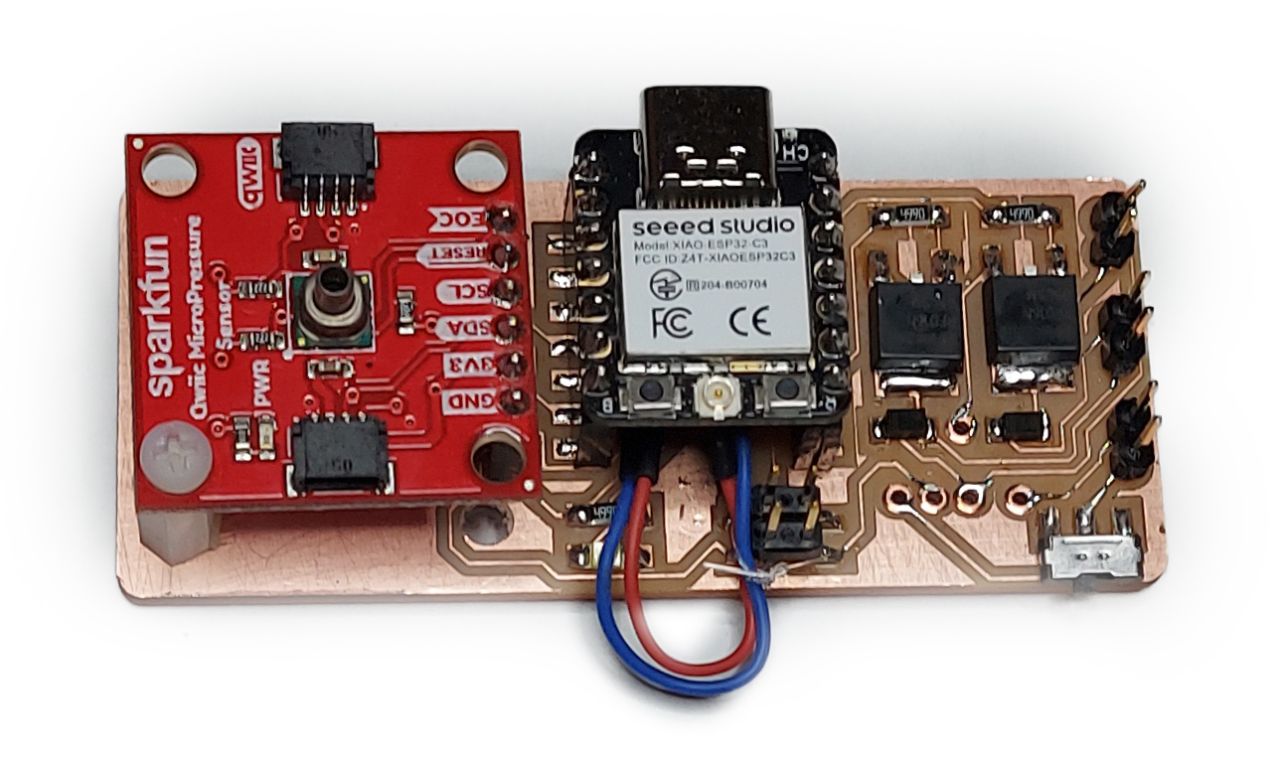

Integration
I did not manage to do proper integration in the device before the final presentation and had to show the prototype as was in the current state of development in the slide and video. Neil pointed out the need for improvements in that matter
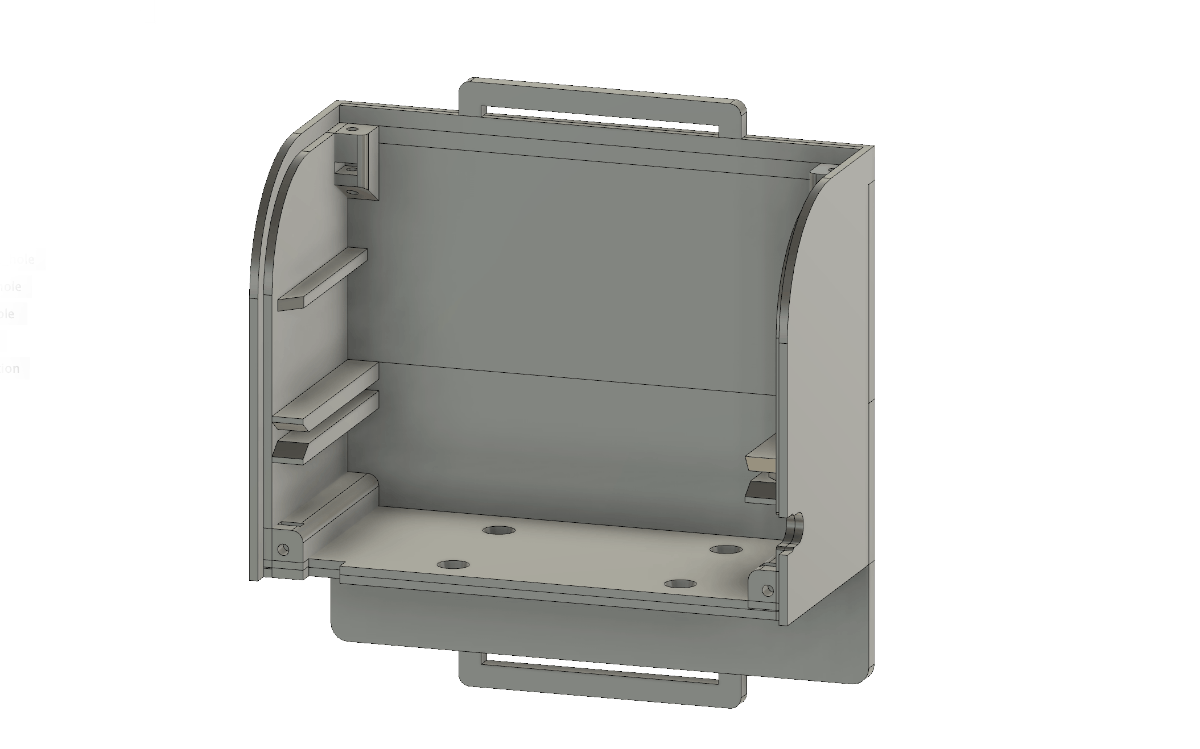
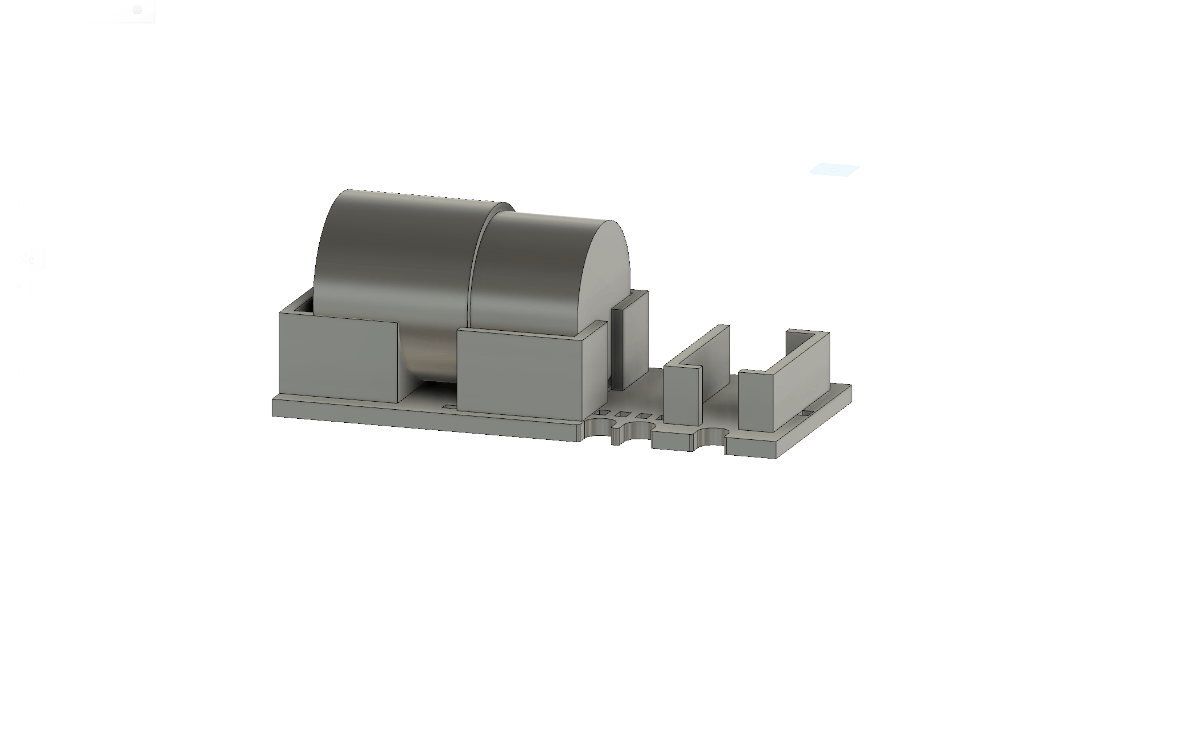
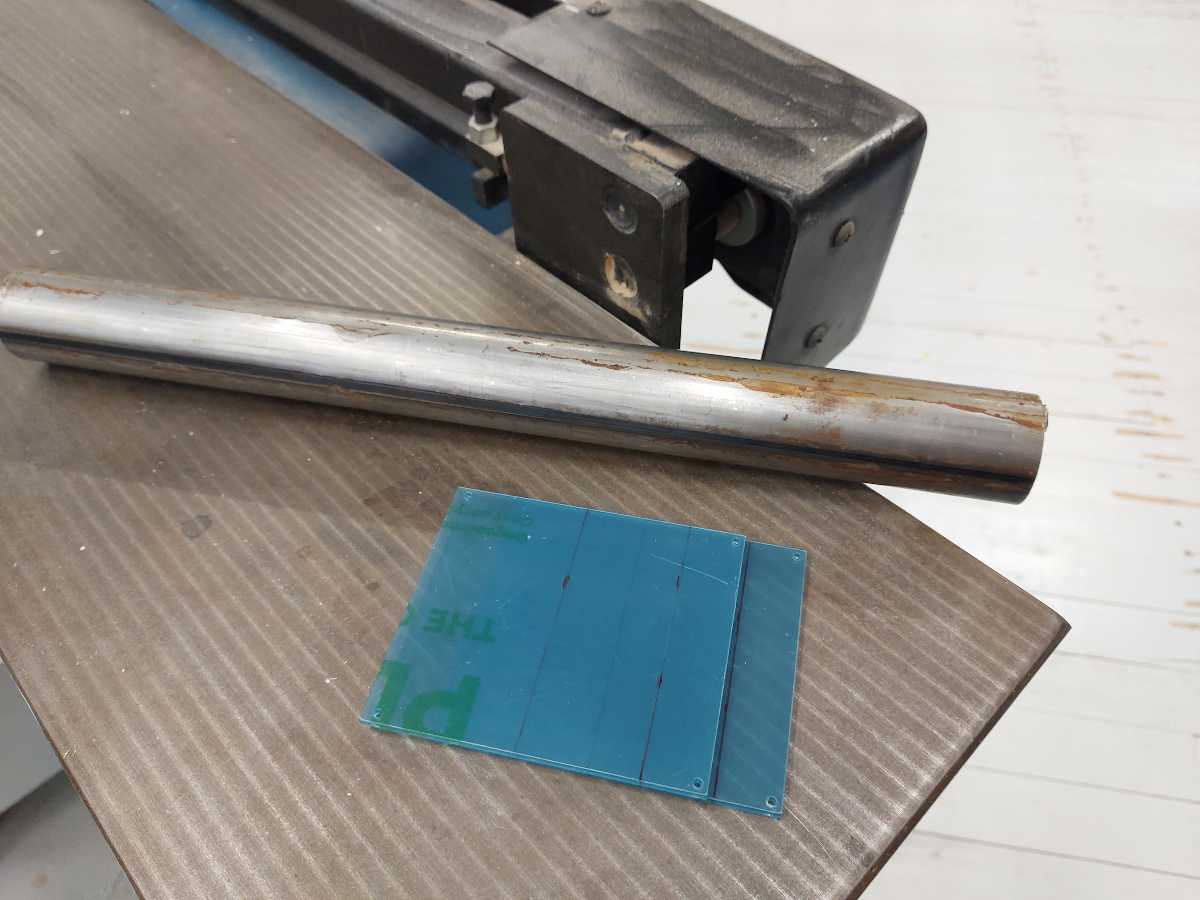
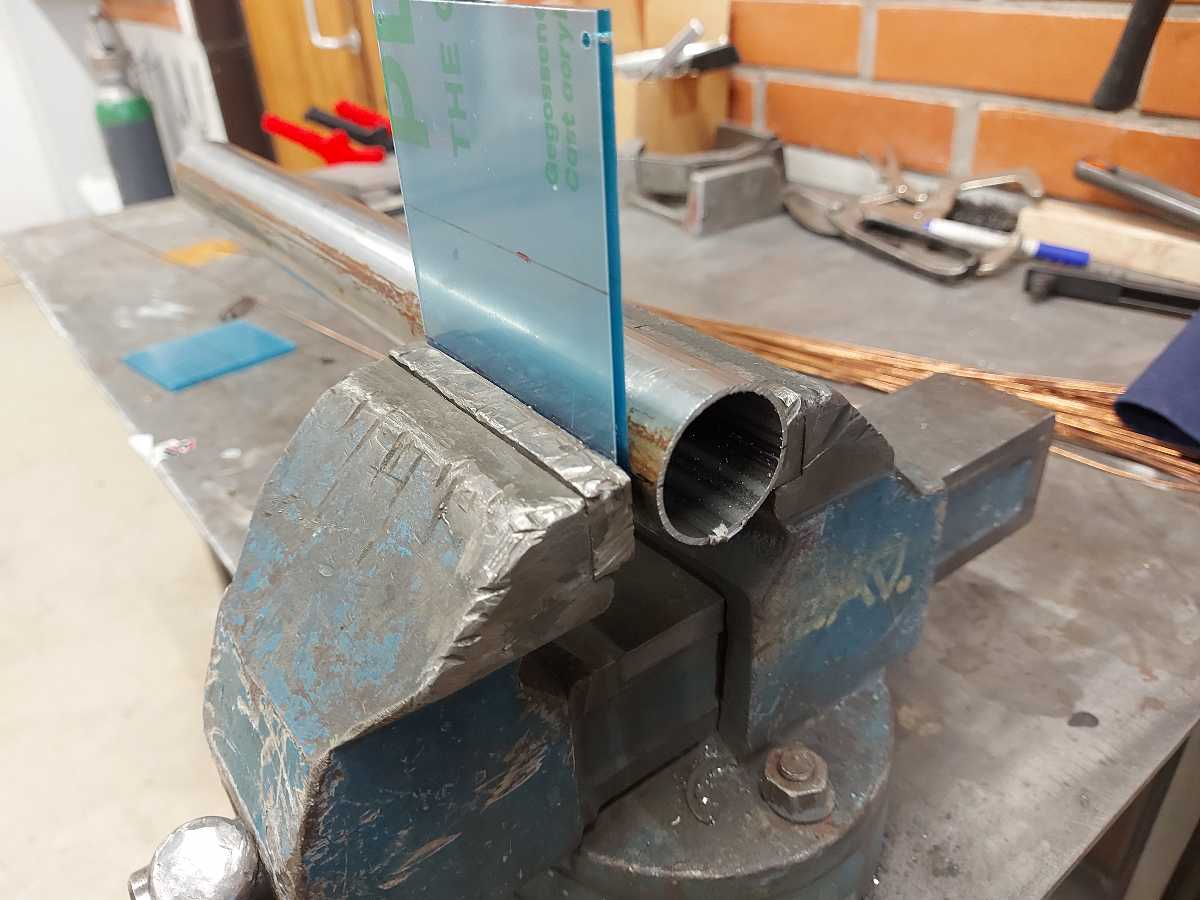
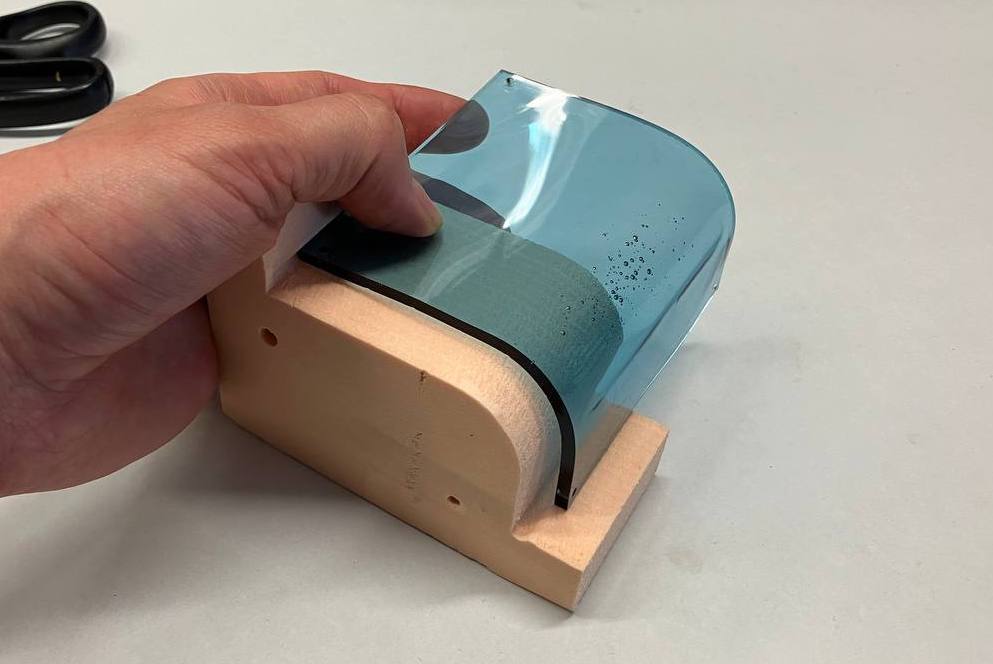
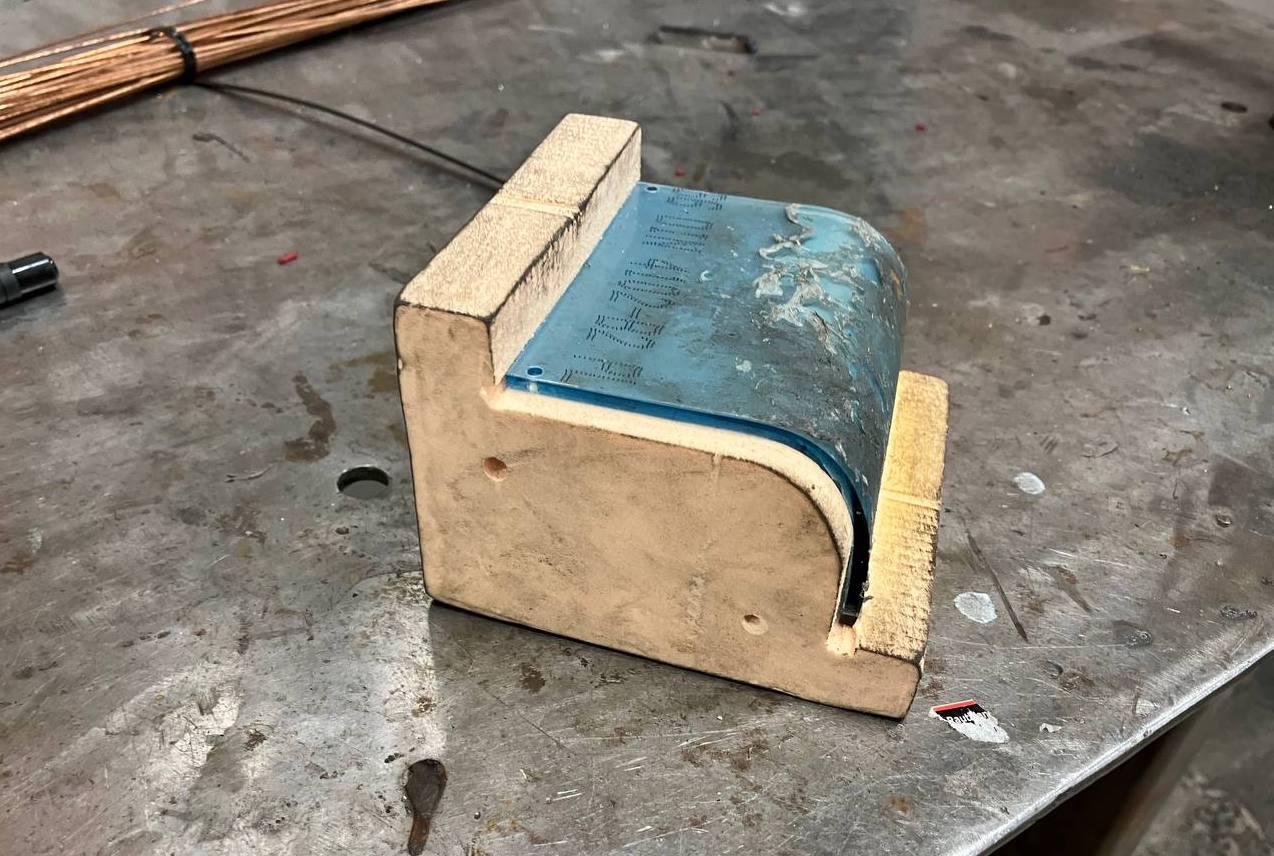
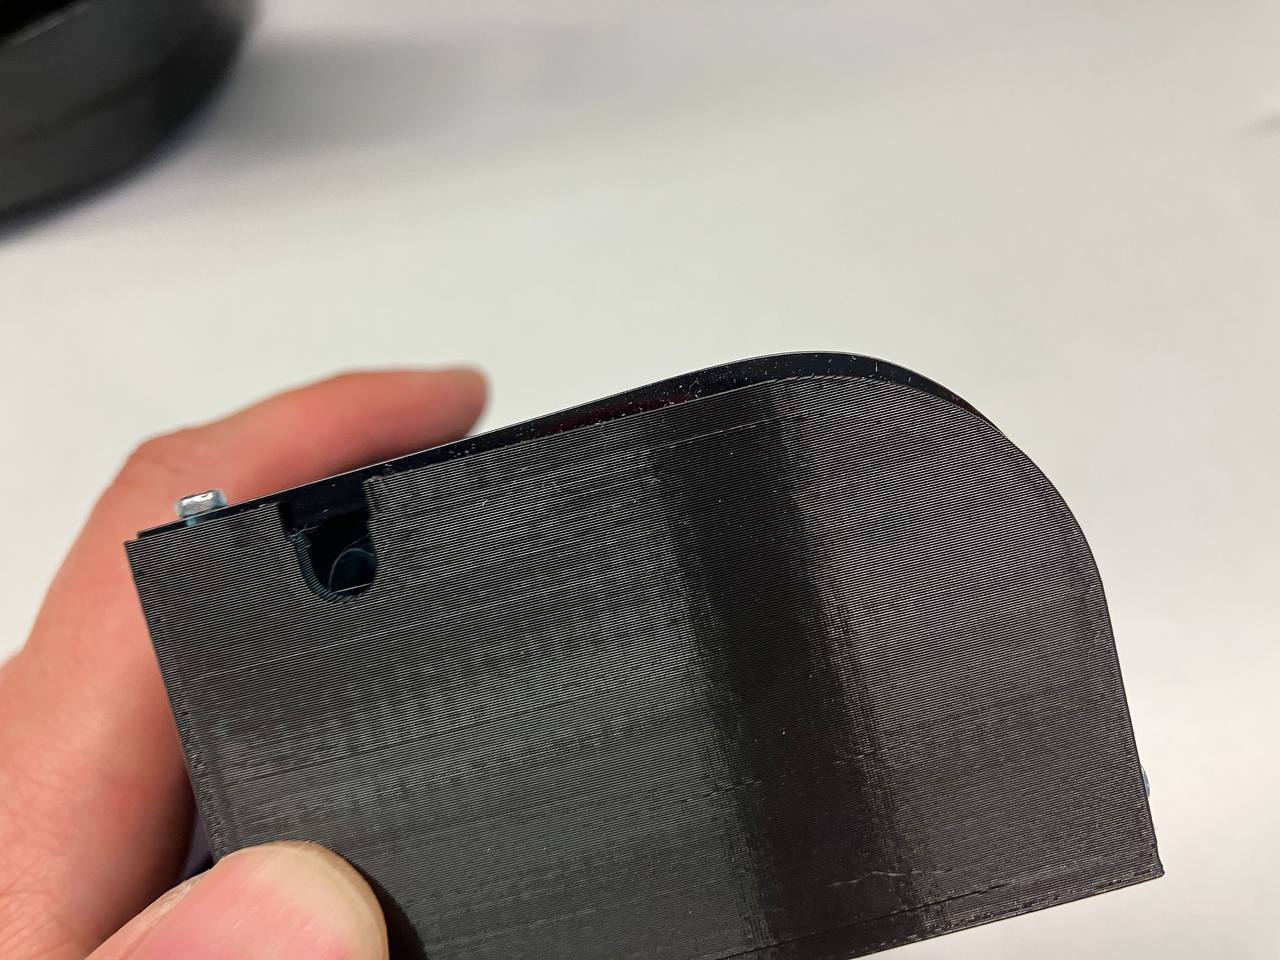
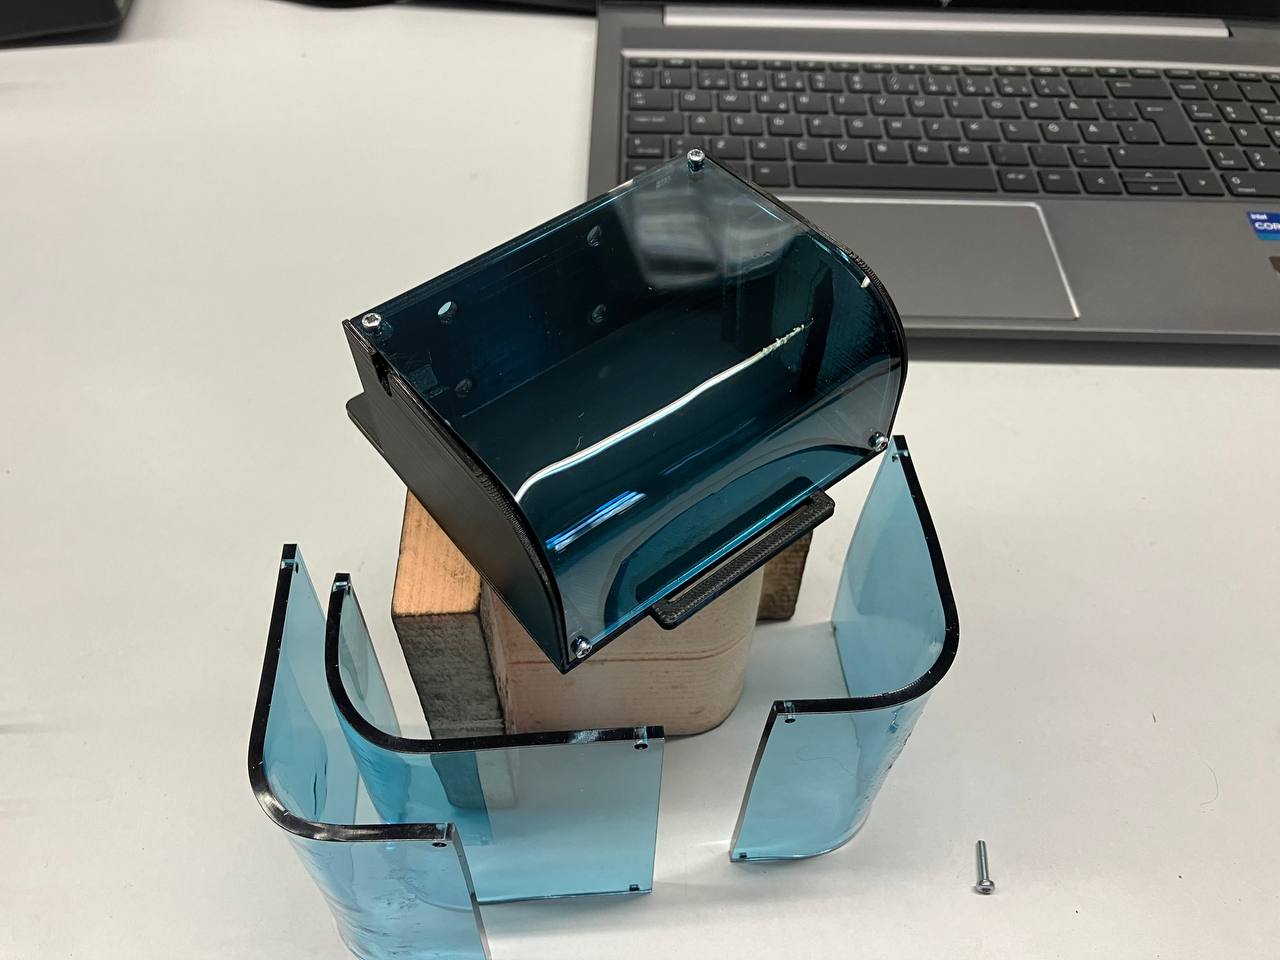
Enclosure design

Acrylic bending try I
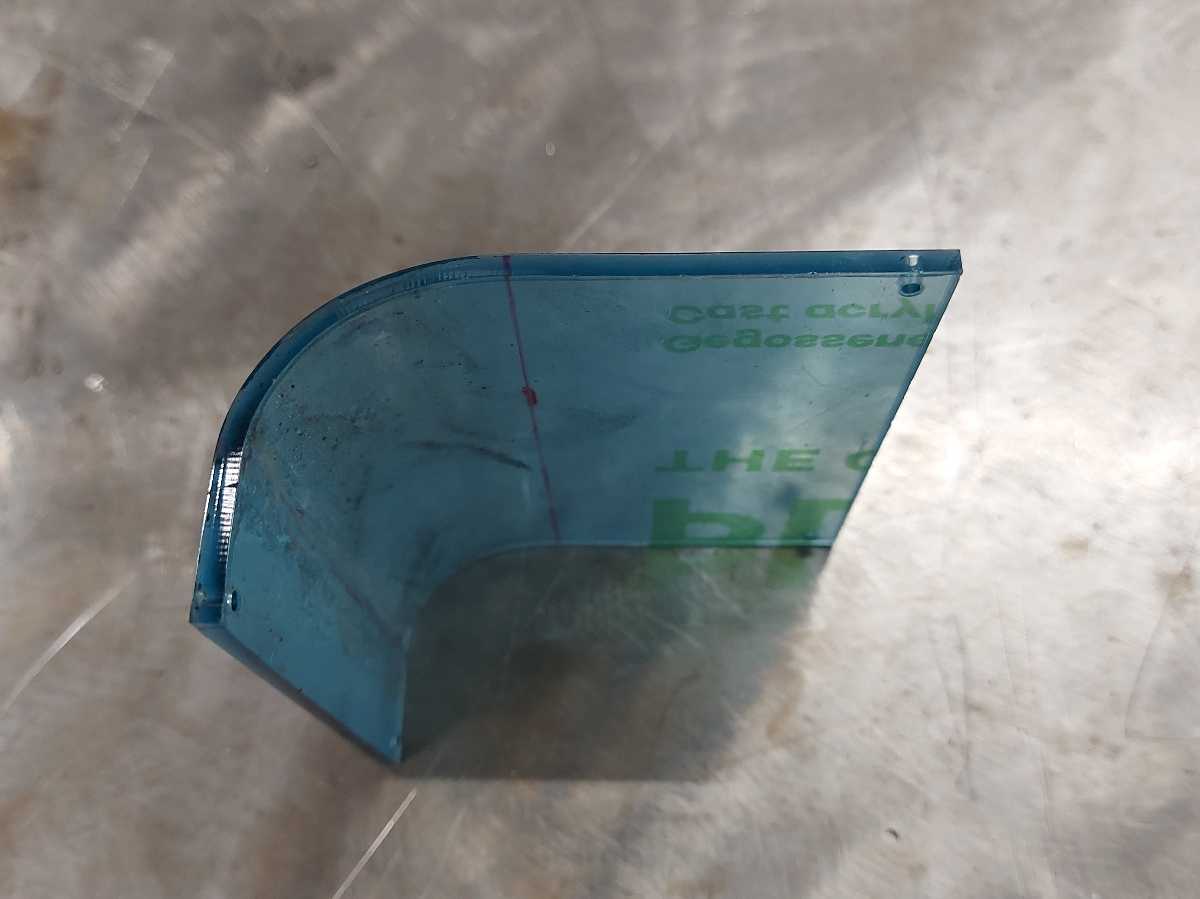
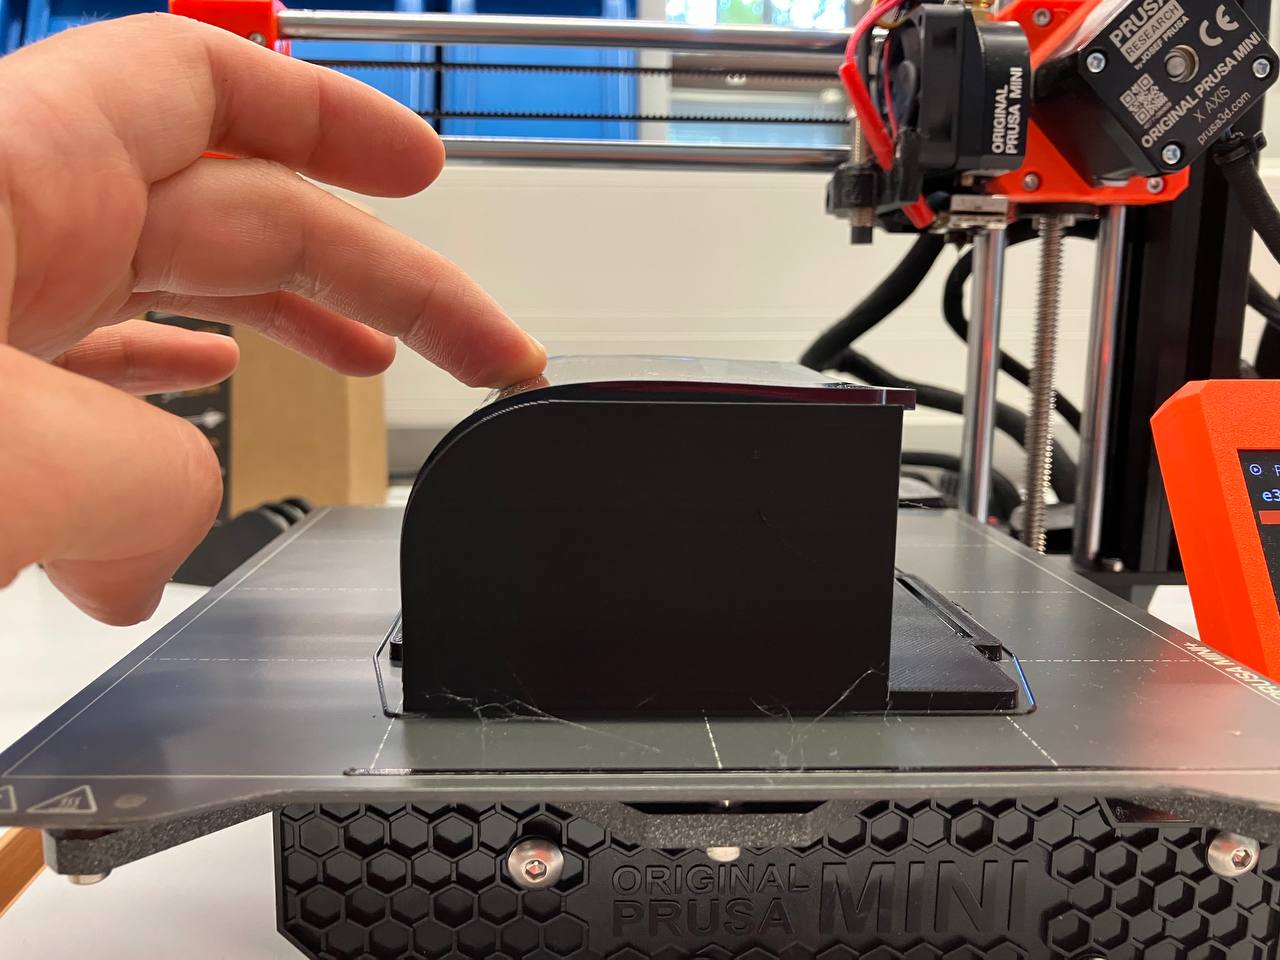
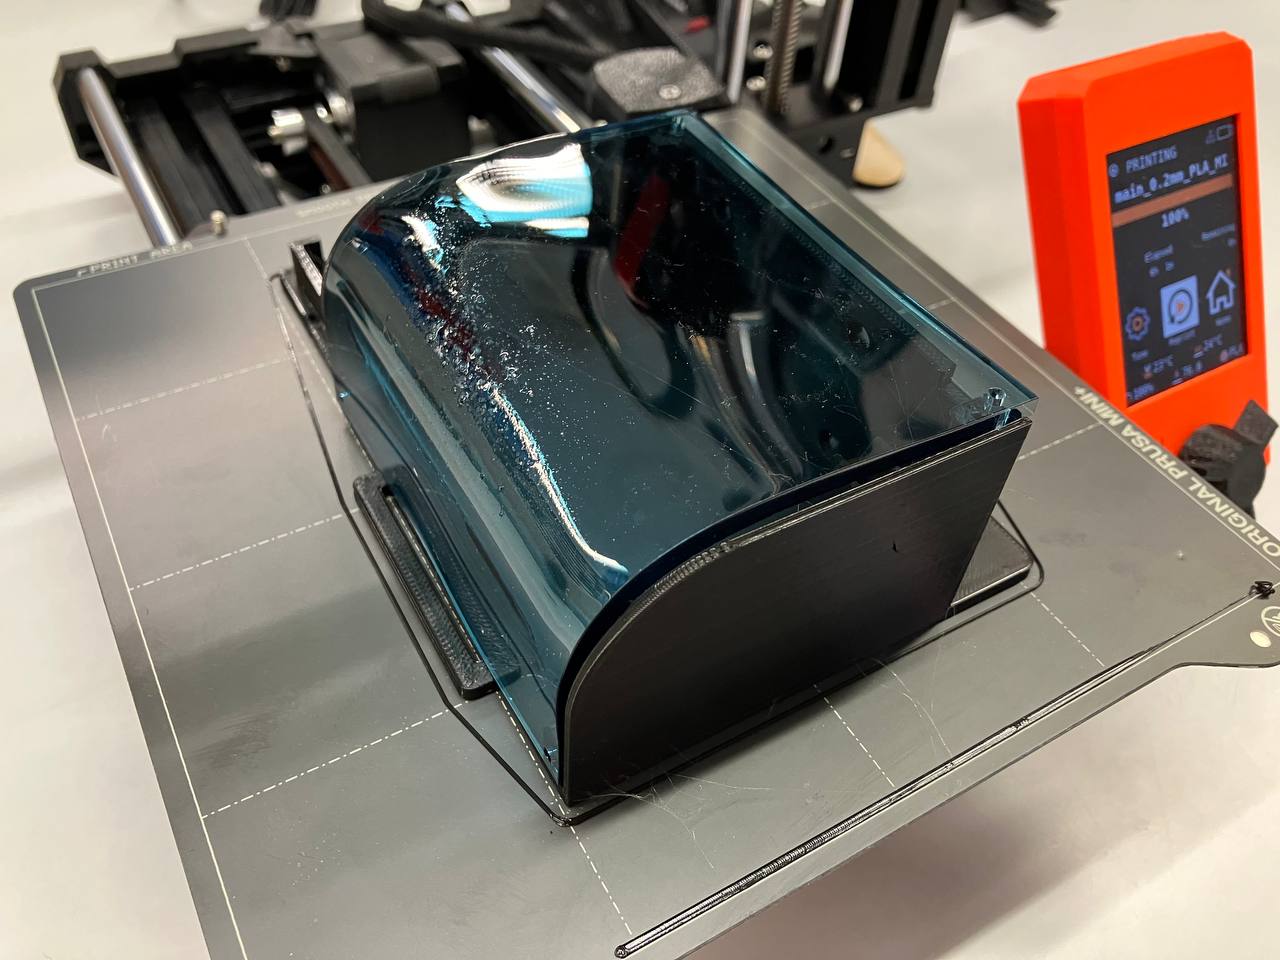
Acrylic bending try II
This try was done using a cnc milled mold for bending the acrylic - courtesy of Krisjanis Rijnieks

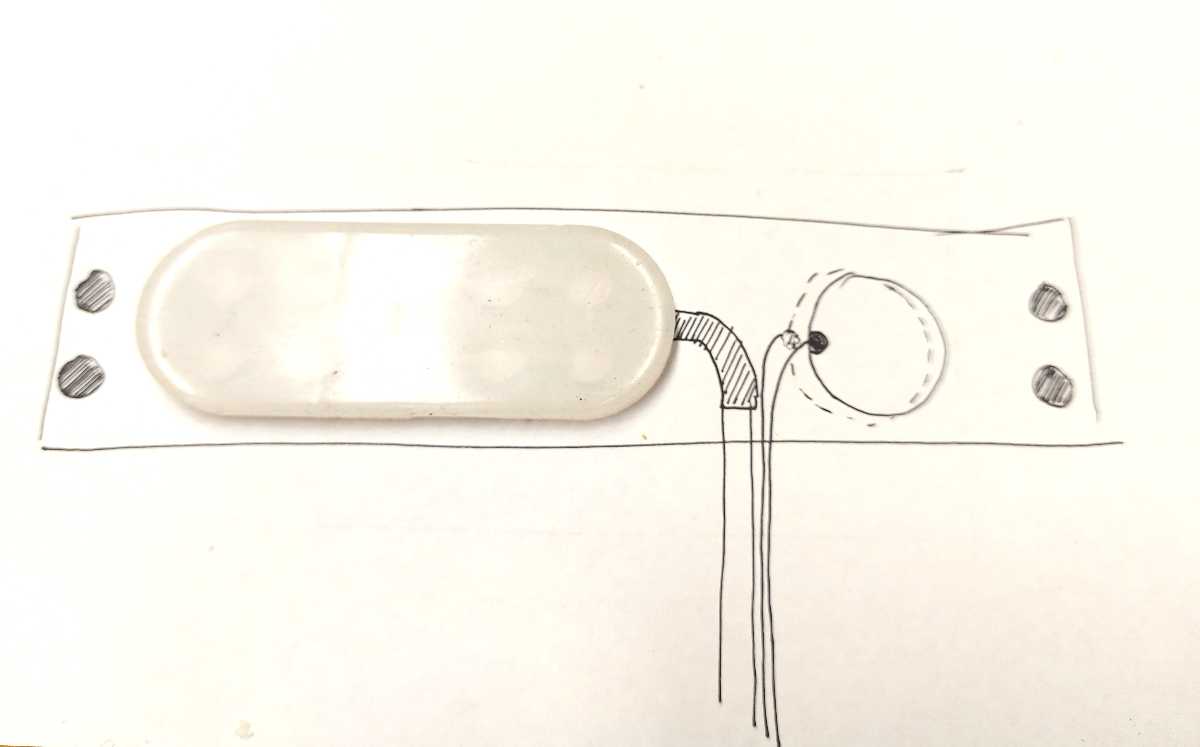
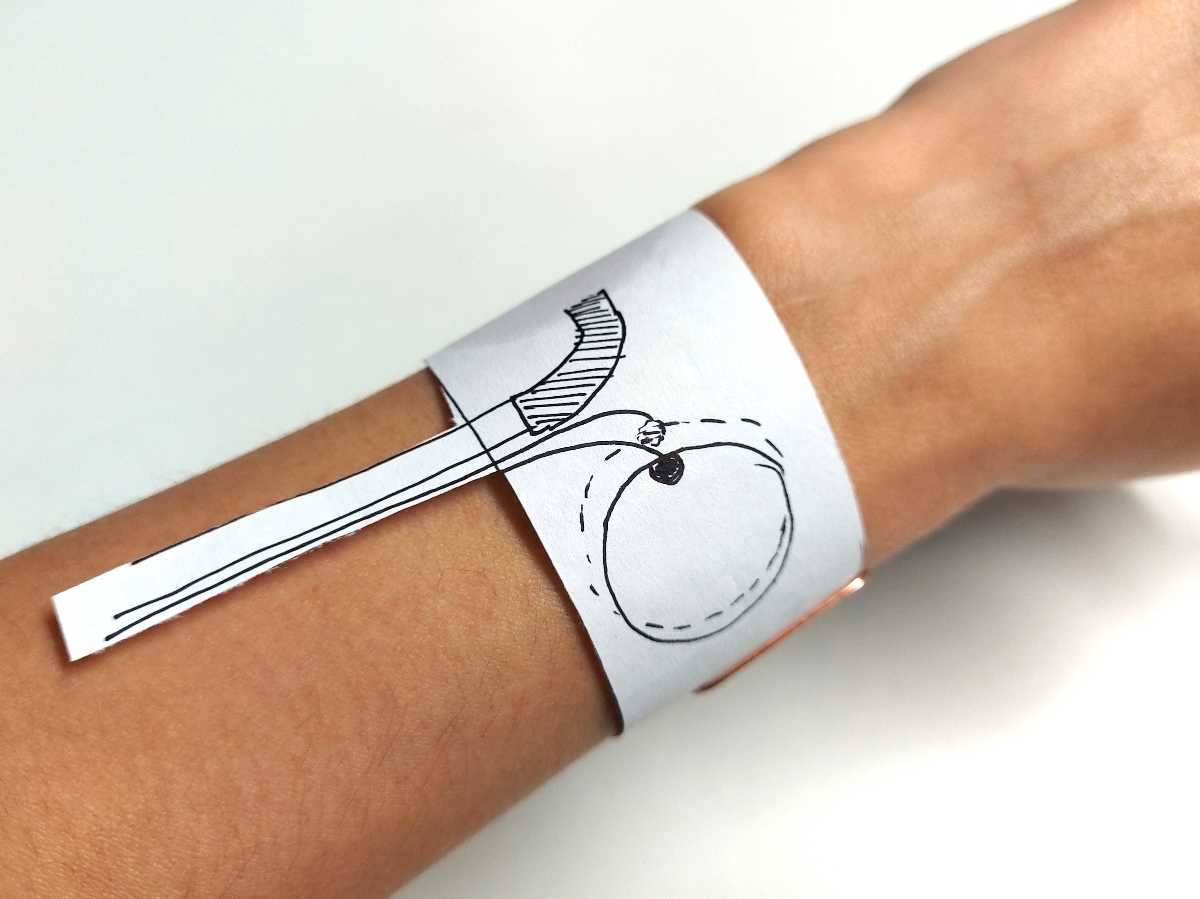
Silicone bracelet
Paper prototype
Links
I have developed some parts of the final project as assignments in the proceeding weeks. They are accessible here:- Computer Aided Design week -- I designed the molds for the actuators
- Computer Controlled Cutting week -- I lasercut the molds
- 3D Scanning and Printing week -- I 3D printed alternative designs of the molds
- Output Devices week -- I designed and produced the first circuit to operate the pump
- Input Devices week -- I designed and hand-crafted the soft touch sensor. I also designed and fabricated the circuit board to read the input
- Networking and Communications week -- I programmed the circuit to send and receive messages through WIFI conenction
- Interface and Application Programming week -- I developed the web browser html interface to communicate with the board
- Applications and Implications week -- I answered the prompted questions regarding the project.
Total cost estimate of fabrication of pair of devices: 141,65€, does not inlclude blood, sweat and tears in unmeasured quantities