Project Management
This week is all about setting up a documentation website with GitLab, version control, image optimization and getting started with Fab Academy
GitLab is a web platform for managing Git repositories, tracking issues, and automating development. It offers both open-source and paid options. Version control is a system that tracks changes to files over time, allowing collaboration and the ability to revert to previous versions. GitLab uses Git, a version control system, to manage multiple versions of code and other files.
Hello GitLab, my old friend
Set Up
- Install Homebrew - The Missing Package Manager for macOS (or Linux)
/bin/bash -c "$(curl -fsSL https://raw.githubusercontent.com/Homebrew/install/HEAD/install.sh)" - Install Git using Homebrew
brew install git - Configure Git with your account
git config --global user.name "Your Name"

git config --global user.email "your.email@example.com"
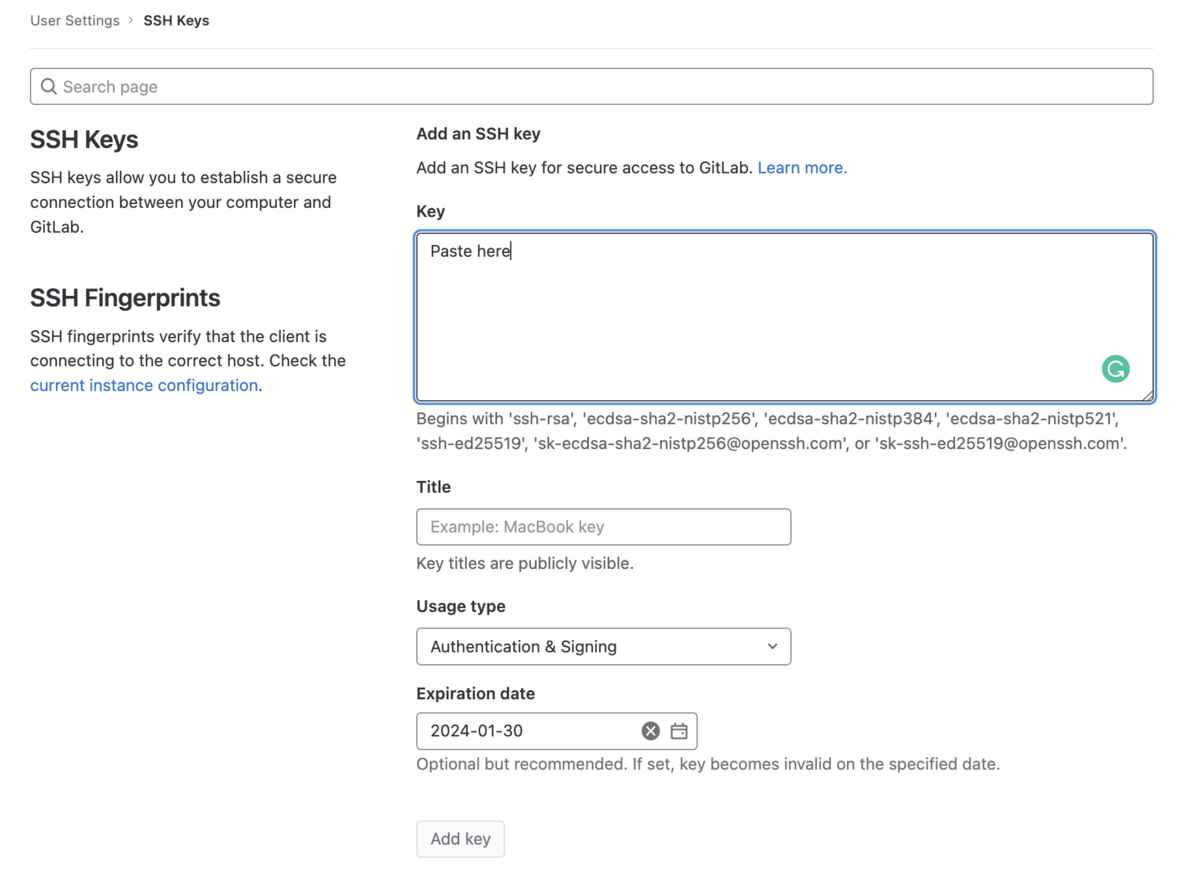
SSH keys for local repository
SSH keys in GitLab are a secure method of authentication that allow users to access Git repositories without entering a password
- Generate SSH key to authenticate the machine with the local repository
ssh-keygen -t rsa -b 4096
It generates two SSH keys: id_rsa — private key and id_rsa.pub — the public key - Find the generated files in your system and copy their contents.
- Open GitLab website, click on your account in the top right corner > Edit profile > SSH keys. Paste the contents in the respective field
- Create new repository
$ git init [project name] - Download an already existing repository
$ git clone [project url] - Show the changes made to the repository and modified files
$ git status - Add file to the staging area
$ git add [file] - Add all the new and modified files to the staging area
$ git add . - Show changes between working directory and staging area.
$ git diff [file] - Revert repository to previous state
$ git reset [file] - Create new commit with changes made, requires message
$ git commit -m "commit message" - Update the remote repository according to local changes
$ git push [--tags] [remote] - I manually removed the preset Fab Academy template files from my local repository using Finder on MacOS
- I downloaded the template files and copied the contents into the local repository
- I opened Terminal, added the new files to the staging area, commited the changes and pushed them to the online repository
git add .
git commit -m "commit comment"
git push - I opened the template files with text editor - Brackets for MacOS in order to cutomize the template and fill with content
- I edited the main.css file, customizing paddings, colors and text formatting to meet my needs for documentation
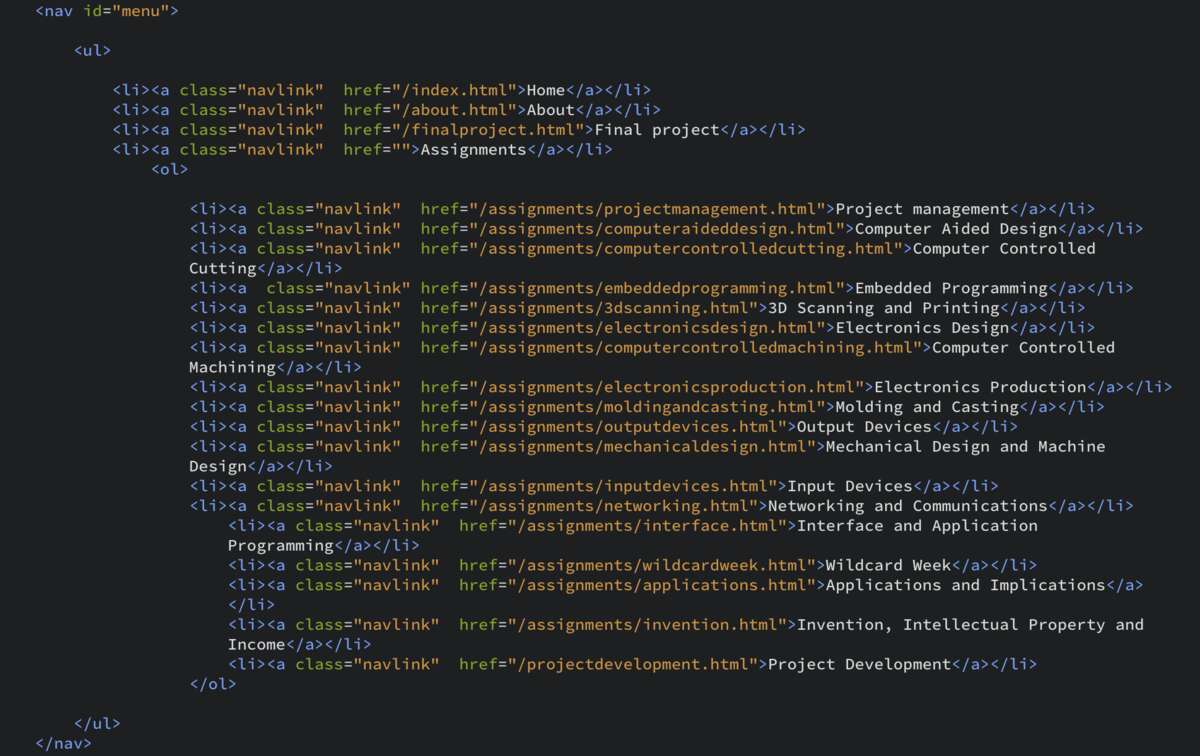
- I added new html files, each dedicated to one weekly assignment, final project and about page
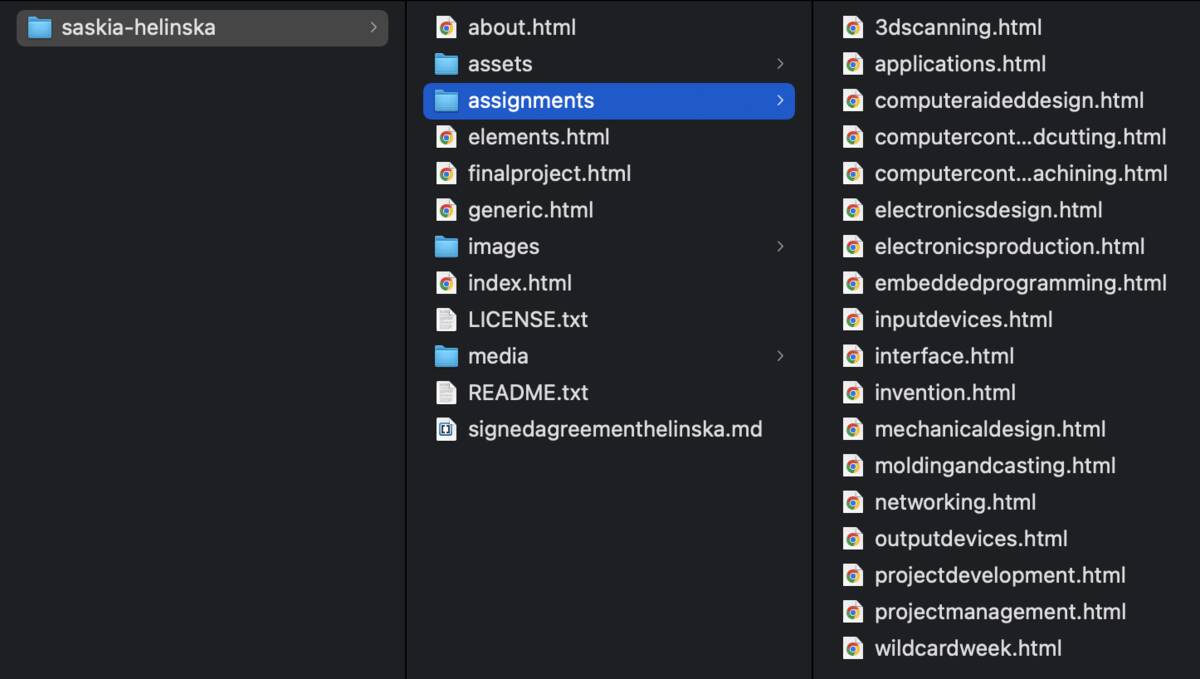
- I updated the navigation links in the menu code of each site to reflect the changes, give structure to the whole website and make relevant subpages easily accessible
- Then I could start adding content and once again update the online repository to reflect the changes (add, commit and push)
- Reduced file size: Compressed images take up less disk space and can be loaded faster, making them more efficient for websites and other online applications.
- Improved load times: Compressed images can be loaded faster, which can improve the overall user experience and reduce bounce rates on websites.
- Better website performance: Compressed images can improve website performance, making it faster and more responsive, which can improve search engine optimization (SEO) and user engagement. Note: Compression can result in a loss of quality, so it's important to find a balance between file size and image quality.
- Install ImageMagick: You can install ImageMagick on macOS using Homebrew. Open Terminal and run the following command:
brew install imagemagick - Navigate to the directory containing the image you want to compress. Use the cd command to change the directory.
- Compress the image using the following command:
convert input.jpg -quality 80 output.jpg
The above command will compress the input.jpg image and save the compressed version as output.jpg. The quality parameter (-quality) sets the compression level, where 100 is the highest quality and 0 is the lowest quality. - To resize the image by percentage
convert input.jpg -resize 50% output.jpg - To resize the image by dimensions
convert input.jpg -resize 500x500 output.jpg - To resize the image by dimensions proportionally, giving the longer edge
convert input.jpg -resize 500 output.jpg - To batch resize all images in the current directory to 1200px proportionally
It will overwrite the existing files, make a copy first!
for file in *.jpg; do convert $file -resize 1200 $file; done - Install FFmpeg: You can install FFmpeg on macOS using Homebrew. Open Terminal and run the following command:
brew install ffmpeg - Navigate to the directory containing the video you want to compress. Use the cd command to change the directory.
- Compress the video using the following command:
ffmpeg -i input.mp4 -c:v libx264 -crf 22 -c:a aac -b:a 192k -vf scale=-2:1080 output.mp4
The above command will compress the input.mp4 video and save the compressed version as output.mp4. The -crf option sets the compression level, where 0 is the highest quality and 51 is the lowest quality. The -vf scale option sets the output resolution to 1080p, and the -c:a aac and -b:a 192k options set the audio codec and bitrate.
command line cheat sheet
HTML website template
I attempted to set up my website from scratchusing Hugo, the static website generator. After getting to know the basics, I tried to install a theme. It proved to be too complicated for my current level. Debugging and troubleshooting was taking too much time and energy, so I resorted to the solution I used settign up my Fabricademy documentation - I decided to use the same HTML theme. In this case it was Phantom by HTML5 UP
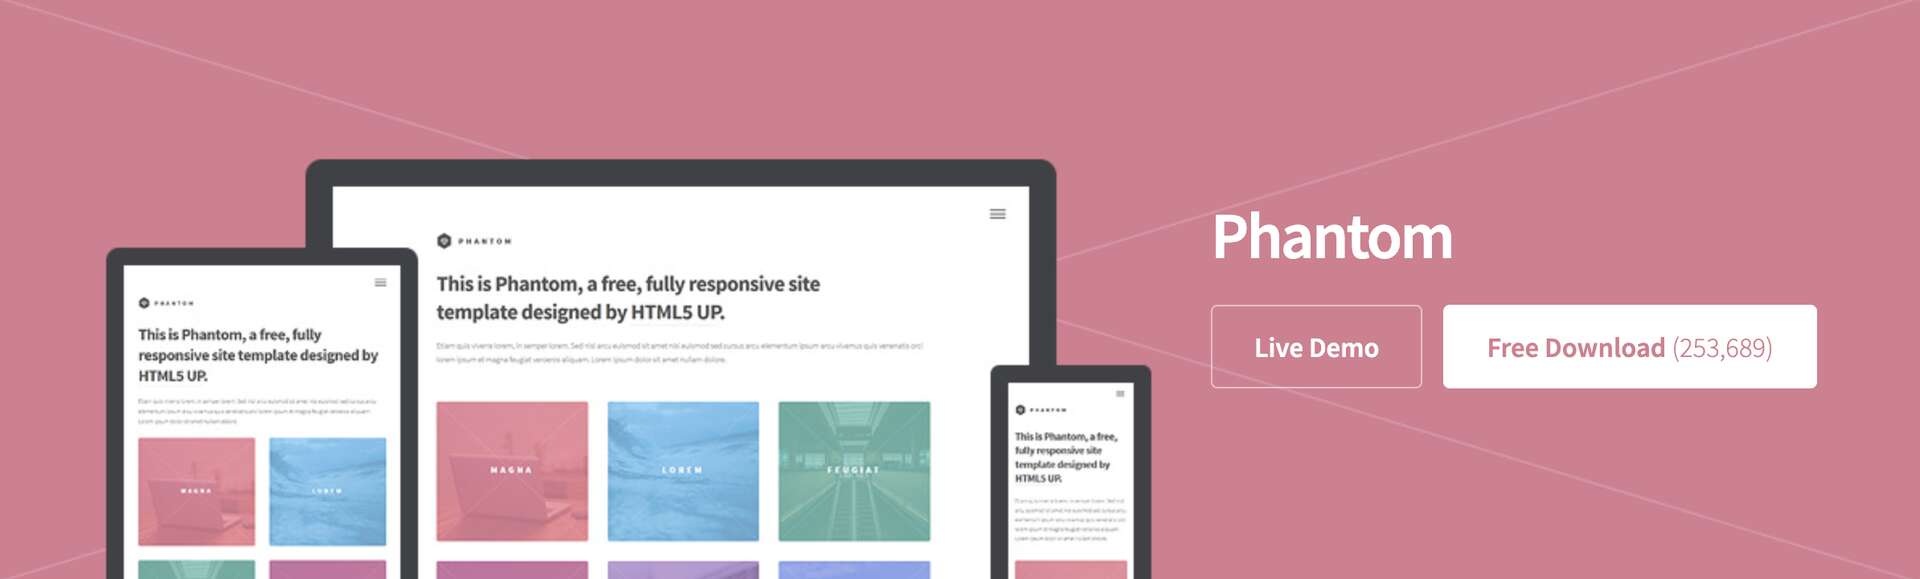
Phantom by HTML5 UP
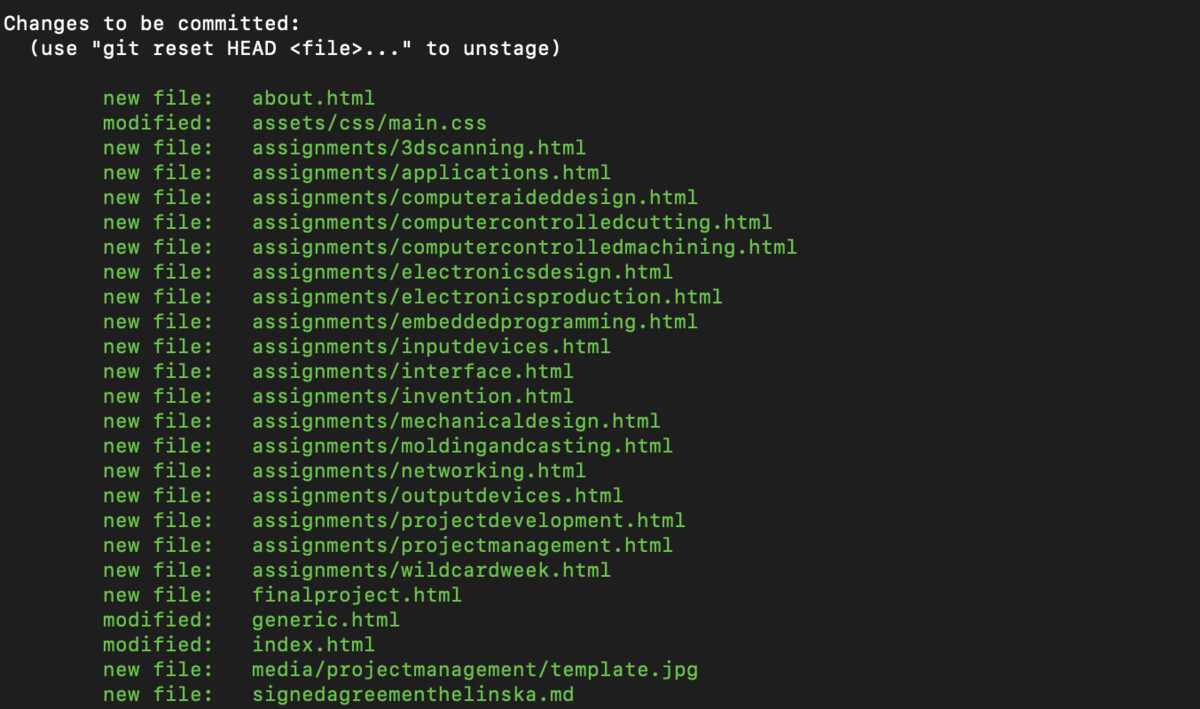
Image & video optimization
Why compress images and videos?
Using ImageMagick to optimize images