11. Input devices
input devices
Hello! In this opportunity, let’s learn about input devices. We know how to enter information into the system through electronic devices that allow us to make movements.
Equipment and materials
Joystick Module
The Joystick Module, it consists of two Potentiometer, each for one axis (X and Y).
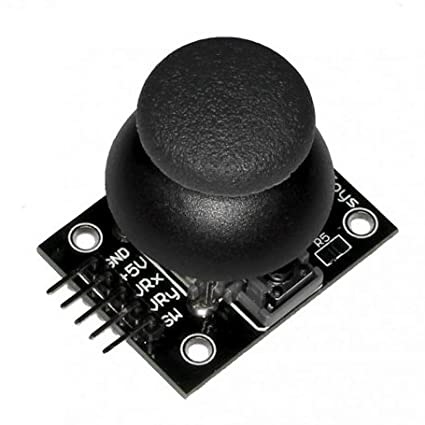
Both 10k potentiometers are independent to move each one in its direction in the X, Y axes.

Joystick Module Reading
In the device First we connect the joystick to the Arduino, with the cables we make the connections and we will use the analog inputs A0 and A1 to make the readings, and pin 2 as a digital input.

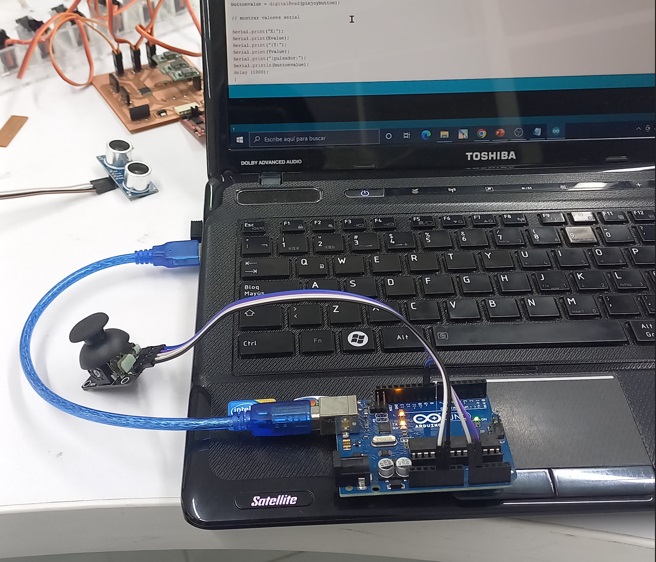
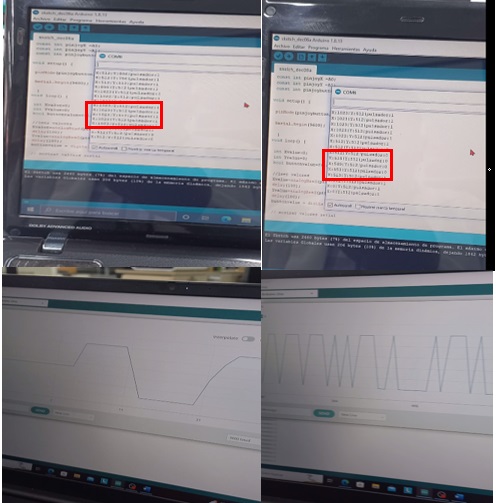
The code for the operation of the joystick is loaded in the Arduino to observe the operation.
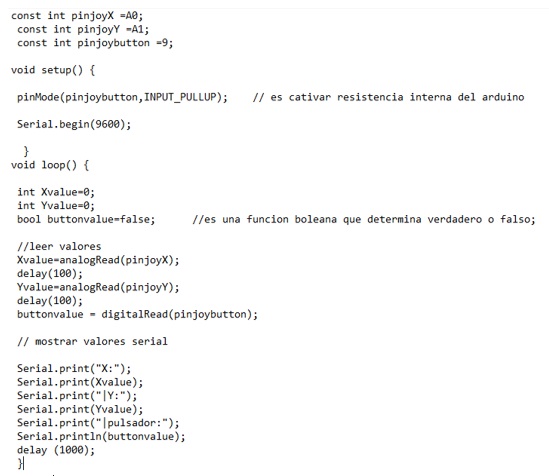
We can see readings from 0 to 1023, because the Arduino’s analog input is 10 bits, so it registers 1024 values. A signal of 0 volts corresponds to 0 and 5 volts corresponds to 1024, it is observed in the codes or axes X and Z, the codes change with each movement that is made.
HC-SR04 Ultrasonic Sensor
The HC-SR04 sensor is a distance sensor that uses ultrasound to determine the distance of an object in the range of 2 to 450 cm. It stands out for its small size, low energy consumption, good precision. The HC-SR04 sensor is the most used within the ultrasonic type sensors. In the same way, it is the most used in robotics projects such as labyrinth or sumo robots, and in automation projects such as level or distance measurement systems. The HC-SR04 sensor has two transducers: a piezoelectric transmitter and receiver, in addition to the electronics necessary for its operation. The operation of the sensor is as follows: the piezoelectric transmitter emits 8 ultrasonic pulses (40KHz) after receiving the order on the TRIG pin, the sound waves travel in the air and bounce when meeting an object, the bounce sound is detected by the piezoelectric receiver, then the ECHO pin changes to High (5V) for a time equal to the time the wave took from when it was emitted to when it was detected, the time of the ECO pulse is measured by the microcontroller and thus the distance can be calculated to the object. The distance can be calculated using the following formula: Distance(m) = {(ECO pulse time) * (Sound speed=340m/s)}/2.
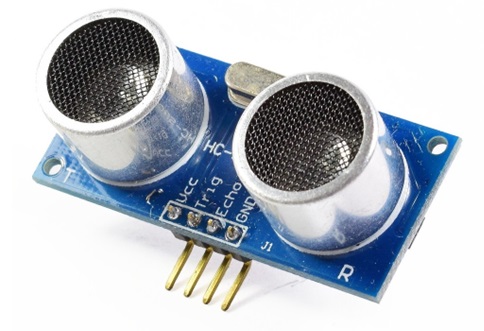
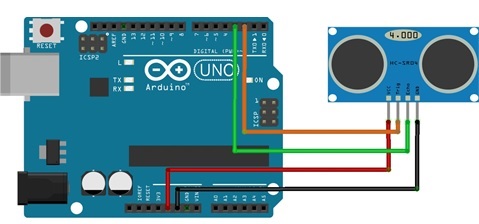
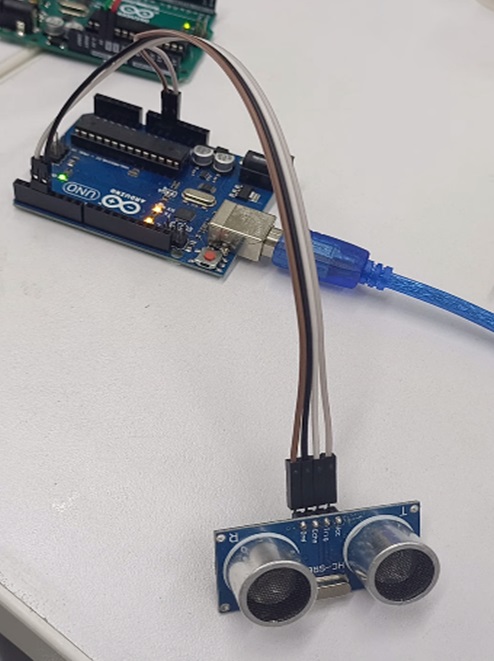
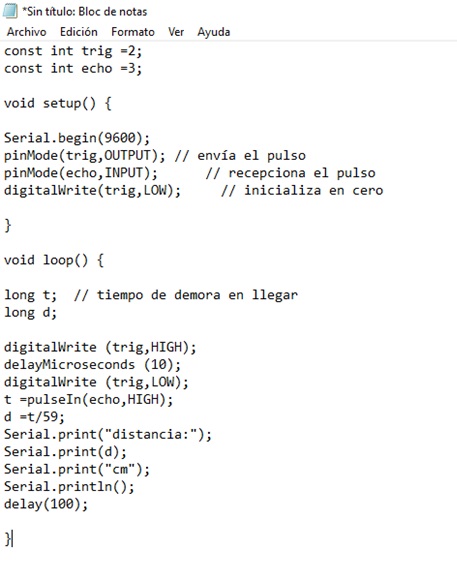
Before making the code, we need to know the theory and connection of the device which are: • VCC (+5V DC) • TRIG (Ultrasound Trigger) • ECHO (Ultrasound reception) • GND (Ground: 0V) And to calculate the distance to an object. We start from the following formula: d = v x t Where “v” is the speed of sound 340m/s, but we will use the units in cm/us since we will be working in centimeters and microseconds, “t” is the time it takes for the ultrasound to reach the object and return to the sensor, and “d” is twice the distance to the object, substituting in the formula we have: 2d/t = (340m/s) x (1s/100000us) x (100cm/1m), Performing the necessary operations, we obtain d(cm) = t(us)/59 and after having made all the formulas we can load the
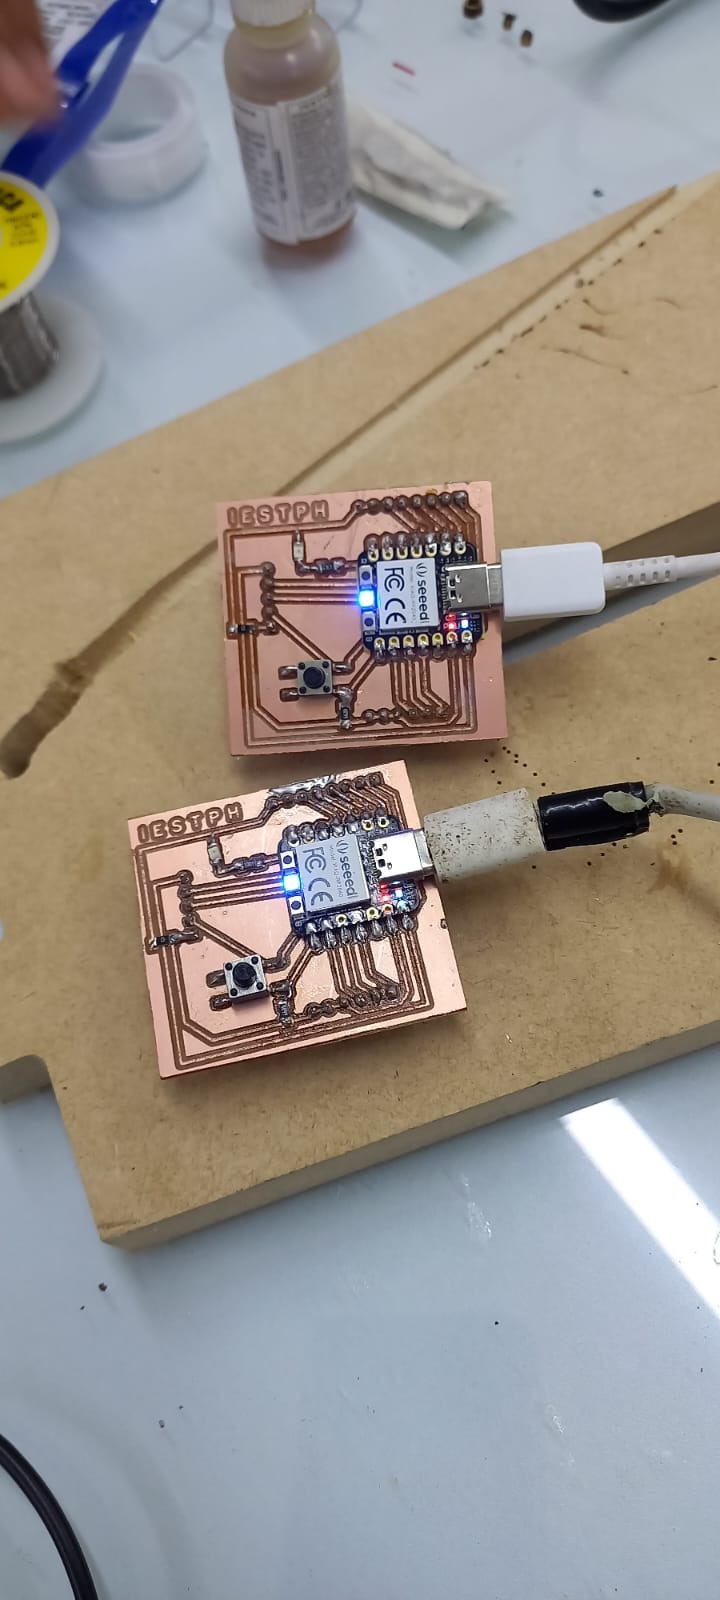
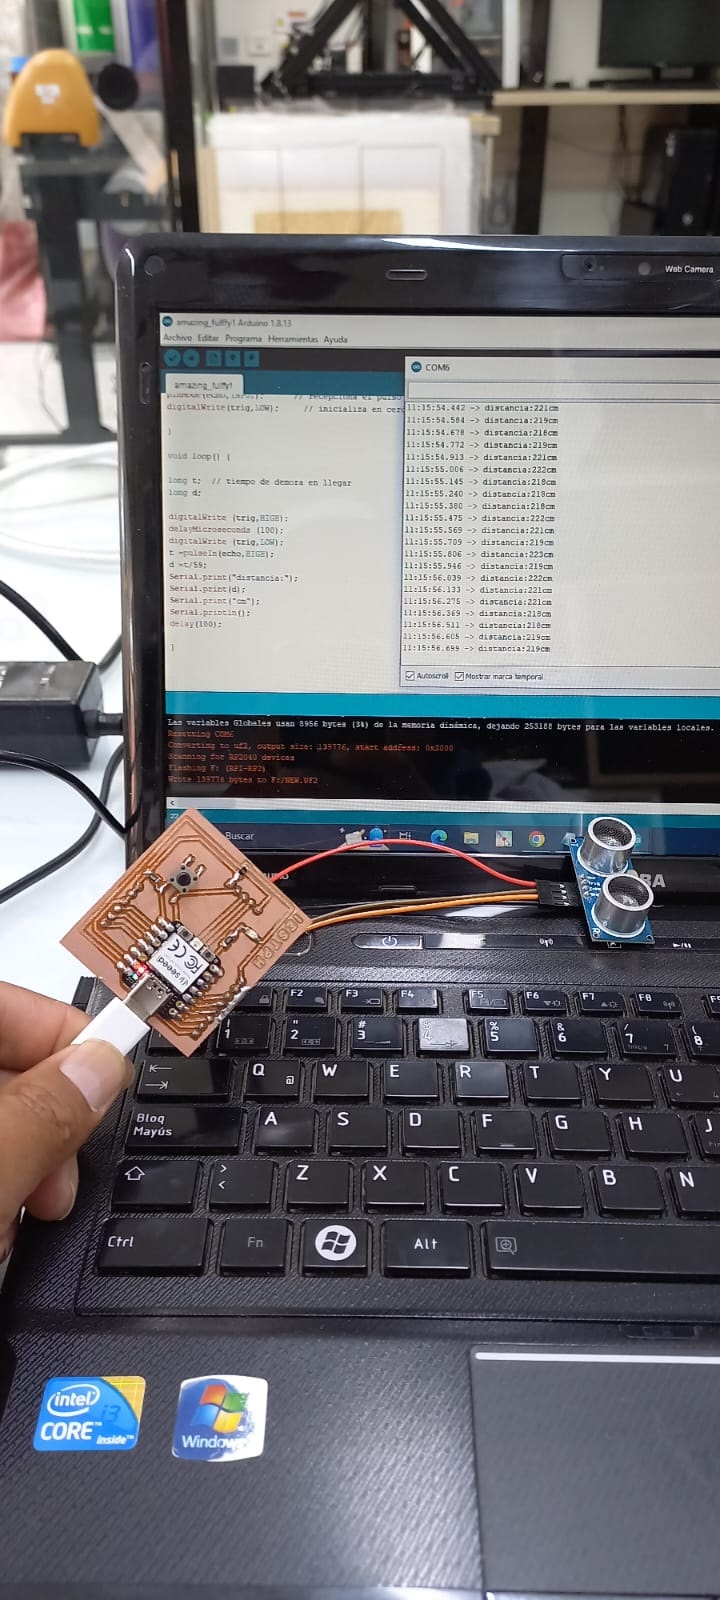
PROGRAMMING WITH XIAO RP2040 DEVICE.
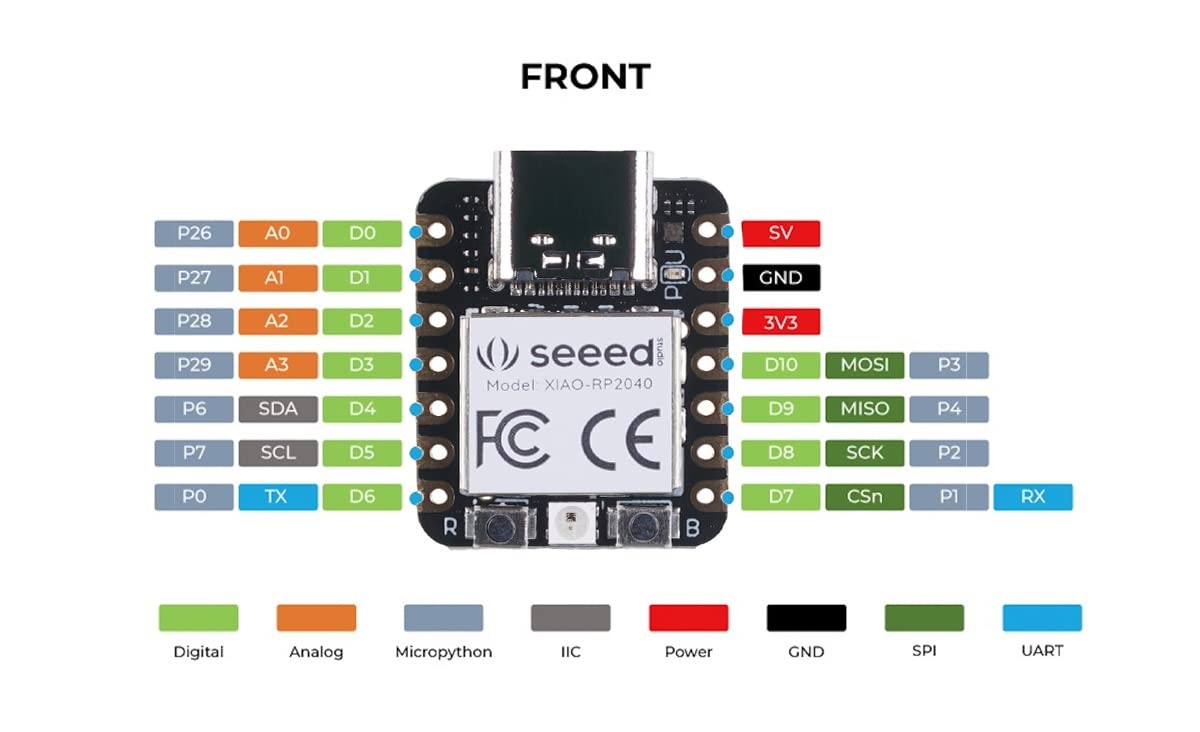
In this work it has been programmed with the distance sensor and the XIAO RP2040 device in the Arduino software the distance and distance where the distance and approach reading is observed.