18. Wildcard week
Files
embroiderytest.pes This week I did something that we didn’t do in previous weeks in Fabacademy , and It is something interesting and useful to learn , I work with Embroidery :)
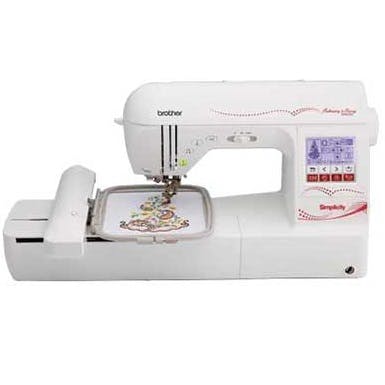
Embroidery Brother Simplicity SB8000

This Simplicity® Limited Edition sewing and embroidery machine is simply unique! With a total of 336 embroidery designs, 136 built-in and 200 on CD, you are bound to transform your clothing into unique pieces of art. The 5” by 7” embroidery frame give you plenty of room to embellish anything from home décor items to your favorite jeans. Try personalizing your finished projects by applying classic monograms or applique designs with the included BES® Embroidery Lettering Software 2. Features such as advanced needle threading system, automatic thread trimming system and adjustable machine speed allows for an easy and effortless experience. The SB8000 Sewing & Embroidery machine is simply unique! Source
We can use the built-in designs , and our own designs to be sawn .
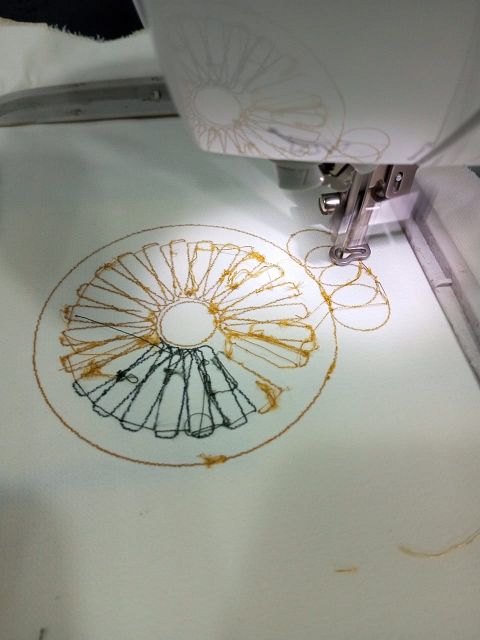
so when we tried one of the built-in designs we get this result :
- Front Side :
- Back Side :
So to saw our own design using Simplicity SB8000 machine we will follow the following steps :
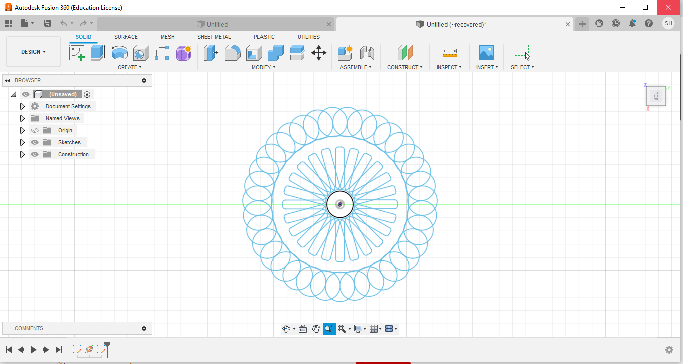
The Steps: 1. design your own 2d design using one of the 2d ,3d software , I used Fusion 360 software , then I export my design to DXF to be imported by inkeskape software .
-
Download the ink/stitch extension from here
-
open the downloaded file , install it .
-
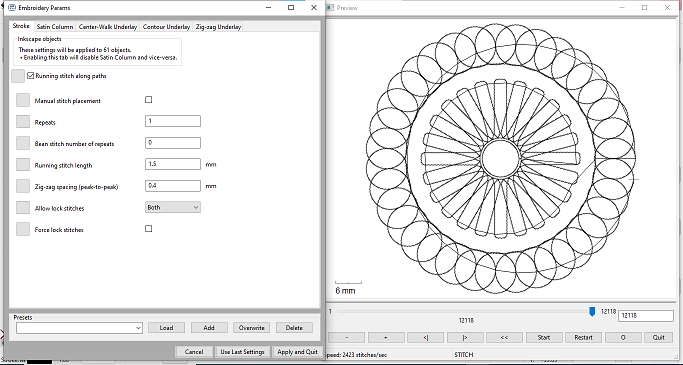
open the design file using inkescape software , go to the extension tab and find ink/stitch and choose params .

- choose the “Running stitch along paths” if it is un-checked
-
Click on “Apply and Quit”
-
Now go to “File”, choose “Save as copy..” and type the name and use “pes” file extension.
-
Now you are ready to take this design file and send it to the embroidery machine via USB-stick .
-
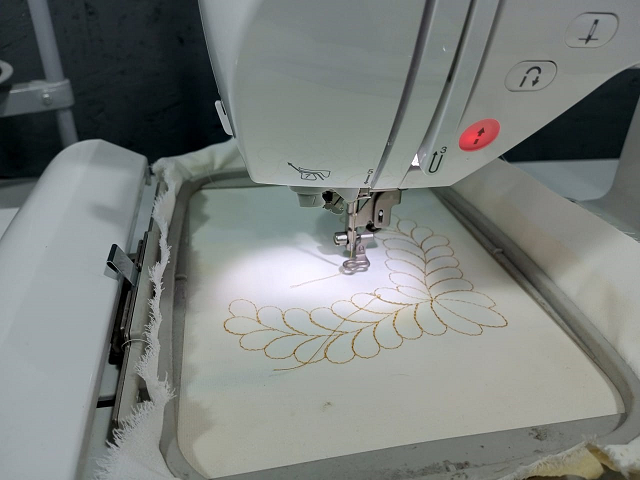
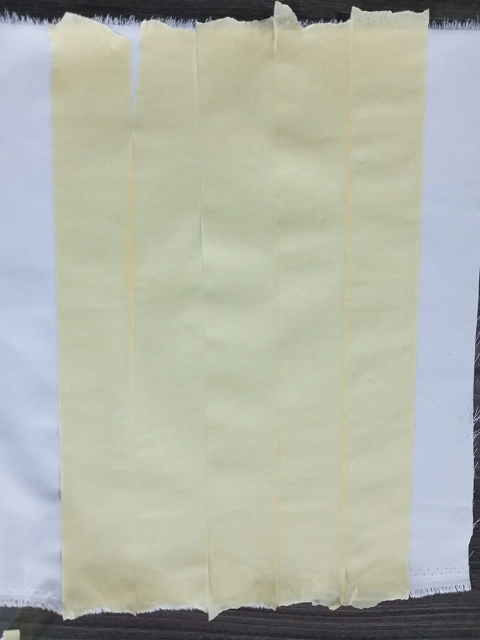
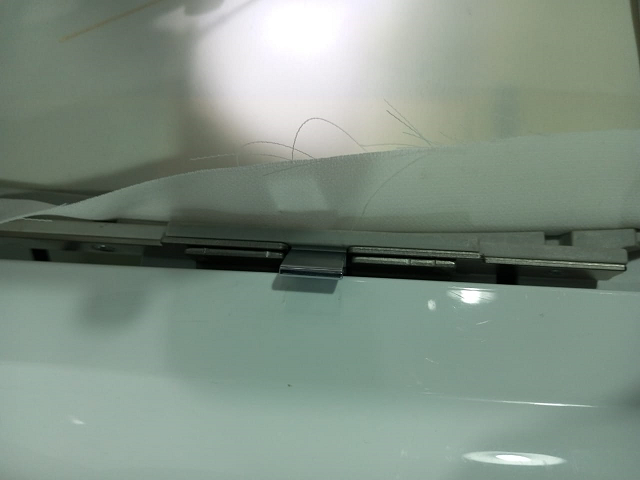
We will move to the practical part where we will prepare the cloth. by make it hard as possible and straight using embroidery hoop after applying an adhesive tape on the back of cloth .
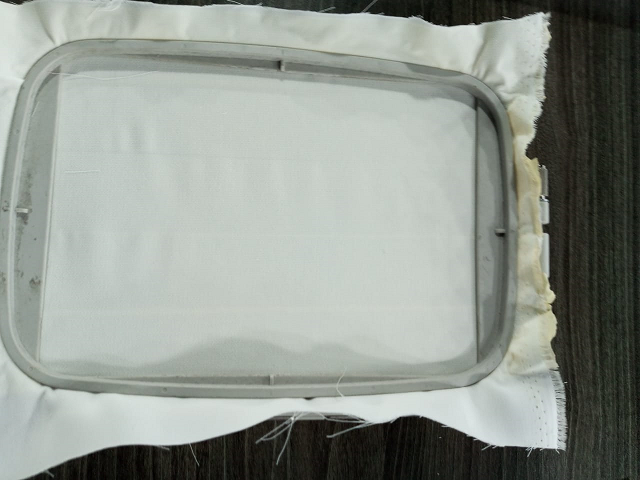
- using the following part on embroidery machine , you can fix the hoop on it.
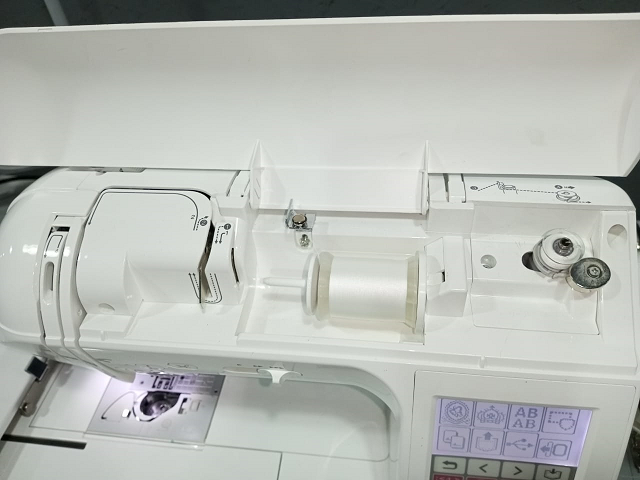
- we prepare our thread to the needle following the numbers from 1 to 6 on the body of the embroidery machine .
-
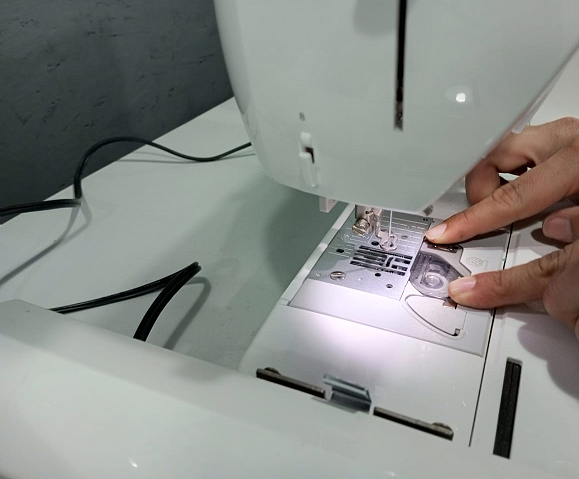
Insert the USB-Stick into machine , and touch the USB button on touch screen then choose the design file to be sawn .
-
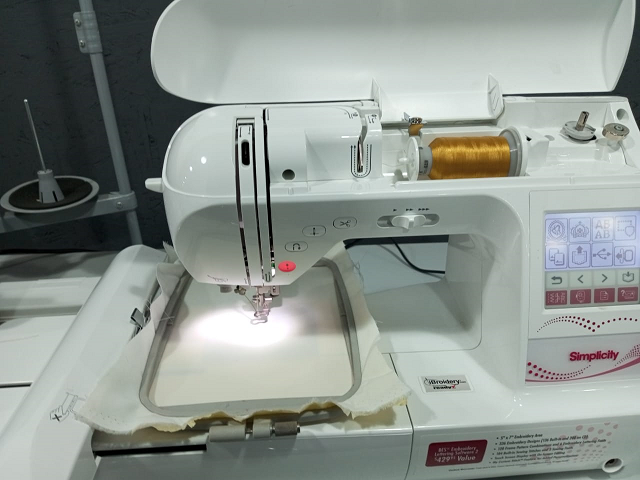
let the machine doing its work!
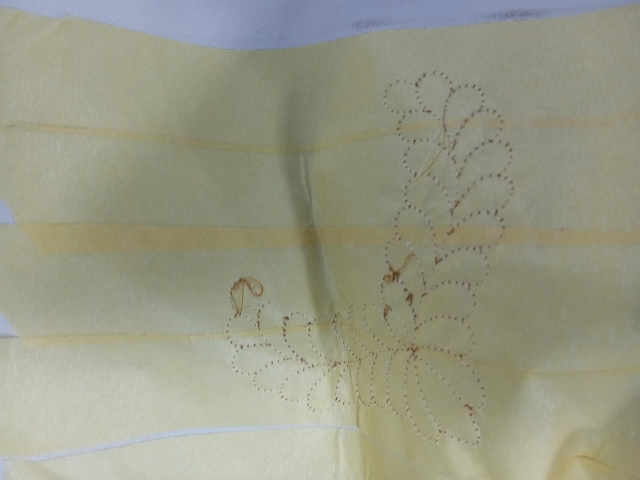
Note : there was a problem that the machine was making the perforating lines so we can solve this using the running stitch.
Hero Shot