10. Molding and casting
Group Assignment
for tasks we have been assigned : - Review the safety data sheets for each of your molding and casting materials - Make and compare test casts with each of them
Safety datasheet
so the safety datasheet for each material we were working on is embedded in following links :
these materials are supplied from smooth-on supplier and provide us a mechanism to compare materials with each other to choose the suitable one .and here is the website.
so when we compare the above materials , we look at the color , pot life and cure time as key features for each of them
we have three different sizes of wax : - 150x150x40 mm - 75X170X40 mm - 150x300x40 mm
Material test cast :

Individual Assignment
- for tasks we have been assigned :
- Design a 3D mold around the stock and tooling that you’ll be using, mill it
(rough cut + (at least) three-axis finish cut), and use it to cast parts.
In this week I designed two things : one for my expected project which is a button cover . and the other is stamp hand .
Files

In this assignment we have to mold and cast in three steps :
-
milling
-
casting
-
pouring the materials and produce the wanted model .
for stamp molding and casting steps :
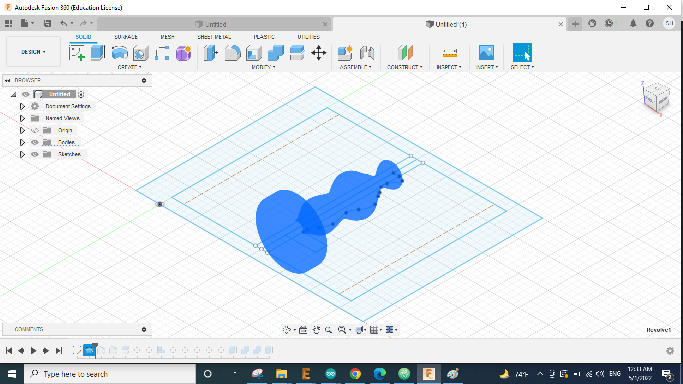
- prepare the cad design
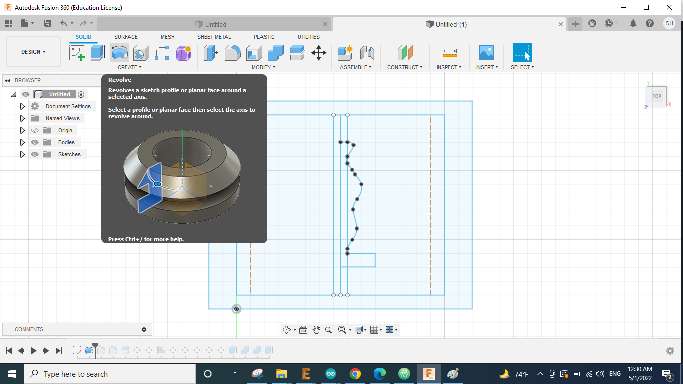
-draw a curve line as follow :
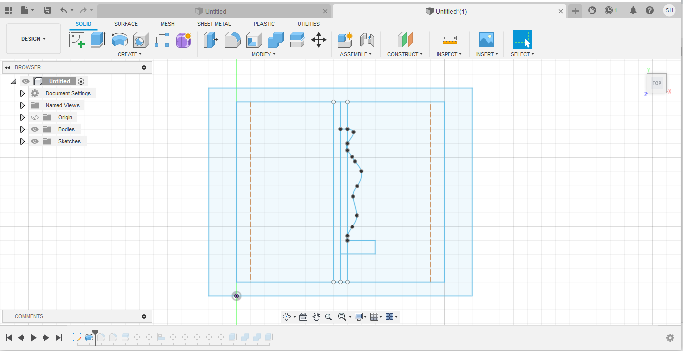
- choose a revolve tool to be around y axis :
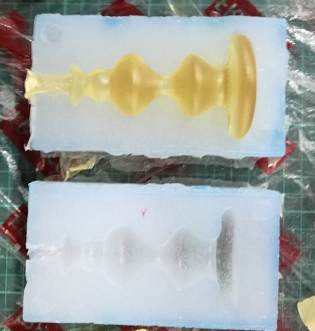
Now split the stamp to two bodies , this is by going to “modify” then choose split body :
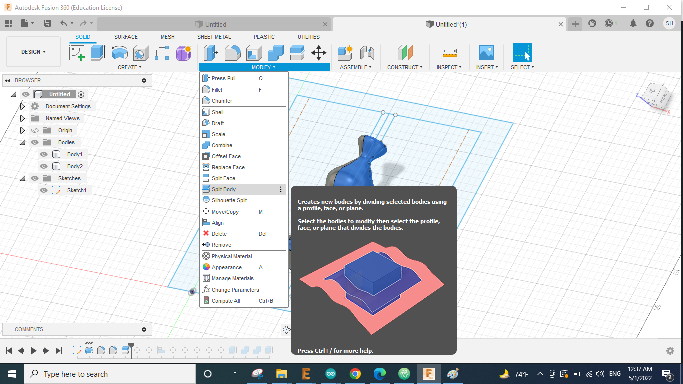
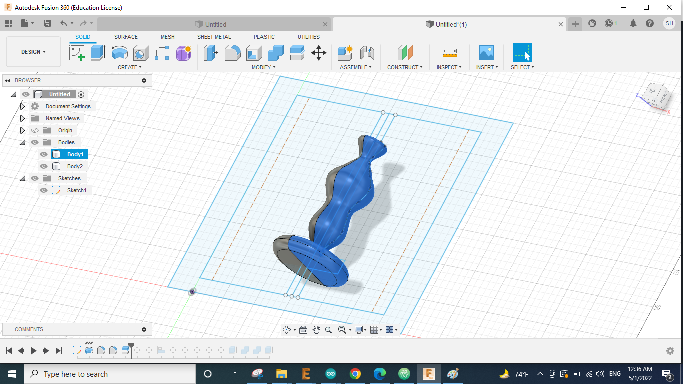
now I have two bodies , which are two halves .
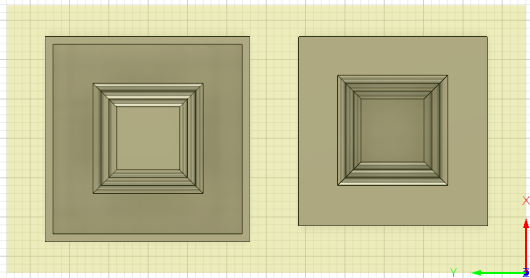
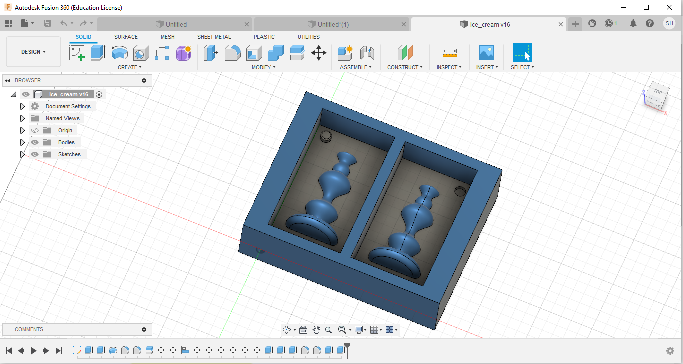
to make them ready to be molds I will extrude and apply some operations like cut . and adding small cylinders inside.
so the final design is like follows :
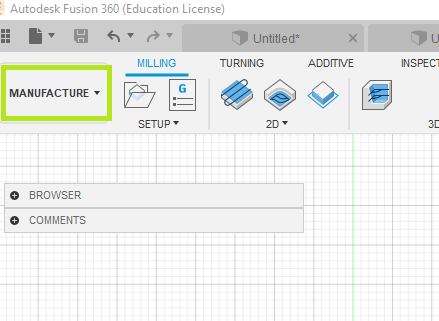
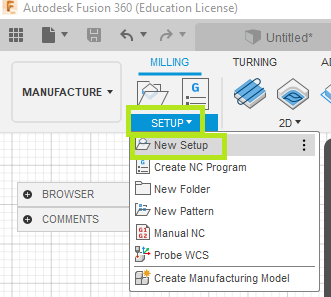
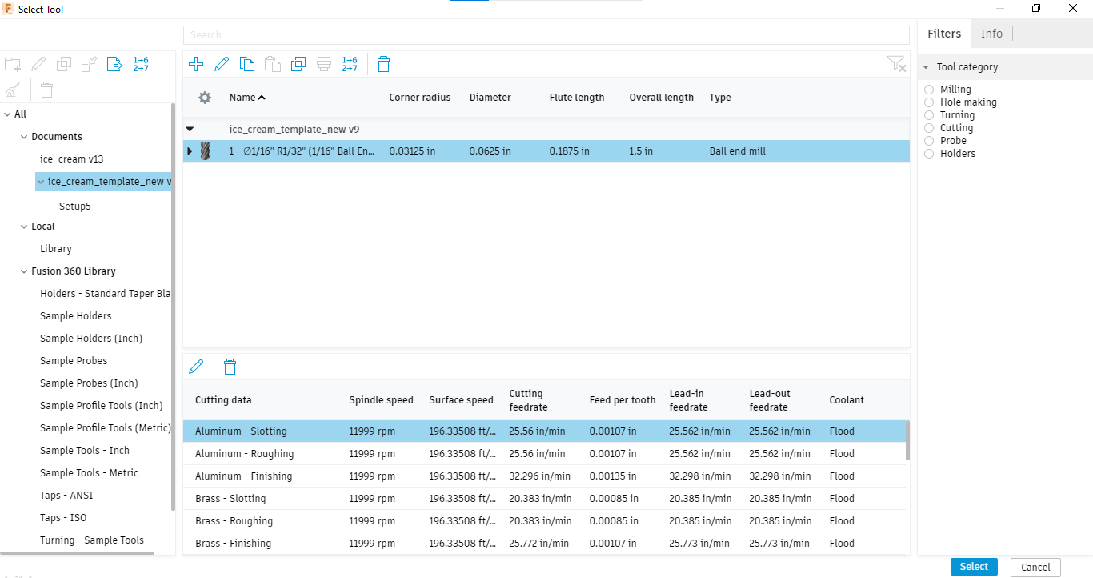
- do the manufacture setup in fusion 360 software . like following :
A. In fusion 360 software -> choose manufacture
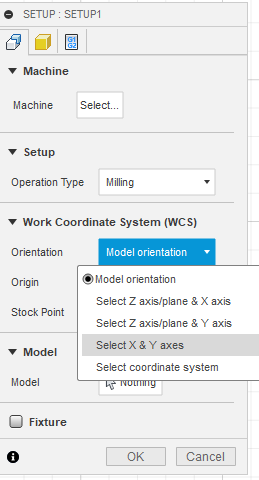
B. choosing the suitable tool .

C. we change the model orientation to “Select X and Y axis” and choose the proper x and y .
D. Now we go to 3d ->adaptive clearing from milling tab .
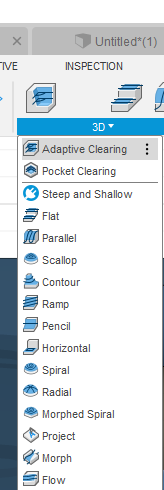
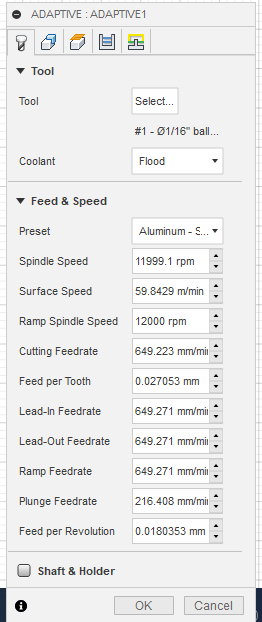
E. we choose the Ball 1/16 end mill .
F. now after choosing the proper tool , its speed and feed rate will be loaded as follows:
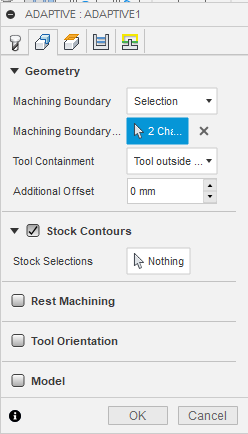
G. In geometry tab , we define the machinery boundary
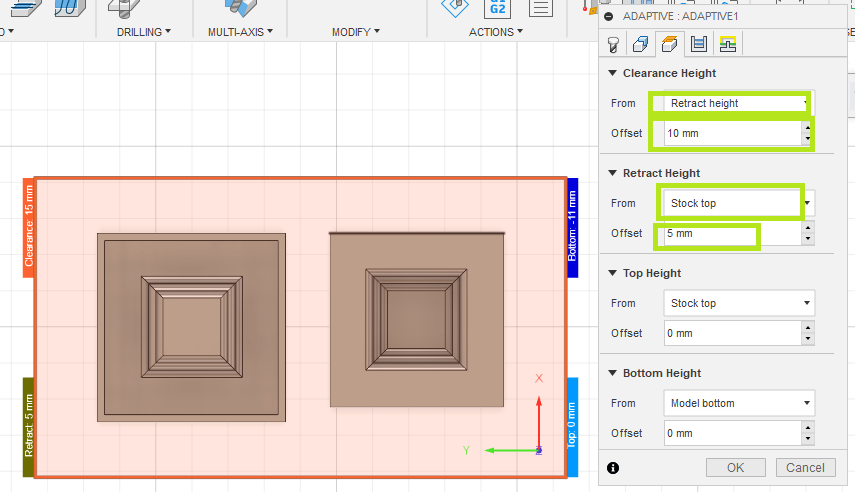
H. From Height tab , we put the following values for
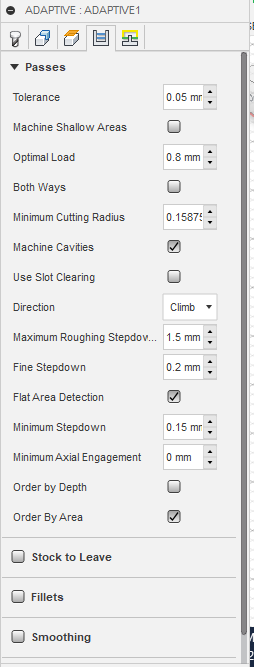
I. and the passes :
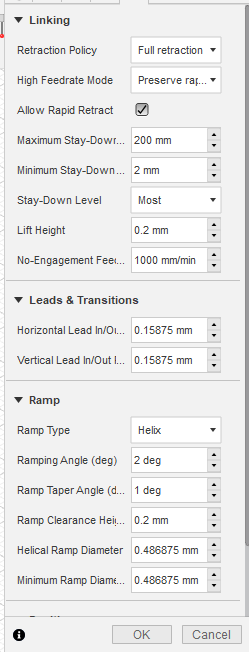
J. and linking
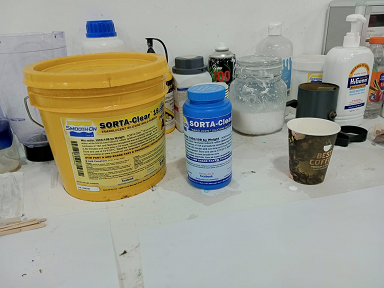
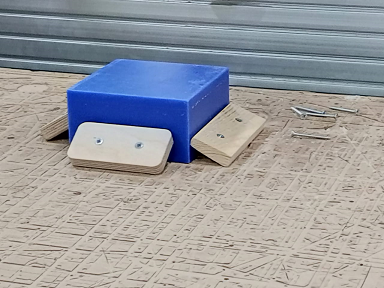
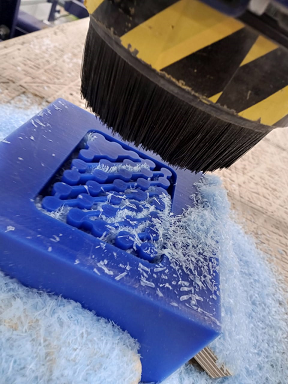
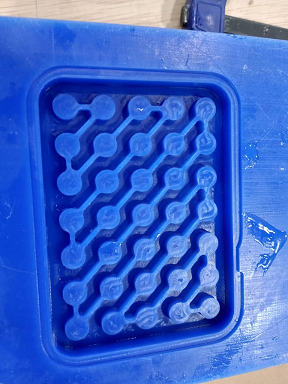
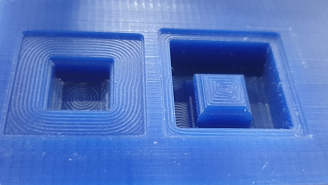
- do the milling using shopbot machine and here is the result .
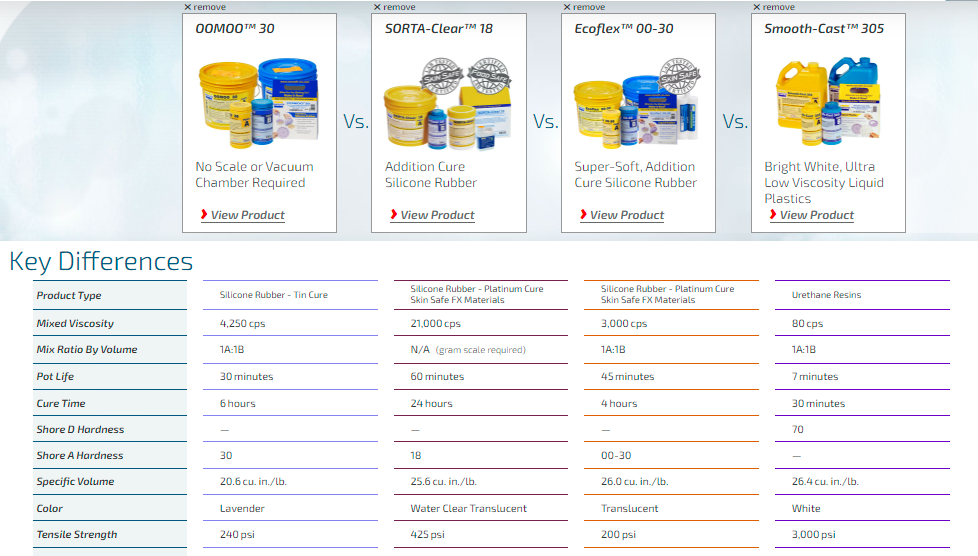
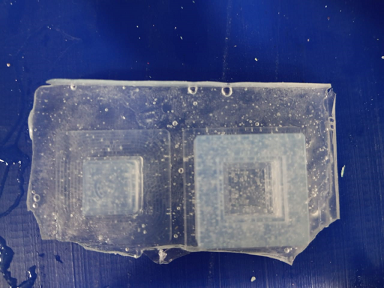
- now we are ready to pour the material into mold . we choose the sorta clear 18 Part A and B with mixed ratio of 100 - 10 .

for the button the following images demonstrates the steps of modlding and casting for it .
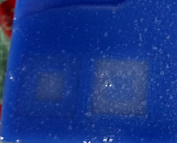
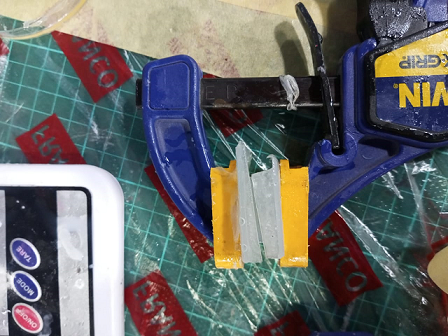
after 24 hours the result is like following :
after pouring the material of resin , I fix it using the grip tool .
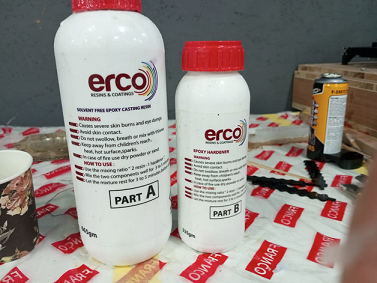
for the stamp hand , I repeat the same steps , but pouring the erco epoxy resin with the mixing ratio of 2 Part A to 1 Part B then mixing the two components well for 5 to 6 minuets, and let the mixture rest for 3 to 5 minutes before casting.
erco epoxy resin Product description:
This product is used to make all artwork, manufacture trays and coasters, and make artistic paintings, and it can be implemented on all surfaces and molds, the product is of high transparency and a high degree of gloss It is characterized by ease of handling, hardening time is 24 hours, and the product is free of solvents. Source
we have to take care of theses health considerations when we use this material :
- this material causes skin burns and eyes damage.
- Avoid skin contact
- do not swallow ,breath or mix with the thinner .
- keep away from children’s reach ,heat ,hot surface ,sparks.
- in case of fire put dry powder or sand .
for more information about this material here is the Erco website .
I did not find the datasheet available online !

then casting it
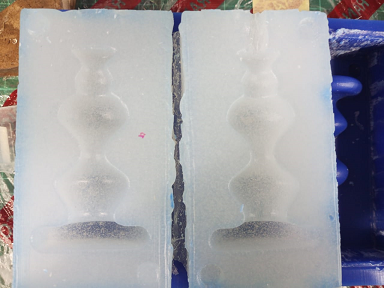
preparing it to resin material pouring :

and fix it using paper tape and grip tools :
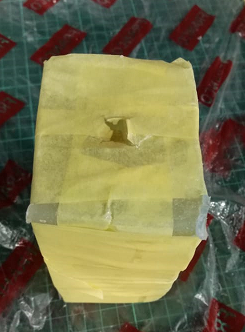

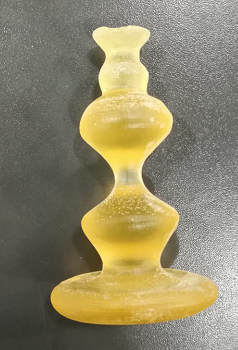
Now after leaving it to dry for 24 hours which is the curing time and the result is :
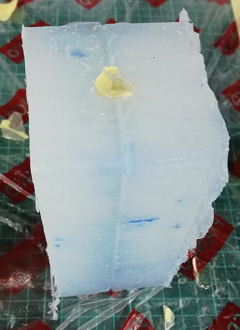
- repeating the same steps for the button model , and we used the material of ” resin ” but it fails due to the very small gap between the two molds. so at this stage it sufficient for me to do the stamp hand .
Hero Shot