5. 3D Scanning and printing
Group assignment
- test the design rules for your 3D printer(s)
Documentation at: Fablab Taipei
Individual assignment
- design and 3D print an object (small, few cm3, limited by printer time) that could not be made subtractively
- 3D scan an object (and optionally print it)
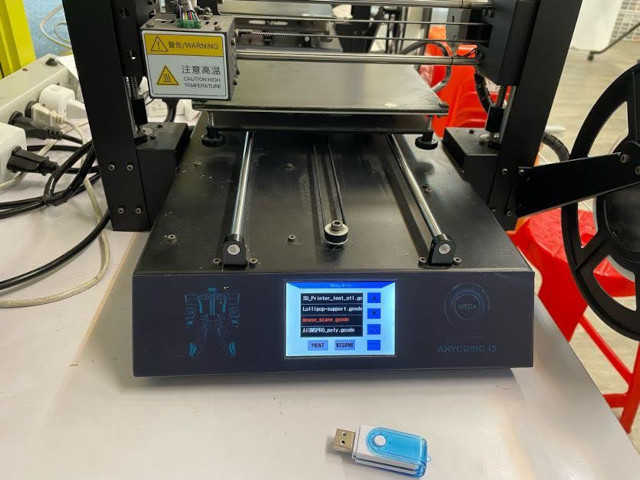
This week I worked on setting 3d printer and try to print some stuff. (Even scanning ourselves?)
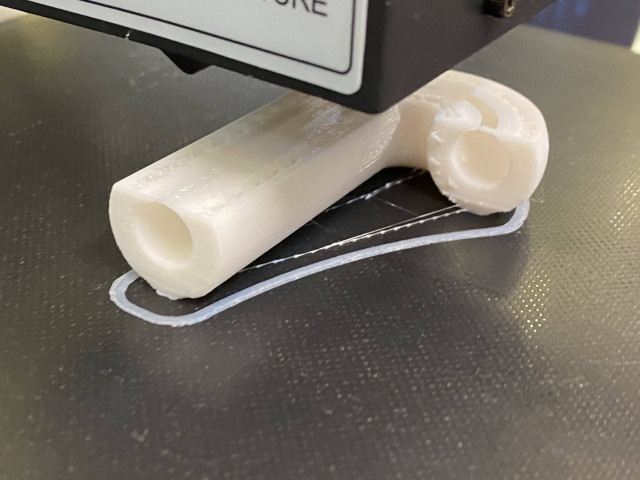
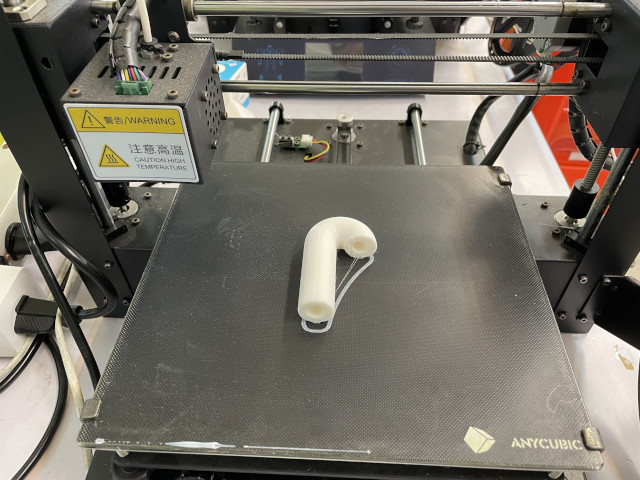
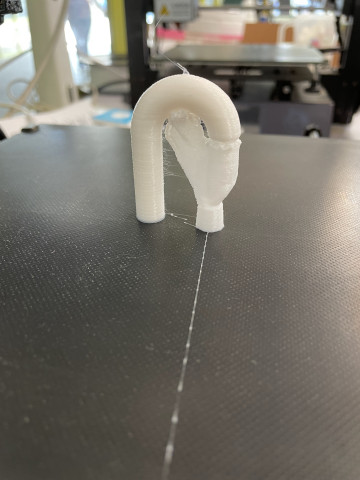
Print a umbrella handle (lollipop)
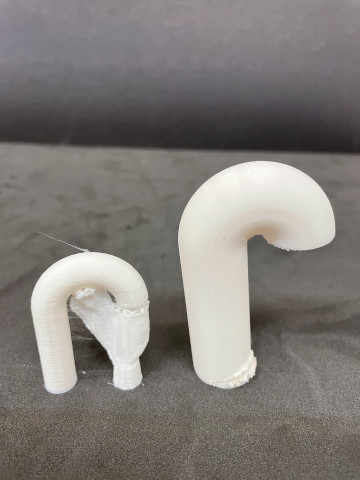
At the beginning, I easily model a lollipop shape and print, but it turns out to be too big and took hours to finish.
We used Ultimaker Cura software, export stl file from Fusion360 and got gcode from Cura. After cuting through, I can see the PLA layers inside.
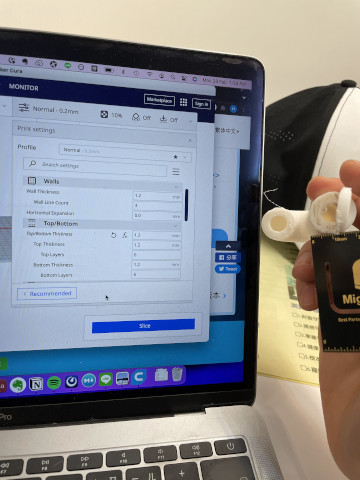
Later I improve my parametric design and also adjust the printer setting. (Which is hidden in many places in new version of Cura) Settings refer to images below.
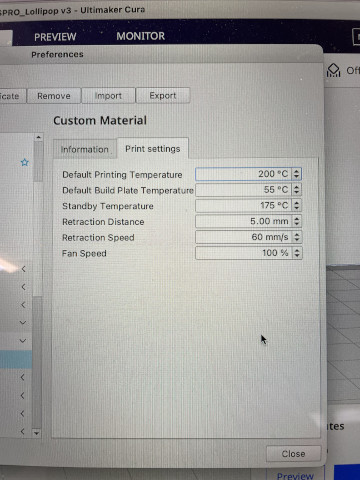
Note: retraction speed 60 is not allowed, 60 should be good
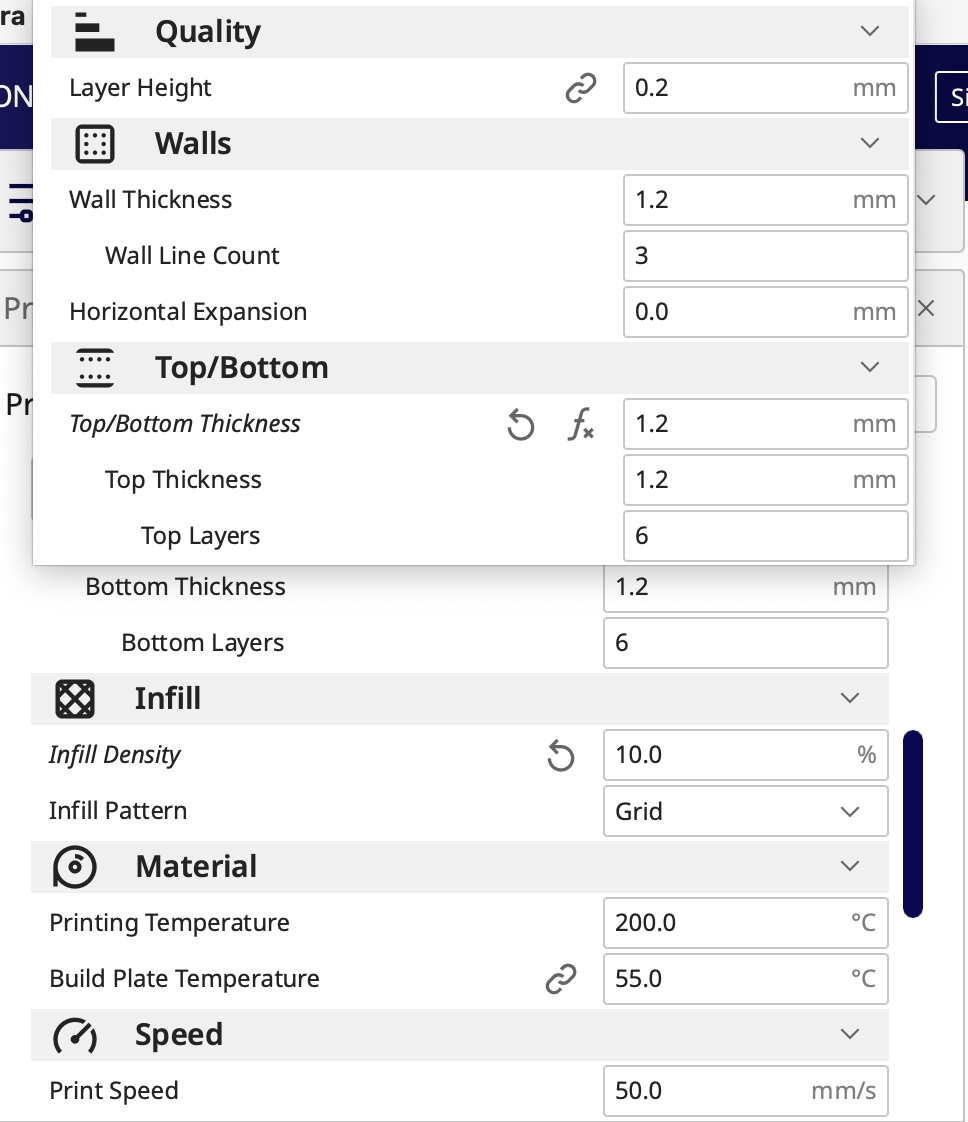
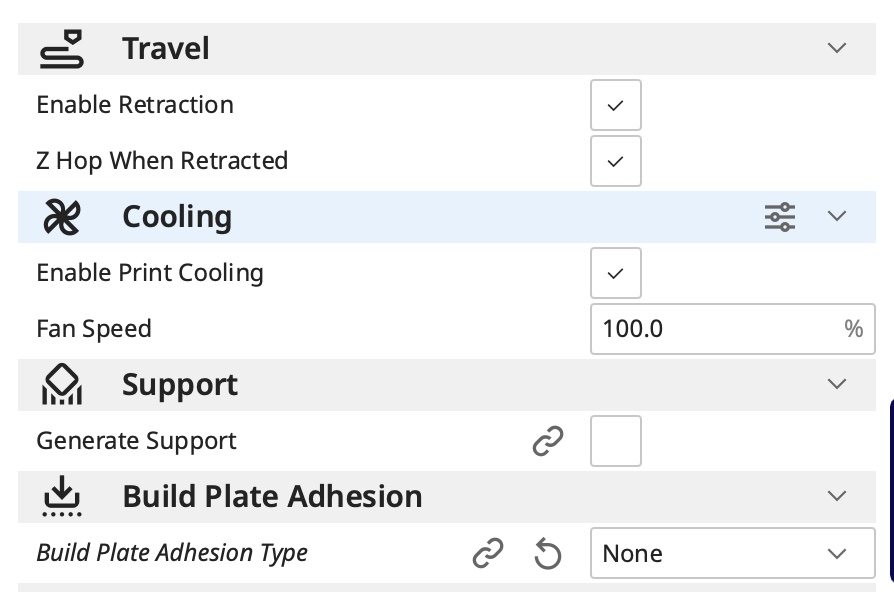
These are the general setting. “Support” is optional and depends on the difficulty to print.
I tried again and this time I decided to print it vertically. Which means it’s hard to print and reuqires to setup “support”.
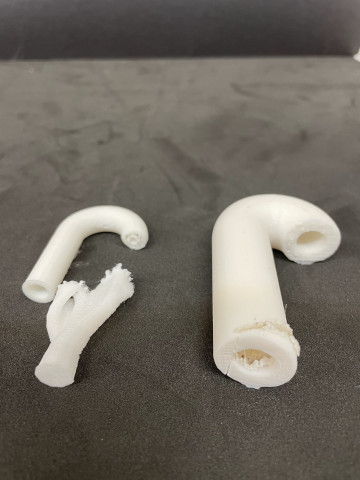
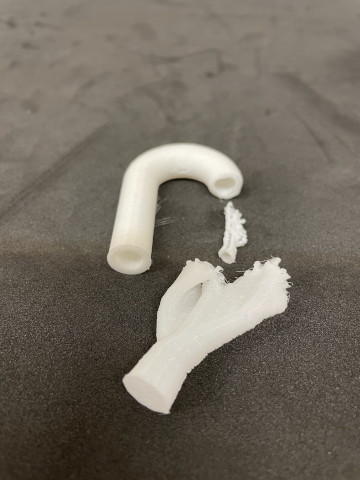
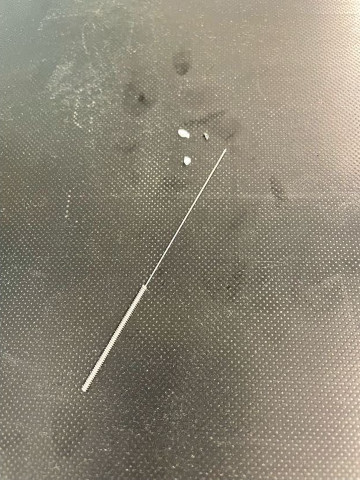
When it finished, I get rid of those “support” and even found some extra PLA inside the pipe (my design is a hollow lollipop). Well later I knew that it’s meant to help support the top part of lollipop (curving shape) when it’s printed vertically. I used a tiny tweezer to clean them out.
update: Just click “Utilities > make” in Fusion360, and able to send your model to Ultimaker Cura directly. It seems like you can only send one object at a time, but Cura accept more than 2 objects to print so send mmore times works.
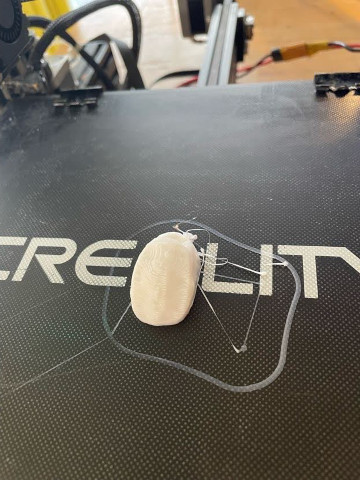
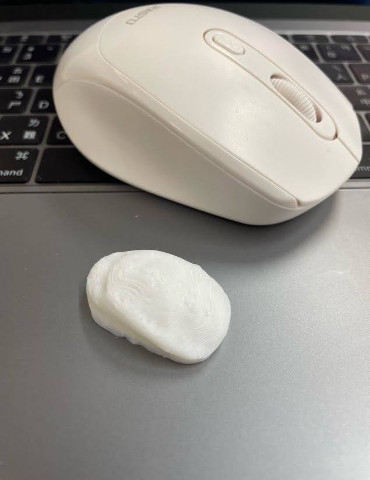
Scan and print a mouse
I found my pure white mouse could be a perfect target to scan with Polycam. But I encounter some modering error and fail to print in the beginning.
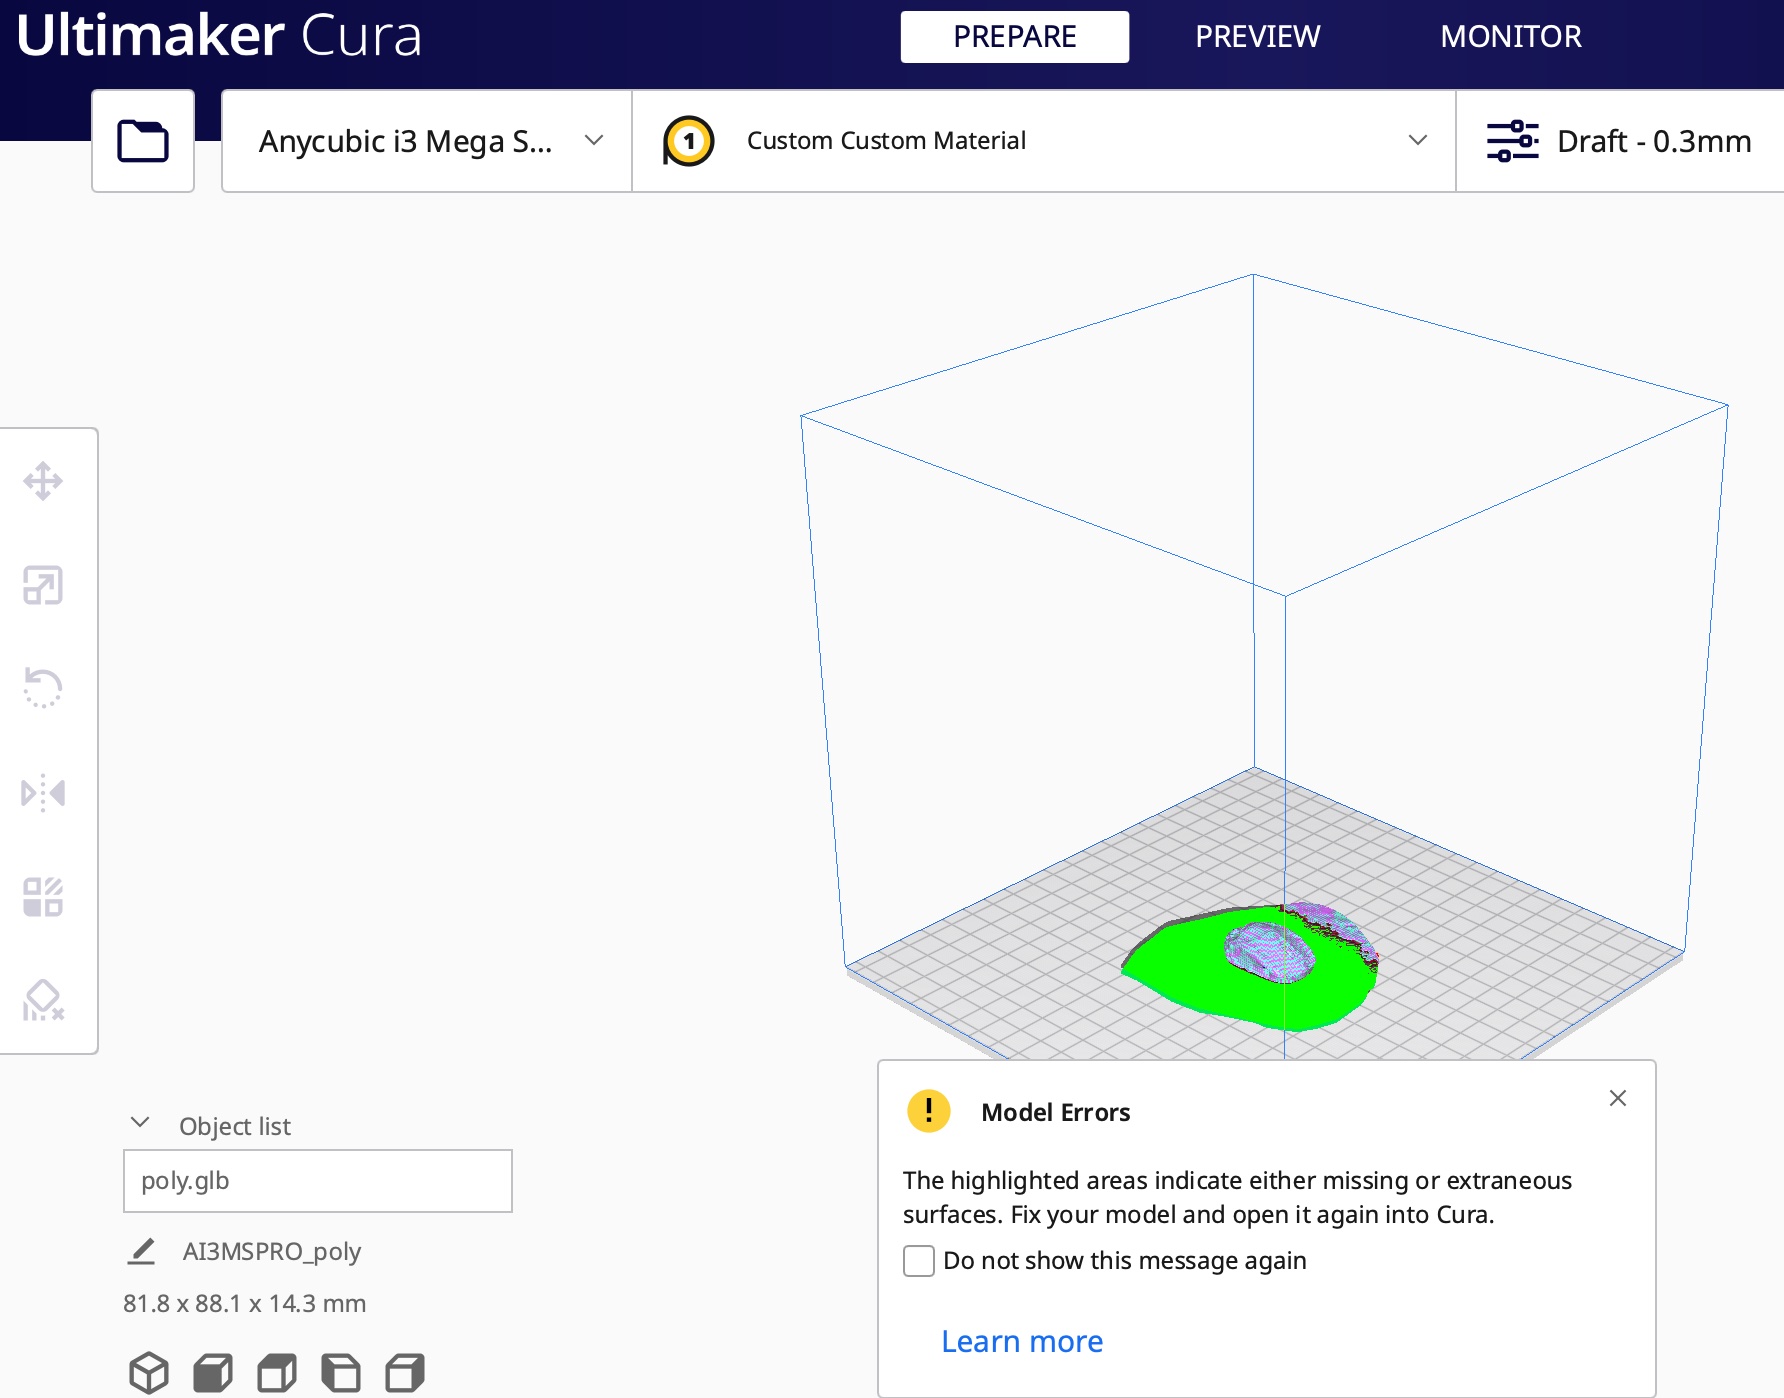
Later change to Ender3, it works!
Other stuff: cleaning & lubricating
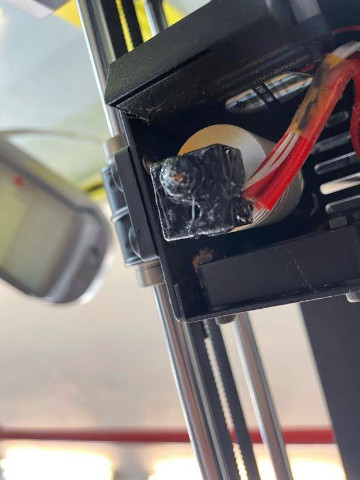
cleaning the printer head!
And put some glue on the bed, try to make filament stick better.
(update: it works better now and don’t need to put glue first. Just a frienly suggestion from parter in lab to use glue if it does’t work)
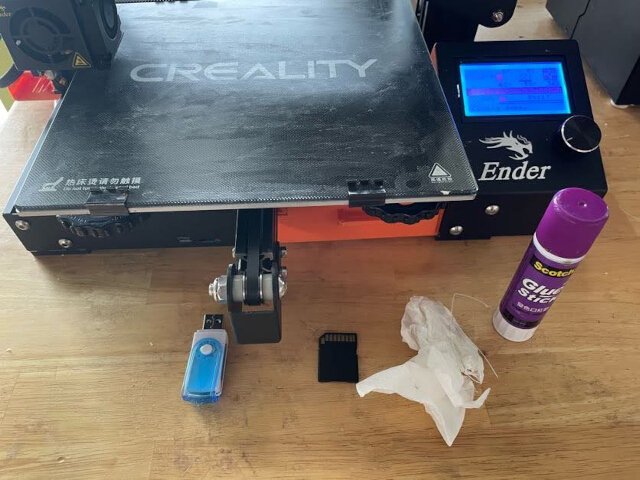
update: maybe glue is not needed, we later found out the PLA filament broke sometimes (maybe too humid), can try to heat filament and make it dry before using it. Another reason is stuck in nozzle and filament cannot come out properly. Already buy a new one and wait to change it.
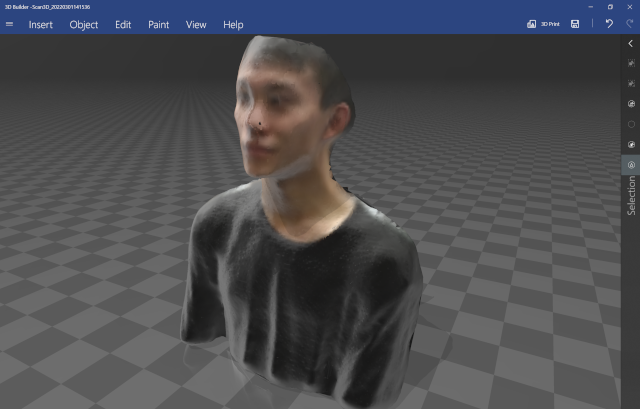
And it’s me!
Update: how to solve Ender3 problems
The PLA line breaks many times, to reconnect, use “preheat PLA” first, and “Prepare > move axis > 1mm > extruder” to extrude it in or out. Can also open the pipe or nozzle to clean it up, even change a new one. (when PLA stuck inside, can use hot air gu t melt it and then take out.)
Another is the plate should be close to horizontal. The distance of nozzle and plate should be almost the thickness of an A4 paper (feel a little bit stuck when paper go through). The way to adjust is to turn 4 wheels under plate for 2 or 3 times to make sure every cornor have the same height, and also make sure the center of the plate also have the height (sometimes the plate is not flat since the center is higher ot lower.)
Useful Links
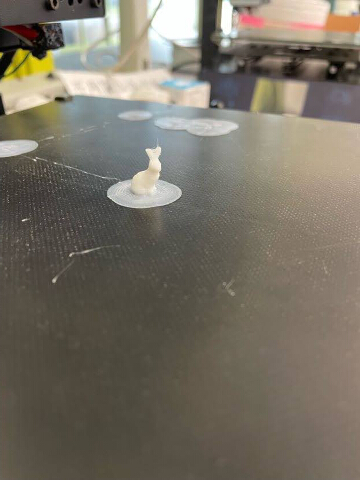
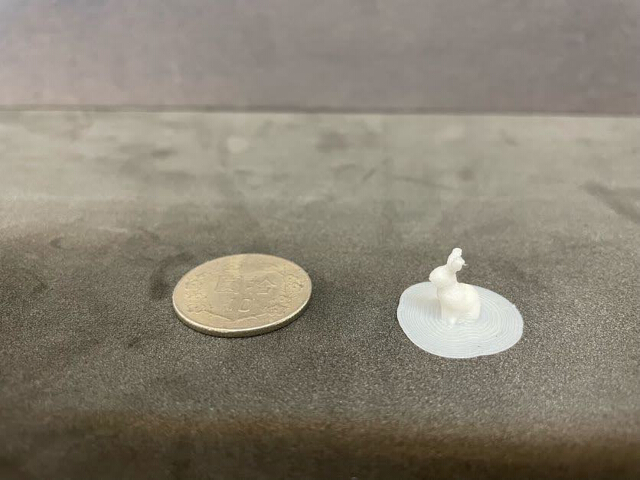
Side project: help my friend to print a tiny rbbit
At first, because of the size, the rabbit printing failed many times (meshy stuff).
What I tried next is to amplify the rabbit and get rid of some useless parts (generated by 3d scanning) by lower Z-axis.
Finally I can add adhension under the only object rabbit, with that the rabbit finally comes out! (though with short feet…)