Wildcard week
Assignment
Design and produce something with a digital fabrication process (incorporating computer-aided design and manufacturing) not covered in another assignment, documenting the requirements that your assignment meets, and including everything necessary to reproduce it.
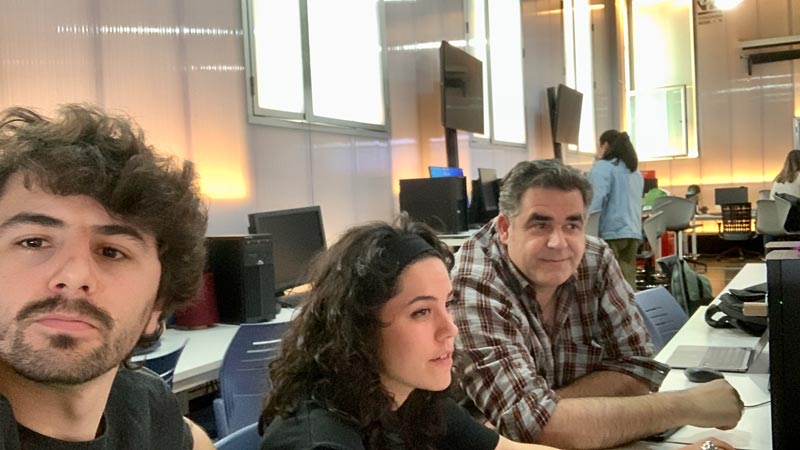
My mate Luis visits ESNE!
This week I wanted to take advantage of the fact that we have a Shima Seiki in my Fab Lab to document a small part of what this machine is capable of. My colleague Luis Diaz also took the opportunity to travel from Galicia to Madrid to use the Shima Sheiki of my Fab Lab.
Shima seiki
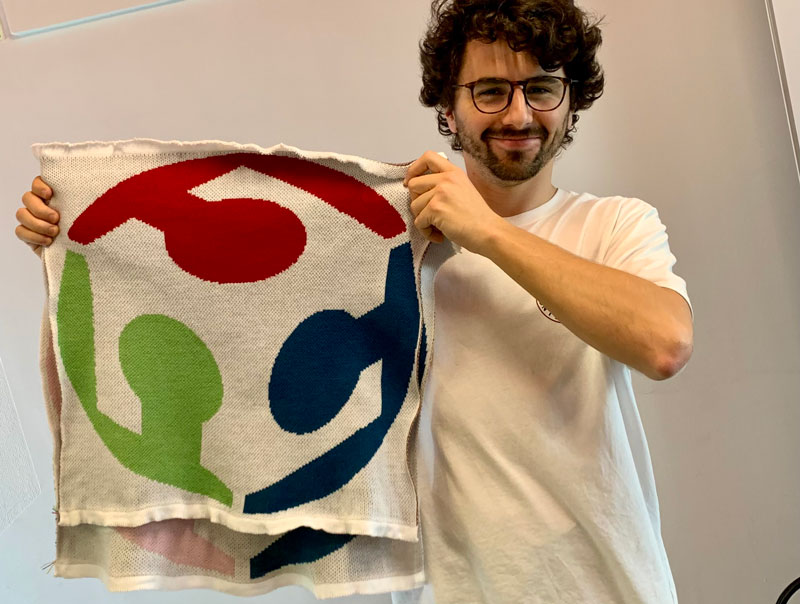
The Shima Seiki is a flat knitting machine, the one we have in the ESNE Fab Lab is the SV SSR 112 model. These acronyms mean that the machine has a working width of 110 cm. For my practice with this machine I wanted to weave the fabacademy logo, for this Alberto and Diana my classmates from the Fashion Design Degree gave Luis and me a masterclass throughout the morning, in it they taught us technical aspects about the materials that we were going to to use and how this influences when programming the machine.
Luis and I started with Diana teaching us how to do the first steps in the Shima Seiki software to prepare our .jpg image for weaving.
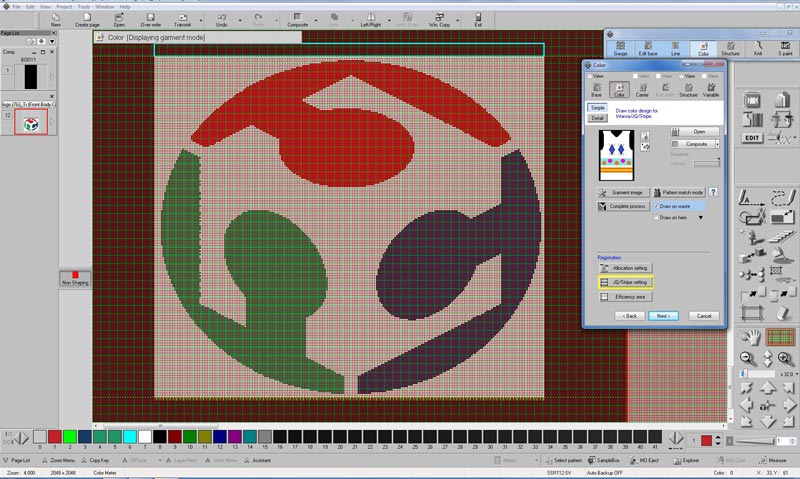
The software offers many possibilities, but since we had so little time, Alberto told us that the most accessible thing would be to make a jacquard from the jpg image that we wanted.
In jacquard fabric, the pattern is not printed or embroidered, but is directly woven into the fabric due to the jacquard loom system. Therefore, through jacquard, very complex patterns and drawings can be achieved.
We started by loading our images, I wanted to make the fabacademy logo.

With the loaded image we scaled it to obtain a cloth 50 centimeters wide and 50 centimeters high, we made our designs of this size because it was the one recommended by Alberto
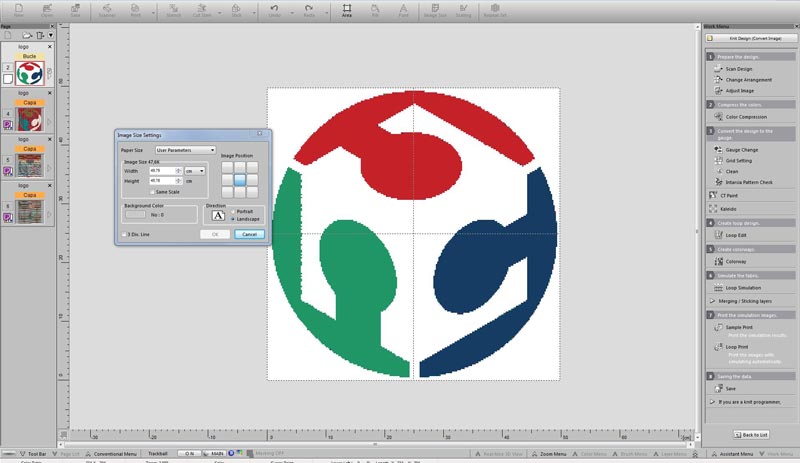
When we scale the image we go on to do the color treatment, this step consists of indicating in the program how many pure colors our design has, it is a very important step since later the machine will use a spool of thread for each of these colors
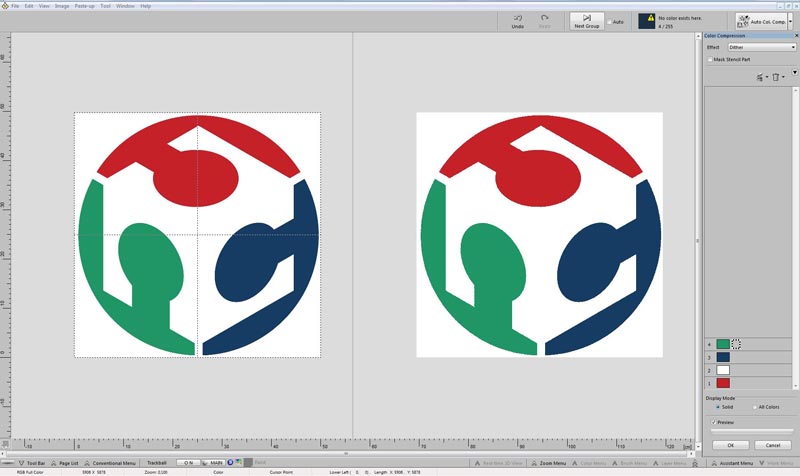
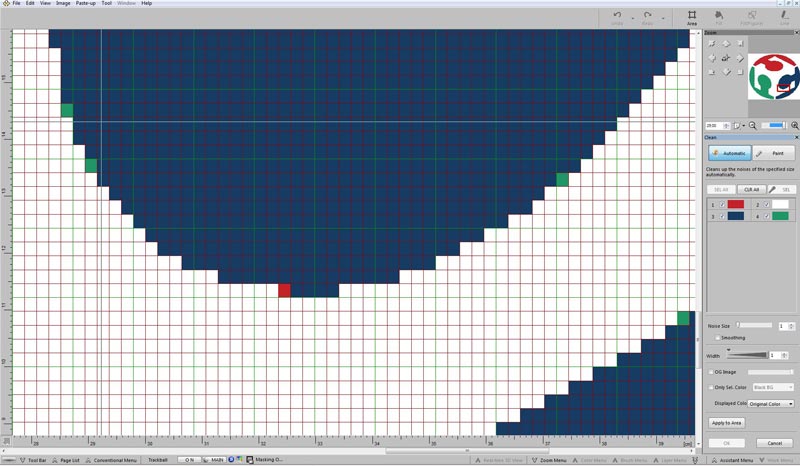
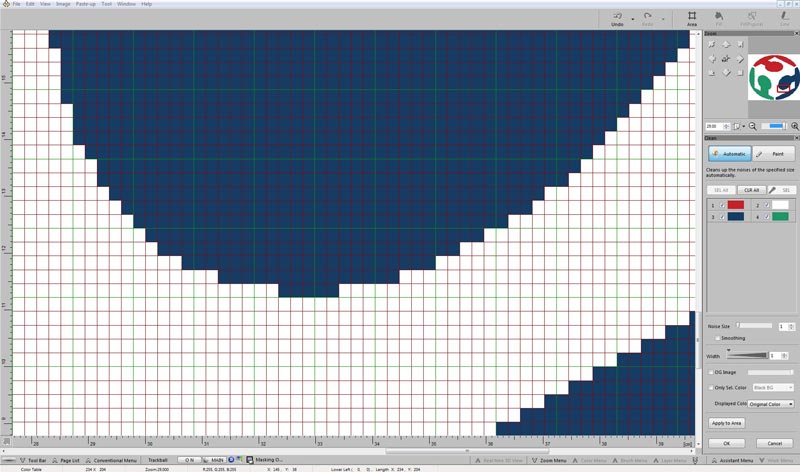
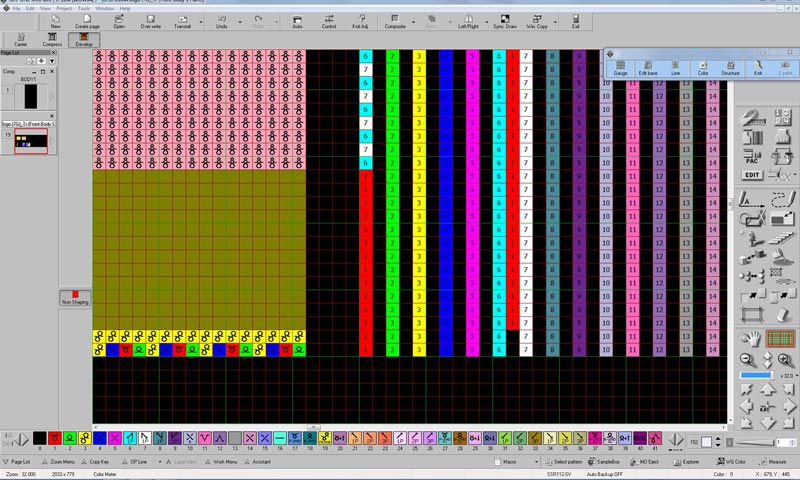
After the color treatment, the image appears composed of pixels, each pixel is the color closest to those indicated above, this makes some color pixel that was closer to red than blue appear red. In this case you have to clean the design pixels with an unwanted color or a needle of that color will pass through this point
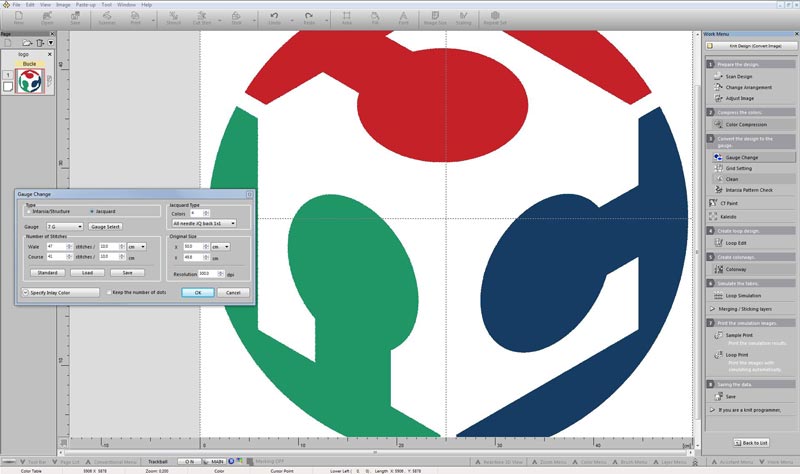
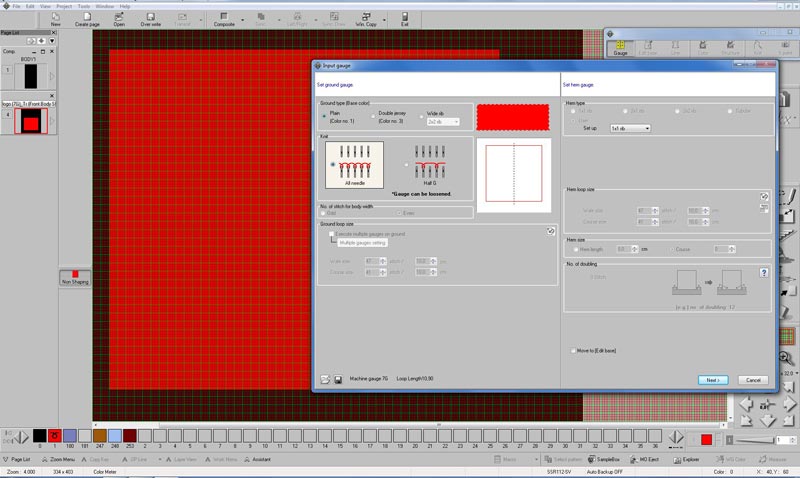
Then you must indicate the gauge of the machine (ESNE’s Shima Seiki is gauge 7, this value cannot be changed), the number of colors and the needles per cm
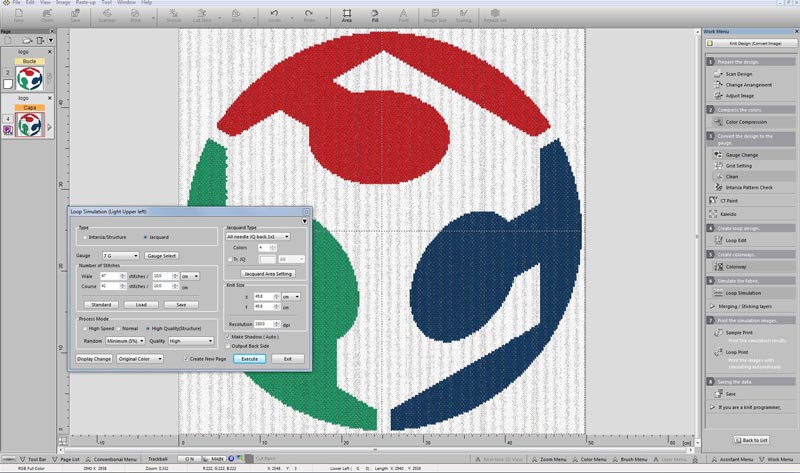
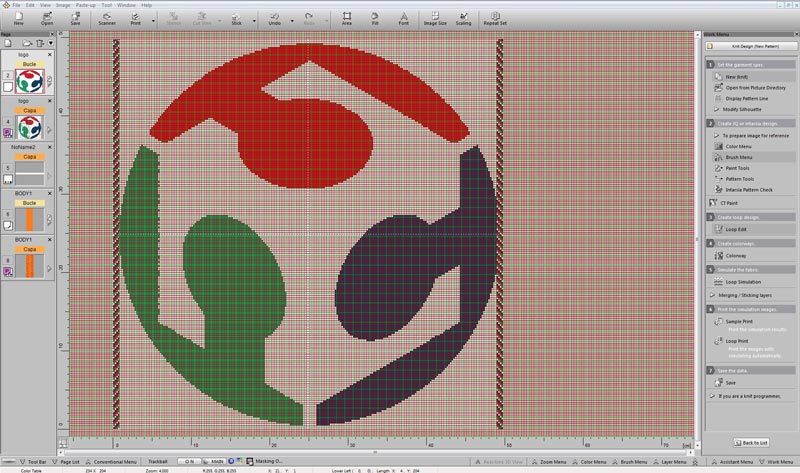
After this case we get a render of our cloth
Once the previous steps have been completed, the file must be prepared to be programmed in the programming part of the software machine.

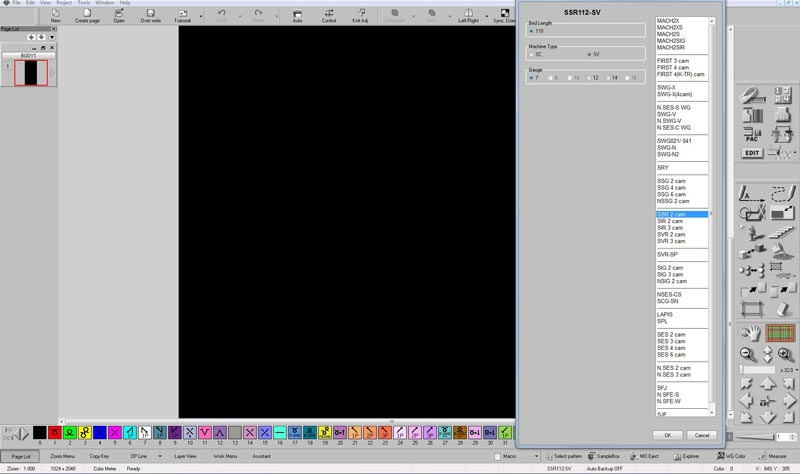
In the programming software of the machine, the way in which the back of the fabric will be formed is selected (It also affects the front part)
When this step is completed, the software generates the file that we will introduce to the machine, this indicates which color we must load in each thread rail so that the cloth is made correctly.

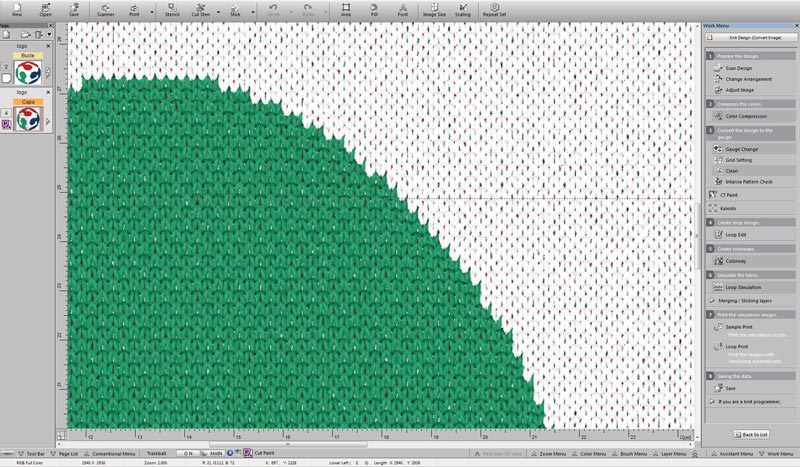
In this file if we zoom, the program tells us at each point what operation the machine will do, if we want to modify any operation we can do it in this step, we can modify each of the points
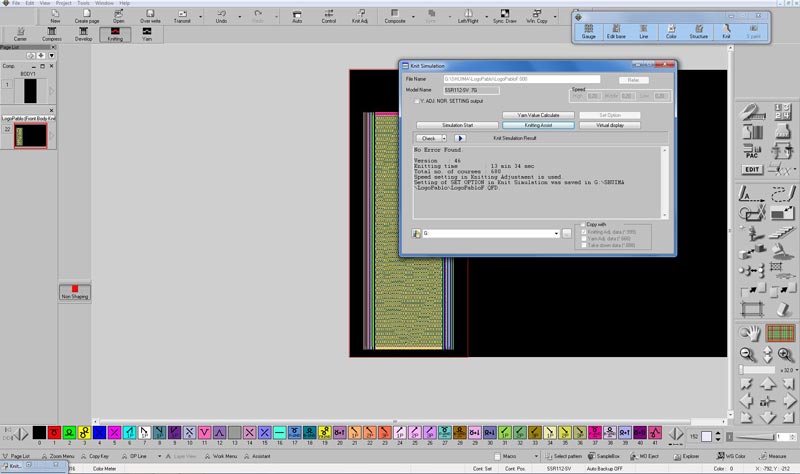
After this step, all the files that the machine needs are generated, with them we can do a fabric simulation to see if the program gives us any errors.
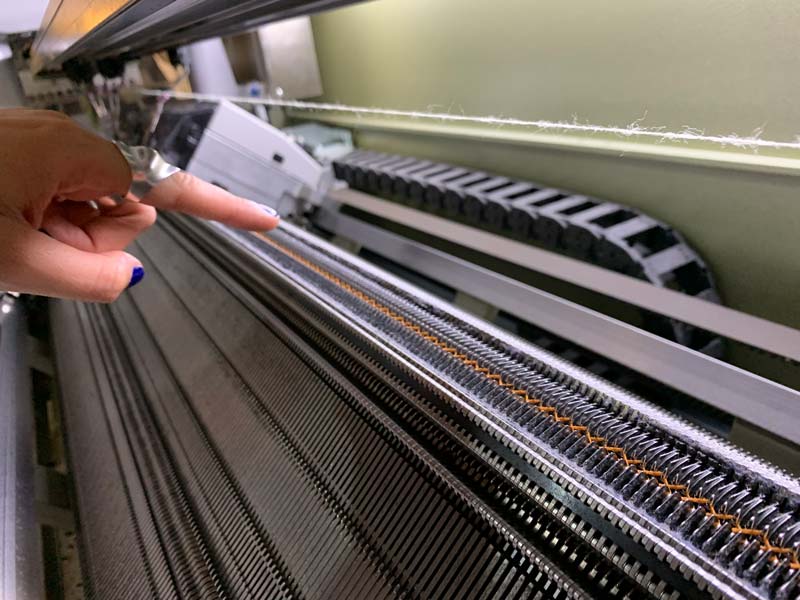
After Alberto taught us how to load each of the necessary threads into the machine, each color must be loaded in the guide indicated by the previous program so that the cloth is made correctly.

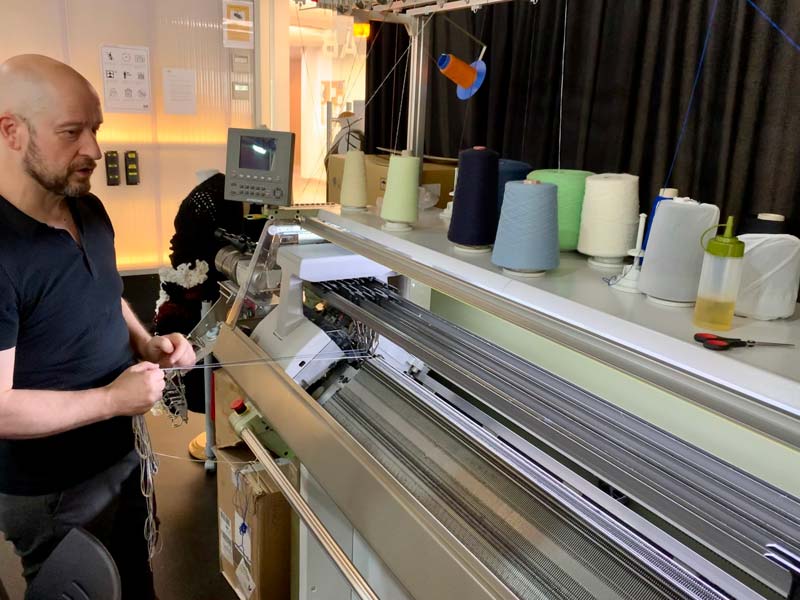
Then the thread load is indicated on the machine and they are held on the rail so that the machine can pick up all the threads.

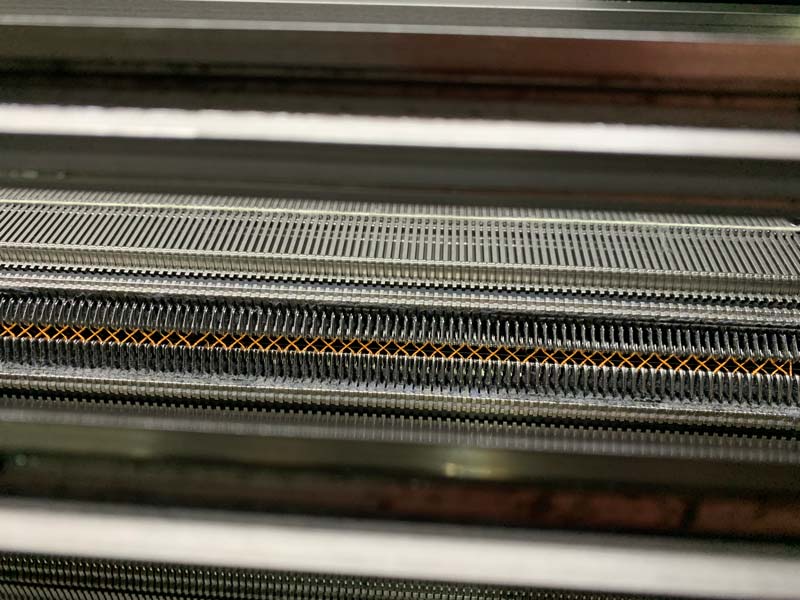
The first step is always a tajido with elastic thread, the Shima always starts with this step because in this mesh it holds the rest of the design and it is the thread in which the lower comb is held.
Then Diana taught us how to iron the cloth so that it does not lose volume or elastic properties.
The end result was incredible.
Mistakes
After weaving my cloth we were going to weave Luis’s cloth, we changed the thread colors in the different lanes but we made a mistake and we reselected my design, luckily the threads that Luis and I used had the same volume and elasticity so there was no problem with the machine. The final result was my design but with the colors of Luis’s design :)
