Project management
This week i will work on git to use it in the creation of my personal web page inside the fabacademy website
Assignments
- Build a personal site describing you and your final project.
- Upload it to the class archive.
- Work through a git tutorial.
Contex
Before starting the fabacademy, I already had some knowledge about 2d and 3d modelling, 3d printers, milling machines, laser cut machines, and use of molds. But I had never used a web repository, nor created a personal webpage, so I had no knowledge in this field so far.
Git
Install git
The first step is to install git, as a Windows user the program I should install was Gitbash, which will be the terminal I will use.
Open and try Gitbash
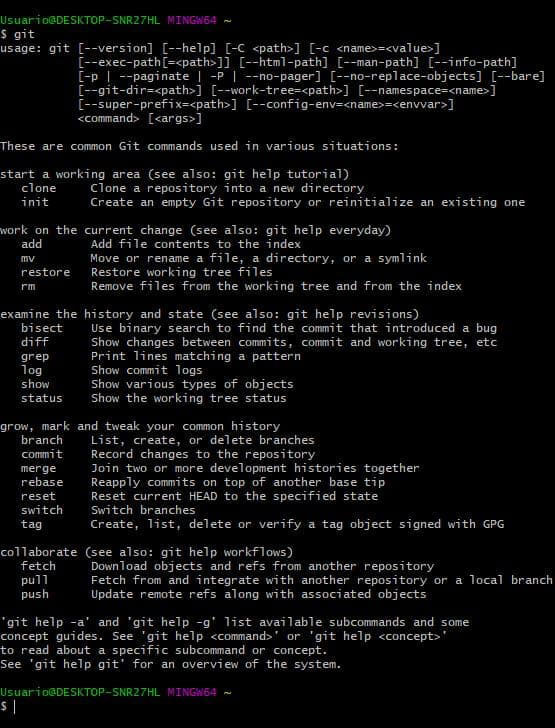
I opened gitbash for the first time, which is basically a window with a black background where you can write anything. The first thing I did was write git, and the terminal showed the following information.
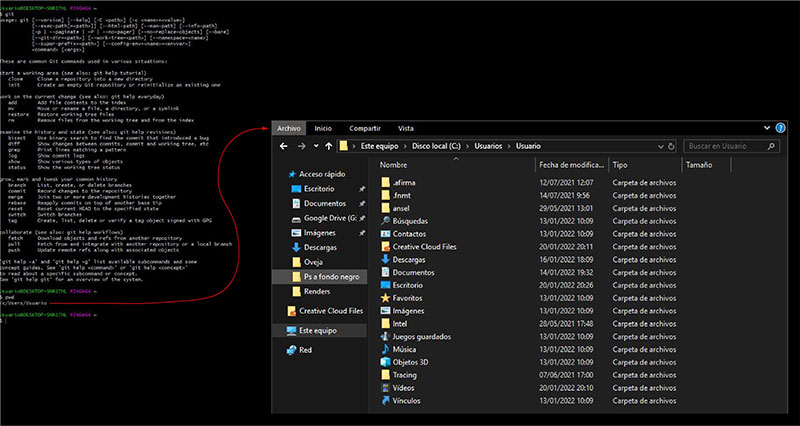
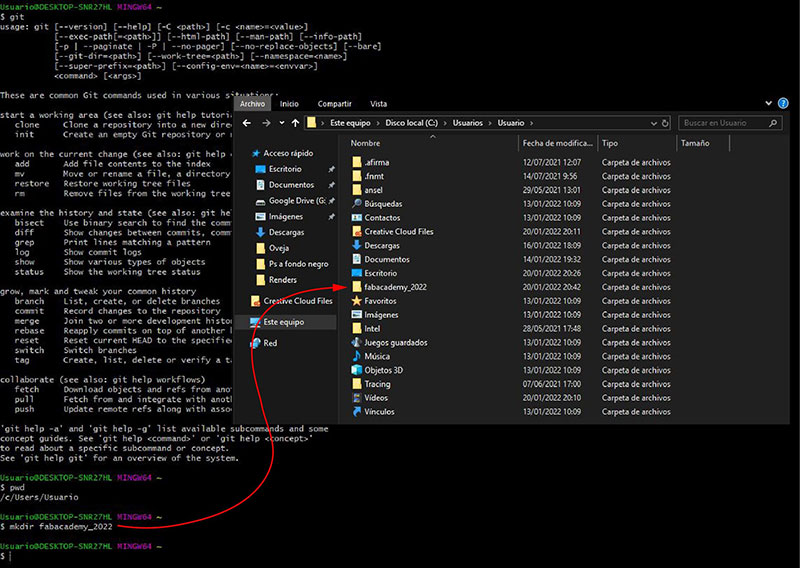
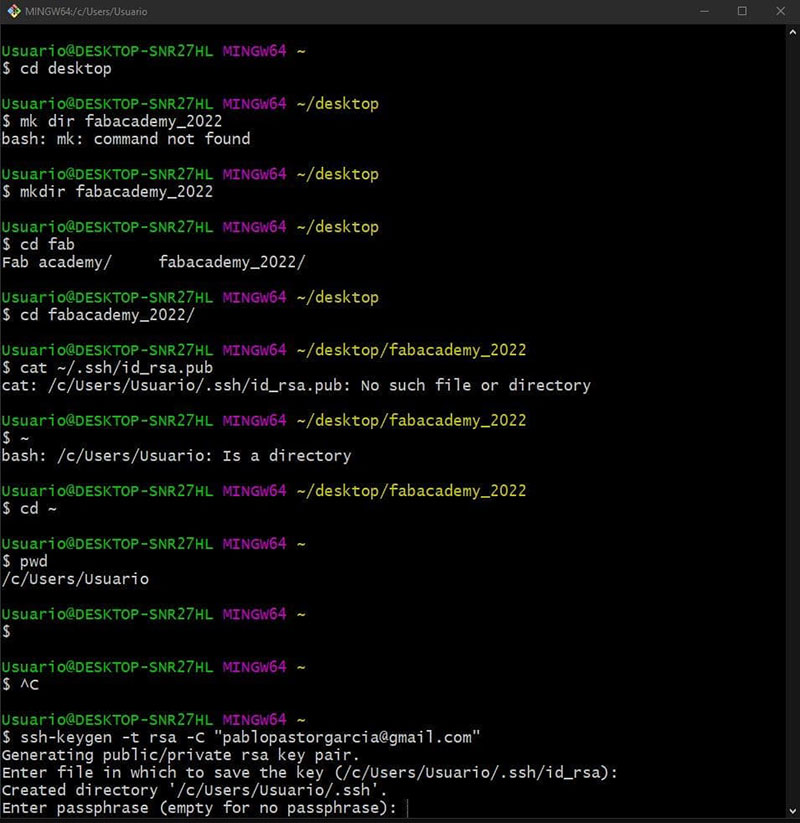
After this I tried pwd command, which indicates your location.
Afterwards, I used mkdir fabacademy_2022 command, which creates a folder with this name.
Set up git
To set up git I used the following commands: git config –-global user.name “pablopastorgarcia” git config -–global user.email pablopastorgarcia@gmail.com
SSH key and local clone
When I tried to access the projects section from gitlab, I was notified that I could not push or pull since I did not have a SSH key.

So I went back to gitbash to do as follows:
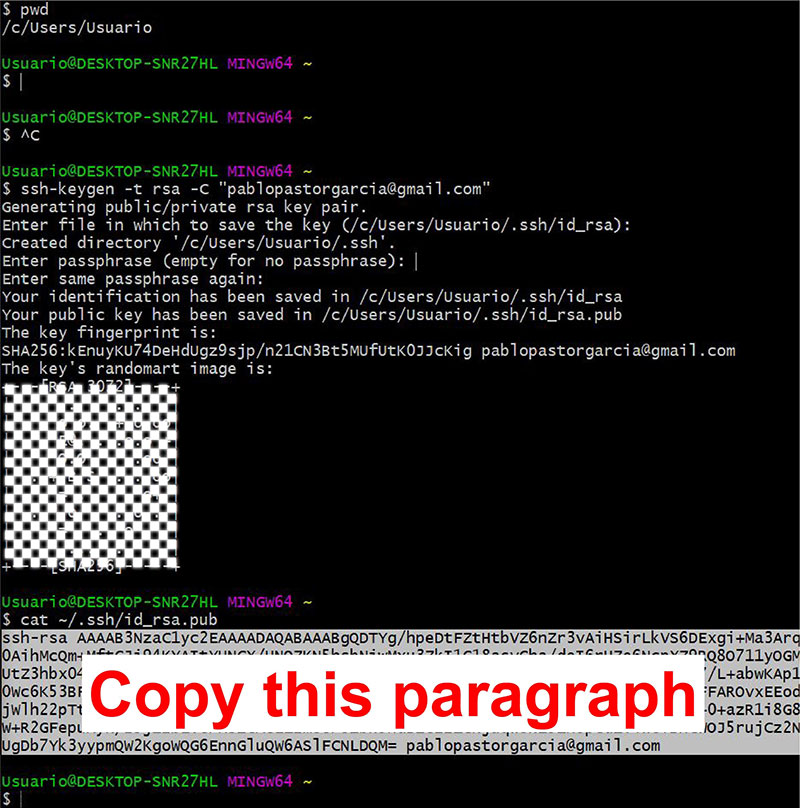
I opened user settings SSH keys in git, where we should paste the previous paragraph in order to obtain the key.
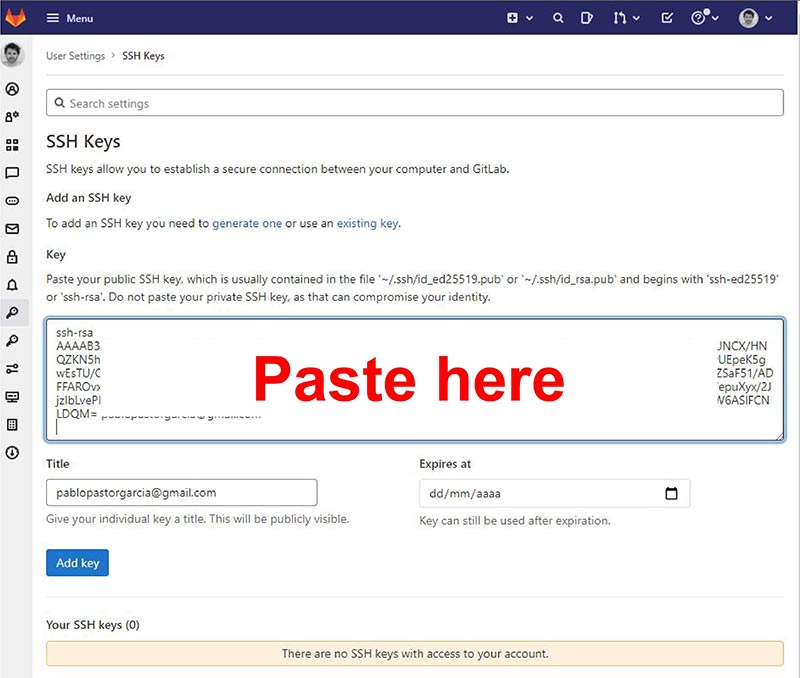
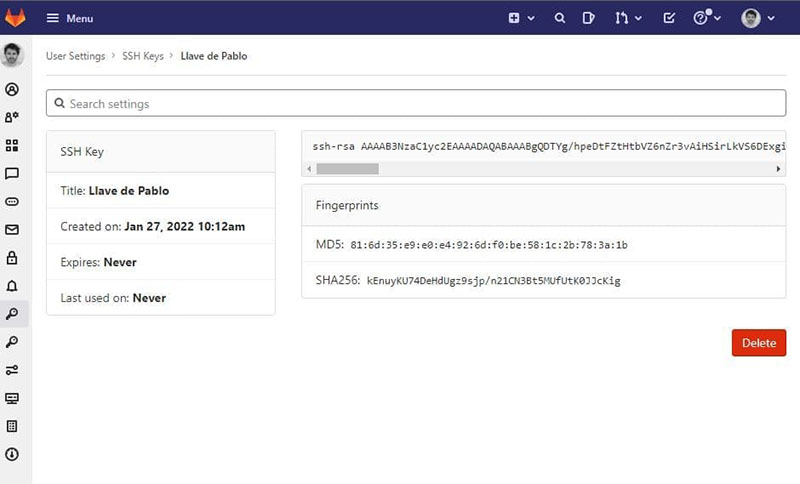
We now have our key, so we can clone with SSH.
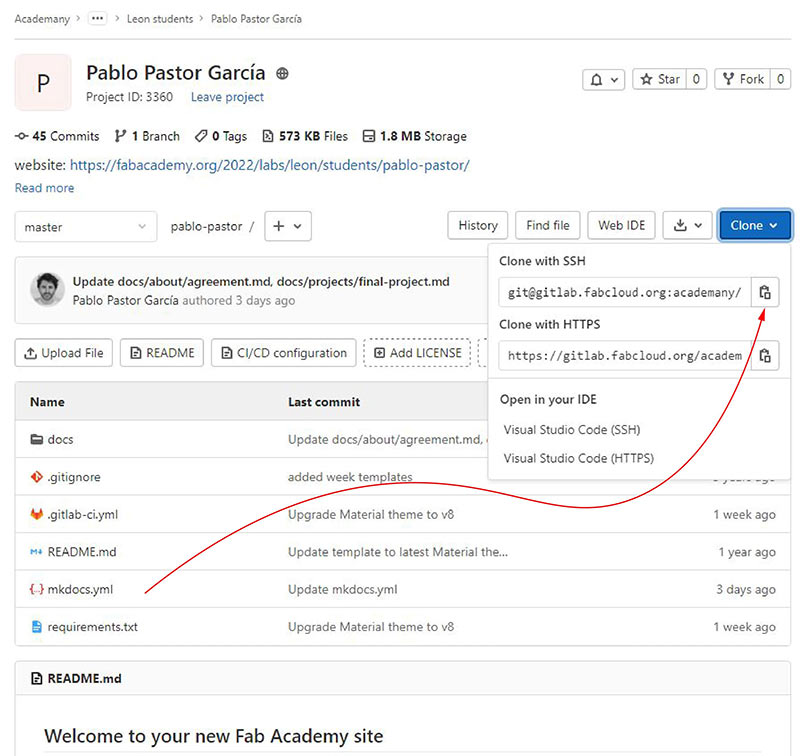
After cloning, everything in git can be found in my desktop folder.

Uploading info using mantra
I started by making some changes to test how I could upload the information to my page using the mantra
Once the changes are ready, I start the mantra in Git Bash.
git status - to see the new changes)
git pull - to download local repository to the last version of the online repository
git add - to add changes
git status - to check that the changes were added
git commit –m ‘descriptionofthechange’ - to confirm the changes
git push –u origin master - to update the repository online
Mkdocs
Uploading info using mkdocs
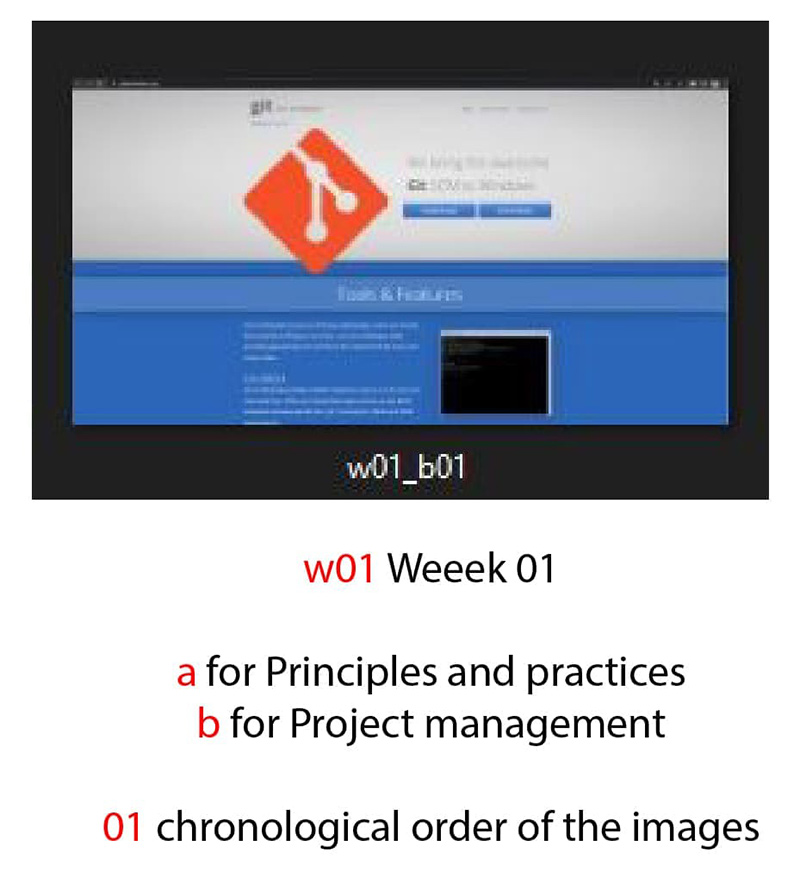
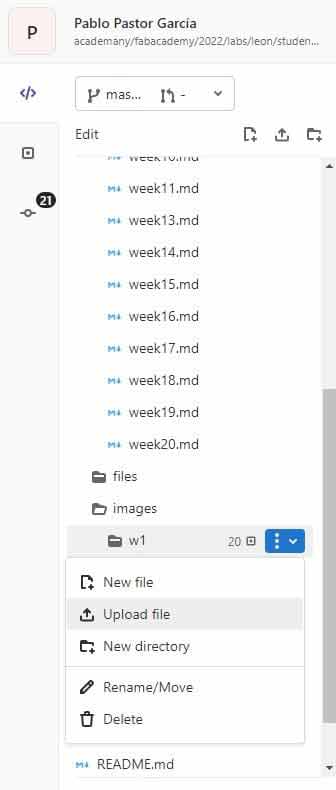
This process done and being Sunday, I use gitlab web tool, maybe it’s not the best way to do it but it easy for me and nowadays is the only tool i have to do it. So i started naming my images like that:
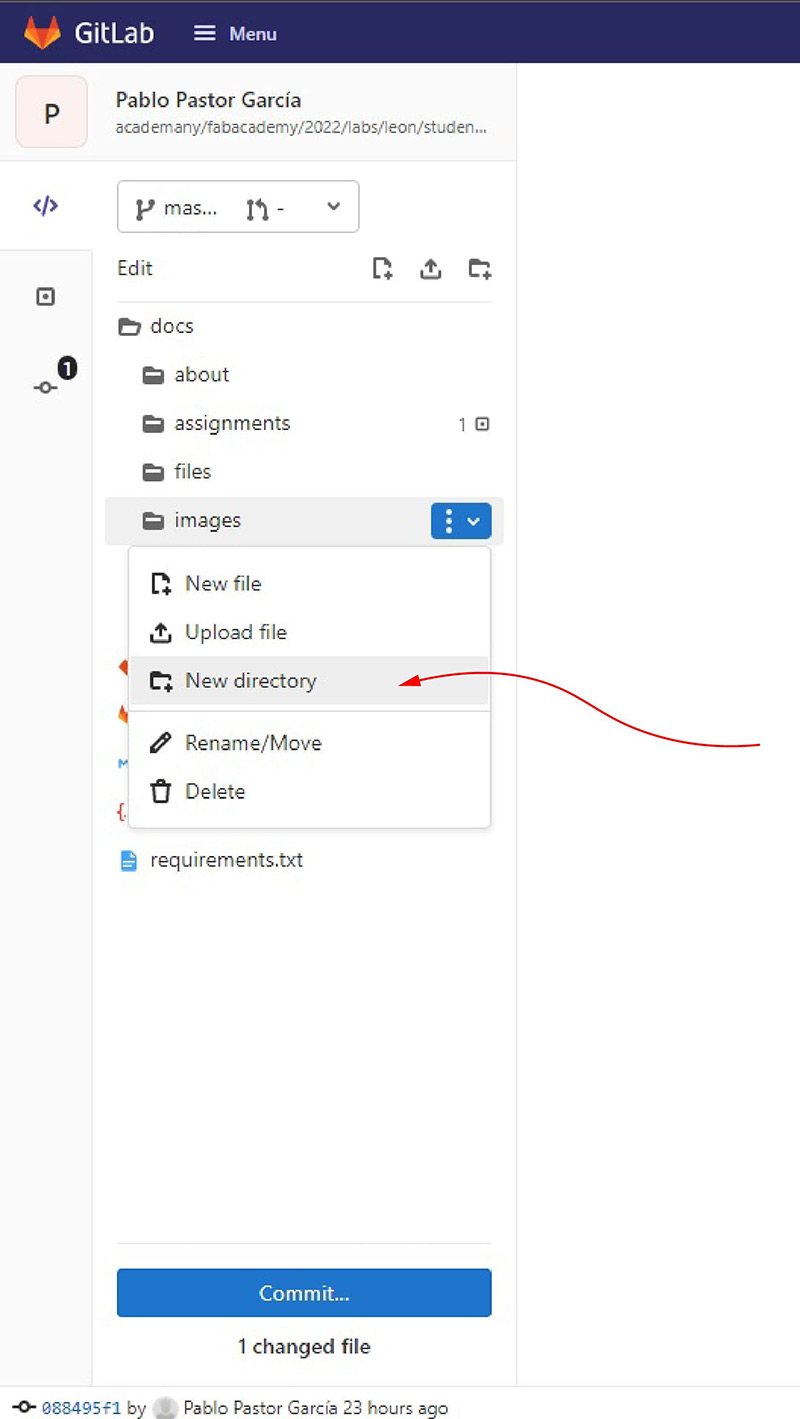
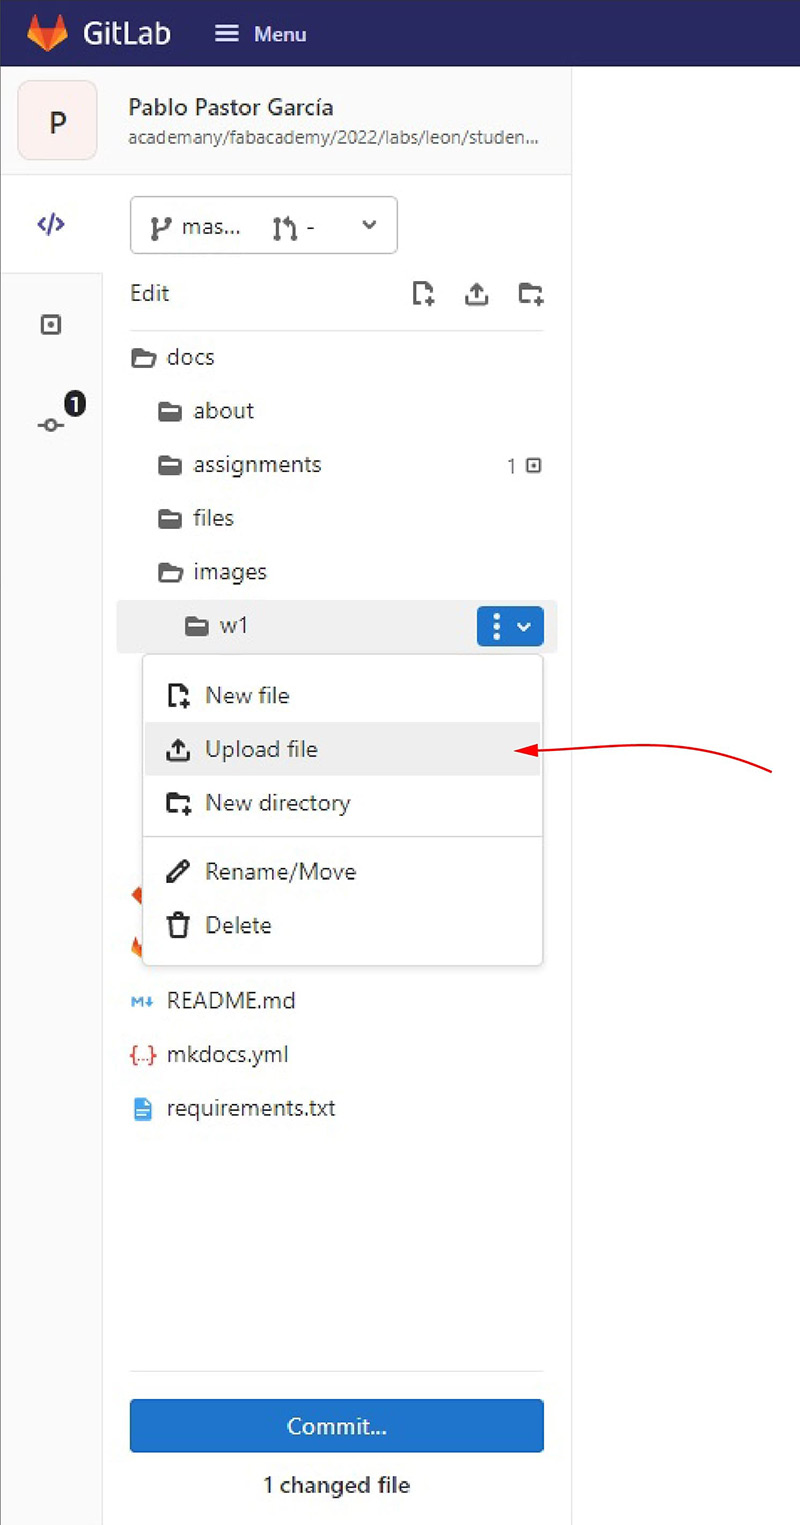
After that i create a new directory in images for the images of the first week, then i upload all the images to git
This names helps me to organize all the files in chornological order each week also they make it easier for me to upload them to git because I only have to copy and paste the last line of the image and change the last digit

Repeating this method I managed to upload all my documentation to my website this week, it may not be the best way to do it, but it works!
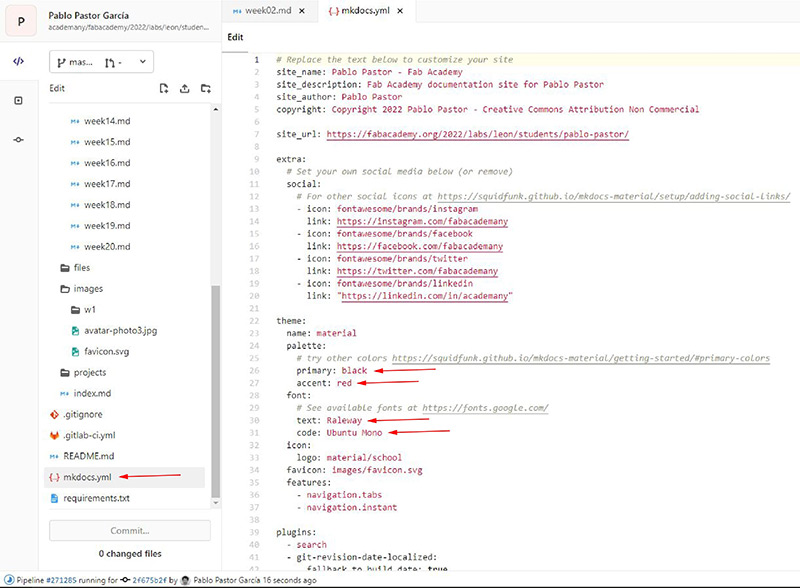
After this I changed some things about the appearance of my website (Typography and colors) in the mkdocs section, I did it writing another color and another font (Any typography from google fonts works)
Local review and two questions
On Monday, Nuria recommended me to download brackets text editor to use it in the near future.
That same day we had the local review of the week, Nuria thought my progress was correct, but when i was explaining Nuria how I had uploaded my documentation, I asked him why i need to use a text editor or my local repository and the terminal if now with the tools I hhave I´m able to document all my fabacademy.
Nuria asked me two questions, she told me that I should answer them now but that I should also answer them in a couple of months to see if my answer will be the same.
1) Do I need to learn to use the terminal and work locally?
31/01/2022 Answer
No I don’t need it I could document my entire fabacademy like I have done it this week
2) Should I continue doing my website like this or should I do it in HTML?
31/01/2022 Answer
I don’t know the advantages and disadvantages of making my website like this or in HTML, as it works for now, I will continue making my website like this
Fix my repository size
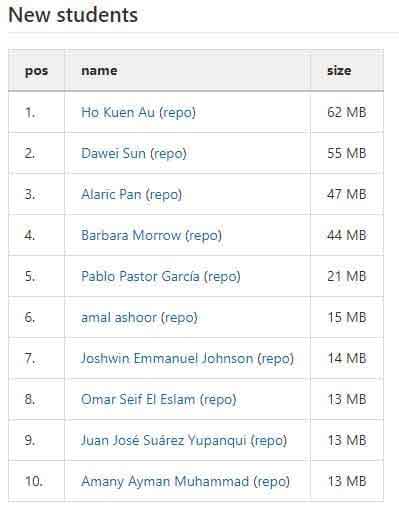
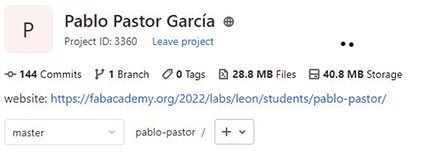
In Wednesday’s class Neil showed us the ranking of the heaviest repositories among the new students of the fabacademy, as you can see I was in the fifth position of the ranking
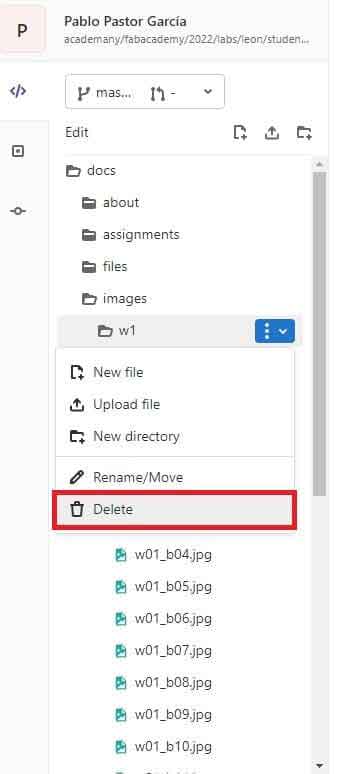
I supposed that because I had forgotten to compress some image, so I deleted all the images from my repository
Then I compressed all my images in iloveimg , a very simple web image compressor and check the size again once compressed
Then I uploaded all my images with the same name back to my repository.
I rechecked the weight of my repository but it hadn’t decreased at all, it had increased! How was it possible?

I asked my fabacademy colleague Luis Diaz and he explained how to cut and compress images in Adobe Photoshop, in addition to a super demo (Thank you very much Luis! ), I followed his instructions and checked the weight of my repository again.
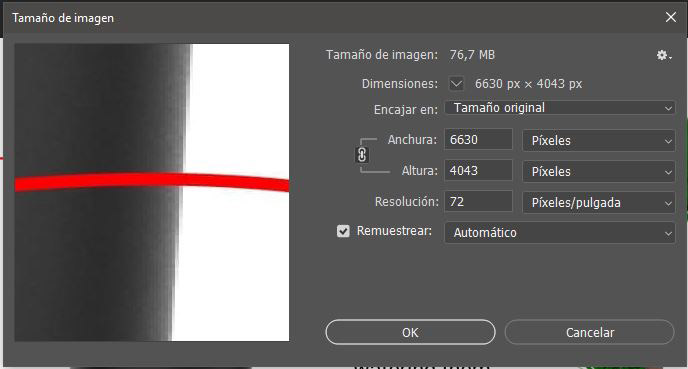
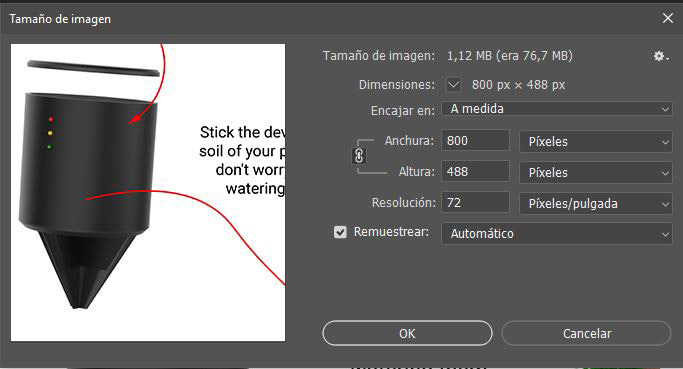
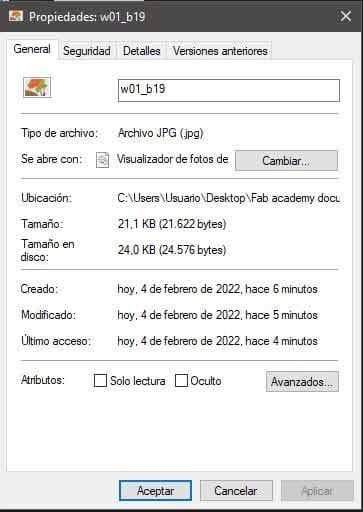
With this couple of Adobe Photoshop save commands the size of my images decreased, so I uploaded them again and check my repository size.
The size of my repository is still huge, I will continue to investigate how to solve it
Brackets
Work in the local repository and brackets
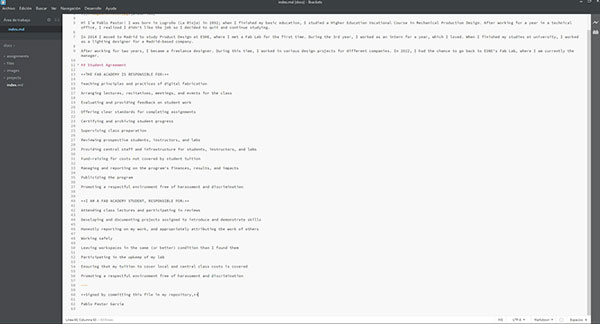
02/06/2022 Nuria explains to me how to download my repository locally and make some changes to it, in addition, Nuria sent me the Markdown Cheat Sheet, which is a very useful tool for me.
We use Brackets for the first time to make them and then we use the mantra to upload the changes
After the whole process Nuria asked me how it seemed to me to work locally, I told her that now I understood many more things but it was still more comfortable and easy for me to do it in the GitLab IDE
See you next week!