Computer aided design
This week I will use different 2d and 3d modeling software and compare the way I use them and the result I get
Assignments
- Model (raster, vector, 2D, 3D, render, animate, simulate, ...) a possible final project.
- Compress your images and videos.
- Post a description with your design files on your class page.
Raster images
I have always used Adobe Photoshop for raster images but this week I will try to do the same exercise in different programs (Some I have used before, others not) to see the result I get and the workflow between them
For the raster images I will use in addition to Adobe Photoshop GIMP, GIMP is a free and open source image editor. I started by opening GIMP and making a screenshot of the program to later see how I could compress it and save it

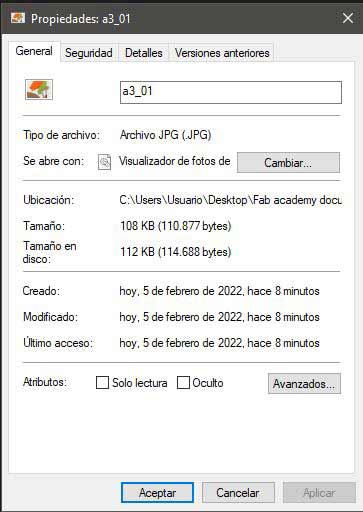
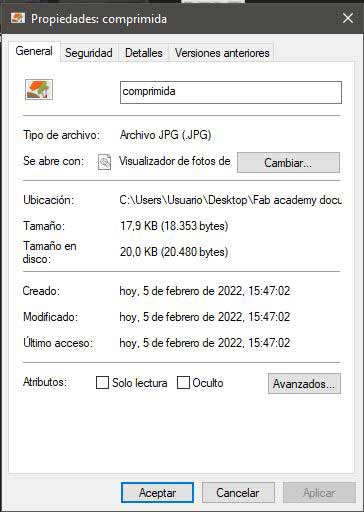
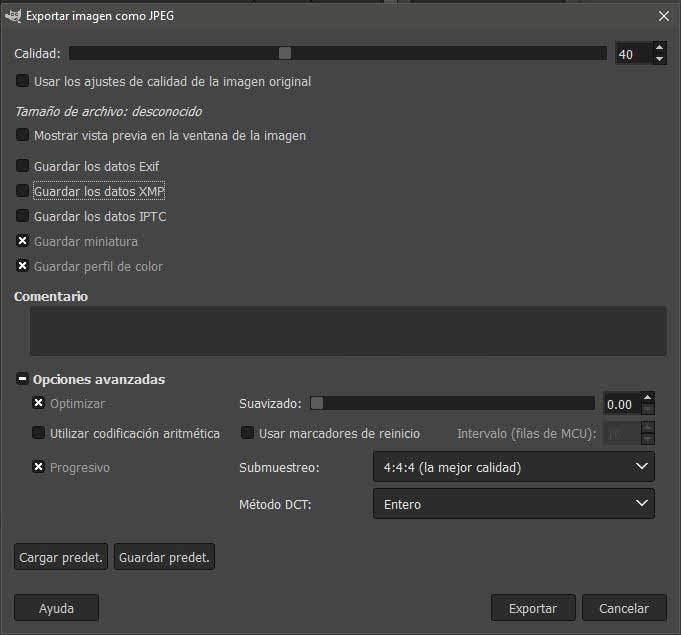
To compress the image I followed this tutorial to do it, I compressed the GIMP screenshot by resizing the image to a width of 800px and then exporting it with a clarity of 50%, these are the sizes before and after compression.
One of the things that I liked least about GIMP is that when it comes to lowering the quality of the export to jpg, the program does not show the image, so you do not have a visual reference of the process, Adobe Photoshop does show it

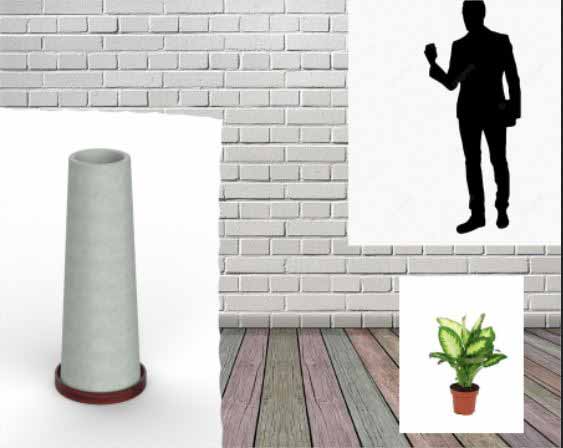
After trying the tool to compress images I tried to generate an image similar to the one in my final project but this time using gimp
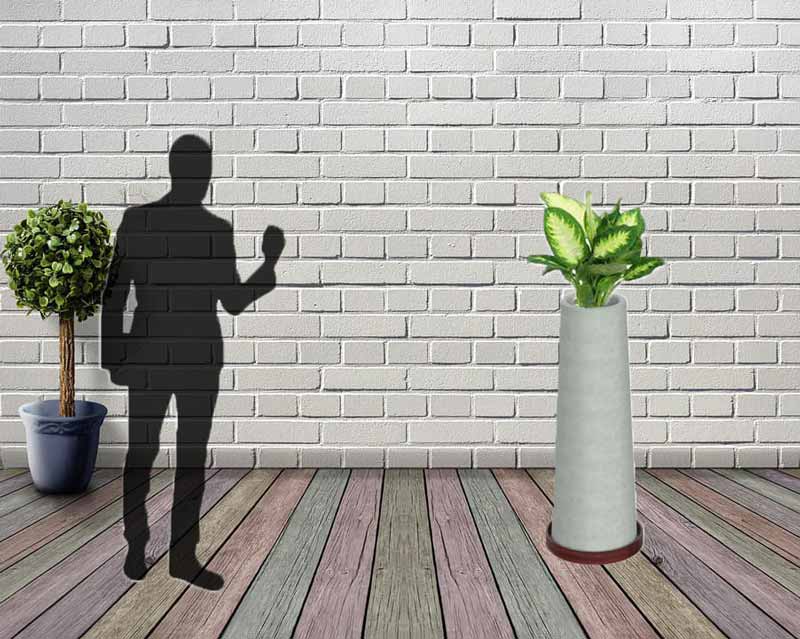
This is the image I generated in photoshop
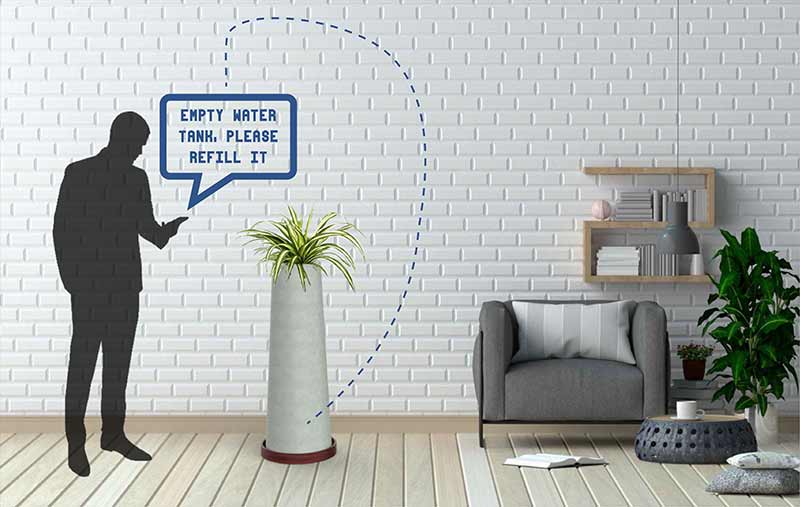
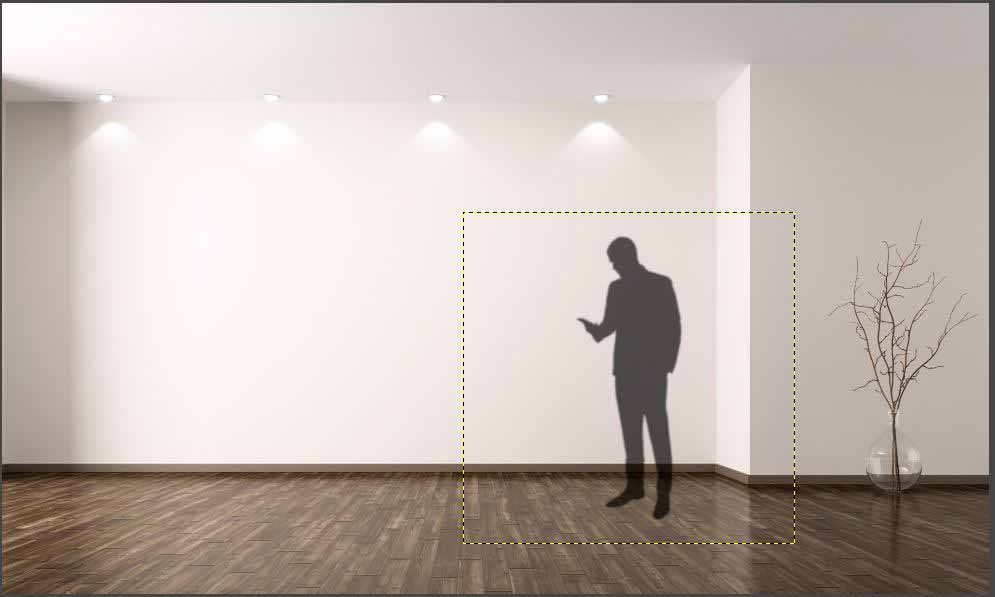
I started by loading the background and then adding the person and the text message

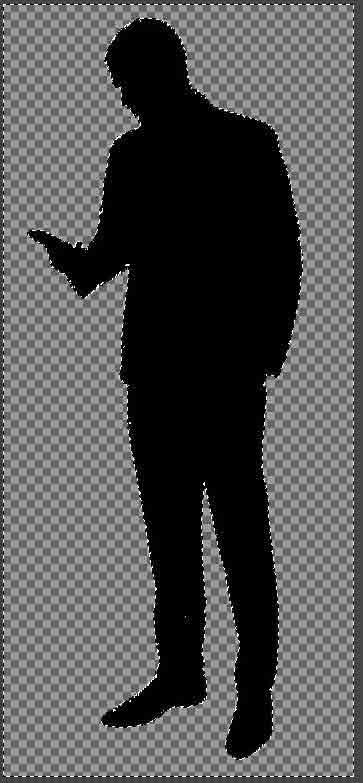
I had to cut the silhouette of the person and draw the inner white lines, with the selection tools and the eraser i can do it without problems
I did the same with the pot and then the plant, here is the result
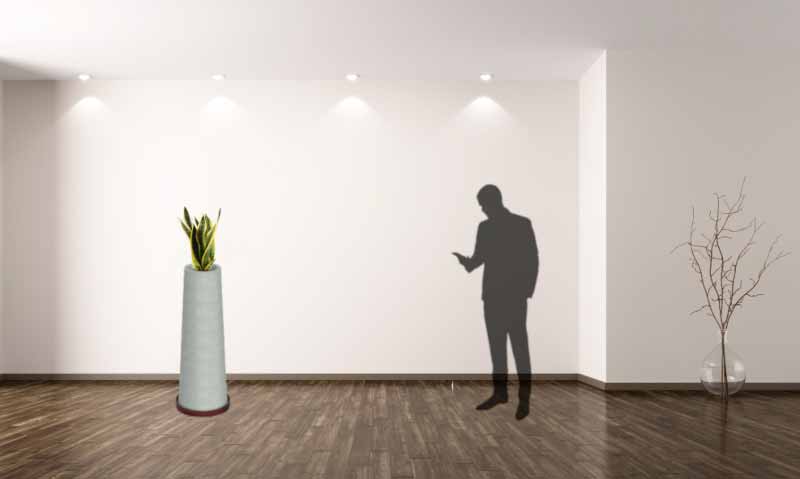
Then I made a similar image in Photoshop, an image with a background to add the silhouette of a person and my smart pot with a plant
For me the quick selection tool works much better in Photoshop than in GIMP
Vector files
For vector design I have always used Adobe Illustrator, this time I will try to make some vector drawing in Inkscape and compare between the two programs, at first the location of the commands seemed very strange to me, if we compare it with Illustrator it is totally different.
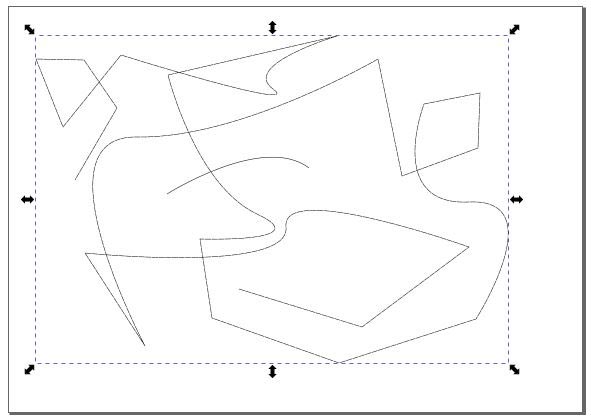
Then I tried the tracing tool, this tool is one of the most used in these programs, I liked how it worked
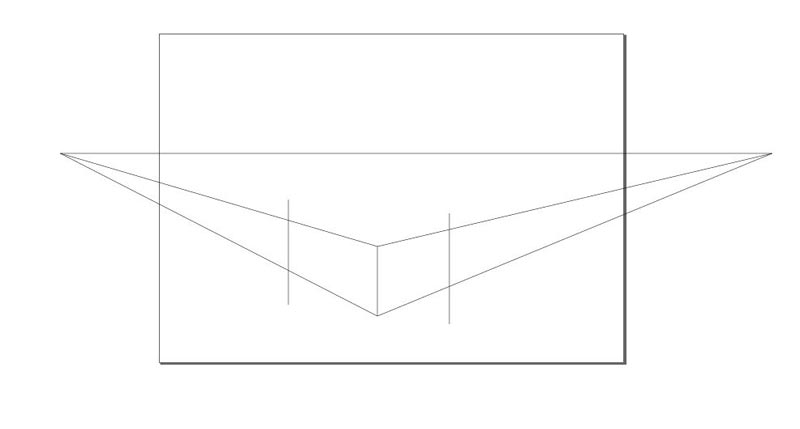
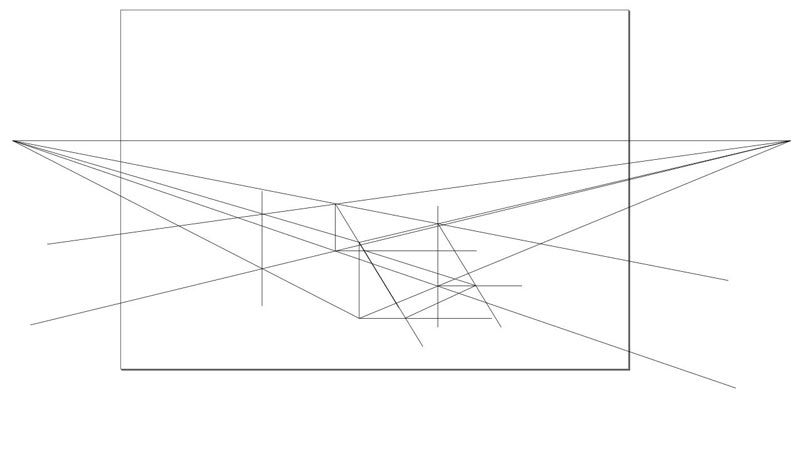
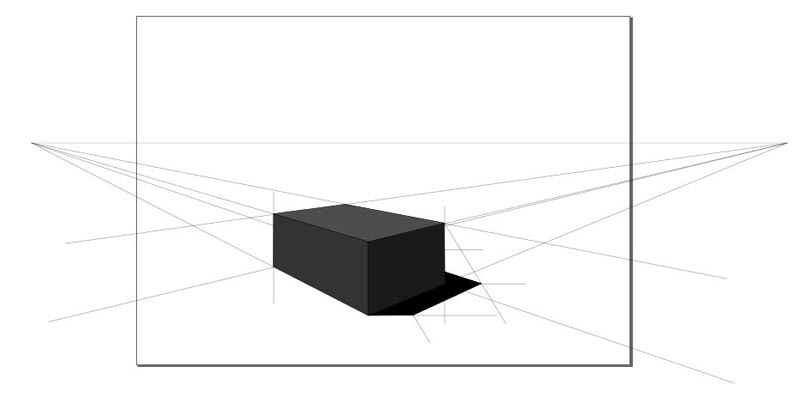
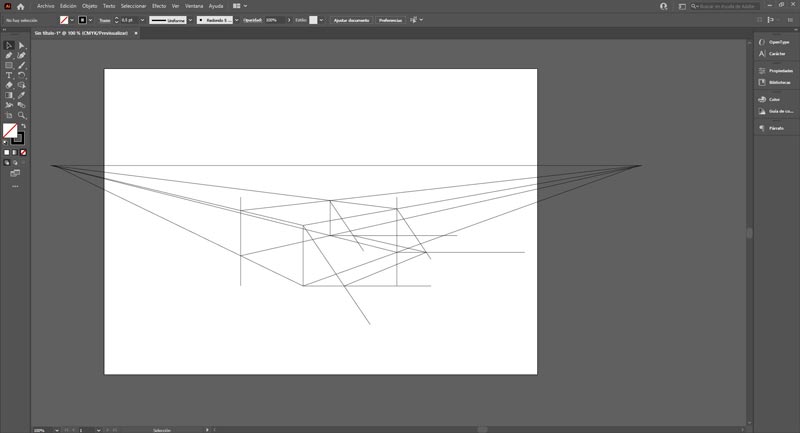
When I was done, I followed this quick tutorial (sorry it’s in spanish) to learn the basics of Inkscape. After the tutorial I made a drawing of a cube with two vanishing points
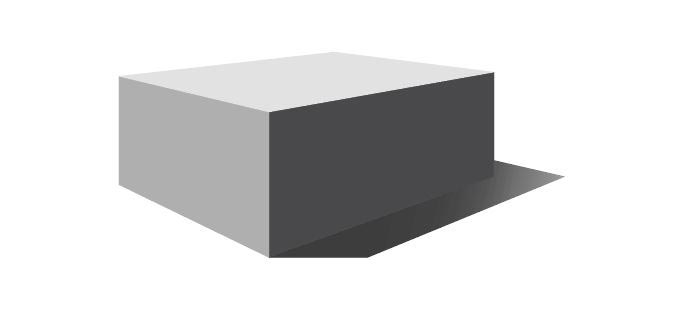
After trying Inkscape I did the same exercise with Illustrator
Raster & vector files conclusion
After using GIMP, Adobe Photoshop, Inkscape and Adobe Illustrator my conclusion is the following: Currently I pay a student license for the entire Adobe suite of 20 euros per month, with this subscription I can use Illustrator, Photoshop, Lightroom, InDesign, etc.
GIMP and Inkscape have seemed to me to be two good programs to replace Illustrator and Photoshop for free, but I also use the rest of Adobe programs, so I prefer to pay 20 euros per month to use all these Adobe programs than their free substitutes. In addition, in the professional sector, all design studios use the Adobe suite, so for me it is preferable to control Adobe programs better than their free substitutes.
3D CAD
For the 3d modeling of my final project I tried two programs: Fusion 360 and Free CAD. I had already used Fusion 360 before but it was the first time I used FreeCAD.
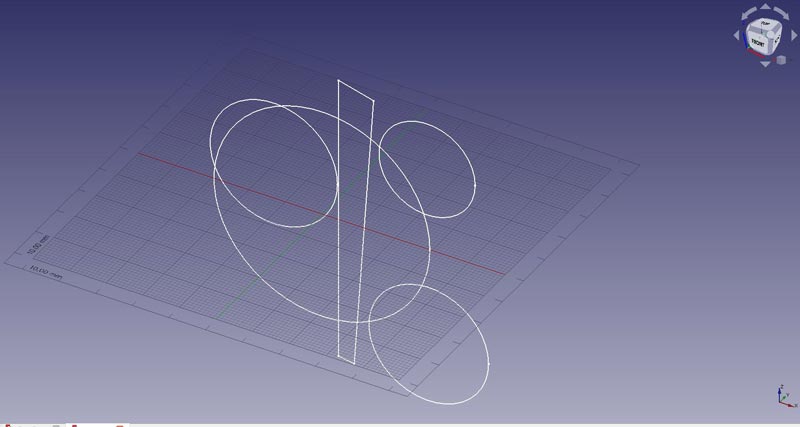
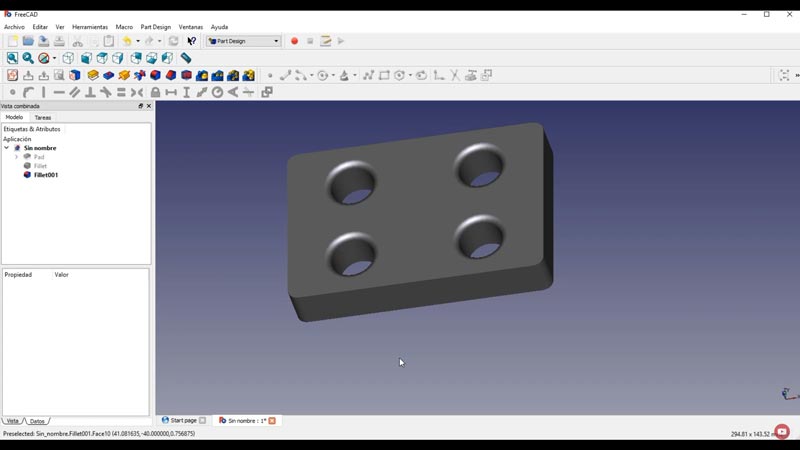
I started using FreeCAD to make some simple parts.
Try out the sketch and extrude tools, etc.
After that I followed this tutorial to learn how to better manage the rest of the tools
After trying FreeCAD I switched to Fusion360, in Fusion 360 I modeled my first idea for the final project. Thanks again to my fabacademy colleague Luis Diaz for teach me how to make a gif like this.
Here you can see it with the Fusion360 previewer
After modeling my first idea of the final project I modeled the second also in Fusion 360
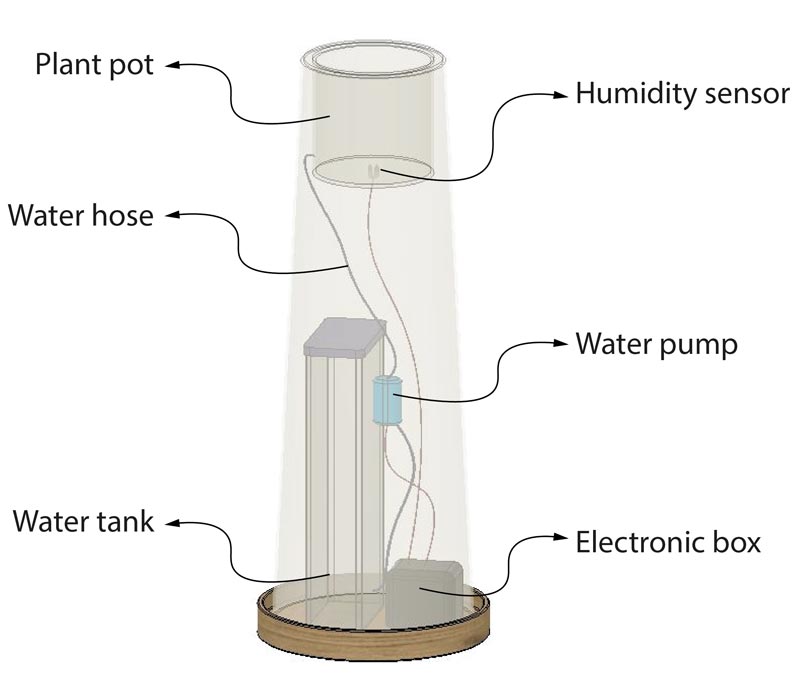
After modeling the second idea in more detail, I found the way in which the water tank would be filled very uncomfortable. So I decided to change the design to one in which filling the tank would be easier for the user without having to disassemble anything.
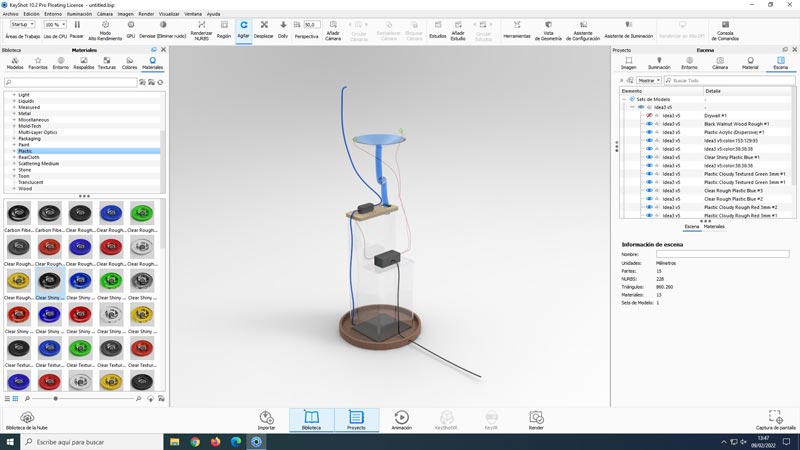
After finishing the modeling I made a render with the new design of my project using KeyShot 10, a rendering software. As you can see Keyshot has a wide library of materials and backgrounds for rendering.
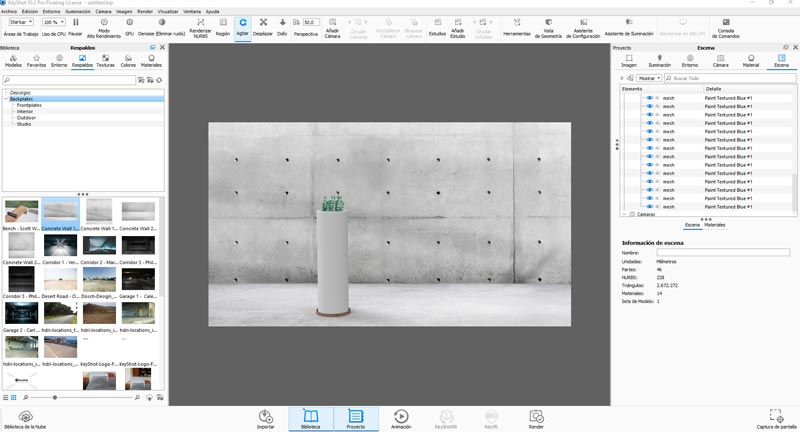
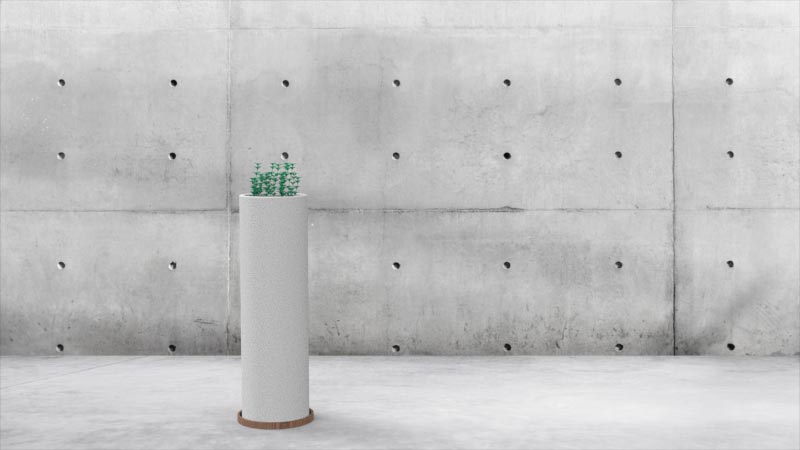
Once the render is done I will use it to add a silhouette and more details in Photoshop.
After the render I made a video with Keyshot of the parts of my model moving
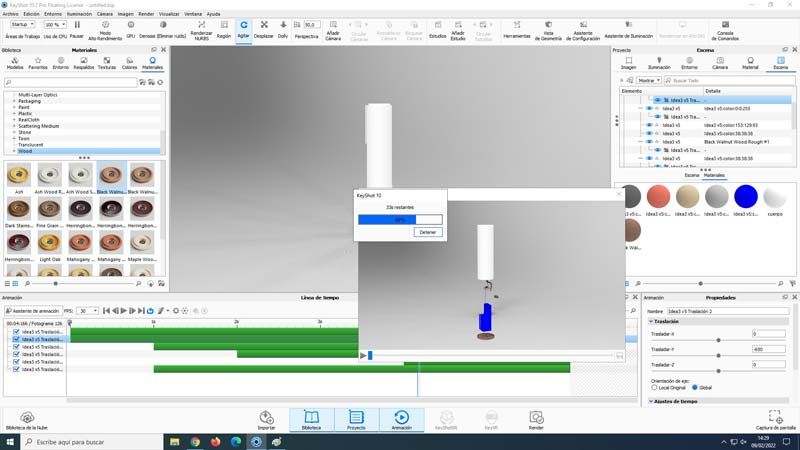
Again my colleague Luis Diaz gave me a master class on how to compress my video files in Media Encoder 2021 to upload them to my repository. (Thanks!)
Download archives
See you next week!