7. Computer controlled machining
This week I learned about Computer controlled machining.
7.0 Assignment of this week
7.0.1 Group assignment
Do your lab’s safety training Test runout, alignment, fixturing, speeds, feeds, materials, and toolpaths for your machine
7.0.2 Individual assignment
Make (design+mill+assemble) something big (~meter-scale) Extra credit: don’t use fasteners or glue Extra credit: include curved surfaces
7.1 Facility
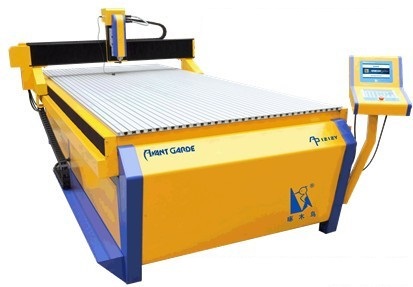
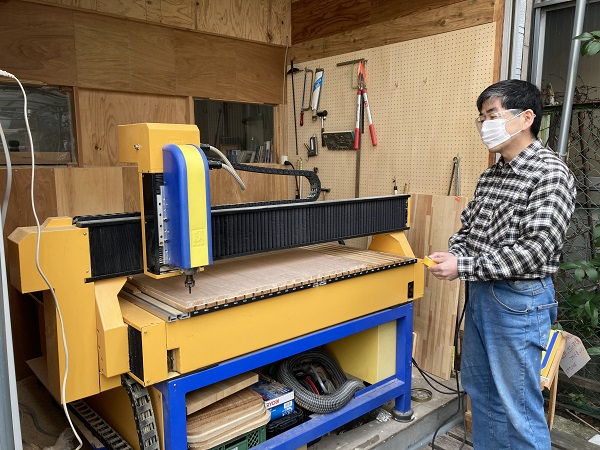
We operate a large CNC router named ‘Woodpecker AP-1212Y’ in our lab. It is a Chinese-made 3-axis NC router. It was introduced in 2013 when our lab started.
It resembles ShopBot PRS series in size and performance, but cheaper than them.
Technical data of Woodpecker AP-1212Y
| Manufacturer | ROC Machine Electronic System Engineering (Shanghai) Co., Ltd. Shanghai, P.R.China |
| Working Table Size(X, Y) | 1360 (X) x 1730 (Y) mm |
| Max Working Size(X, Y, Z) | 1200 (X) x 1200 (Y) x 110 (Z) mm |
| Precision Repeatability | ± 0.03 mm |
| Spindle Rate | 24000 rpm |
| Max Movement Speed | 7/25 m/min |
7.2 Safety training(as group assignment)
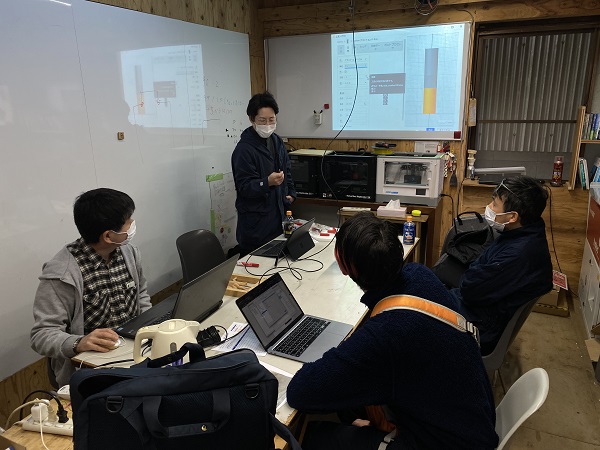
Our local instructors, experienced members, and students gathered in our lab on the exercise day and did safety trainings for the machine.
7.2.1 The risks of the machine:
The large, powerful machine would easily injure or even kill people when handled improperly.
The machine would easily catch fire, because it generates a large amount of flammable dust during its operation.
7.2.2 Clothing:
Don’t wear gloves or towels, not to get caught in the rotating part.
Wear safety goggles that protect your eyes.
Wear safety masks, not to inhale hazardous dust.
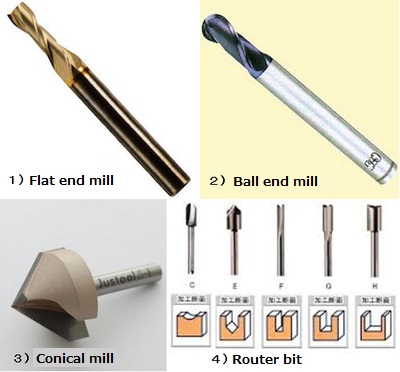
7.2.3 Handling of end mills:
Take care not to get hurt by touching the blades of mills directly.
7.2.4 Handling of work:
Fasten the work firmly on the base, otherwise it would chip away..
7.2.5 Operation:
Check its machining origine carefully (especially Z-axis), otherwise the end mill may move down too deep and cut through the base.
Keep away from the machine when it is working, not to be attacked by its moving parts.
Keep eyes on the machine during operation. Push emergency abort button when you see anything goes wrong.
7.3 Test for our machine
We tested runout, alignment, fixturing, speeds, feeds, materials, and toolpaths for our machine.
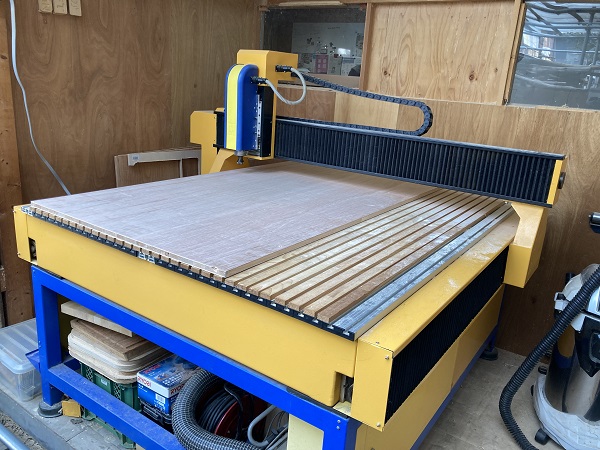
7.3.1 Machine:
7.3.2 Control box:
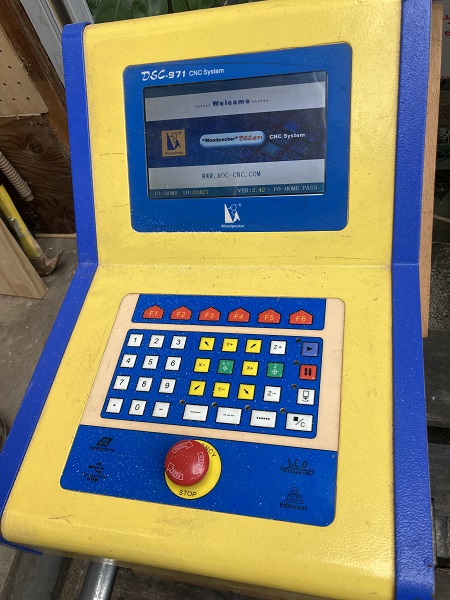
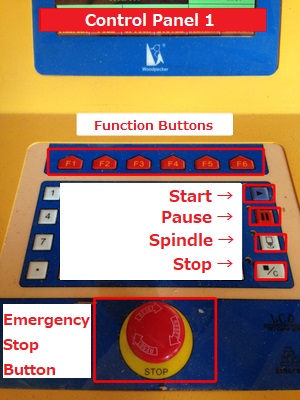
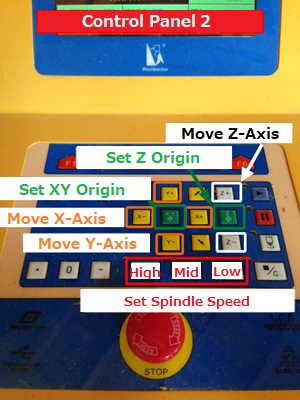
7.3.3 Control panel:
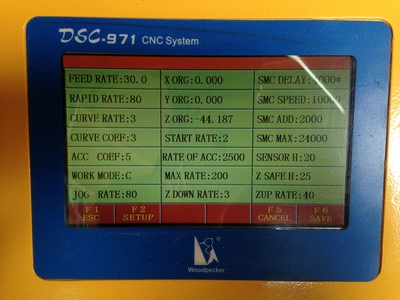
7.3.4 Display panel:
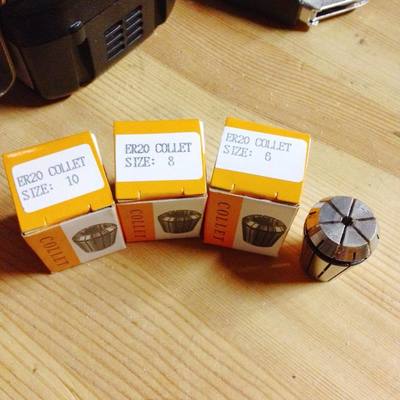
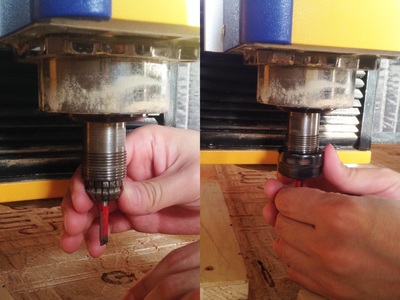
7.3.5 Collet chucks:
7.3.6 Endmills:
7.3.7 Set an endmill to the chuck:
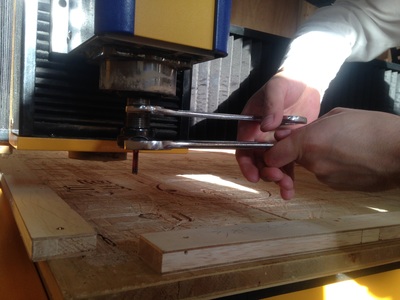
7.3.8 Test run of the machine using a jog mode of the remote controller:

7.4 Individual assignment
7.4.1 Design
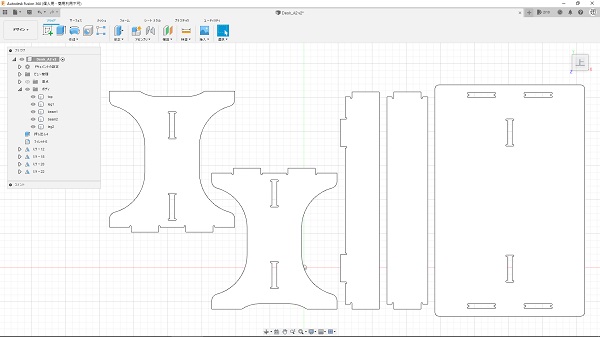
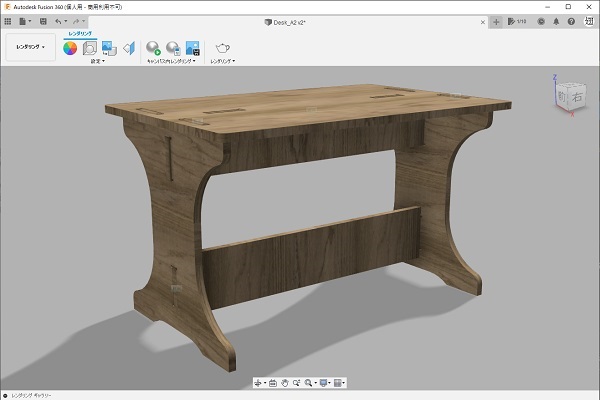
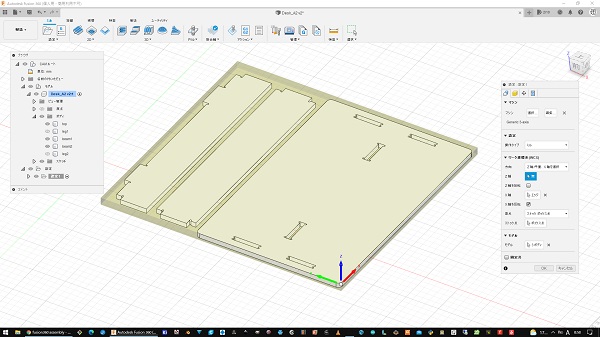
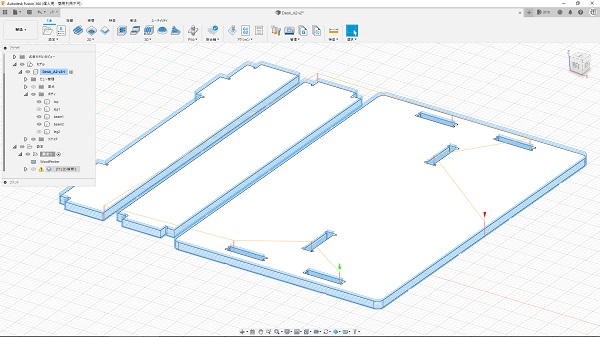
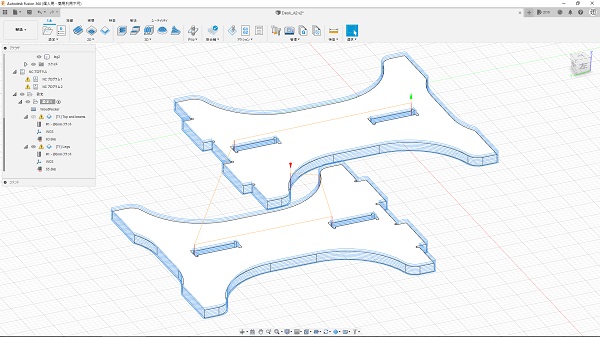
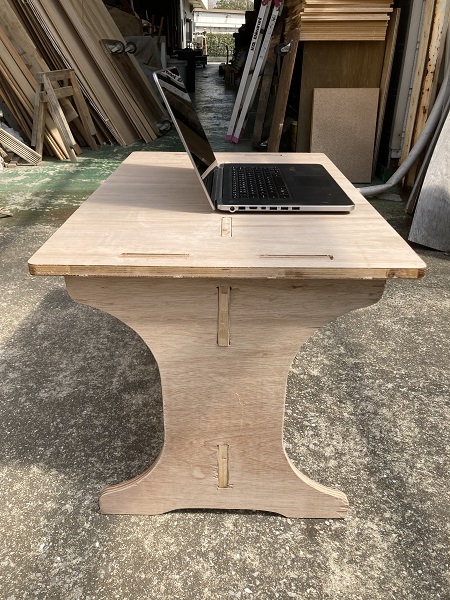
I designed a flat wooden table using Fusion 360.
3D view:
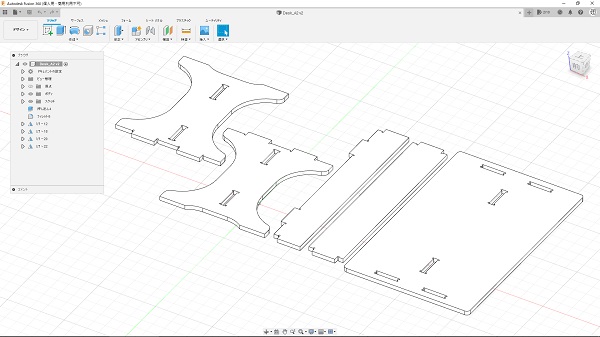
Plan view:
Rendering image(assembled):
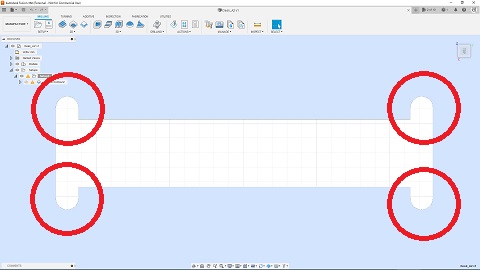
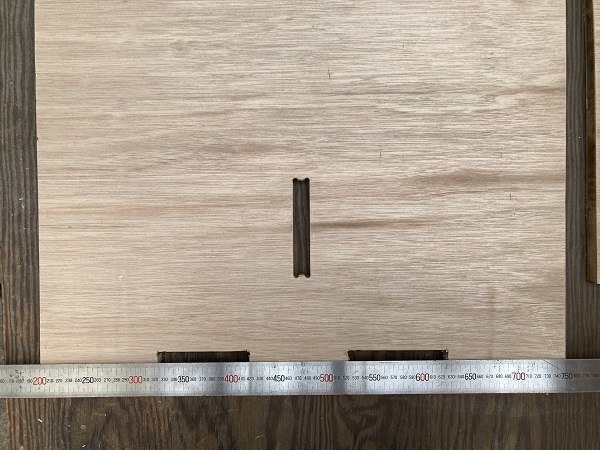
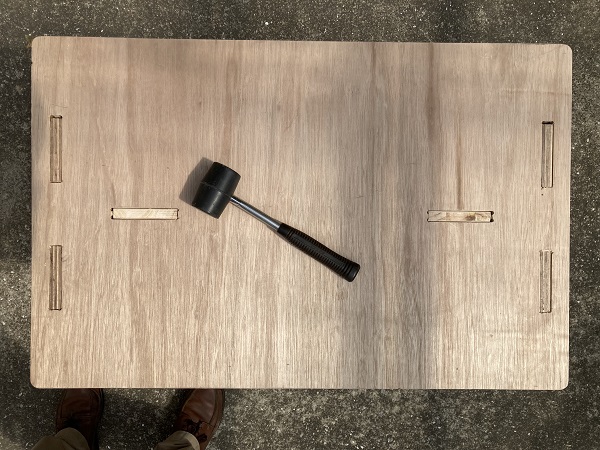
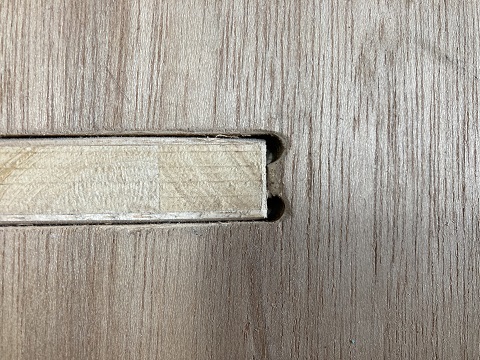
I added 5 mm dia. escapes to the corners of each joint hole as a standby of a mill blade:
Dimension of the model:
| Top board | 850 (X) x 550 (Y) mm |
| Height | 518 mm |
| Thickness of the material | 18 mm |
| Intended material | Lumber-core plywood |
Design file:
Desk_A2.step
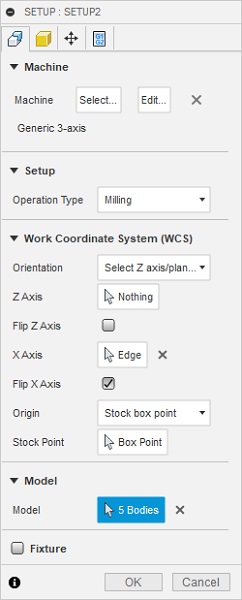
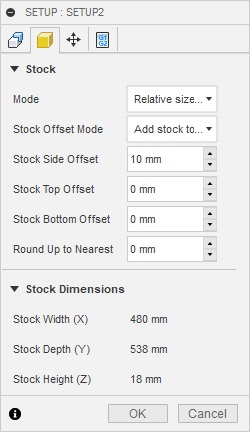
7.4.2 Define several settings for CAM and create NC data
AP-1212Y was originally intended to be used with Type Edit when it was introduced to our lab.
But a local instructor of mine kindly advised me to use the CAM menus of Fusion 360 for my assignment.
I used the menus for the first time, and I was quite impressed with the powerful, almighty menus!
Changed to Manufacture Workspace:
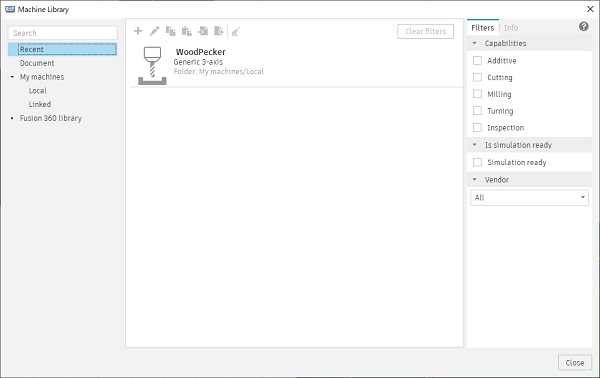
Machine Library:
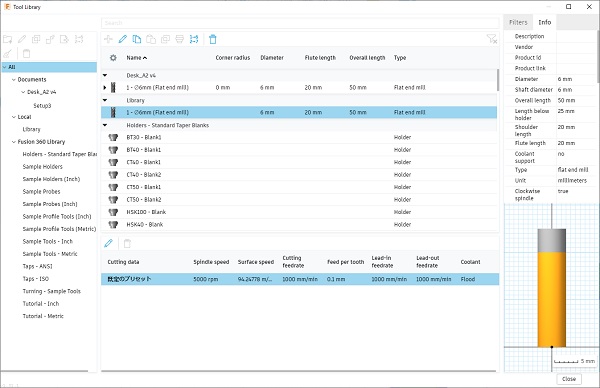
Tool Library:
Milling Setup:
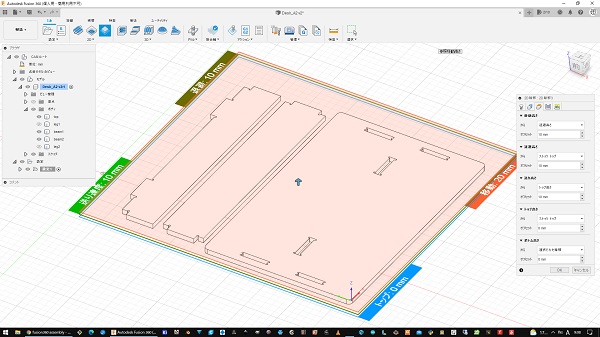
Set stocks:
Define 2D Contour:

Create toolpath:
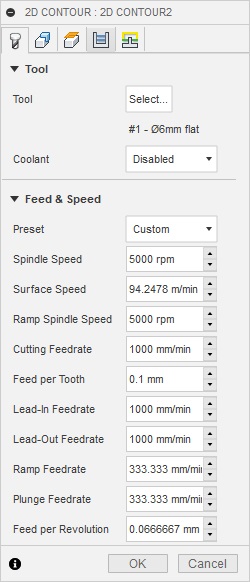
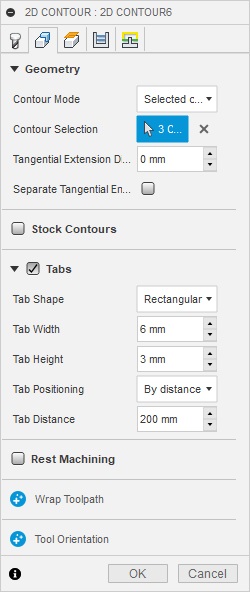
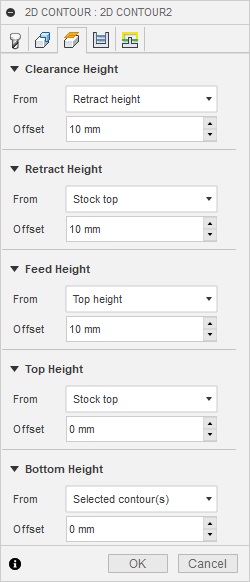
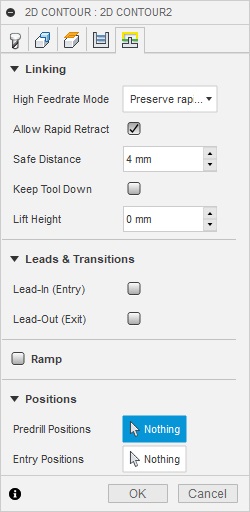
Various setting parameters:

NC file:
220316-5.nc
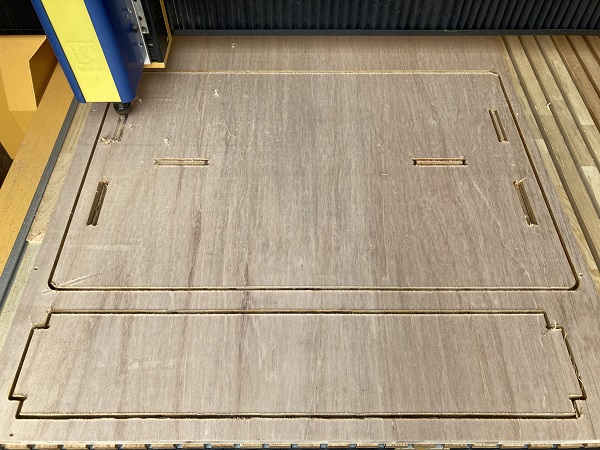
7.4.3 CNC milling
Cutting started:
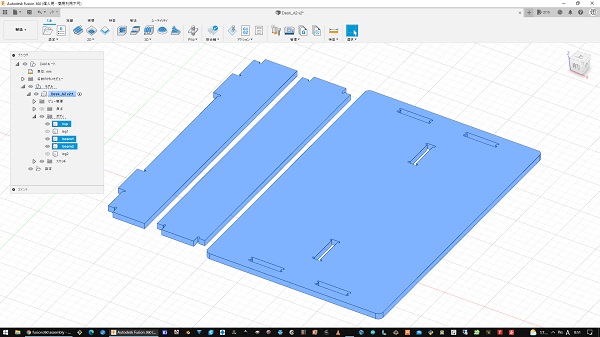
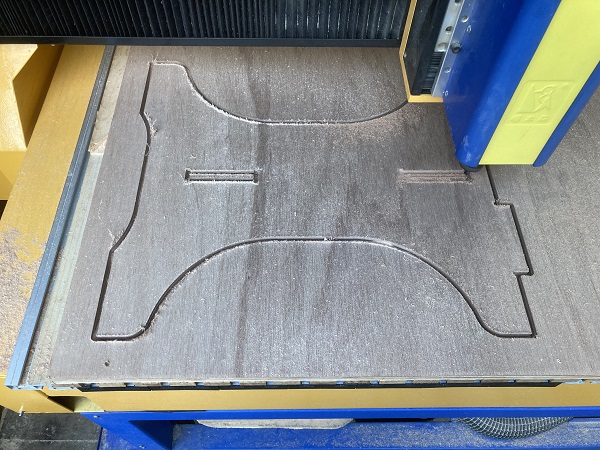
Cutting slots to the top board:
Cutting legs:
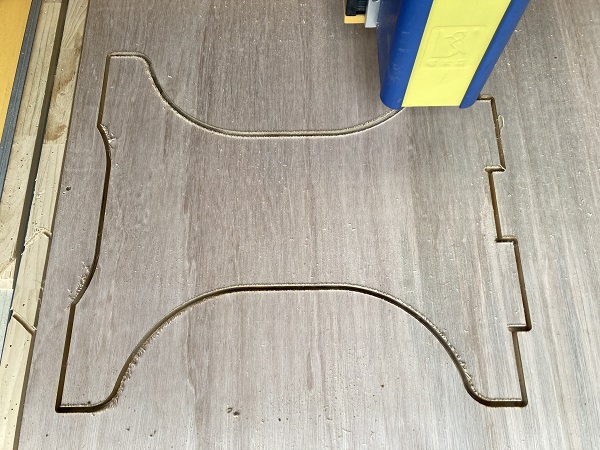
Cutting beams:
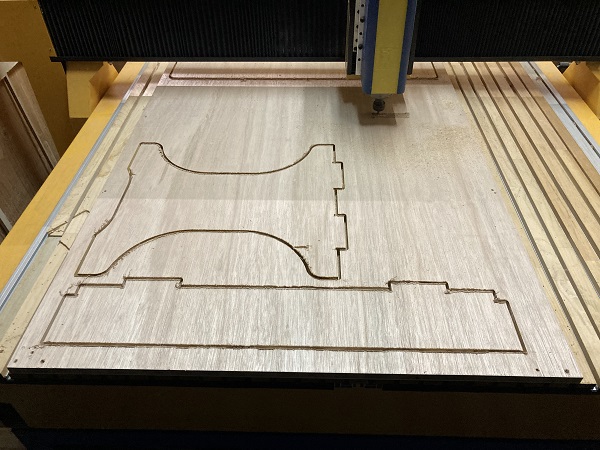
At about 70% of the job, the machine suddenly became out of order and the job halted!
Error messages:
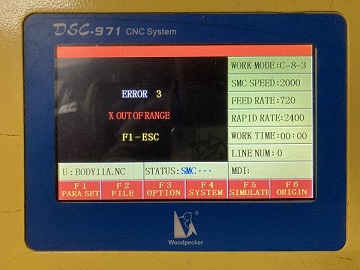
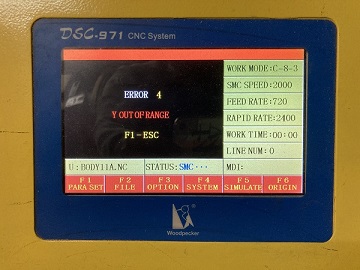
Local instructors worked hard to fix the issue, but resulted in vain. It was suspected to be mechanical failures.
The machine had been believed to be broken for a few years. One of our member had fixed it and it became operational again recently.
But the good performance did not last long. The machine should be repaired again…
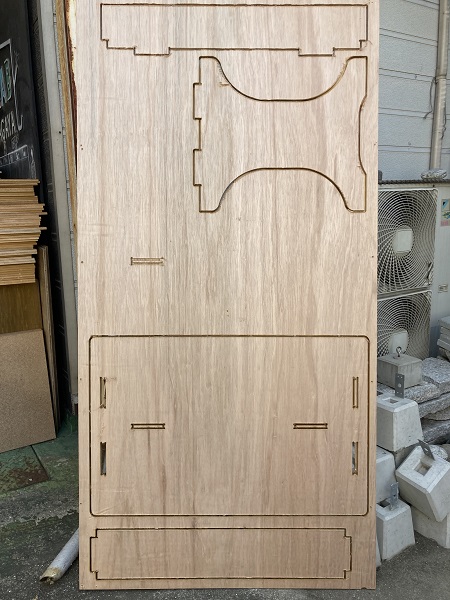
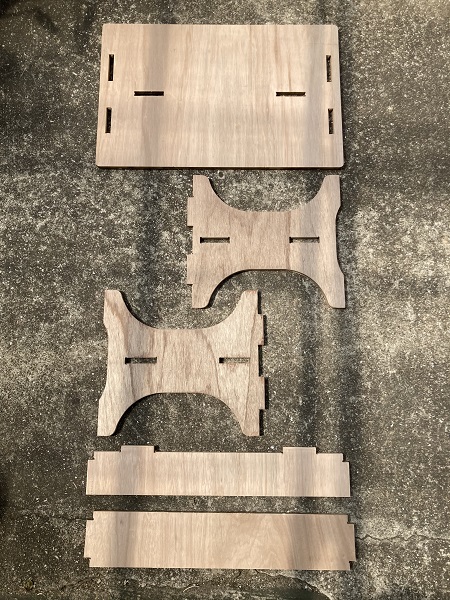
Cut out parts(suspended) :
7.4.4 CNC milling(Re-try)
Our lab member who had fixed the old machine kindly told me how to ‘cheat’ the machine and make it be operational for a short period.
According to his advise, I could managed to cut all the parts left.
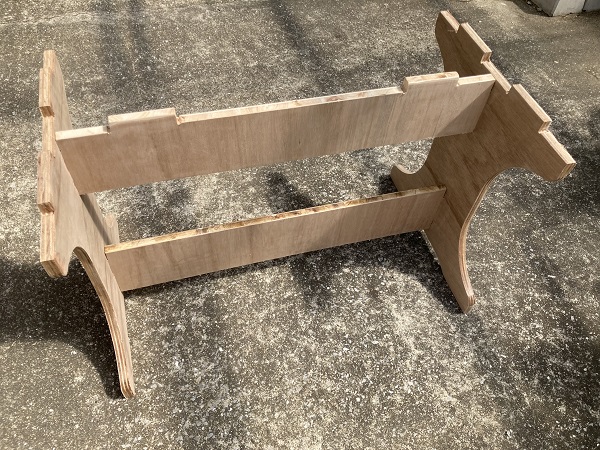
7.4.5 Assembly
7.4.5.1 Inspection
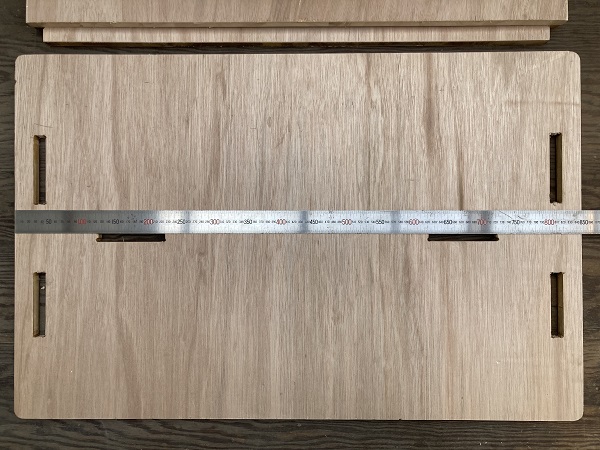
I measured the dimensions of the parts priot to assembly. Overall results were quite precise, except of slots on the top board.
They were short in length for the tab by 6 mm each. It was a mistake in design. I should add constraints for them but I didn’t.
I enlarged the slots by cutting the inner side walls of them by a cutter knife.
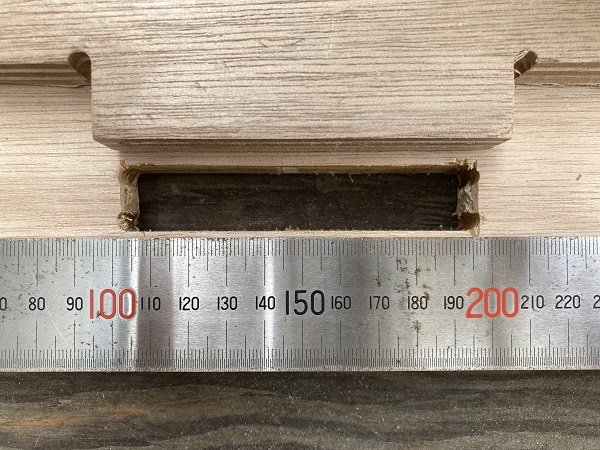
You can see escapes made to the corners of the joint holes:
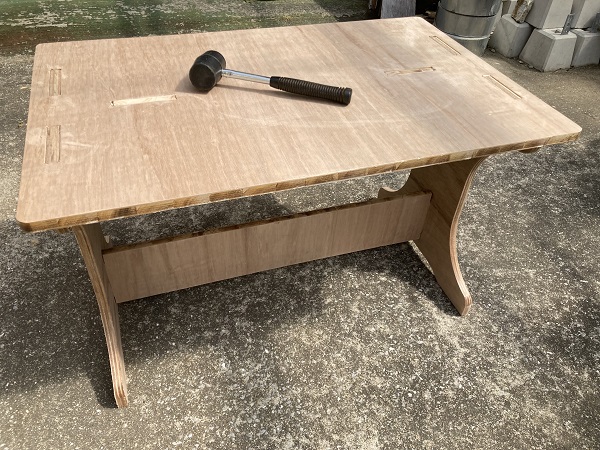
7.4.5.2 Final assembly
The final assembly was straight forward. The legs and the beams were press-fitted and the top board was hammer-fitted. The joints were very tight without any fasteners or adhesives.
Close-up of the joint with escapes:
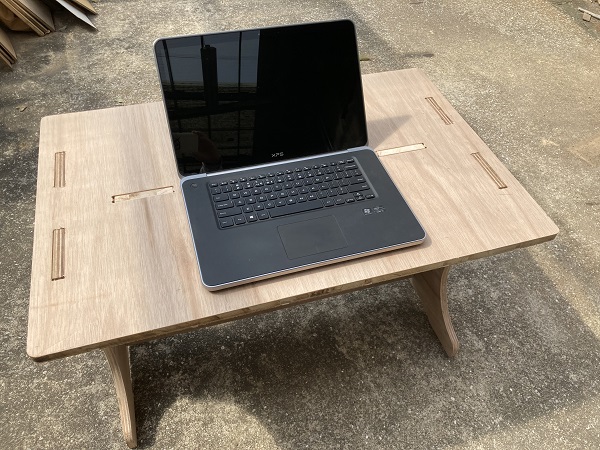
I am quite satisfied with the result. Bless digital fabrication technology!