14. Interface and application programming
Group assignment.
Compare as many tool options as possible.
Link for the group assignment page.
Individual assignment.
Write an application that interfaces a user with an input and/or output device that you made
Group assignment
For the group assignment, we participated in a meeting with Finland-Oulu, where the instructor Iván Sánchez Milara did an excellent guide through most of the interfaces. We saw interfaces such as:
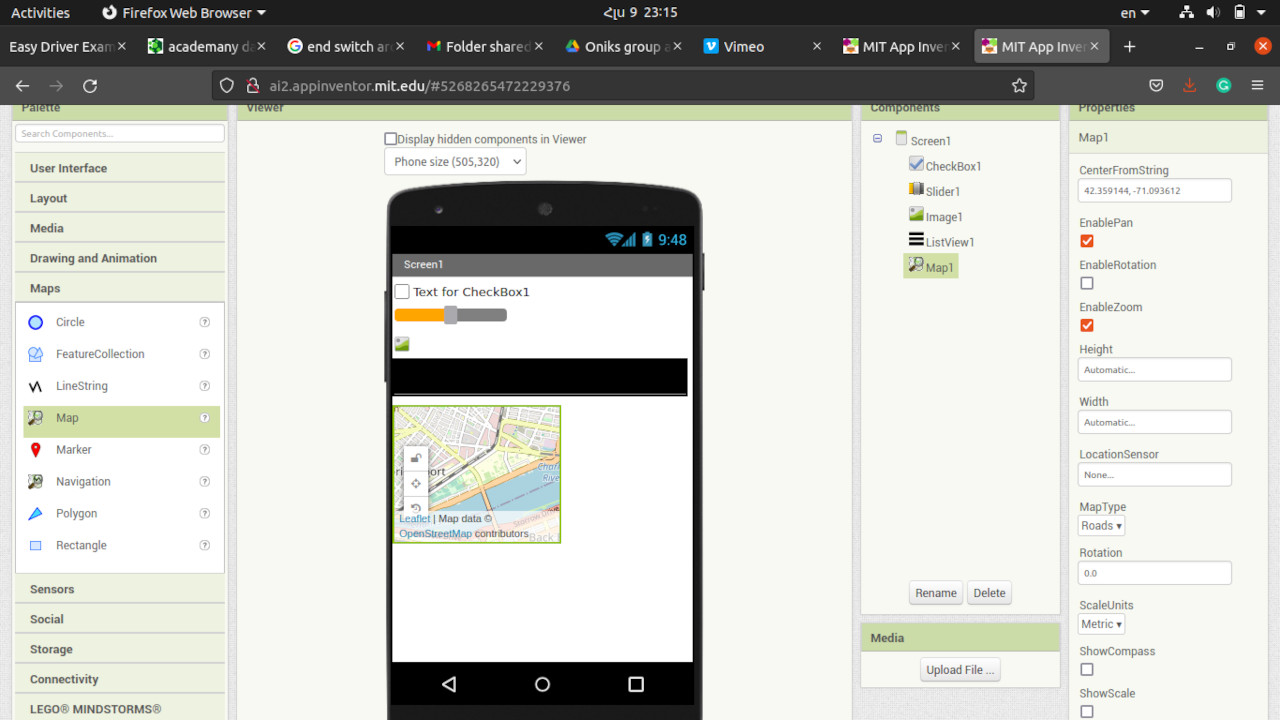
I learned about the different GUIs that I can use for this week, such as Processing, as well as Sketchpad, MitAppInventor and Io.Adafruit
Here is my tries with MitAppInventor.
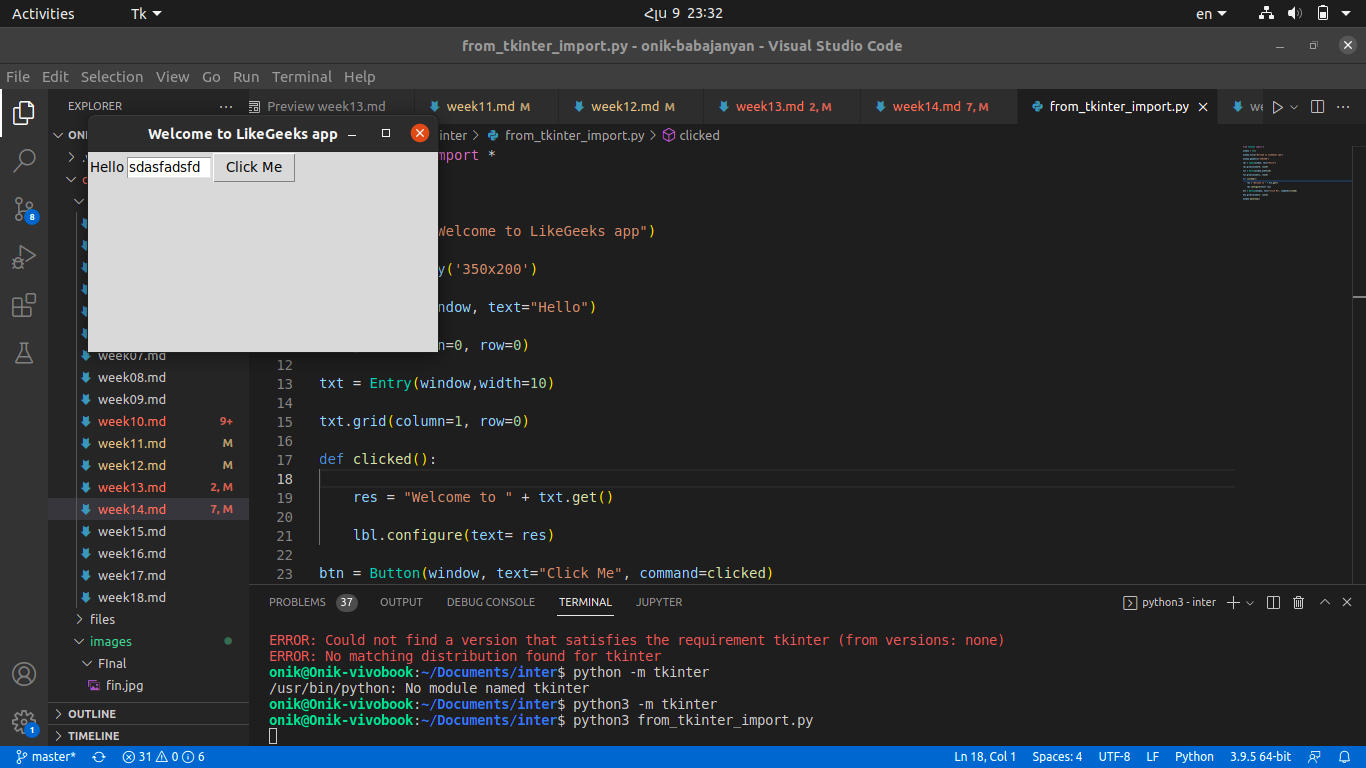
Also, I tried Pyhton tkinter framework I tried some examples from this tutorial. Tkinter is an standard python GUI interface and you don’t need to install it. To check it you can type this command:
python -m tkinter
After this command, the basic tkinter window will appear which means tkinter is installed and works properly.
Then I tried one of the examples.
from tkinter import *

window = Tk()

window.title("Welcome to LikeGeeks app")

window.geometry('350x200')

lbl = Label(window, text="Hello")

lbl.grid(column=0, row=0)

txt = Entry(window,width=10)

txt.grid(column=1, row=0)

def clicked():

    res = "Welcome to " + txt.get()

    lbl.configure(text= res)

btn = Button(window, text="Click Me", command=clicked)

btn.grid(column=2, row=0)

window.mainloop()
Individual assignment
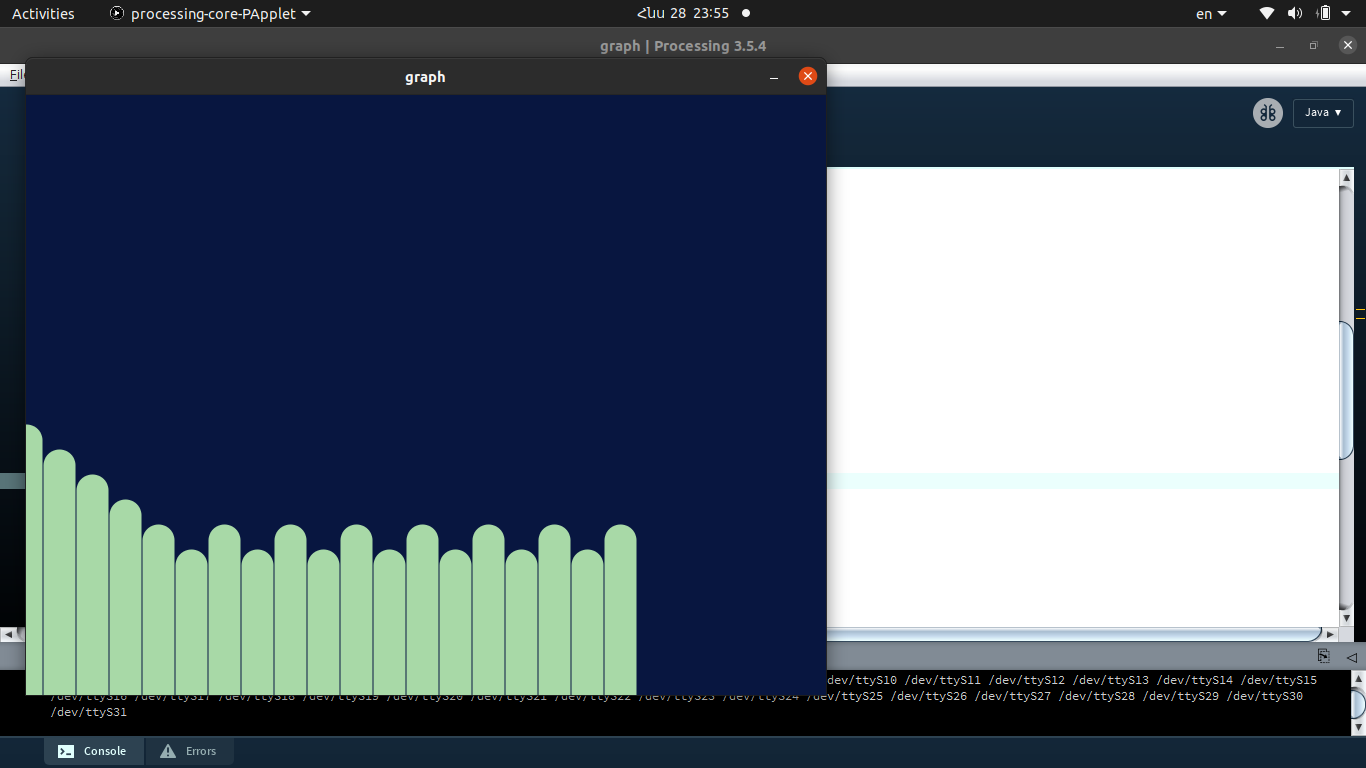
For individual assignment I used Processing to develop a program that will open the serial port and will receive data from some board and based on that data will draw a bar chart real-time.
Here you can see step-by-step instructions on how to download and install Processing on Ubuntu.
Installing Java 8:
sudo apt-get update
sudo apt-get install oracle-java8-installer
Installing Processing 3.3.6
-
Download Processing 3.3.6 tar.gz file from http://download.processing.org/processing-3.3.6-linux64.tgz
-
Copy the downloaded file to home directory
-
Open terminal and type tar xvfz processing-3.3.6-linux64.tgz which will create a new file called processing-3.3.6
-
Now change to that directory using cd processing-3.3.6
-
Use ./processing to run Processing 3.3.6
After, installing I did some research and found tons of examples on different themes. I used some of them to know how to open serial ports and use them, how to draw bar charts, etc.
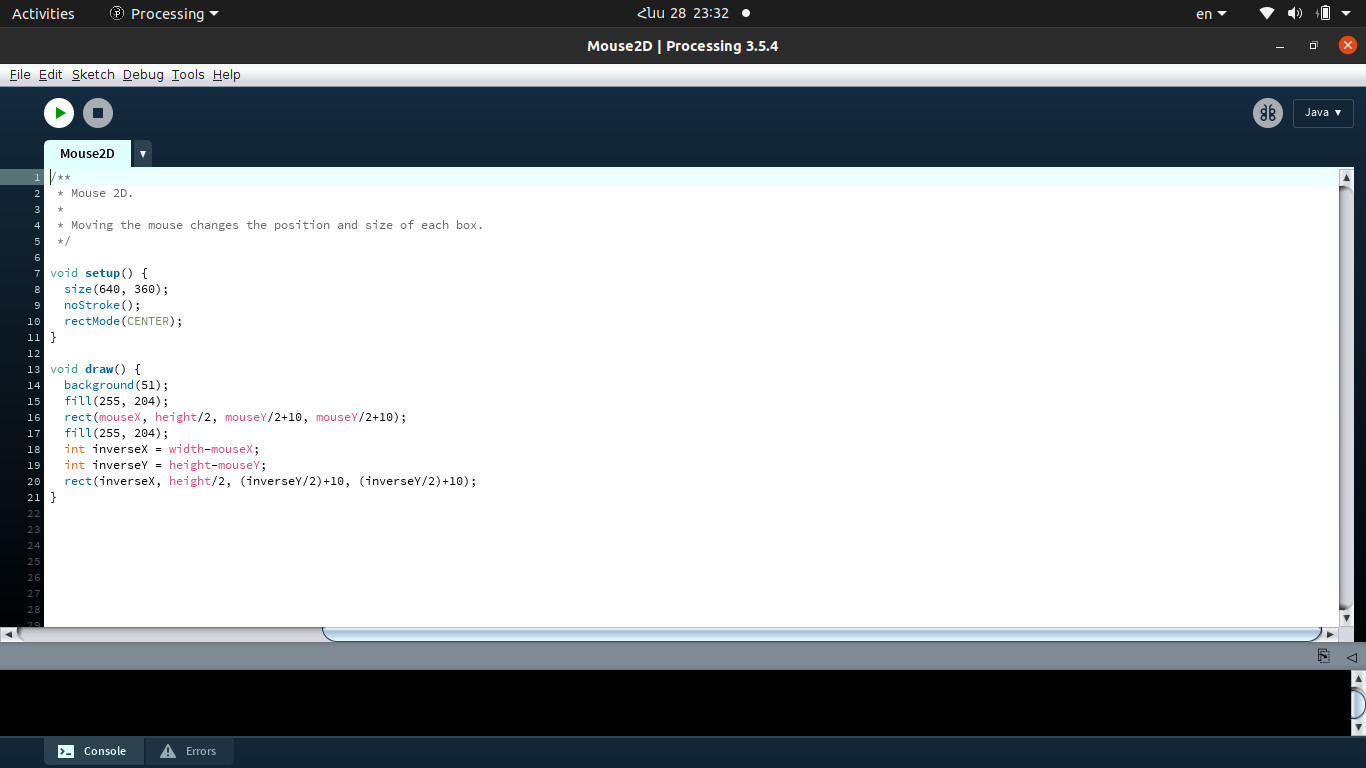
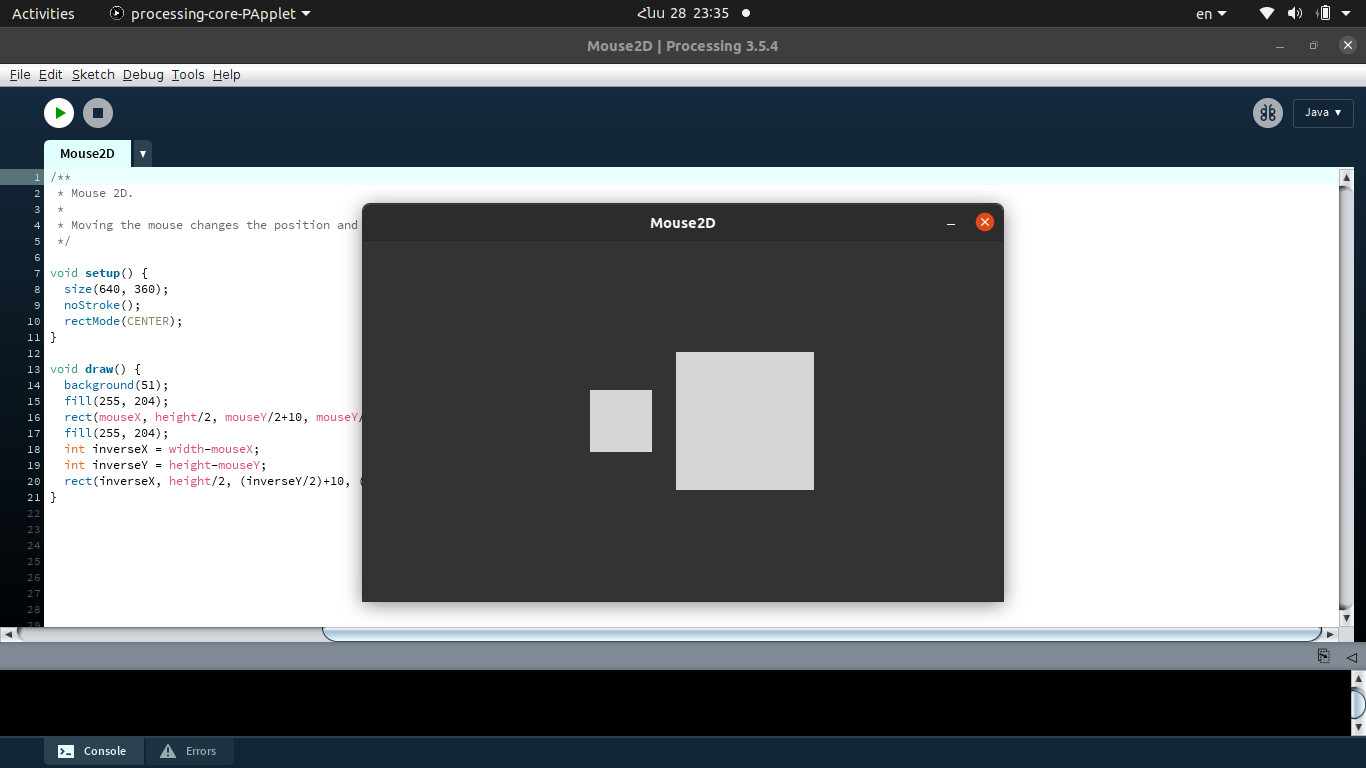
Using Processing is pretty easy you just need to write code press the run button and it will work. Here is a scatch from the Processing examples.
So, having Processing working and reading lots of blogs and tutorials I wrote this code below. Which is working with my board from Output devices week. I am trying to visualize the speed of the magnet passing sensor. My board calculates how many times the magnet passes through the sensor during one second and sends it to the PC, then the interface visualizes the data. I was doing this having in mind my final project which is the Anemometer. I used the same program for my final project to visualize and keep a log file of the speed of the wind.
import processing.serial.*;

Serial myPort;
// at the top of the program:
float xPos = 0; // horizontal position of the graph
float yPos = 0; // vertical position of the graph
int inByte = 0;

PrintWriter output;


void serialEvent (Serial myPort) {
  // get the byte:
  inByte = myPort.read();
  // print it:
  println(inByte);
  yPos = height - inByte;
}

void setup () {
  size(800, 600);        // window size

  // List all the available serial ports
  println(Serial.list());
  // change the number below to match your port:
  String portName = Serial.list()[0];
  myPort = new Serial(this, portName, 9600);
  background(#081640);


  // Create a new file in the sketch directory
  output = createWriter("positions.txt");
}

void draw () {

  int d = day();    // Values from 1 - 31
  int m = month();  // Values from 1 - 12
  int y = year();   // 2003, 2004, 2005, etc.
  int h = hour();
  int min = hour();
  int sec = second();

  // draw the line in a pretty color:
  stroke(#A8D9A7);
  line(xPos, height, xPos, yPos);
  // at the edge of the screen, go back to the beginning:
  if (xPos >= width) {
    xPos = 0;
    // clear the screen by resetting the background:
    background(#081640);
  } else {
    // increment the horizontal position for the next reading:
    xPos++;
  }


  output.print(inByte);  // Write the coordinate to the file
  output.print("   ");//
  output.print(d);
  output.print("-");
  output.print(m);
  output.print("-");
  output.print(y);
  output.print("   ");
  output.print(h);
  output.print(":");
  output.print(min);
  output.print(":");
  output.println(sec);
}

void keyPressed() {
  output.flush();  // Writes the remaining data to the file
  output.close();  // Finishes the file
  exit();  // Stops the program
}