9. Molding and casting
This week’s assignment is about molding and casting below you can see our group and individual assignments.
Group assignment.
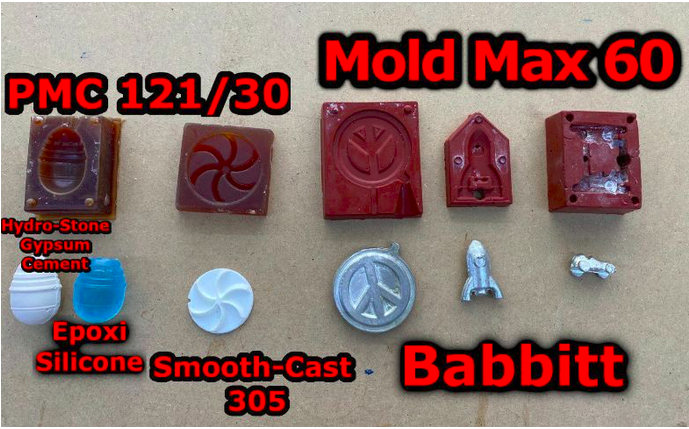
Review the safety data sheets for each of your molding and casting materials Make and compare test casts with each of them
Link for the group assignment page.
Individual assignment.
Design a 3D mold around the stock and tools that you’ll be using, mill it (rough cut + (at least) three-axis finish cut), and use it to cast parts.
Group Assignment
For the group assignment, we have read the safety data sheets for each of our molding and casting materials. We have also compared our test casts with each other. Below you can see the image with our test casts.
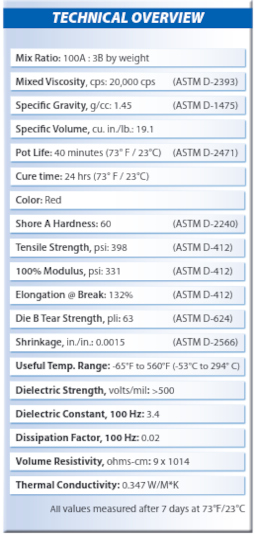
Here is an image from the datasheet of our material. You can see the safety instructions and technical overview in it.
This is the link for SDS of Babbit.

Individual Assignment
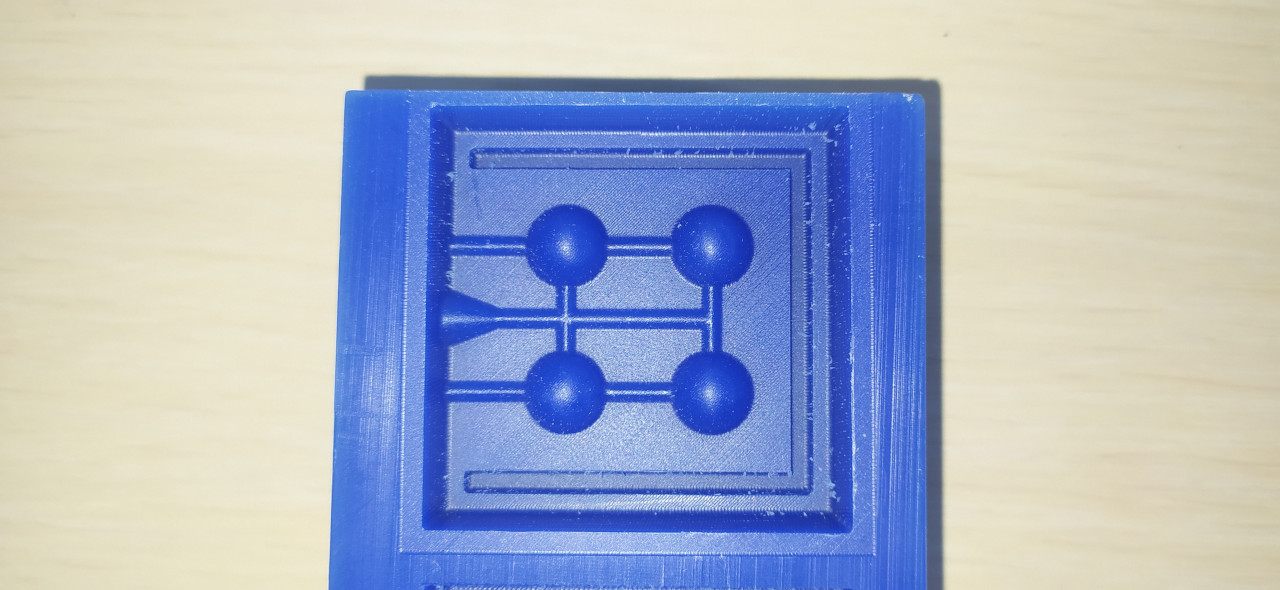
I was thinking about the individual assignment too long, but after a while, I decided to mold something simple to spend more time on molding and milling. So, I decided to design simply four spheres and see the quality of the surface.
I designed the mold using Freecad. It is completely parametric.
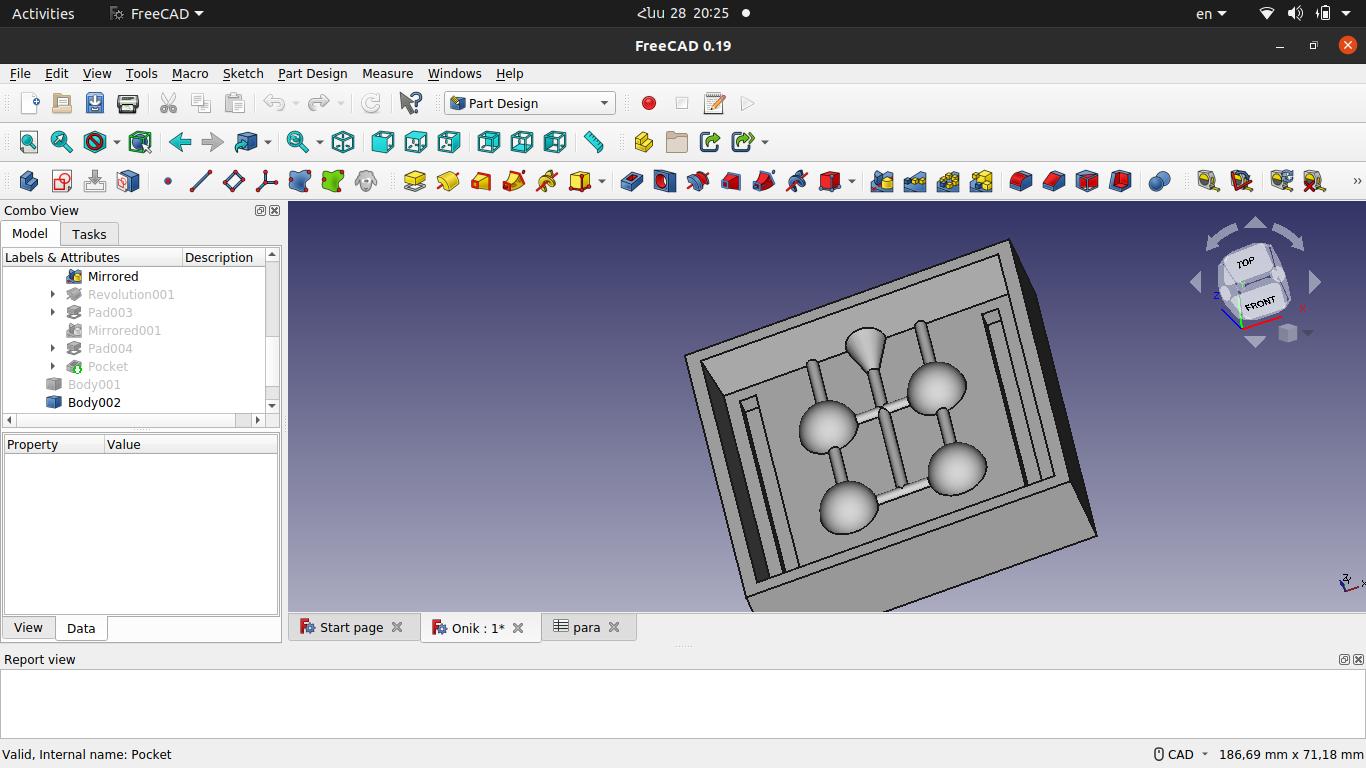 Minus Mold
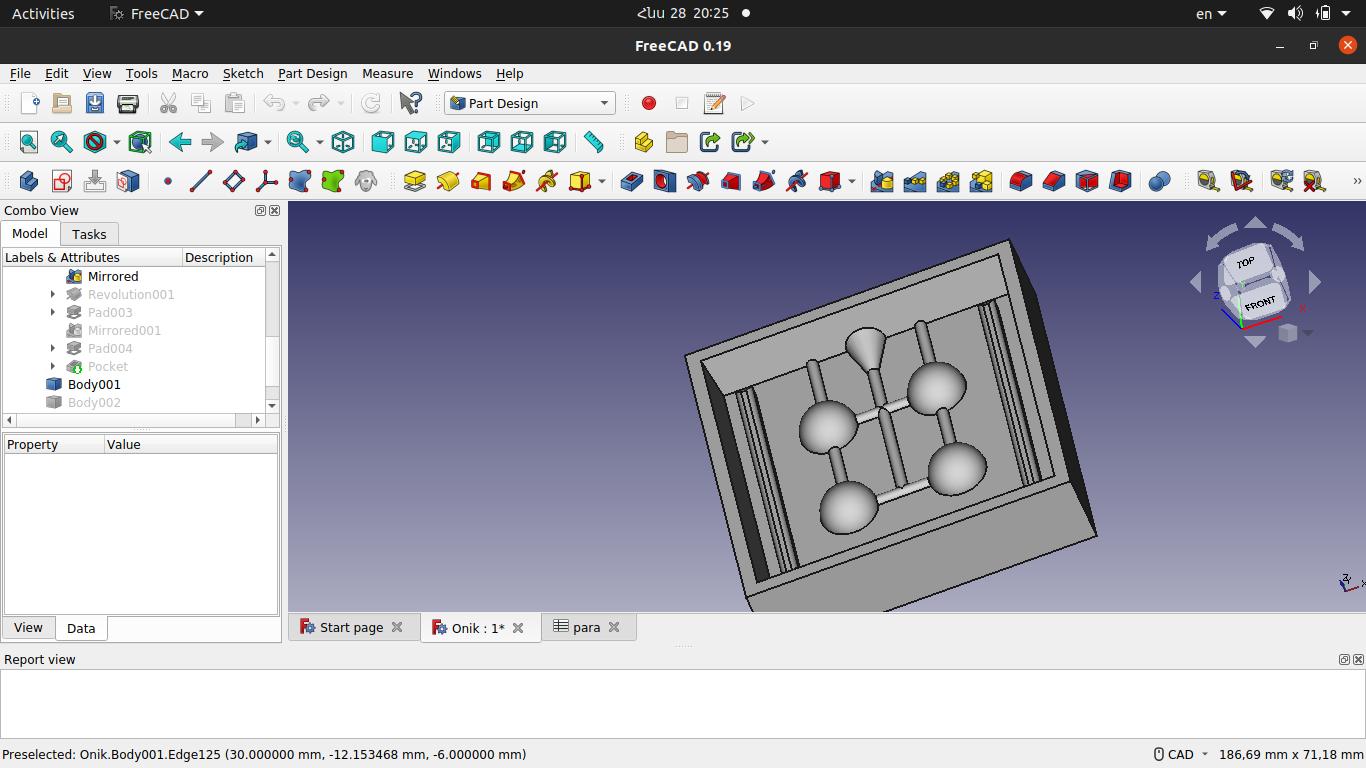 Plus Mold
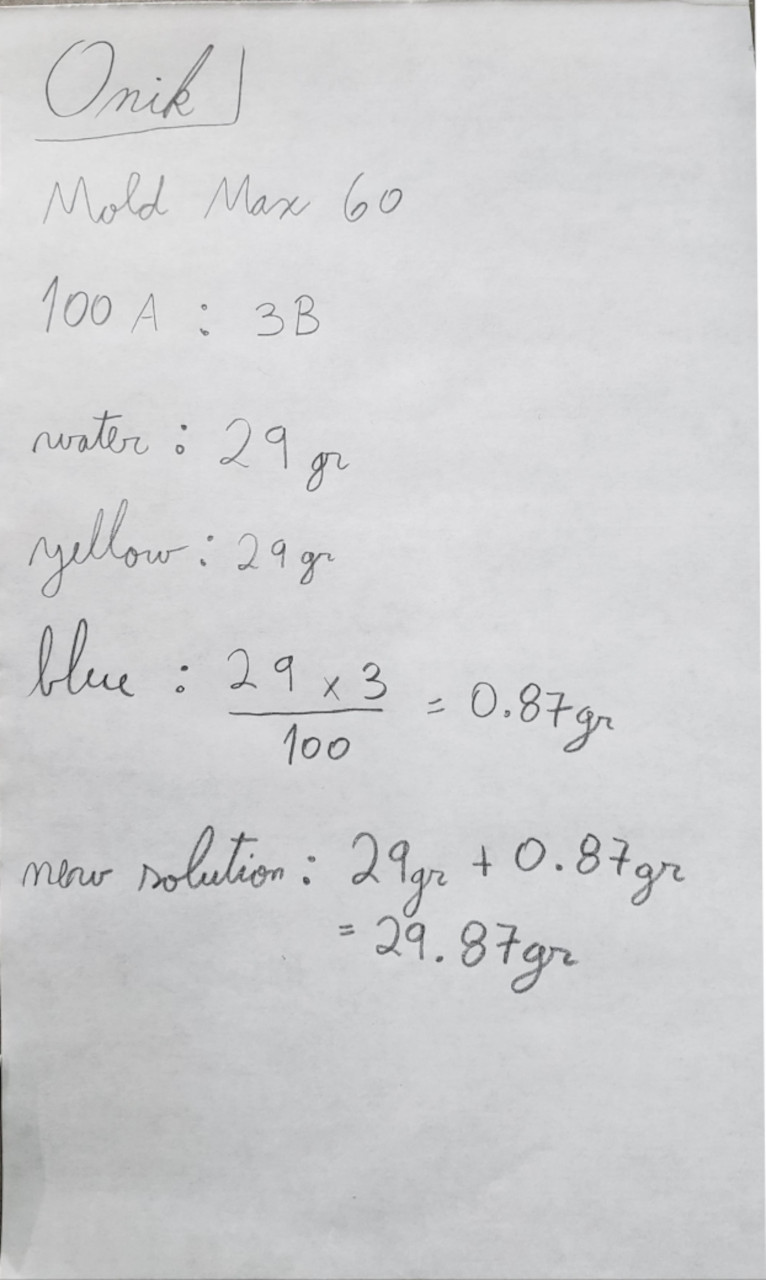
 Parameters
Below you can see table of parameters completely.
| Name | Value |
|---|---|
| Box x | 60 |
| Box y | 60 |
| Box h | 15 |
| Wall | 5 |
| Mould h | 9 |
| Draft angle | 7 |
| Draft difference | 1.11 |
| Sphere R | 5.25 |
| Sphere x | 10 |
| Sphere y | 10 |
| Trough R | 1 |
| Funnel Top | 4 |
| Funnel Bot | 1 |
| Funnel H | 8 |
| Registration step T | 3 |
Having the design ready, I started the milling process. We have an SRM-20 milling machine in our Fablab. I was trying to generate G-code for our machine using Fabmods, but all my tries were unsuccessful. Finally, I used V-carve a software that is being used for Shopbot.
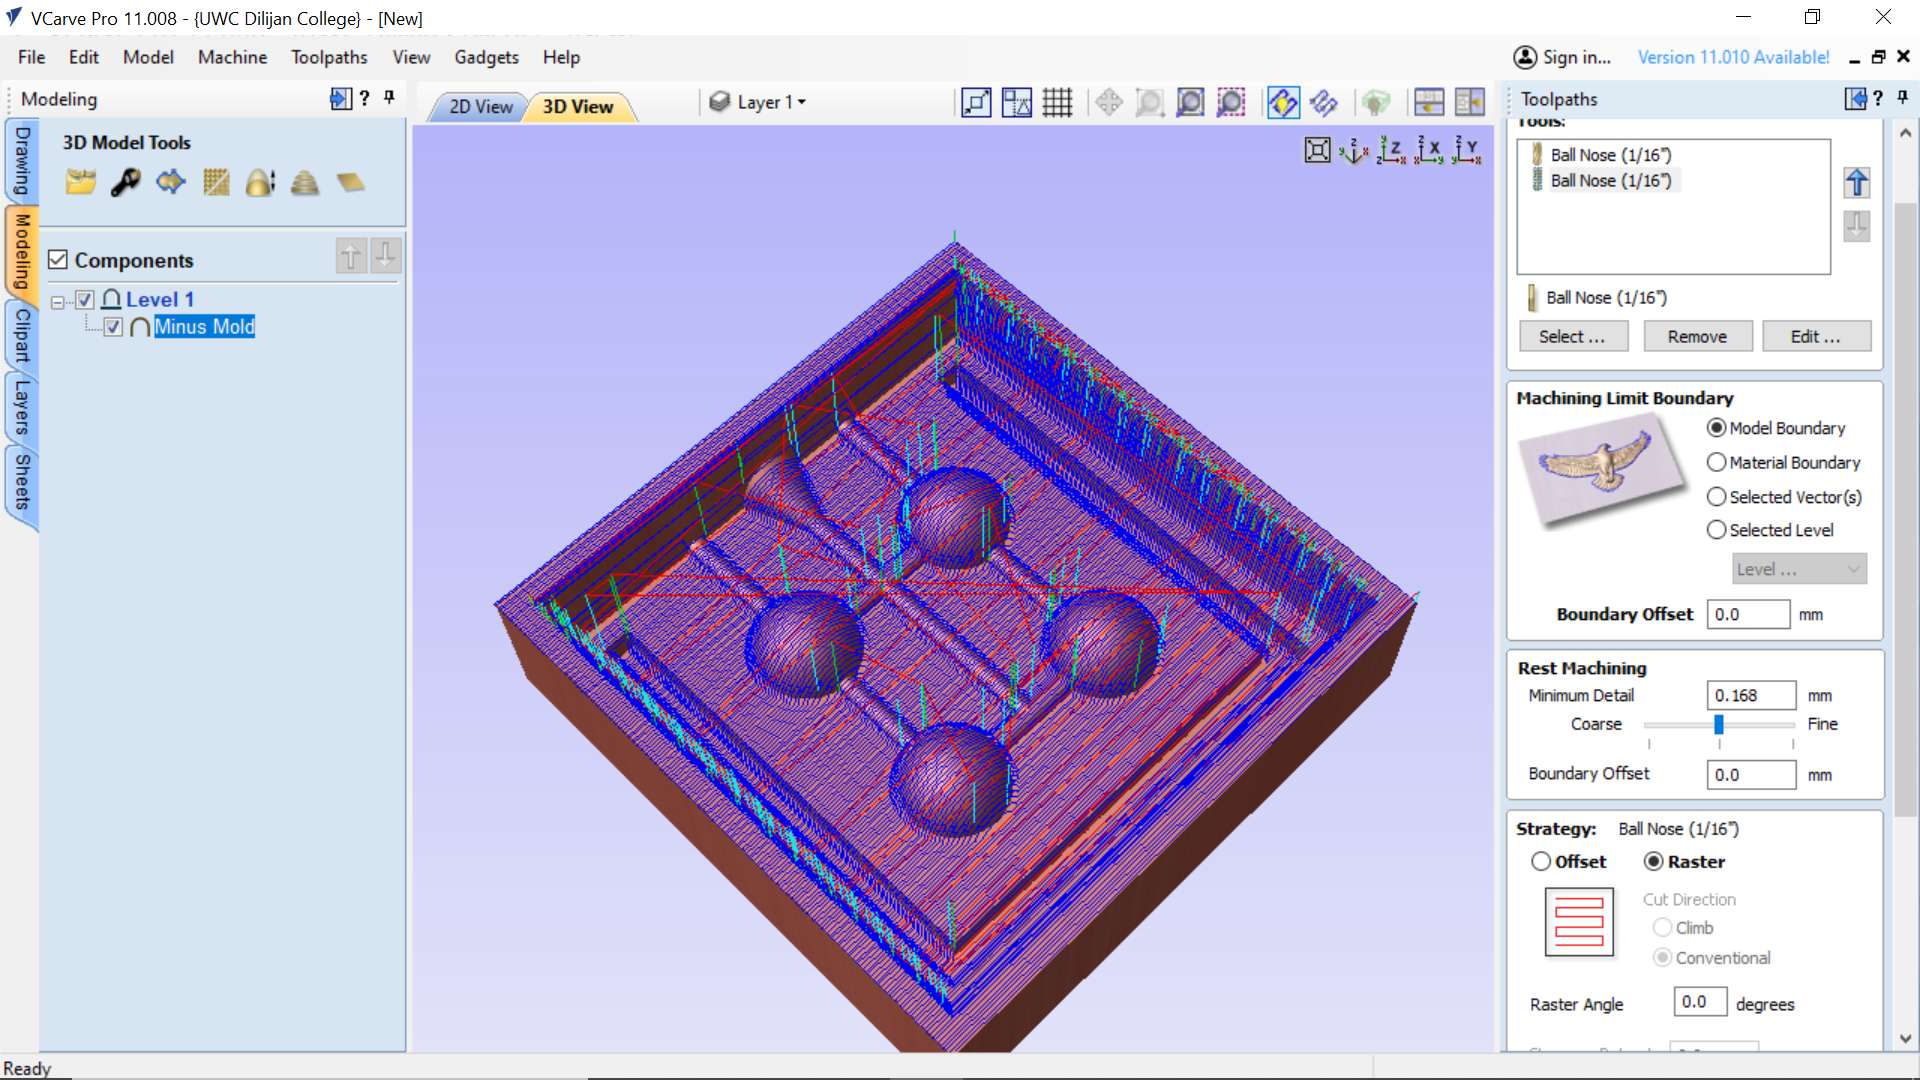
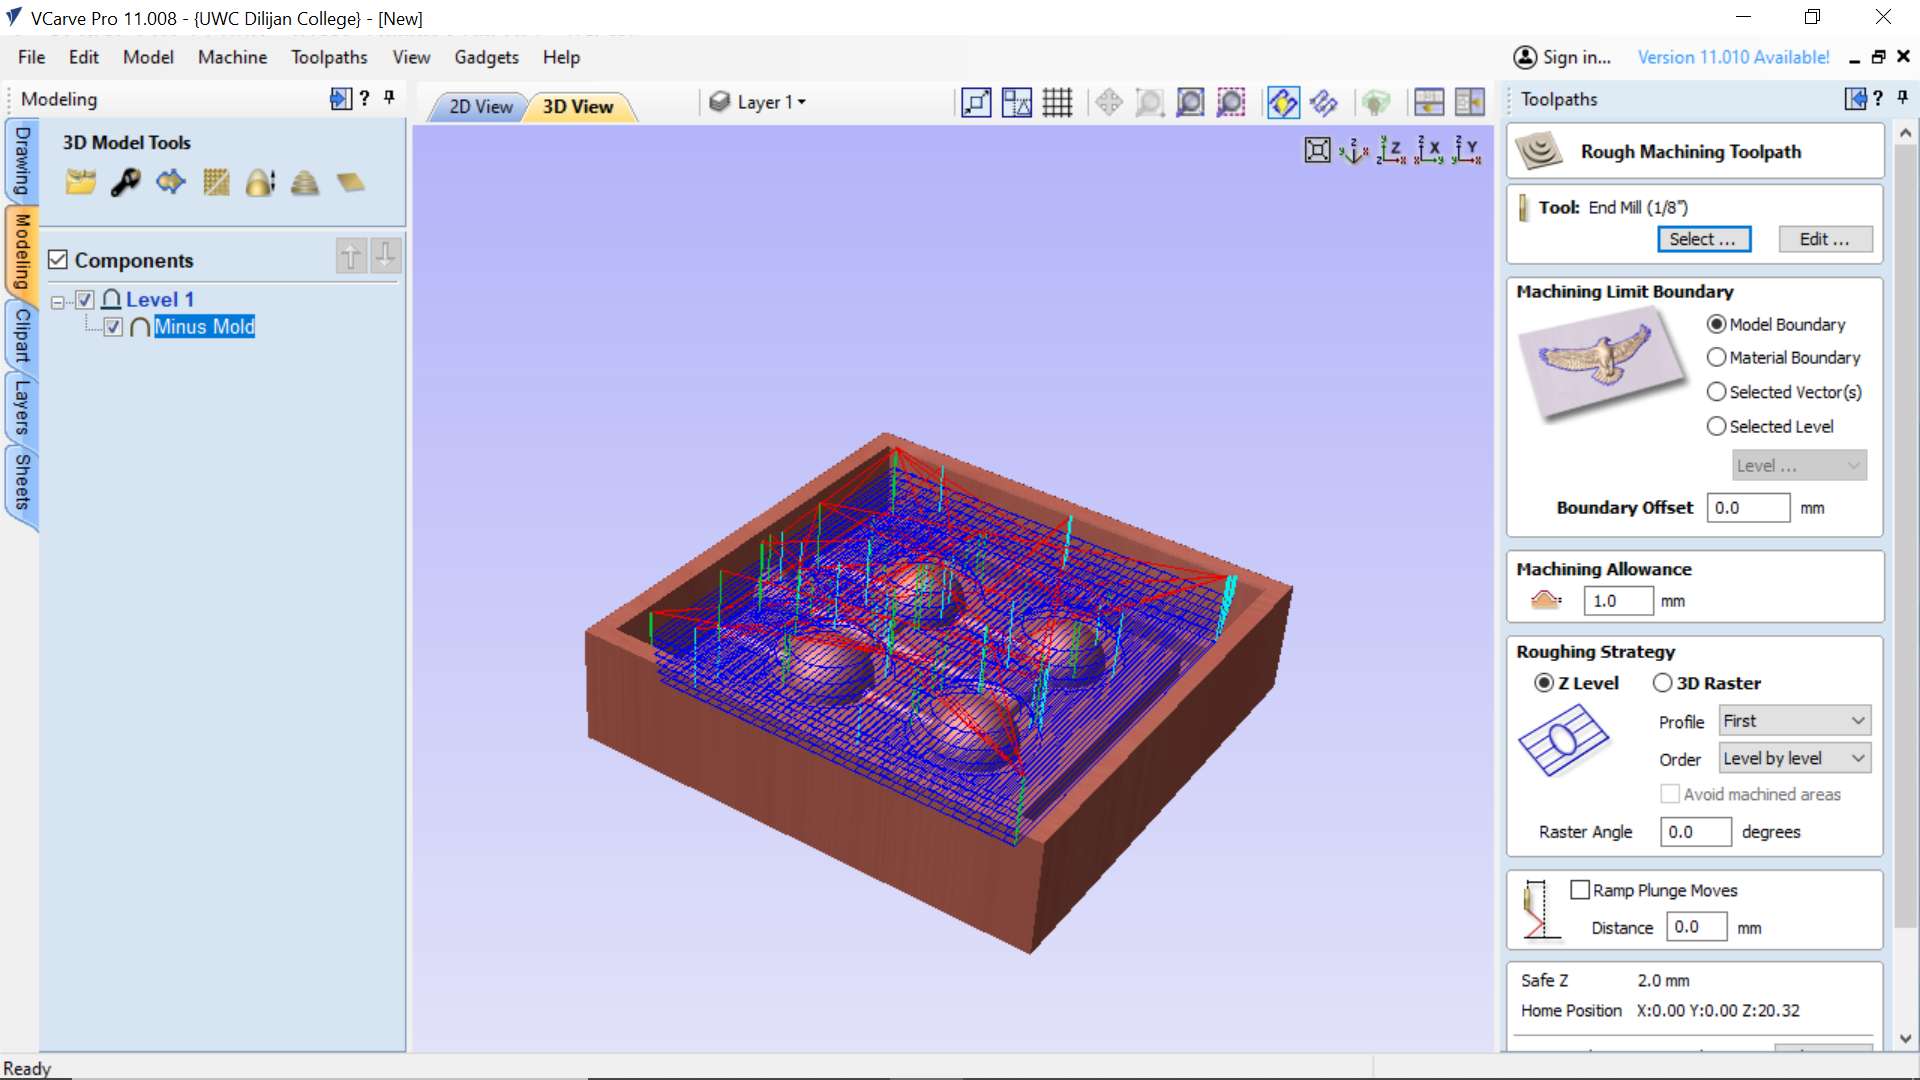


The most important part is that you can export the toolpath from V-carve in .rol format which is the original file format for SRM-20. I generated two files one for roughing and one for finishing. I used a 1/8 tool for roughing and a 1/32 ball nose tool for finishing. I and Ashod used the same piece of WAX for our molds.

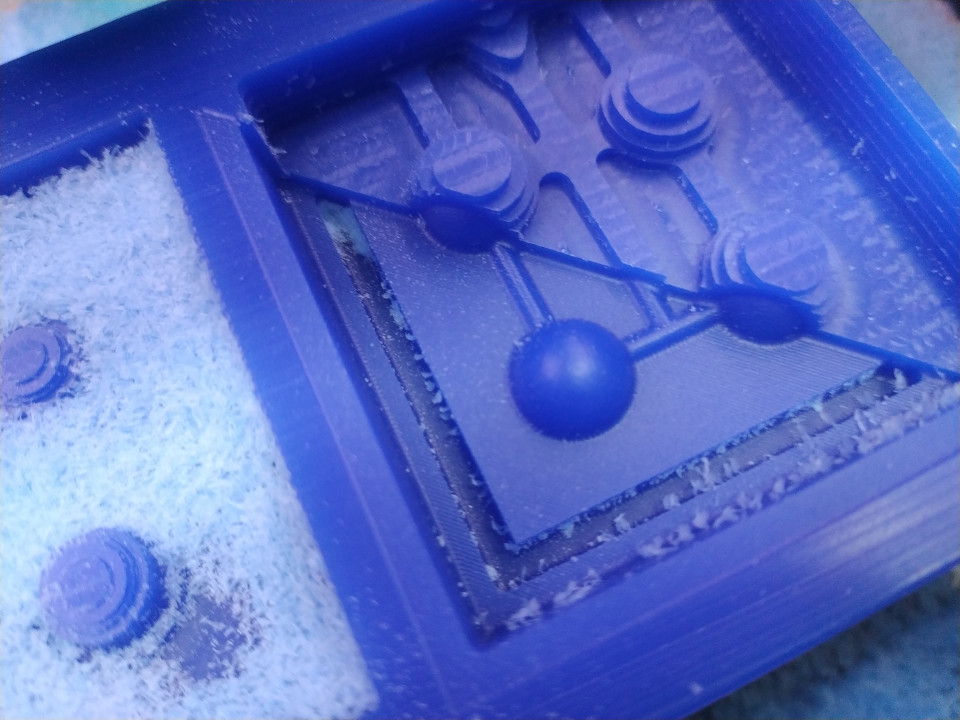
As you can see, I have tried two times and one of them was not successful, I messed toolpath.
 In this image, you can see the difference between roughing and finishing.
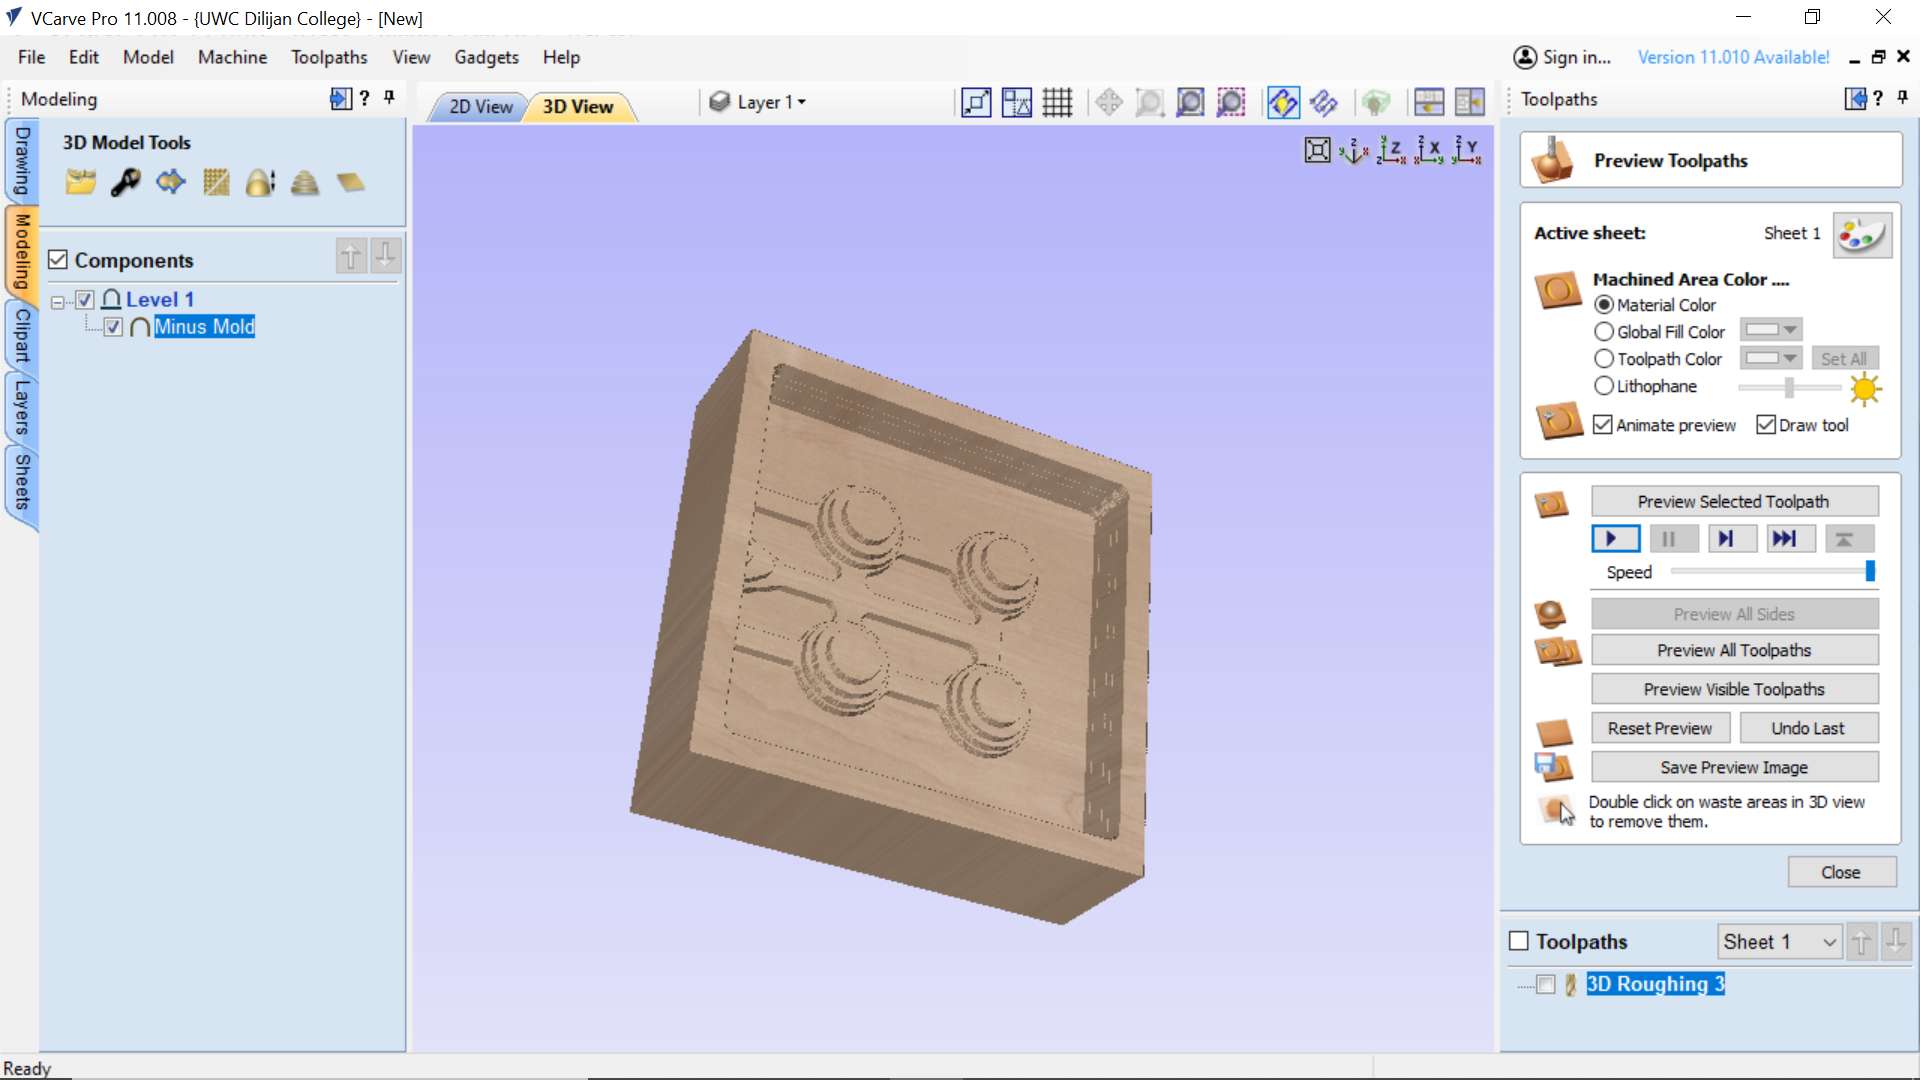
This one is the final view of mold. After, this one I milled the plus mold as well and started making actual mold.
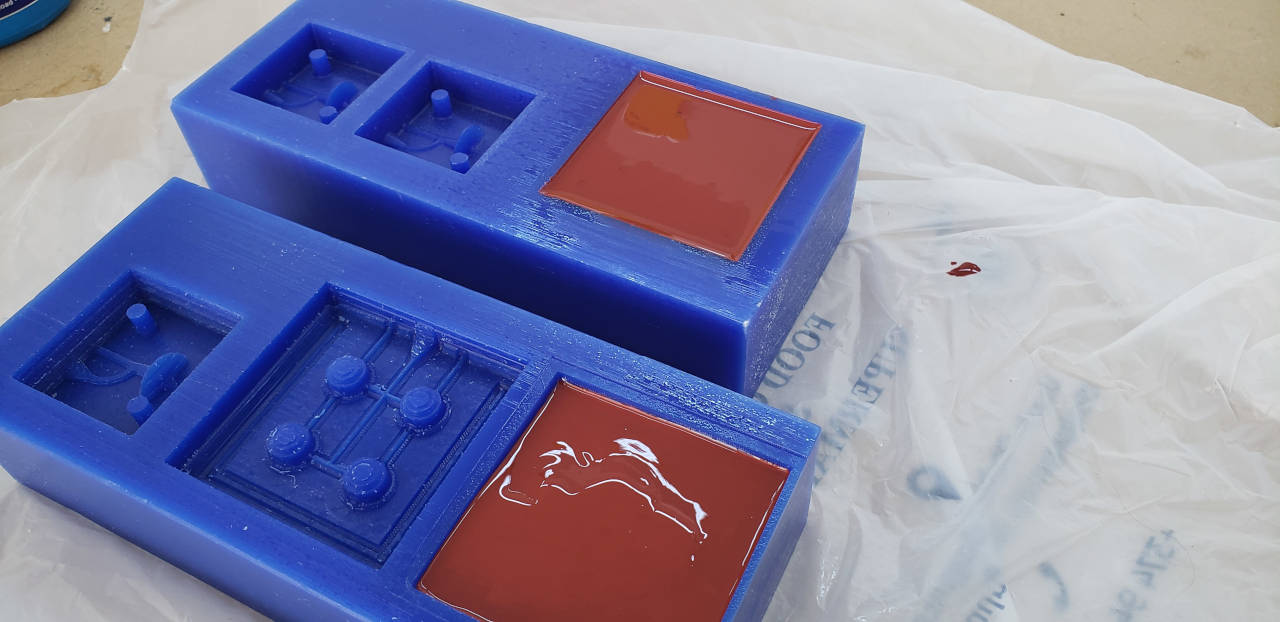
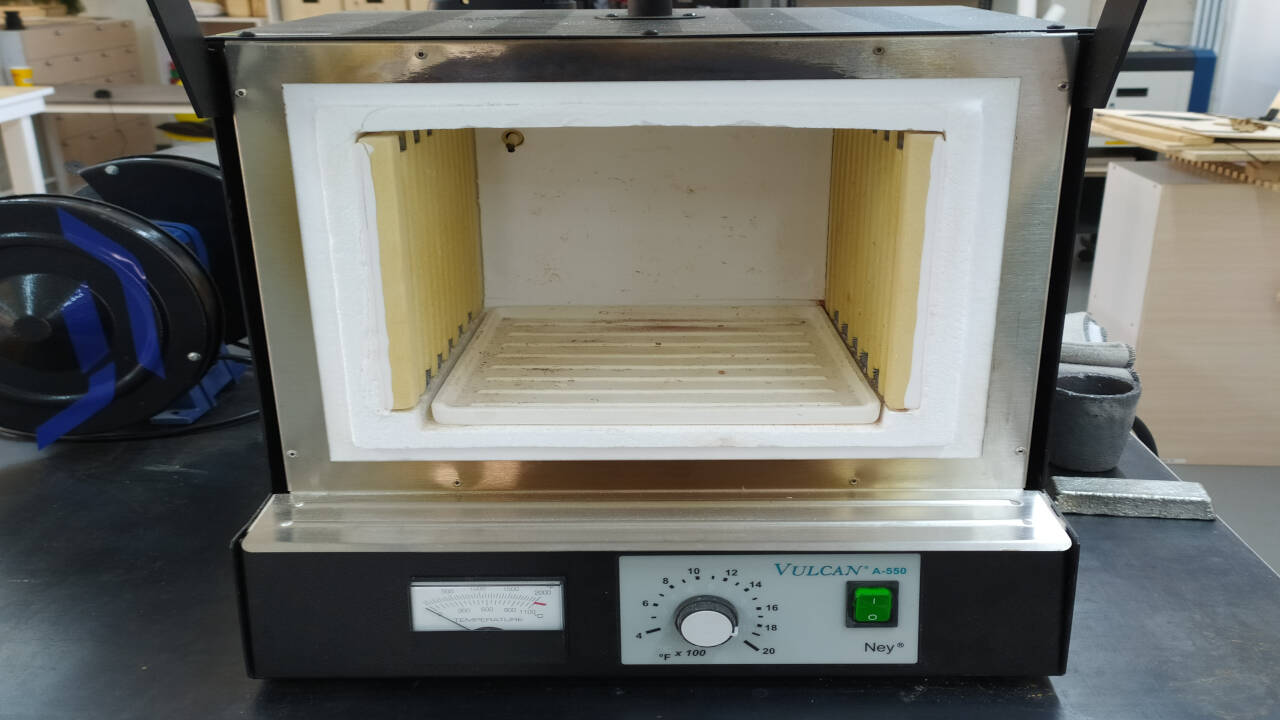
Having molds ready I turn on the oven and started the molding process which was harder than I supposed. Below you can see the steps that I did.
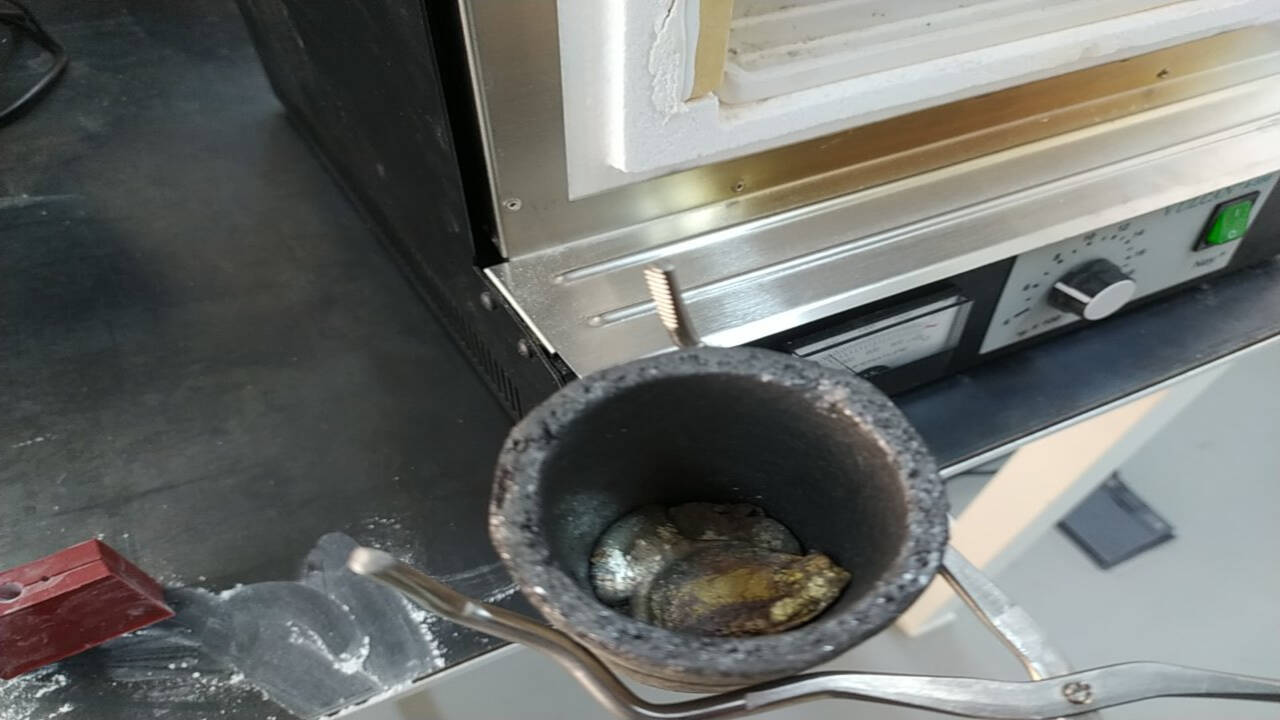
Turning oven and set the temperature to 300C.
Gloves and tools, that I need to use to be safe.

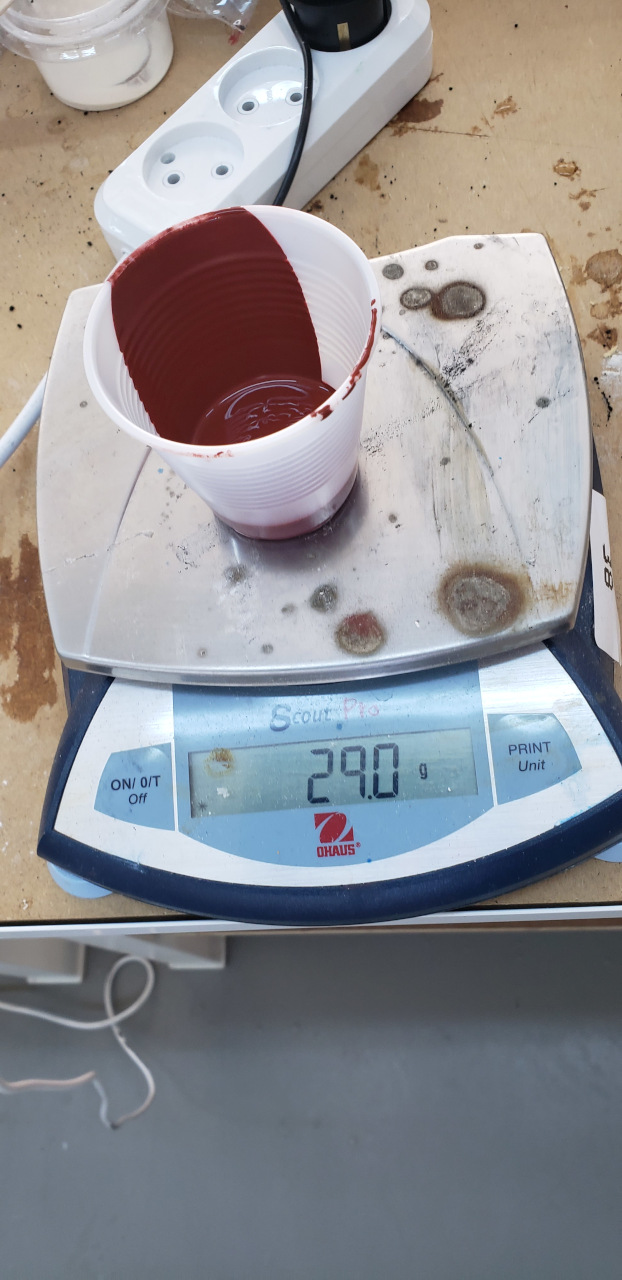
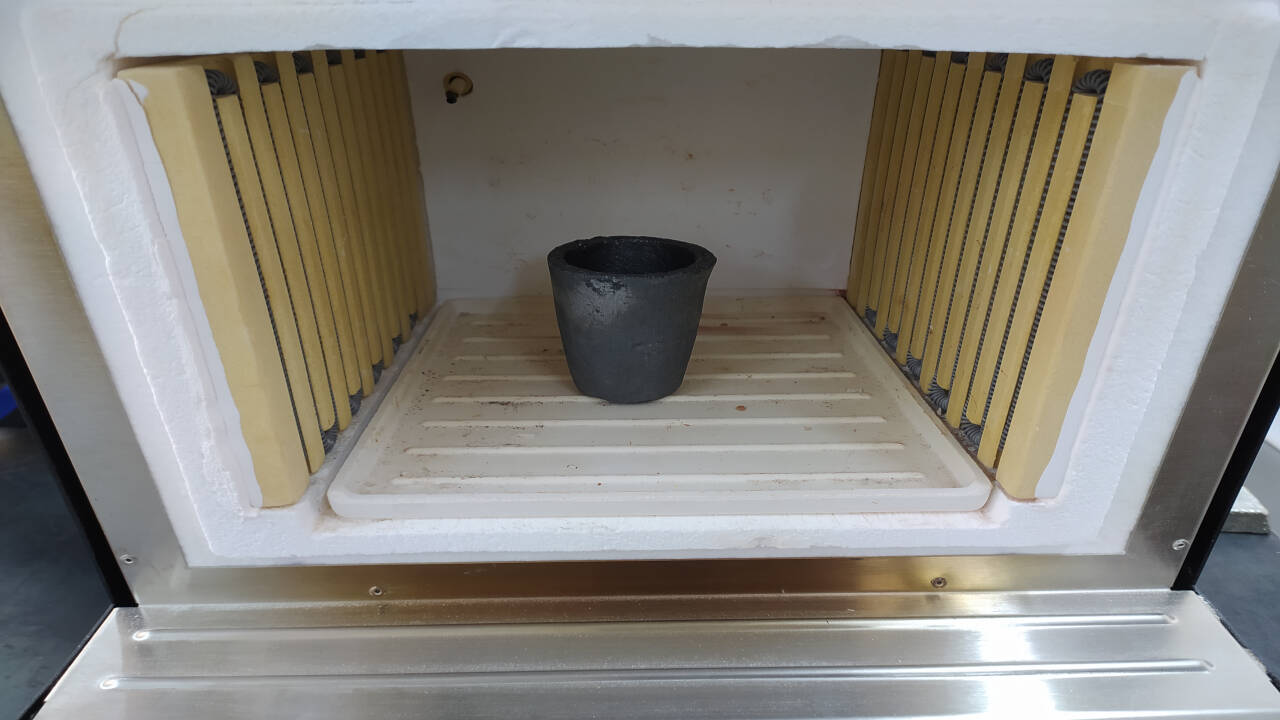
The cap with melted material.
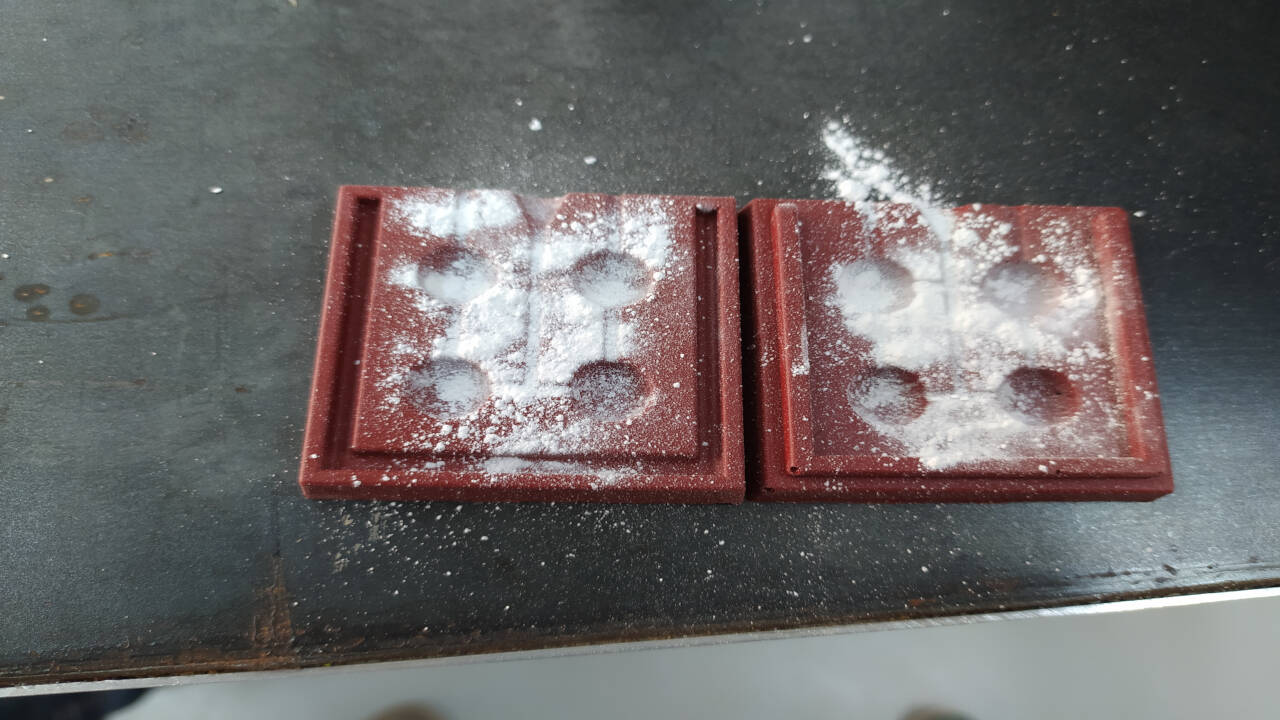
Adding wihite powder to the cast. It will be helpfull when you want to disconnect to mold from each other.

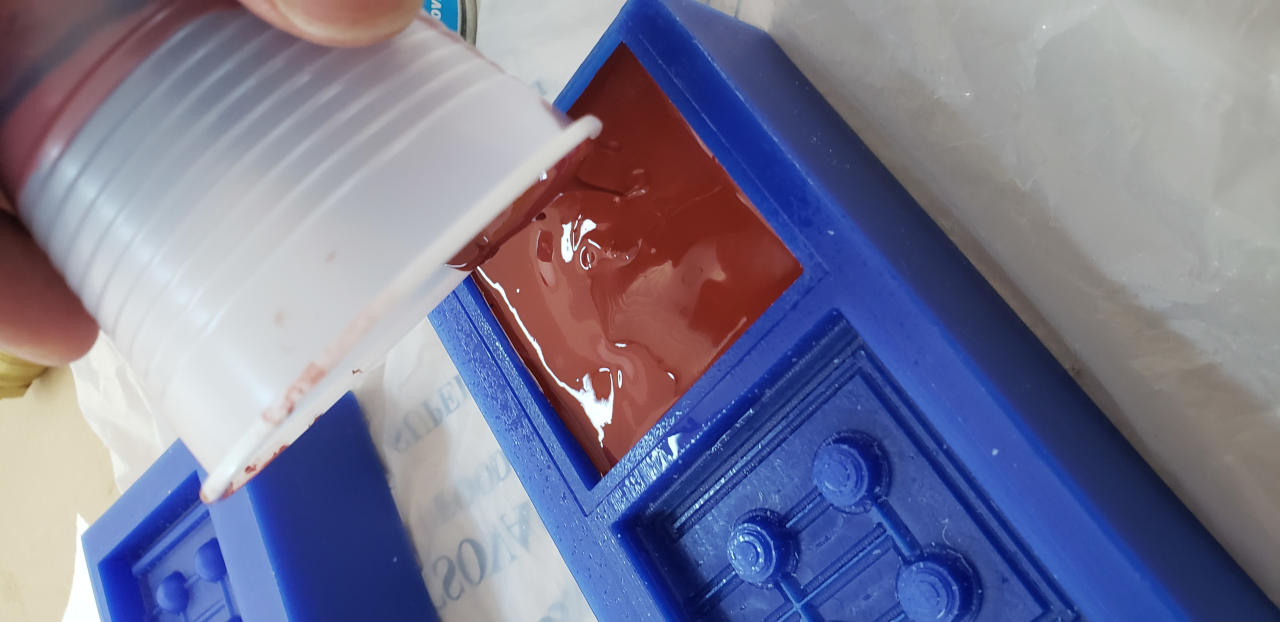
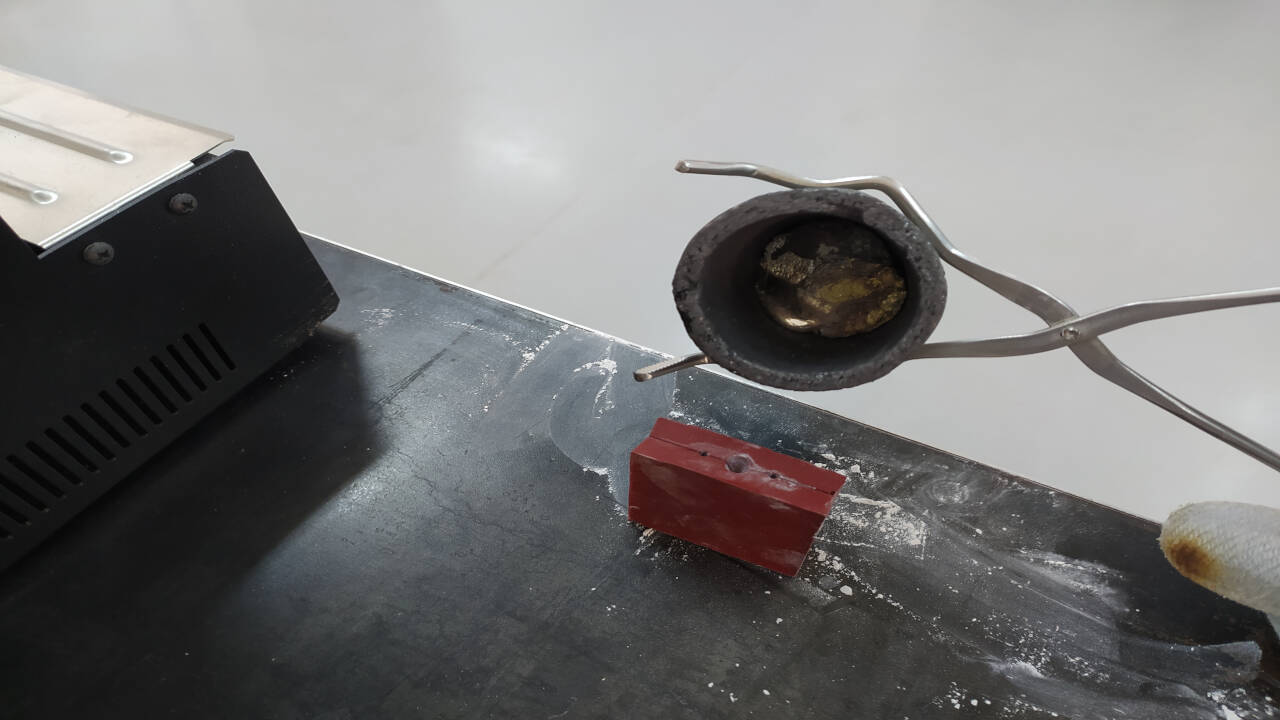
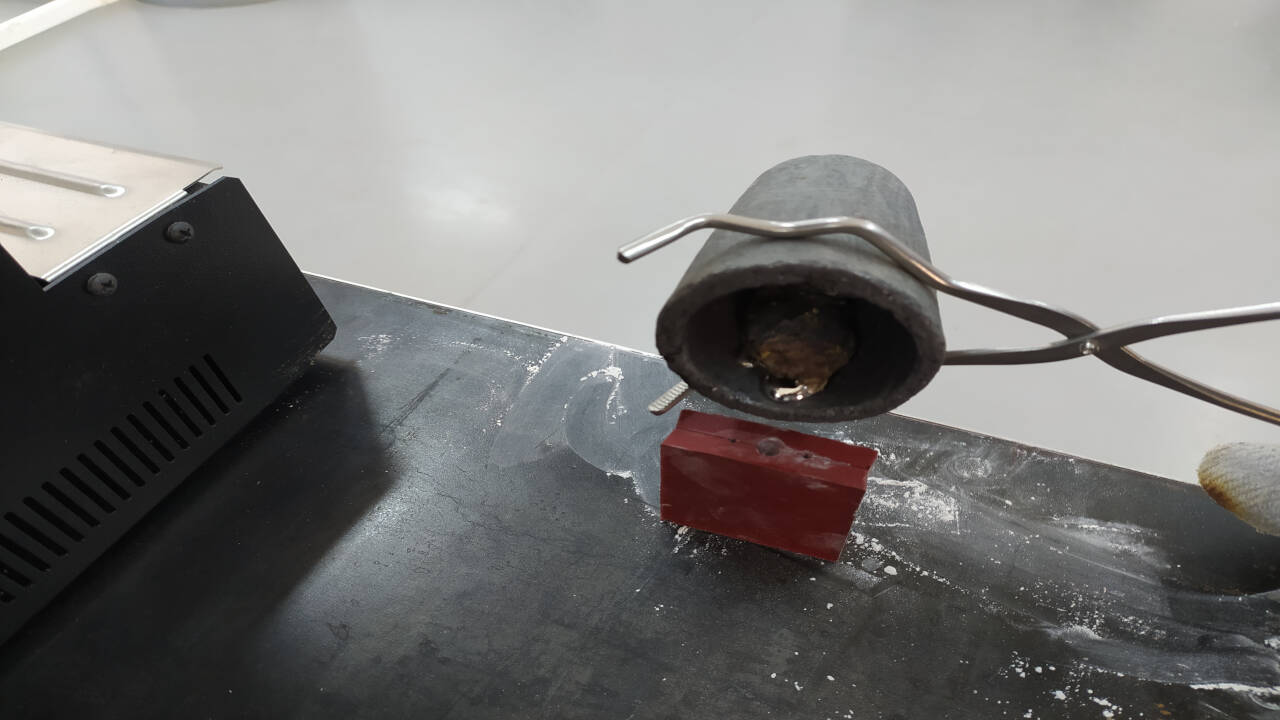
 Taking out material and filling molds.

The surface of material is being cooled very quikly you need to fill mold as fast as you can.

Below you can see the worst try.
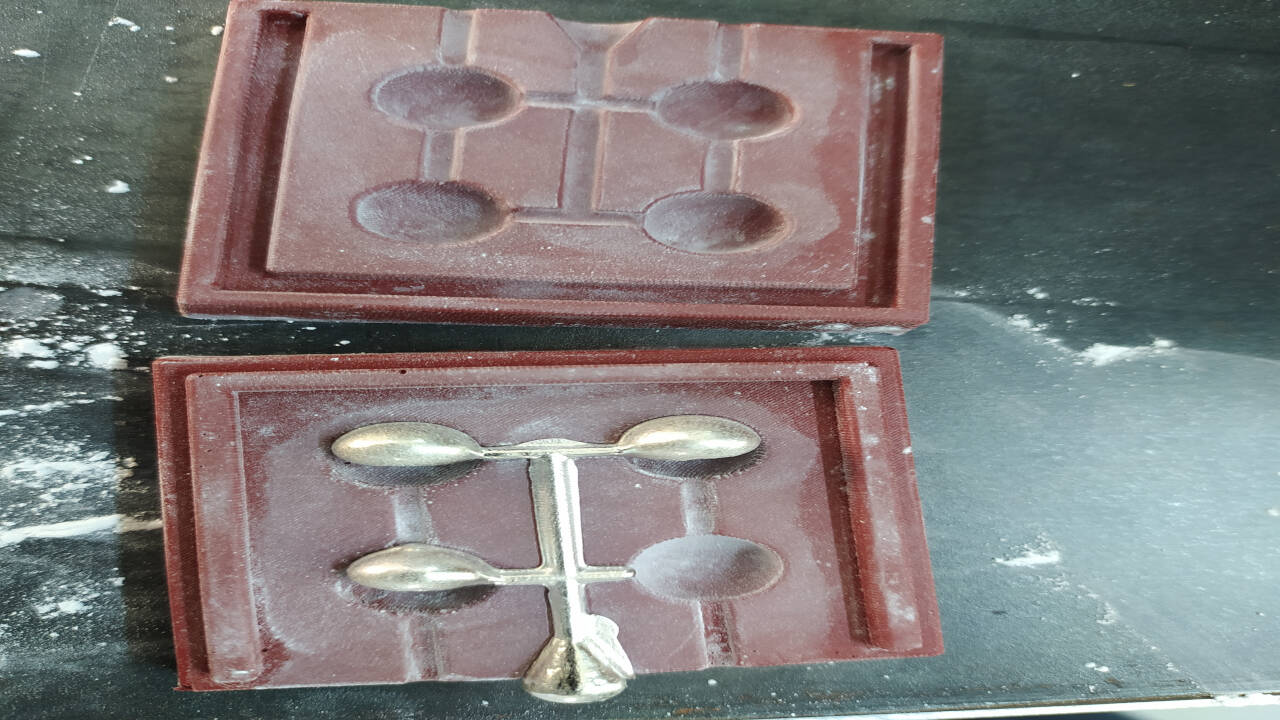
Here is the best result.

To be honest this was not what I wanted to do but at least I could have very smooth surfaces for my mold and learned a lot of staff about mold and milling.
Problems
- The first problem, that caused bad mold is that the runner tubes were placed at 90 degrees, but I think they should be angled, to help material flow.
- The second problem is the ventilation tubes were narrow.
- I am not sure, but maybe the melting point of the material was not fully reached and it was inert to flow and/or the speed of filling.