1. Principles and practices/Project Management
Principles and practices
This week I worked on defining my final project idea and started to get used to the documentation process.
The idea
The idea is to make an air quality monitoring system that is mobile and can move in the 3D space taking measurements and sending values to the computer or other device. Main purpose of this kind of device is to monitor temperature, air pressure and humidity of air in big closed areas like greenhouses as these kinds of parameters are very important for different kinds of plants.
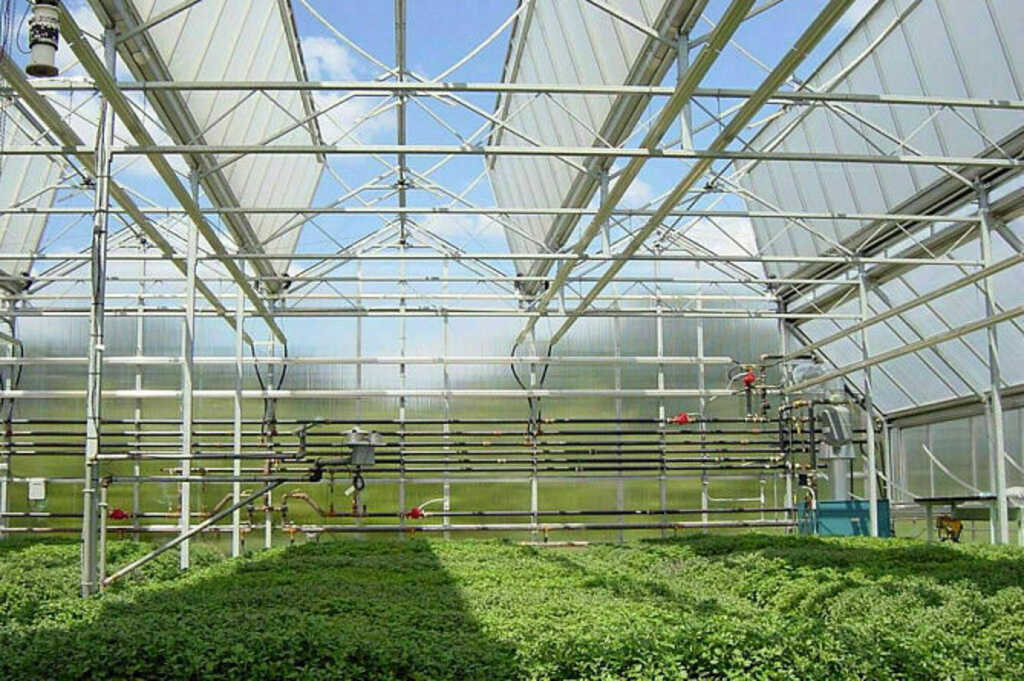
One of greenhouses in Armenia
As I mentioned, it should be able to move in the green-house, so I think the best solution can be a quad copter which should have all measuring sensors on board. The route will be sent from a tablet or smartphone, and all measurements in real-time will be sent back to the app.
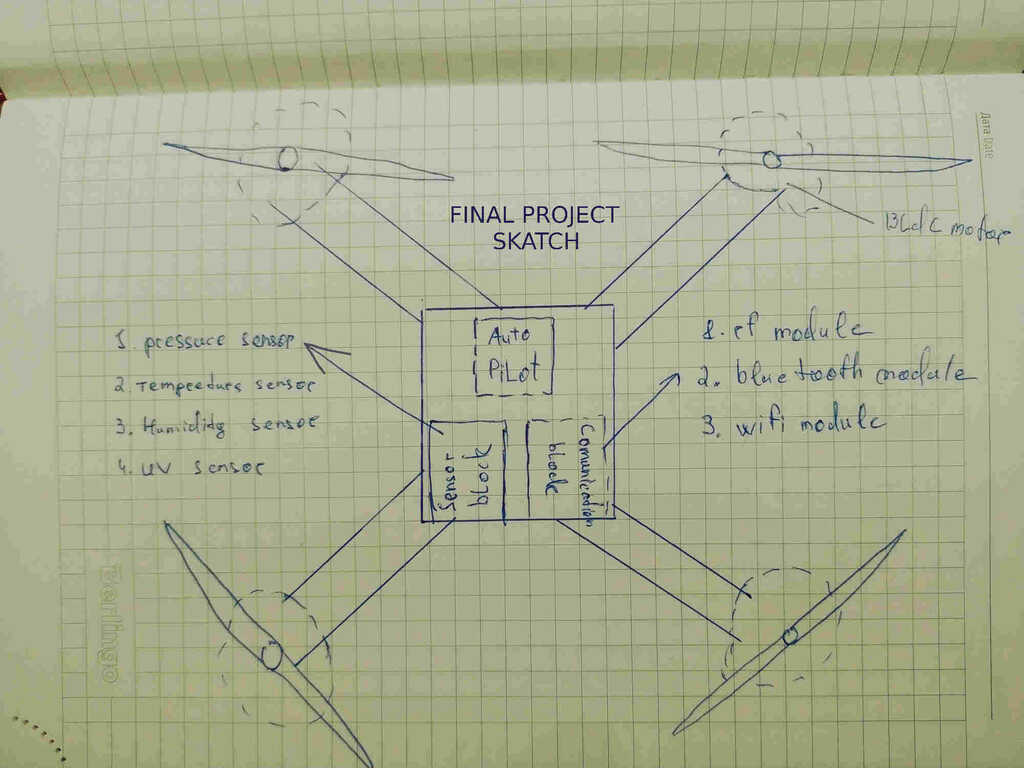
Sketch of projects system
So, I tried to determine what I should learn during Fabacademy to start this project. Here is the list
- Skills in 2D/3D design
- Excel my skills in using FabLab`s machines
- Knowledge of 3D printing
- Electronics production
- Project Management
Project Management
Git
The second part of the first week’s assignment was making a website where I should post my assignments and projects. As a new student Fabacademy provided me the website with a git repository. I opened it and started to investigate. I found new tools and new methods of writing and publishing documentation. I am going to tell you how I used Markdown docs and my git repository to publish my site step by step.
-
Installing git
sudo apt-get install git -
Add your Git username and set your email
git config –-global user.name “YOUR_USERNAME” -
Configure you email address for uploading
git config -–global user.email “babajanyano@gmail.com” -
Generate your SSH key
ssh-keygen -t rsa -C "$babajanyano@gmail.com" -
Now let´s see your keygen
cat ~/.ssh/id_rsa.pub -
Copy your key
-
Finally add the copied key to GIT on the web version
-
Clone your project to your computer to work locally
MkDocs
MkDocs is a fast and simple static site generator that’s geared towards building project documentation. Documentation source files are written in Markdown, and configured with a single YAML configuration file. I installed Mkdocs to my computer to work on my website locally and after checking the staff I am pushing files to the git repository. Here are the steps I did to make work my website locally.
- Clone your project from the git repo to your computer
-
Install Mkdocs
sudo apt install mkdocs -
I opened the directory of my local project and run Mkocs
cd ~/your_project_location mkdocs serve -
After step 3, I got some errors because I was missing some packages for Mkdocs that are mentioned in requirements .txt in a GIT repository.
pip install mkdocs-material
pip install mkdocs-git-revision-date-localized-plugin
After this, everything worked
mkdocs serve

Open the link in the terminal to see your local website
Visual Code
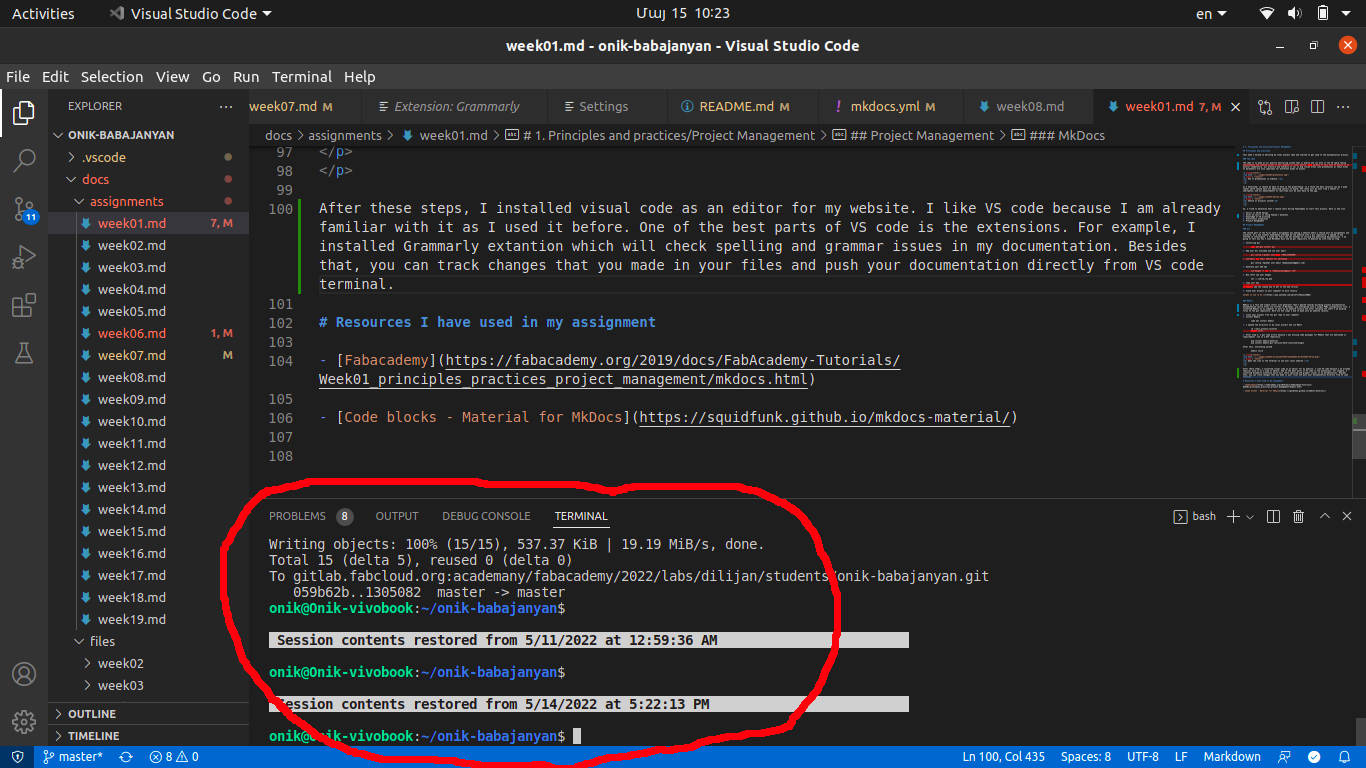
After these steps, I installed visual code as an editor for my website. I like VS code because I am already familiar with it as I used it before. One of the best parts of VS code is the extensions. For example, I installed Grammarly extantion which will check spelling and grammar issues in my documentation. Besides that, you can track changes that you made in your files and push your documentation directly from VS code terminal.
To push documentation to the repo you need a few commands.
First, you can check the status of you documnetation with this command
git status
You will see a list of documents that you changed.

Then you need two commands.
    git add .
    git commit -m"some message here"
    git push
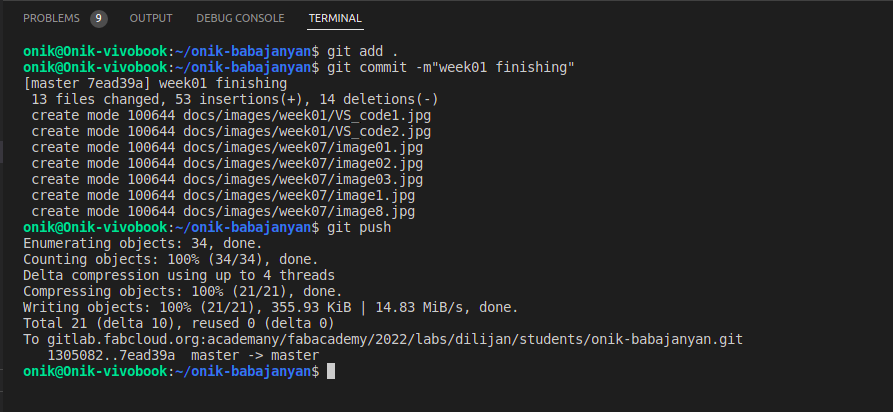
And finally, you can check the status of your commit from your commit history.